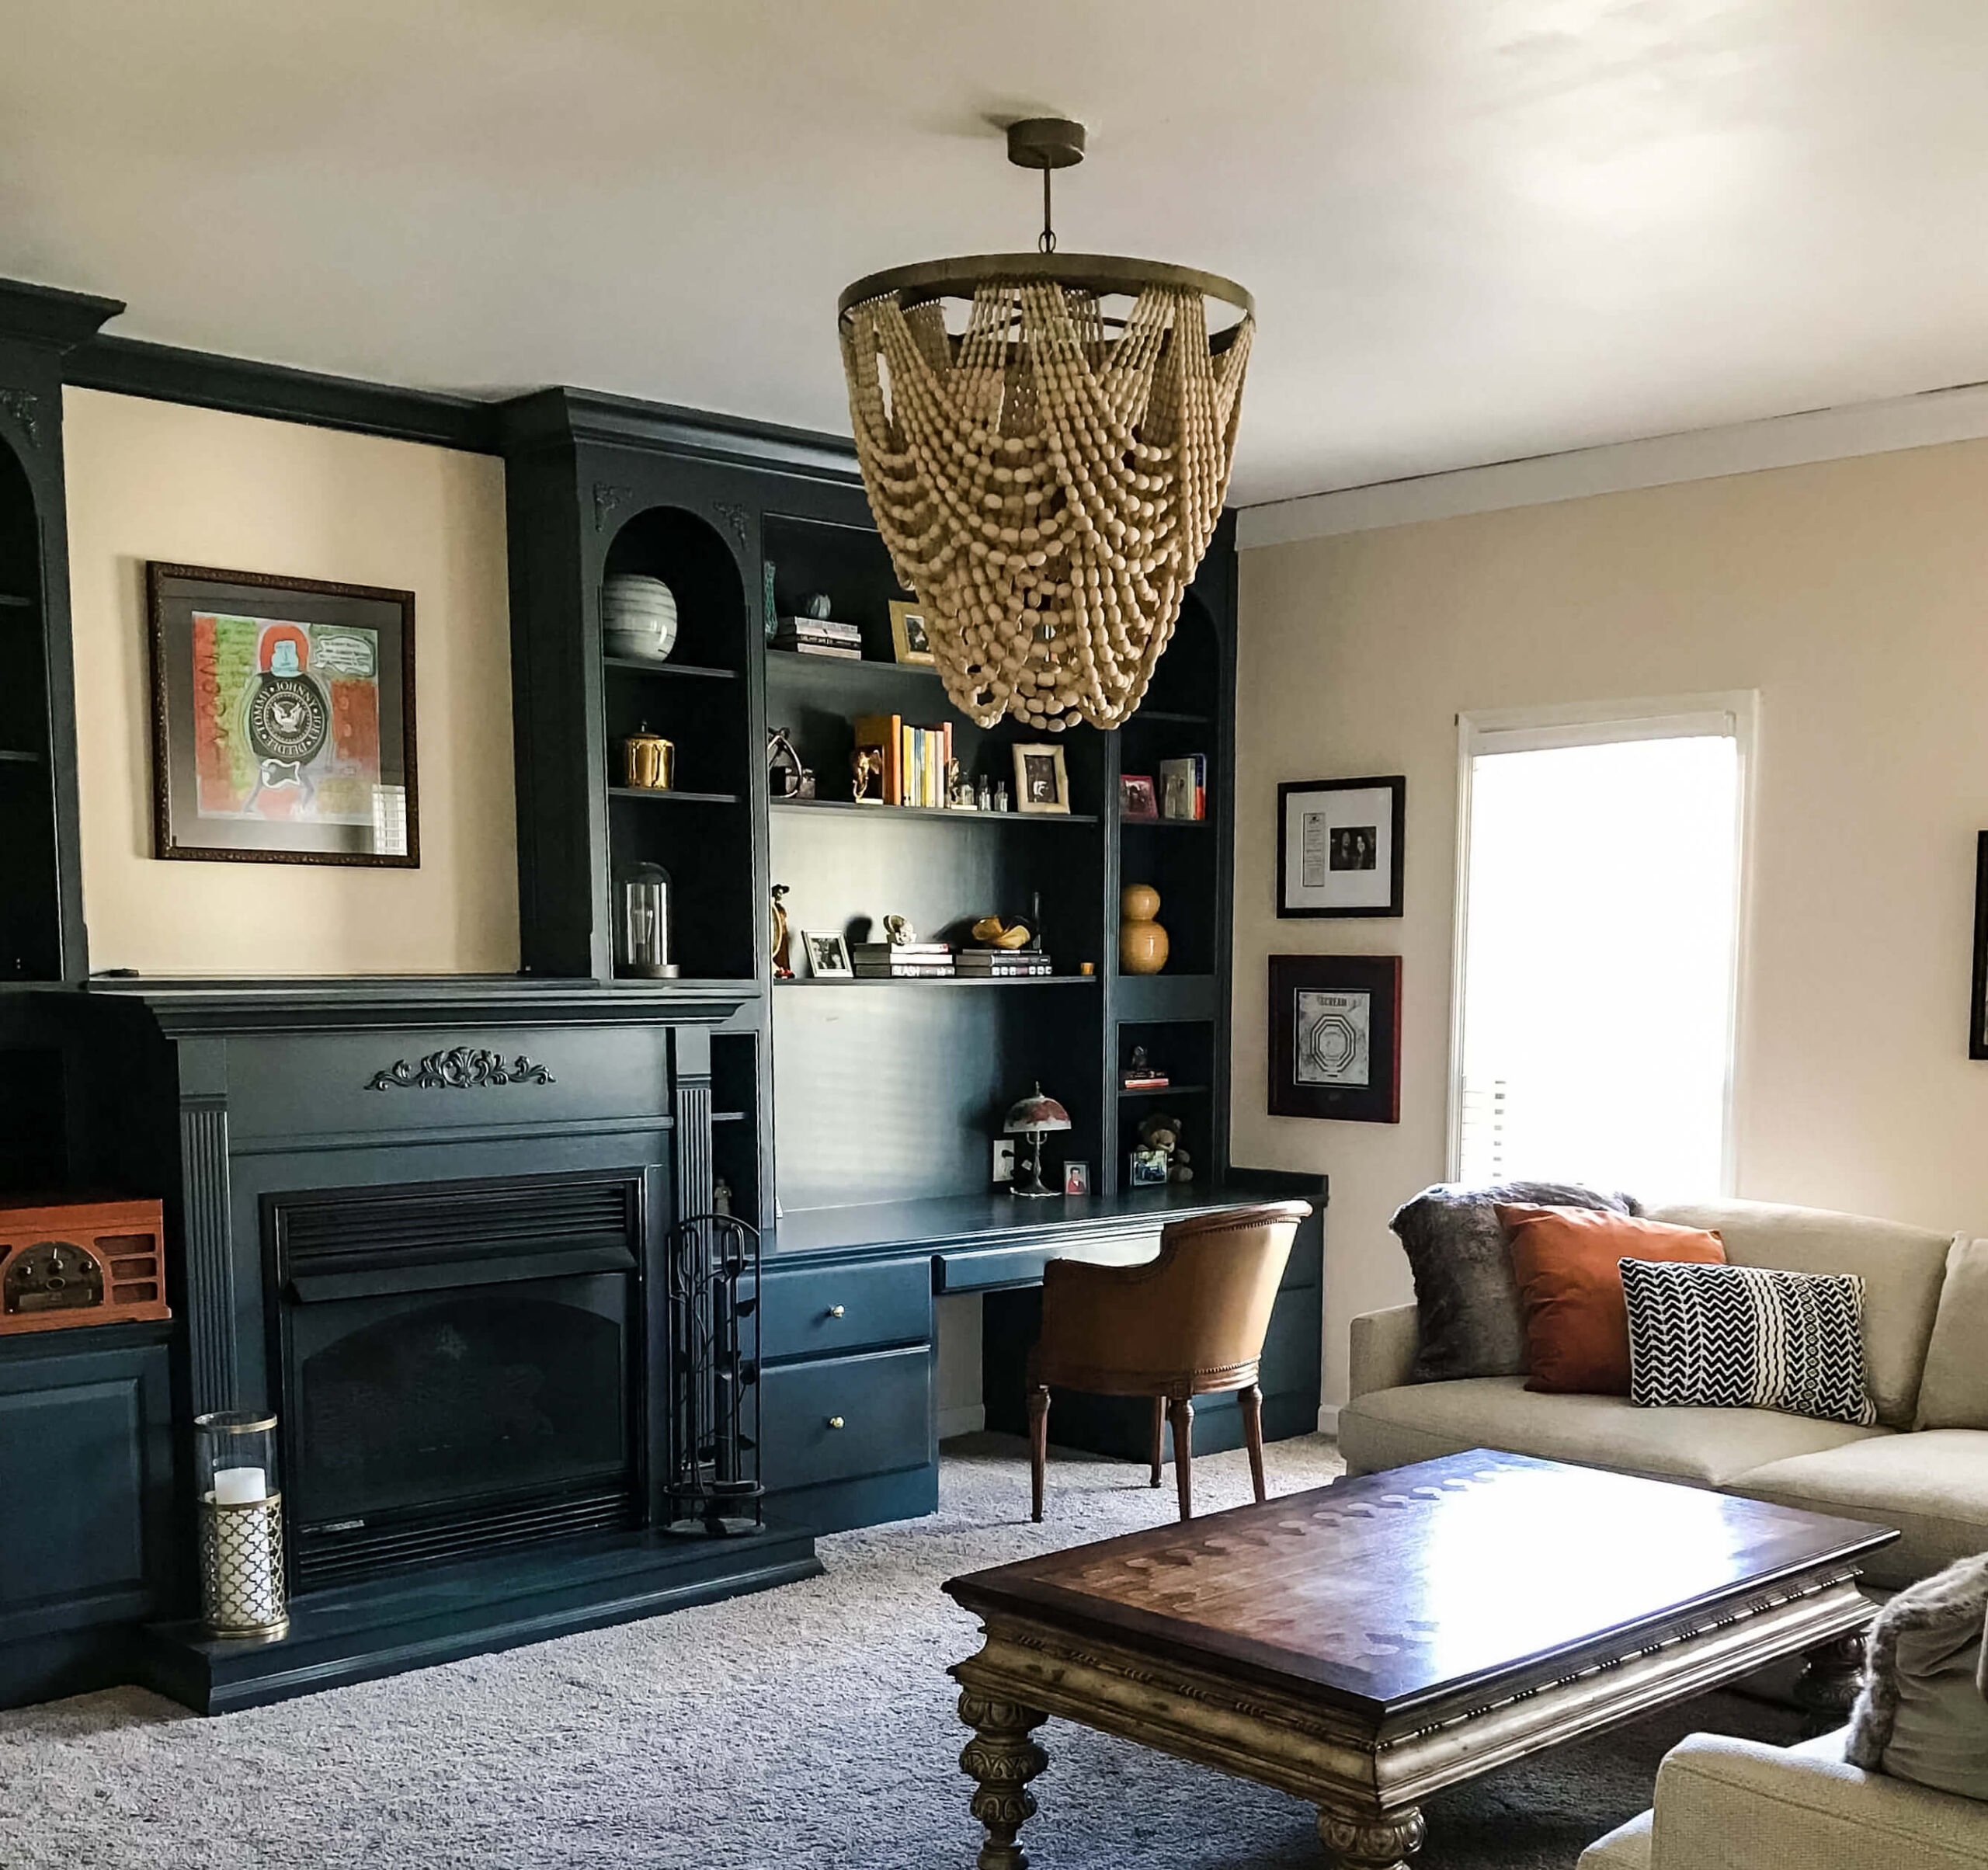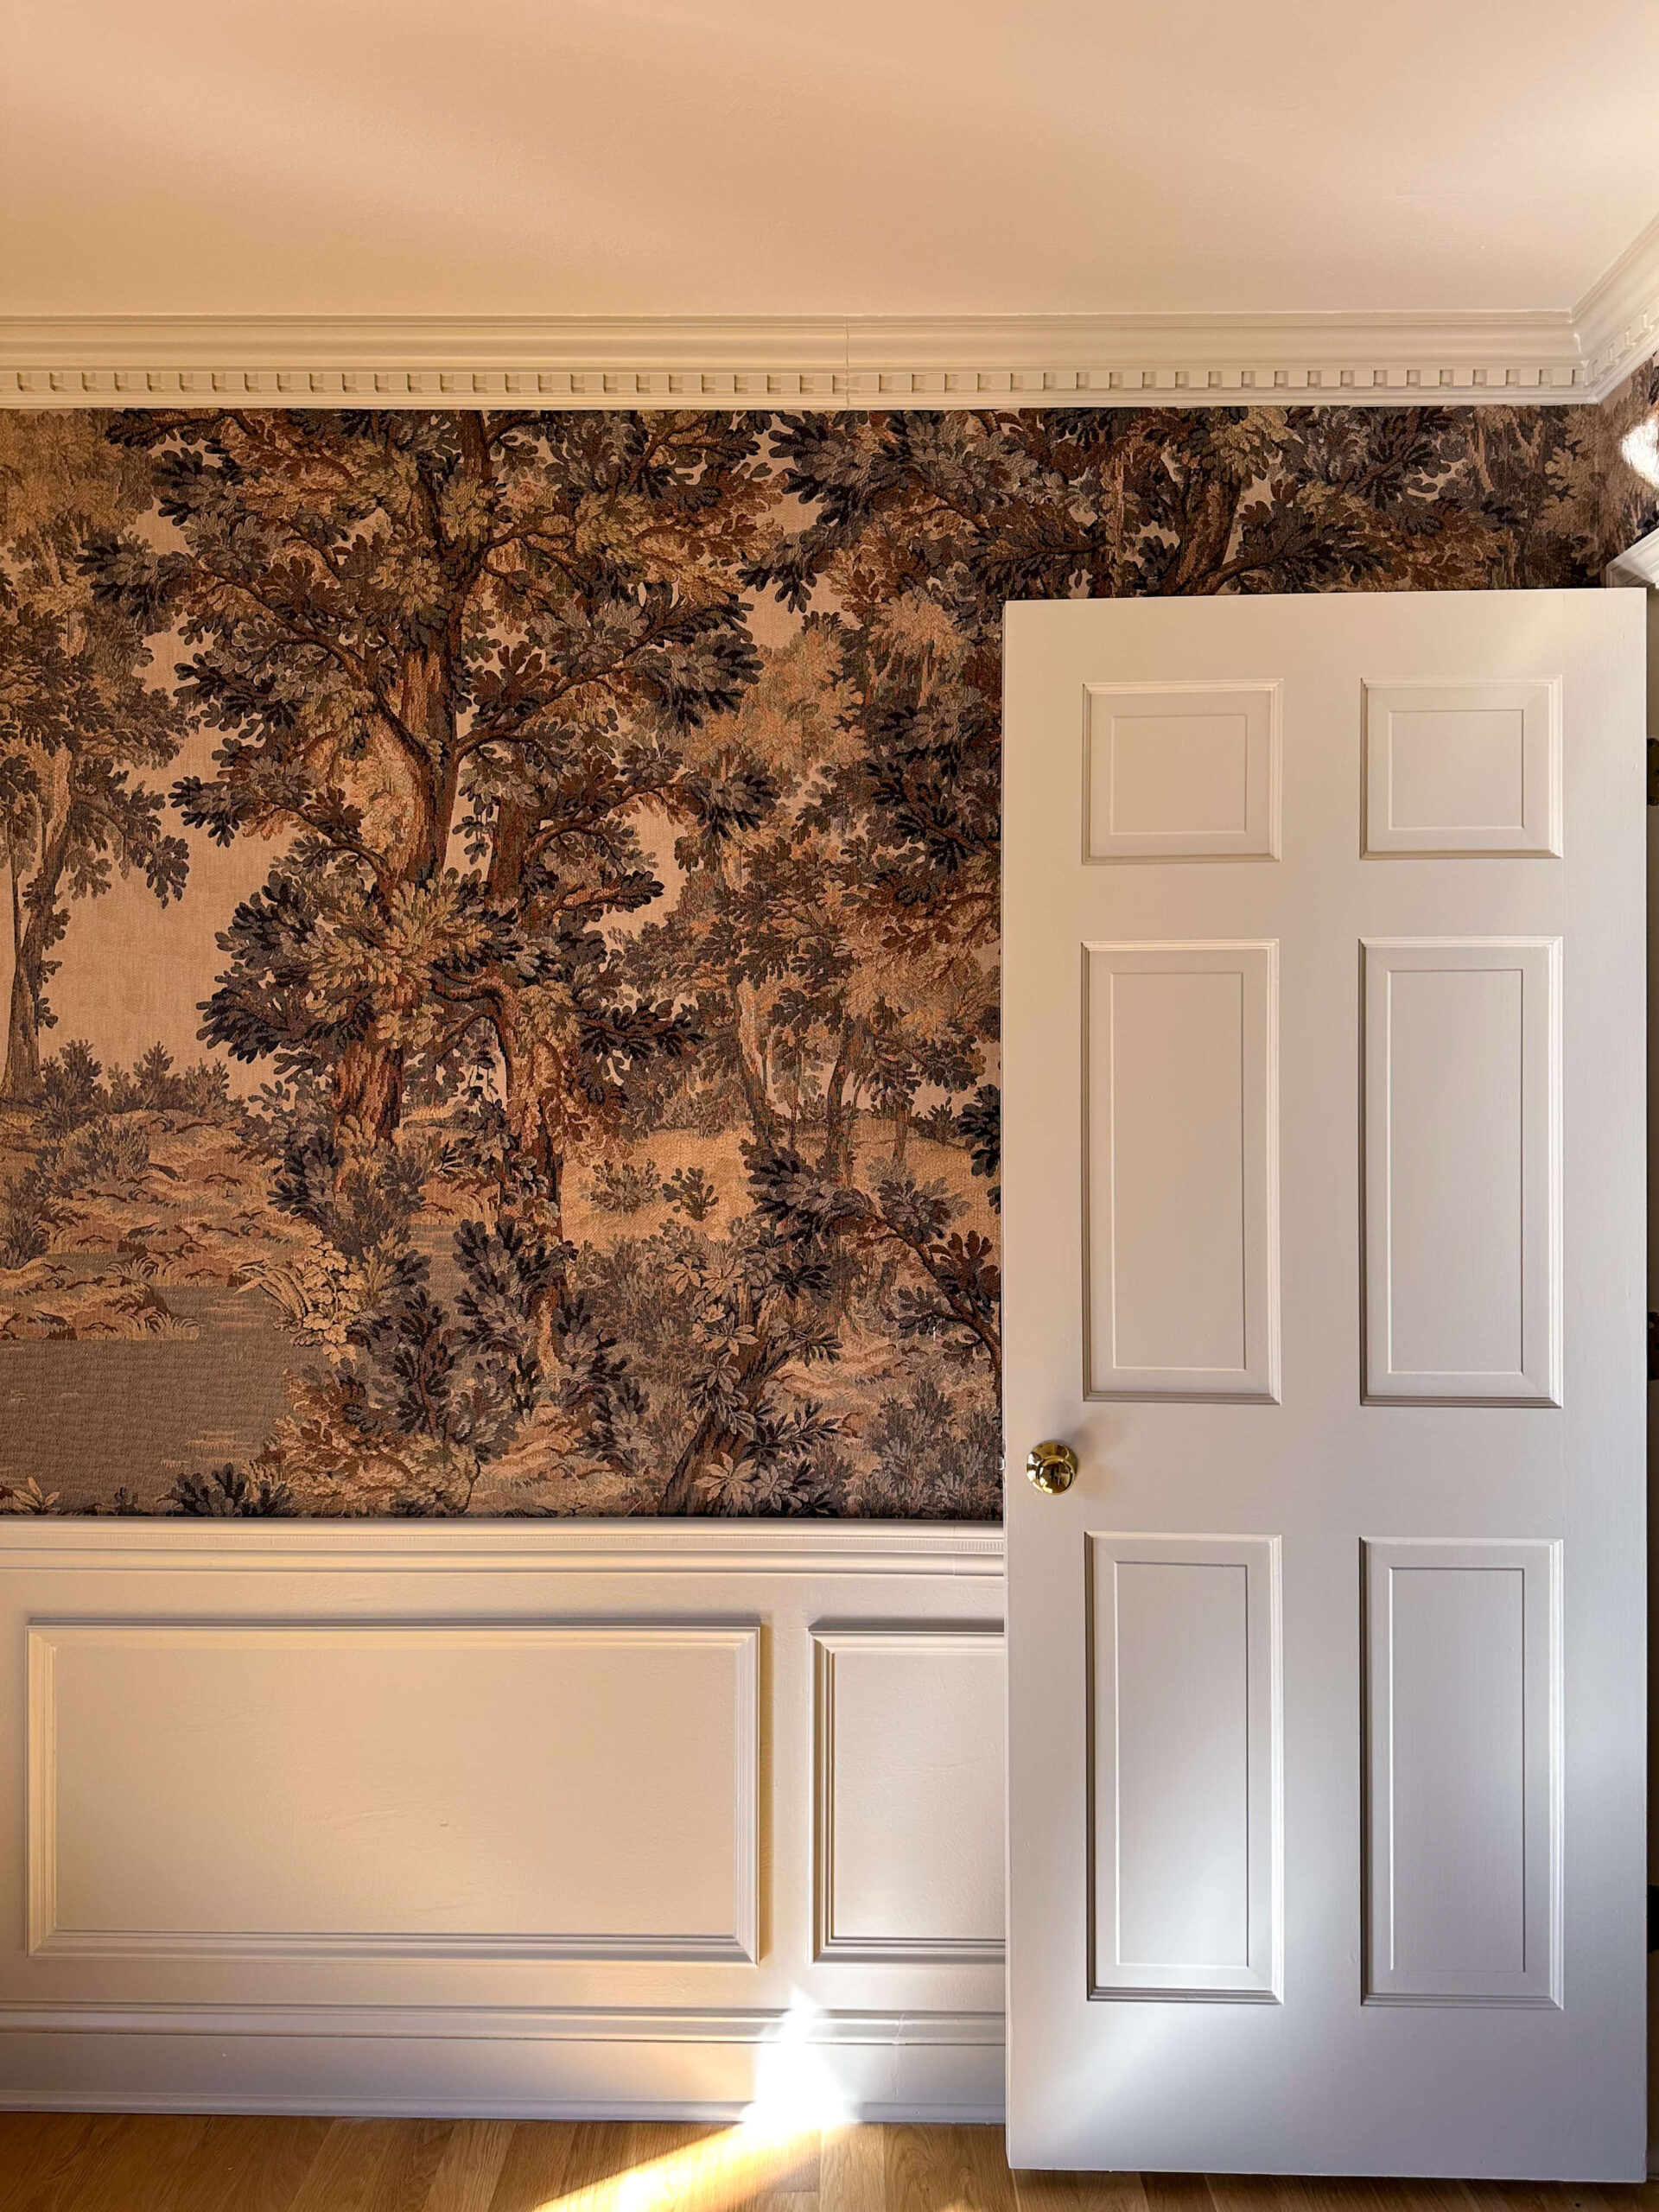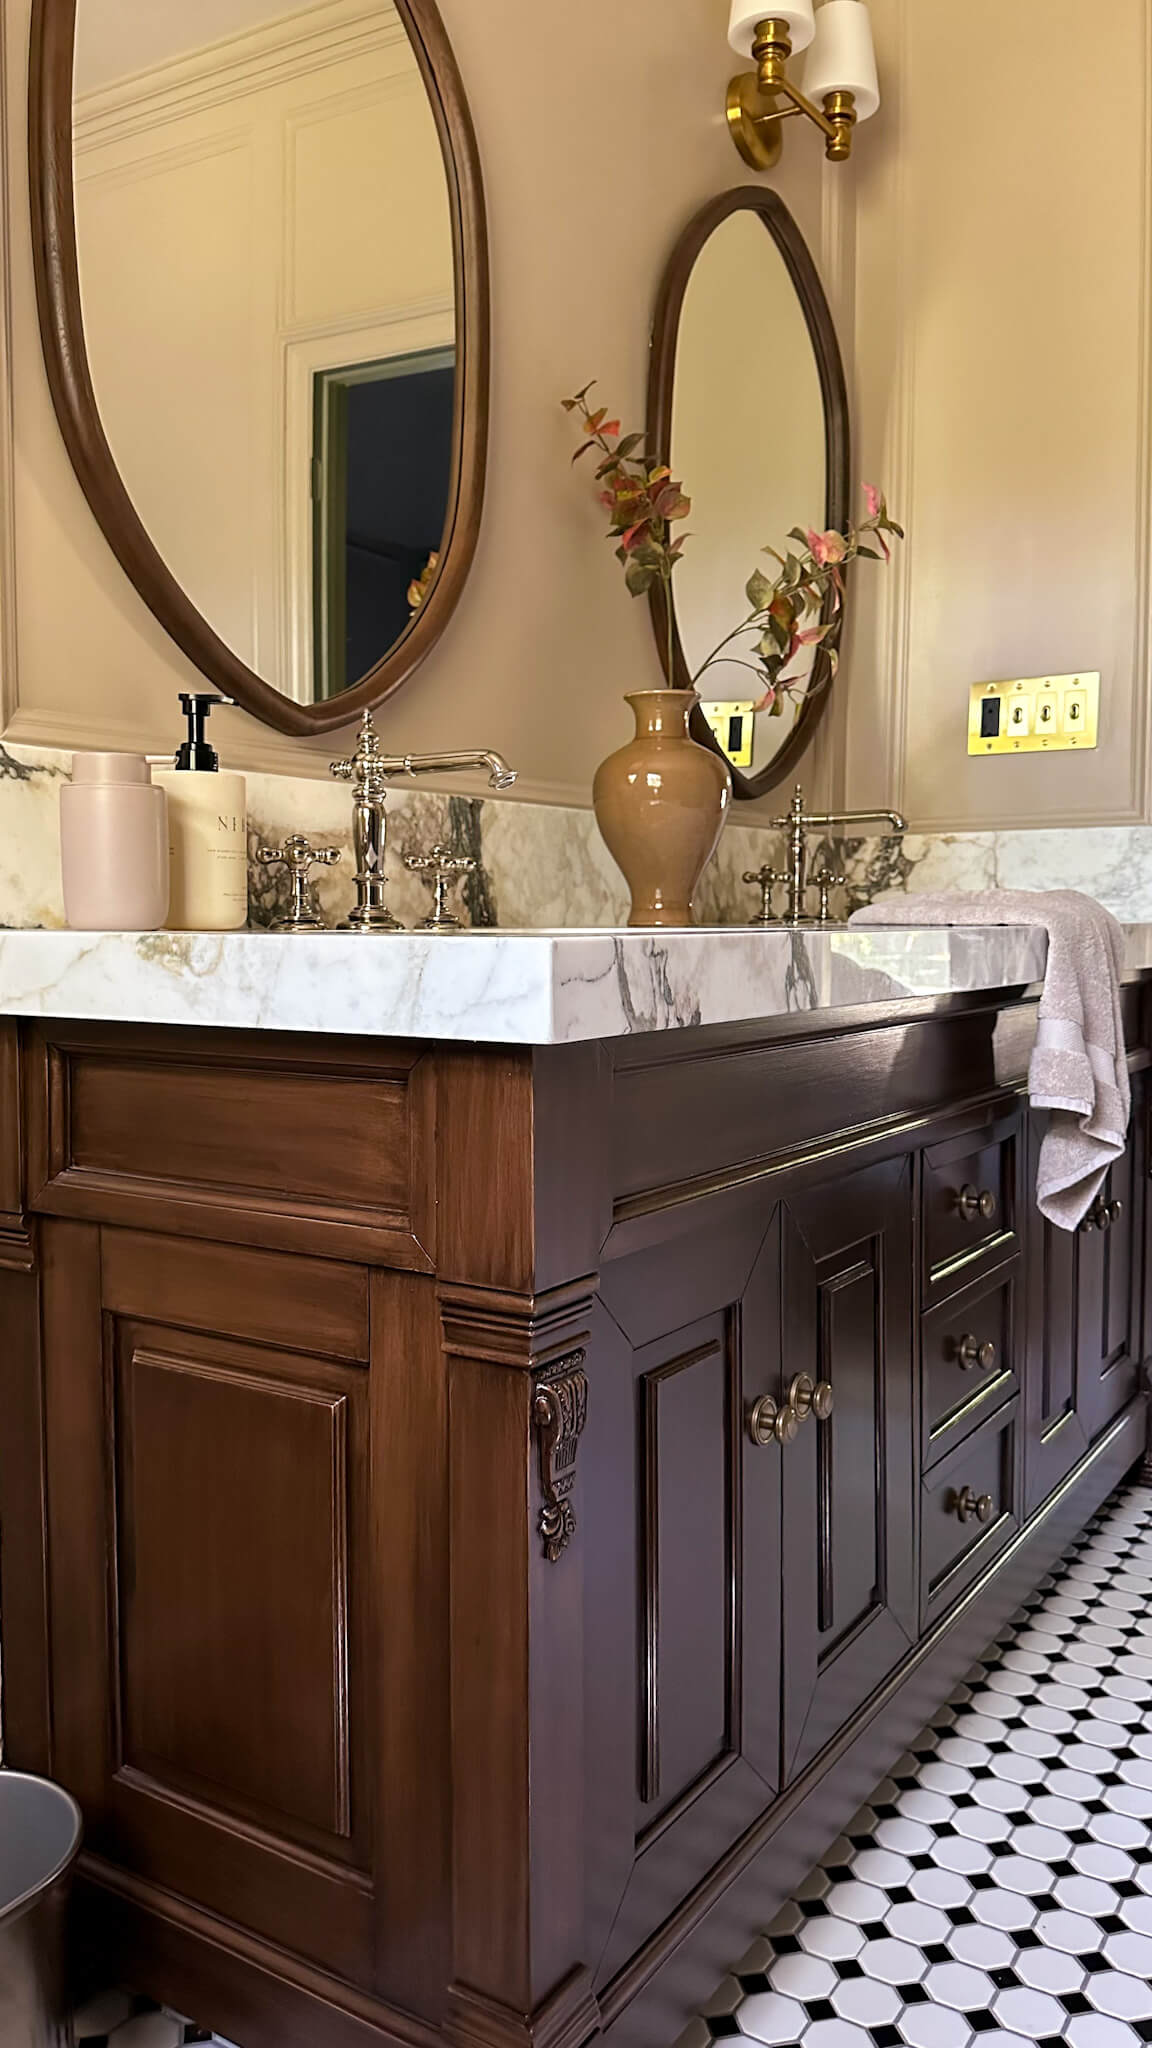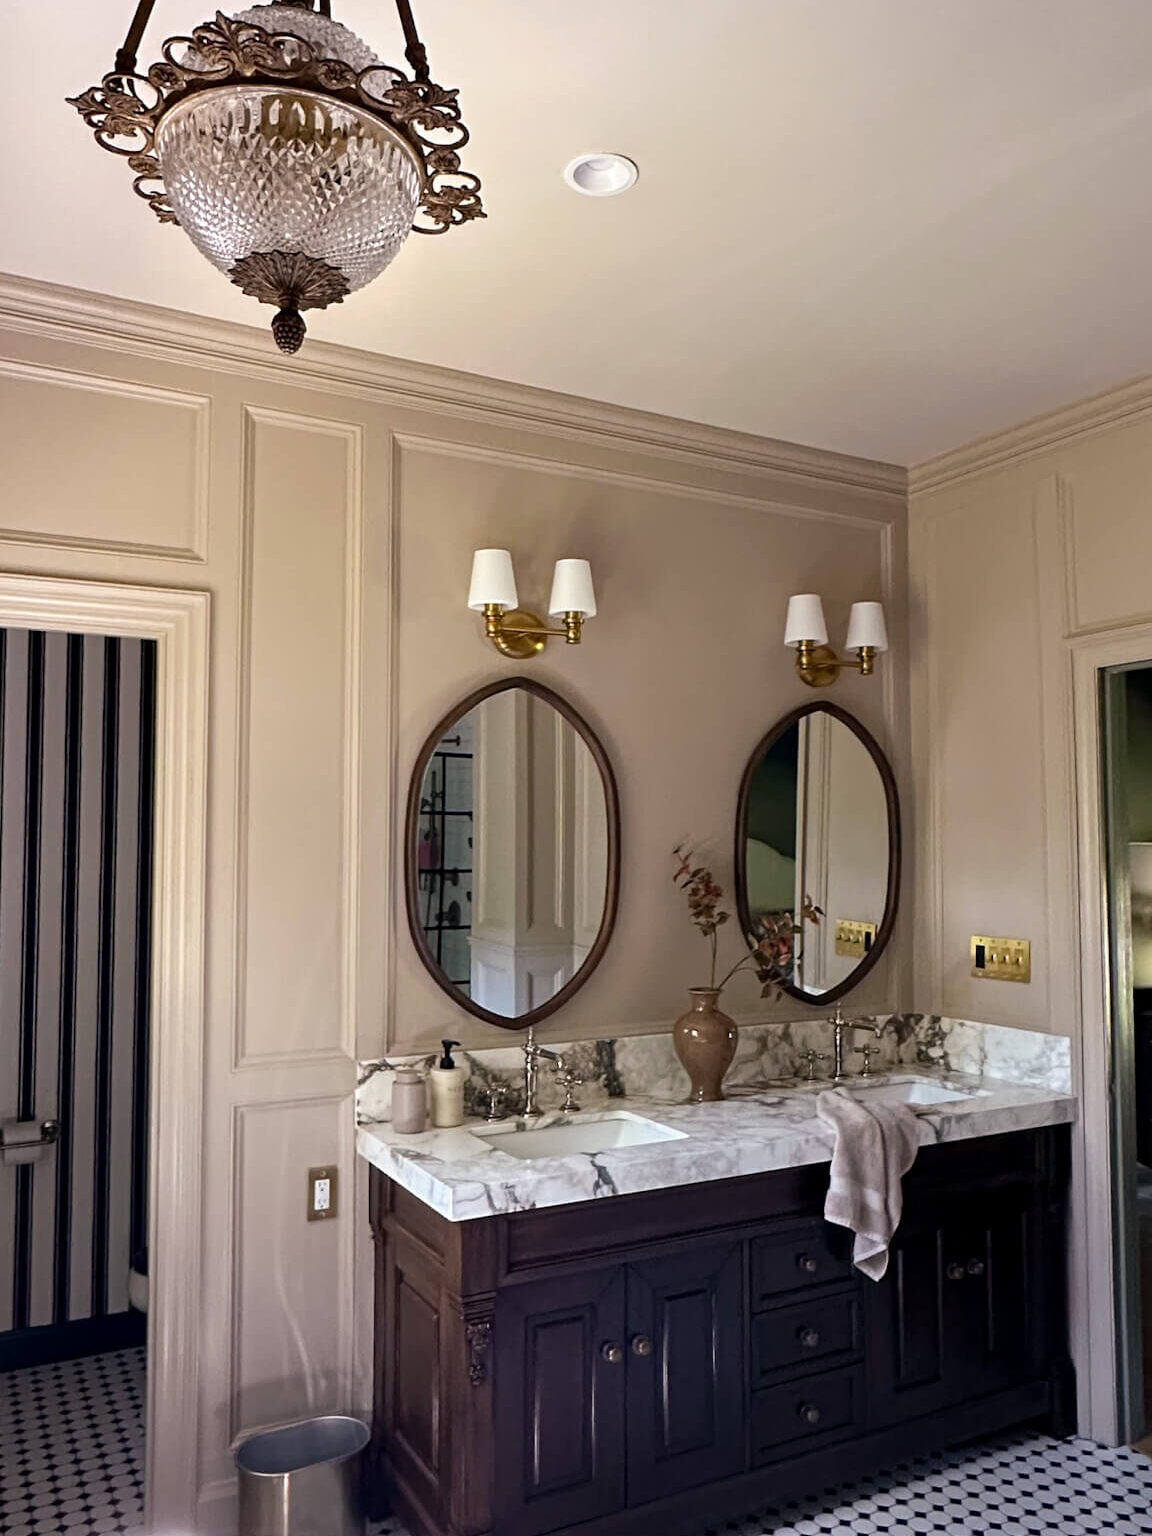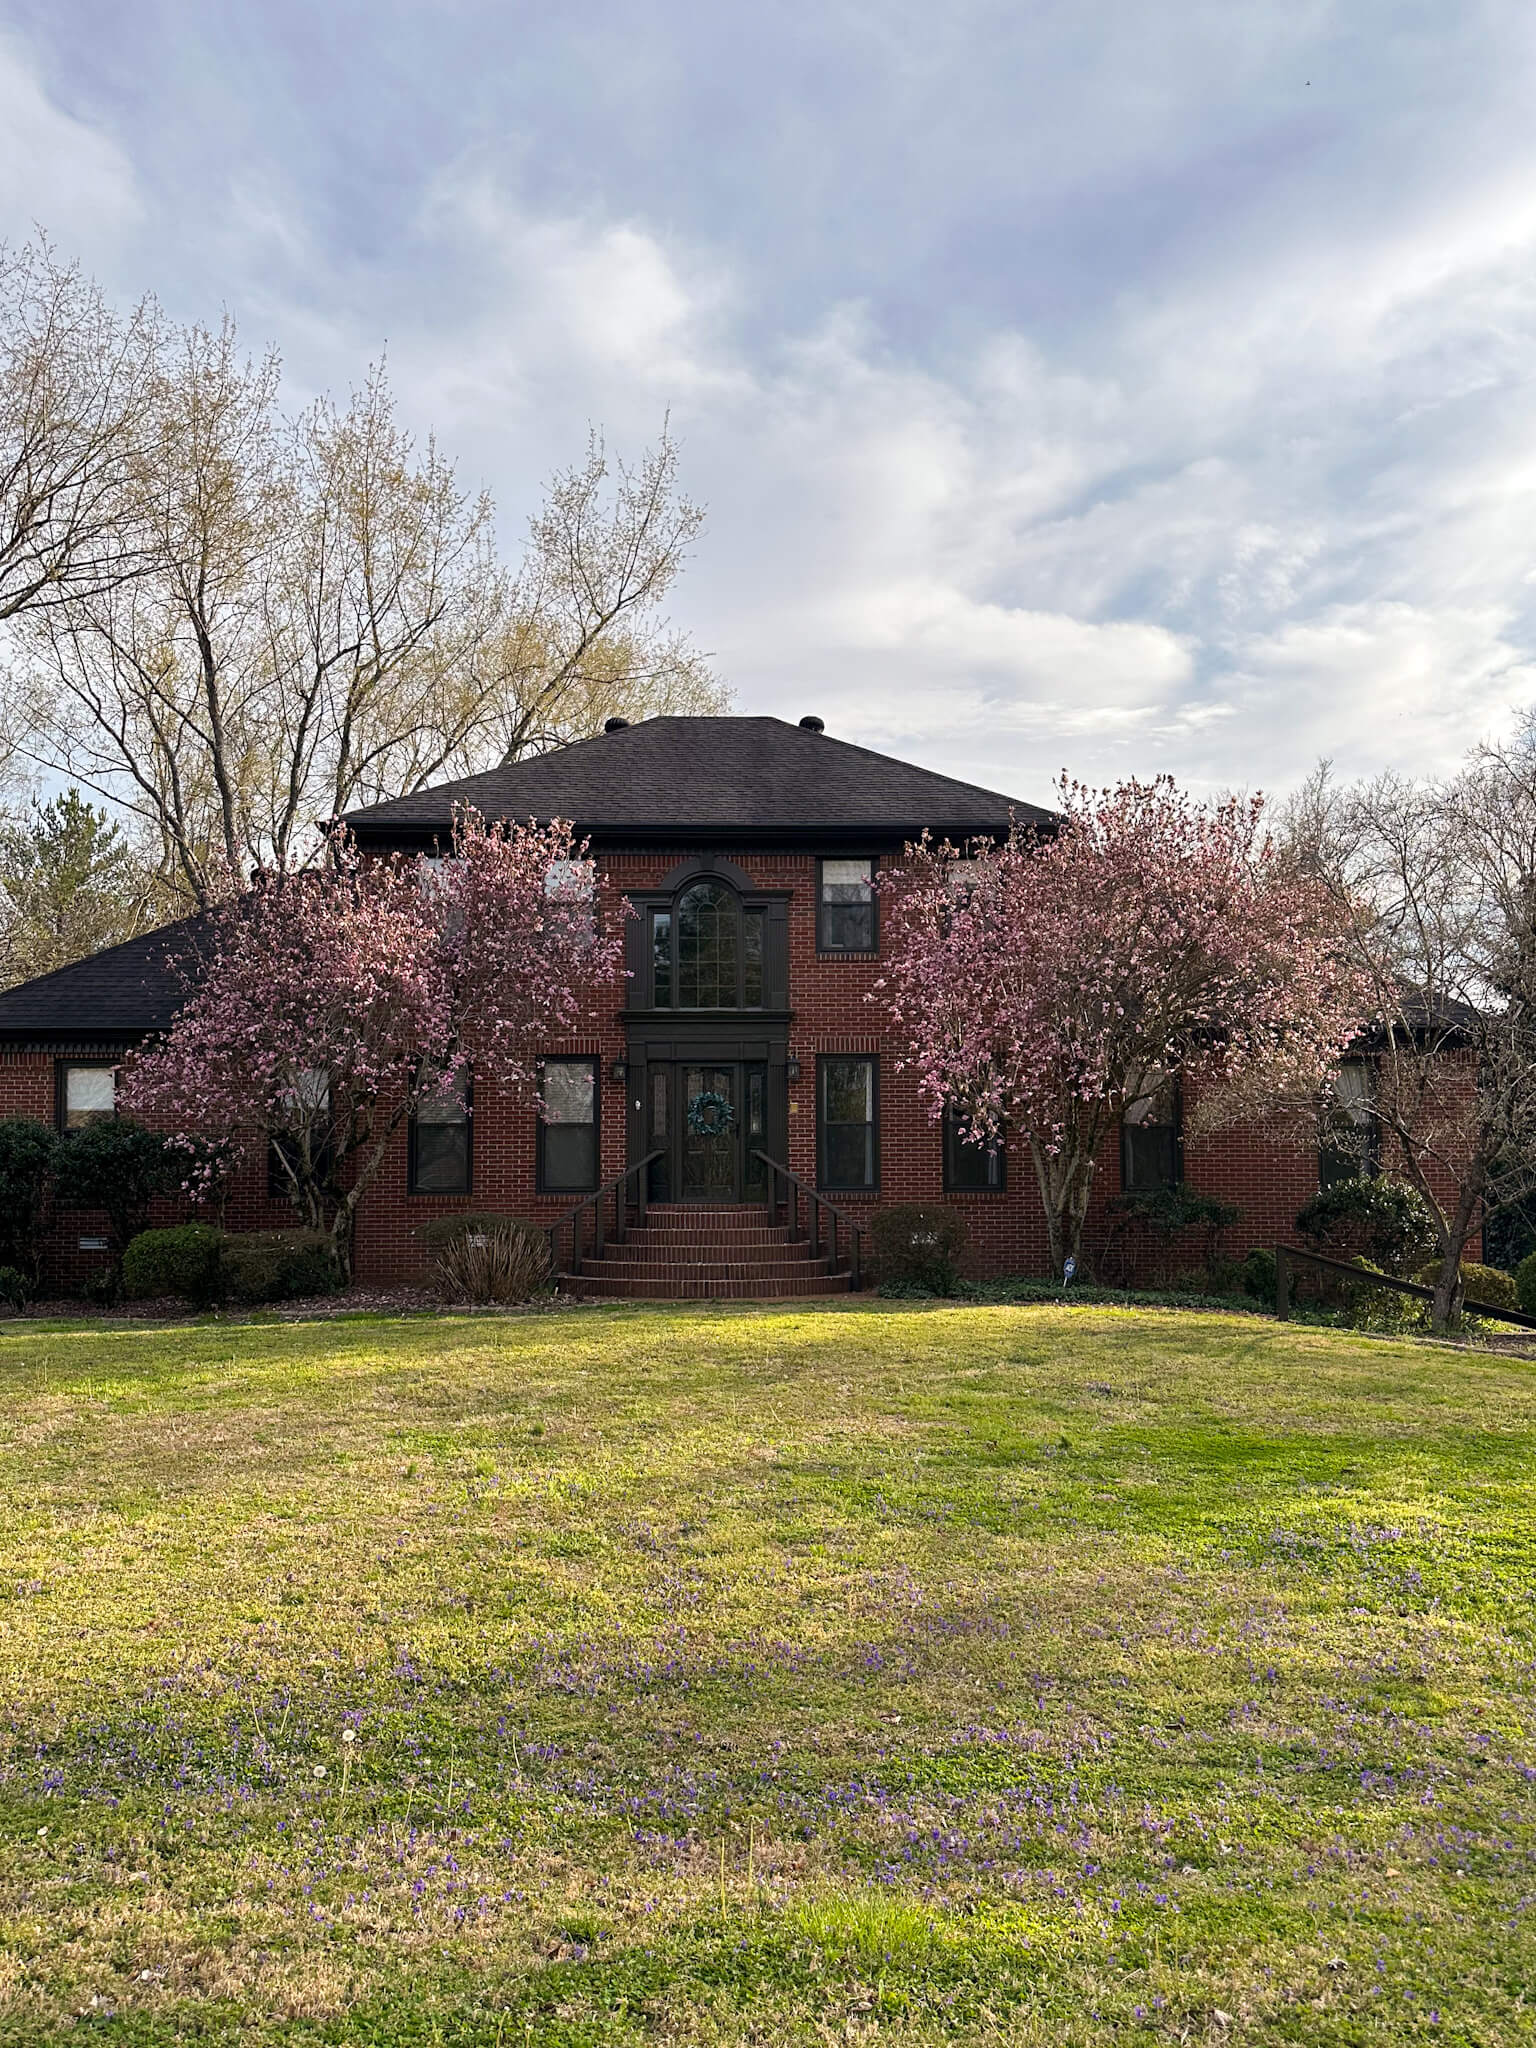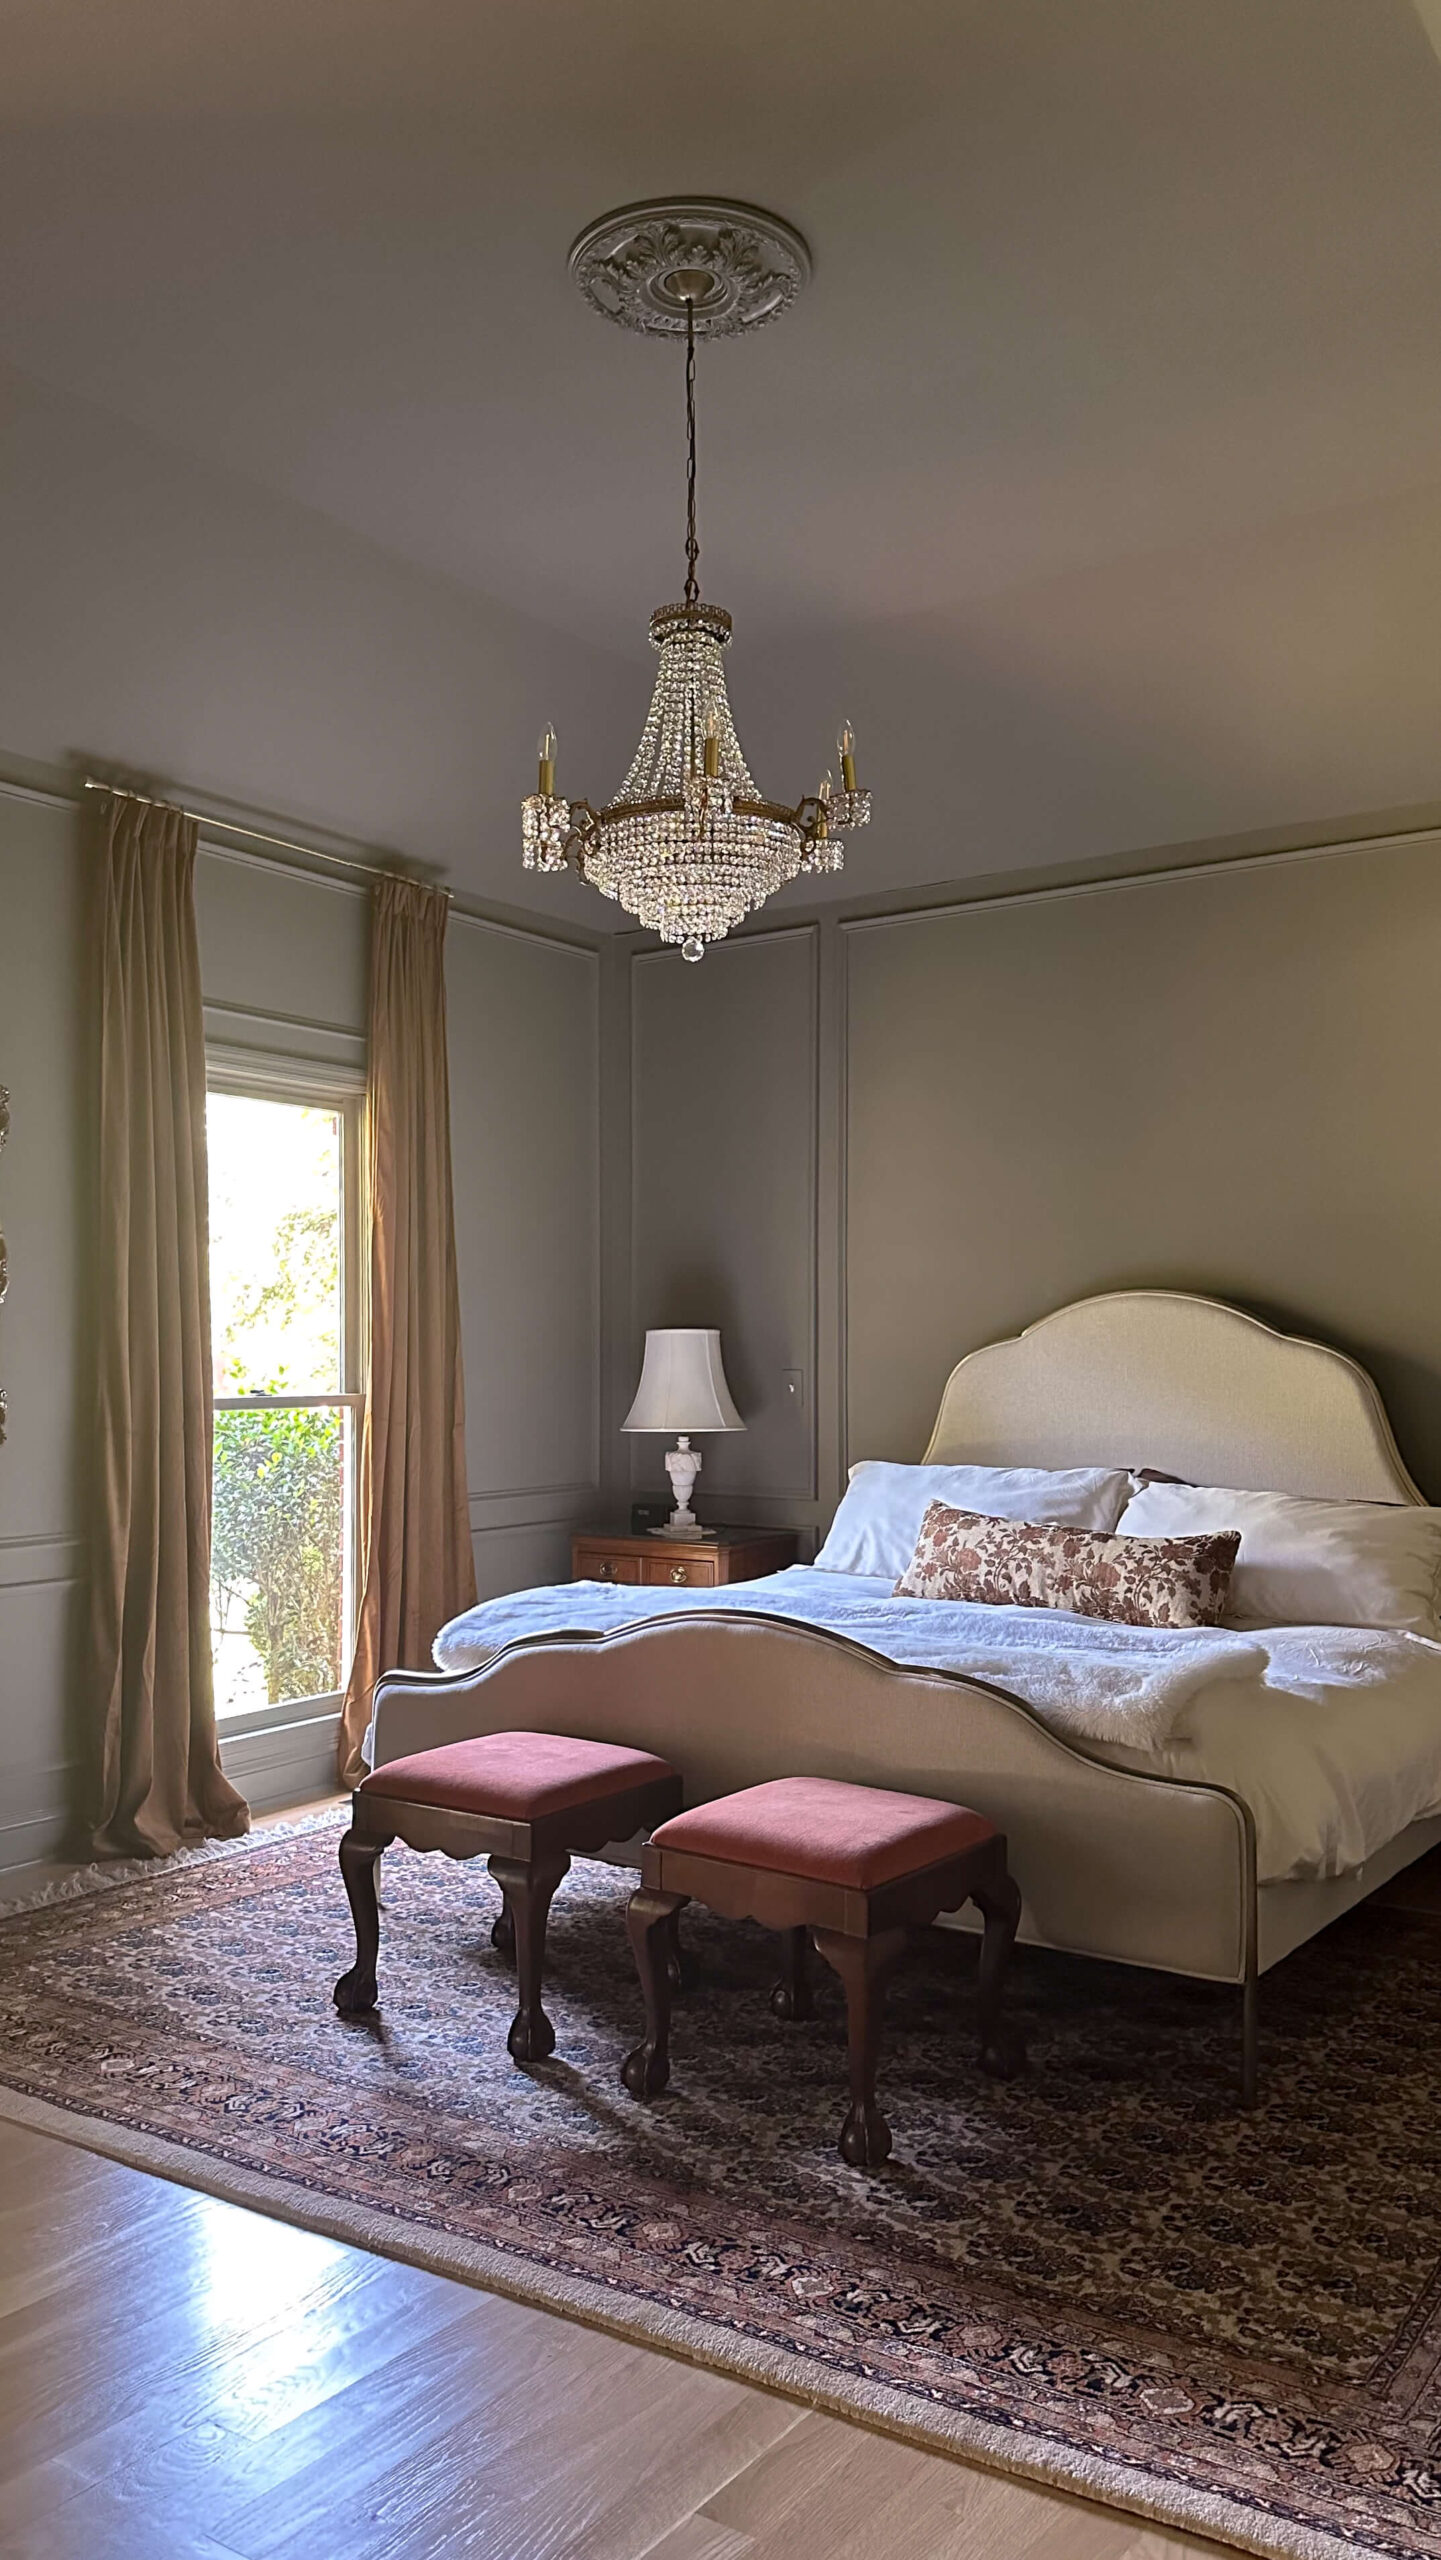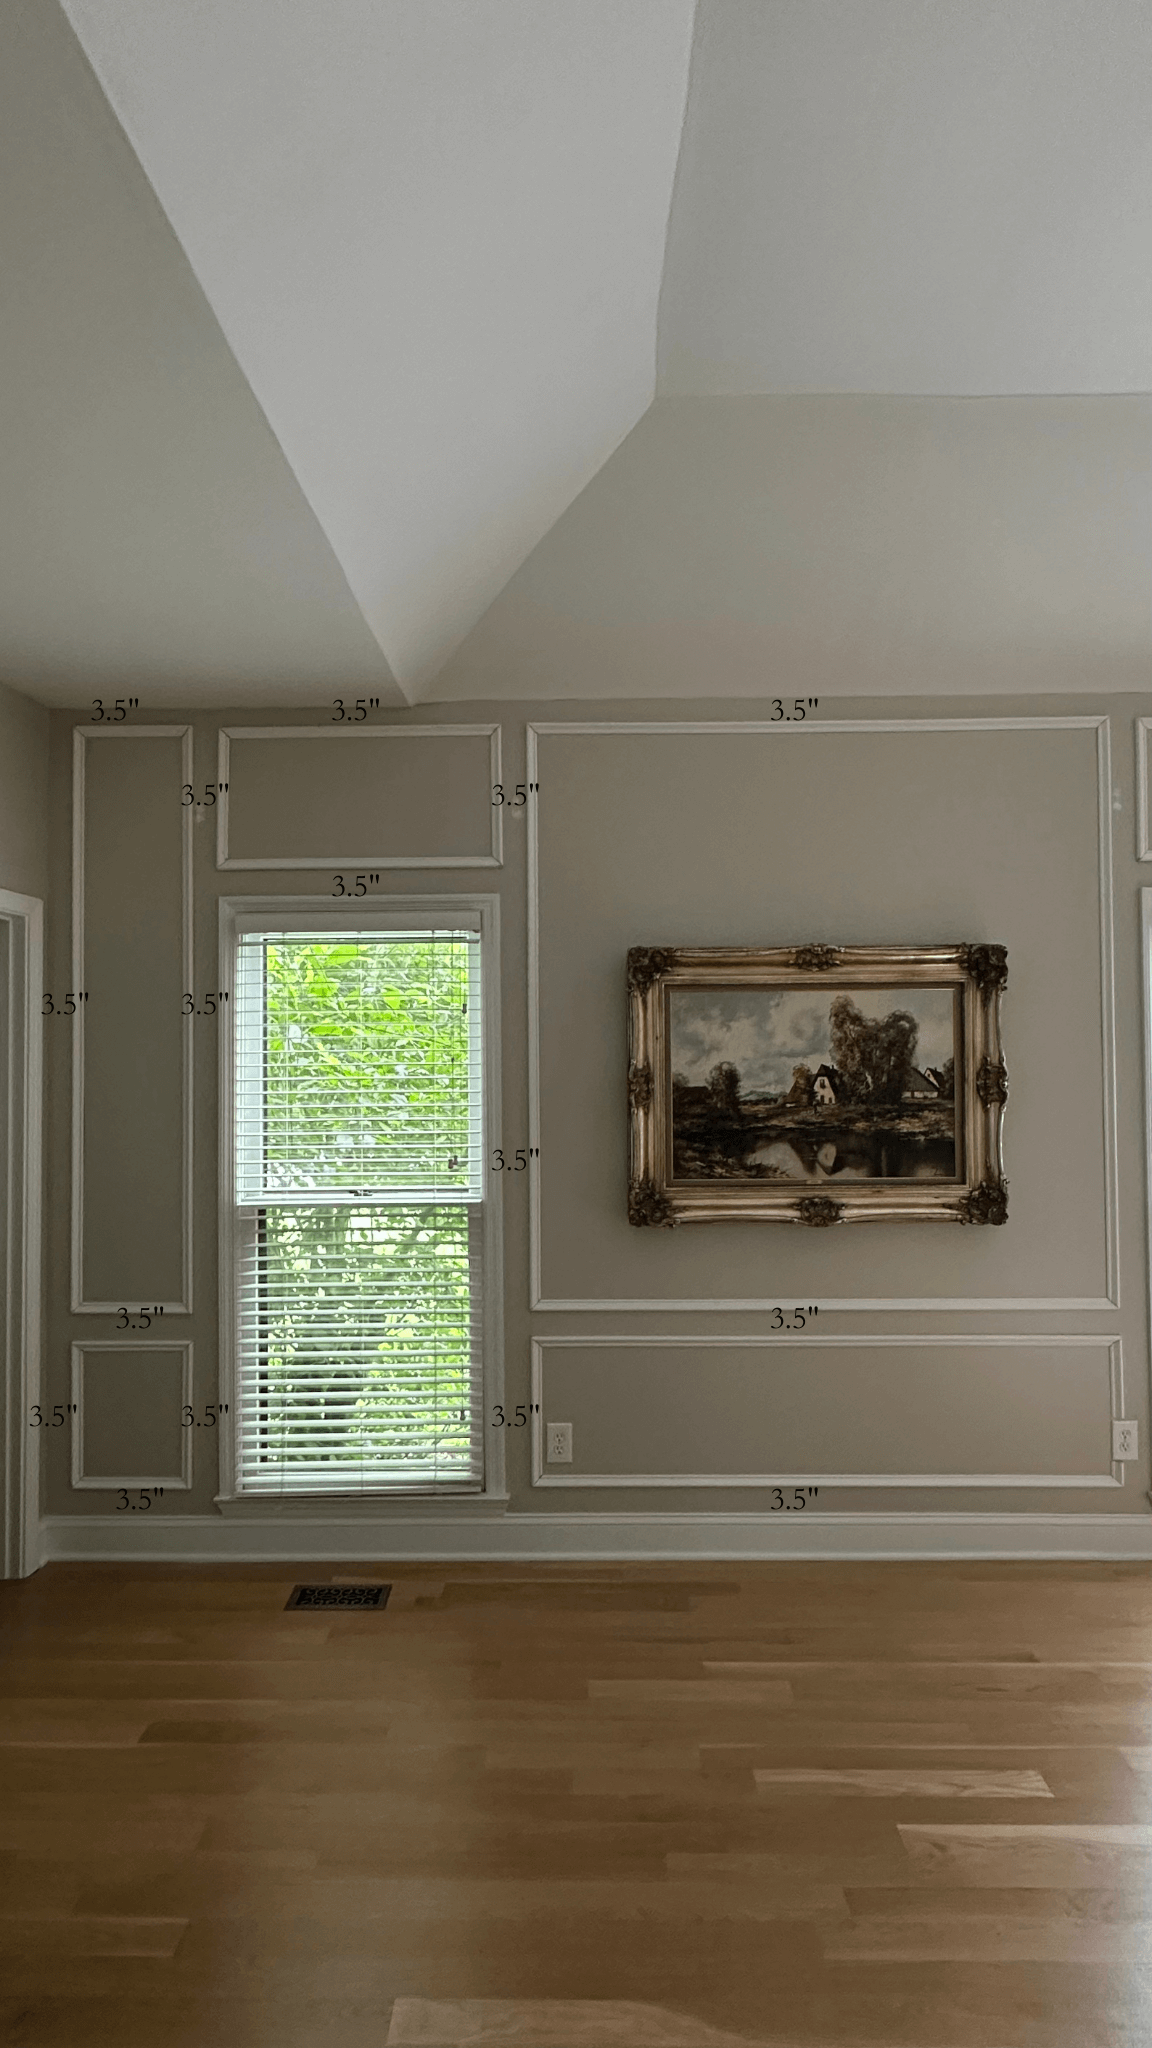
When I first toured this house, I was so amazed that there were TWO living rooms! Not to mention they were both double the size of my previous and only living room. Before my offer was finalized, I was planning what existing furniture would go where and since “living room” meant two spaces in this house, I named this room The Cozy Room and/or The TV Room. My vision for the space was that it would be primarily for TV watching and would house my record collection and growing book collection. I was so excited!
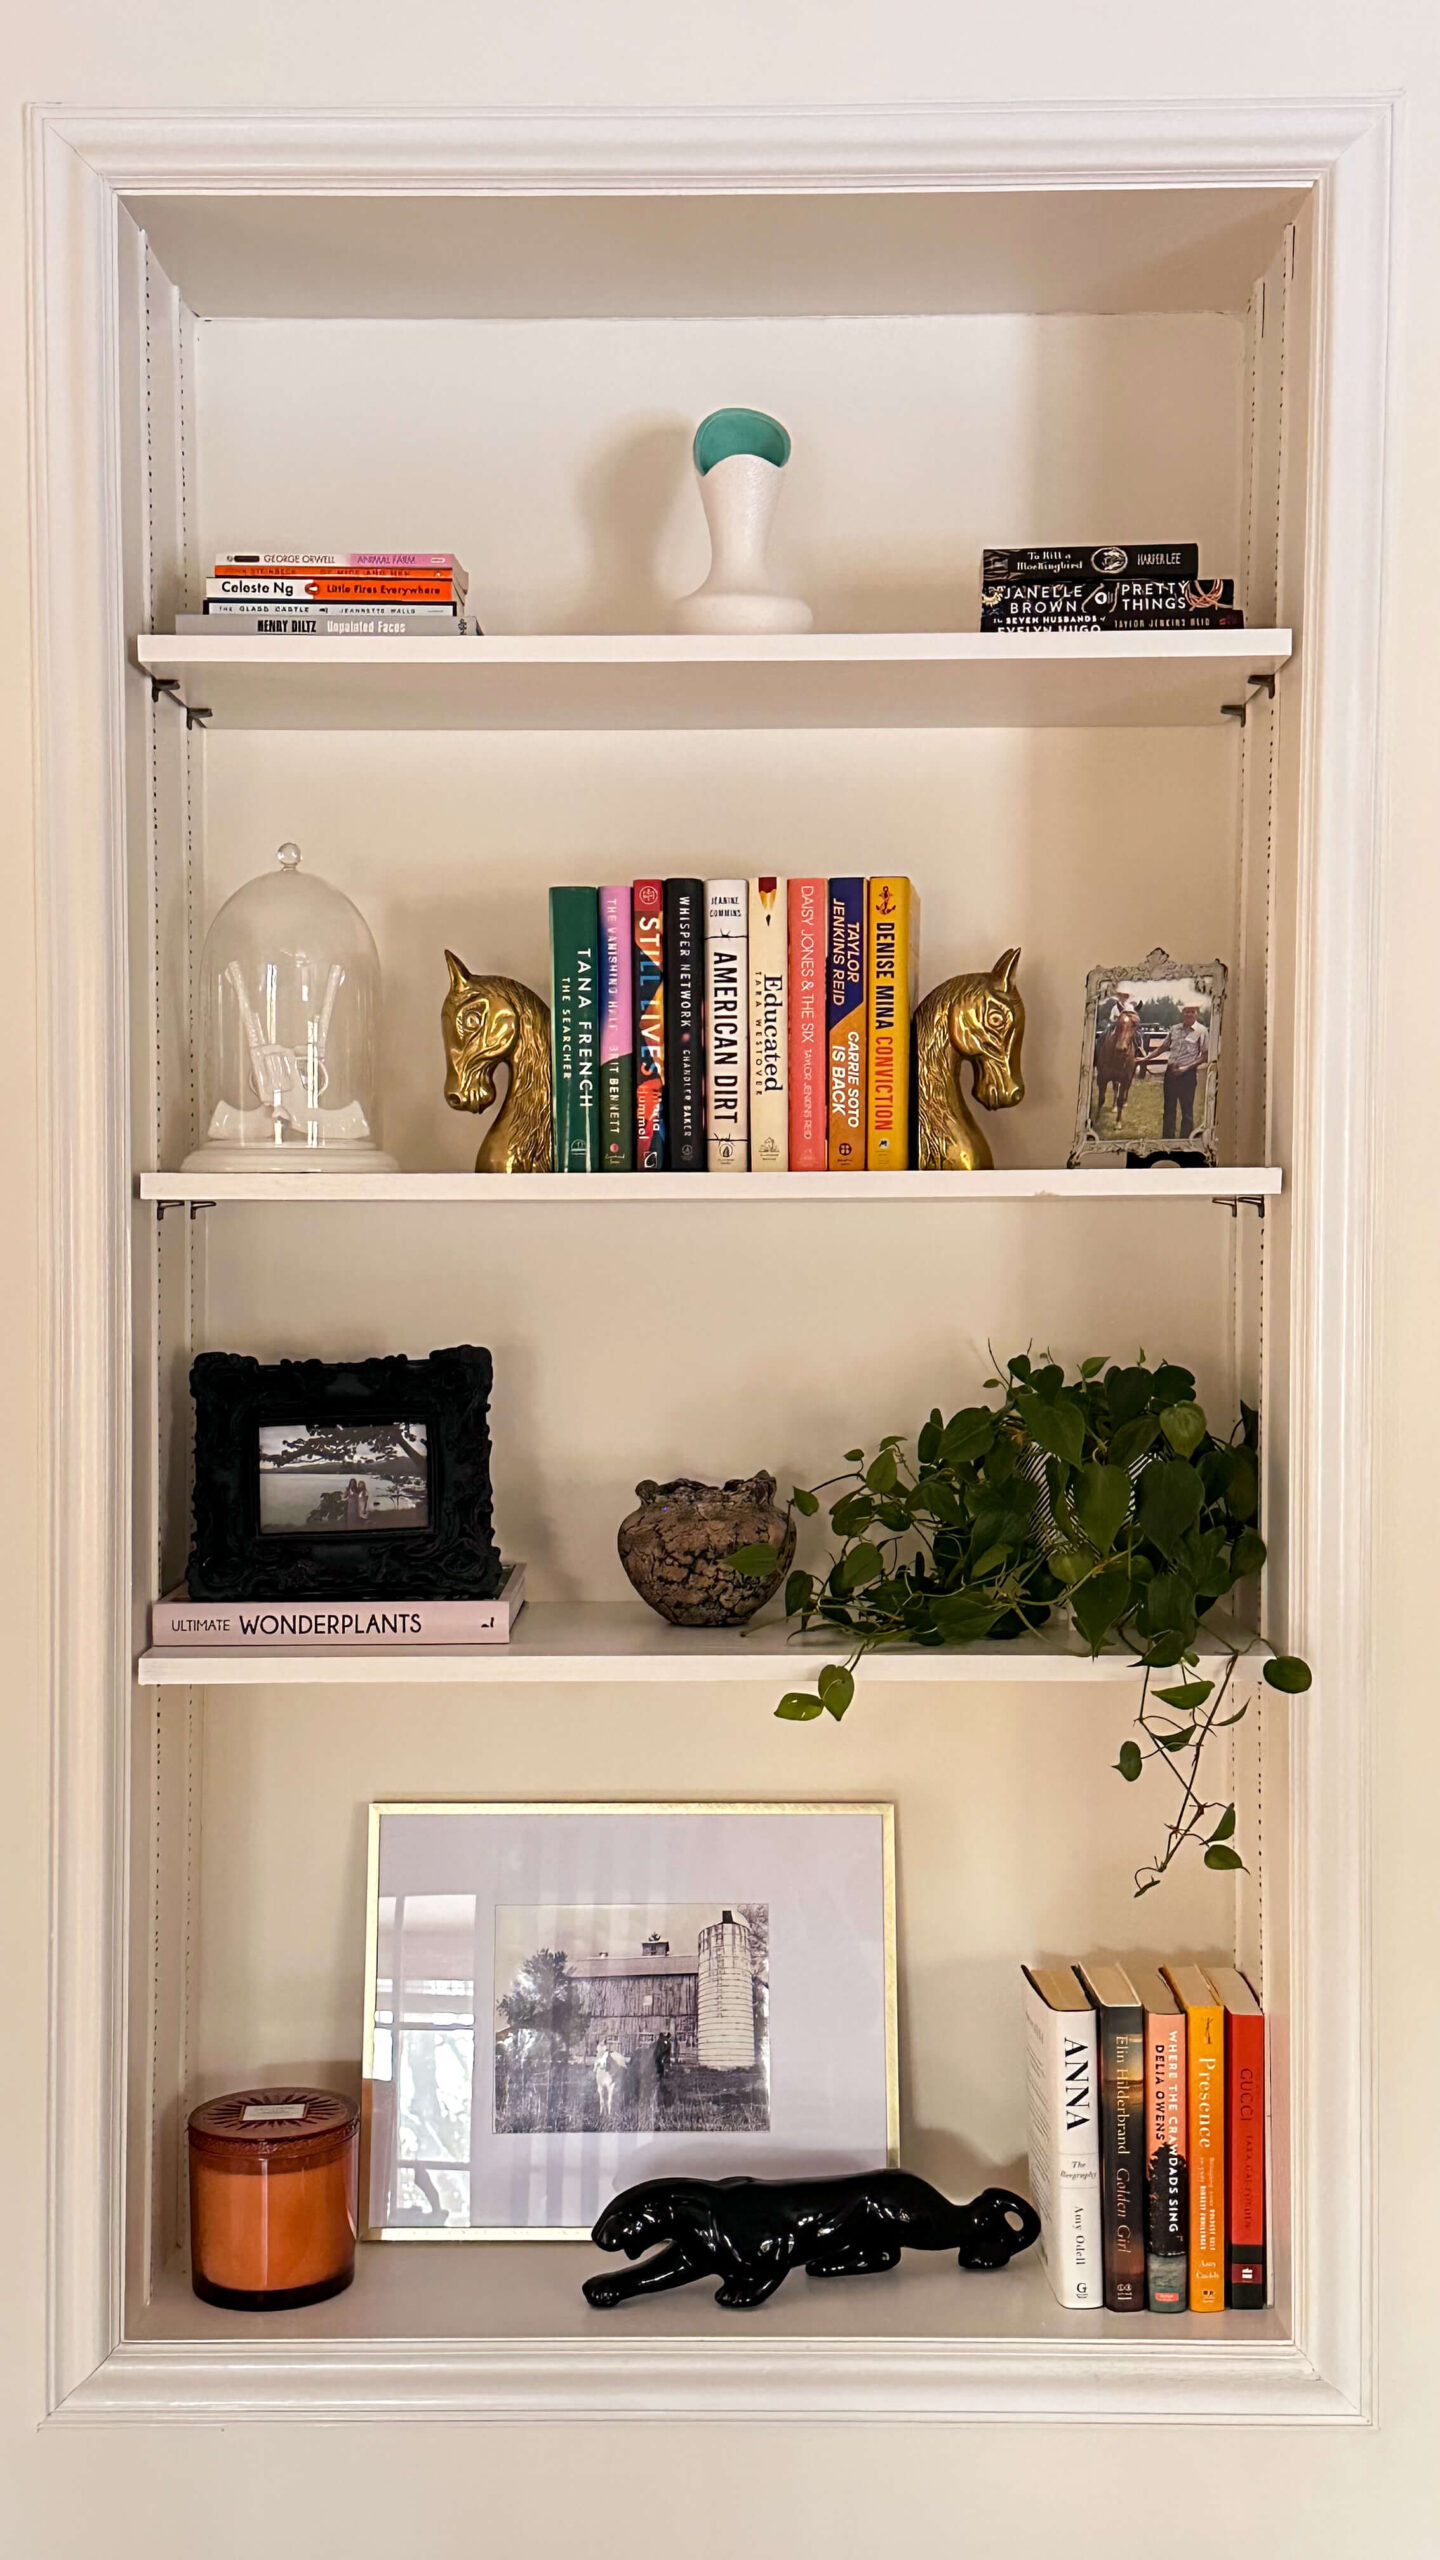
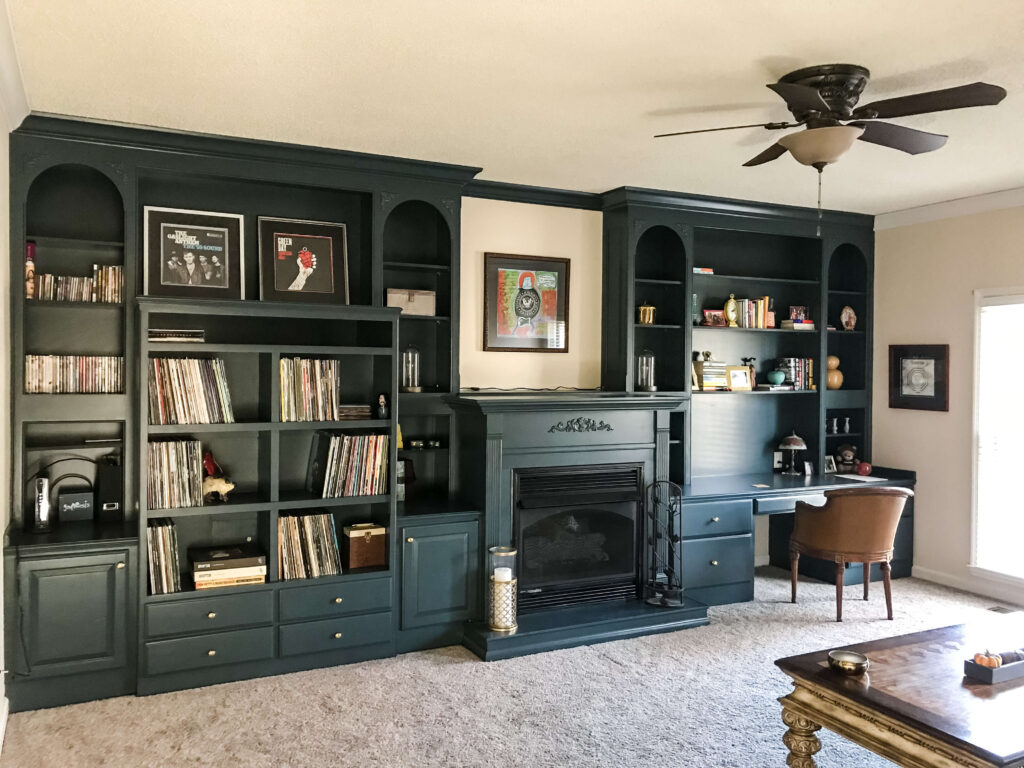
The original cozy room had dark tan walls, a shag carpet, popcorn ceiling (same as all the rooms), and bookshelves in a dark woodwork. In the listing pictures the woodwork looked beautiful, but in person it was incredibly chipped and scratched. Either way, it was going to need refinished. Another fun feature of the built in’s was a gigantic cavity for a large box tv. You know you’re in the 90’s if you have one of these in your house, am I right?!
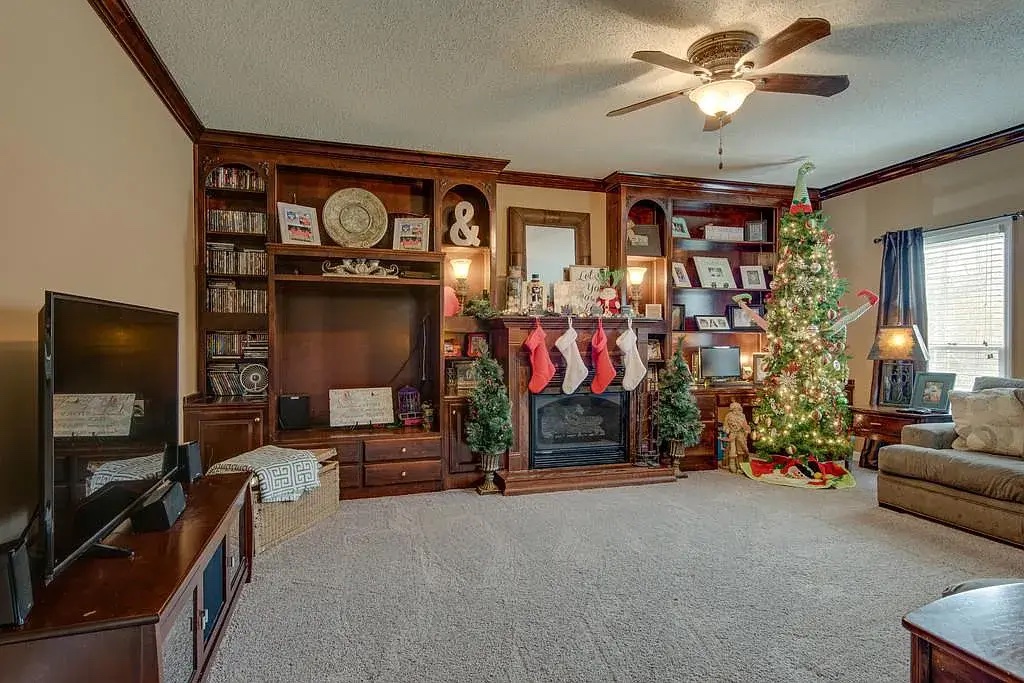
Without knowing at the time, this room would be attacked in a few phases.
Short Term Goals:
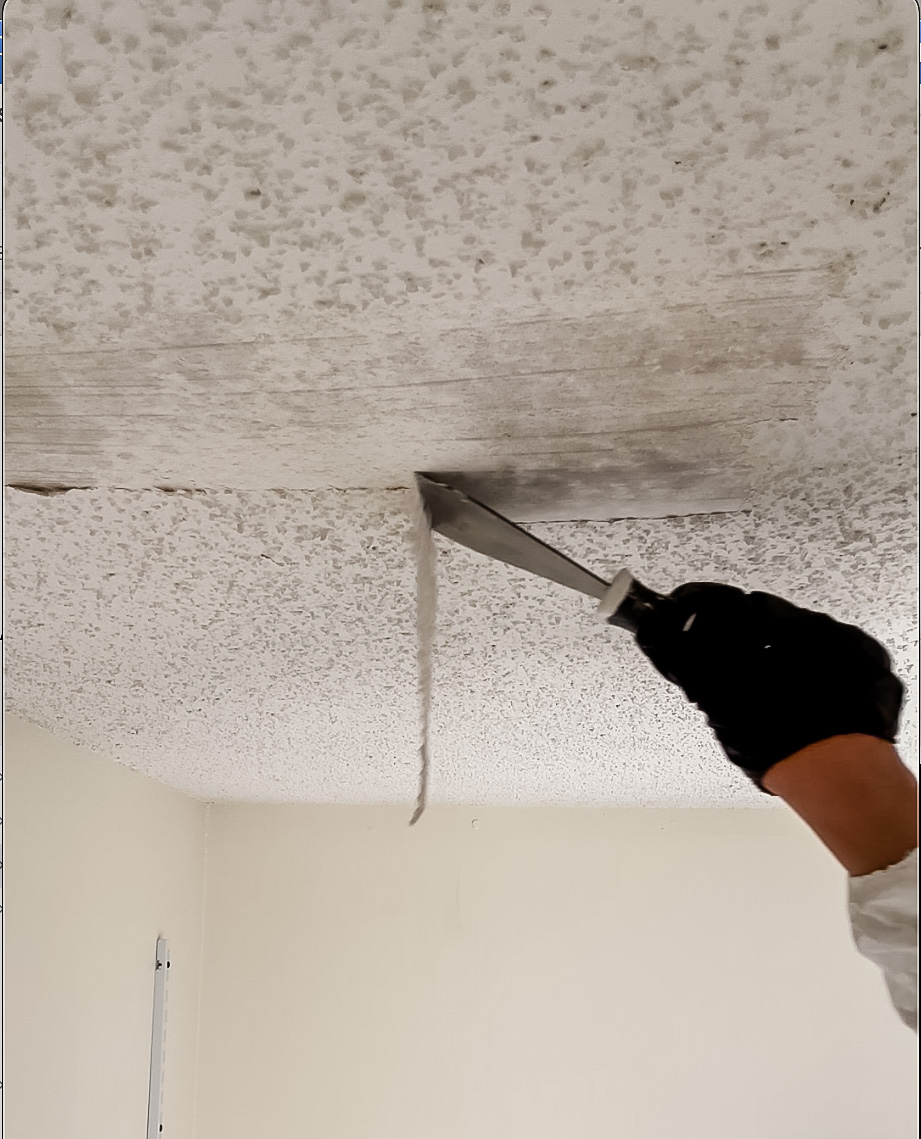
- Remove popcorn ceiling
- Solve for TV cavity
- Refinish / update built-ins
- Paint walls
- Update light fixture
- Design the furniture configuration
Solve for TV Cavity
After sitting with the room for a couple weeks, I decided the best solution for the TV cavity would be to create shelving for my record collection. Since the space was originally built for a big TV, it was too deep as is for records. As a solution, we installed a false wall with a sheet of wood, and then created 3 rows of 2 boxes, for a total of 6 cubbies. It was more than enough space for my current collection to grow, and would allow for it to be a prominent feature in the room.
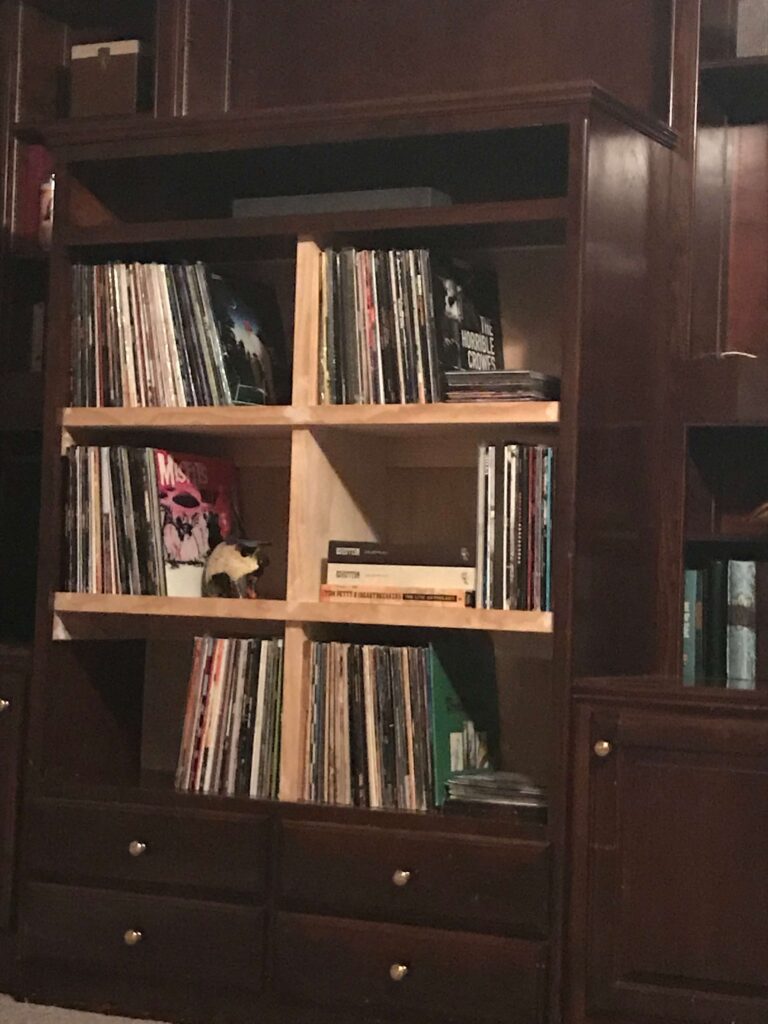
Refinish Built-In Bookshelves
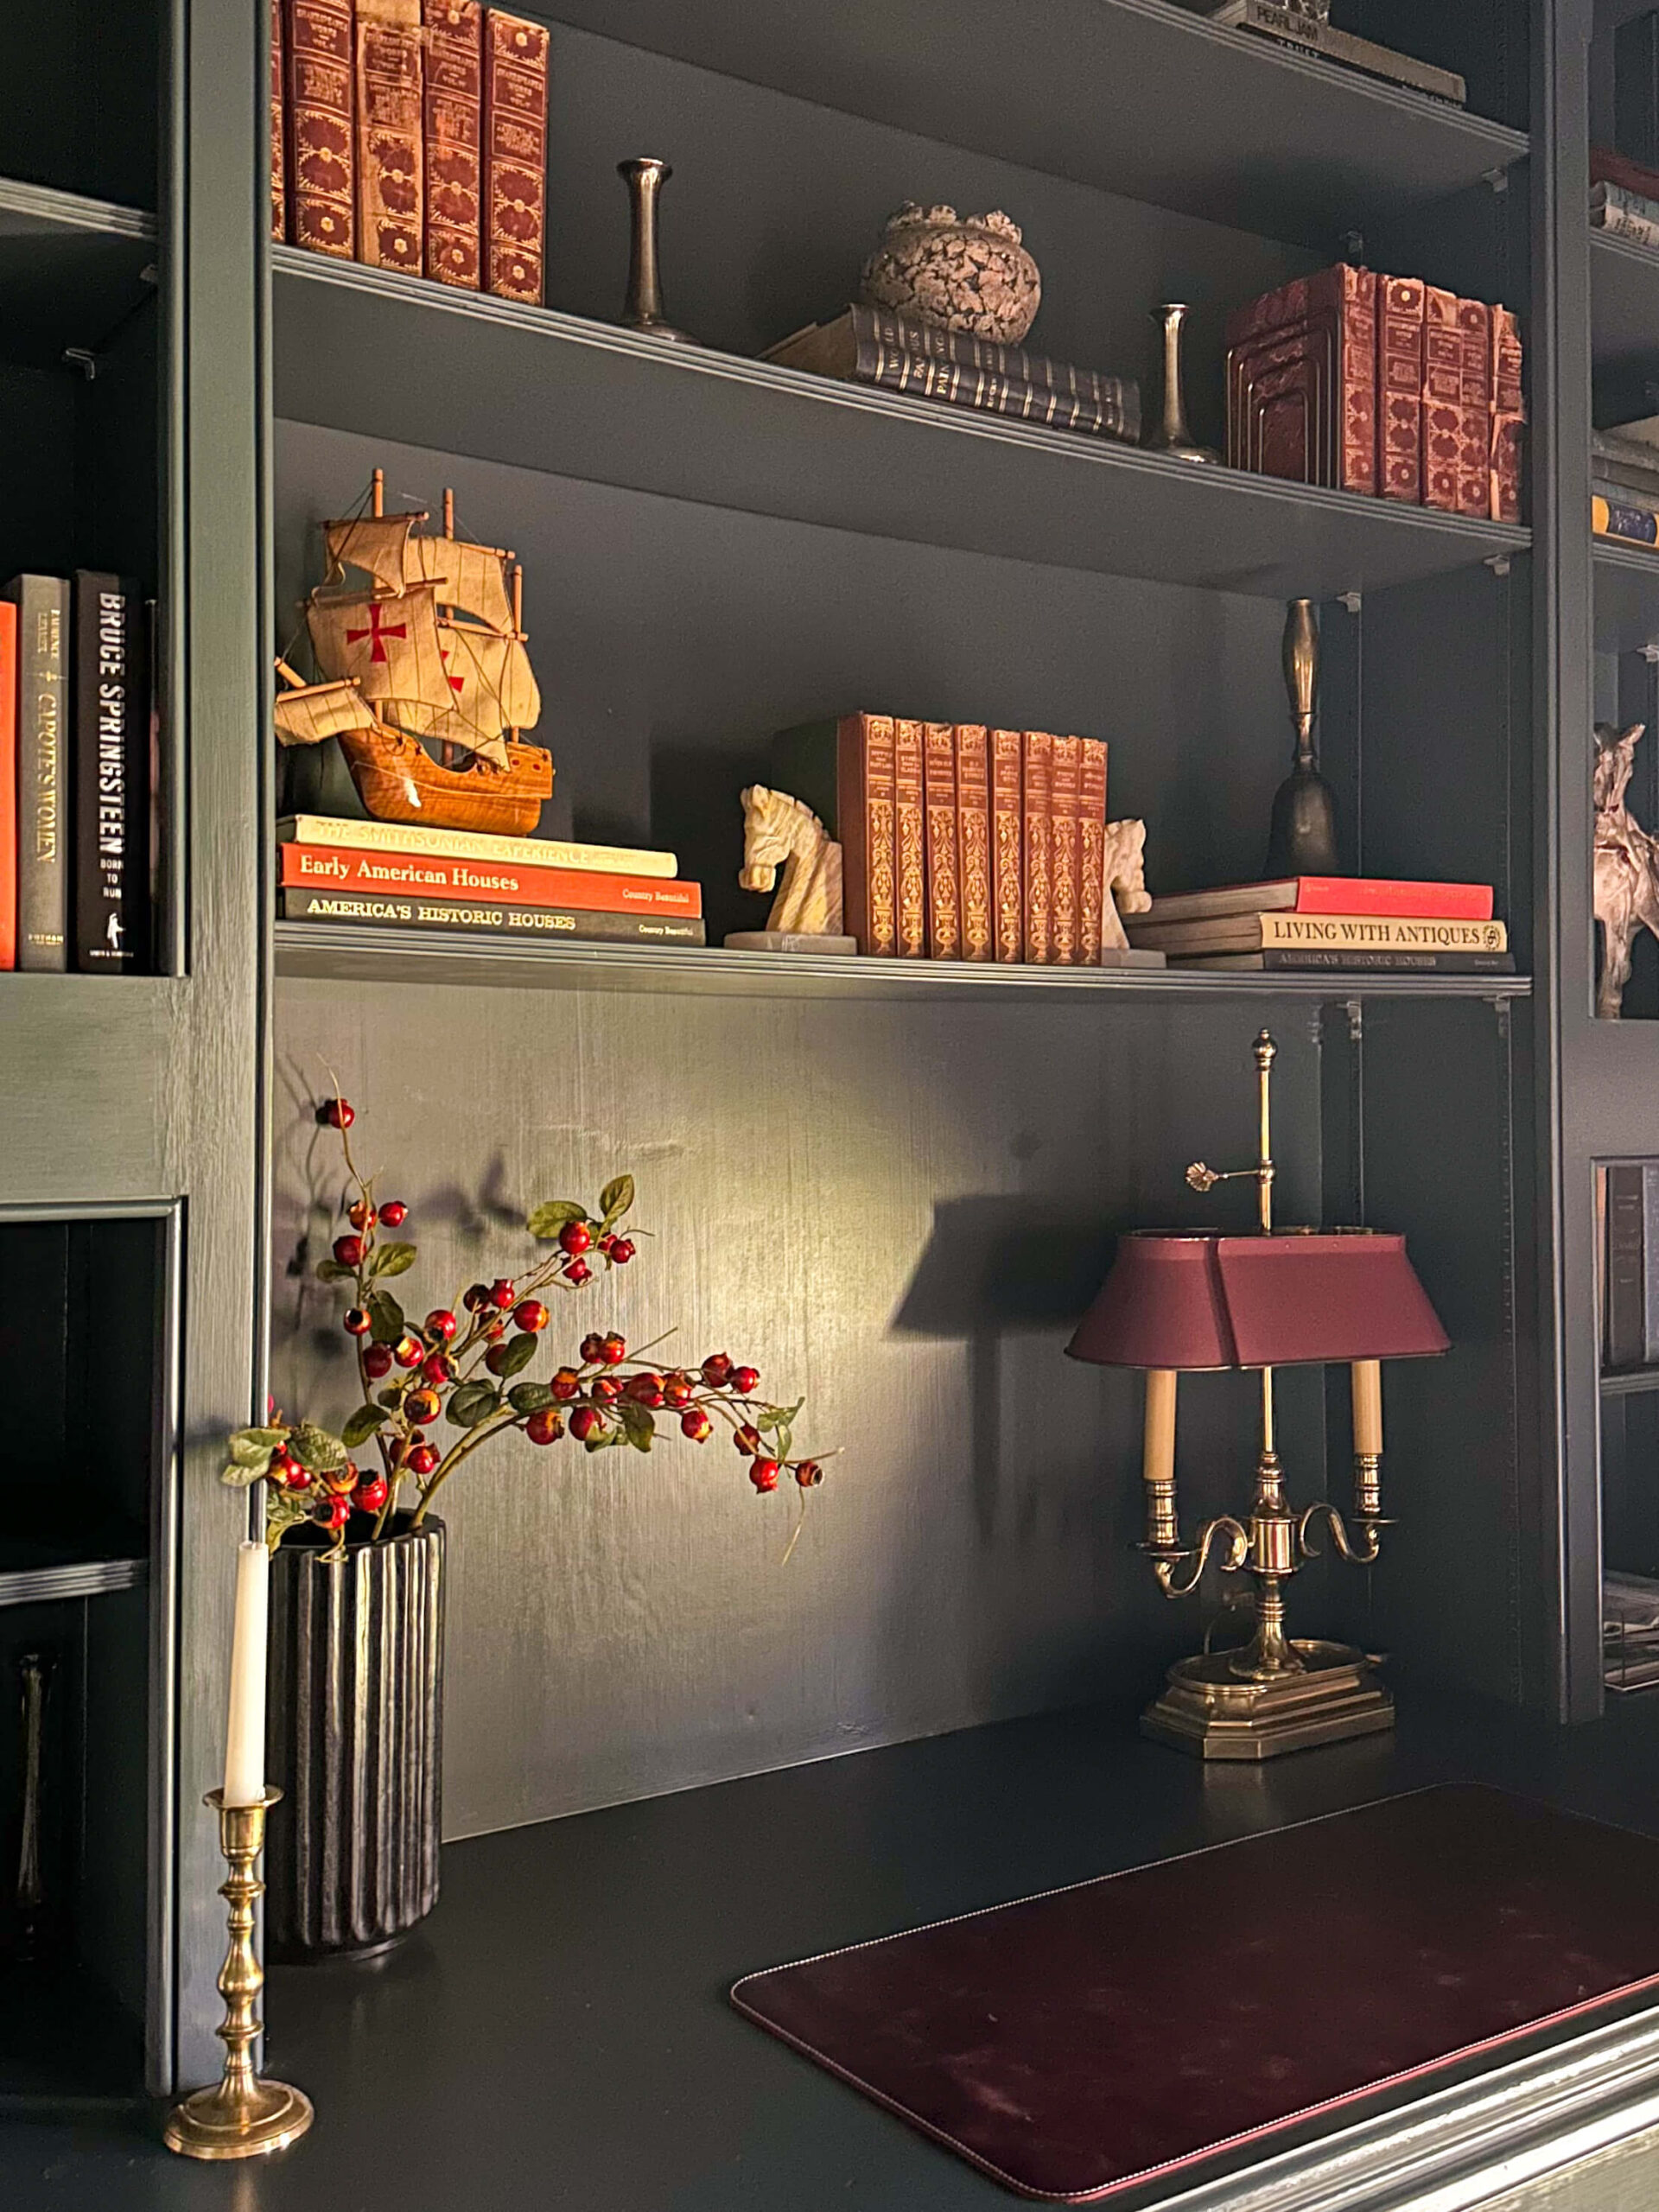
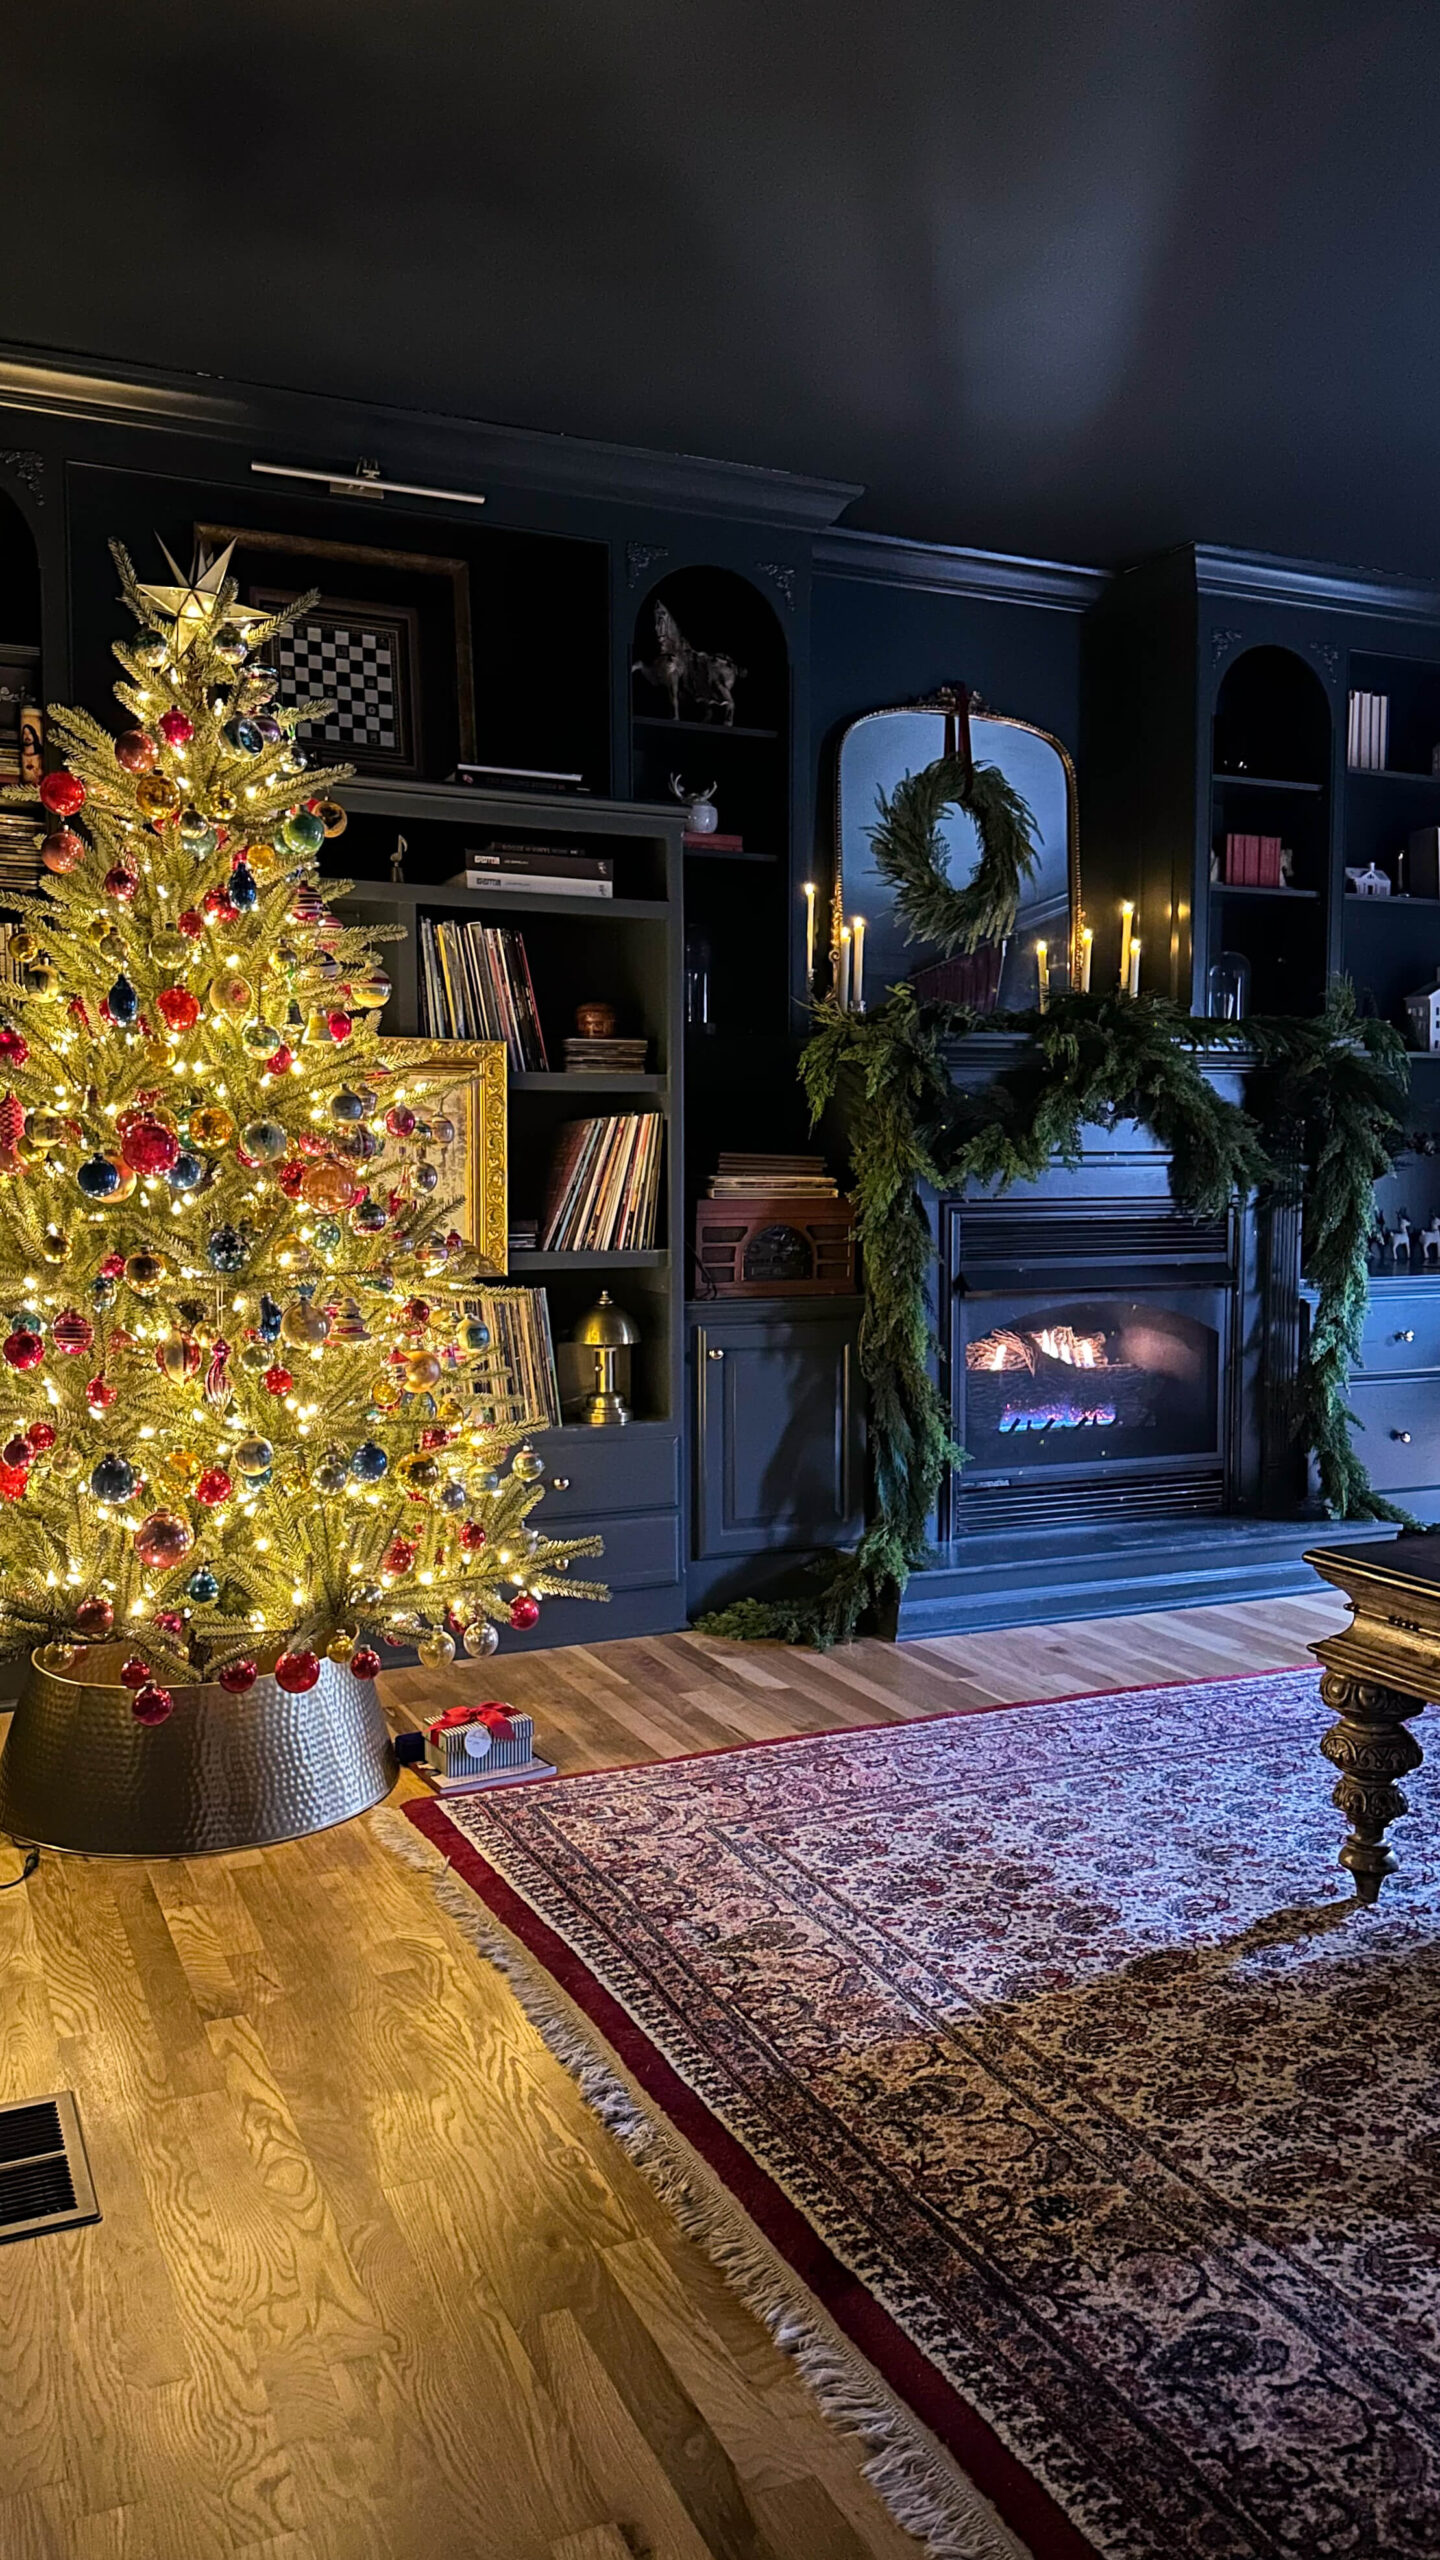
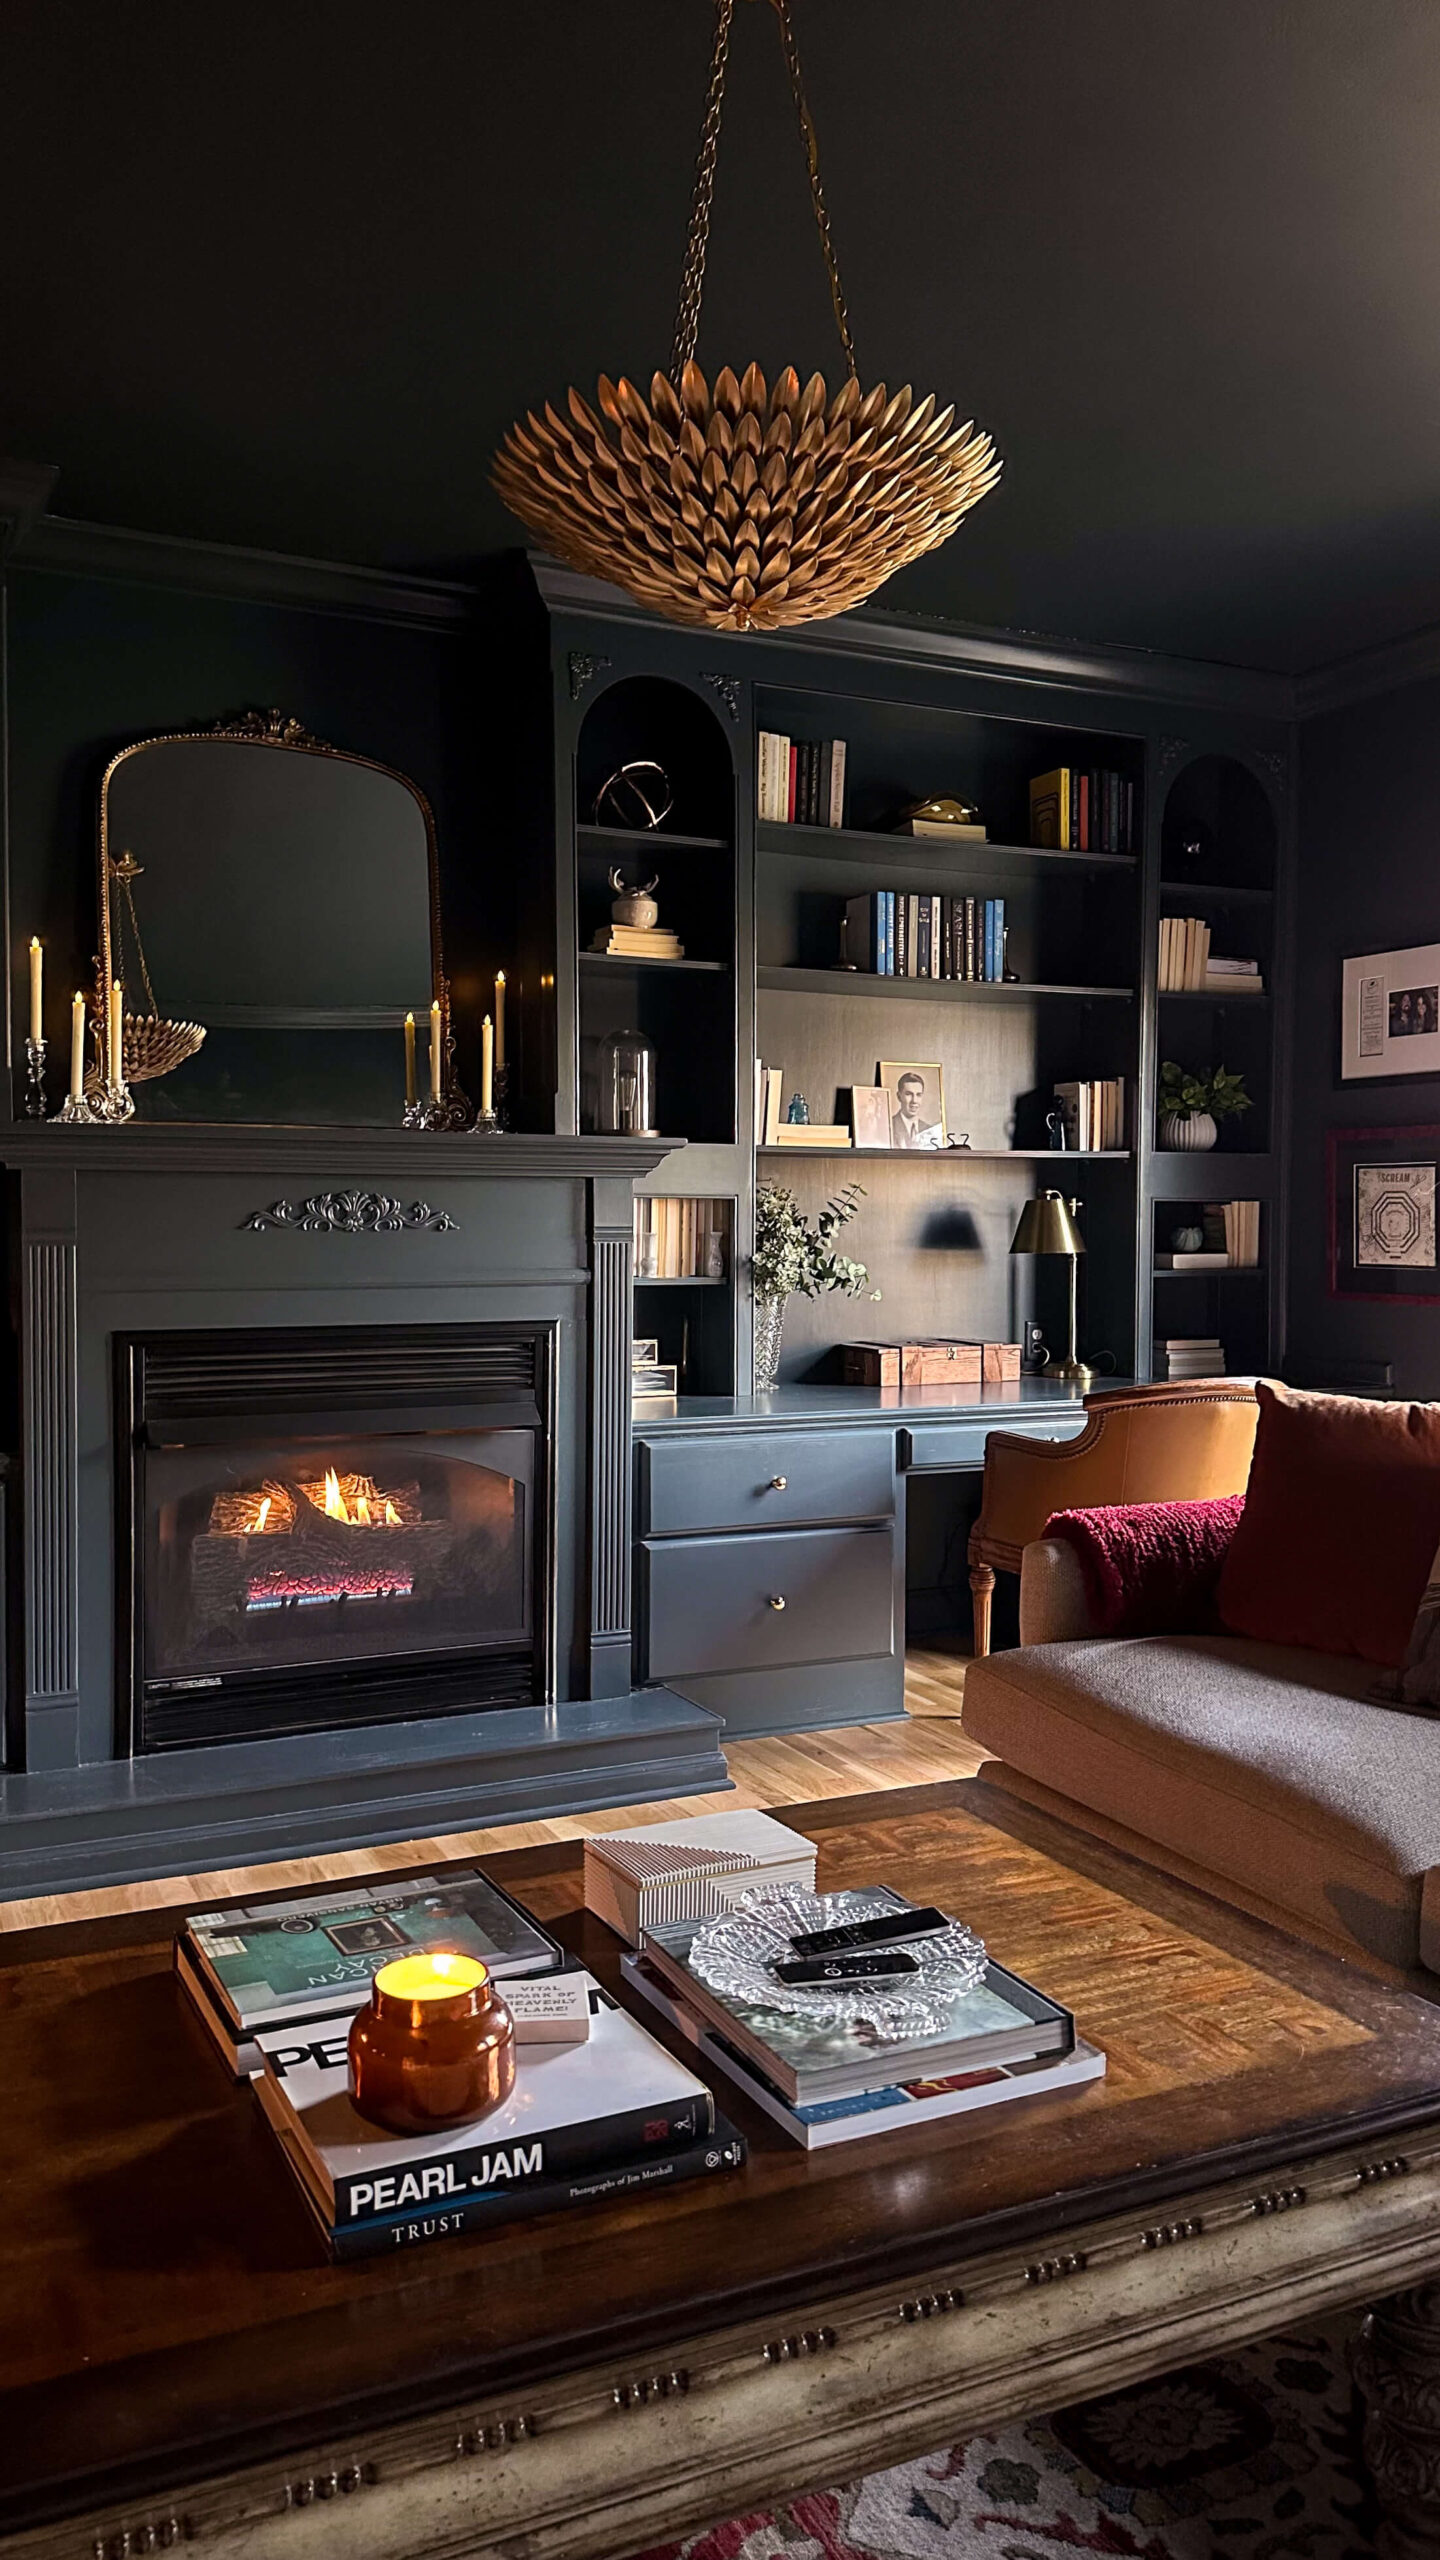
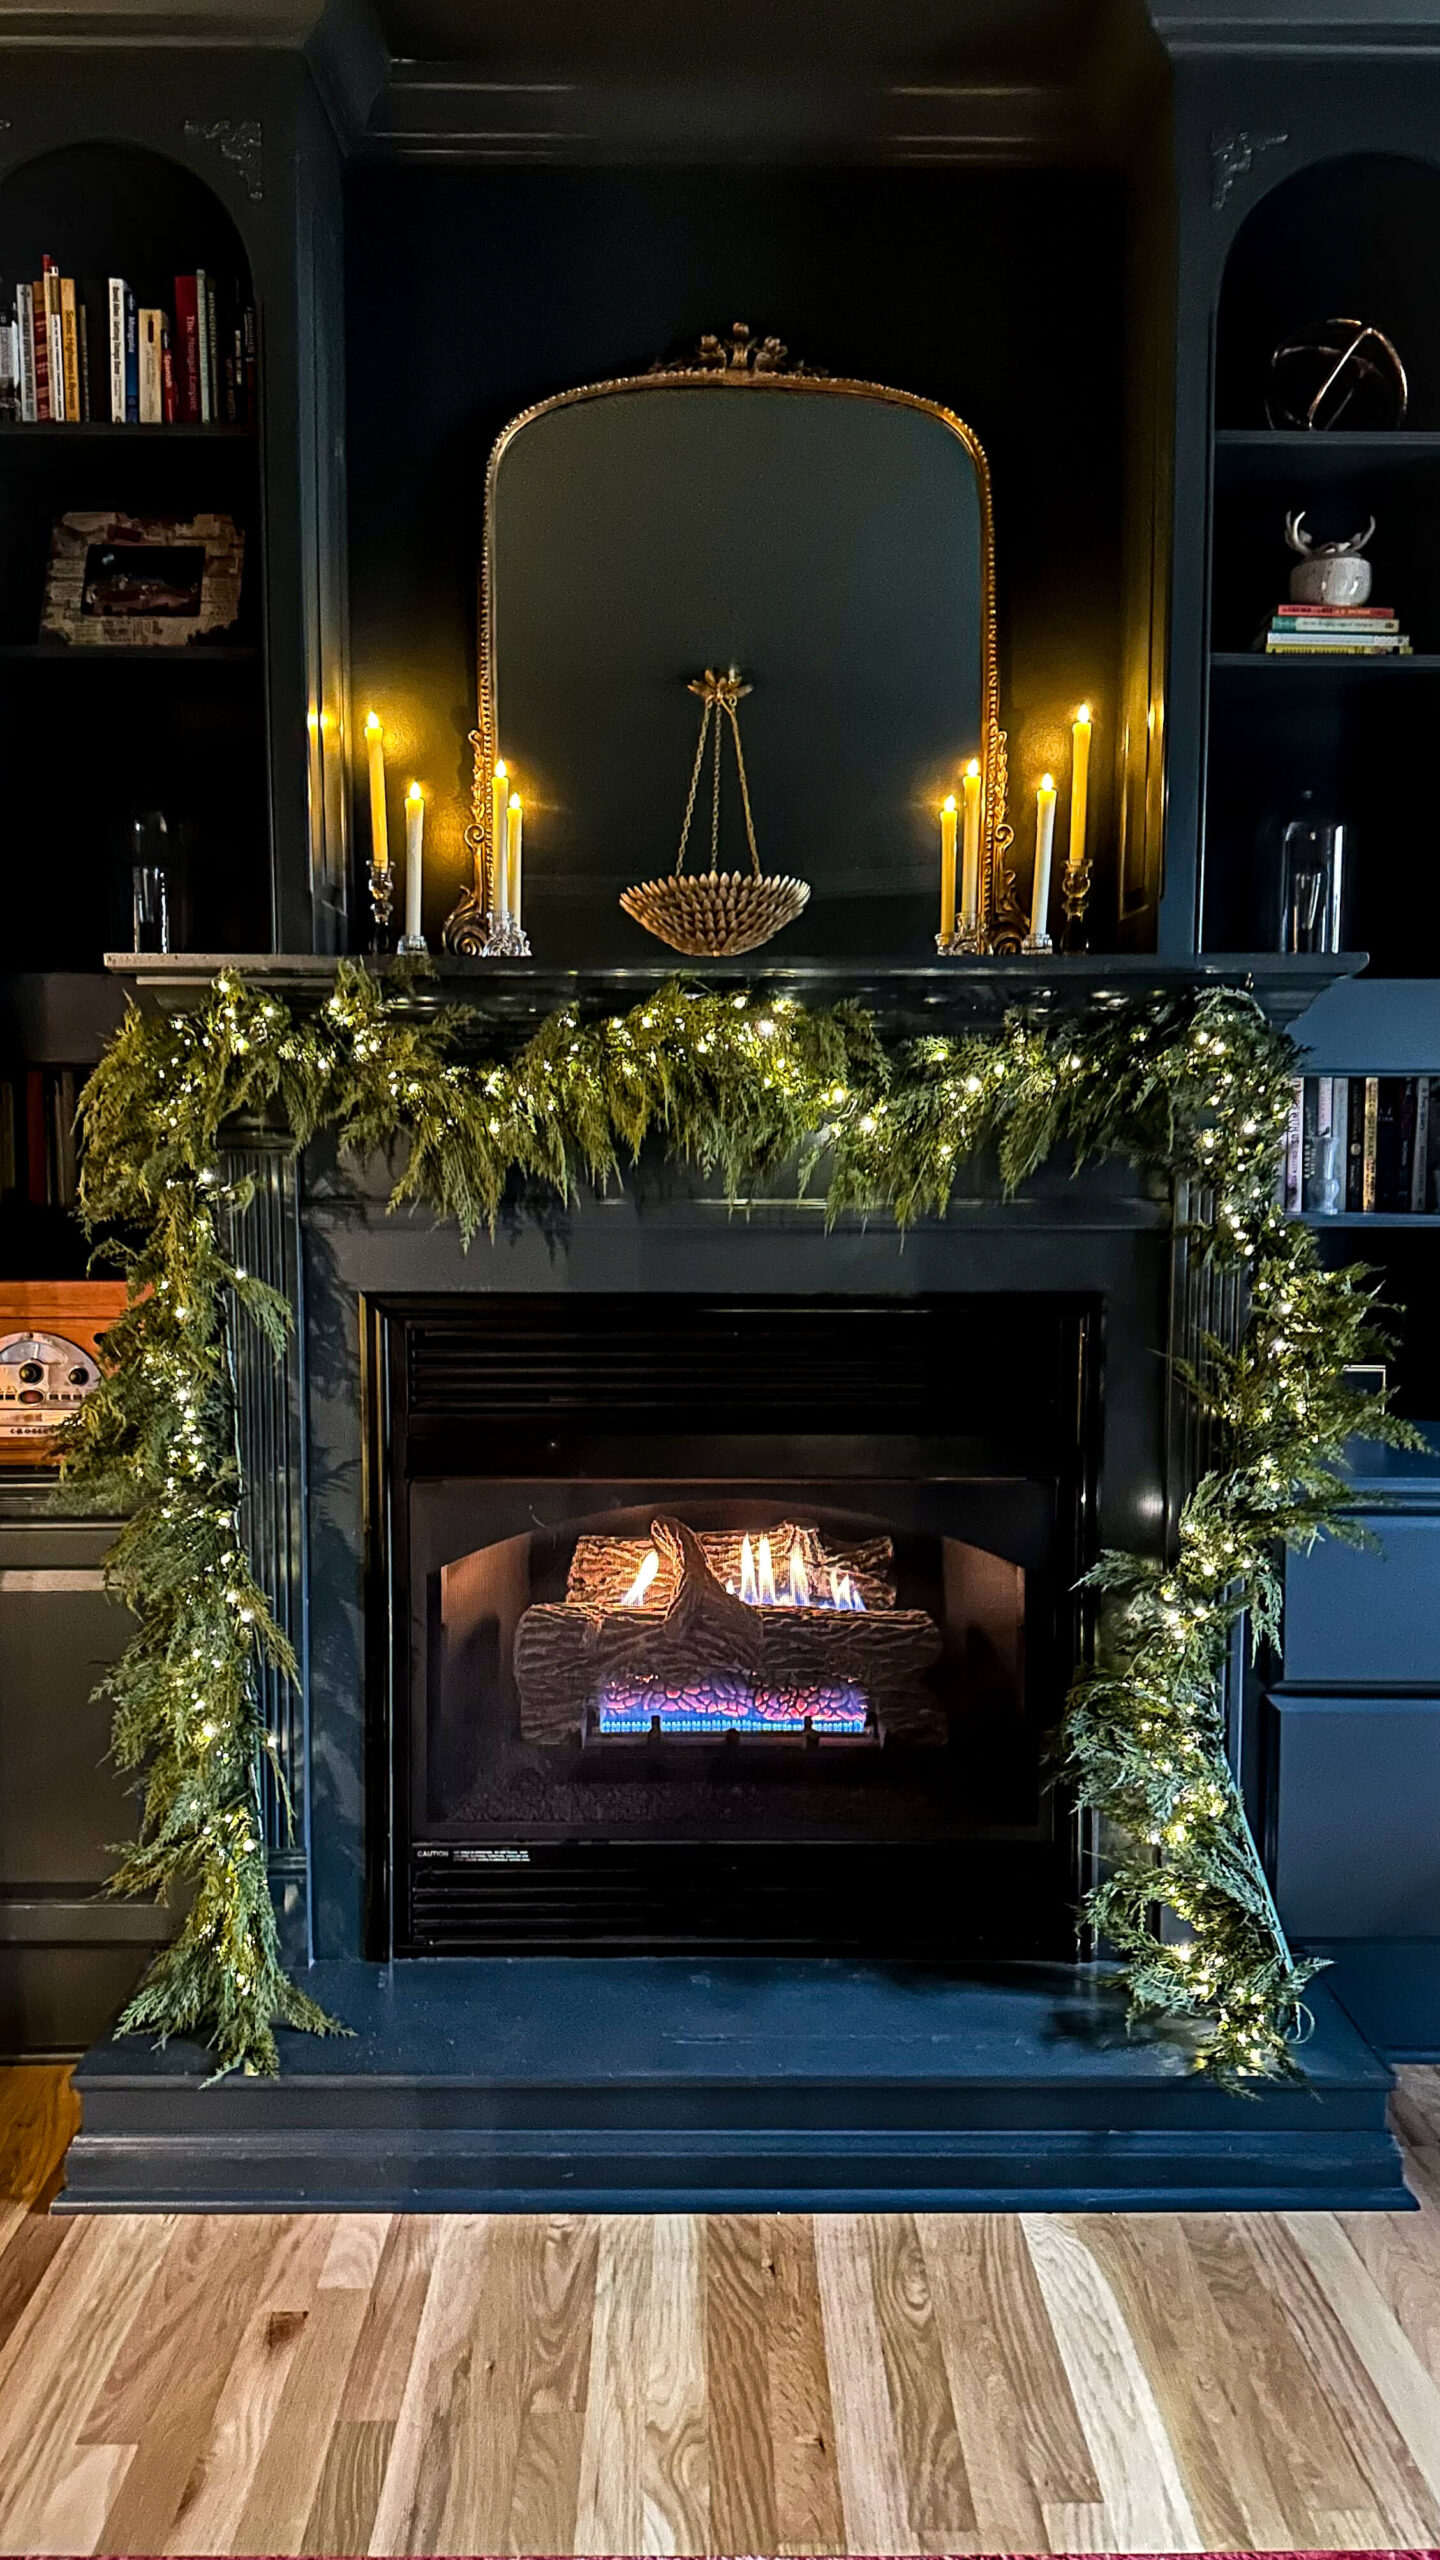
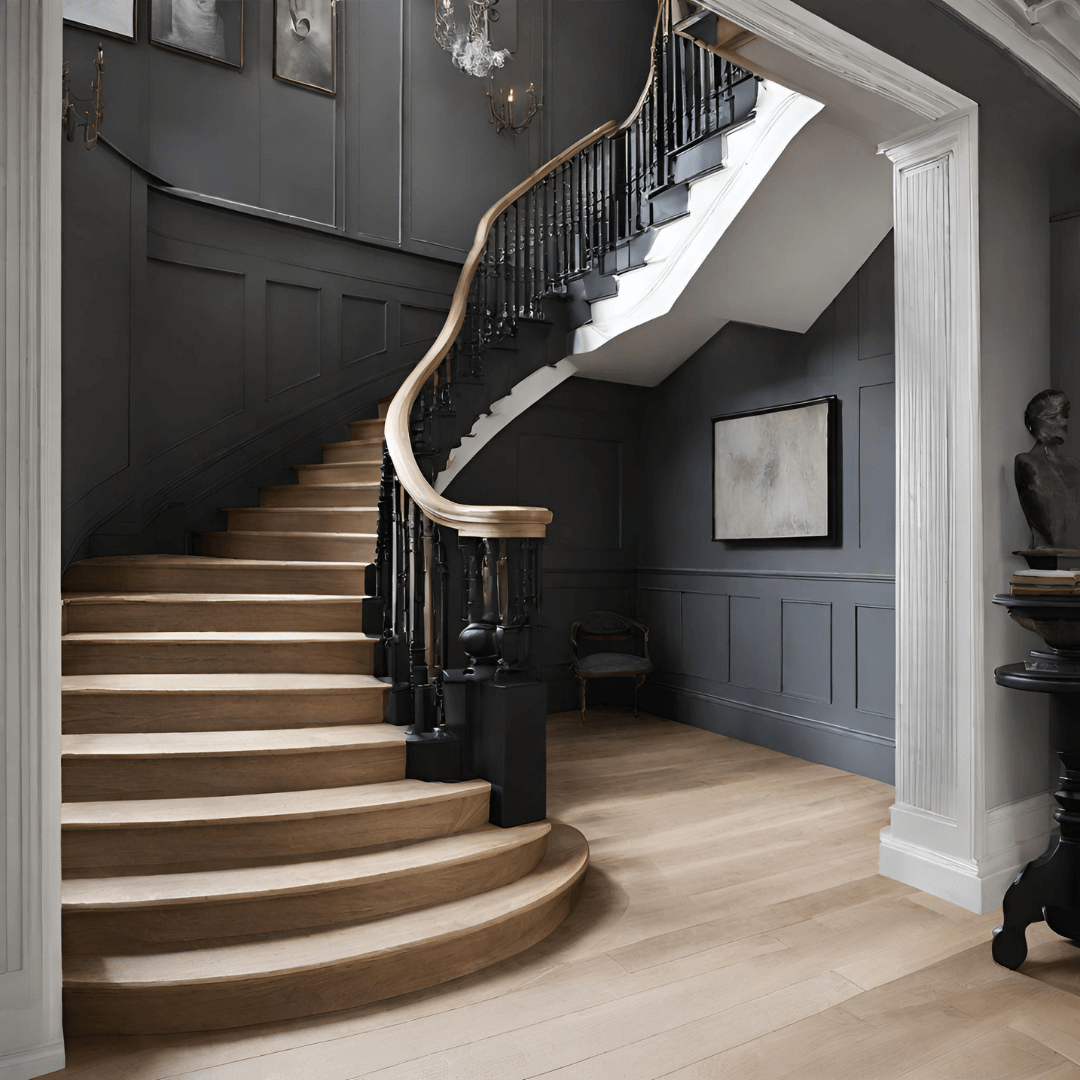
My next decision was a big one, and that was the paint color. I had already moved past the idea of restoring the wood finish and there was no question in my mind: I was going to paint these built-ins. However, what I had in mind was met with a raised eyebrow from almost everyone I told. I was going to paint them a dark moody blue grey: Benjamin Moore’s Lead Grey. People thought I was crazy.
I decided to hire out for this big change, as the woodwork had a shiny lacquer to it, and at this point I had no experience re-finishing cabinetry. In hindsight, it was worth every penny, as the painters had to sand everything down, clean all the dust, apply primer, sand again, apply the first coat, sand again and then apply the top coat. Having the paint applied evenly and with the proper sanding would ensure the paint would hold up and also look seamless.
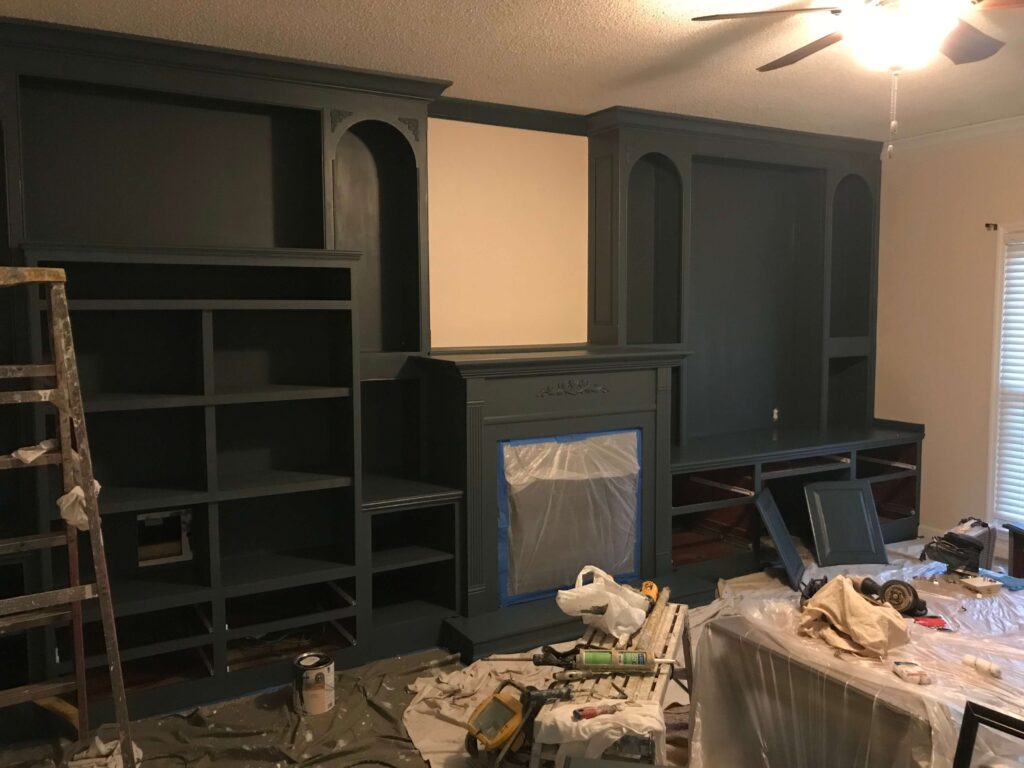
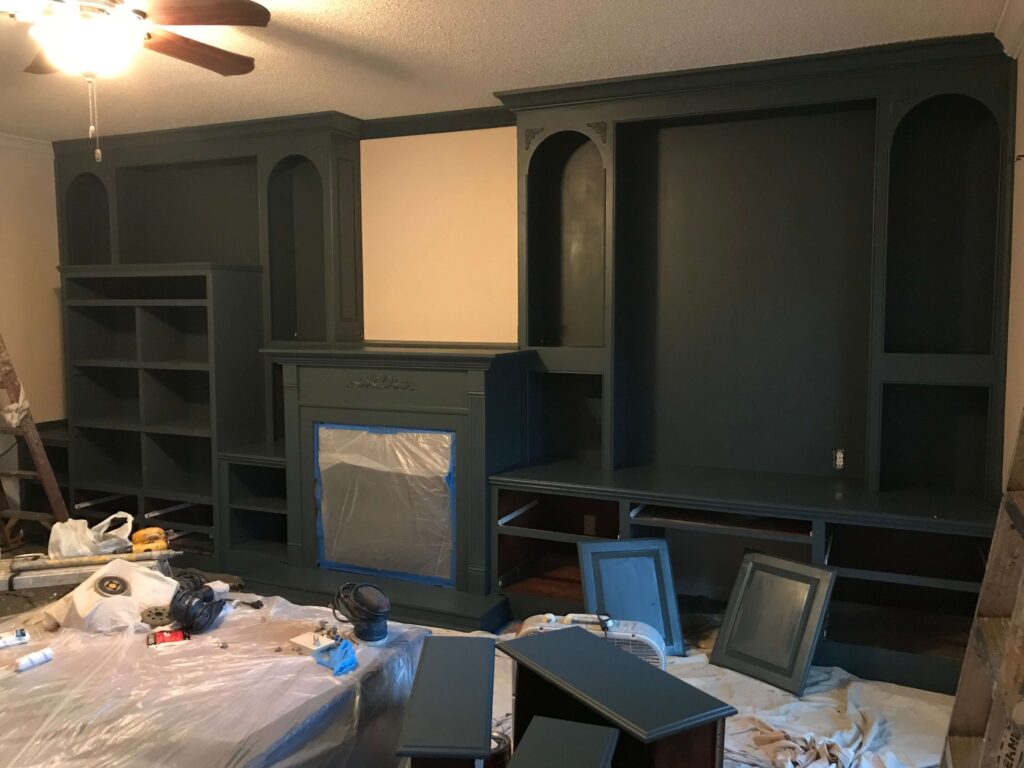
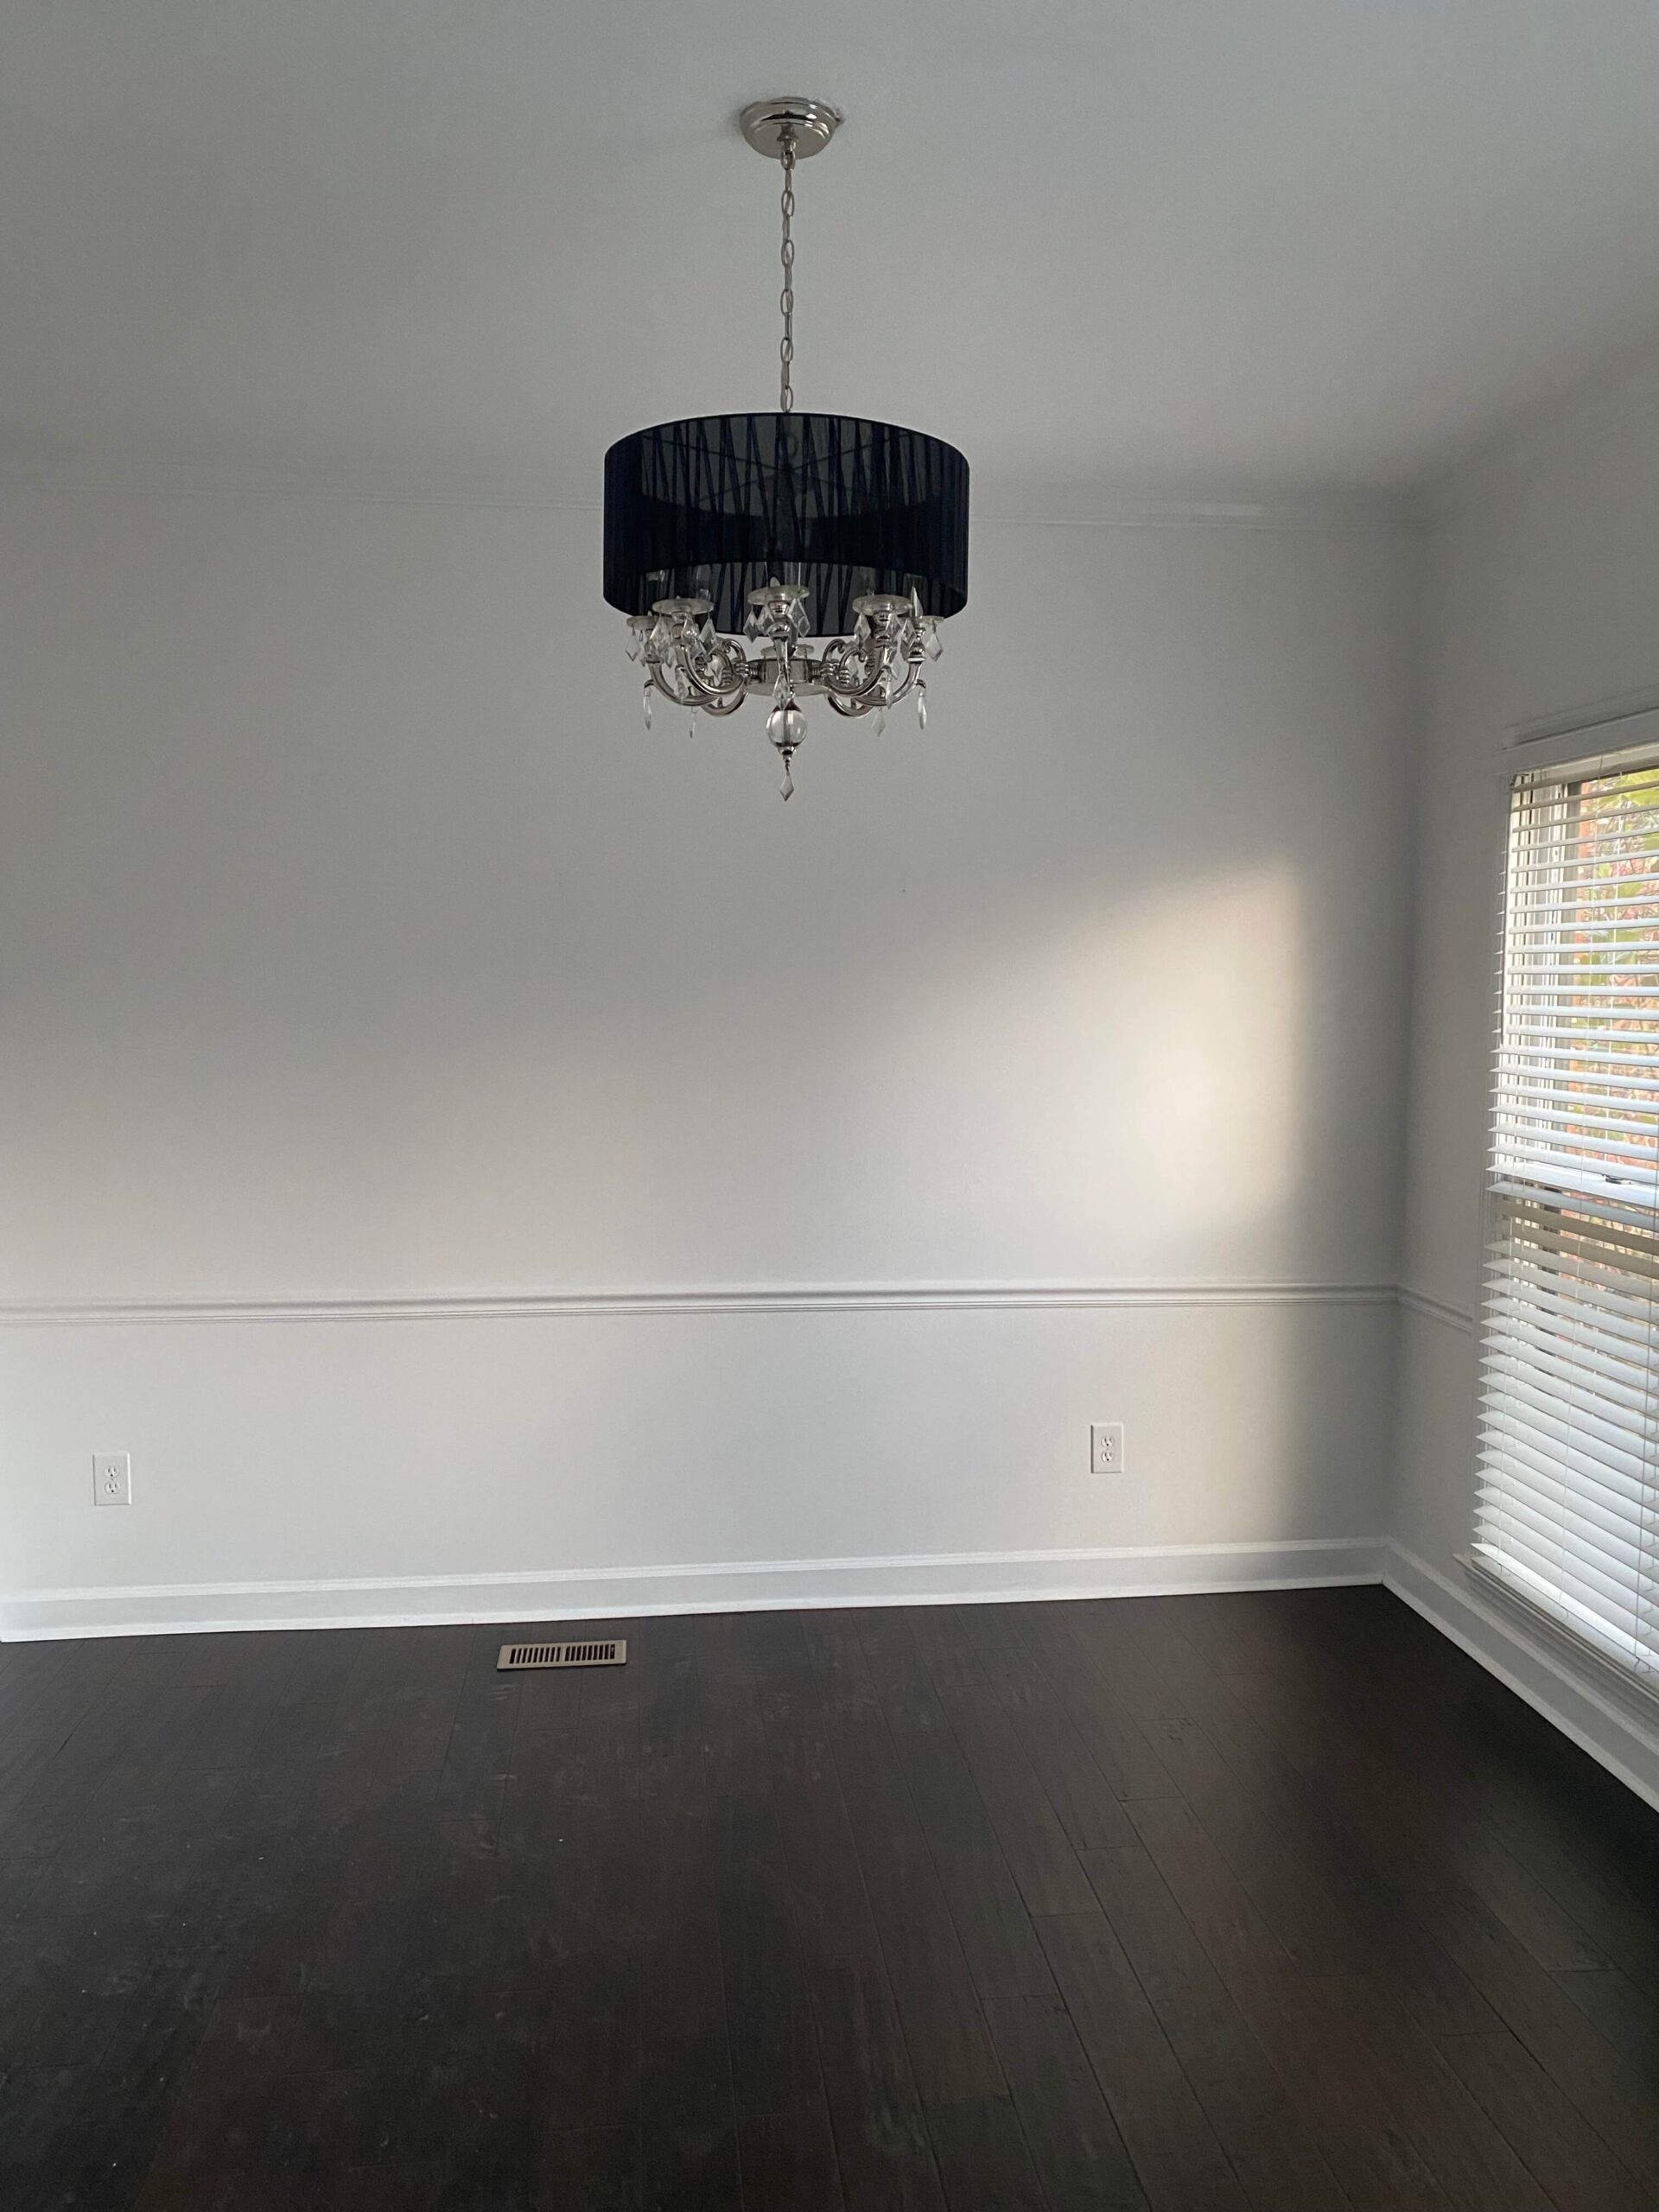
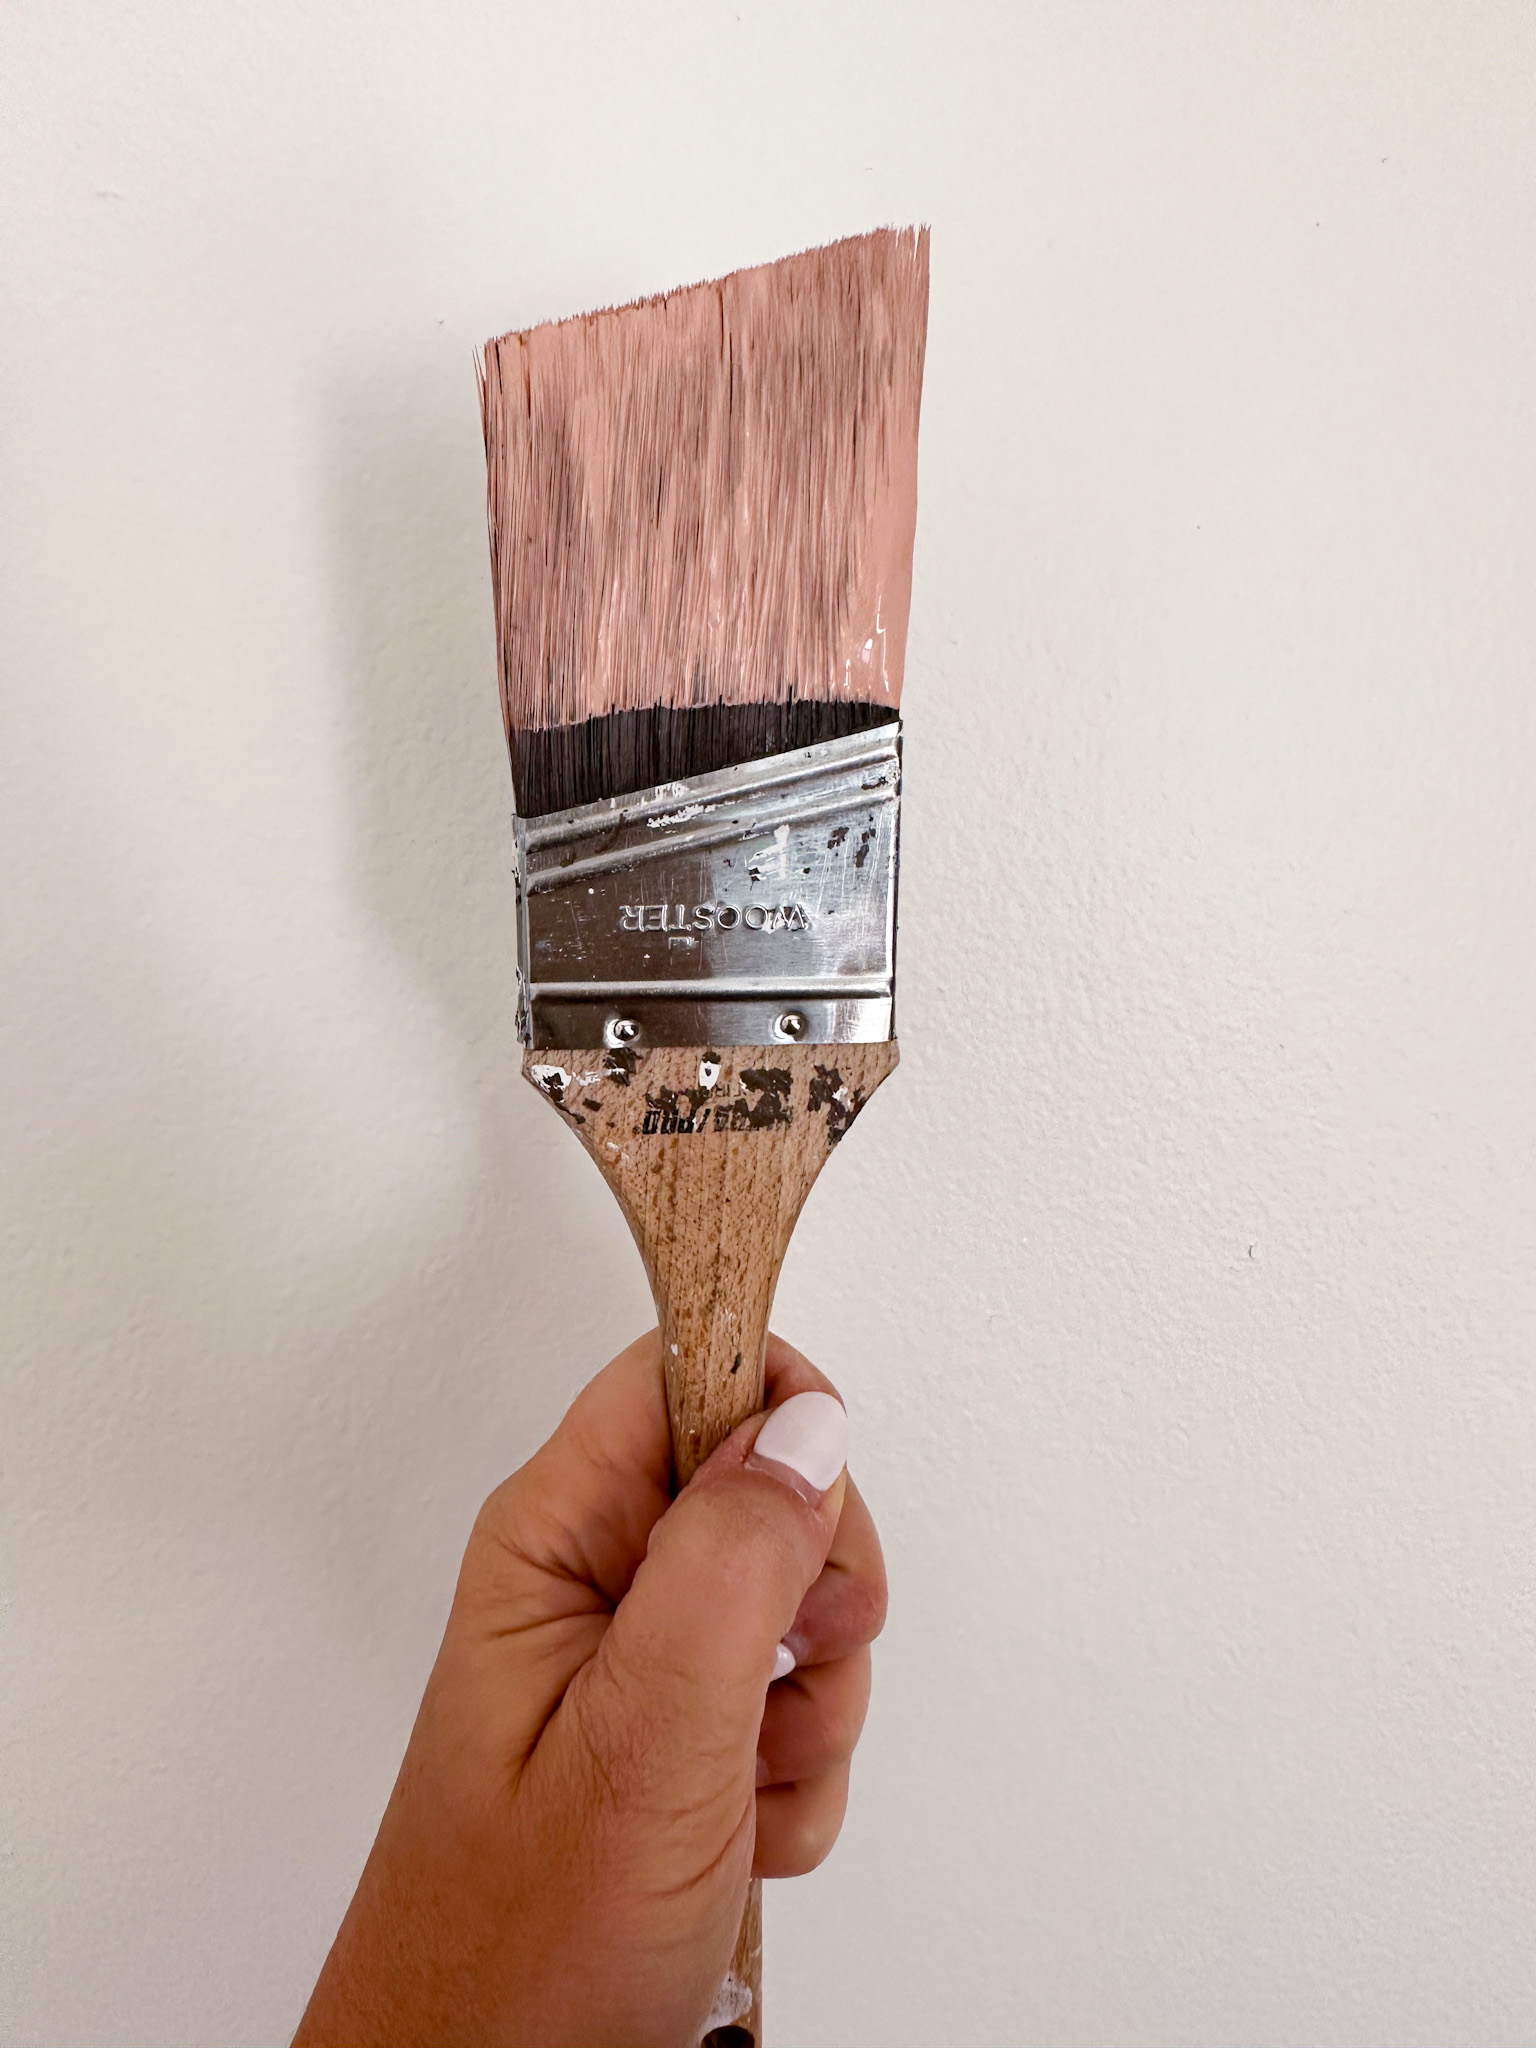
For the remaining three walls I decided to paint them Sherwin Williams Biscuit, which was a neutral beige color. I didn’t want to go with white, as I felt it would be too bright for the space and could also tend to make this room feel nautical which is something I didn’t want. Remember, we’re watching movies in here! Biscuit paired well with both the new woodwork paint color as well as the existing dark tan carpet.
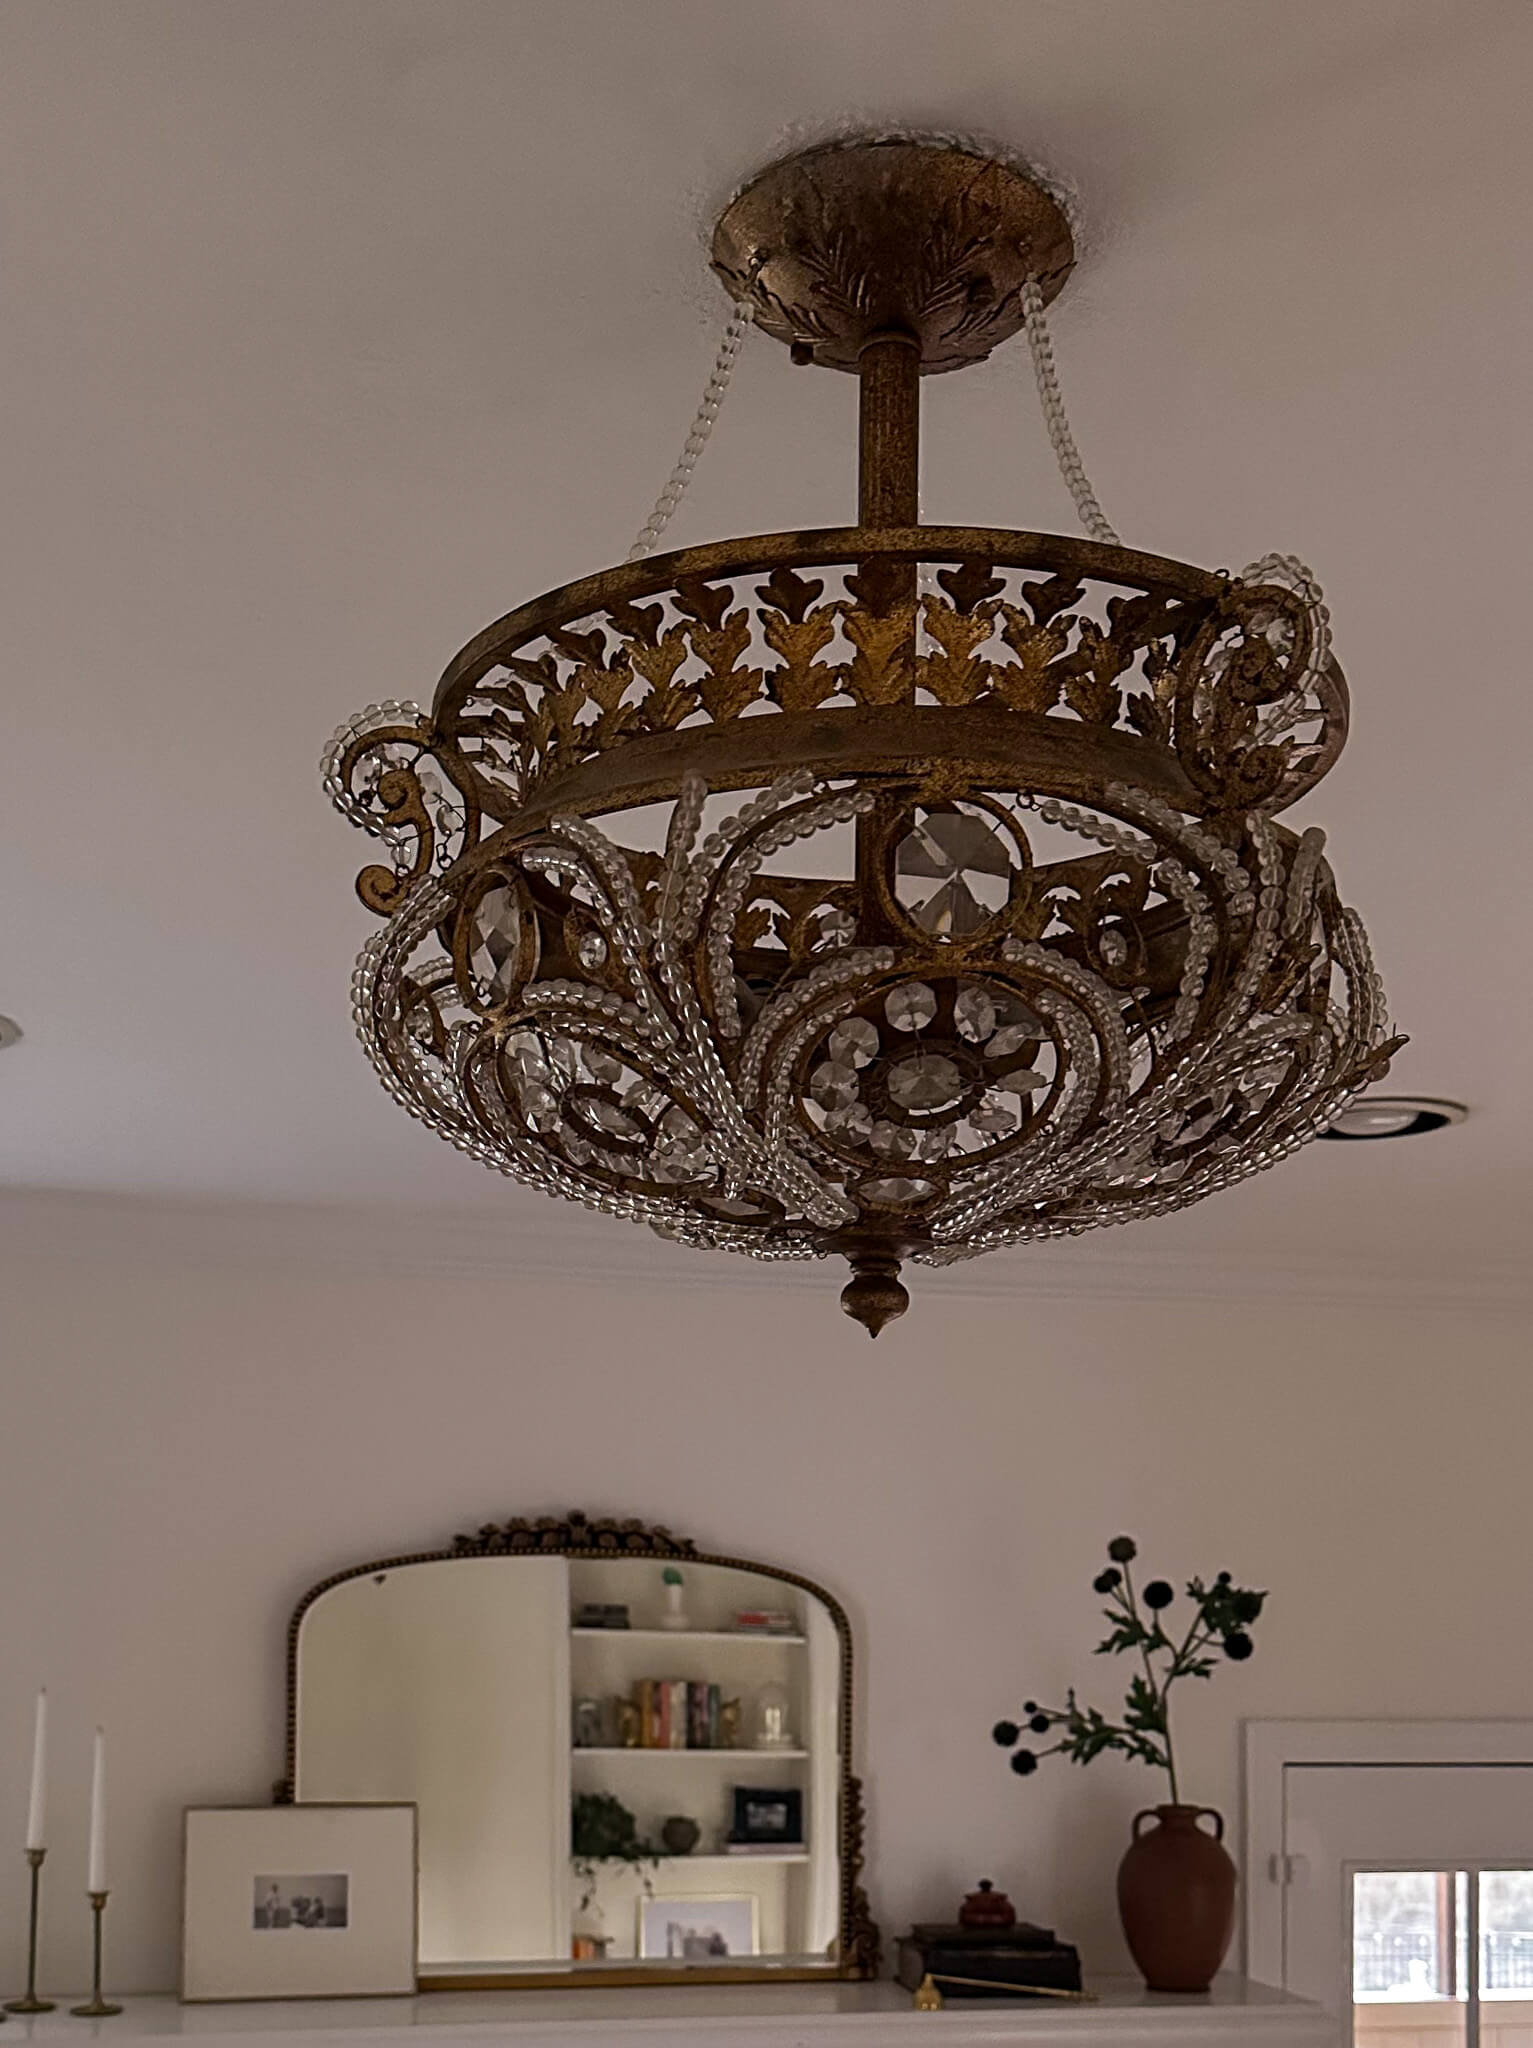
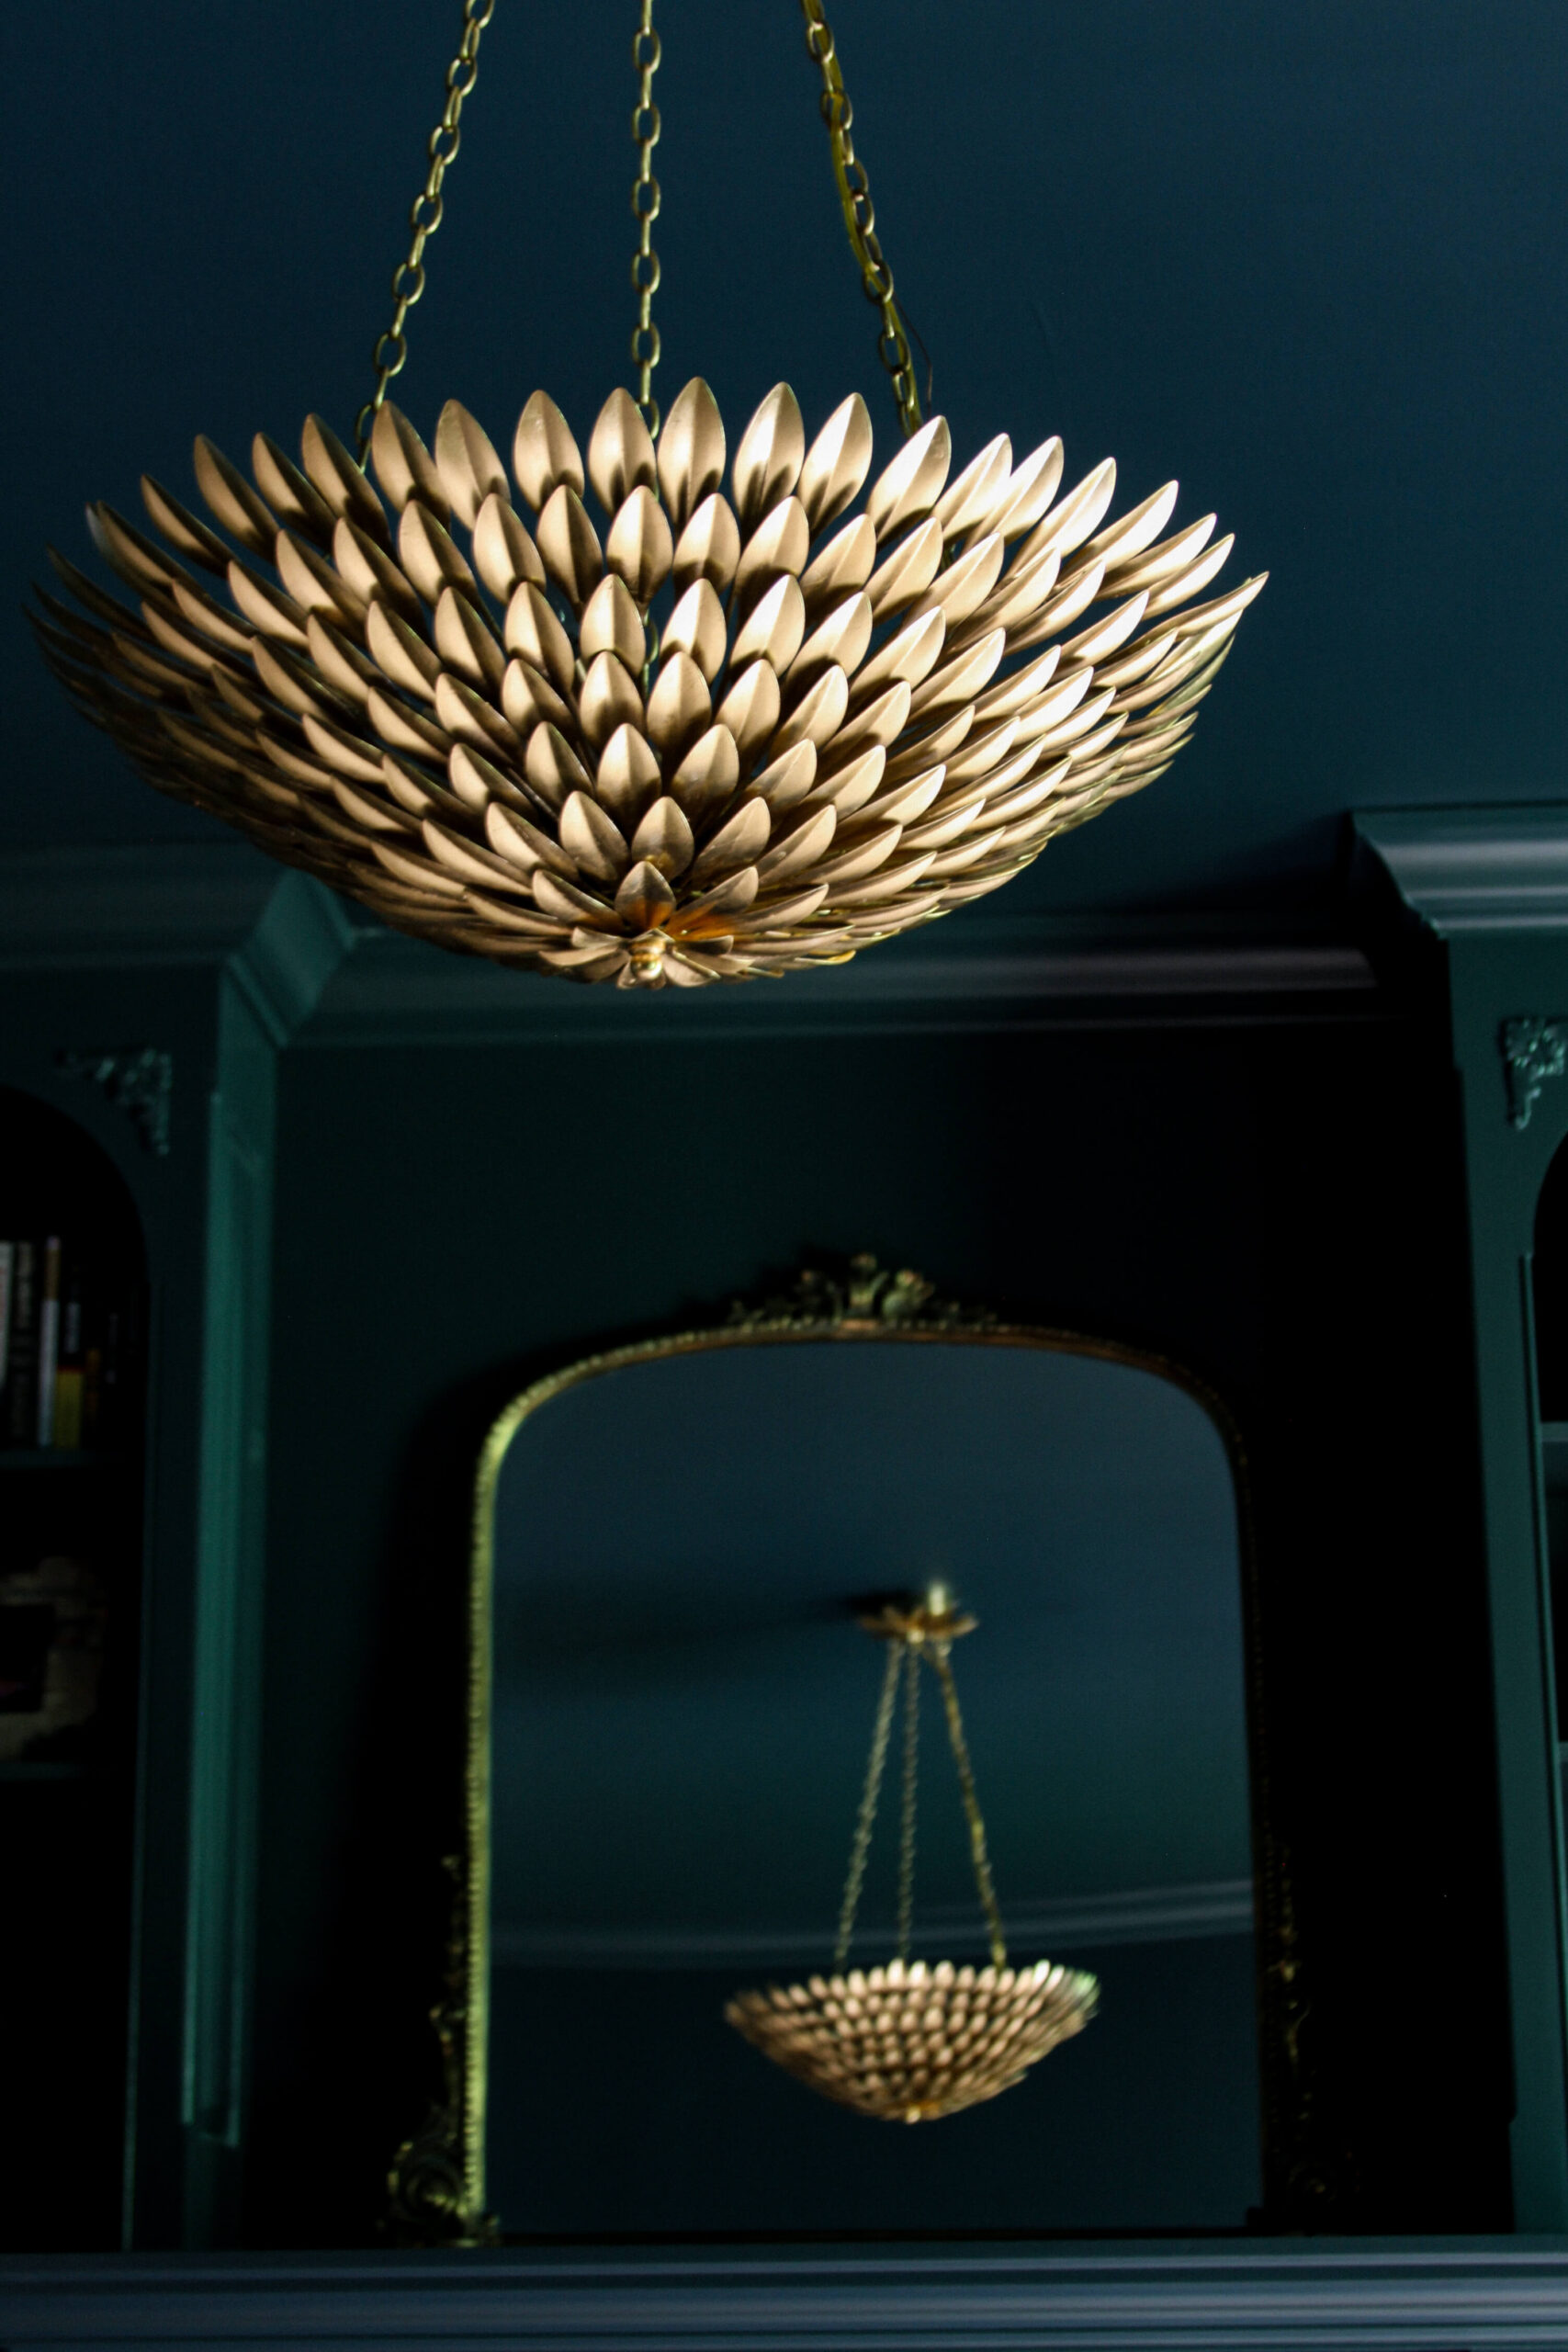
To finish up this phase, I removed the popcorn ceiling and swapped out the ceiling fan for a beaded chandelier to bring a bit of drama to the room while still staying within the new color scheme.

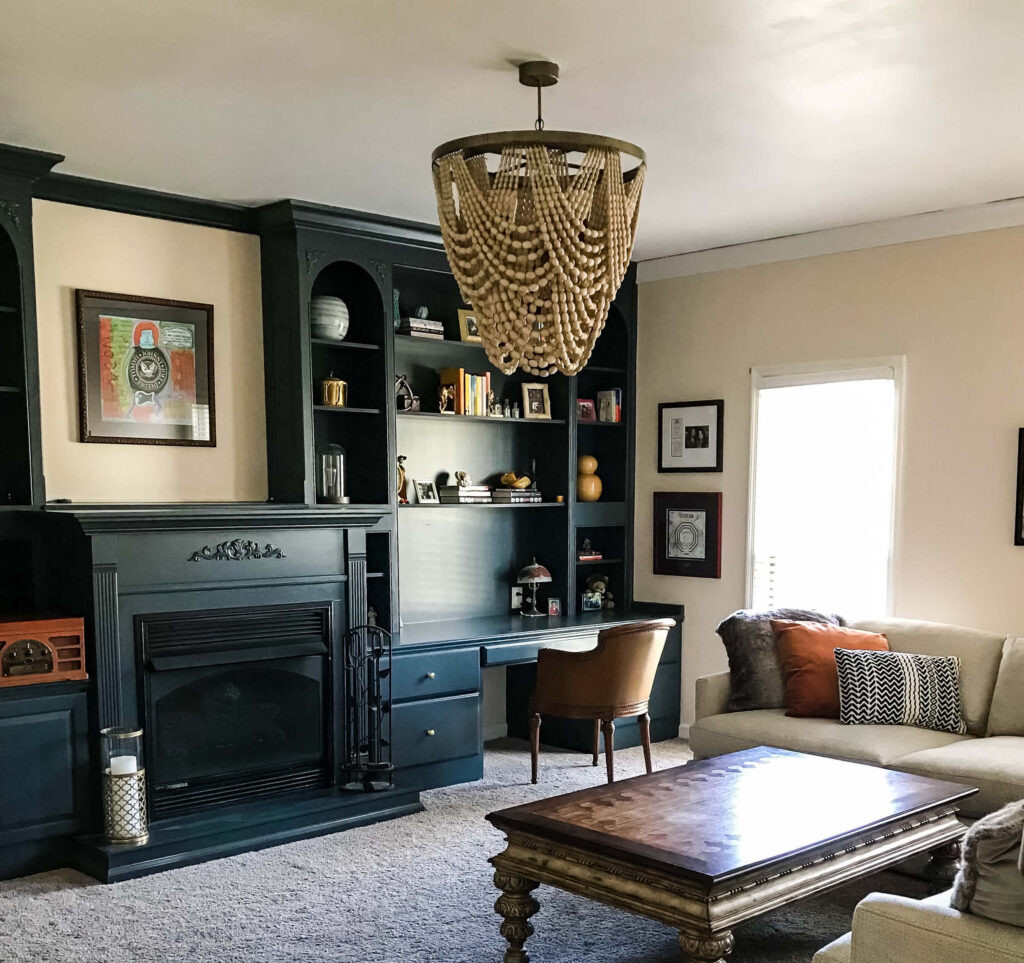
Is this room completed? Nope! This was my initial scrub to make it feel like my own, while on a limited budget.
Cost Breakdown:
Record shelving: $428.89
Built In’s Professionally painted: $1680
Paint for Walls (painted by me): $97.96
Paint for ceiling (updated & painted by me): $26.98
Beaded Chandelier: $387.41
Grand Total: $2621.24
Stay tuned to see where this room is headed next. Spoiler alert: you’re not going to believe it!
