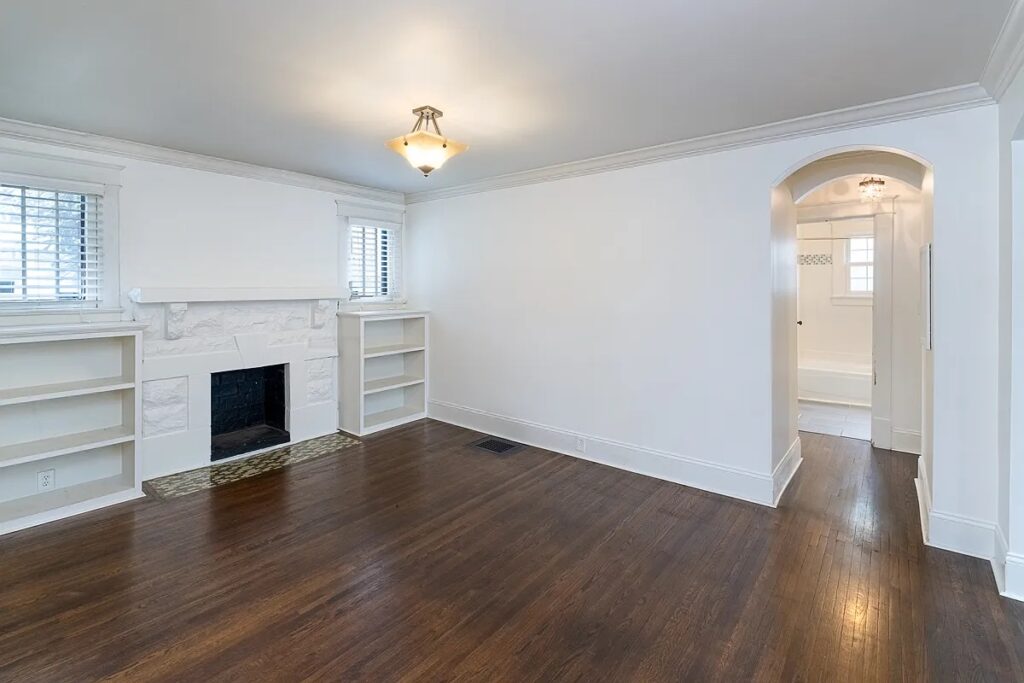
If you’ve been following along, you’re up to speed on how a small leak has changed my entire house (seemingly overnight). After I had a minute to process what was happening and just how much damage it caused, I decided to lean into the situation and look at it as a blessing. In truth I’ve been unhappy with the engineered hardwoods in this house but installing new hardwoods throughout the entire house was not currently in my budget and therefore wasn’t a short term possibility. With the insurance supplement I’ll be able to get what I really want, and it will be a design choice that fits with the style of this house.
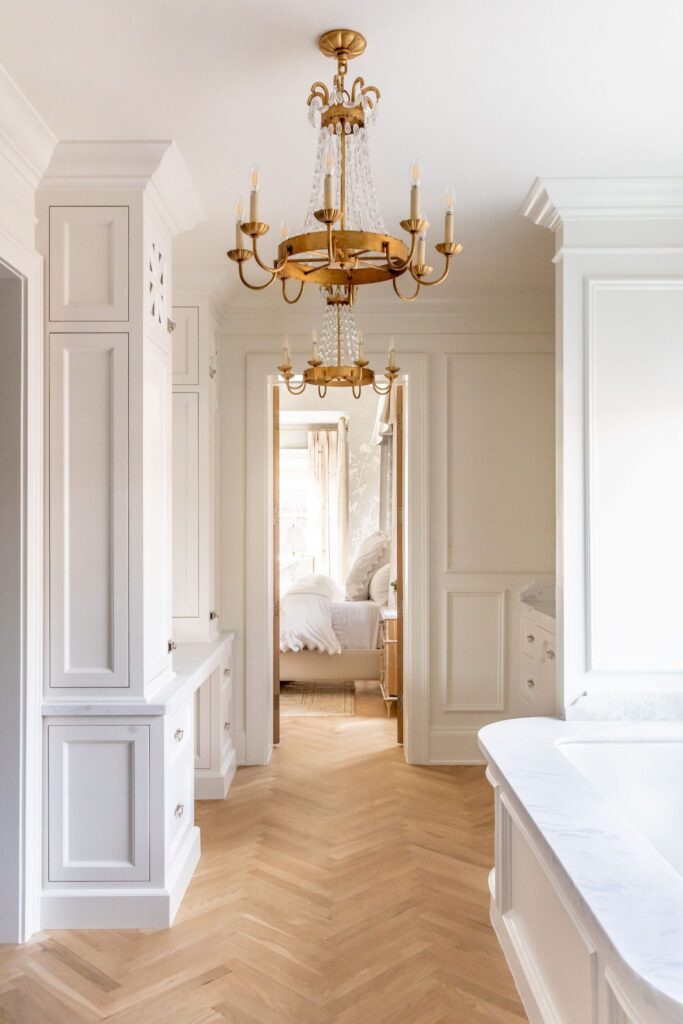
After working with my flooring contractor for a few weeks, we went over my options for the new hardwood flooring, as well as installation plans. The immediate decisions were flooring width, types of wood and the stain. I’ve been saving a few inspiration photos to help guide the conversation with my contractor and am excited to share the design process with you today!
Design decision #1: Plank Width
My previous house had original maple hardwoods that were around 2 inches wide. Initially I was pretty set on installing a similar sized plank because I loved my former floors so much, however after taking a step back I realized just because something works in one house, doesn’t mean it’s the right choice for another house. My previous house had much smaller rooms, as well as lower ceilings. This house has incredibly large rectangular rooms (a lot of 11’ x 17’ spaces) and also has 9 foot ceilings. Knowing this, I decided to increase the floor board width to 3.25 inches and feel like this is going to fit well with the traditional style of the house.
Design decision #2: Wood Type
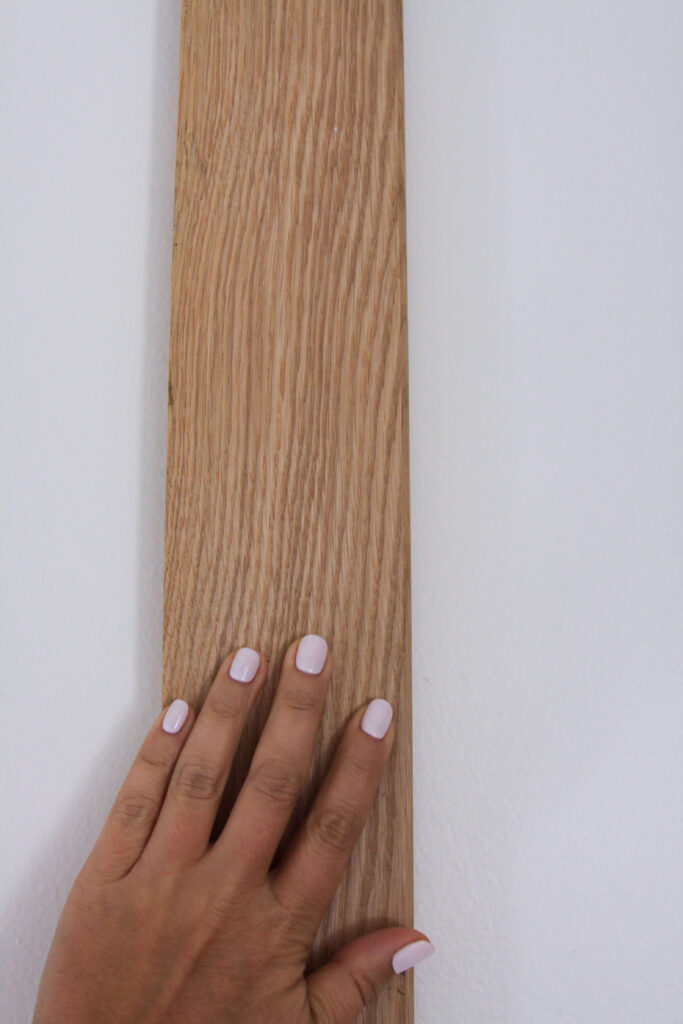
When it came to the type of wood to consider for the hardwoods, I ultimately went with White Oak. I don’t love seeing a lot of grain in hardwood floors, and I knew that White Oak tends to have a tight linear grain. On top of this feature, it’s also one of the more water-resistant options, and is more accepting of a variety of stain choices.
Design decision #3: replacing the existing carpet
The other big decision was going to be the two rooms with carpet. Both the tv room (“Cozy Room”) and the master bedroom have a beige shag carpet that the previous owners installed. From lifting up the air vents on the floor, we were able to tell that there was already hardwood in both rooms. My contractor could tell the hardwood in the tv room was an oak, but we wouldn’t know until we removed the carpet if it was a red oak or a white oak, and we definitely didn’t know what kind of shape it would be in. Unfortunately the bedroom had a bamboo flooring underneath the carpet, so that was going to need removed and replaced, adding to the overall cost. Ultimately, I decided to remove all the carpet in both rooms and roll the dice on what we’d find underneath.
Design Decision #4: Choosing A Stain
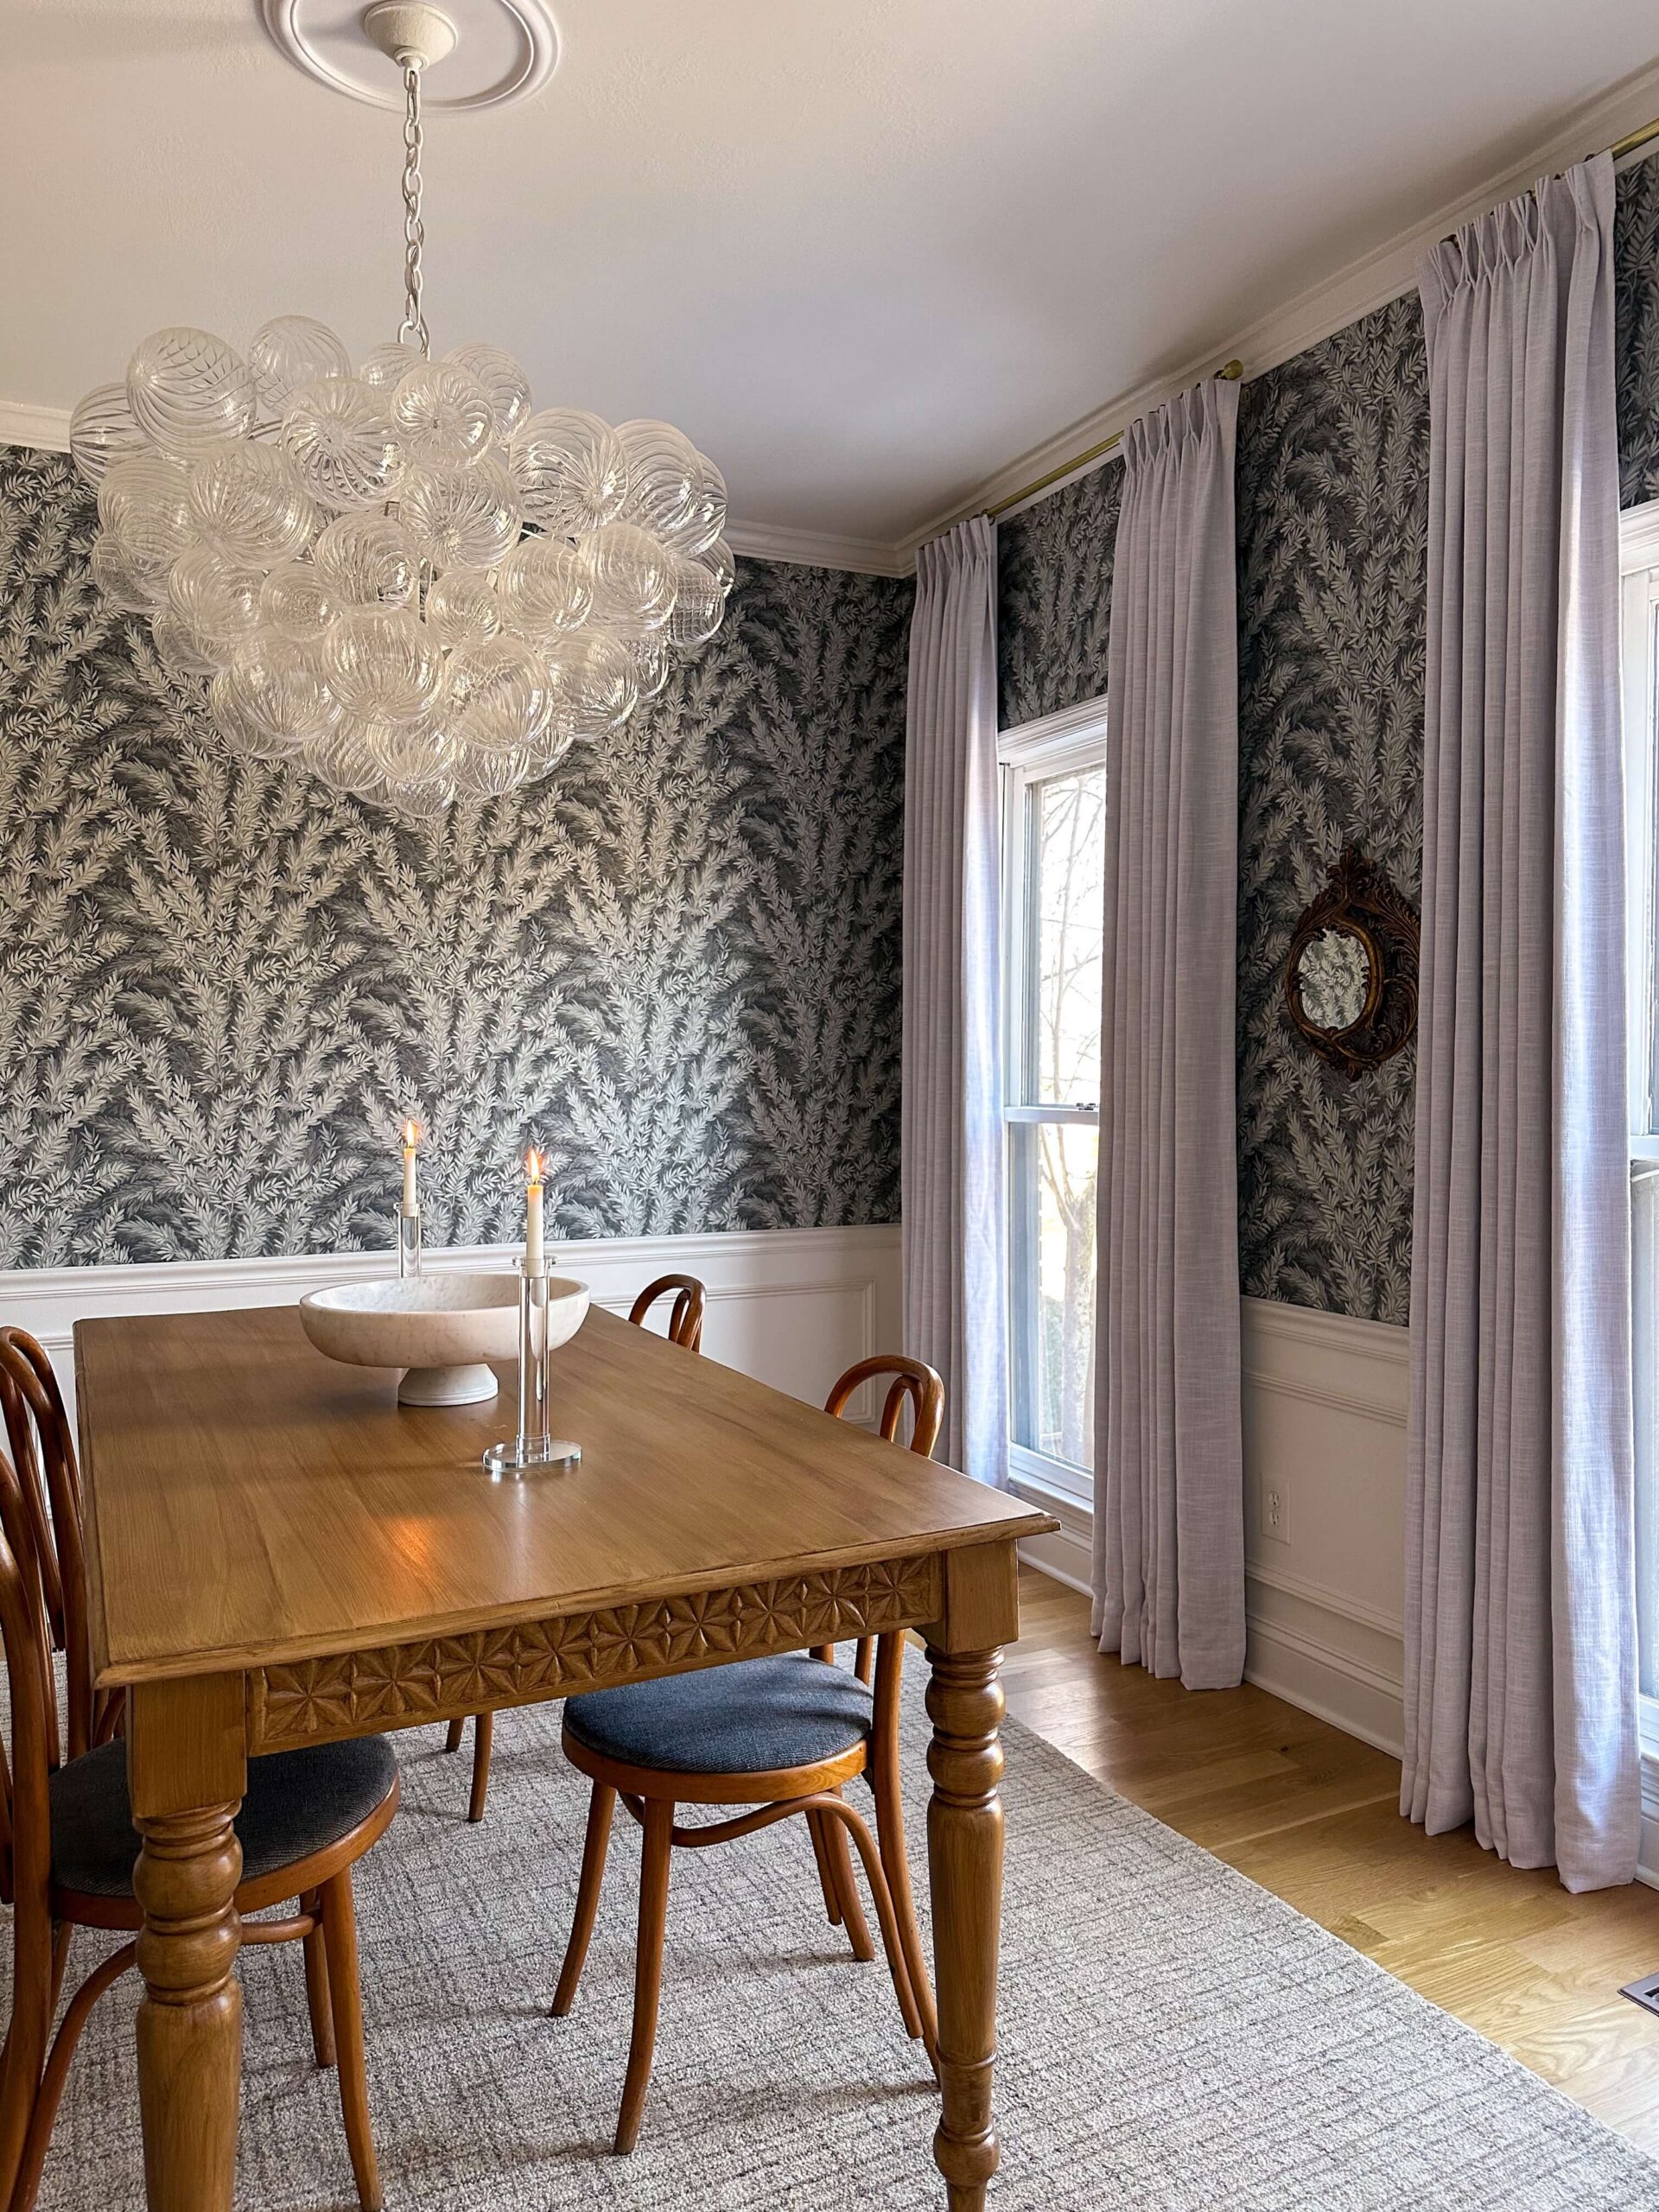
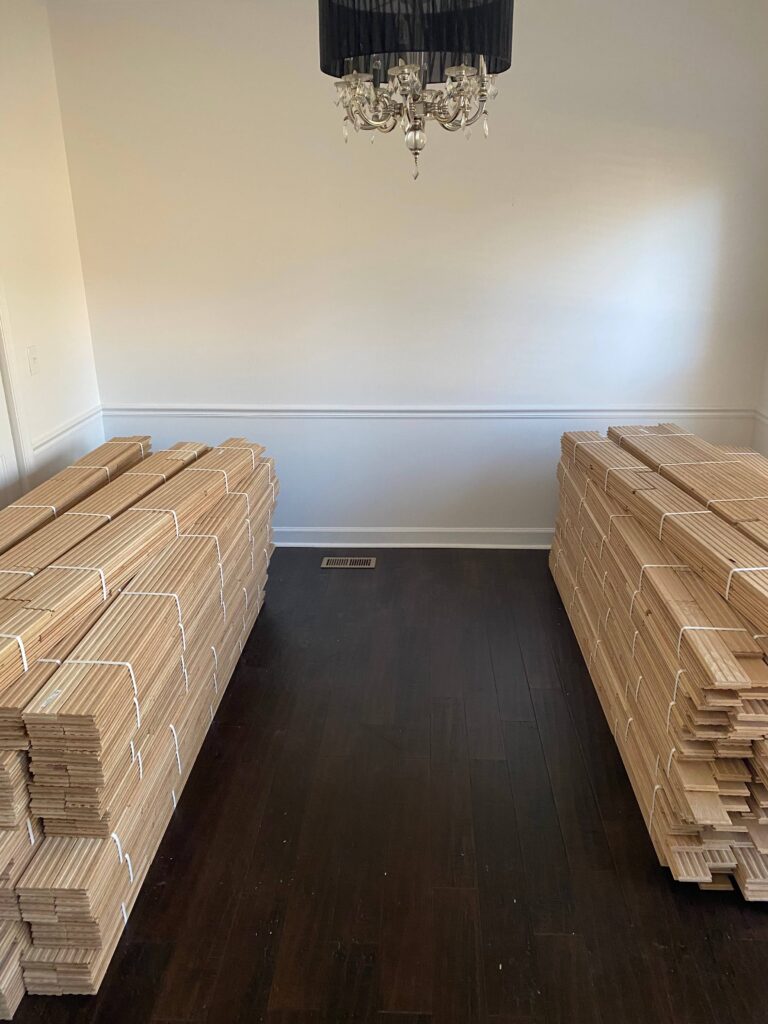
The first bundle of white oak arrived and will sit in the dining room for 2 weeks to cure. While initially I wasn’t sure what I was going to do about a stain decision, after seeing the flooring in its raw state I knew right away this was the look I’d like to stick with. It really goes to show that it’s okay to take your time and sit with some decisions until the right one comes to you. Seeing the wood in my house during all different lighting throughout the day helped me feel confident in my decision.
Timeline & Next Steps
Due to the process with the insurance company, I opted to complete the install in phases. We’d do the downstairs first, and then book the upstairs in conjunction with the staircase. I’ve been living on the subfloor in the kitchen for 6 weeks and cannot wait to finally get this over with. I know the situation could be so much worse, and I’m truly thankful it isn’t, but I’m ready to have things where they belong (where is my coffee thermos?!) and not step on nails popping up from the subfloor. I can’t wait to take you along for the ride and share the journey along the way. Stay tuned for more to come!