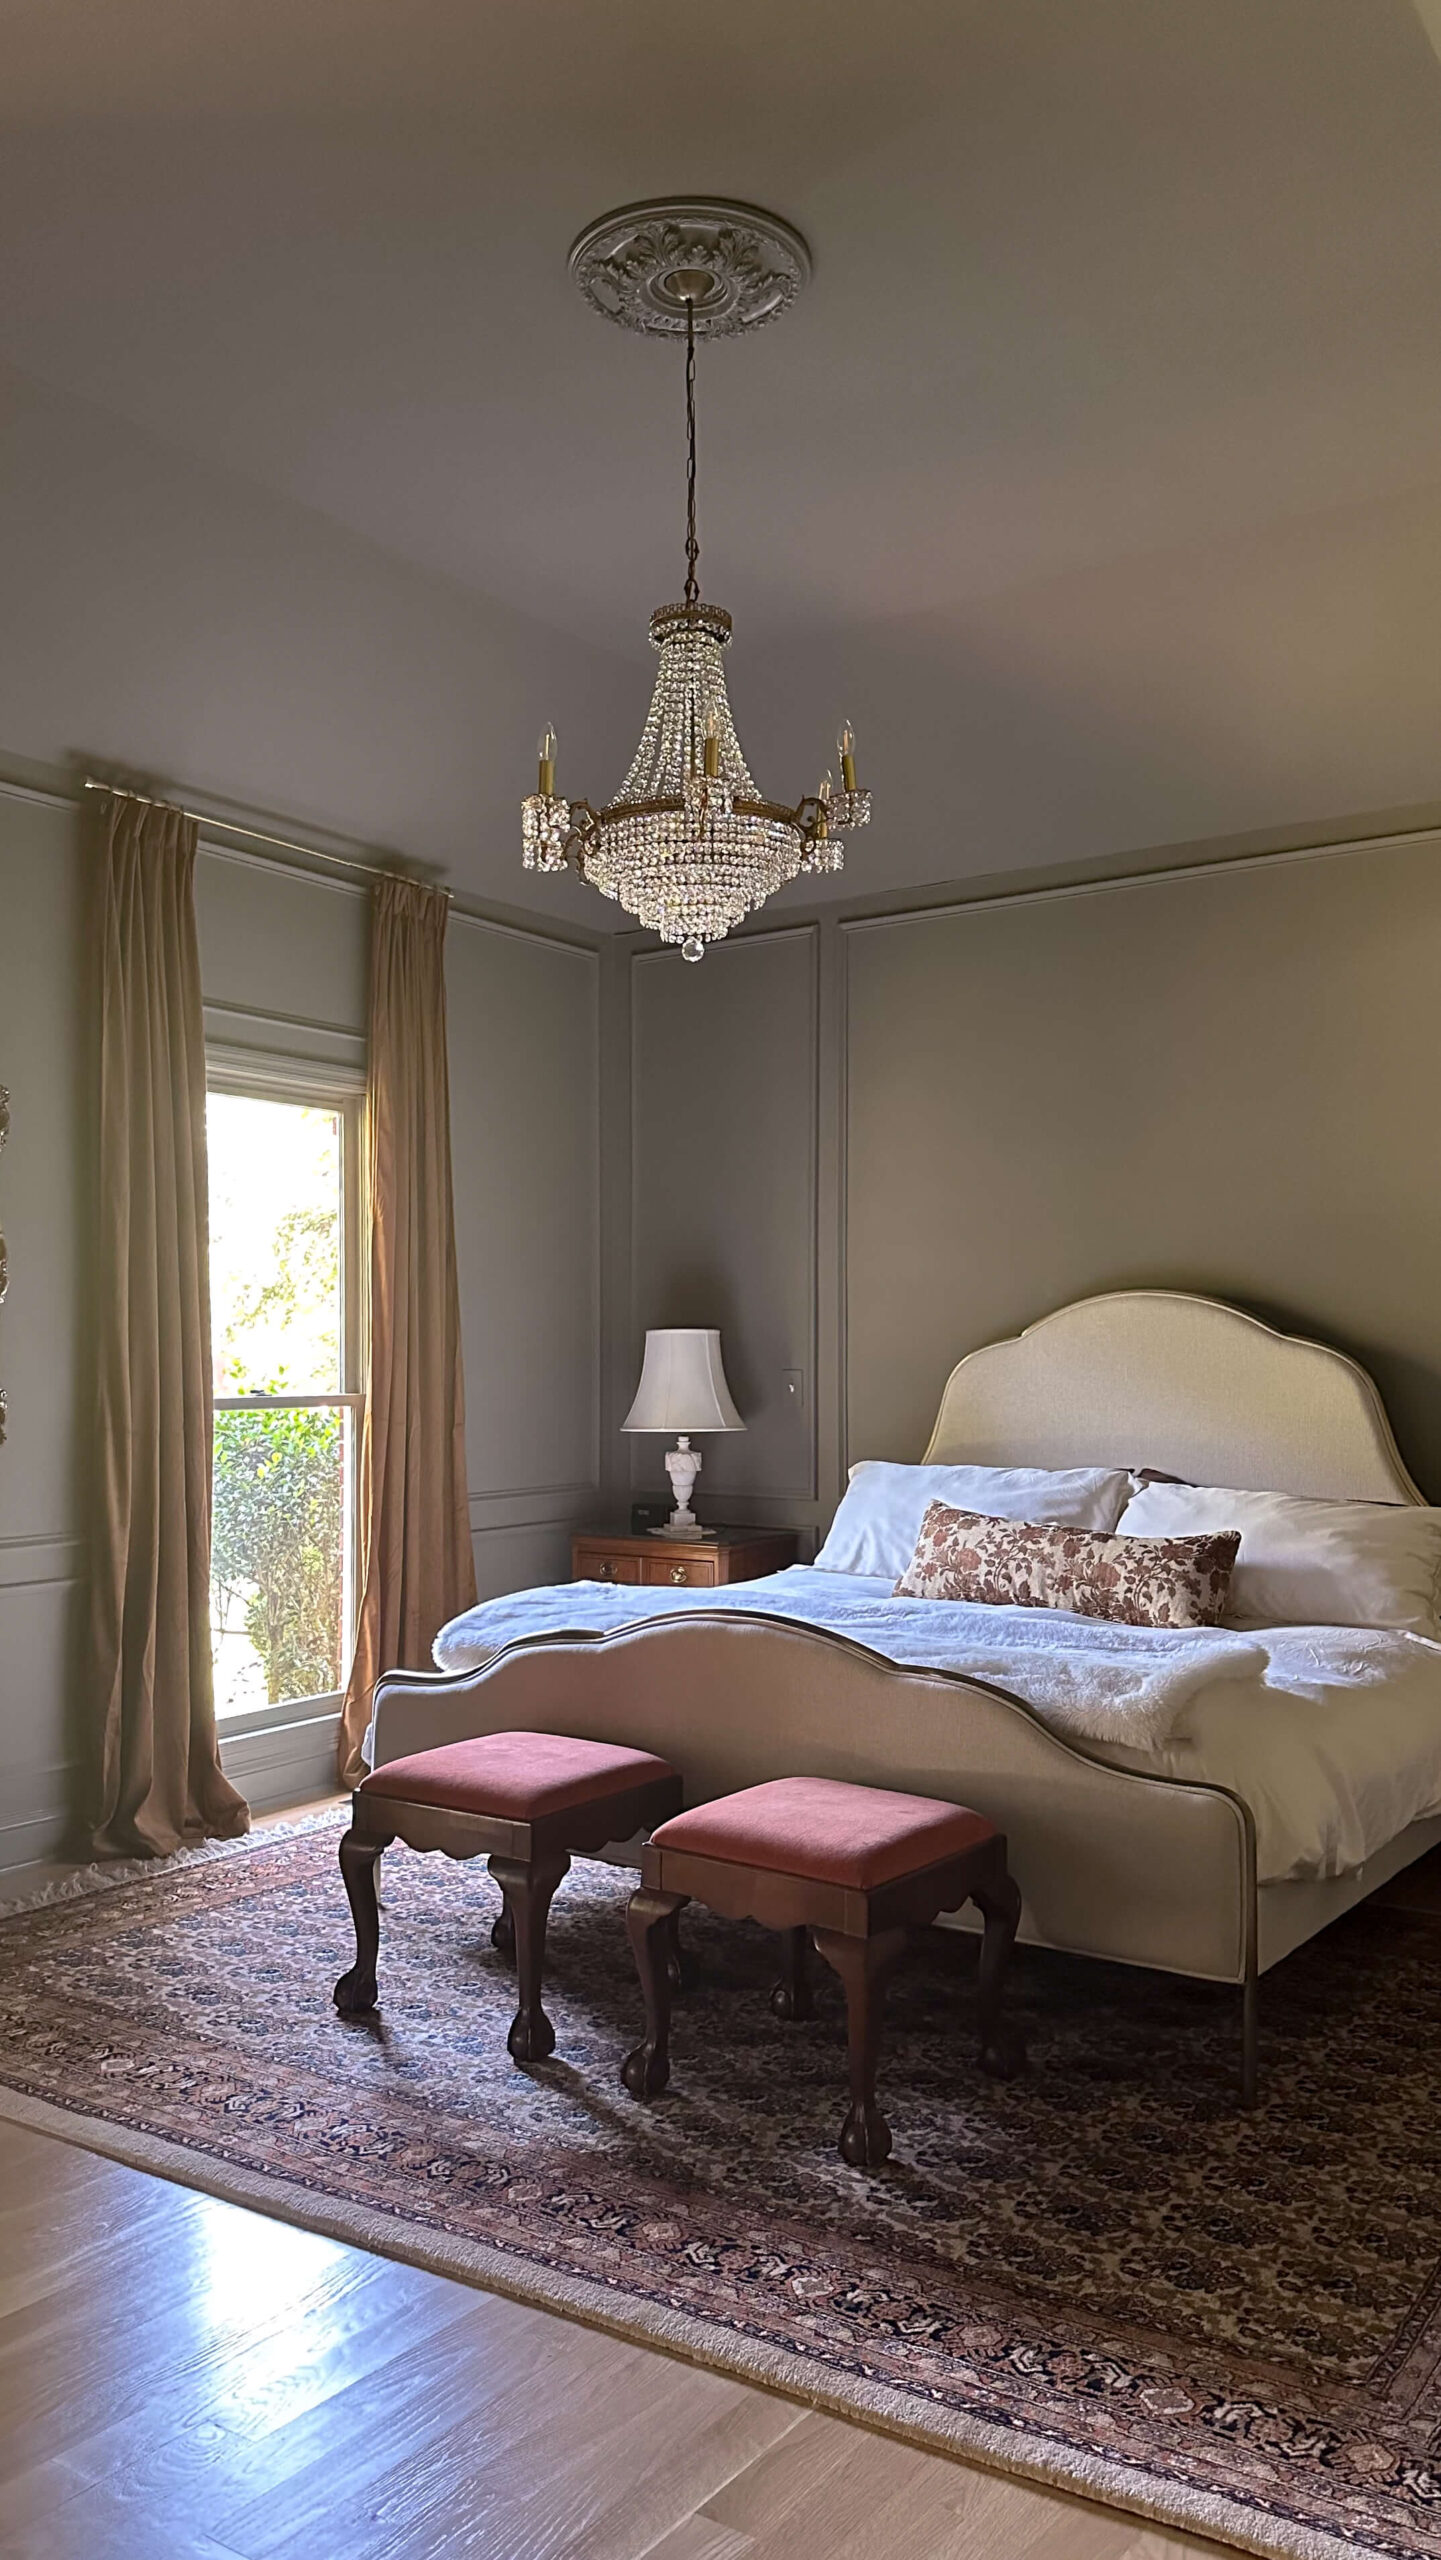
Are you ready for the grand finale of 2024? We’re going out with a bang, and we’re doing it in good company as I join the 2024 Fall One Room Challenge. If you’re not already familiar, the One Room Challenge takes place twice a year and is a way for designers to collaborate and foster friendly competition and collaboration as we all aim to finish a project in an eight week time period. I had planned to join the Spring One Room Challenge, but could not quite nail down the primary bedroom design (if you saw the reveal you know it was worth the wait) so I’m quite excited to join this fall’s challenge as we tackle THE KITCHEN!! That’s right, I’m going all in with a budget friendly kitchen renovation. We might even call it a facelift. Here’s the plan:
The Kitchen Before
I’ve shared very limited photos of the kitchen, mostly because it’s been in disarray ever since I had the refrigerator leak which prompted a full mitigation, insurance battles and finally some new white oak hard wood floors. During mitigation, we had to break the top of the kitchen island in order to get it out for the flooring installation. It’s been in the garage ever since (topless) and for a while I thought about not having an island. But after living without it for nearly two years, I really miss the storage and the prep space that’s in close proximity to the stove top. So we’re bringing the island back (more on that below).
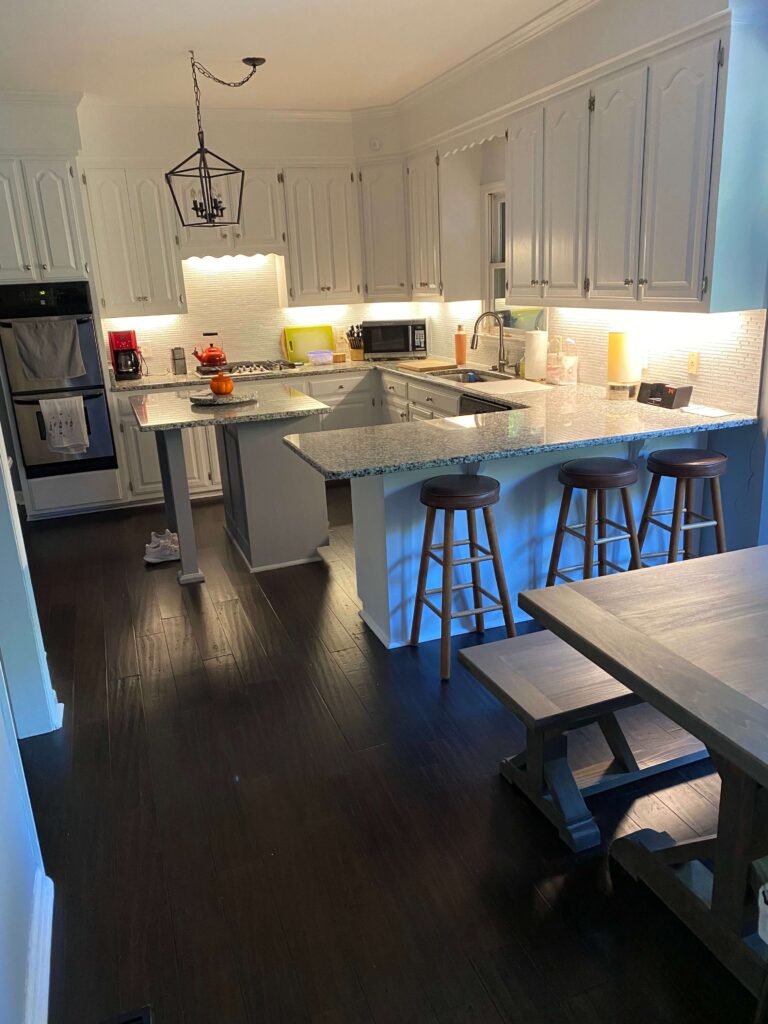
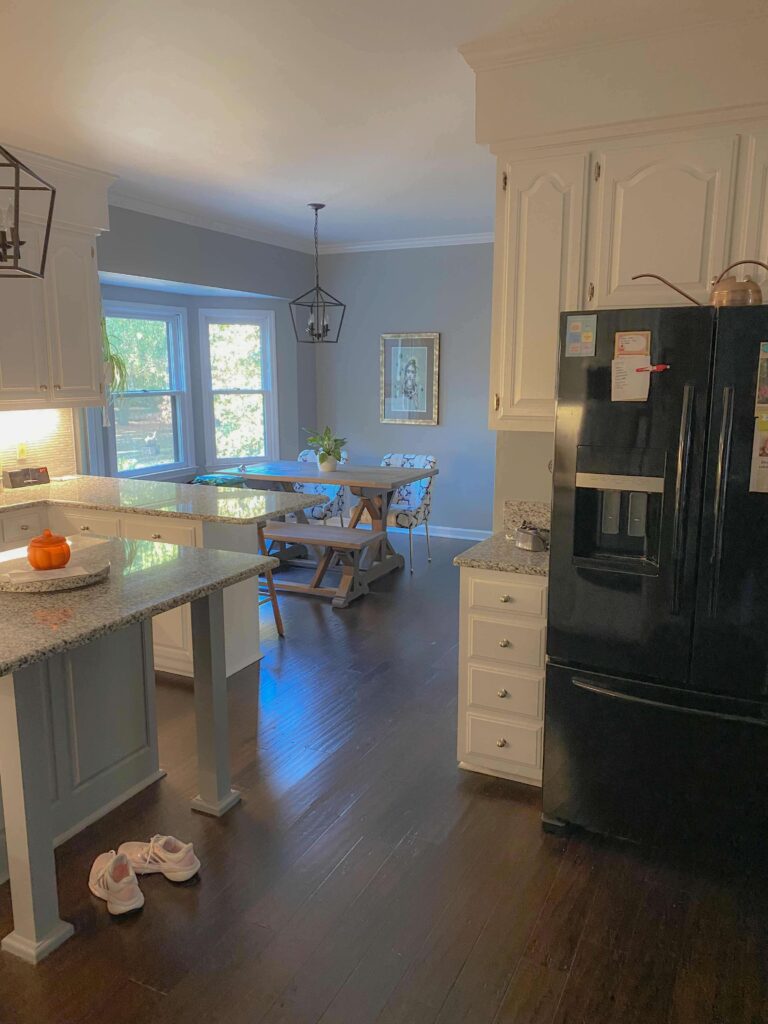
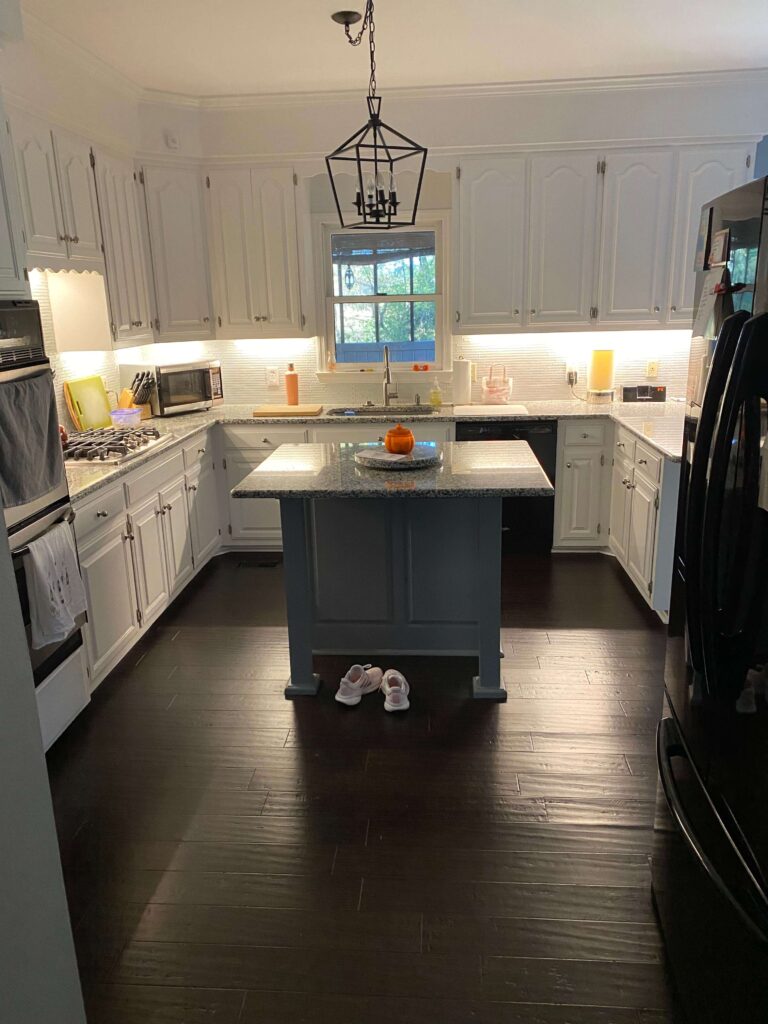
As you can see from the “before” photos, the space was previously made over with cooler tones. A cool white on the kitchen cabinets, a tile backsplash that reads cool and a blue/grey/black granite countertop that used to go with the dark blue walls I inherited when I bought this space.
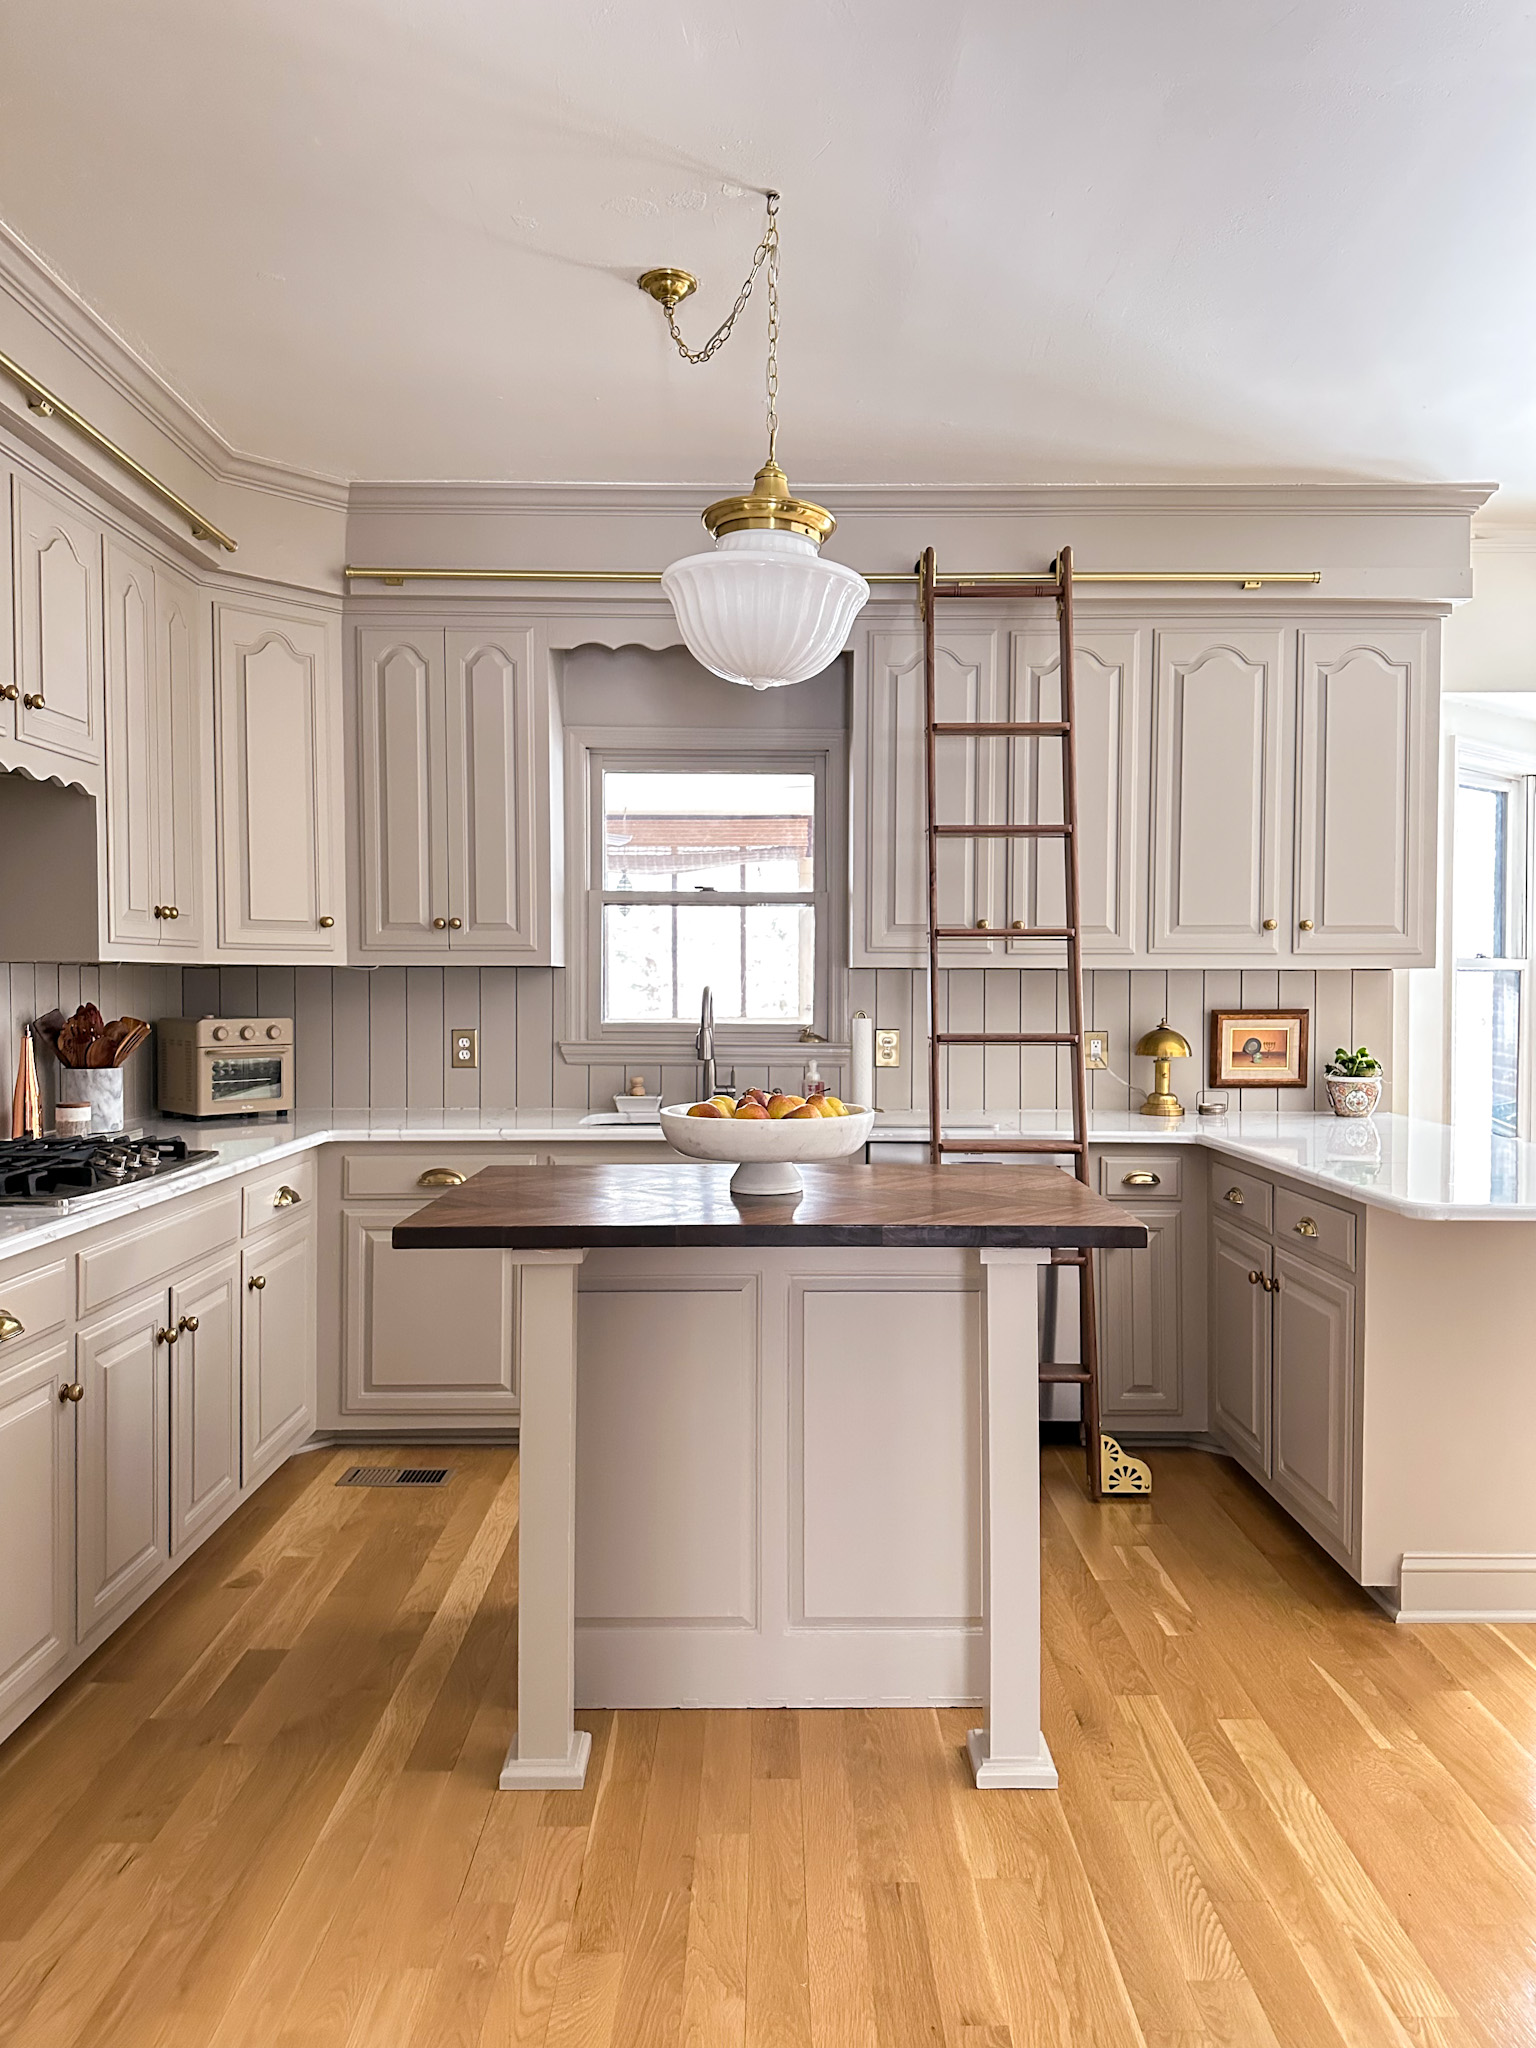
The Kitchen Today
Since the hardwood flooring install, the kitchen has been in flux. I have exposed wood on the bottom of the cabinets that I make eye contact with every time I pass through. The island light has been swagged to the side for longer than I’d like to admit. And the previous owner did some handy work sawing off one of the drawer faces below the double oven and has literally glued it onto the face frame of the cabinet.
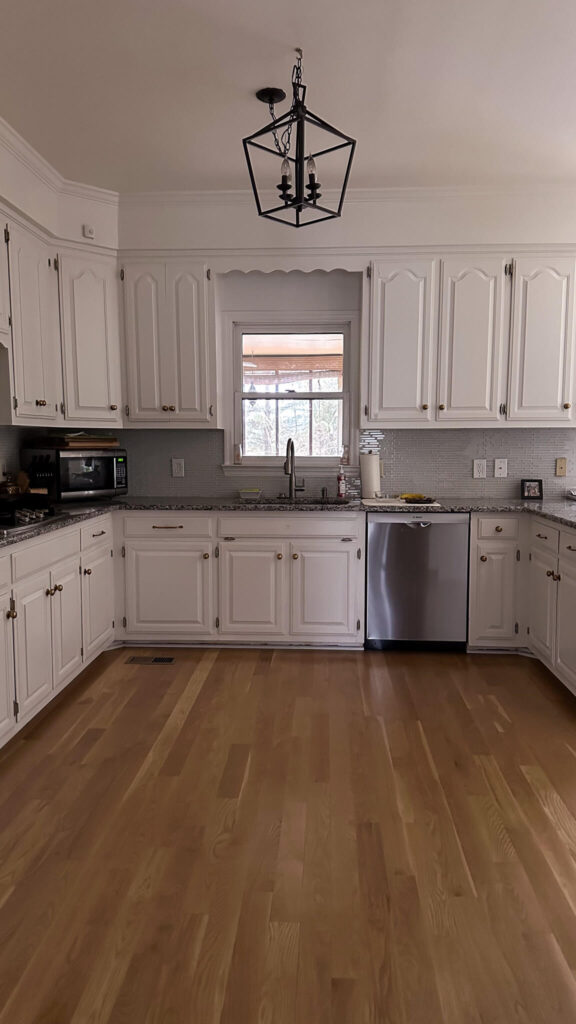
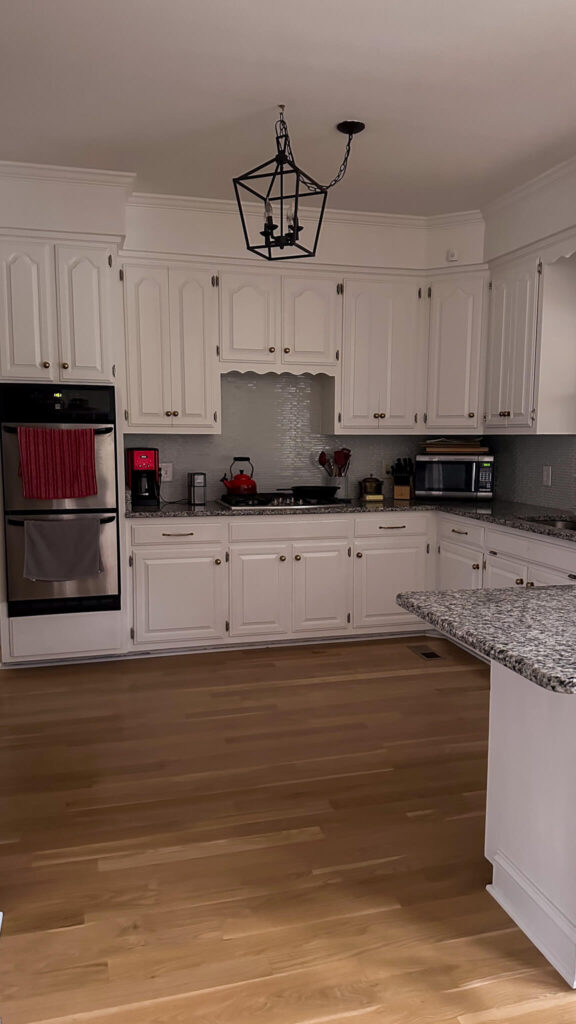
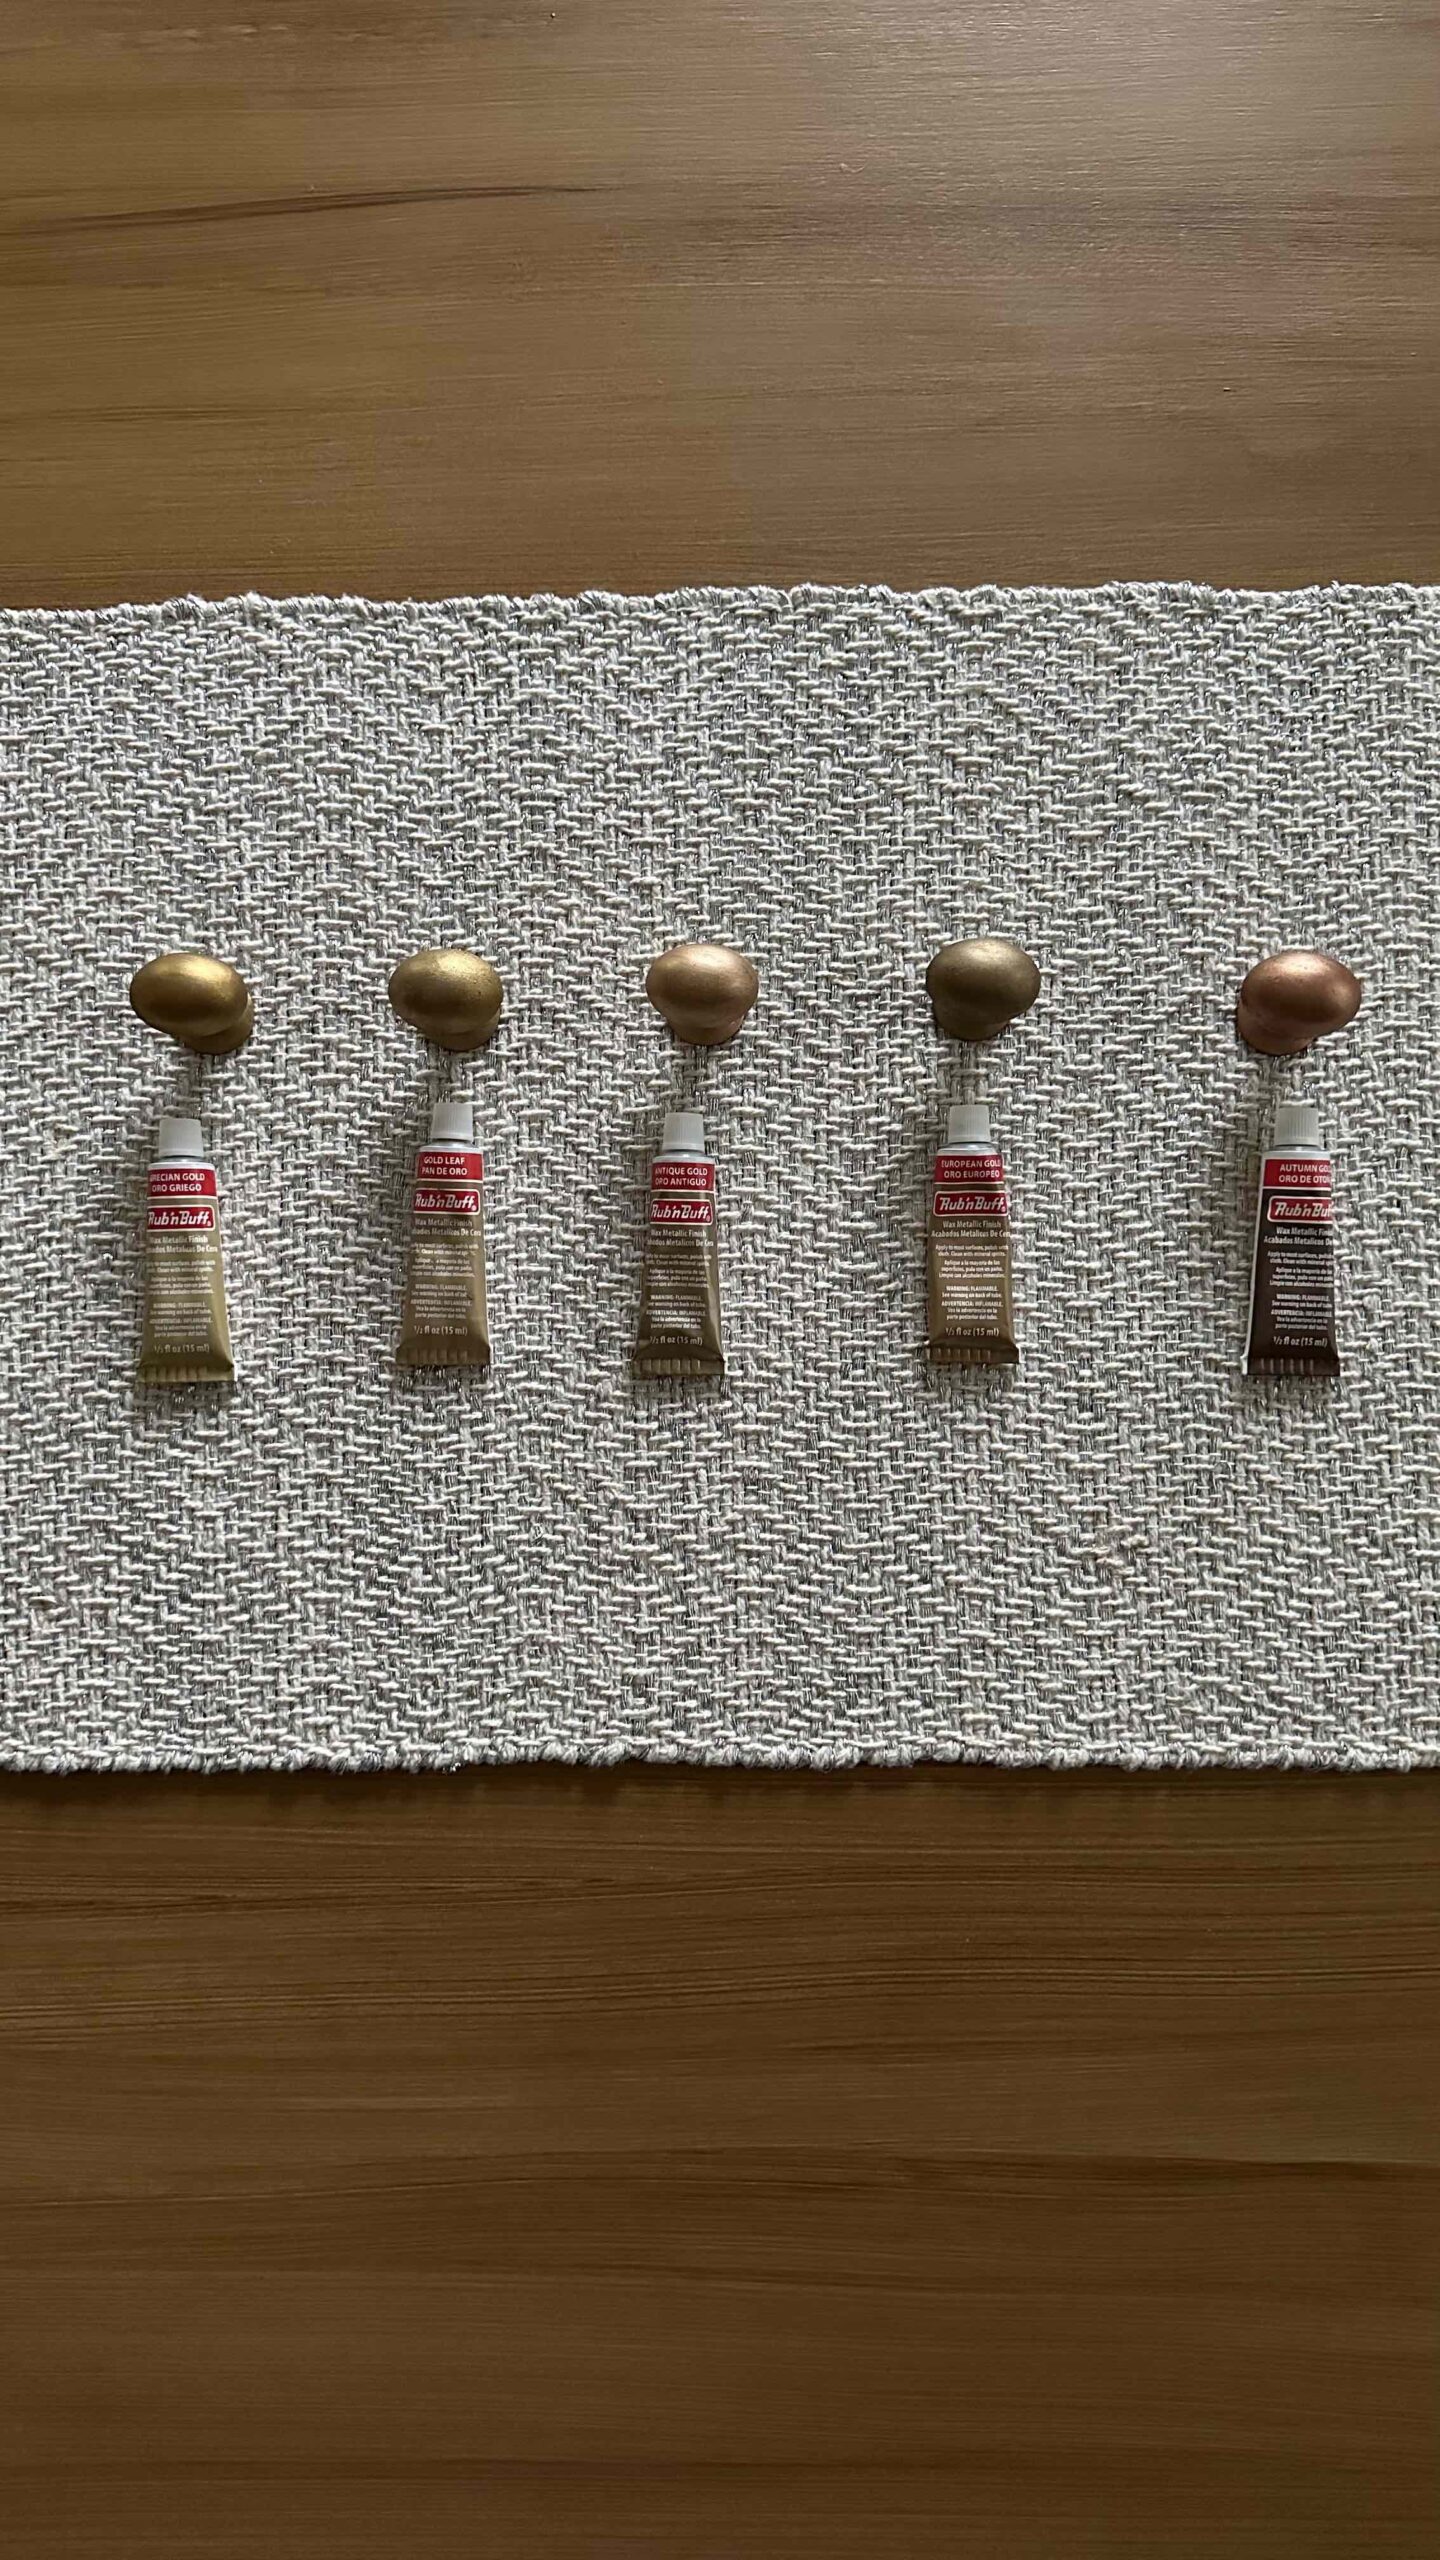
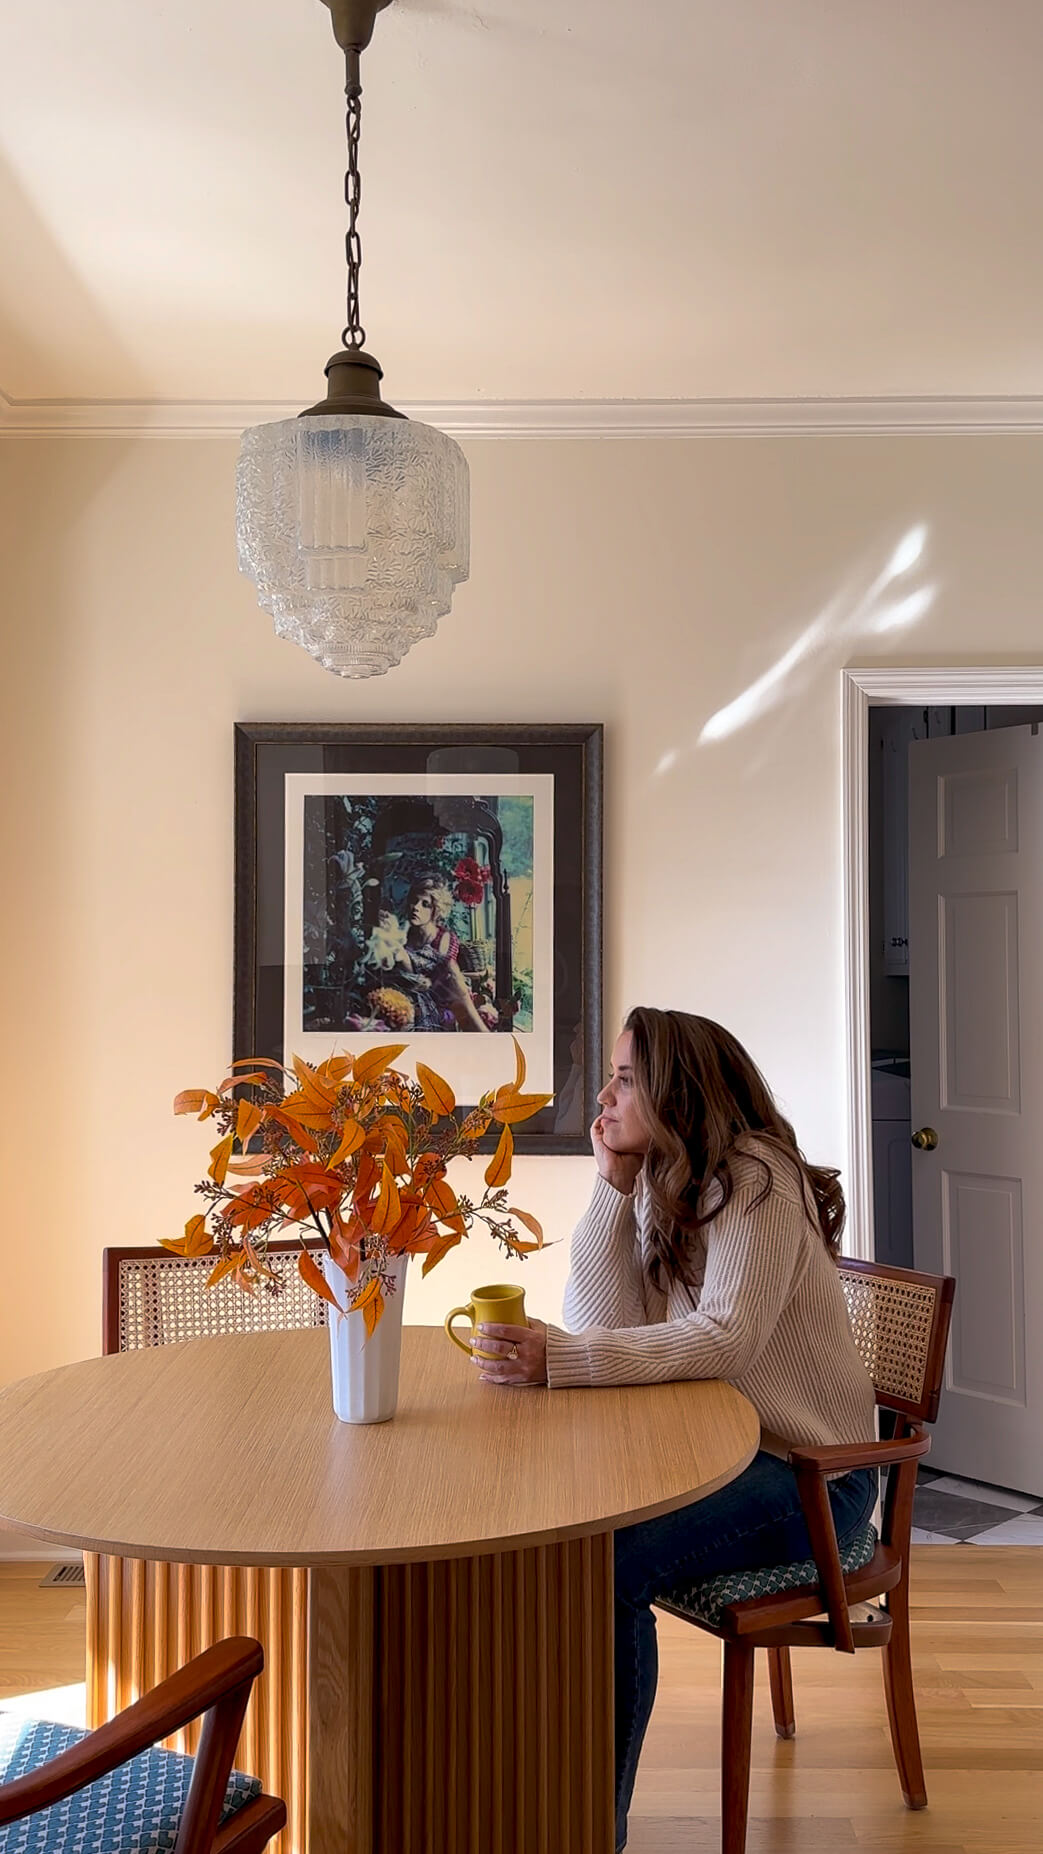
I’ve made some tiny attempts to breathe some life into this space by painting the walls to a warm cream (Swiss Coffee by Behr) and have also swapped out the brushed nickel hardware for some pretty brass knobs from DeVol Kitchens. I made a cute little breakfast nook for myself, however the main hub of the kitchen really needs attention at this point.

My budget friendly kitchen renovation plan
I’ve alluded to this a few times, but I’ve gone round and round on what to do with this space. Part of me wants to gut the entire thing and reconfigure where the appliances live. I’ve even thought about bumping the kitchen out (there’s a screened in porch on the other side). But I like the idea of challenging myself to see if I can make my current kitchen into my dream kitchen on a budget (and in 8 weeks). So how will I do this?
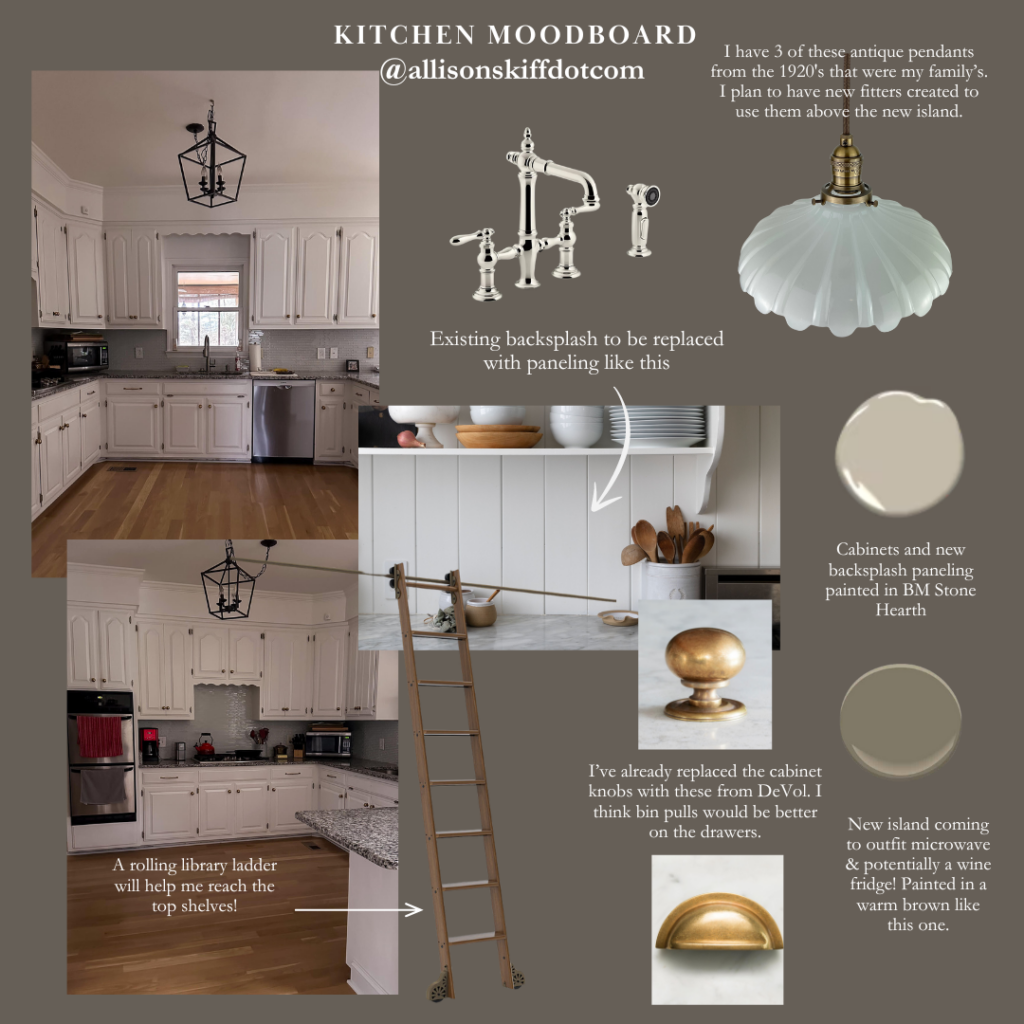
This project will involve a lot of painting and a lot of woodworking. I’ll first take to ripping out the existing backsplash and replacing it with wood paneling. All existing kitchen cabinetry as well as the new wood paneling will get a coat of fresh paint in this pretty warm taupe (Benjamin Moore’s Stone Hearth).
I’ll also bring back the existing kitchen island and will build onto the backside of it, creating a cabinet for my microwave as well as a cut out area for a wine fridge. This will free up both a large amount of counter space as well as cabinet space. I’ll need to have electrical routed through the floor for this, but it will be worth it. The existing farmhouse lantern will be replaced with two milk glass fluted pendants from the 1920’s which were actually from our former family business (so that will be special).
And the countertops? I’m going to keep them, but I’m going to paint them! Yep that’s right. I’m going to paint them to look like real marble. I’m very nervous but also very excited to see how it goes. Quite honestly I think almost anything will be better than what I currently have.
Last but certainly not least, I plan to install a rolling library ladder around the kitchen soffits. This will allow me to reach the top shelf without needing a step stool, plus it will add a charming touch to the space.
What’s First for the Budget Friendly Kitchen Renovation?
We are getting right into the wood working first, as it will allow me to keep the kitchen in tact and use it for a little while longer. I’ll be adding some shelving in one of the upper corner cabinets which I hope will get me feeling confident with the woodworking tools.
Second we’ll be tackling the mystery drawer underneath the double oven and seeing what’s behind it. It may just get glued back on depending what I find ha ha! In all seriousness I am going to try to make it functioning again. I just don’t expect that to go smoothly.
Simultaneously I’ll be building the new backside of the island, as well as additional frames and pieces to adjoin the new with the existing island. I’ll likely put the first few coats of paint on this in the garage before bringing it all upstairs, as I’d like to have that open space to paint the existing kitchen cabinets with.
Be sure to follow me at AllisonSkiffDotCom on Instagram for sneak peaks of my progress over these next eight weeks. And stop back here on my blog for weekly updates where I’ll be sharing the design process, key learnings and more.
And you can check out the design plans of the other guest designers on the One Room Challenge Blog.
Thanks for following along!
Related:
ORC Budget Friendly Kitchen Renovation Week 2
ORC Budget Friendly Kitchen Renovation Week 3
ORC Budget Friendly Kitchen Renovation Week 4
ORC Budget Friendly Kitchen Renovation Week 5
ORC Budget Friendly Kitchen Renovation Week 6
