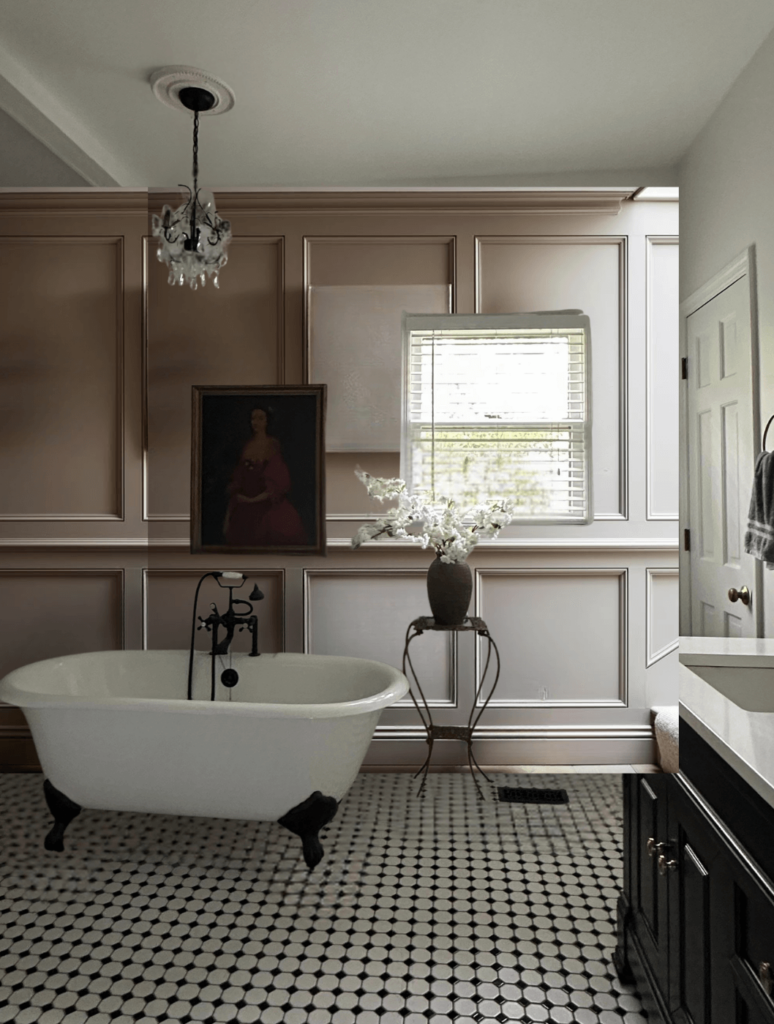
The primary bathroom renovation is officially underway! There’s a phase in every renovation where things look really ugly and you make a substantial mess of your space. You might even wonder what you were thinking in the first place. This was that moment for me, but I was truly so excited to finally get started on this project that I embraced the chaos. Here’s what went down.
Primary Bathroom Renovation: Prepping the Walls
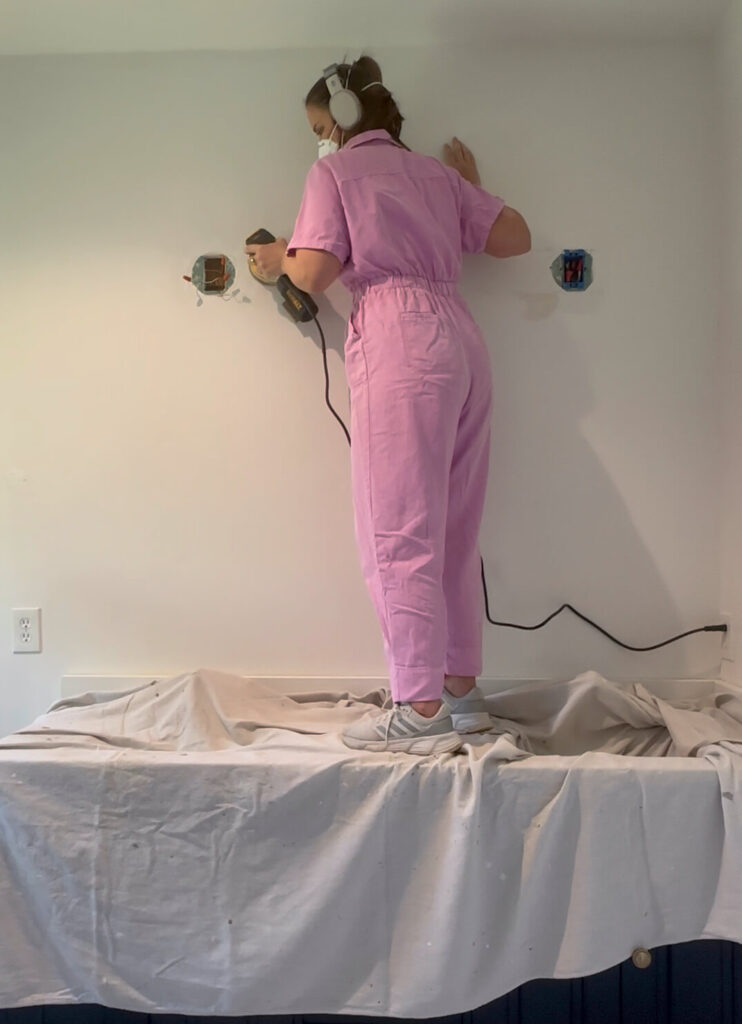
A big part of the primary bathroom renovation is adding a lot of custom trim, and I seriously cannot wait. But before we get to that part, the walls need to be properly prepped. Similar to what I did in the first few weeks of my kitchen renovation last year, I needed to wash everything down, dry it off and then sand. While this is never the fun part, your painting job is only as good as your prep job. Remember that! So, it’s a necessary evil.
Drywall Repairs
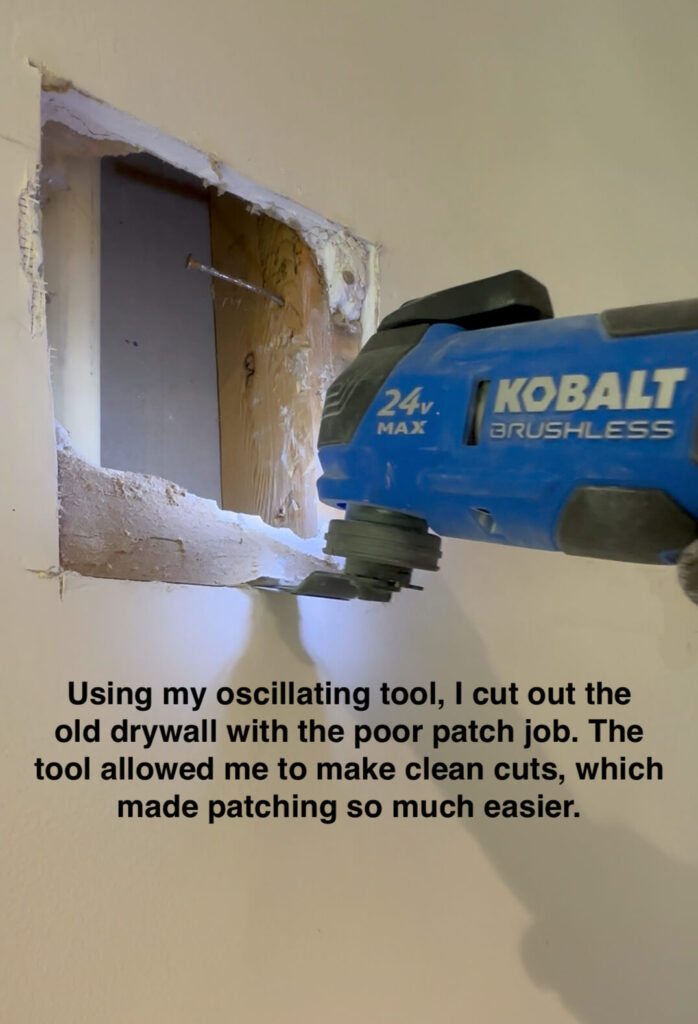
As suspected, no amount of sanding was going to fix my first ever drywall job which is smack dab in the middle of the vanity wall. But really, I was ready for my moment of redemption. I used my oscillating tool to cut out the existing drywall and it gave me the perfect even cuts. This was my second time using this tool, but my first time using it for drywall (you can read about how I used it to remove my glass tile backsplash in the kitchen here).
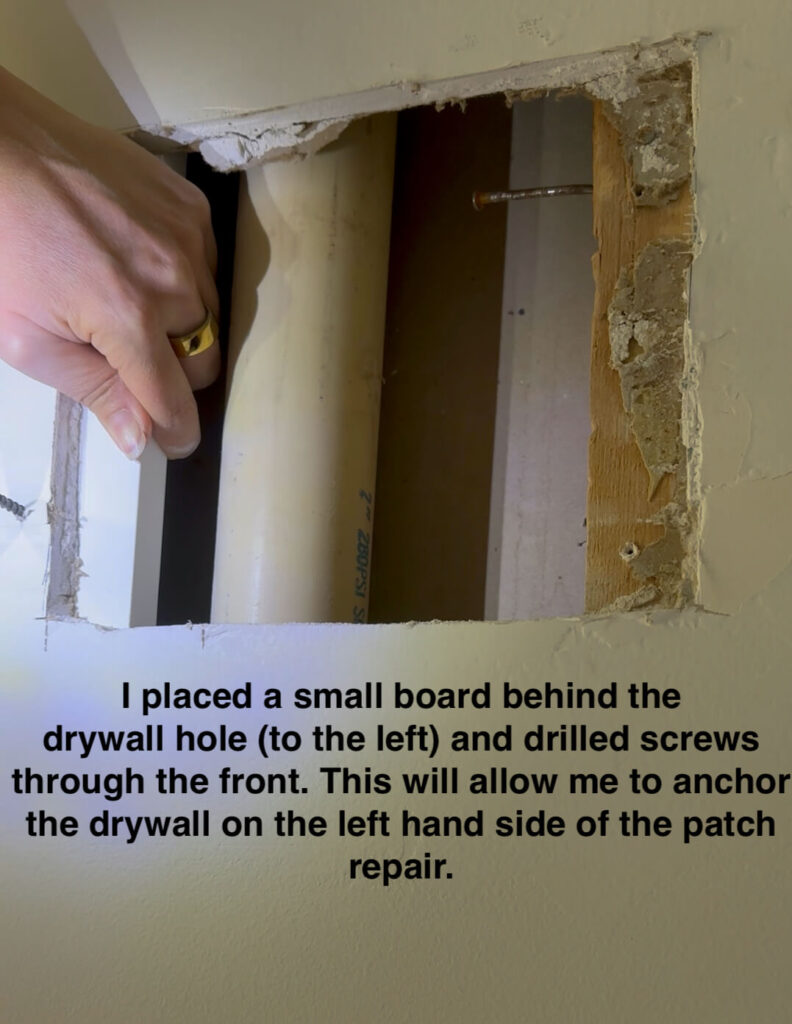
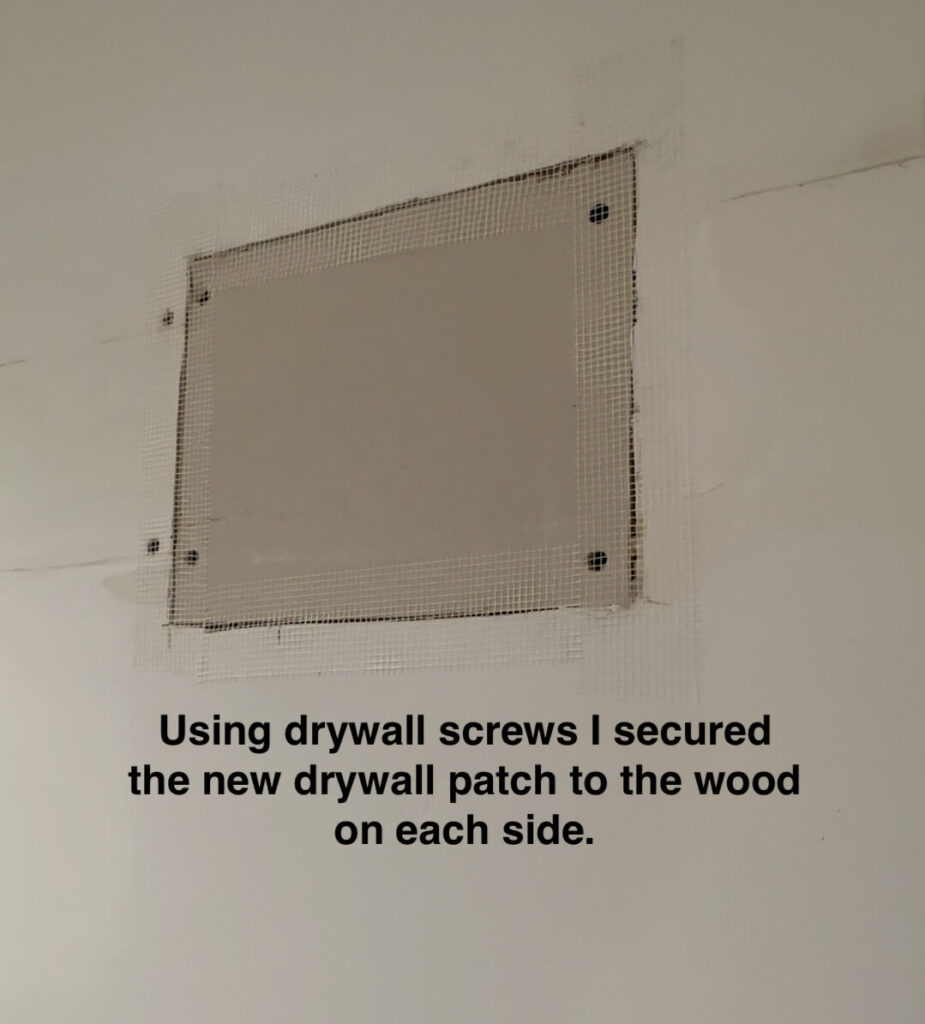
After the drywall was cut out, I was ready to patch. I was lucky enough to have a stud on one side of each hole I created, so to make sure the new patches were properly secured, I drilled a piece of scrap wood on the backside of the hole by drilling through the front of the existing drywall. This gave me a proper anchor on both sides to drill the drywall patch into. From there it was taping, mudding, sanding, mudding and more sanding. The end result is super smooth and I’m honestly relieved I made it better and not worse!
I gave the rest of the walls a good sanding with my orbital sander, using a 120-grit paper, and was able to get most of the bumps smoothed out. The bathroom used to have wallpaper, but the previous owners decided to paint over it. Because of this, you can see wallpaper seams. I’m going to try my hand at skim coating all the walls and the ceiling in hopes that I finally get the smooth finish I’m aiming for. Look out for more of that in next week’s post!
Consolidating Electrical
Something that has bothered me for years is this eyesore of an electrical job on my vanity wall. It’s felt like a hostile takeover of plastic covers, with one of the switches going to a jacuzzi garden tub that doesn’t even exist anymore!

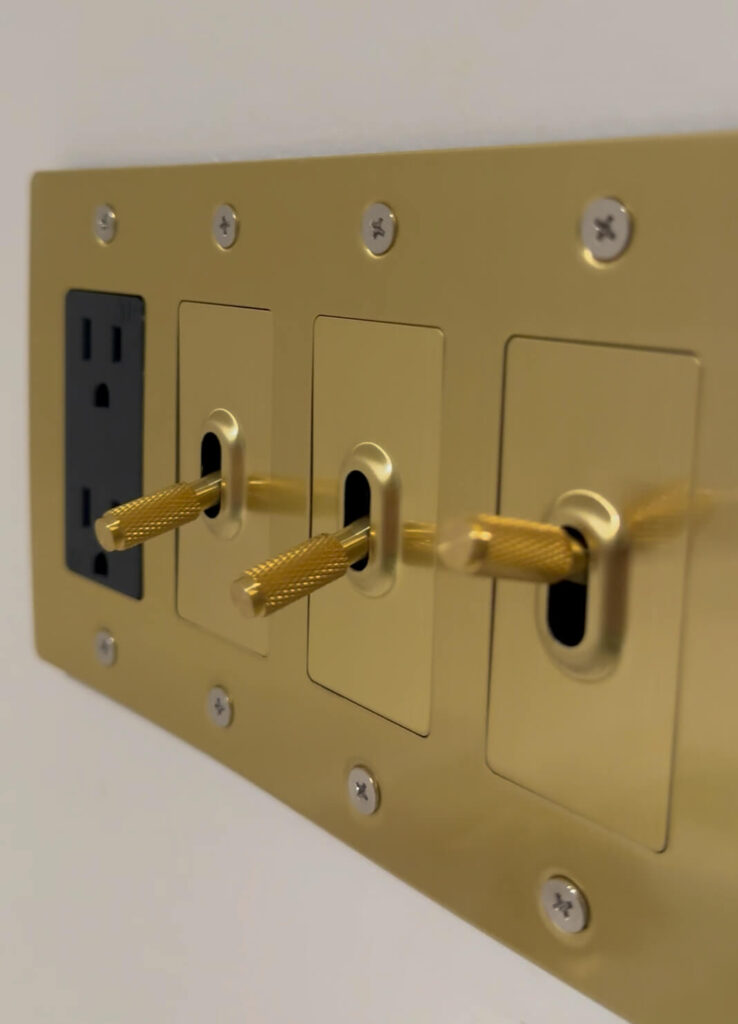
Shop: Brass Toggle Light Switches
While this was a spend, I hired an electrician to remove the defunct wiring, and consolidate everything else into a four gang plate. I centered everything in the wall to account for the new wainscoting I’ll be adding, and ordered a beautiful new switch plate from Buster & Punch. This was a bit expensive, but it’s something I have to see and touch every day (multiple times a day) so to me, it’s worth it.
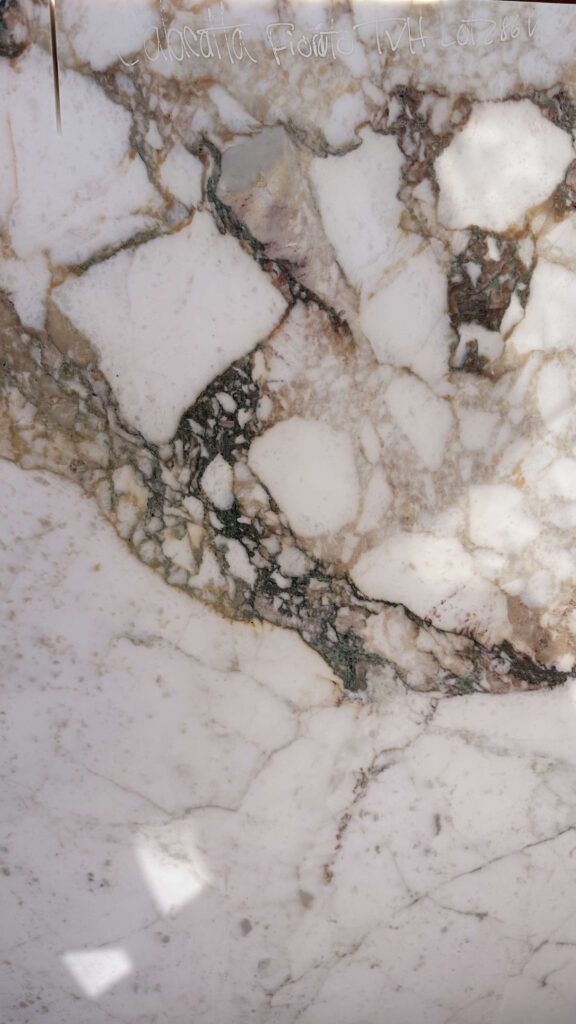
My New Calacatta Fiorito Marble Countertop
In last week’s post I shared the mood board and my vision for the primary bathroom renovation. I want it to feel warm and inviting, and like an actual room you want to spend time in. Part of my design includes updating the countertops and as I was ordering paint samples, I realized that the countertops are going to really dictate what paint color I ultimately pick out. That, along with the pending tariffs, ignited some urgency to start hunting for a new countertop, so after a little bit of online digging, I headed to a local fabricator here in Nashville and asked if I could see the remnant yard.
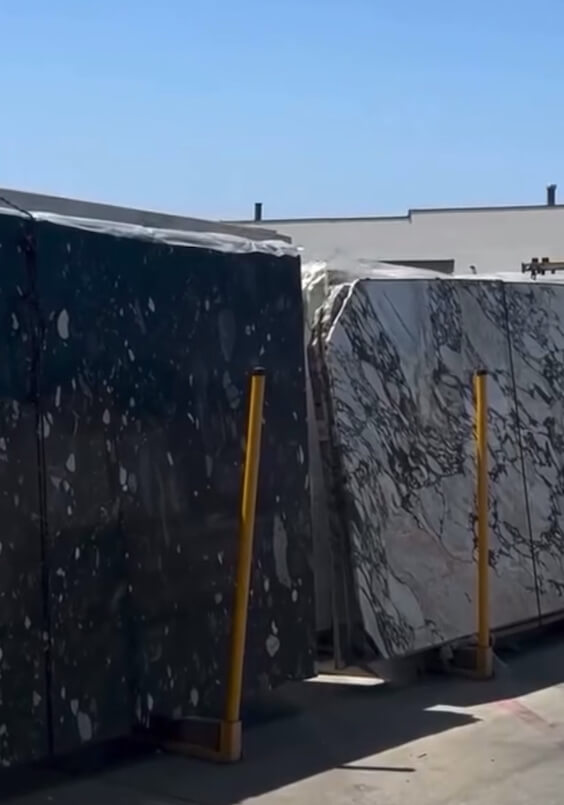
In all honesty I really had my heart set on finding Calacatta Viola Marble, but with a pleasant surprise, I stumbled upon a piece of Calacatta Fiorito Marble that was the perfect size for my vanity. It has all kinds of subtle tones in the marbling: some reds, greens, beiges / gold and charcoal, with a warm white base. I am in love.
If you’re updating a smaller space like a bathroom vanity, a laundry room counter, or even want something different for a kitchen island, looking in the remnant yard is a great way to save on budget. For comparison, you can expect a slab of Calacatta Fiorito Marble to range between $10k-$15k and that’s for the material alone. By utilizing a remnant piece, my quote is coming in at $2800 and that includes the material itself, two sinks, removal of my existing countertop, a six inch backsplash, a three inch miter on the front and sides (this will make it look thicker), as well as installation.
I’ll be sure to share the templating and installation process, but similar to shopping at estate sales and online retail consignment stores, shopping used (or in this case discarded) really allows you to level up your design.
What’s next for the Primary Bathroom Renovation?
Expect this next week to be a busy one! I have more drywalling to do (around where the old light switches were) and then it will be time to skim coat and prime the entire room. I decided to invest in a wall sander (I ordered this one) so I’m excited and hopeful it will make the job a little easier and maybe less messy. I’ll report back on both.
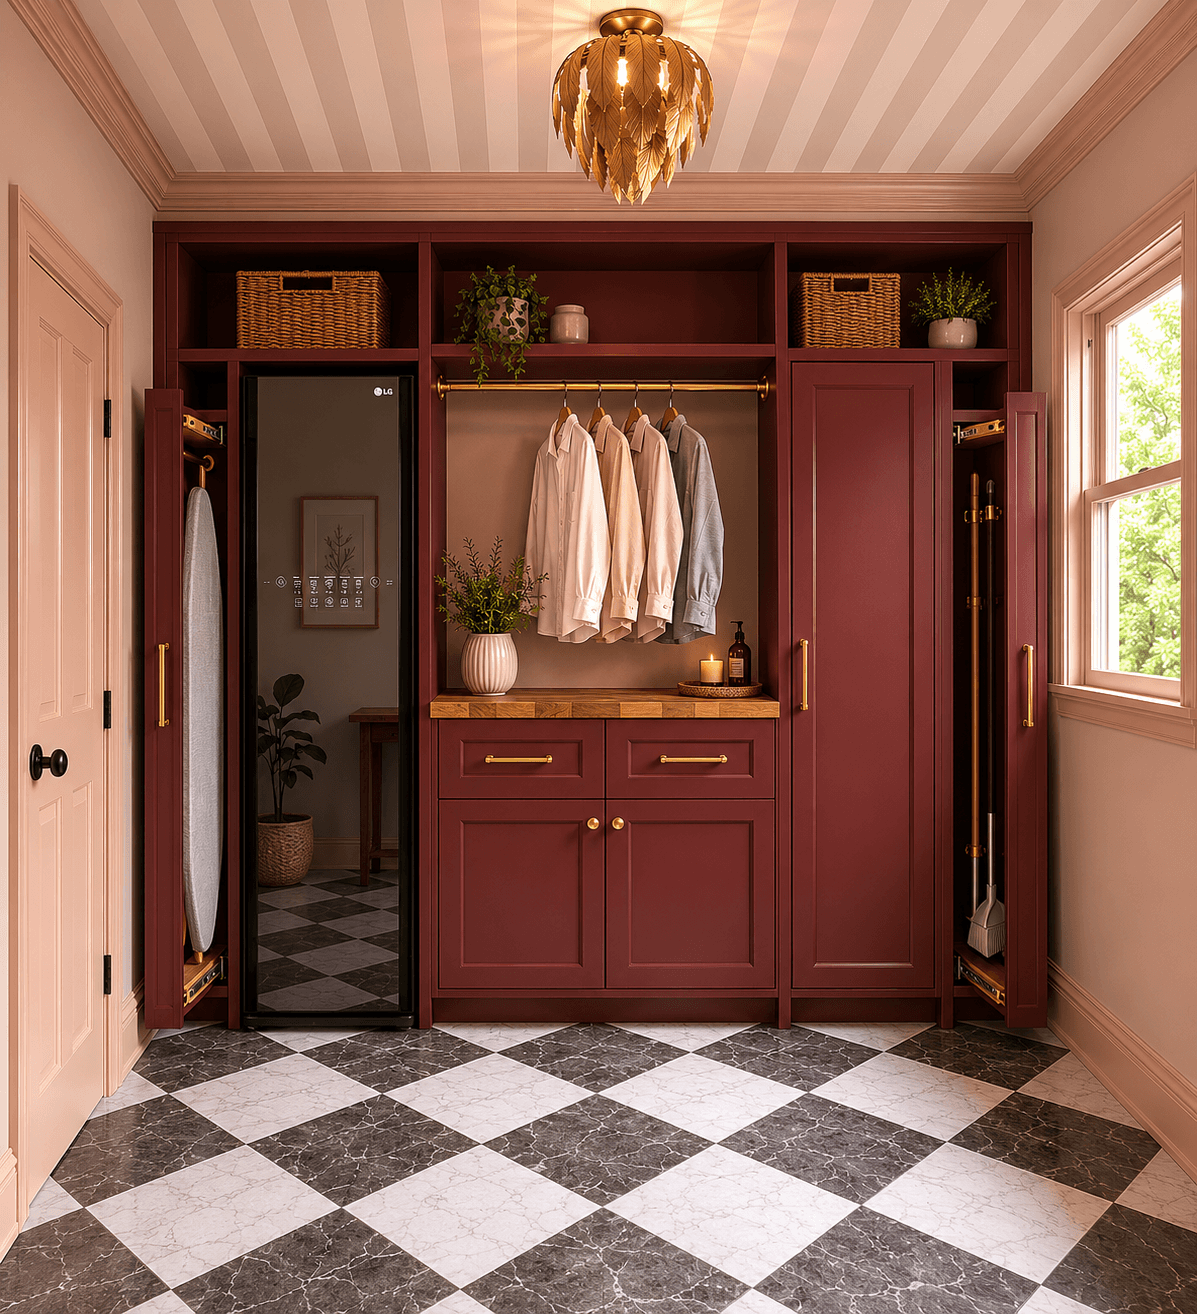
The woodwork will arrive this week, so I plan on drawing out a more detailed version of the mock-up I created in canva (below). I think the custom wainscoting is going to look so rich in this space! I’m really excited to get started!
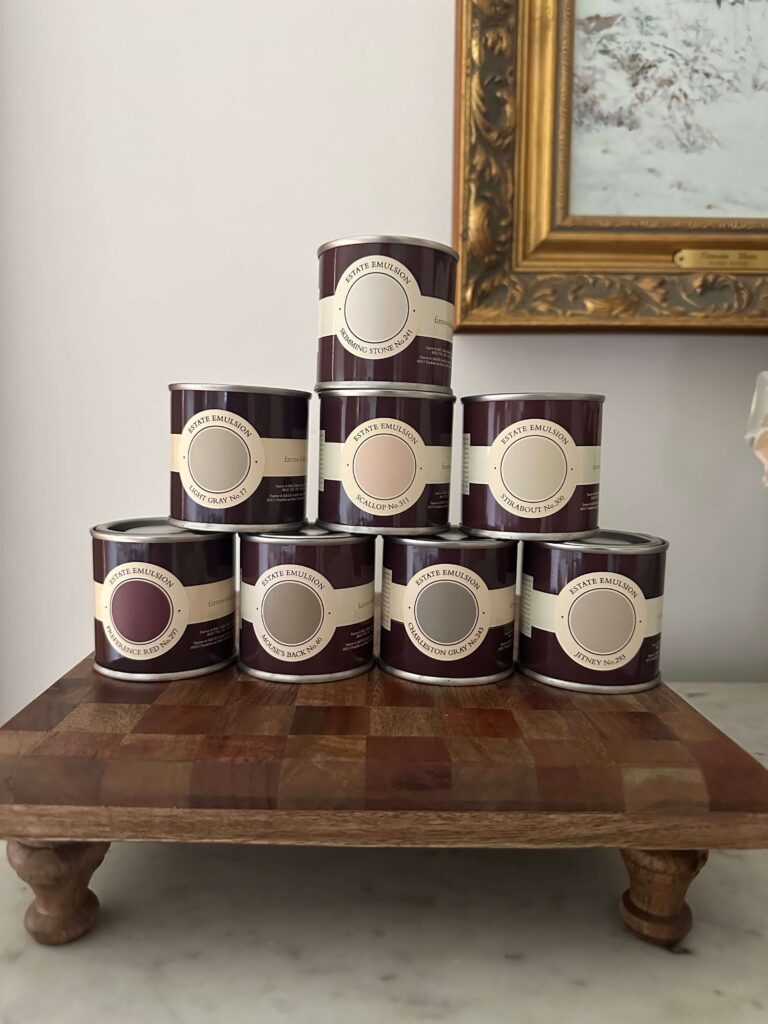
I have lots more exciting shipments coming in this week including lighting, hardware and mirrors, and the paint samples have also arrived! Keep an eye on stories to see all the fun un-boxings (it’s one of my favorite things to do!).
Stay tuned for much more over the next 6 weeks! And make sure to visit the One Room Challenge page where you can follow along with dozens of talented designers that span across every type of project and style you could imagine. This community we’ve fostered is what the One Room Challenge is all about!
Catch Up On the Spring One Room Challenge:
Spring 2025 One Room Challenge Week 1
Spring 2025 One Room Challenge Week 2