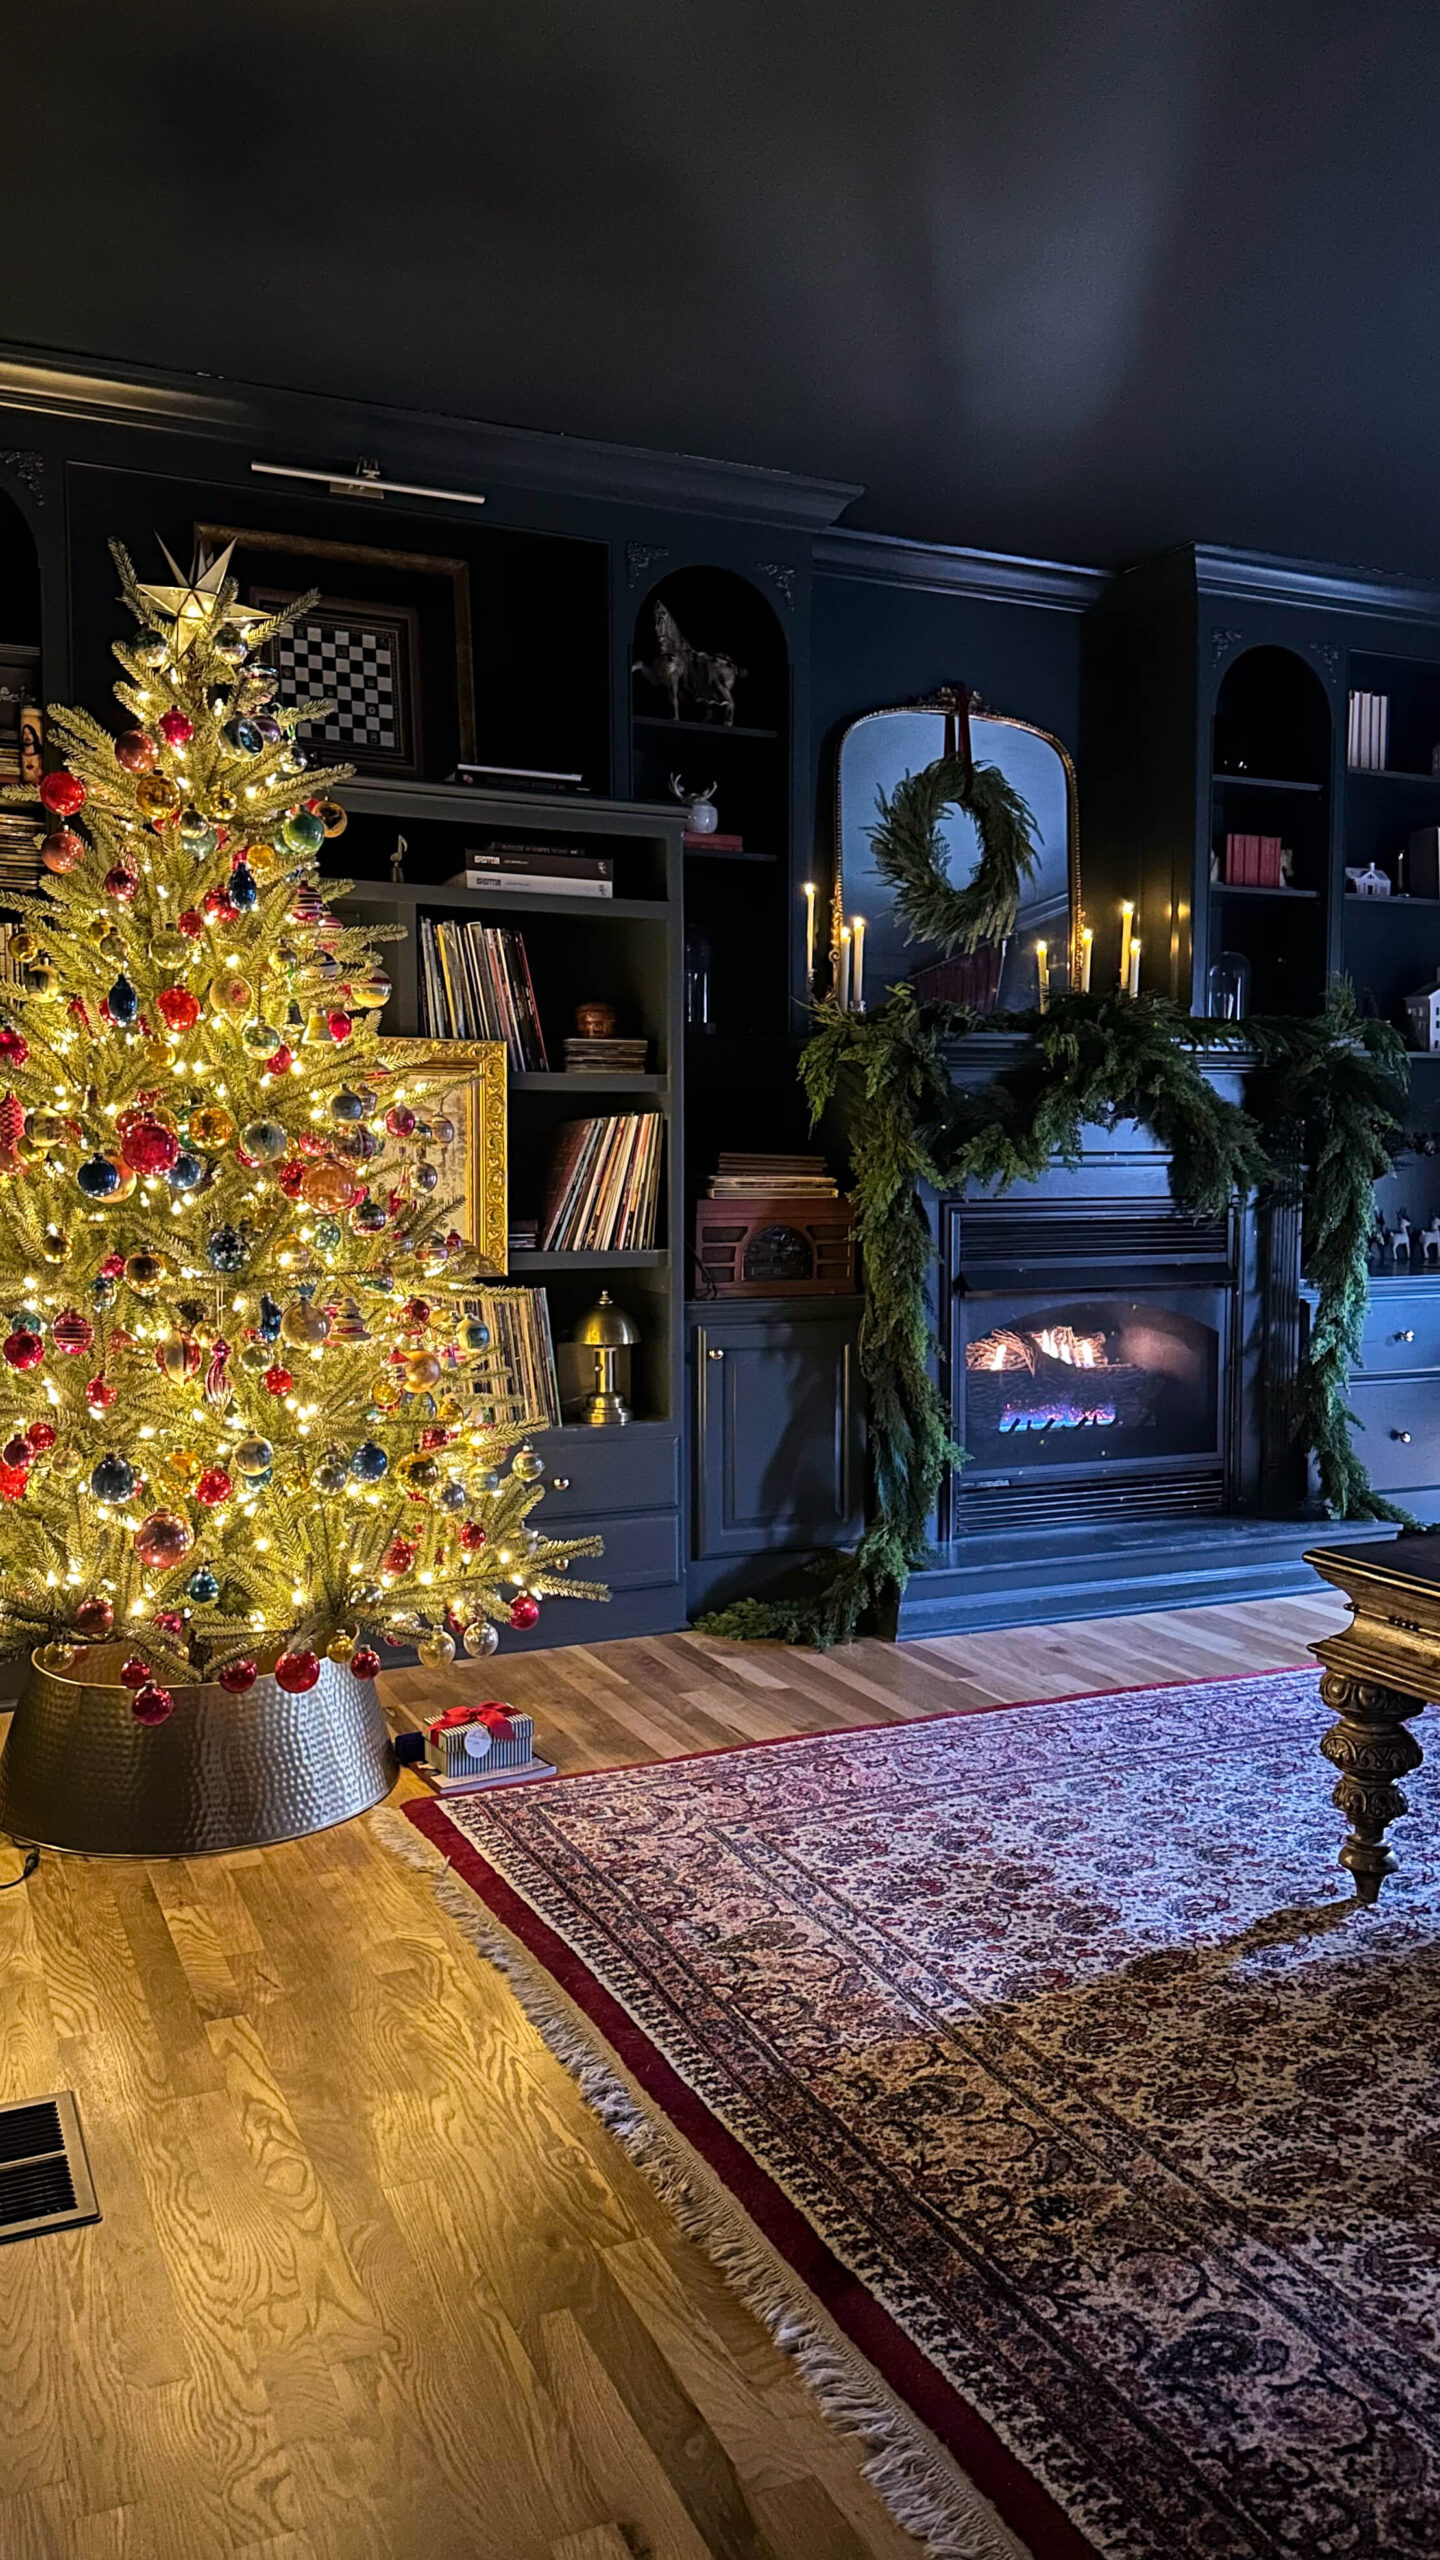
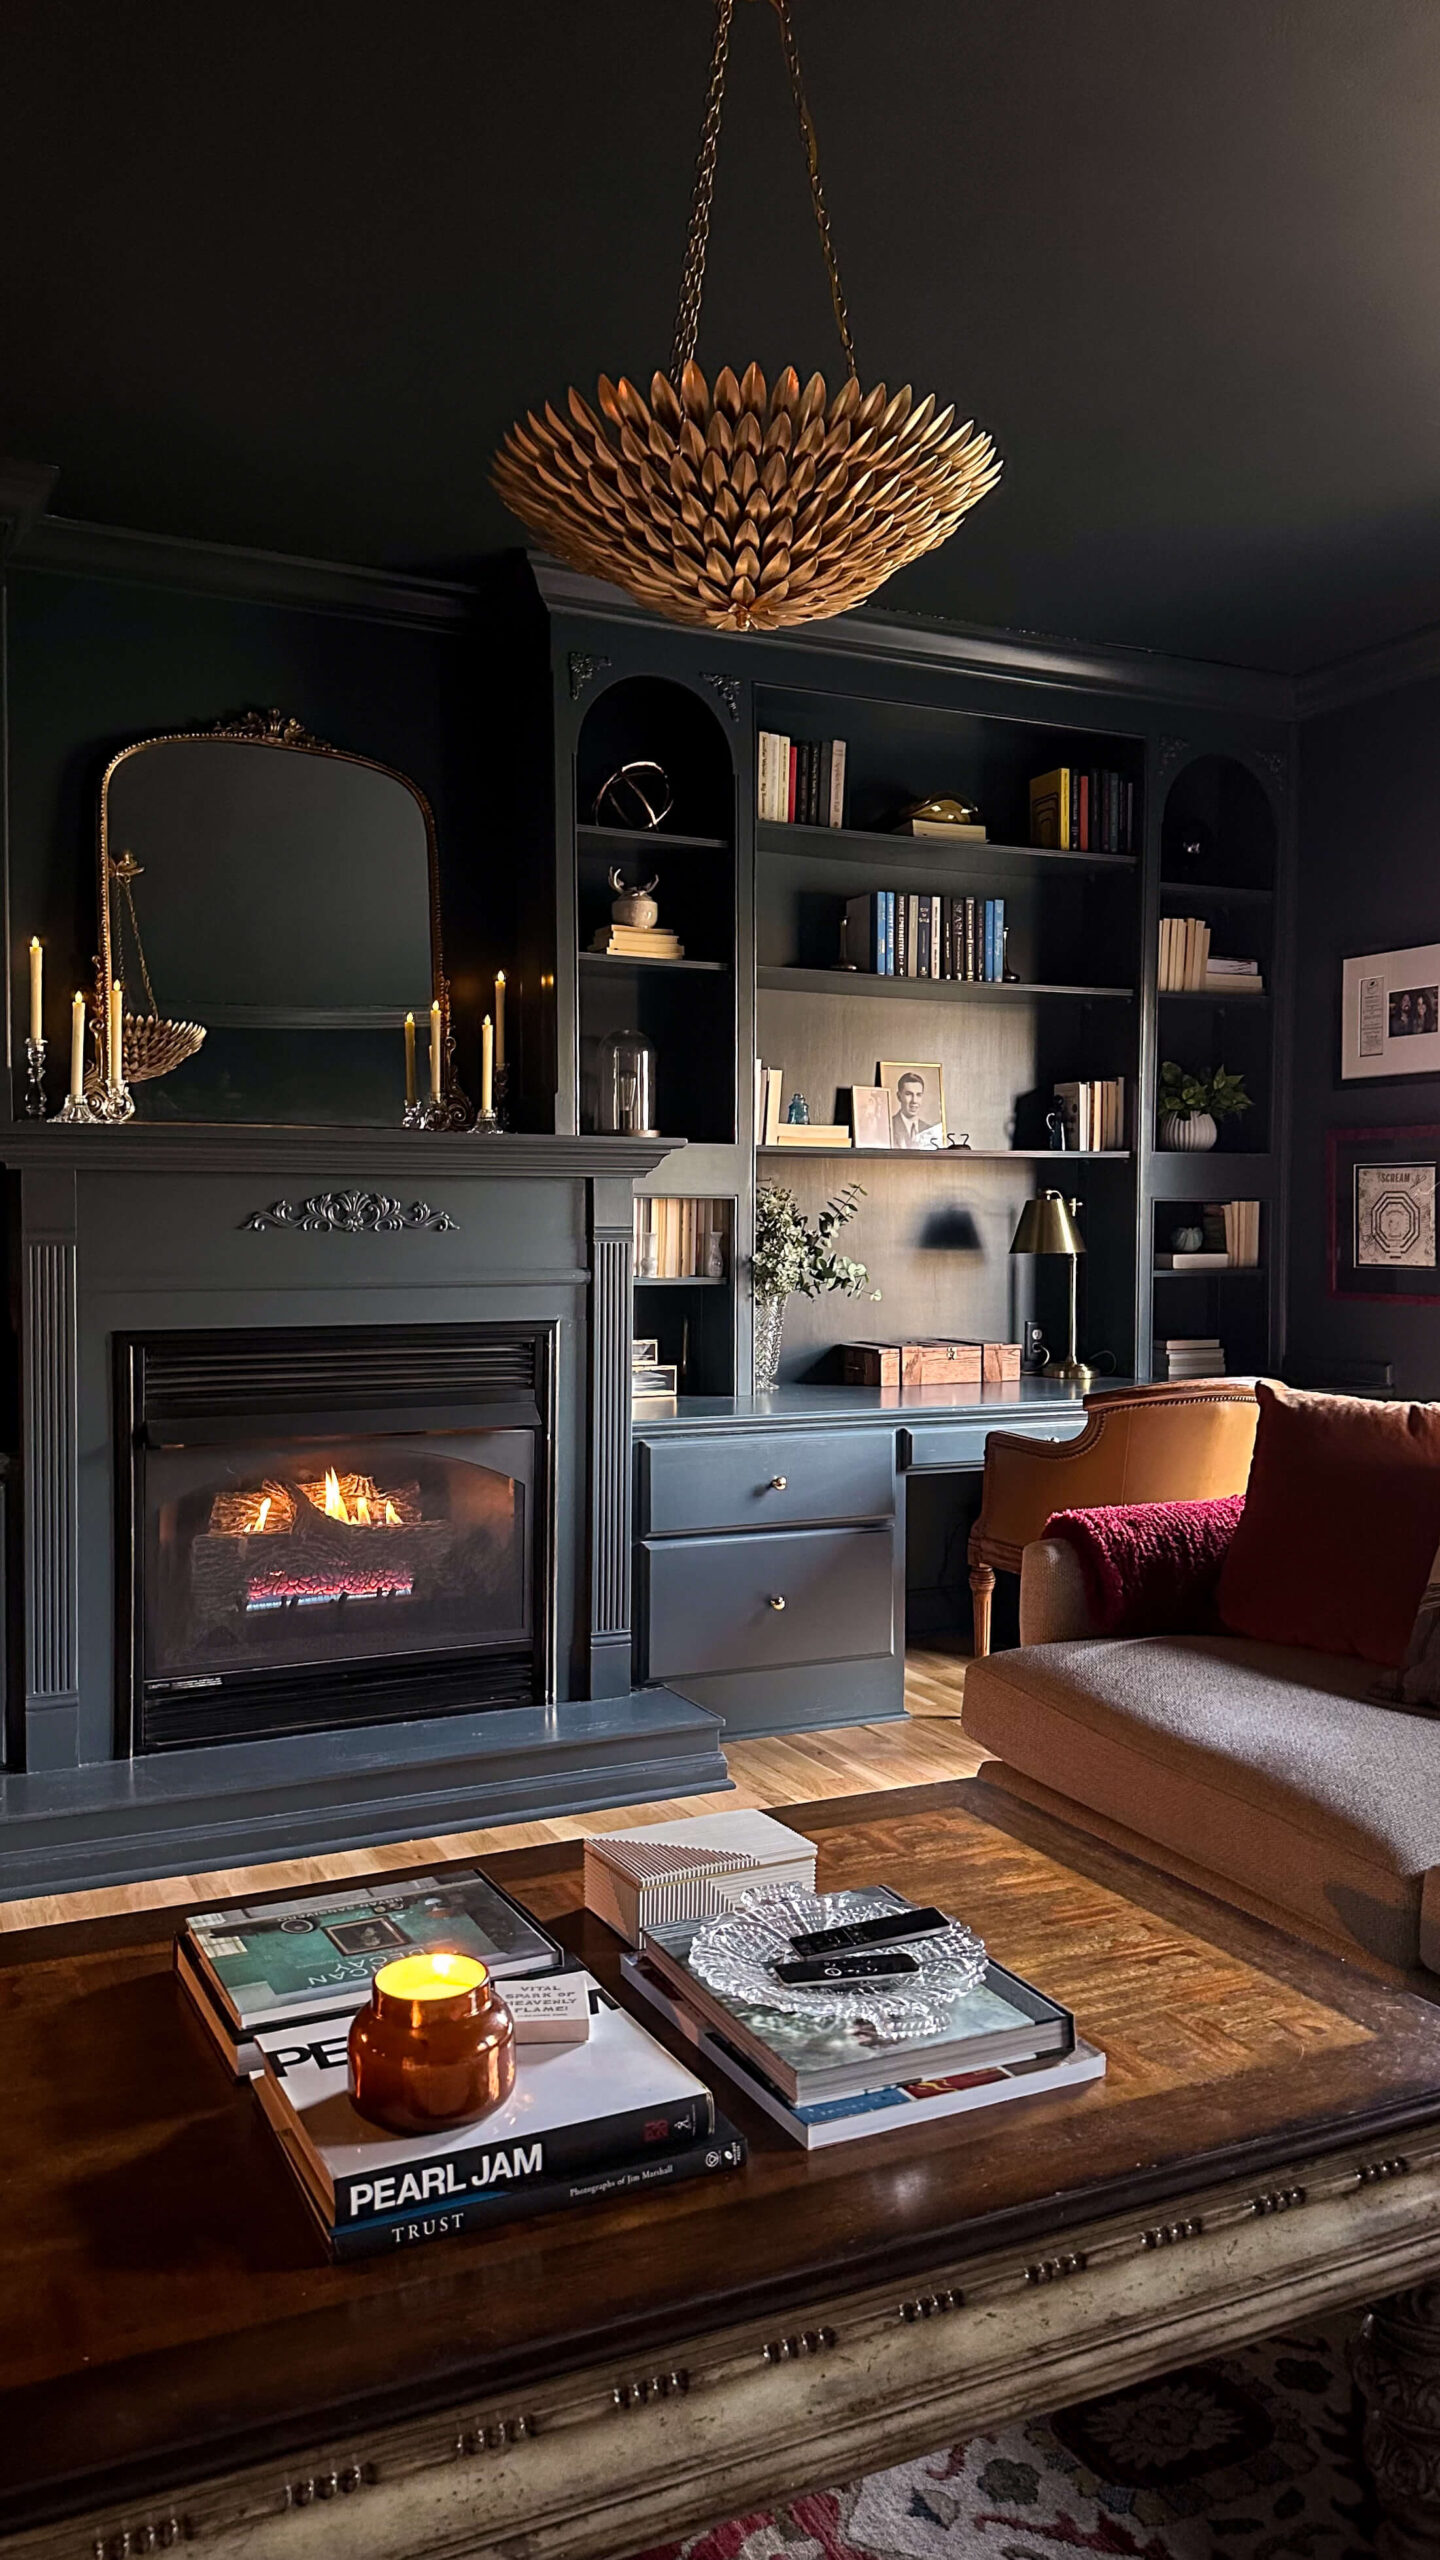
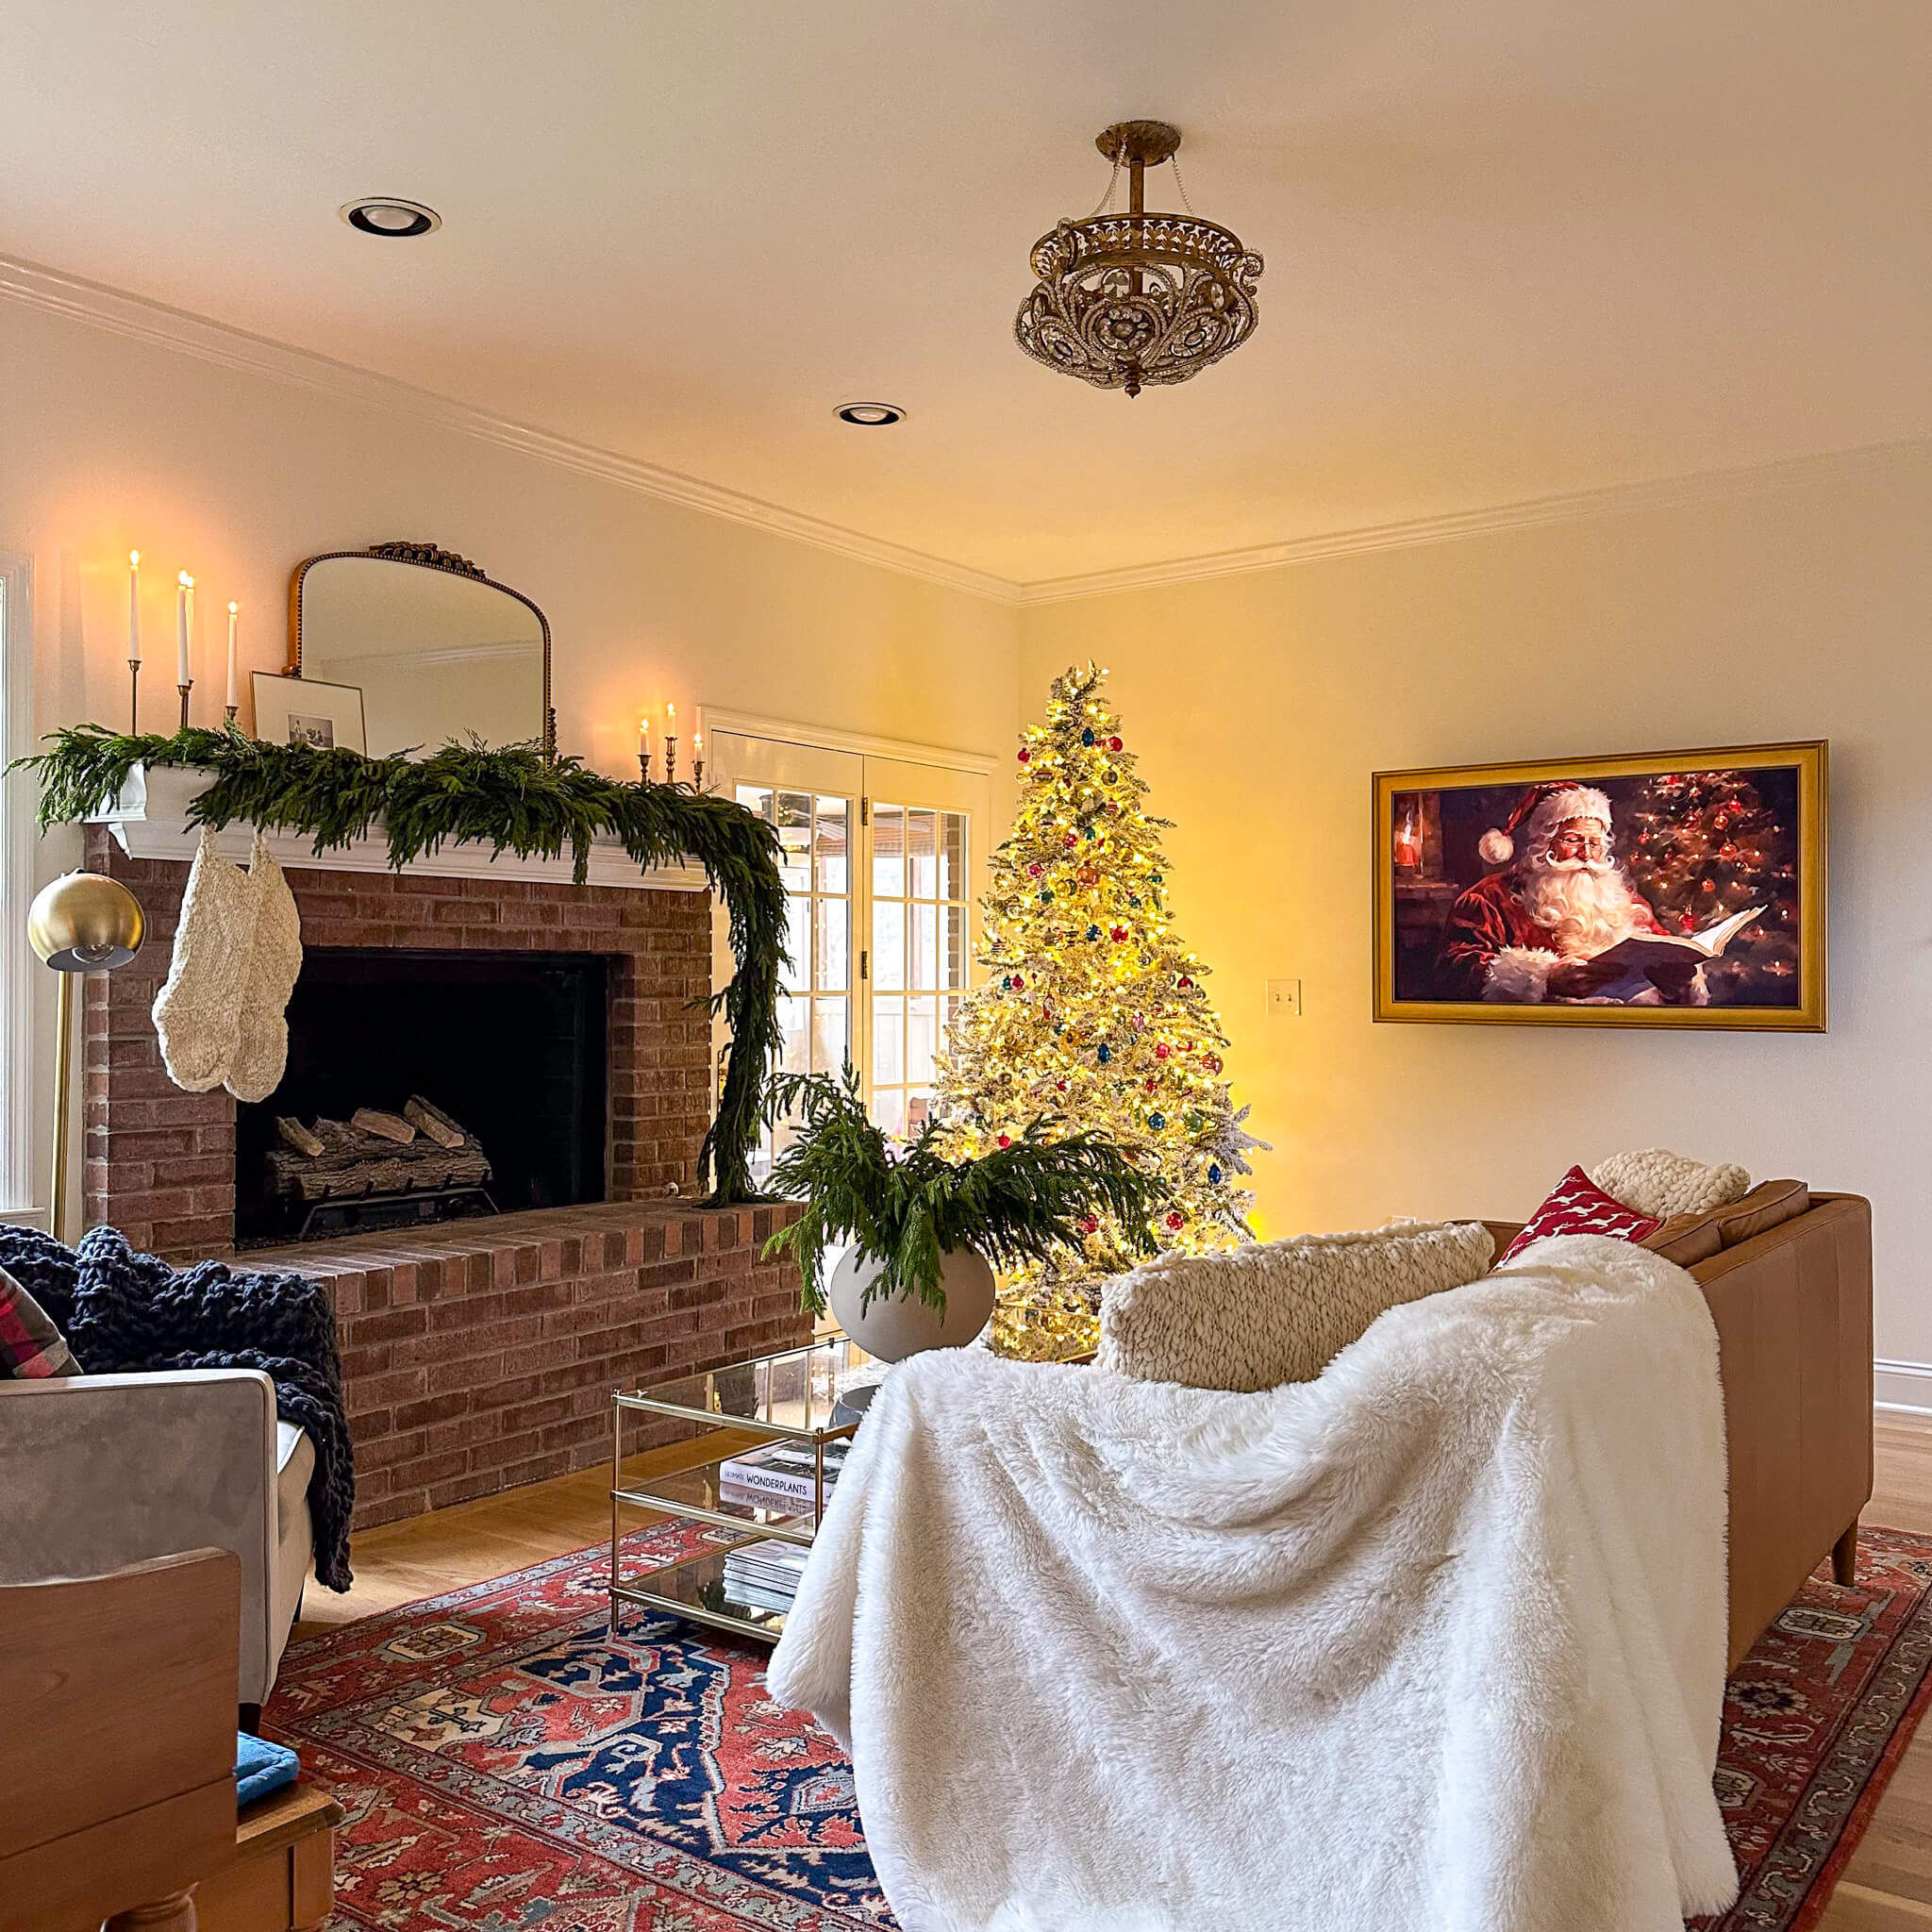
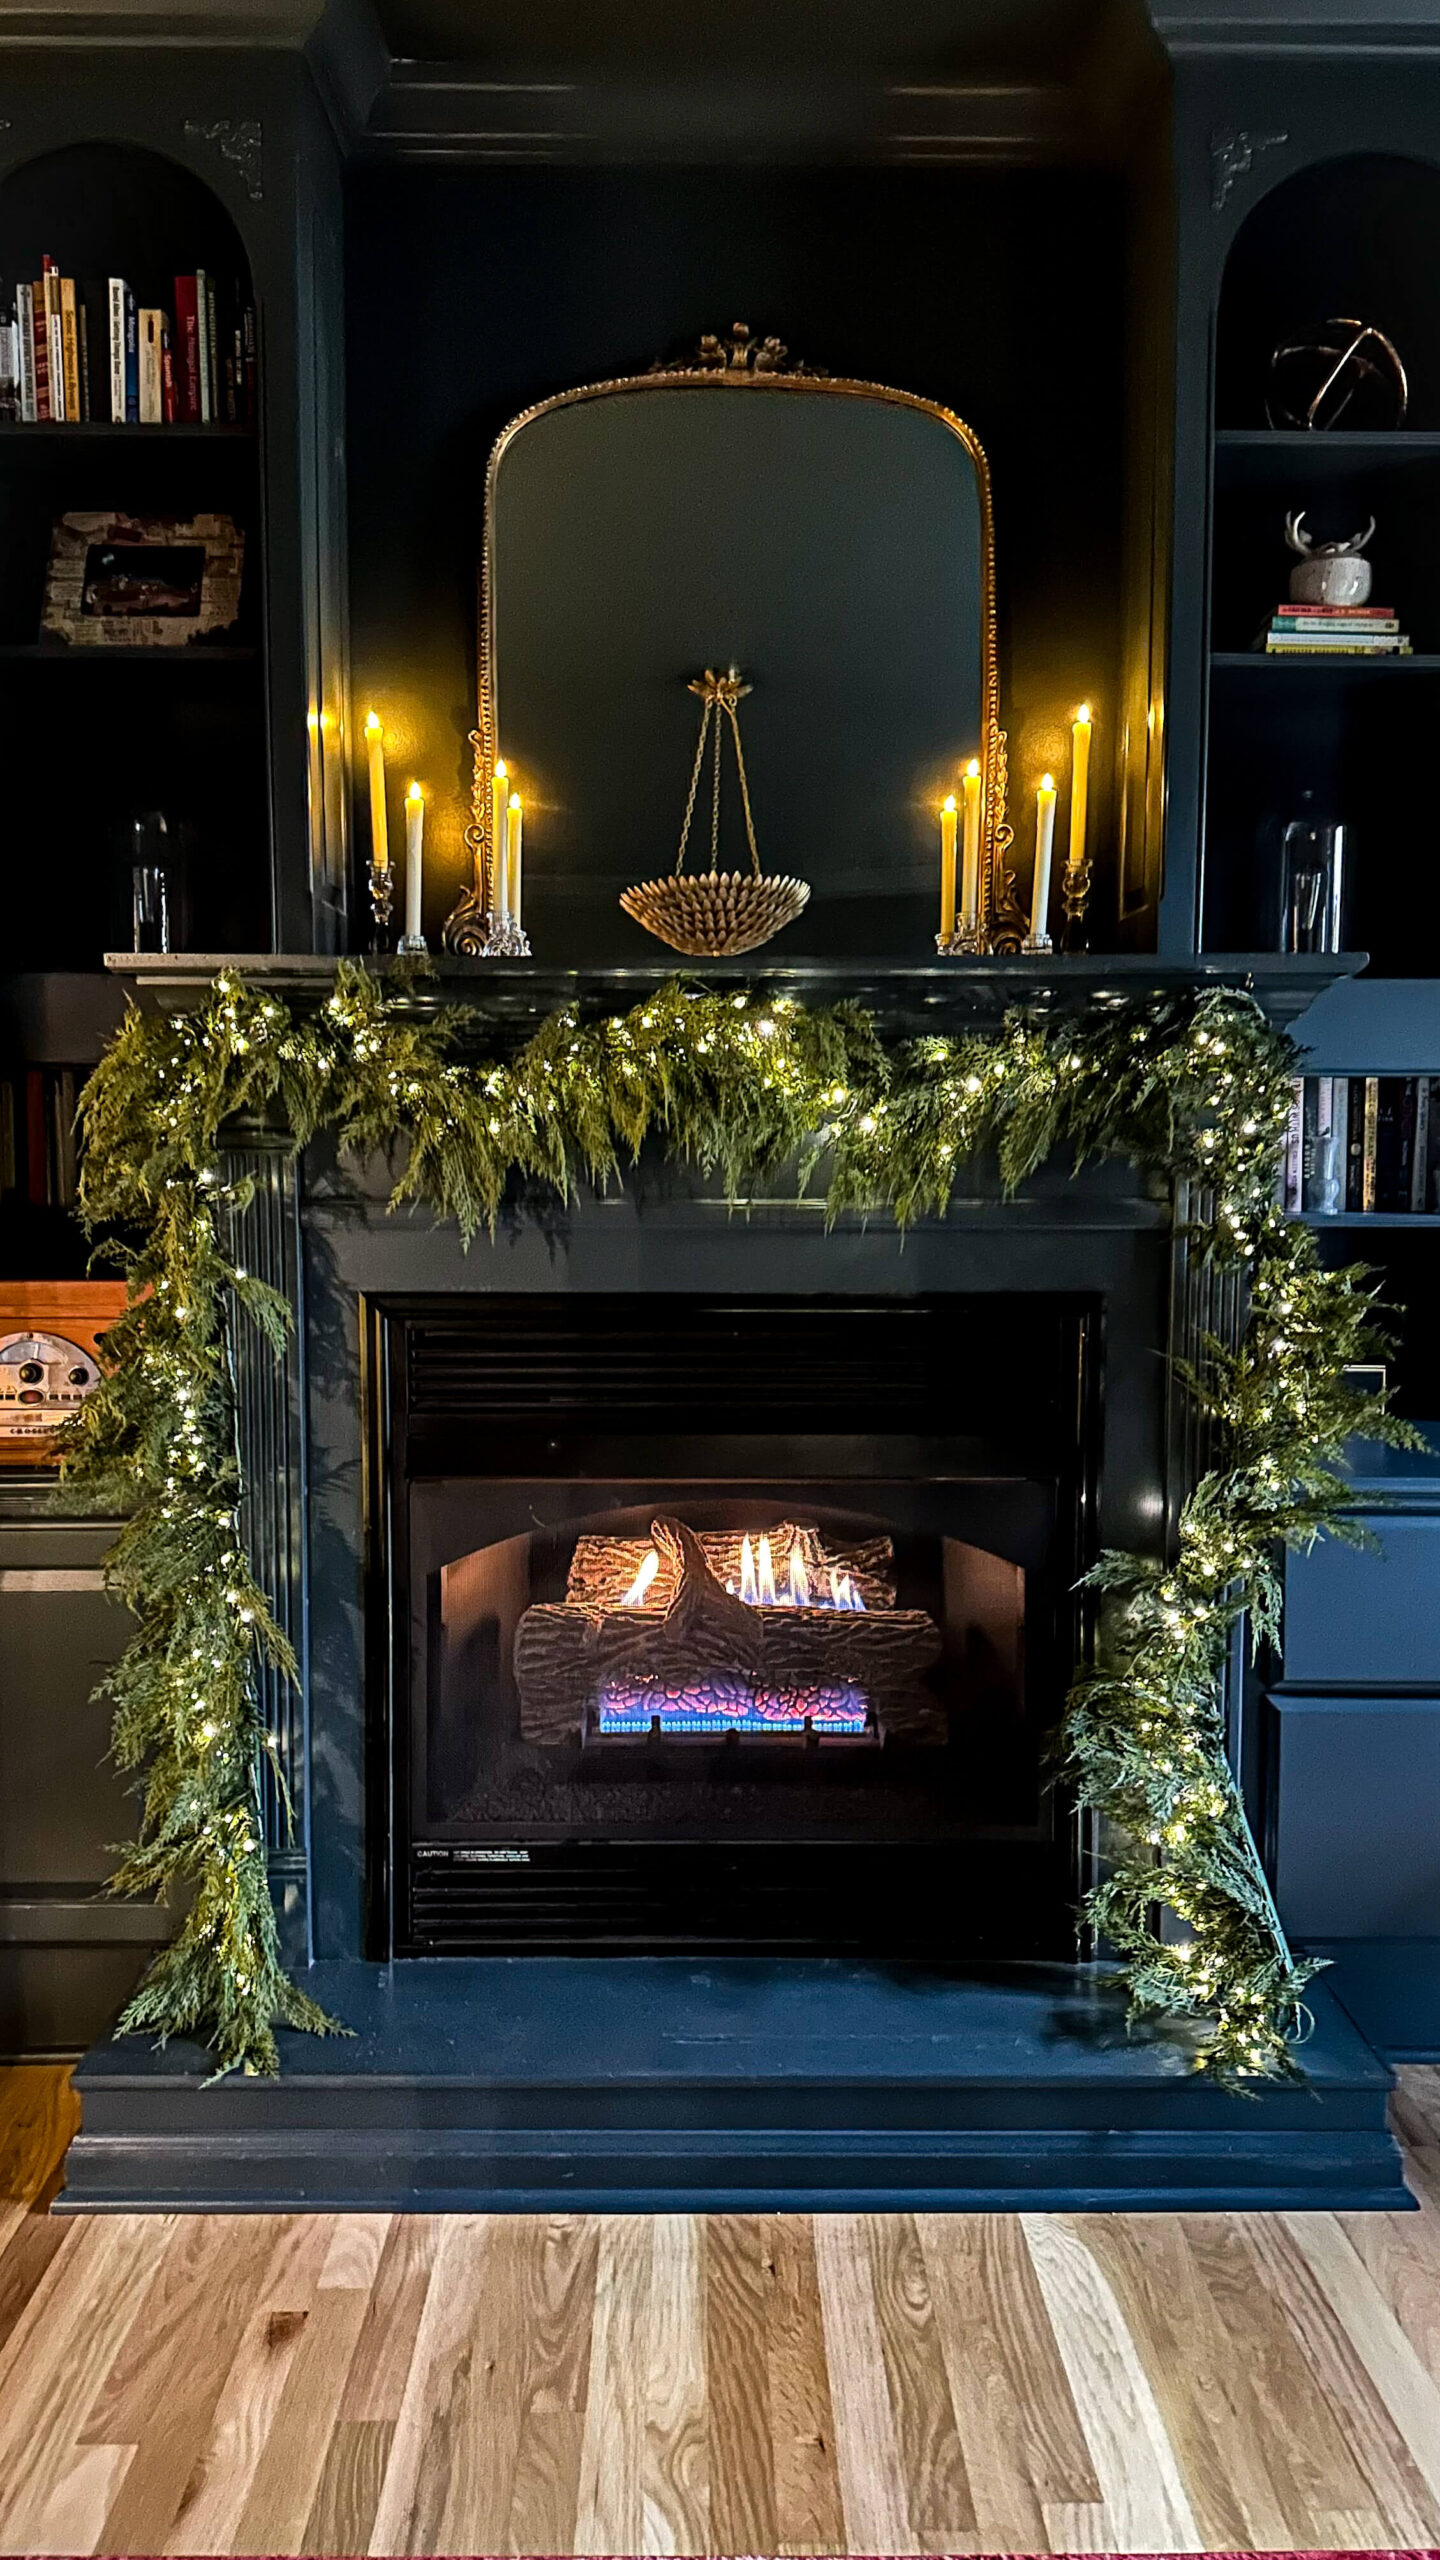
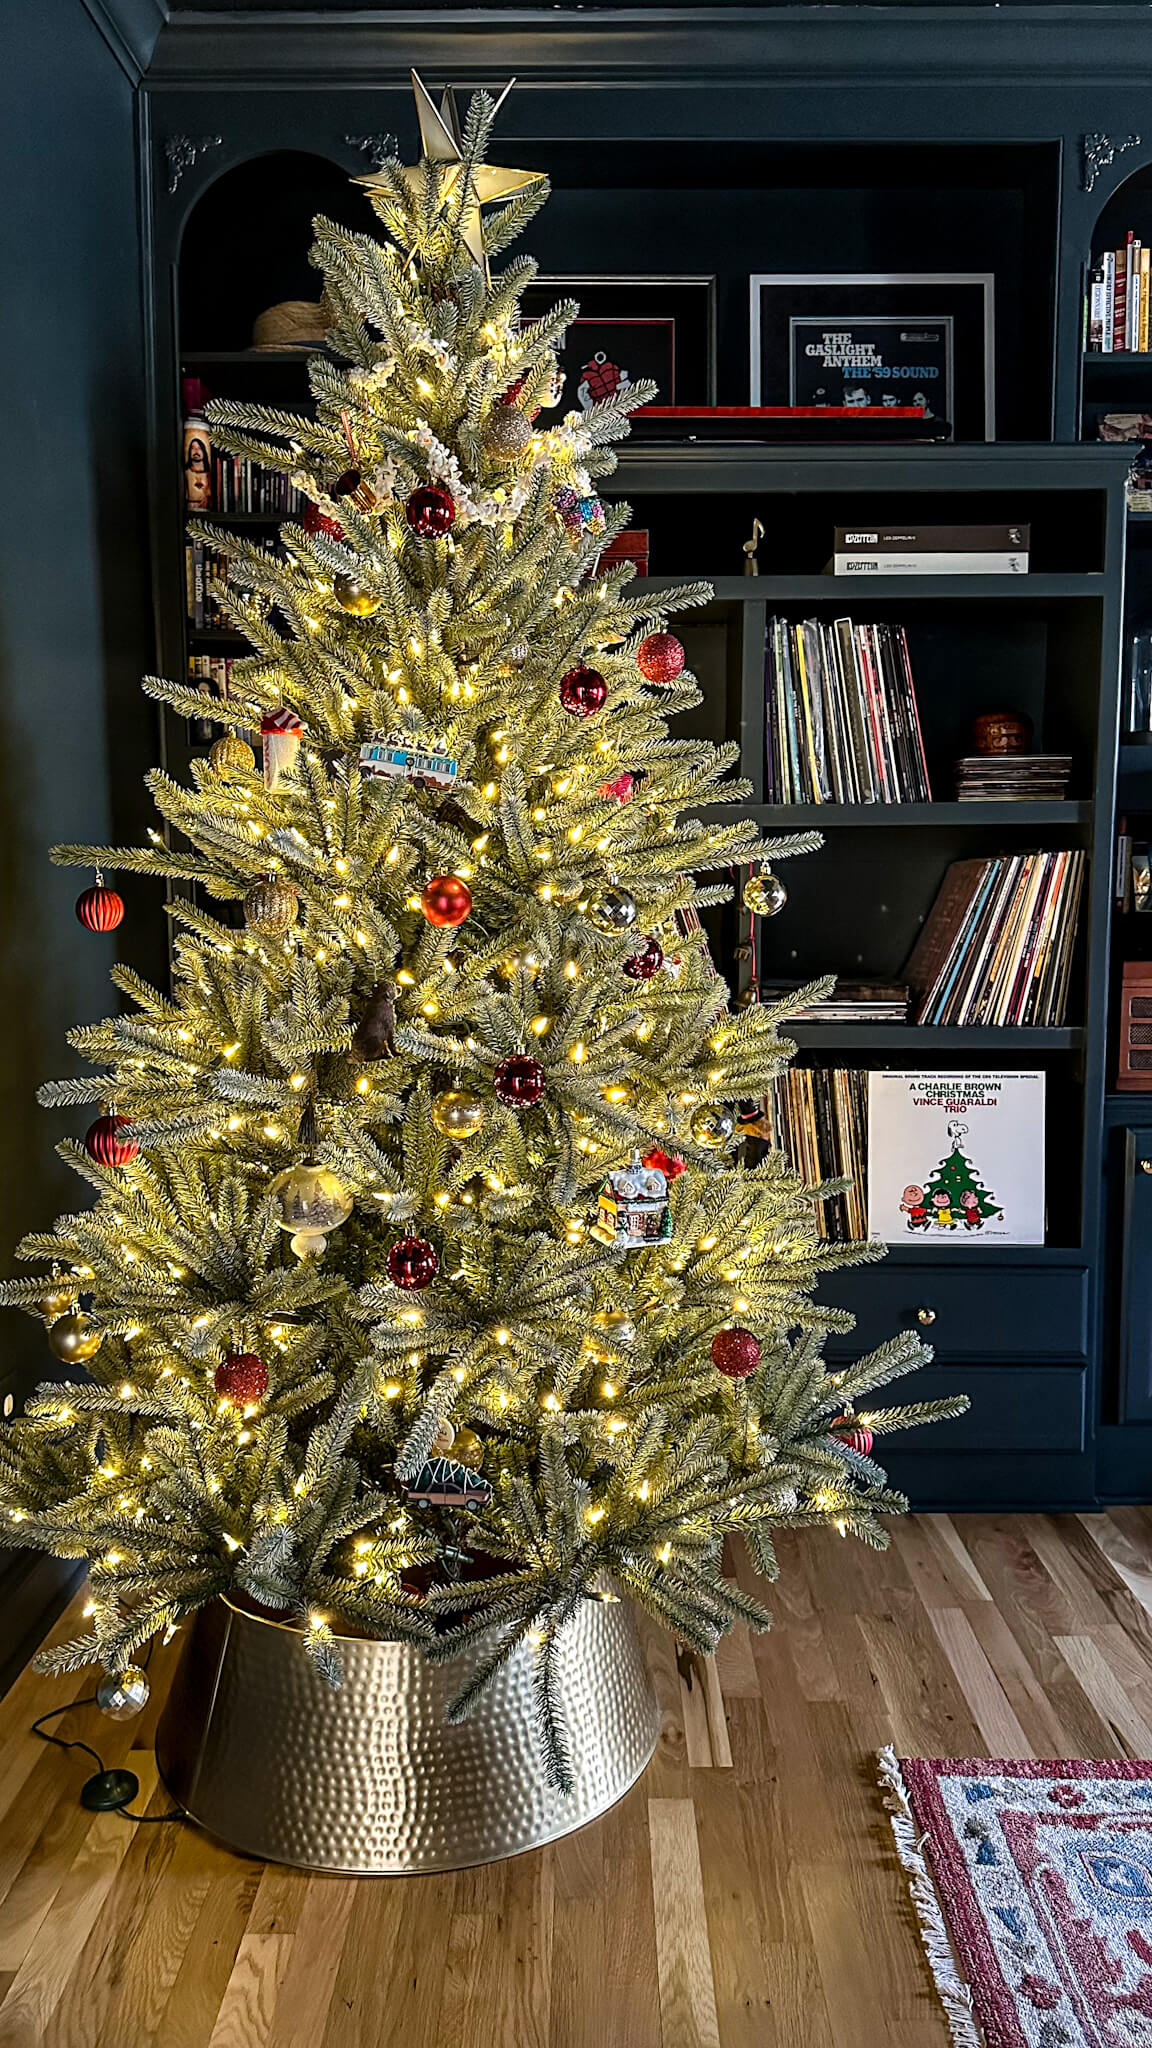
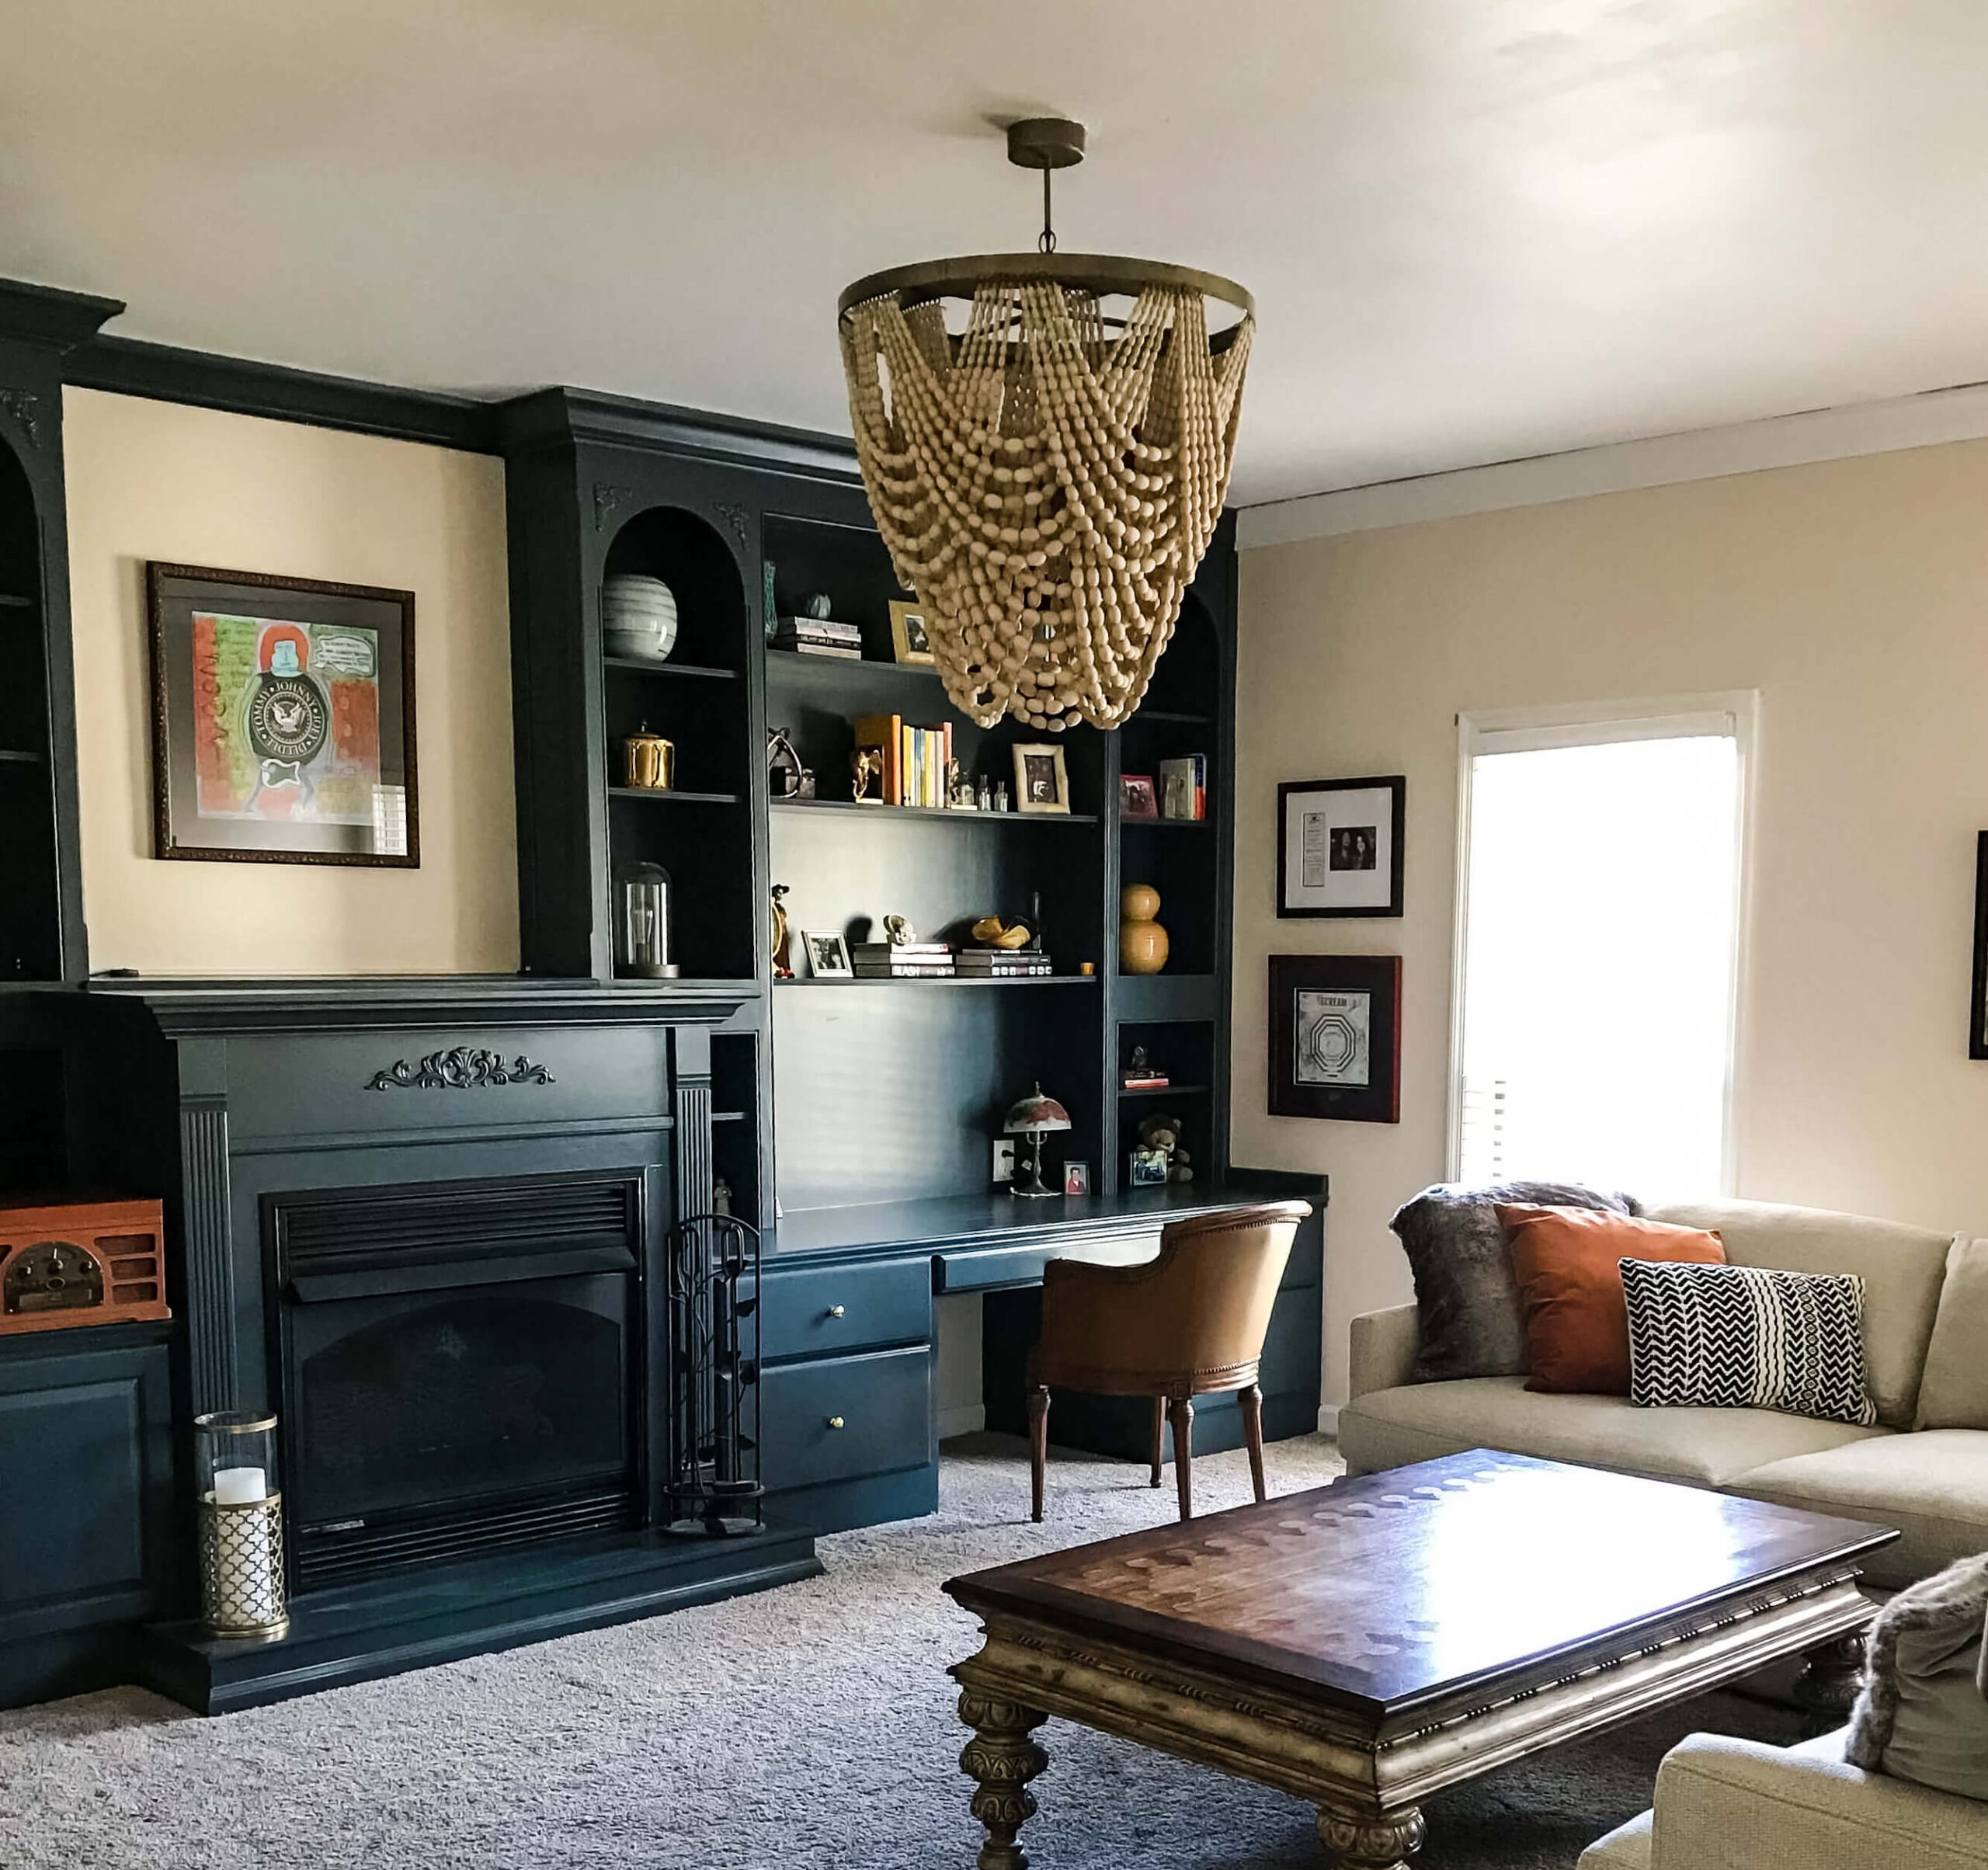
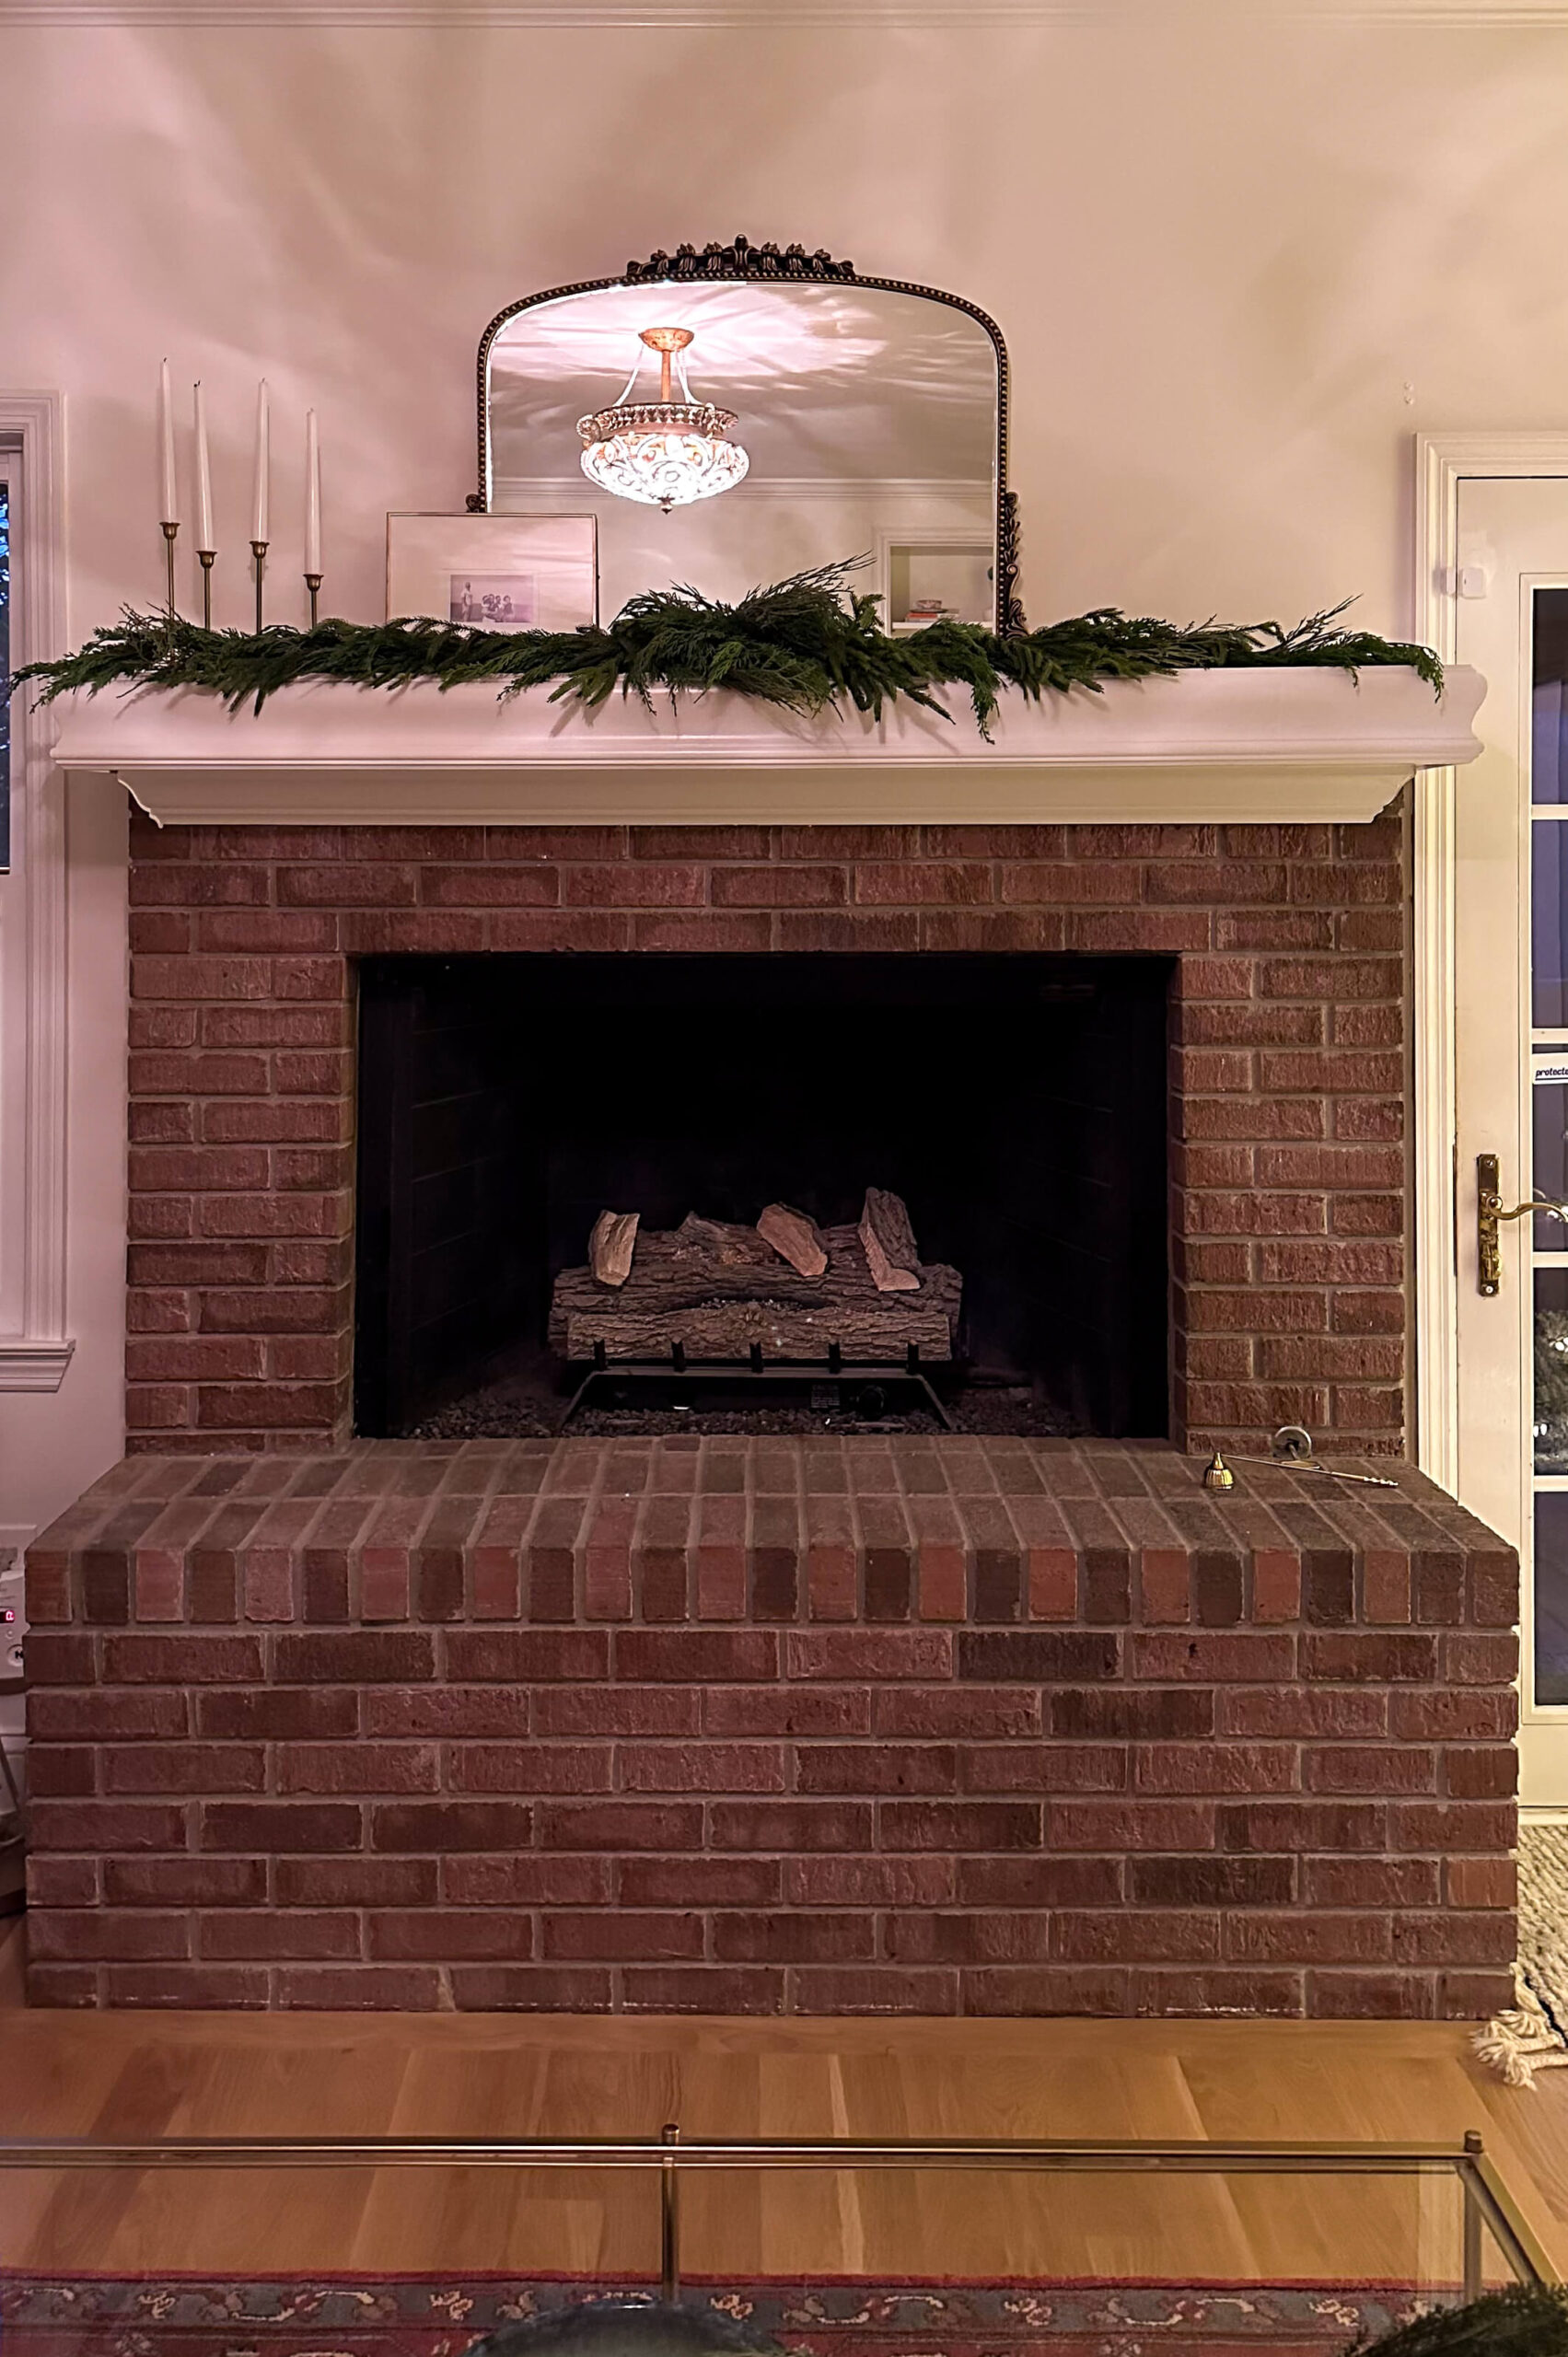
What’s better than decorating your mantel for Christmas? Decorating two mantels! Yes that’s right, I am lucky enough to have two working fireplaces in this house, which was one of things that hooked me from the beginning. Last week, I shared my symmetrical draped look in the cozy tv den. To keep things interesting, I decided to try my design skills at an asymmetrical look for my second fireplace. My goal was to layer the garland and create a whimsical and effortless look.

Shop Norfolk Pine Garland
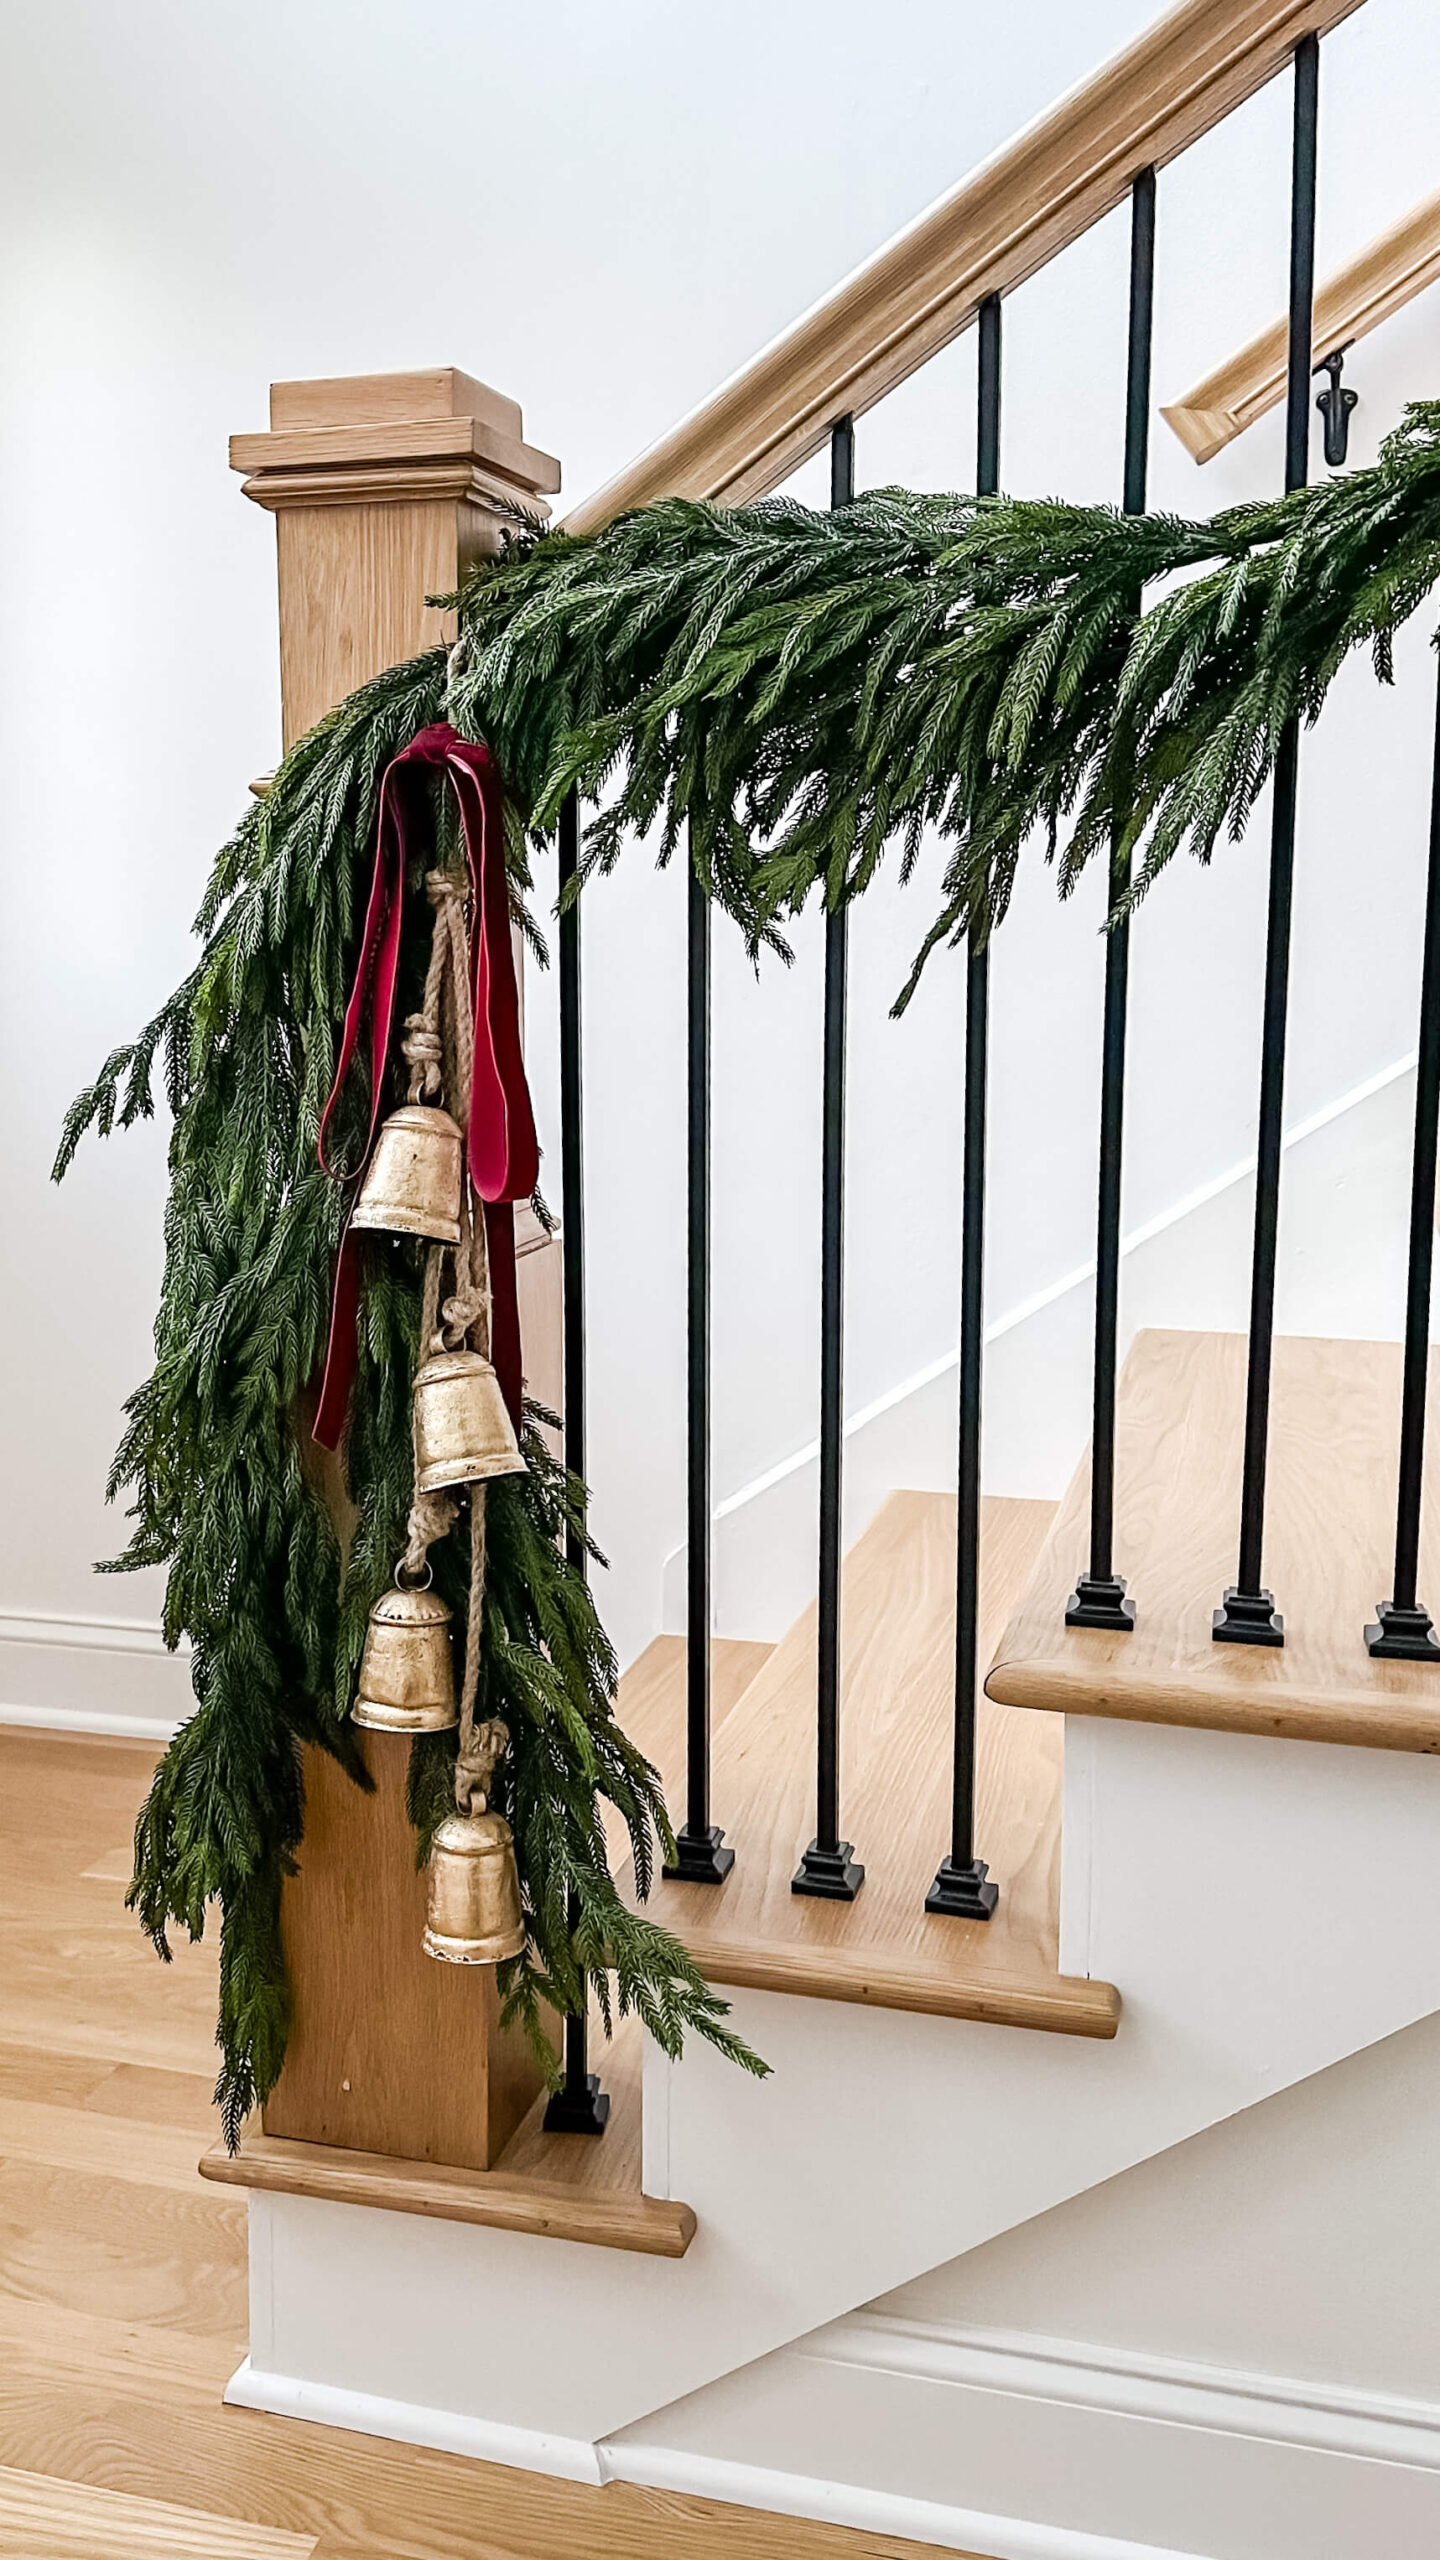
In the past, I’ve set my garland on top of the mantel, and didn’t really change much of the other décor out. This year, I knew I could up the ante and have been pinning ideas for months. Since my living room flows right off the main hallway, I thought it would make for a holistic design to continue the Norfolk real touch pine garland which I used on the staircase, into this room. The living room also gets a significant amount of light, and with a flocked tree in the corner, I didn’t think we needed to illuminate the mantel as well. Sometimes simple is better!
Follow along for a step-by-step tutorial of how to layer garland on the mantel, and some of the tricks I implemented along the way.
How To Layer Garland on the Mantel
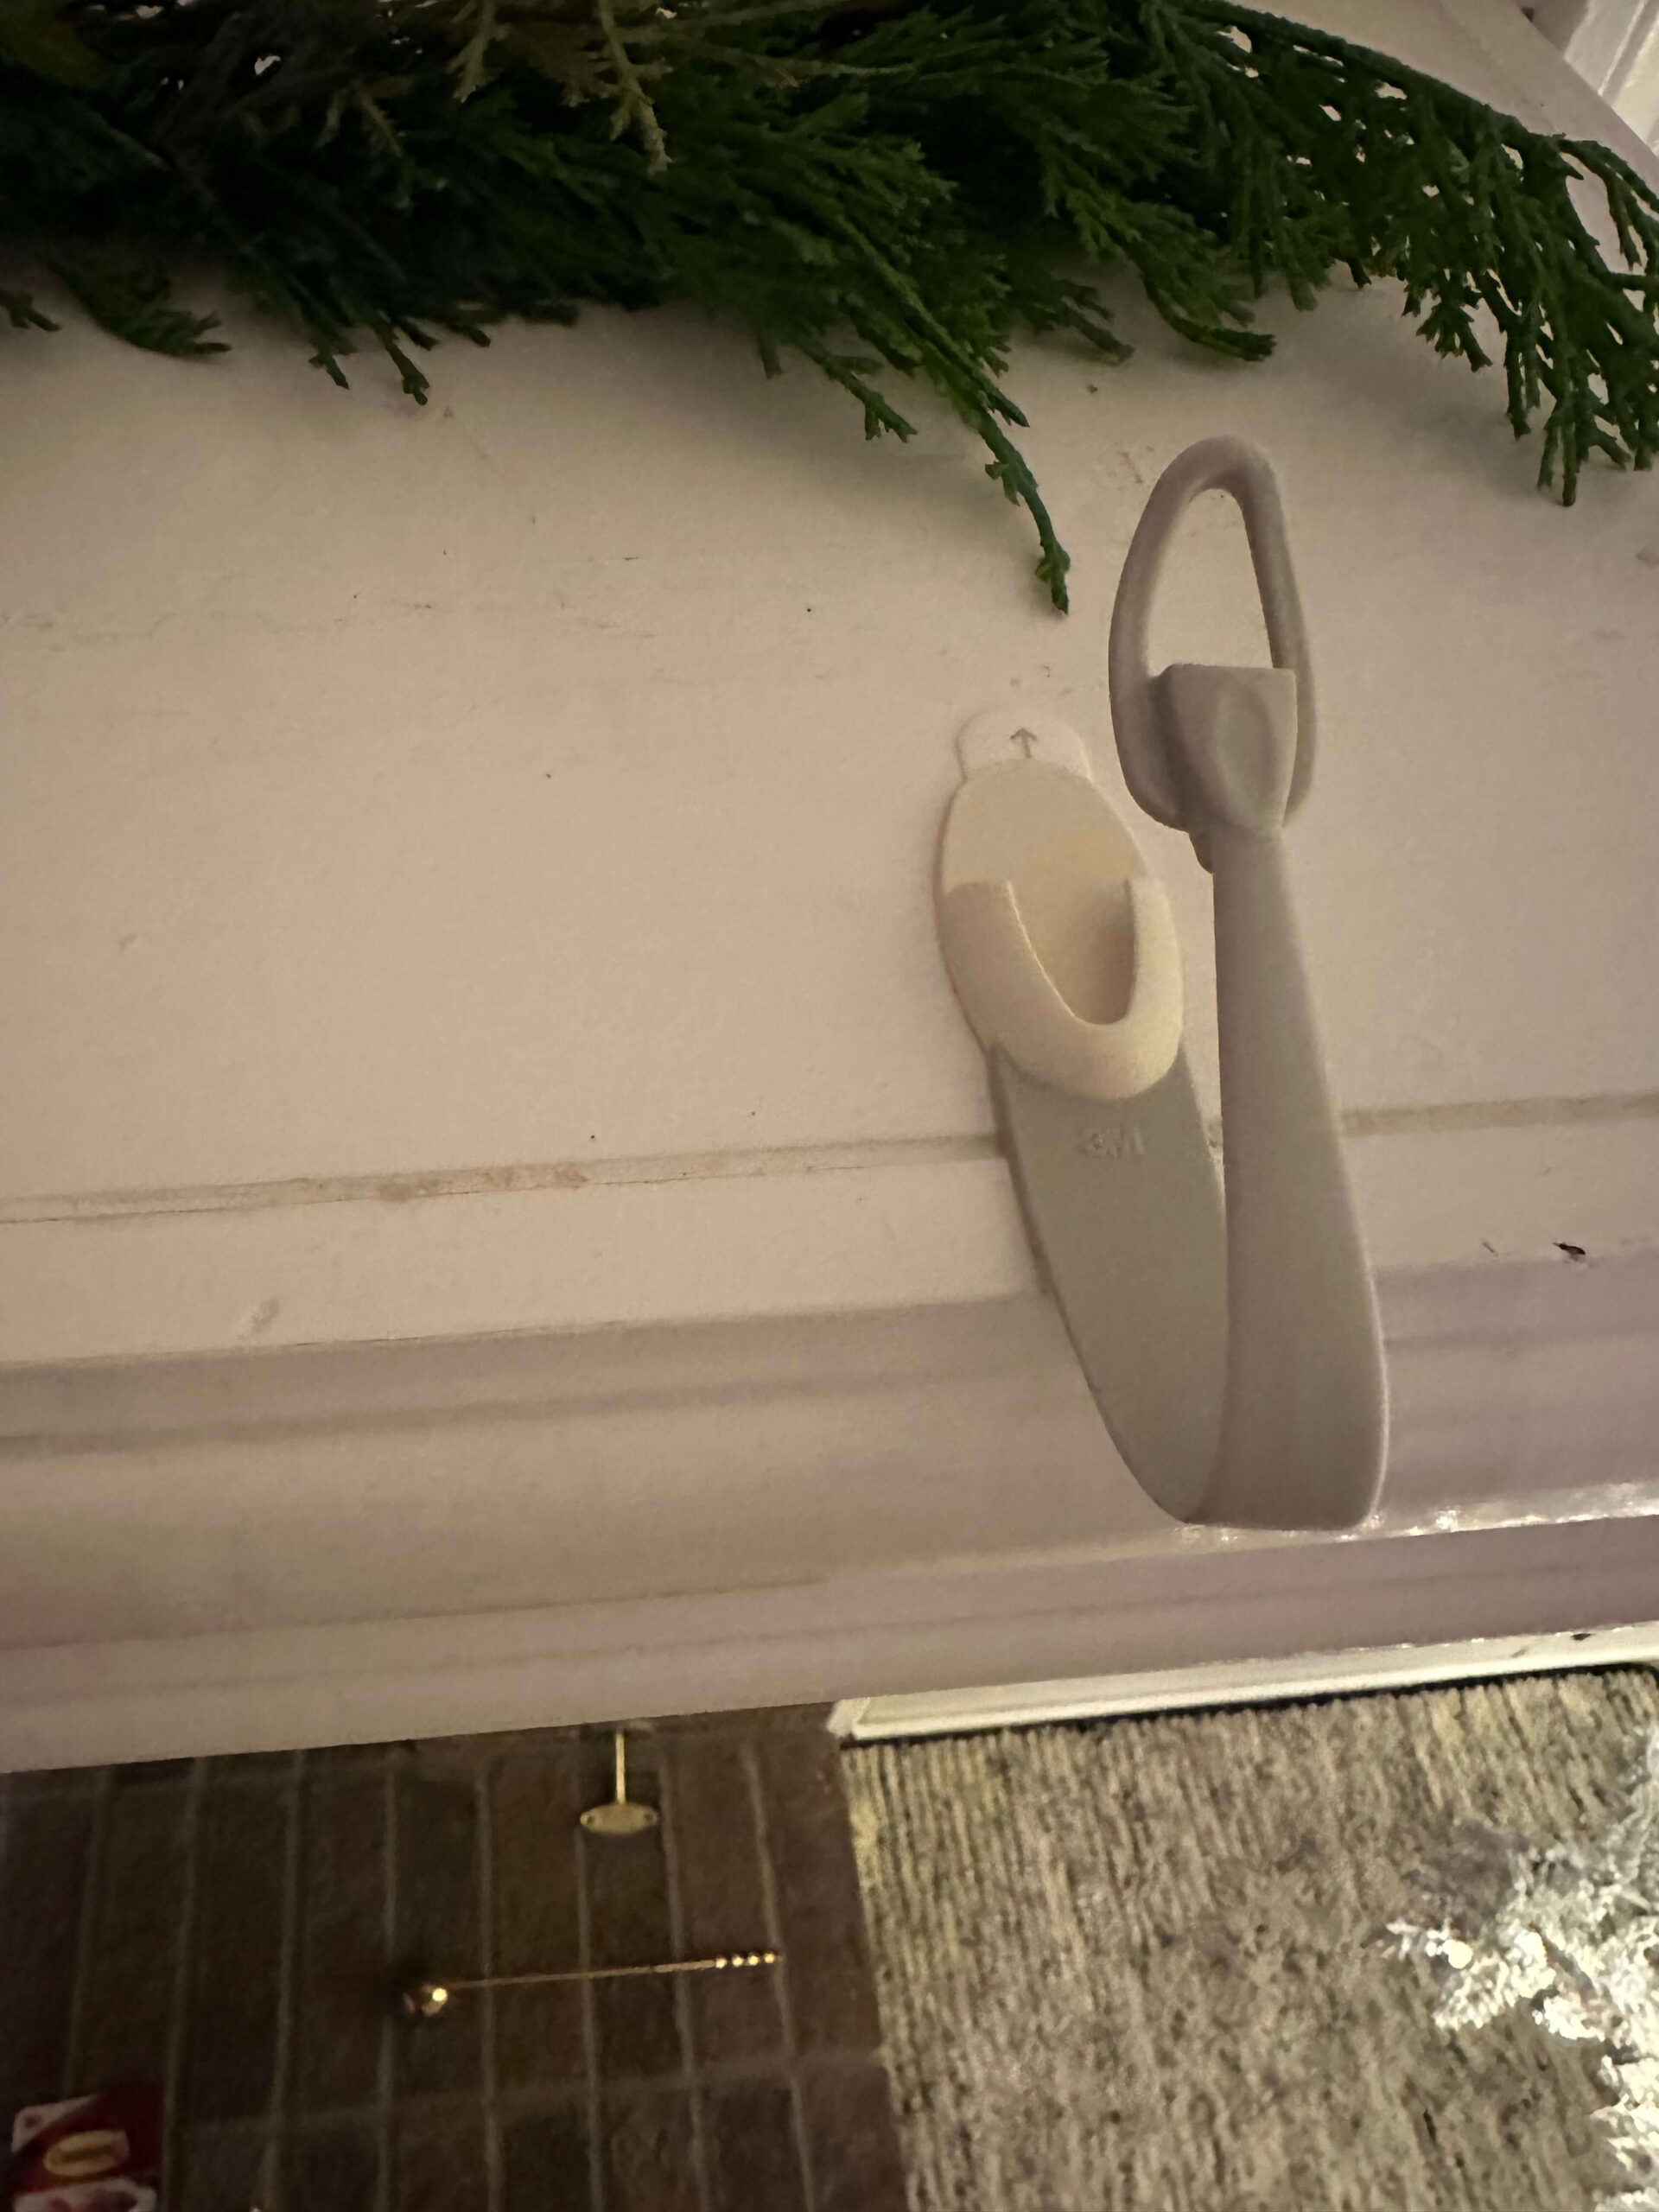
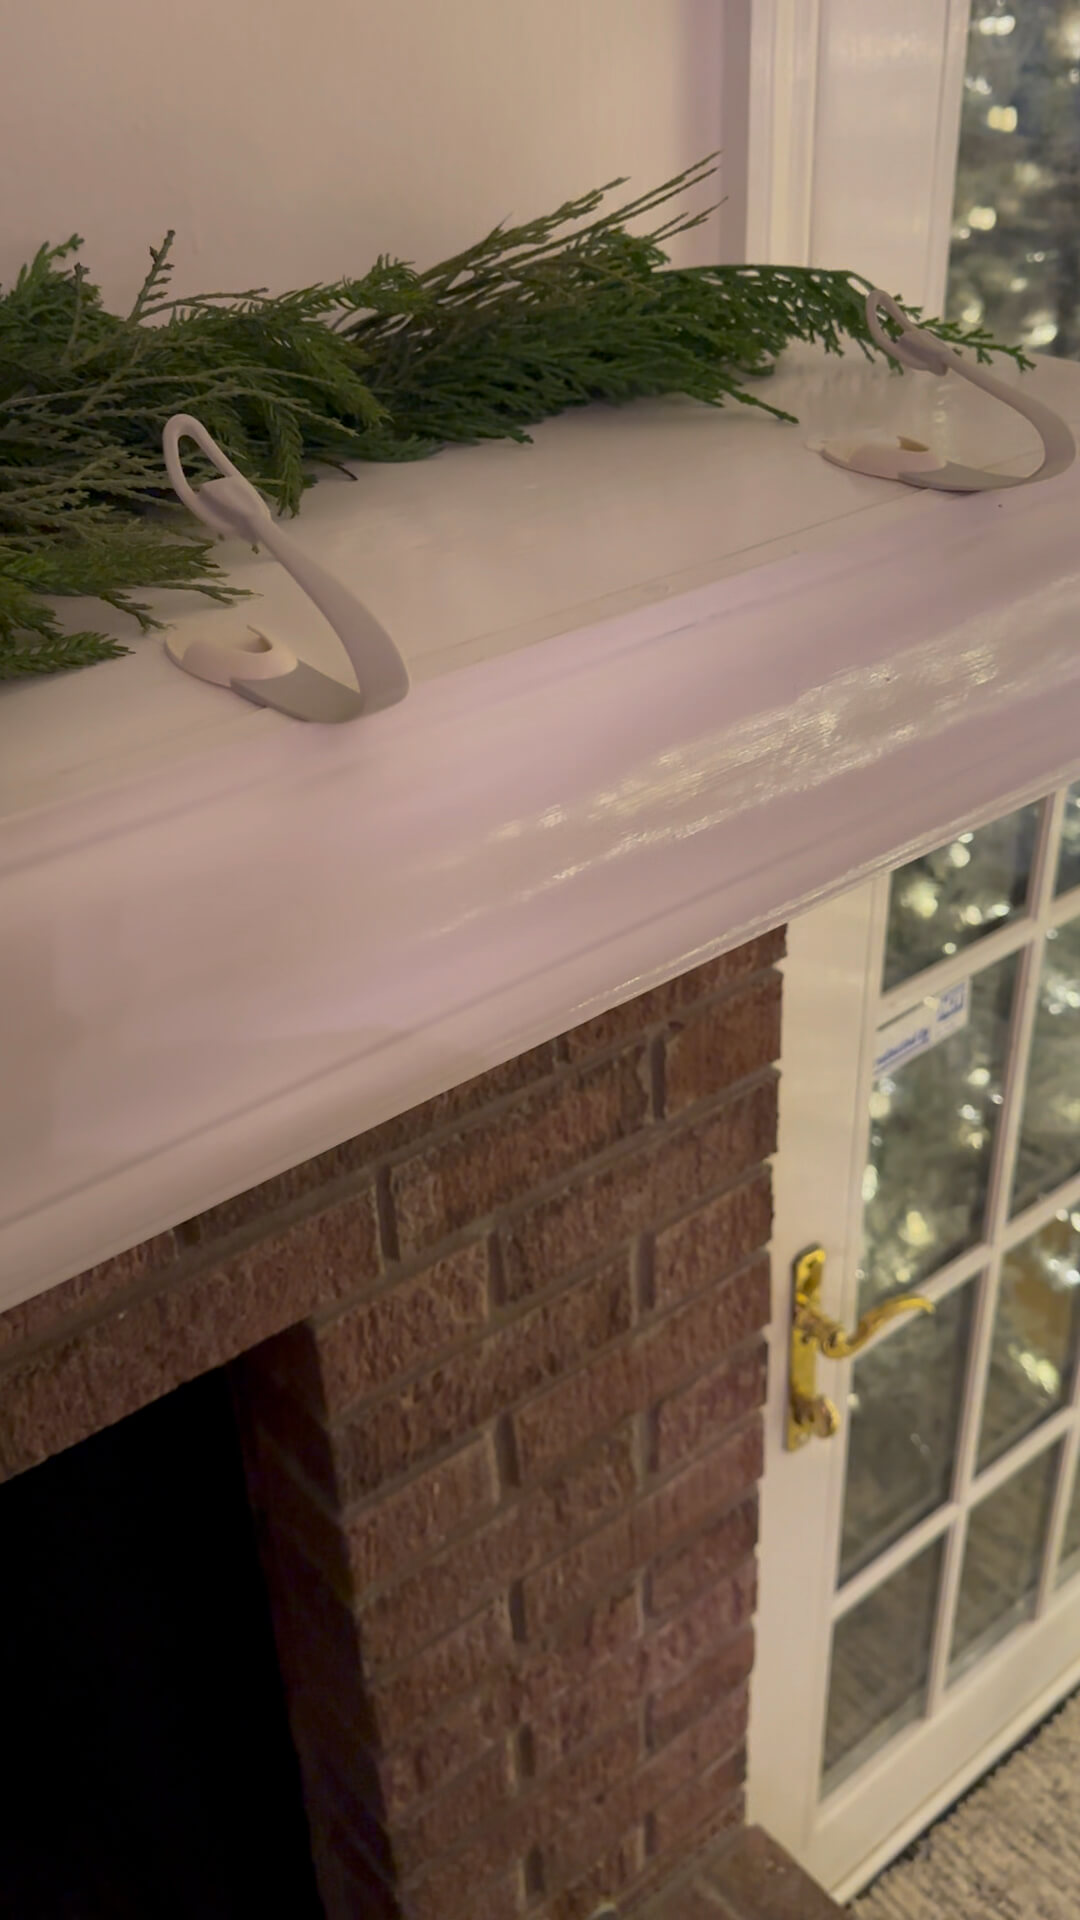
Anchoring with Command Cord Bundlers
When I installed the hemlock pine garland in the cozy den, I chose to drill into the wood mantel and install cup hooks (a full tutorial is coming soon!). While this mantel is also wood, I wanted to try using command hooks first before drilling.
I purchased four Command Cord Bundlers from Amazon, which is what I needed to get the job done – this mantel is huge!

Prepare the surface
Before you start peeling and sticking, it’s important to prepare your surface. The three most important steps to follow are:
- Wipe your mantel with water and a rag. Do not use cleaning solution, as this will weaken the bond of the adhesive on the command strips.
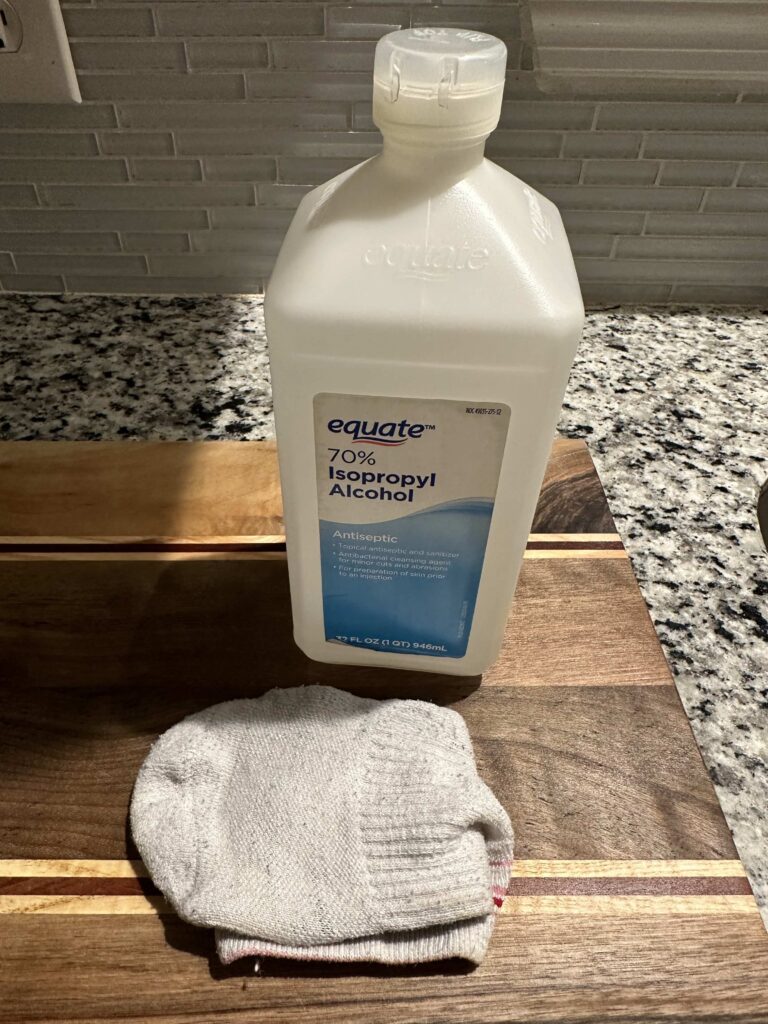
- Use denatured rubbing alcohol and wipe the cleaned surface. This will ensure the surface is ready to bond.
- Turn OFF your fireplace. That’s right – if your fireplace is on, it won’t allow the adhesive to properly dry. Keep the fireplace off until at least 24 hours after installation.
Place your cord bundlers
Your garland design will dictate how you space out your command bundlers. Are you creating a symmetrical design? Then place the command strips evenly. Are you adding extra garland on one side of the mantel (or both?)? Double up the command strips in those areas to help even the weight.
Place your cord bundlers onto the cleaned mantel and press firmly on top. Wait 1-2 hours to allow for proper bonding time before hanging your garland.
Use a base garland
A little secret from the design world: use a less expensive base garland to start. It’s like a little petticoat. No one needs to know what’s underneath, but it will fill all the gaps for you. I chose to set my base garland right on top of the mantel and it covered the cord bundlers. This is a great economical garland to use as a base if you don’t already have one.
Layer Garland on the Mantel
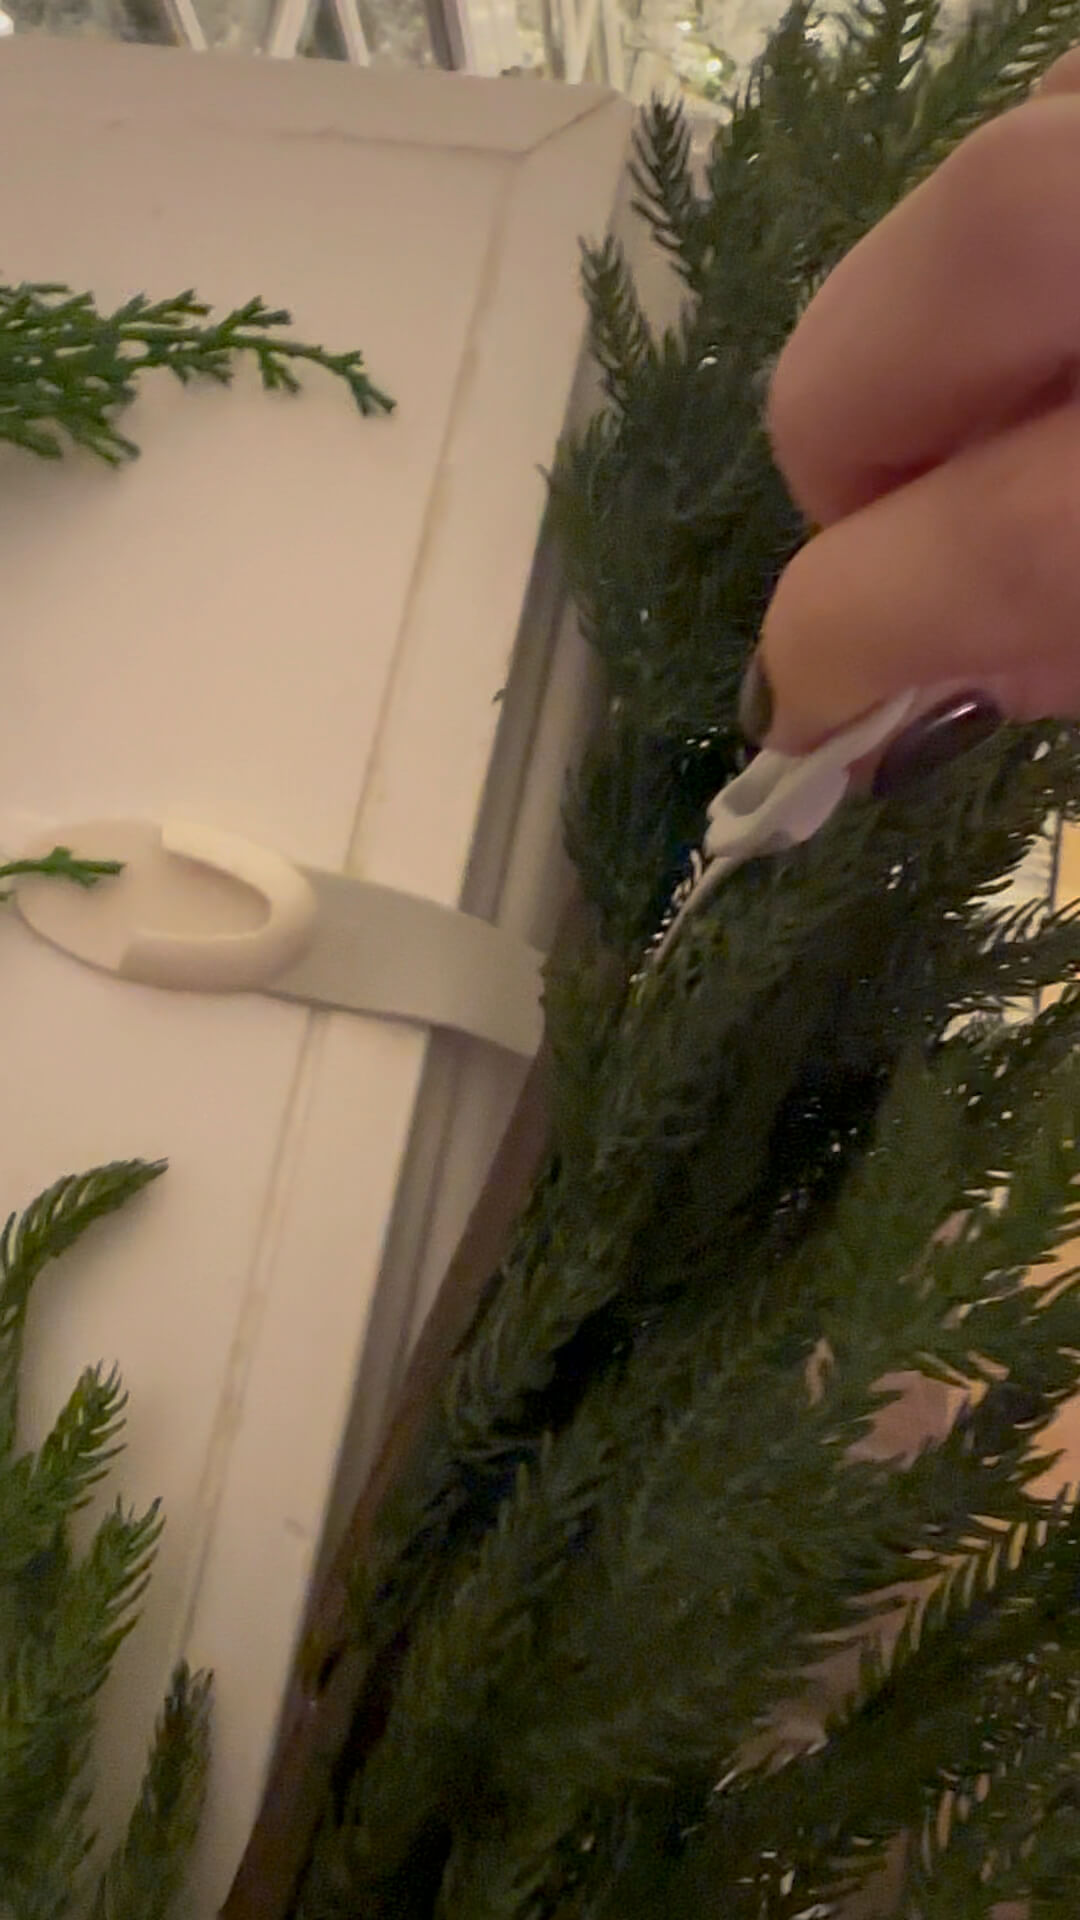
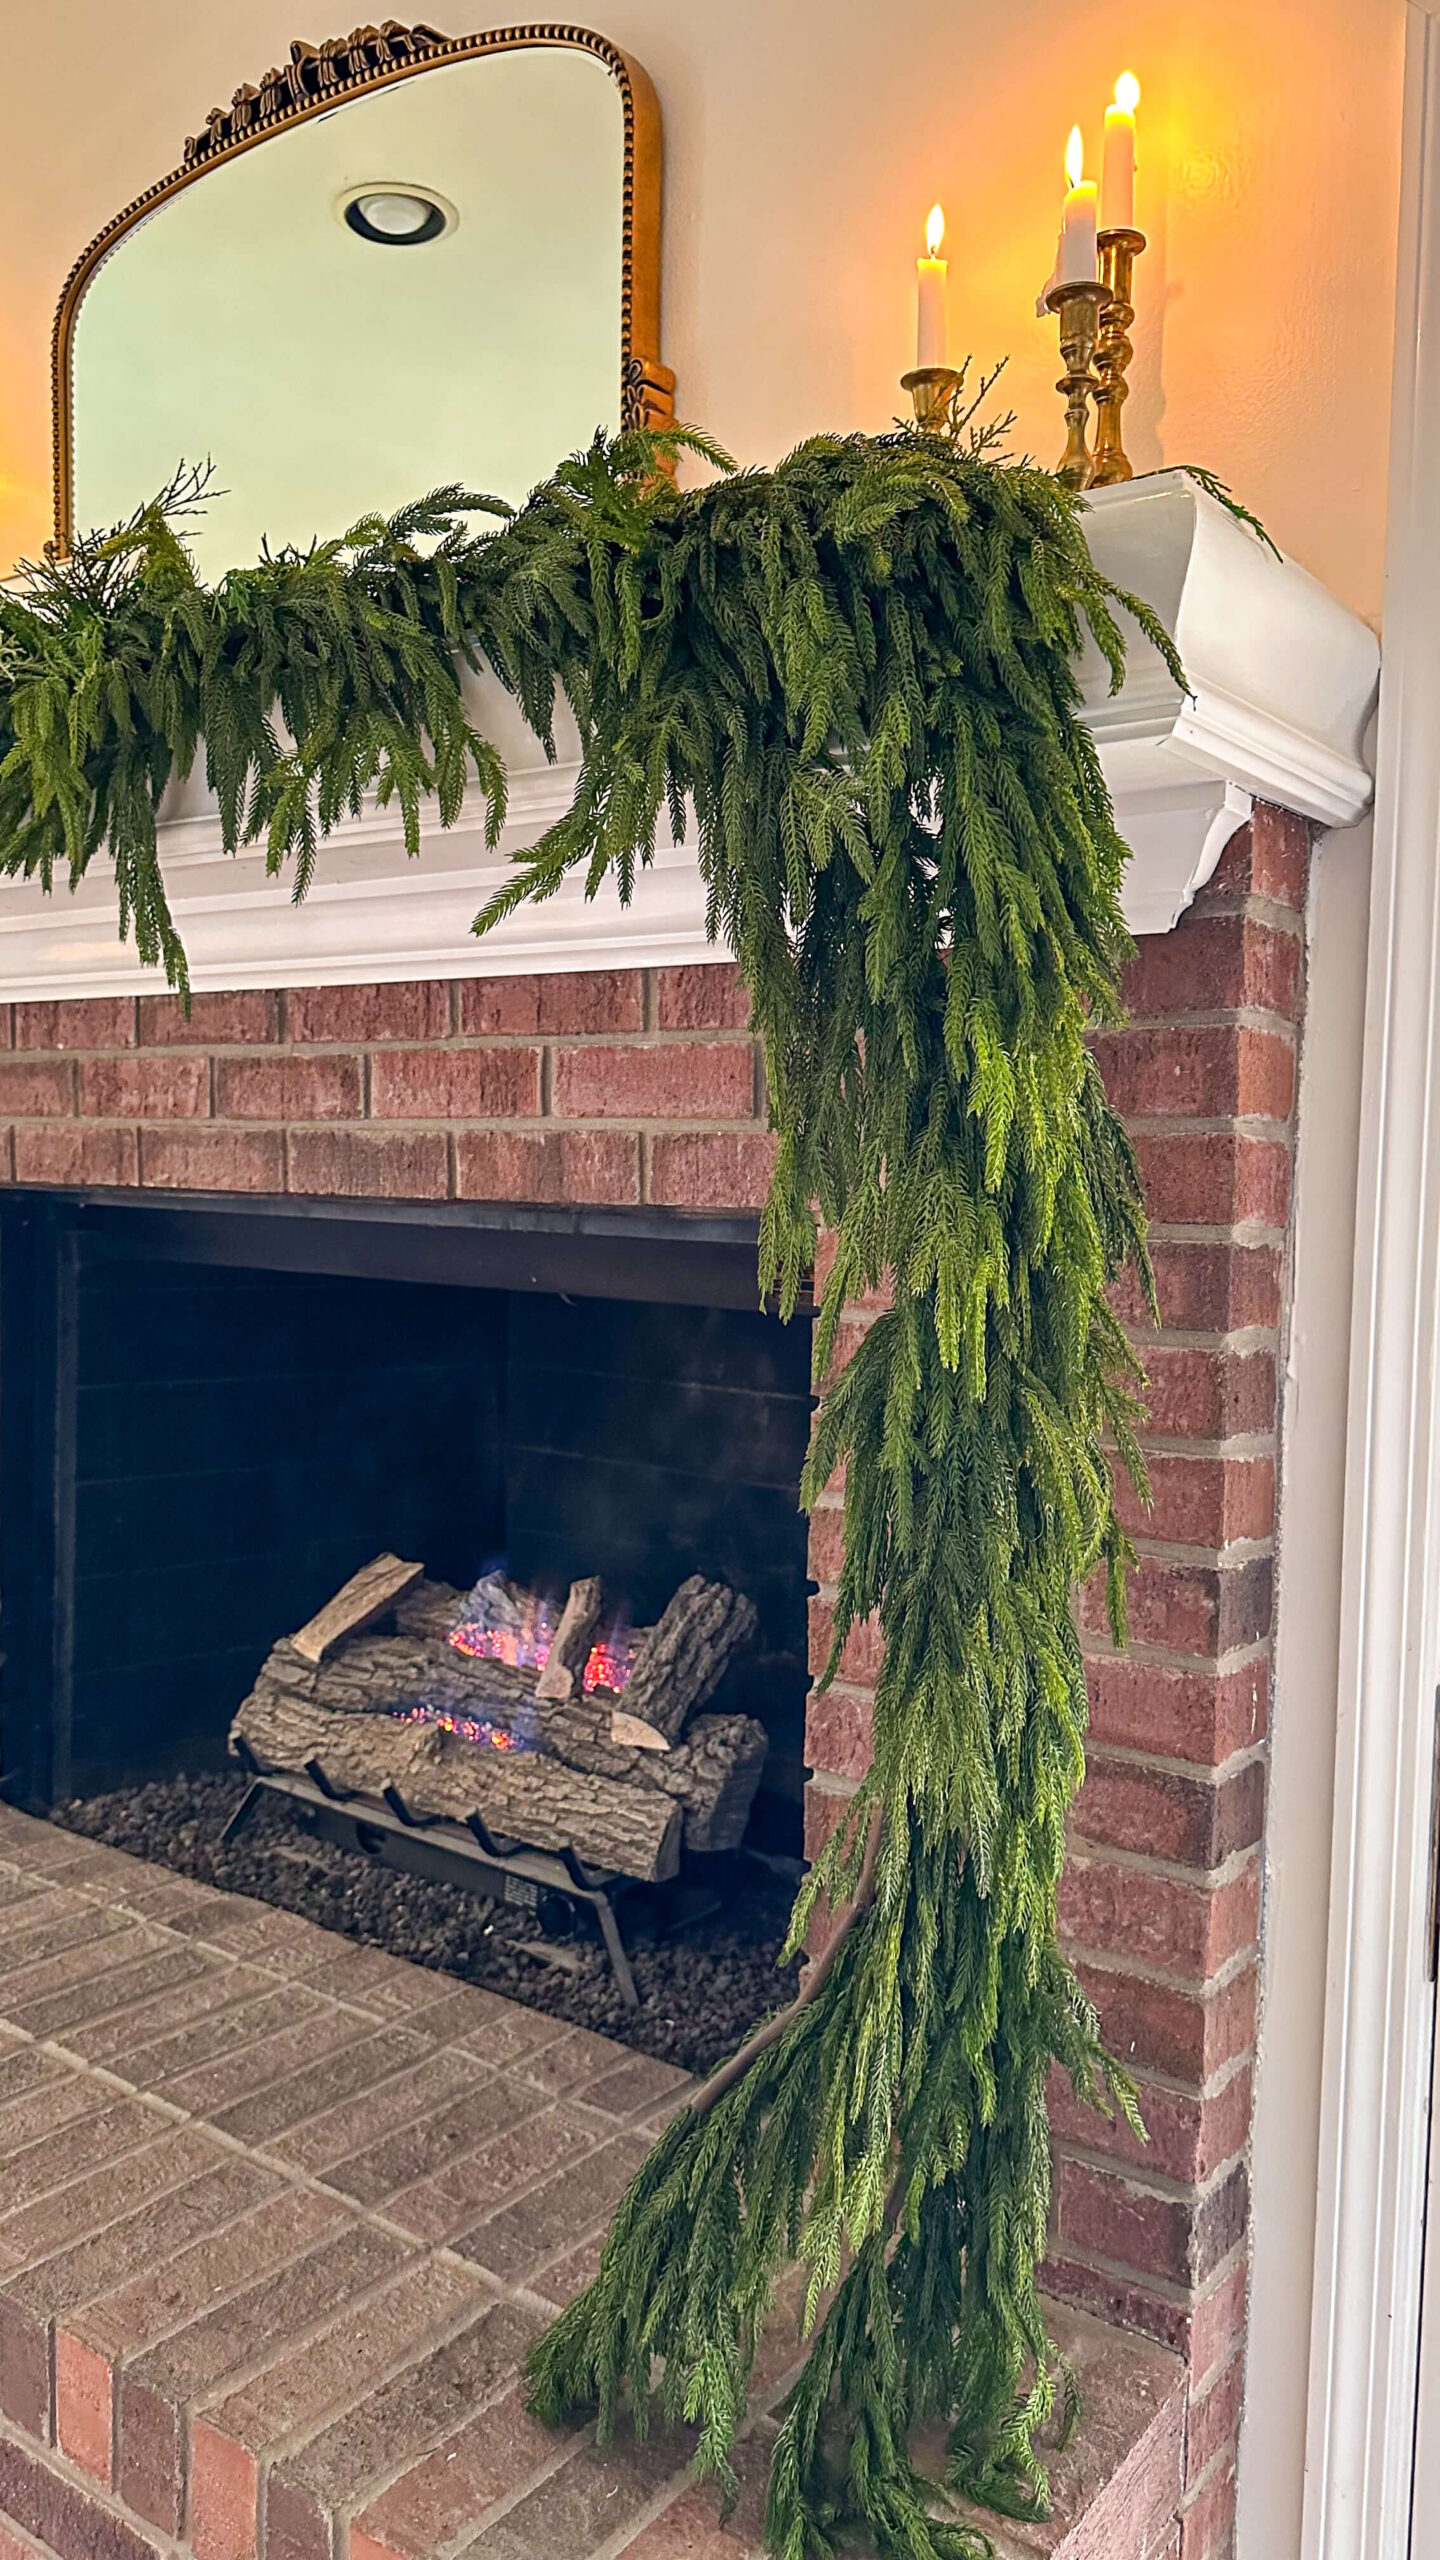
For this look, I used 4 of the 5 foot Norfolk Pine real touch garlands. I started at one end of the mantel, bundling with the cord bundles as I went, and kept hanging the garland on the mantel from there. Layering with some overlap was essential to achieve a fluid look. Two pieces covered the entire front of the mantel. From there, I used the last two pieces to drape in a dramatic fashion on the right side of the mantel.
Wire the garland
To avoid gaps, it’s best to use some floral wire and gently tie the garland that overlaps together. Things will adjust over time and this will help avoid any gaps in between your pieces.
Adjust strands
Fluff the garland, move some pieces or even layer in some additional stems to hide the command bundles, floral wire and anything else that may be unsightly. This pretty cedar greenery is a great option!
Balance the mantle
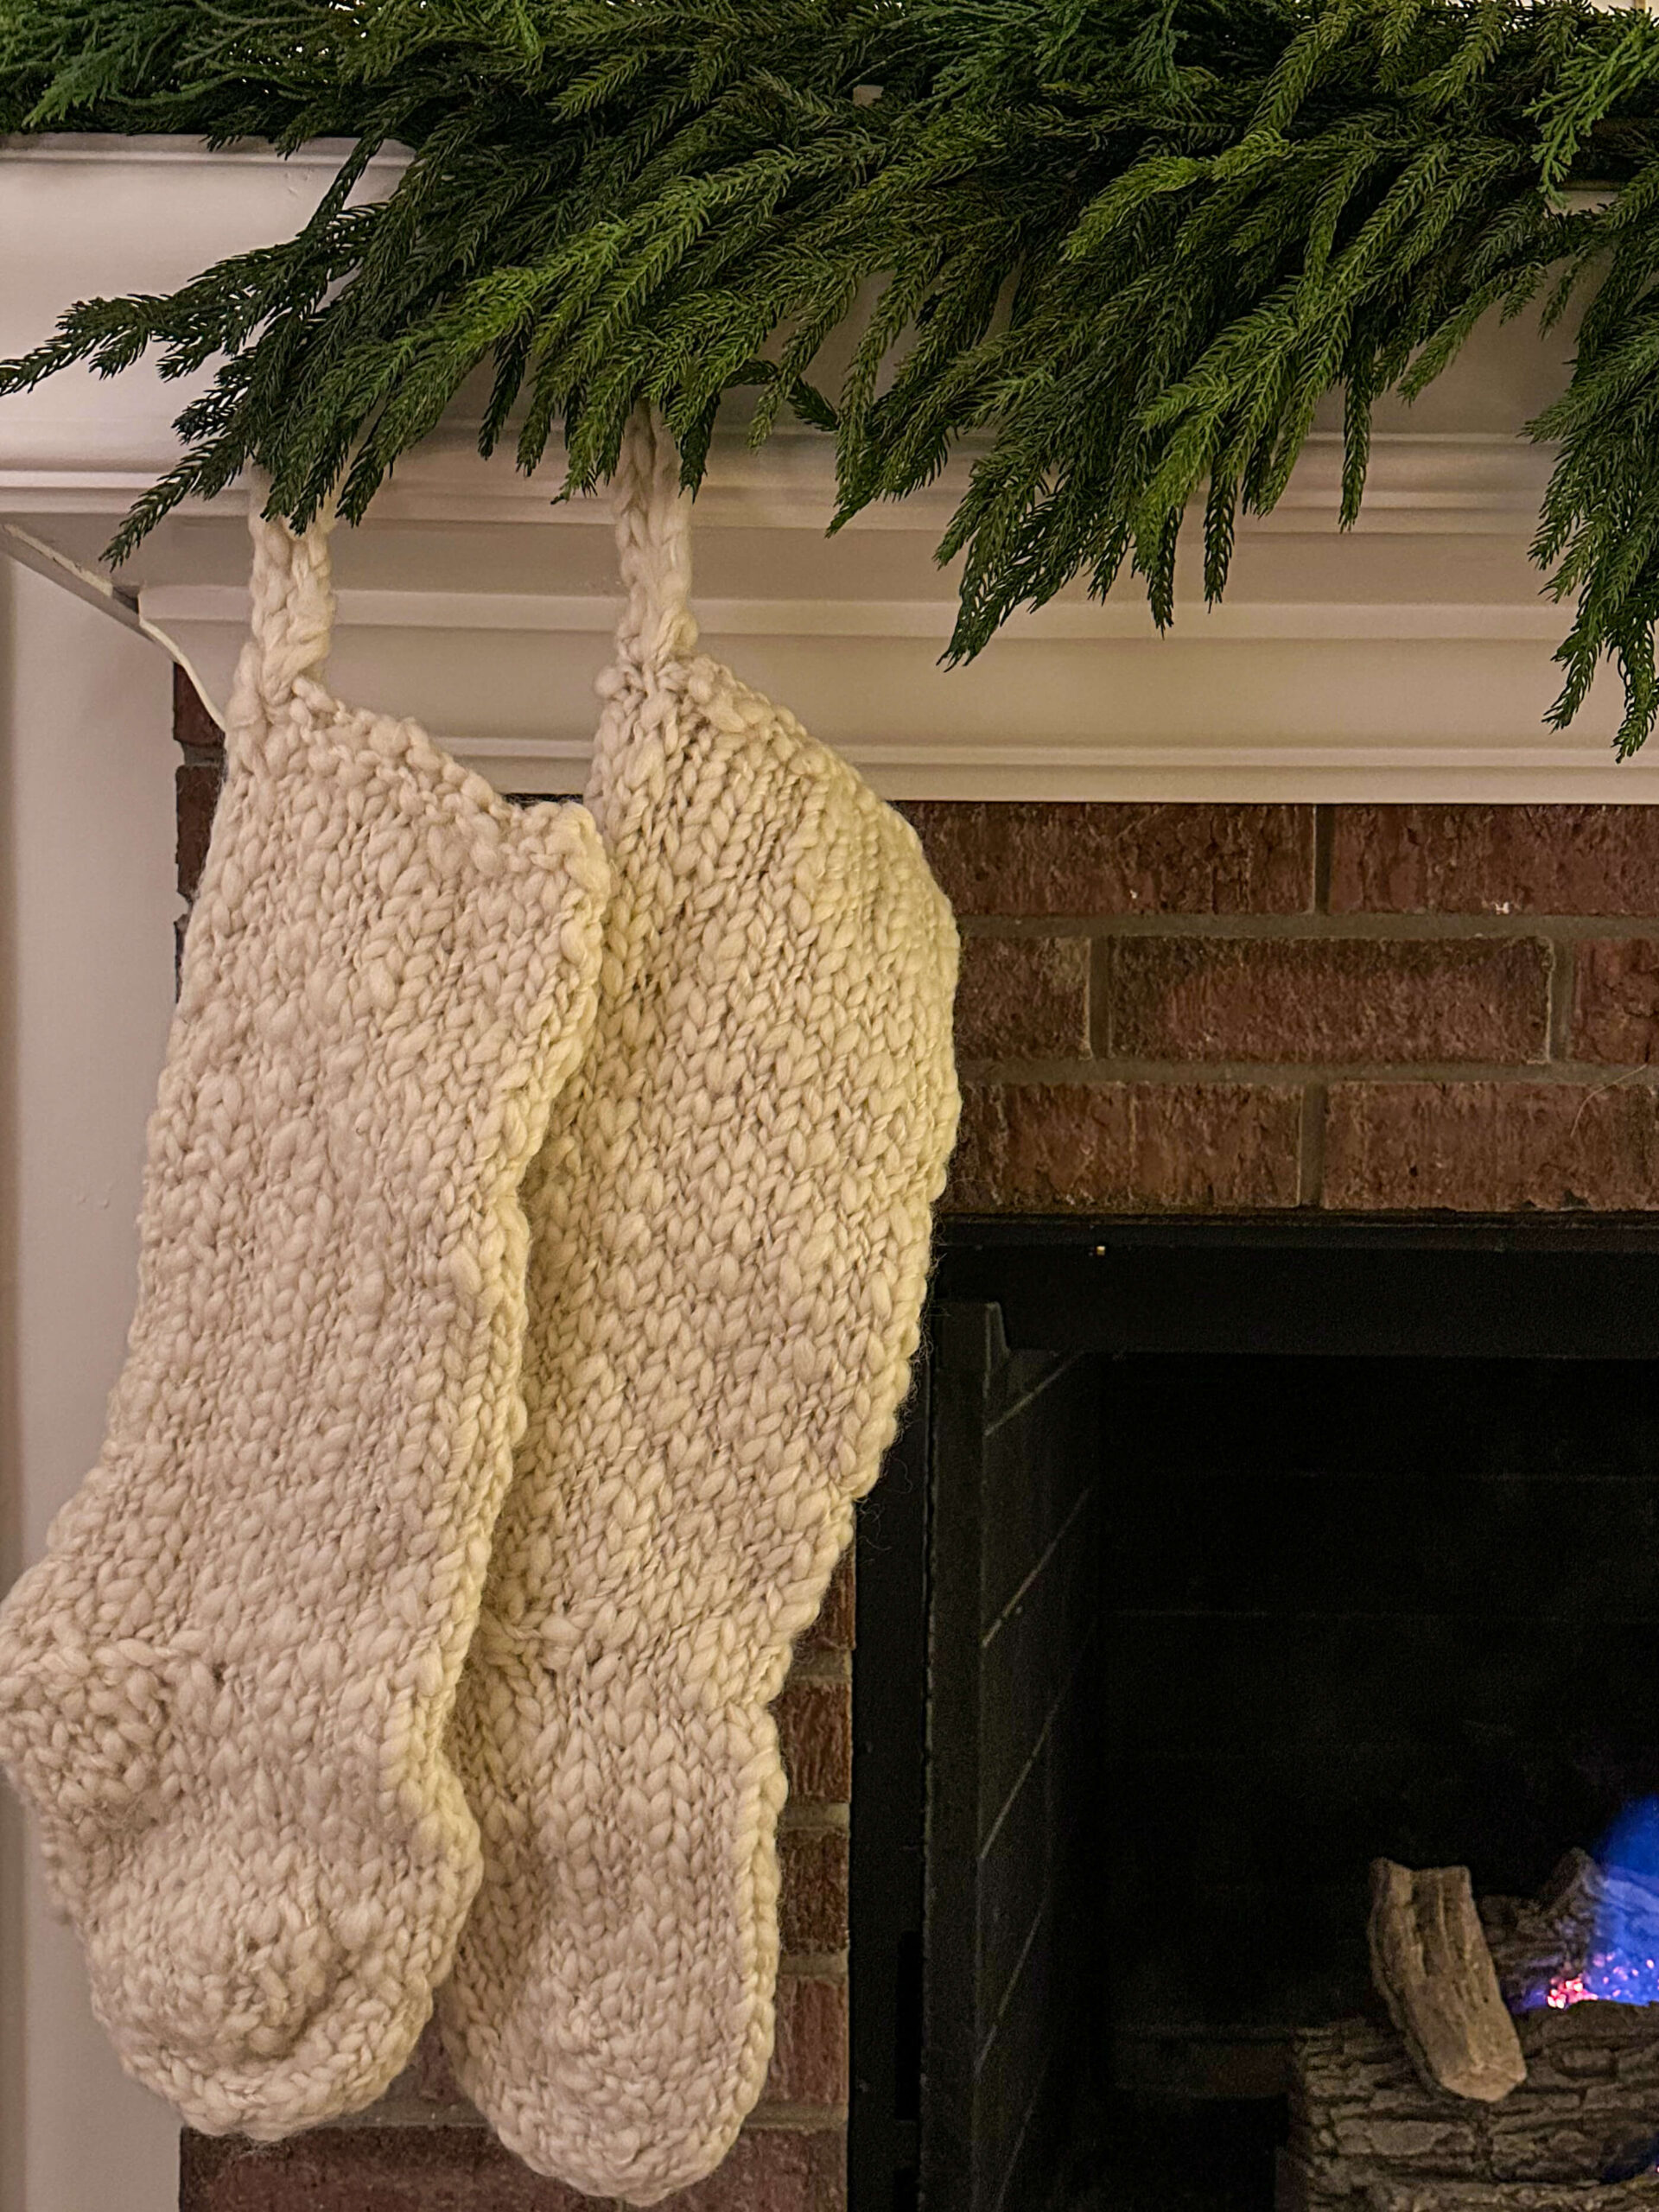
This will depend on your overall design, but because I went for an asymmetrical look, I needed to balance the other side of the mantel with some additional décor. I opted for two cream knit stockings from Anthropologie. On top of the mantel, I left my four vintage candlesticks and the picture of my grandparents in a gold frame with large cream matte. I added a couple more brass candlesticks to the right side just to fill the space above.
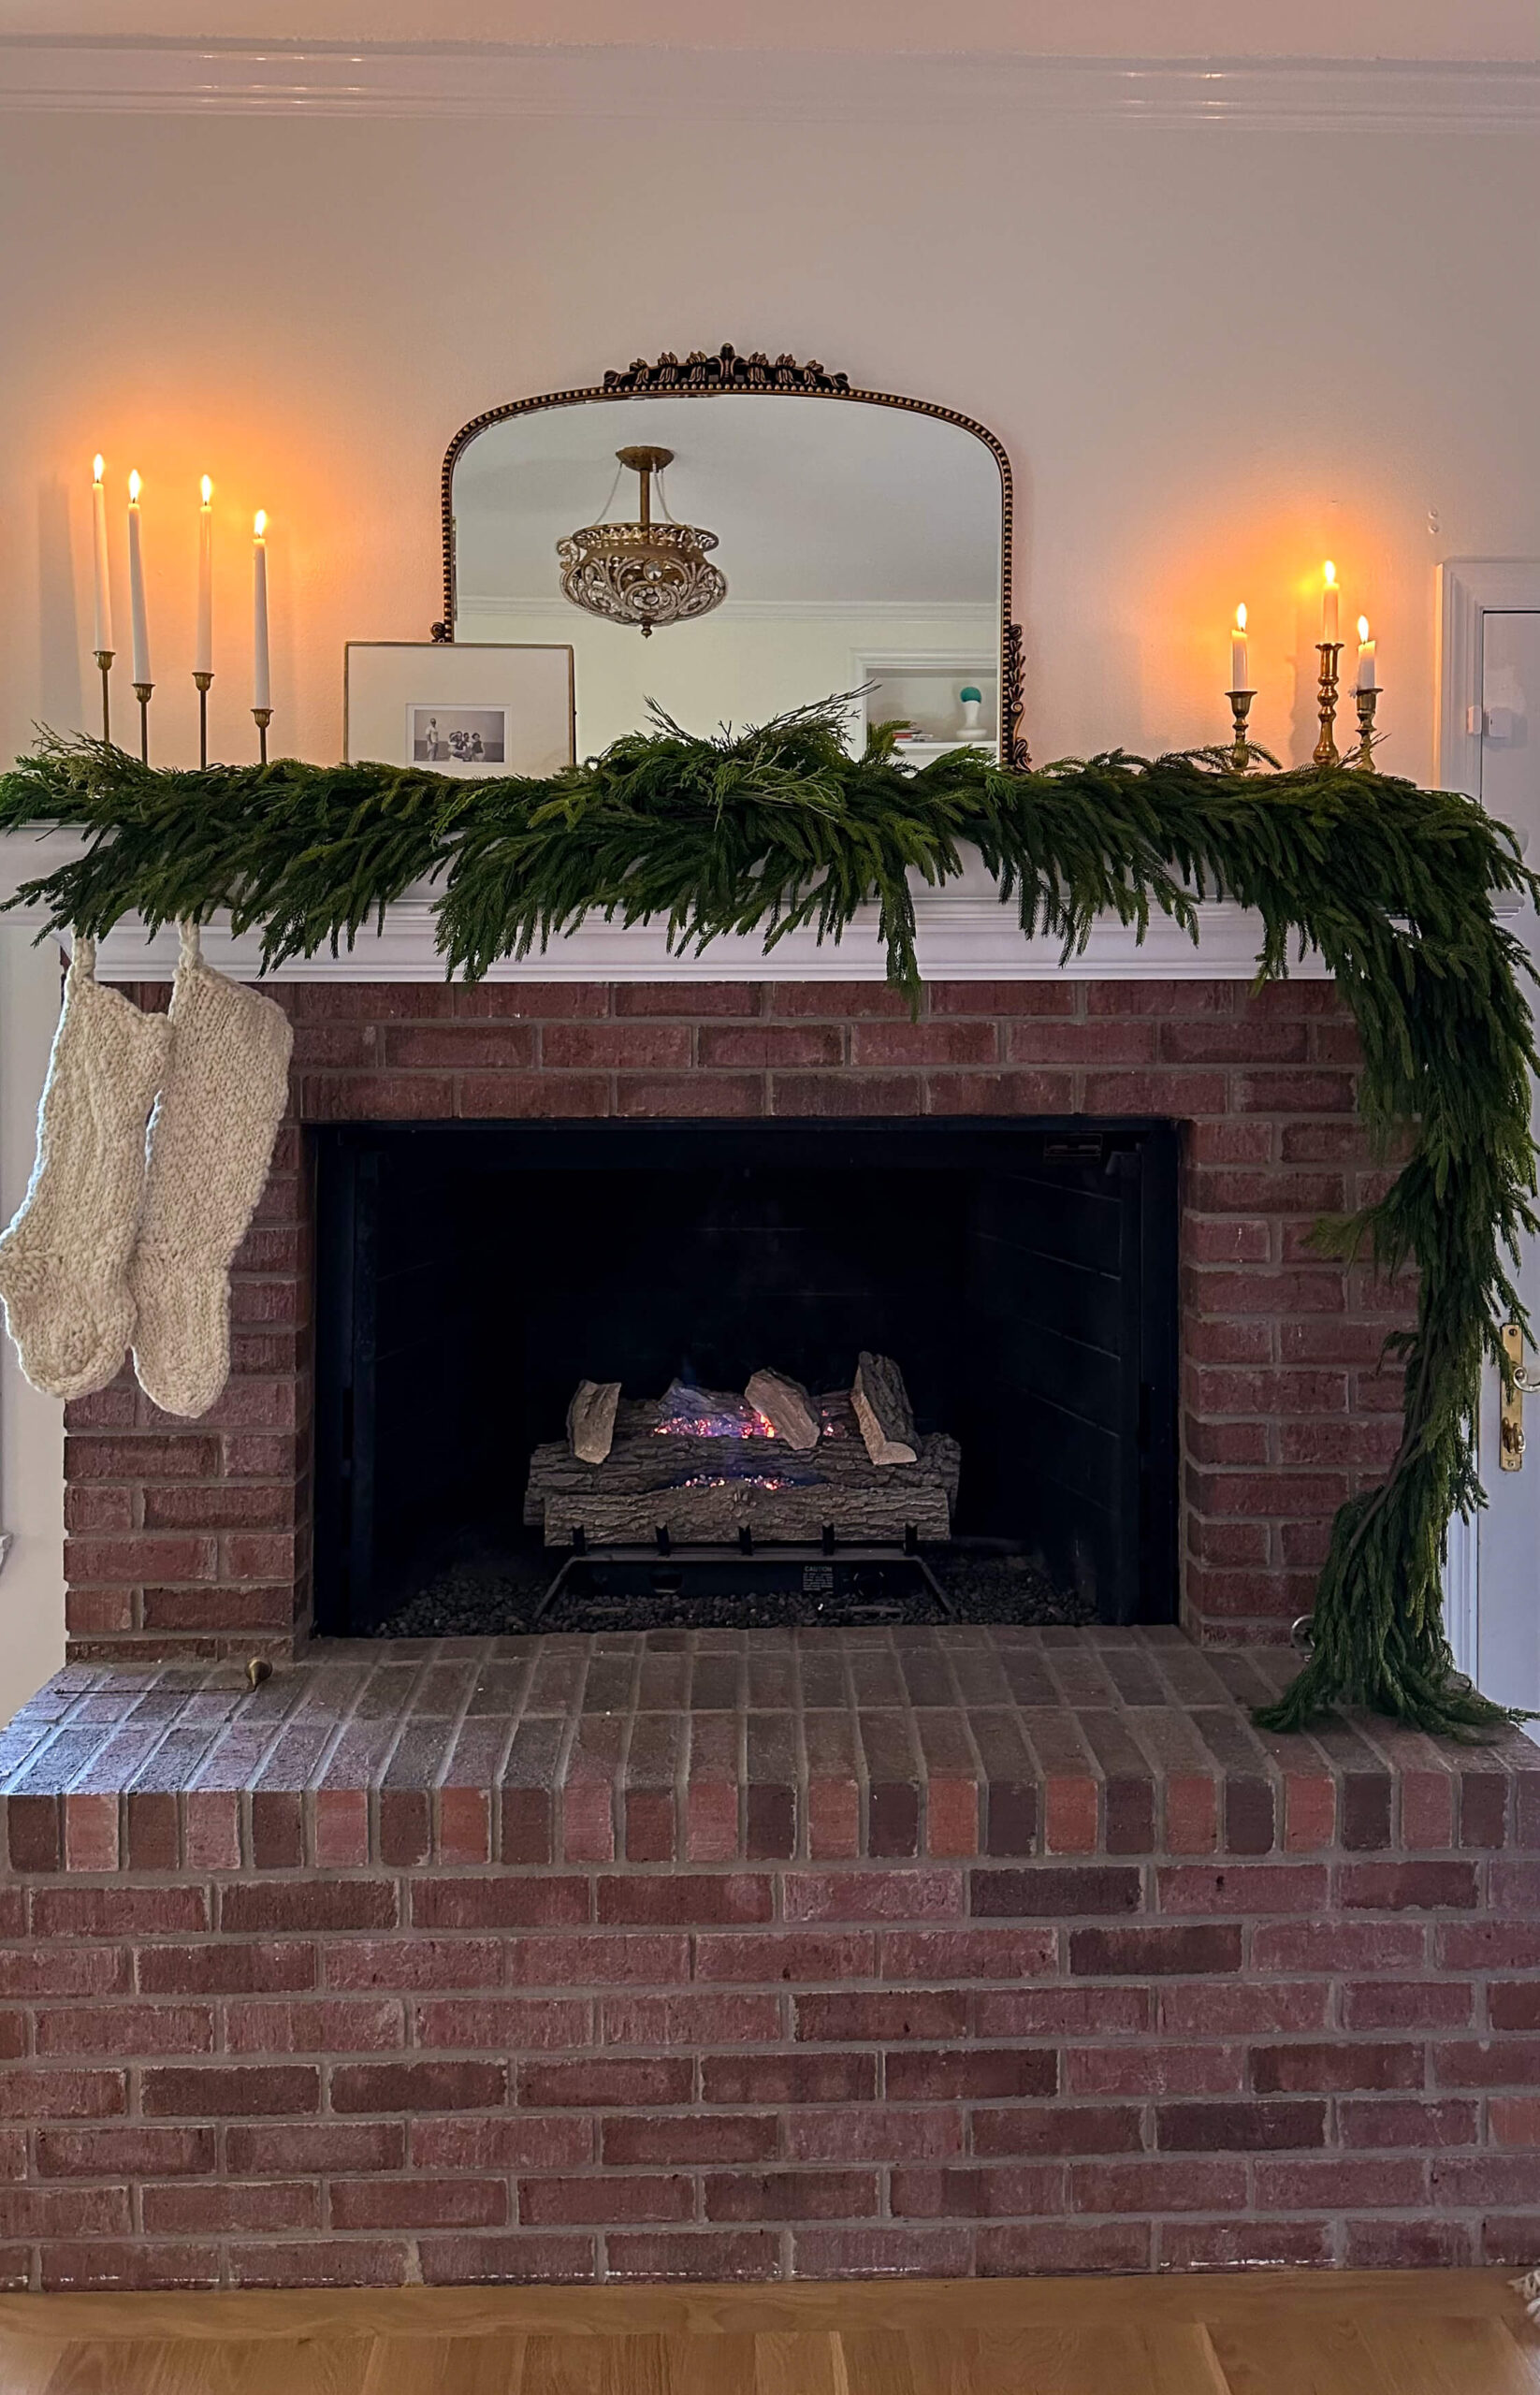
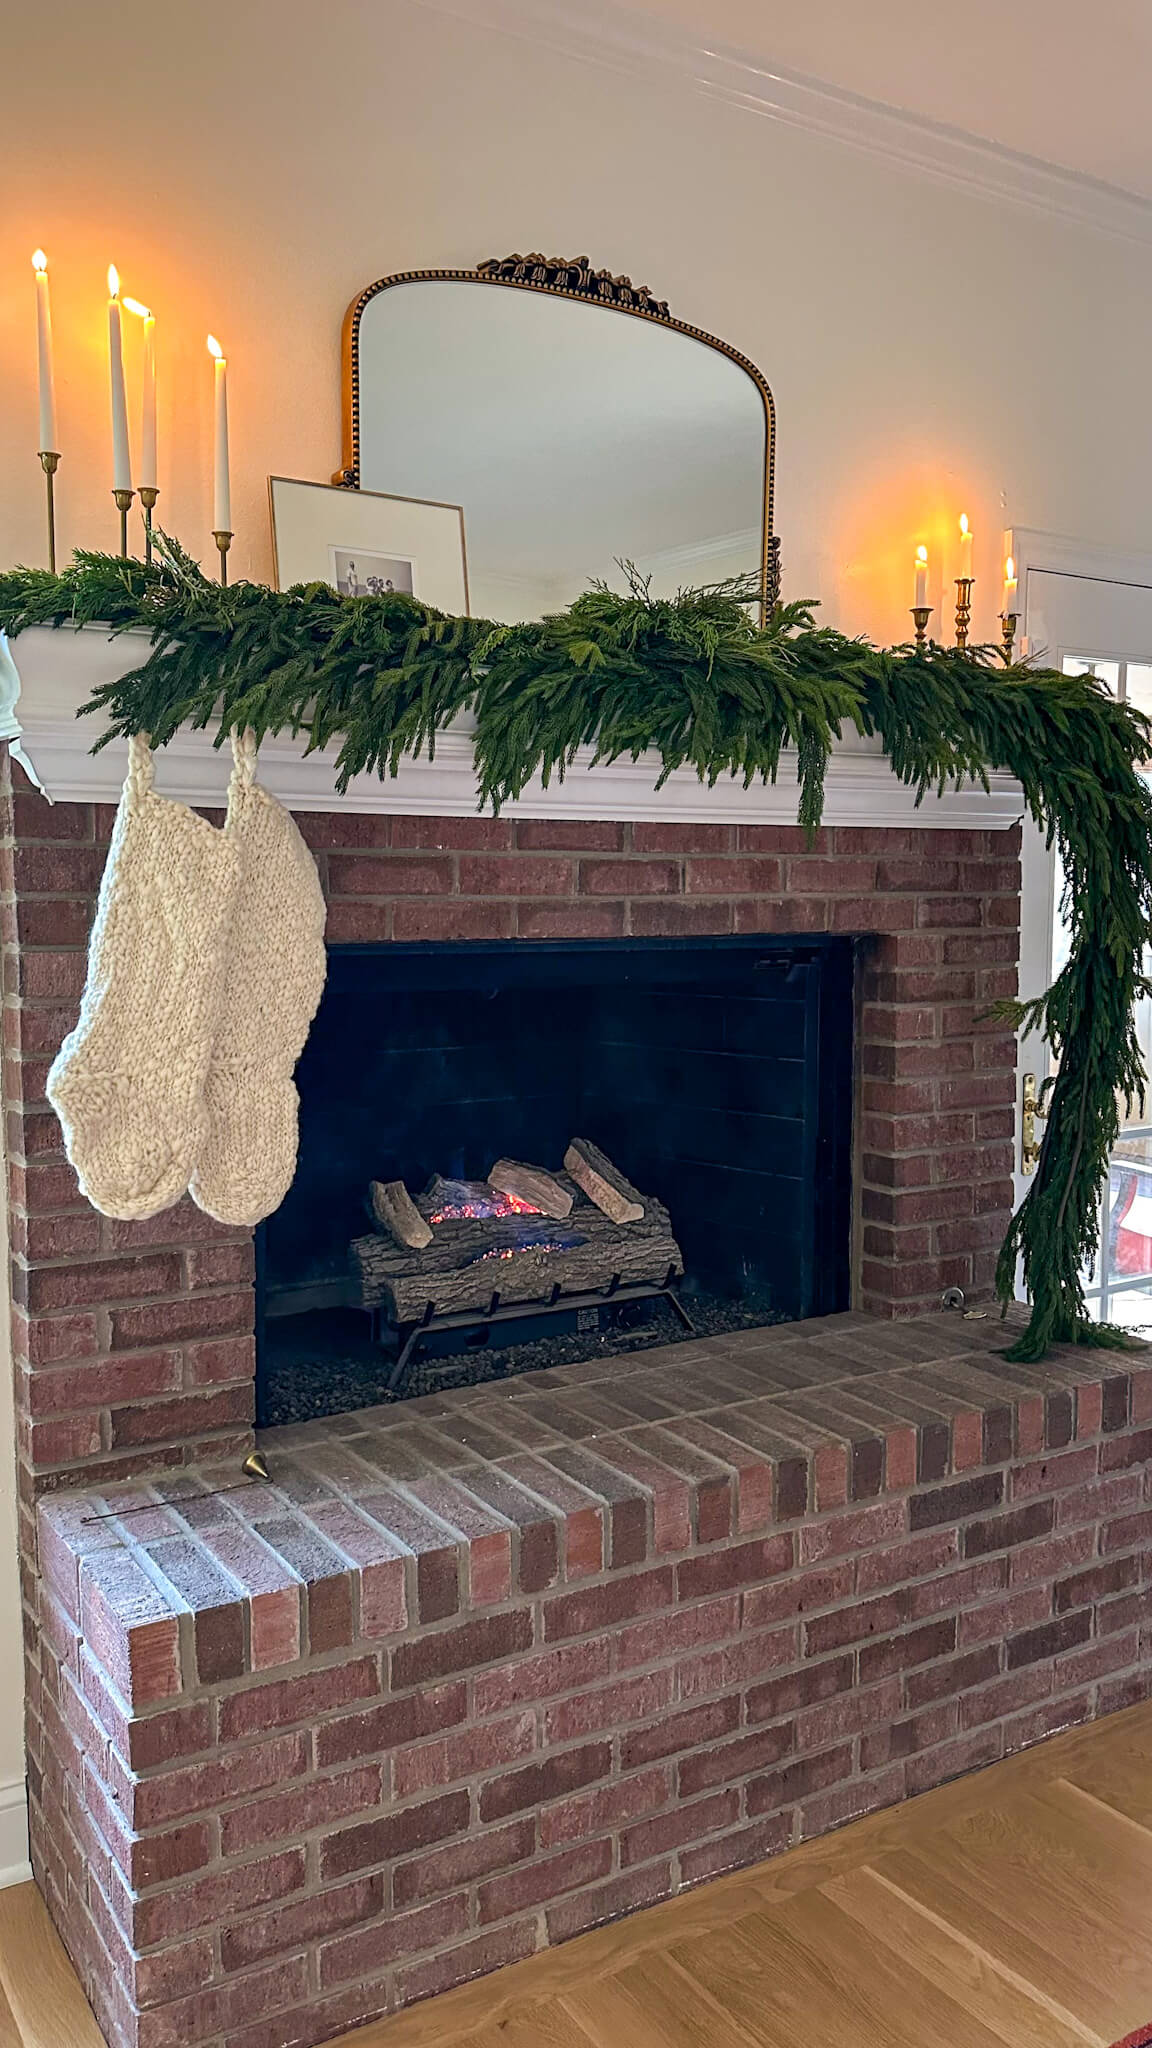
The final look captures the whimsical and effortless look I set out to achieve! For my first year hanging garland on the mantel, I’m so pleased with how everything turned out. What do you think? How do you decorate your mantel? Drop me a comment below and let me know!


