Today I’m sharing something I wish I would have done years ago: protecting my leather sofa. My beautiful camel colored leather couch from West Elm was delivered the week I closed on my house and unfortunately there was so much chaos that I never got around to properly protecting it. Had I done so, I would have been able to prevent sun damage as well as general wear and tear from everyday use. Luckily, it’s still in decent shape, and by learning how to properly clean and condition leather furniture, I’ve been able to bring it back to life.
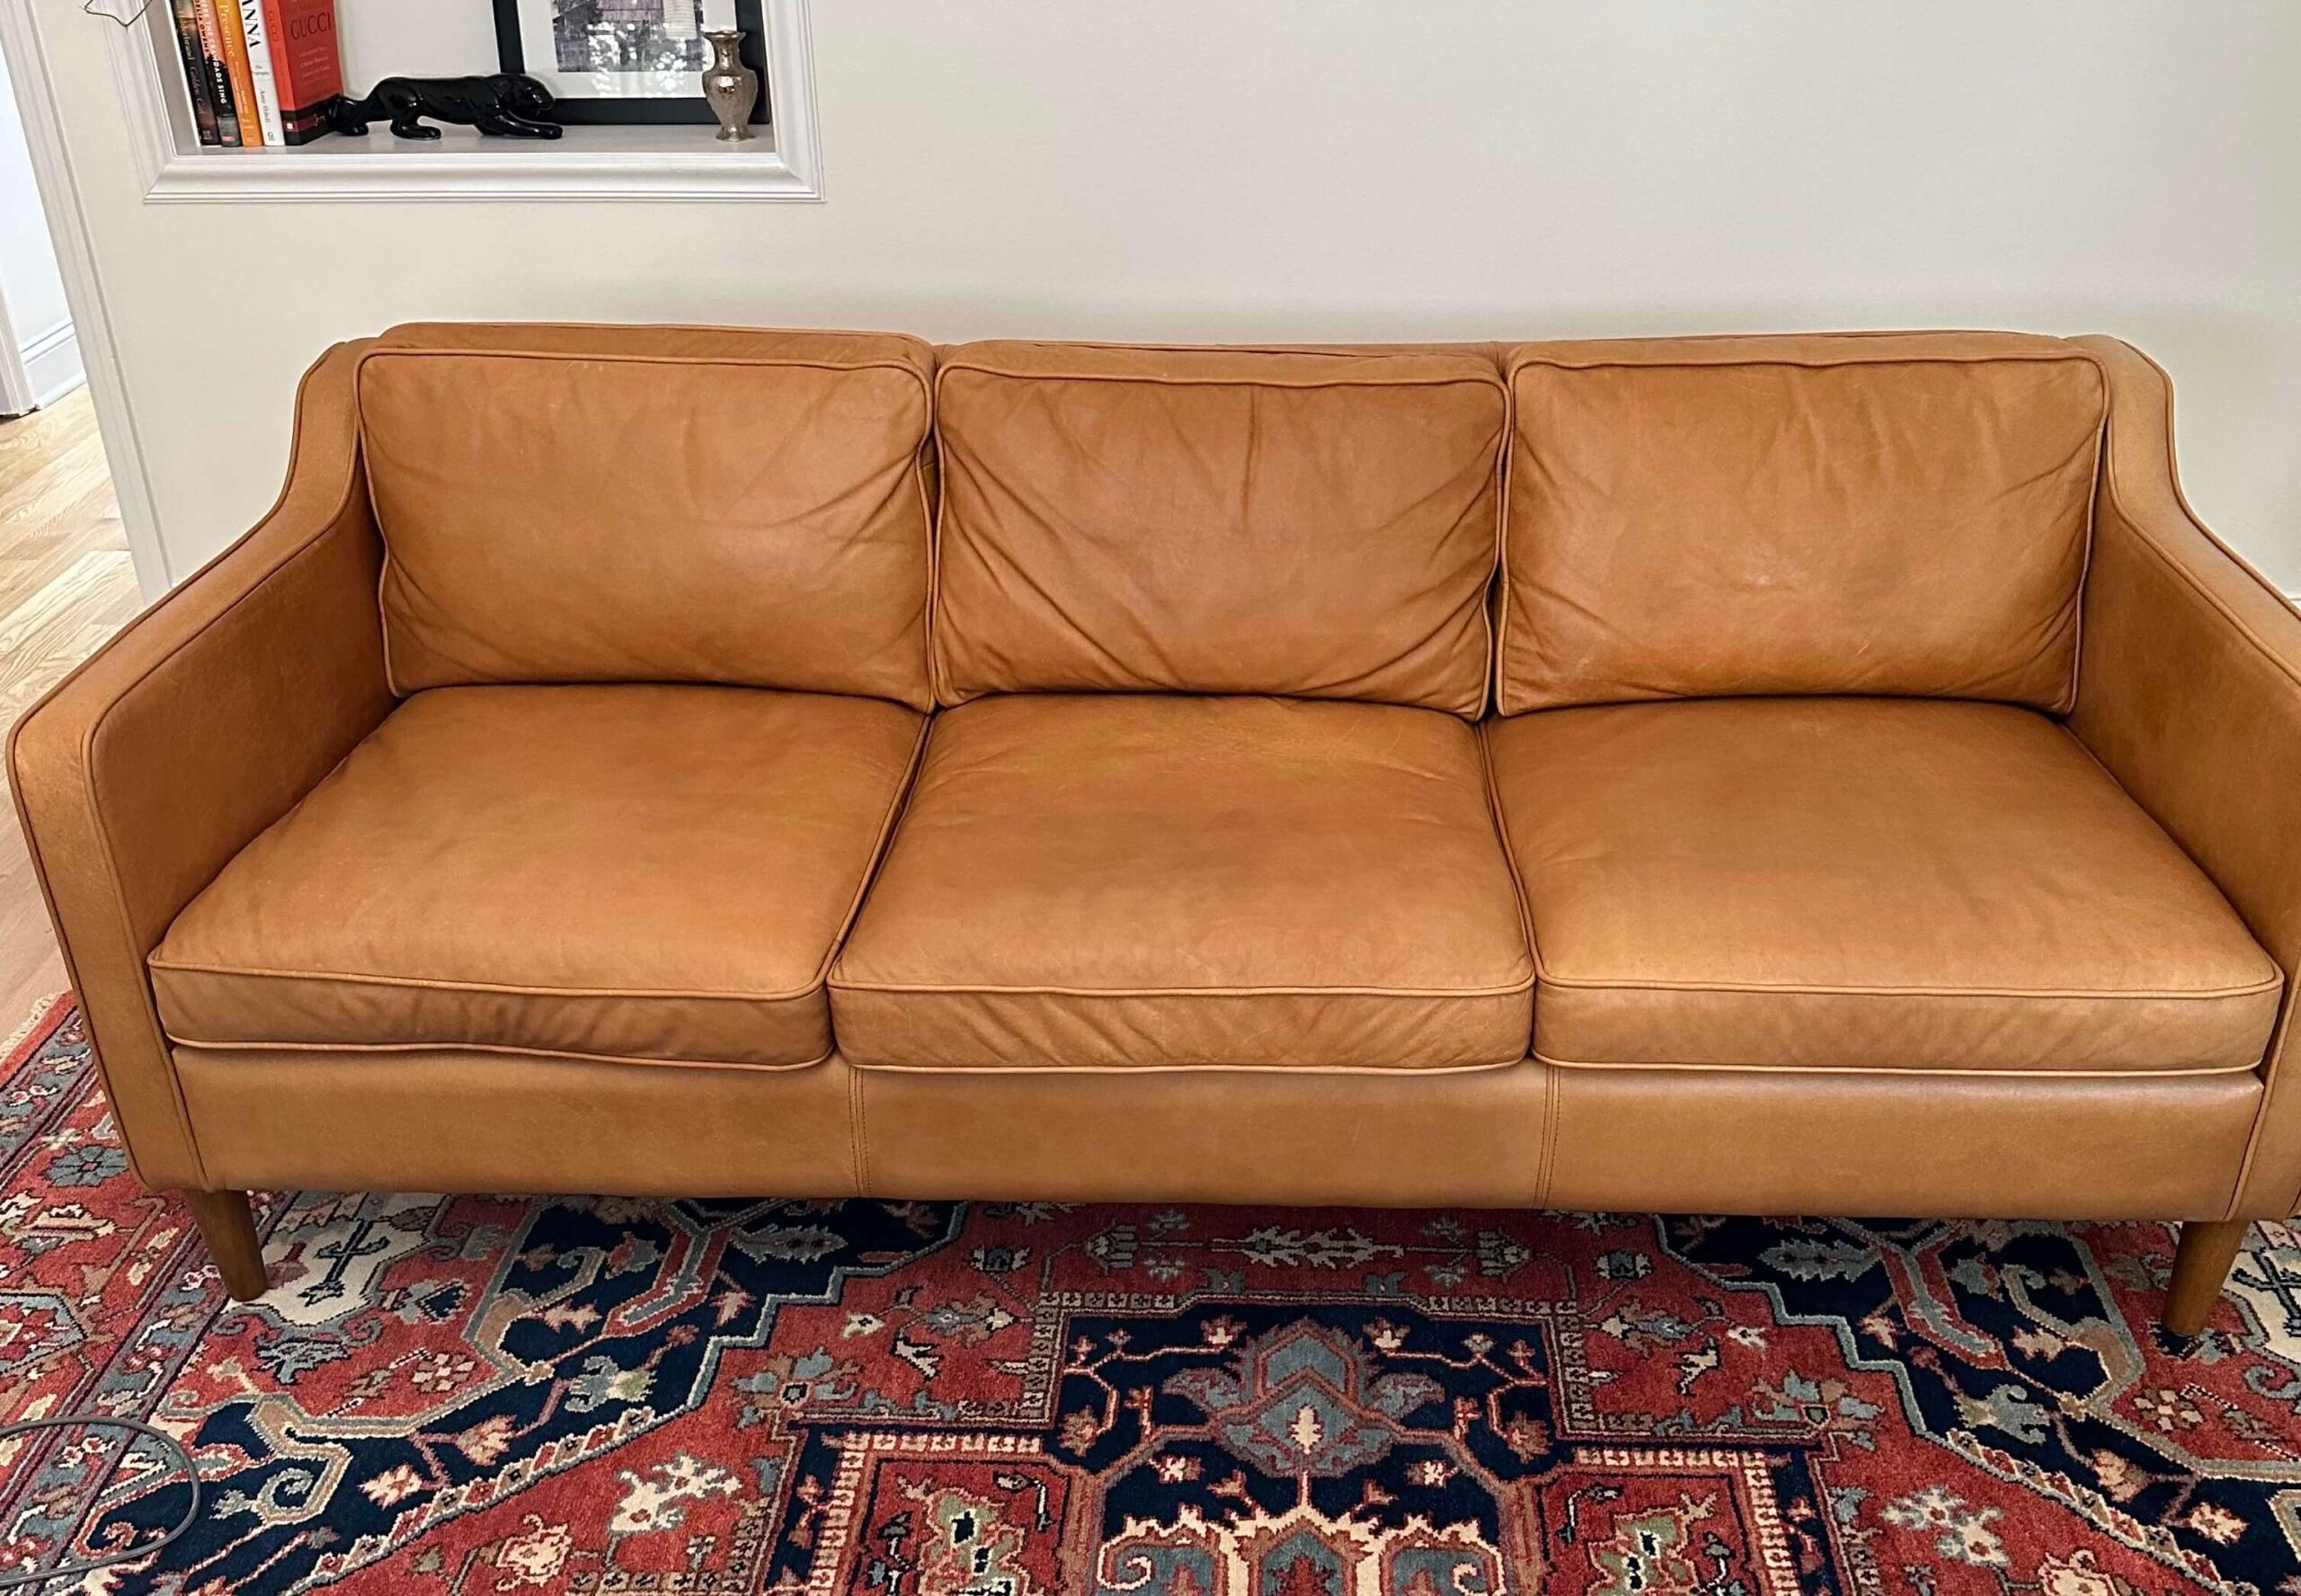
Before vs After (no photo editing)
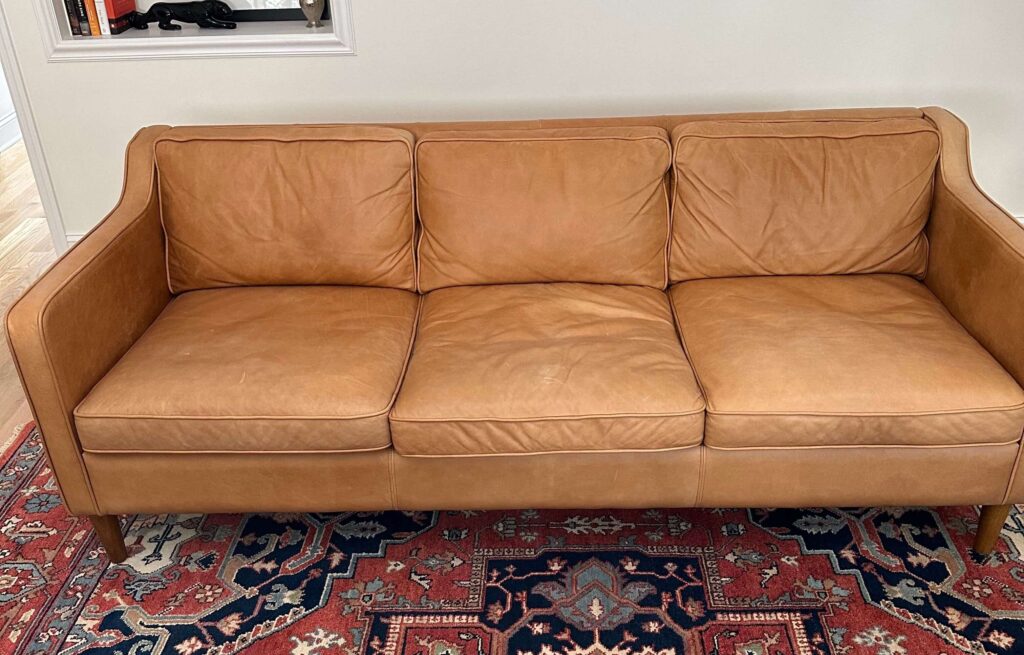
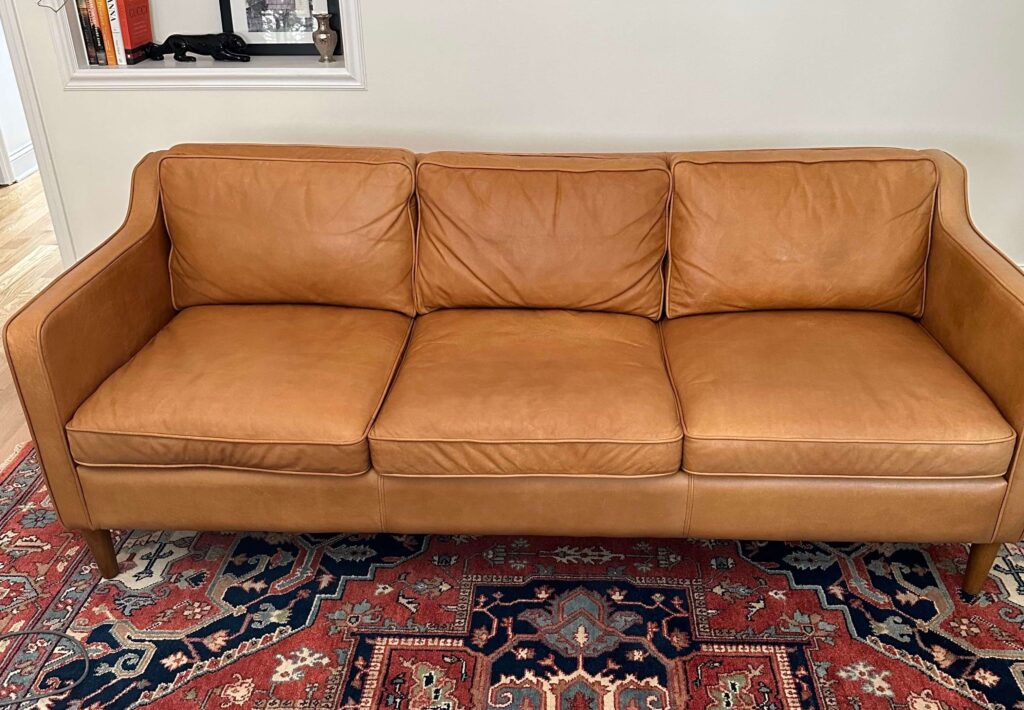
Follow along as I guide you through a quick and easy tutorial on how to clean and condition leather furniture using a leather cleaning and conditioning kit. This is an important step in keeping your leather furniture looking and feeling its best, and it’s something that should be done regularly.
Why is it important to clean and condition leather furniture?
Leather is a natural material that can become dry and cracked over time, especially if it’s not properly cared for. Cleaning and conditioning your leather furniture helps to remove dirt and grime, and it also helps to keep the leather hydrated and supple. This will help to prevent the leather from cracking and peeling, and it will also help to keep it looking its best.

How often should you clean and condition leather furniture?
How often you need to clean and condition your leather furniture will depend on a few factors, such as how much use it gets and how dusty your home is. In general, it’s a good idea to clean and condition your leather furniture every 3-6 months.
What you’ll need:
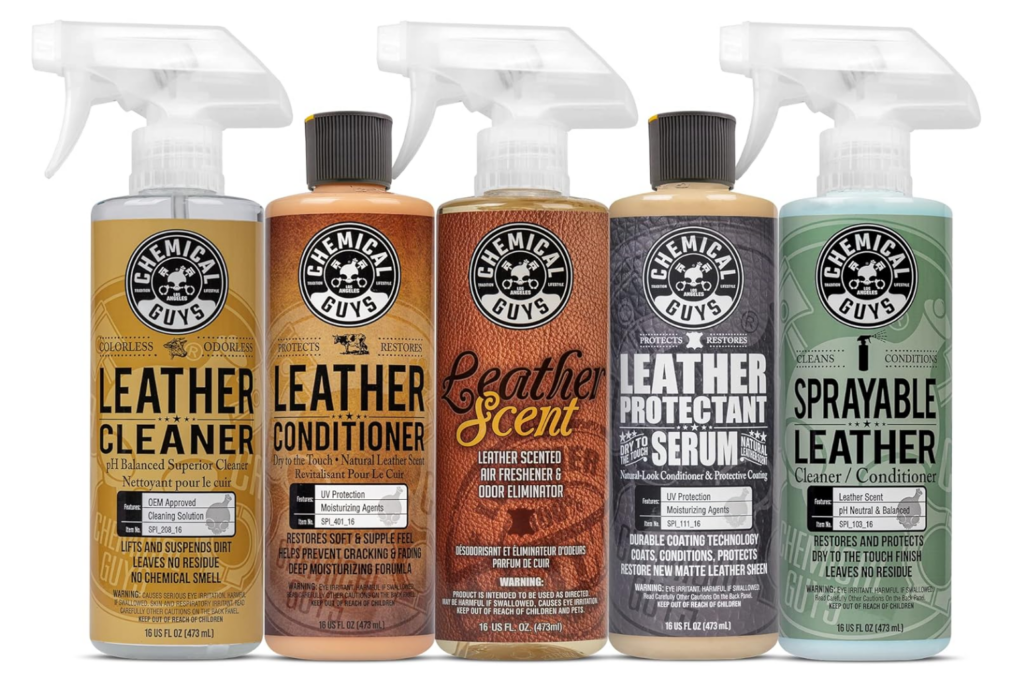
- A leather cleaning and conditioning kit. I highly recommend the Chemical Guys’ leather cleaning kit. It’s colorless and odorless, and does a great job!
- A clean microfiber cloth (like these ones)
Instructions:
Step 1: Vacuum
Remove all cushions from your furniture (seating and backrest cushions) and set aside. Using your vacuum hose extension, vacuum on the base as well as in all crevices and seams. We don’t want to put our clean cushions back in the dirt!
Step 2: Apply cleaning solution to cushions
Shake the cleaning solution well, and spray 2-3 pumps directly onto your microfiber cloth. Gently wipe along the tops and sides of each cushion, making sure to get in between any piping and seams. The effort you put into this step, will ensure the conditioner properly sets into the leather during the next step.
Clean cushions one at a time, and set aside to dry. Generally 30-60 minutes of drying time is sufficient.
Step 3: Condition
Apply three lines of leather conditioning treatment to a new microfiber cloth. Gently massage onto the cushion, using circular motions. Work across the entire top side of the cushion, and then move along to the sides and seams.
Set each cushion aside to thoroughly dry.
Step 4: Condition again!
If this is the first time you’re treating your leather furniture, I’d recommend a second set of conditioning. Repeat the above steps, and allow cushions to dry for 2 full hours before placing back onto the frame of the sofa.
Step 5: Treat the couch frame
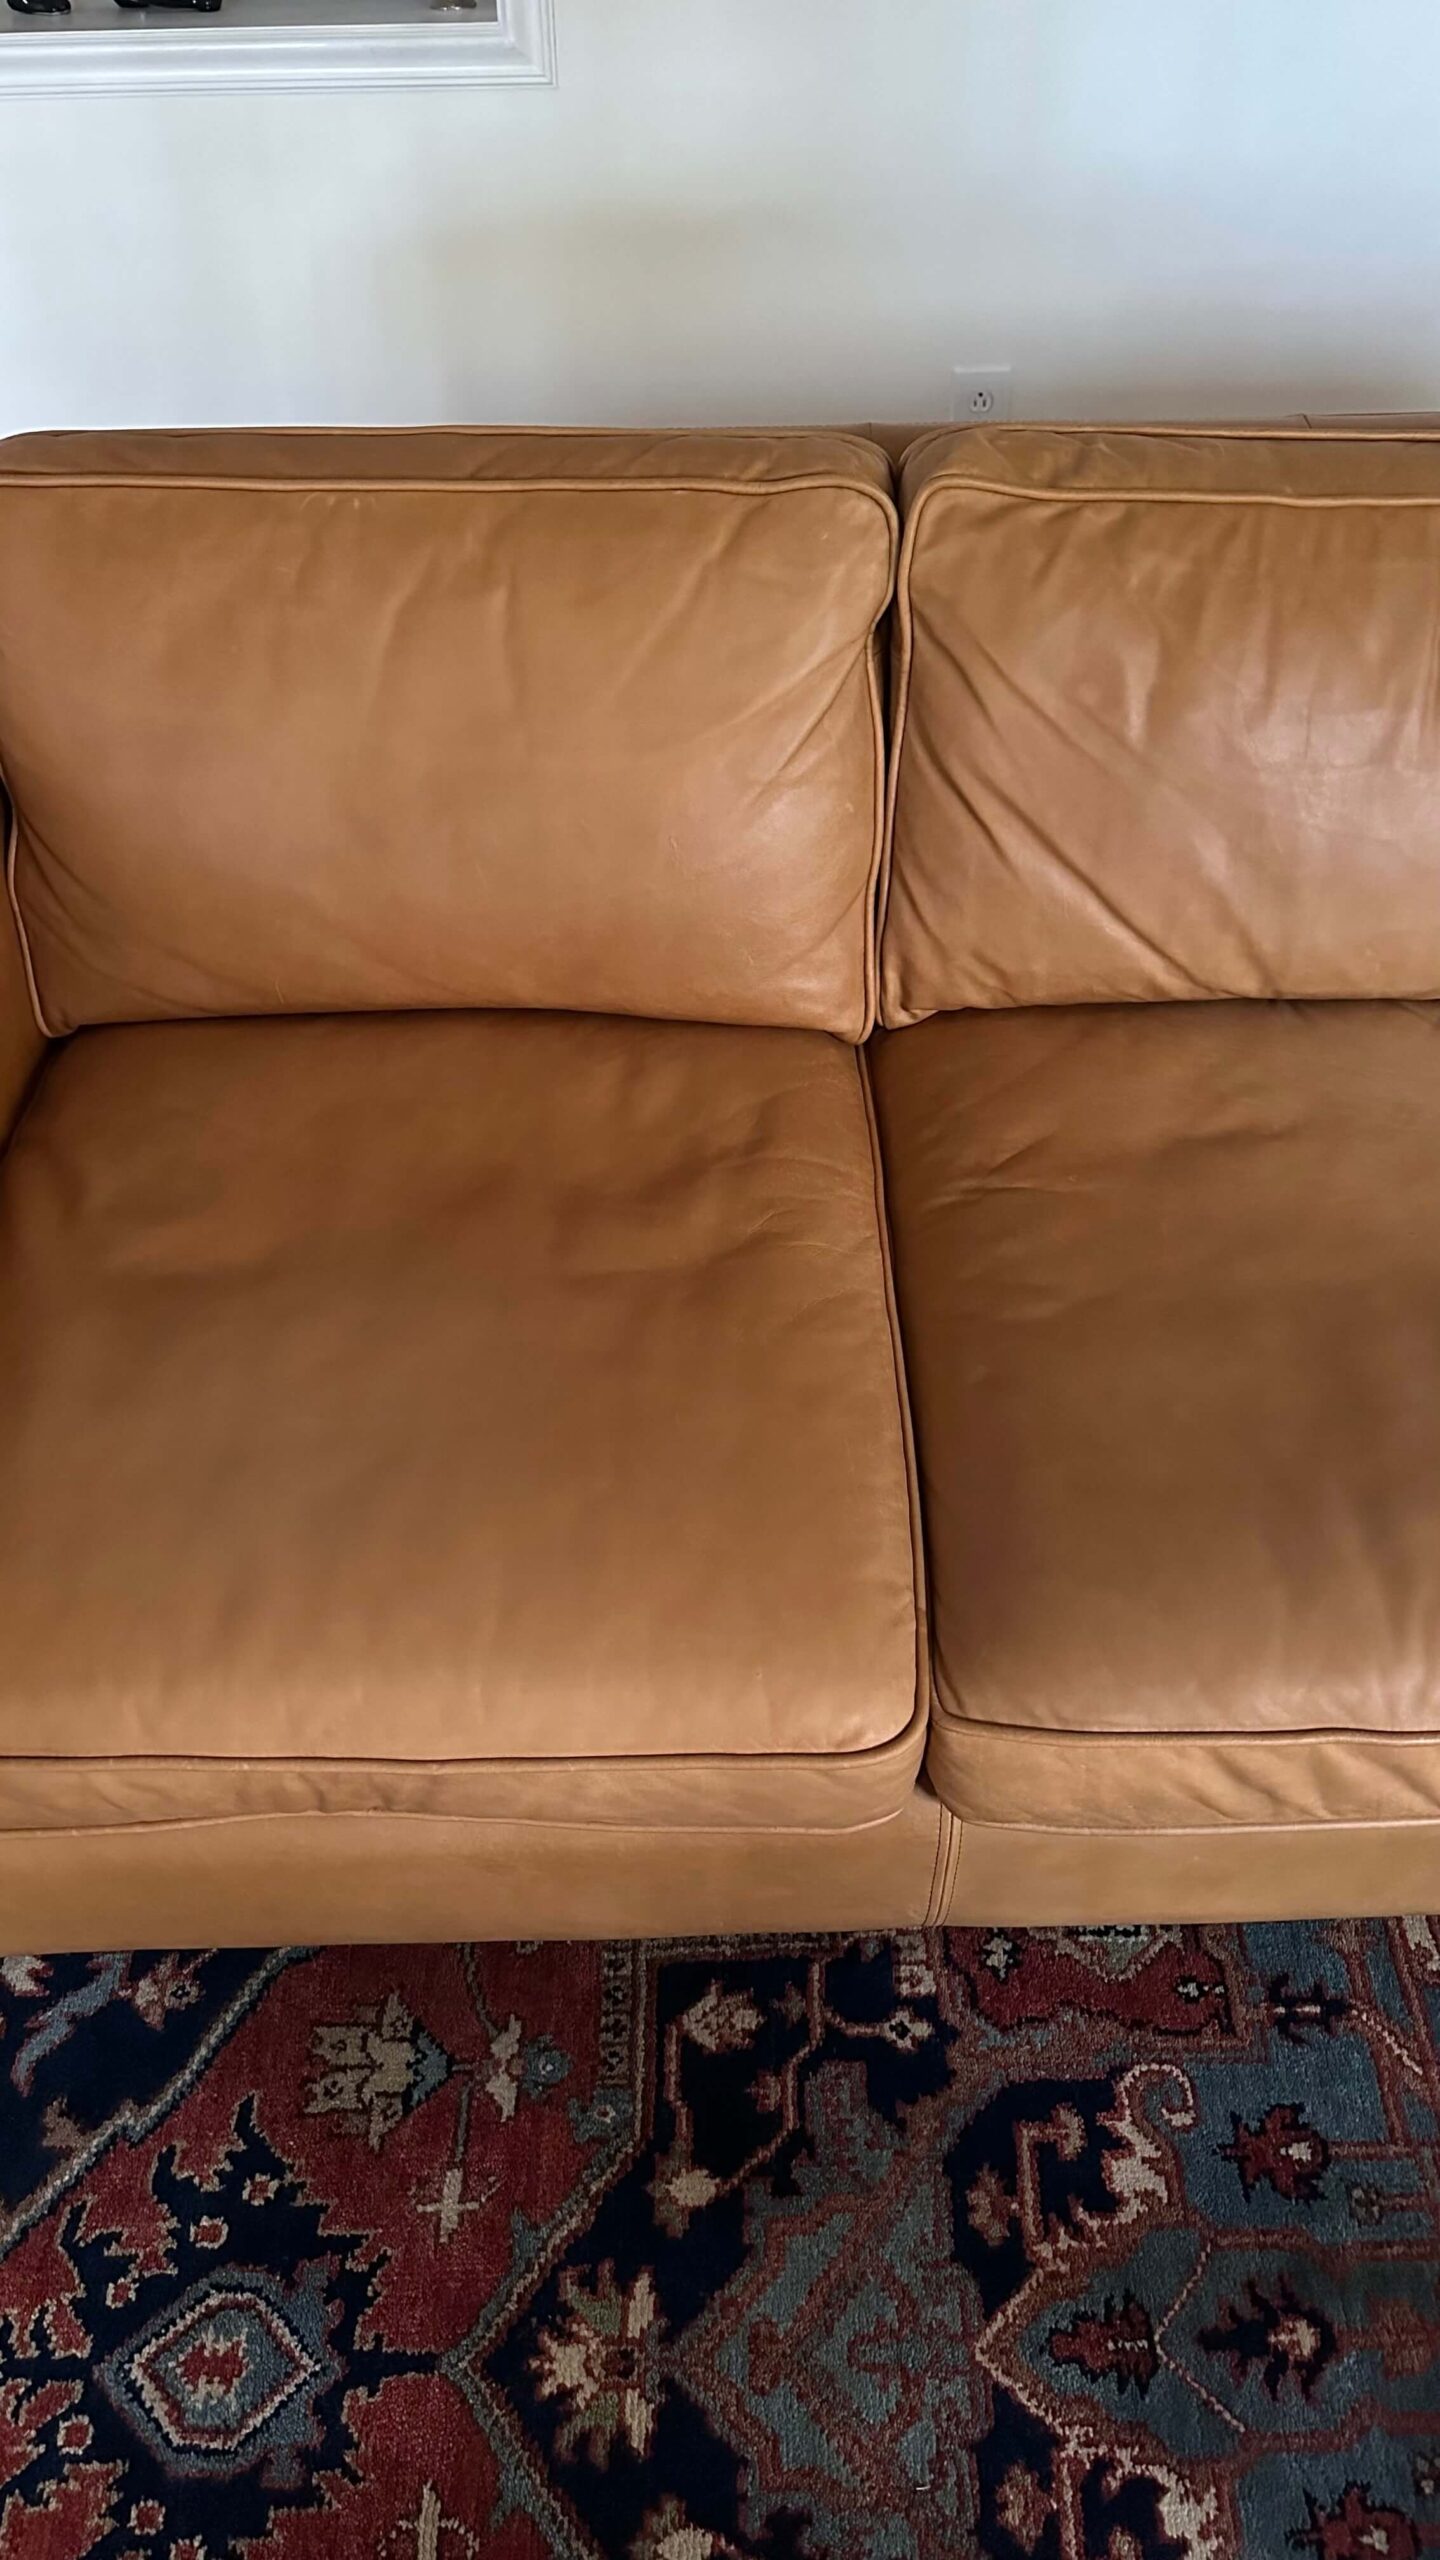
While your cushions are drying, we’ll repeat the same steps above to the frame of the couch. Work along the outside and inside of the arm rests, the back of the couch and also along the bottom front.
Repeat each step above.
Step 6: Assemble couch
After two hours of drying time, you can place your cushions back onto your couch. I would recommend waiting at least 24 hours before putting pillows, throws, etc. back onto any surface. This will ensure everything has had a chance to set in and do its job.
Conclusion

Learning how to clean and condition your leather furniture is an important step in keeping it looking and feeling its best. By following the simple steps above, my camel colored leather couch is buttery soft and will last me for years to come. If you have leather furniture, trust me that it’s worth the small investment in a leather cleaning kit to protect your bigger investment.
