While there’s still a long list of things to do in the budget friendly kitchen renovation, I’m one step closer to having the core of my kitchen back. After painting the counter tops to look like faux carrara marble (still can’t get over this transformation by the way! – this is the kit I used), the next step was to revisit my doors and drawers. Since I’m keeping this budget friendly, I’m repainting the existing doors and drawers, but am installing soft close drawer slides and hidden soft close hinges. I think those little changes will help things feel more updated without breaking the bank.
Prepping the doors & drawers
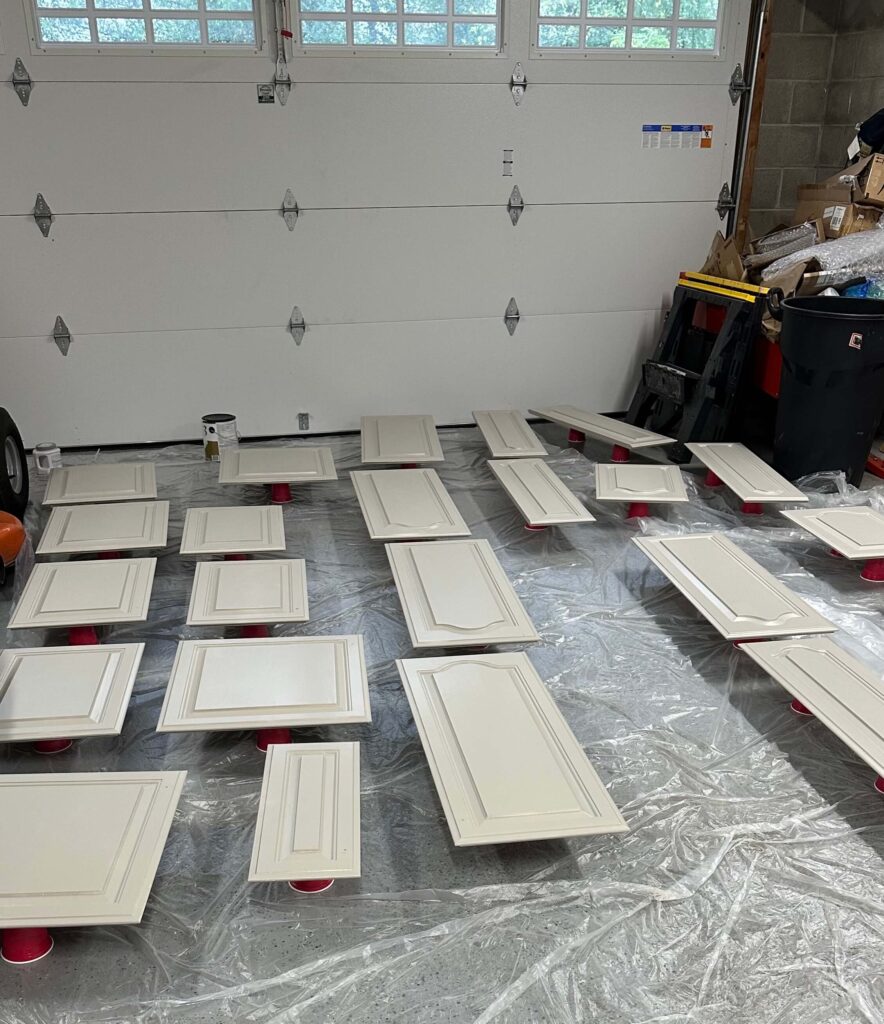
The weather was not on my side this week, but luckily, I was able to clean, sand and tack everything on one of the nicer days. I was also able to set up my spray tent outside and was able to get one coat of primer on each side of the doors (all 28 of them!). Because the doors are all different sizes, it was important to keep them numbered. Since I was applying paint, I decided to number red solo cups, and then as I painted each door I would set it on the corresponding solo cup. I didn’t know if this was going to work but it actually did! I have a little map of my cabinets that I sketched during week 1 of the challenge, so I know what goes where.

Applying the Color
Eventually due to rain, I needed to move the spraying operation inside the garage. The spray tent I purchased off amazon has more than paid for itself, so if you’re thinking about spraying I’d highly recommend grabbing one of these. I set up a little turn table on a 5 gallon bucket inside the tent. and using my Graco X5 paint sprayer, I applied a light coat of paint on the backside of each cabinet door (about 3-4 passes each). Each door was placed back on the corresponding solo cup and I allowed for 4 hours of drying time before flipping them to do the other side. I did two coats total on each side and decided to take my time with it rather than rush the drying process. So, I took two days to apply the color.
After everything was dry, I relabeled the appropriate number on the backside of each door in pencil, and tucked my solo cups away for another project someday. I decided to leave the doors alone for a few days to make sure they were fully cured before I started the drilling for hinges, so we’ll come back to that in a second.

Installing Soft Close Drawer slides
While I let the doors rest, I decided to tackle the drawers. A couple years back I attempted to install soft close drawer slides, however the drawers were uneven and have never shut right since. So, I was nervous and anxious about this. And if you remember, I also demoed the drawer rails inside my cabinets early into the renovation process. Mostly out of frustration and irritation that they were never built properly. With that said, I had to figure out how I was going to add my drawers back in!
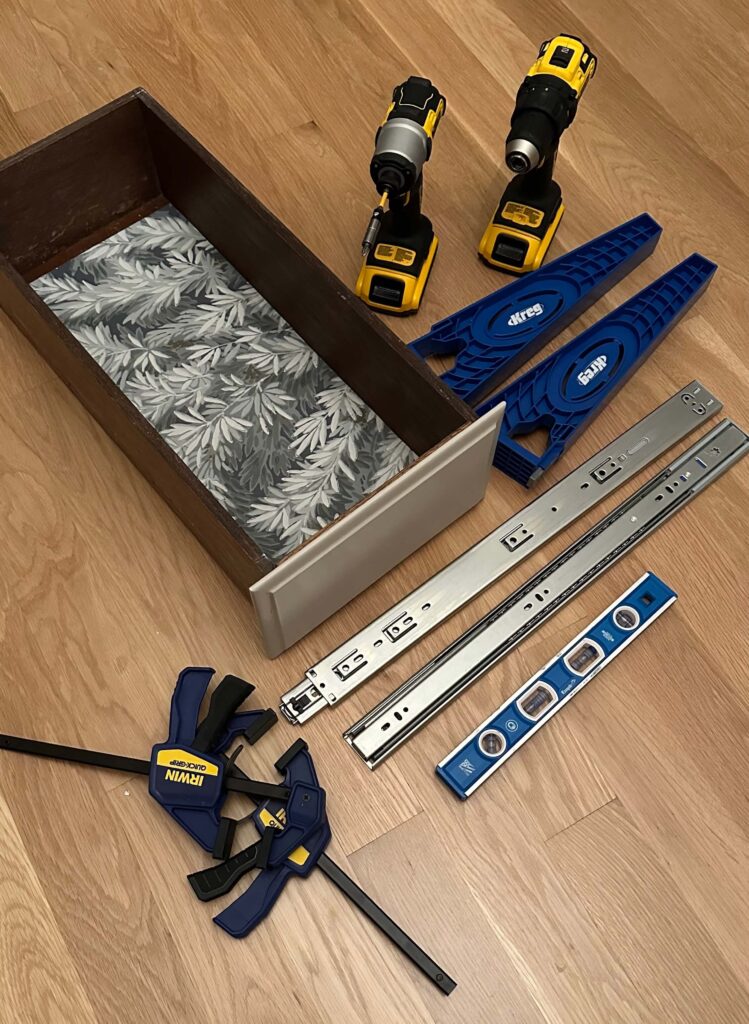
After a little research, I discovered you can buy drawer slide extenders which allow you to mount the slides to the back of the cabinets. Given my previous experience, I also decided to invest in a set of Kreg drawer slide jigs, clamps and a new set of power drills.
Everything You Need To Install Soft Close Drawers
Step 1: The right size drawer slides
If you’re installing soft close drawer slides, you want to make sure the slide is as close to the same length of your drawer as possible, but not longer. So for example my drawers are 23” deep, so I purchased these 22” slides.
Setting Up and Installing the soft close drawer slides
To make things easier vs fighting gravity, I clamped the Kreg drawer slide jigs to be flush with the drawer opening. This allowed me to rest the drawer slides on the jigs, vs holding with one hand and drilling with another.
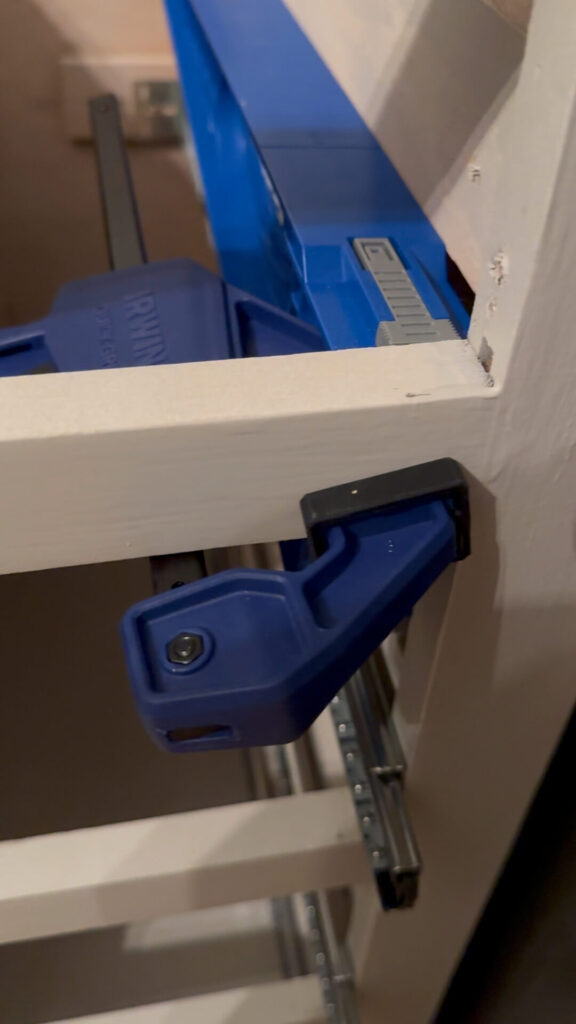

Clamp the jigs inside of the cabinet frame to install your sliders
I attached the drawer slide extender to the back of the drawer slides, and then rested the front of the slides on the opening of the drawer frame (setting back about 1/8” from the opening). Once I made sure the slides were 100% level, I drilled a screw in the front face frame, double checked the level and then drilled into the rear slide extender.
The key to getting your drawers to slide smoothly and evenly is make sure everything is level and evenly spaced. Using a tape measure, make sure the distance between both drawer slides is exactly the same from front to back. Once it is, repeat the same exact process for the 2nd drawer slide.
The coolest part about the drawer jigs is they flip around! So once your drawer slides are screwed in, you can unclamp the jigs and flip them to face out towards you. This allows you to rest the drawer in a level position while you drill the drawer slides into them.
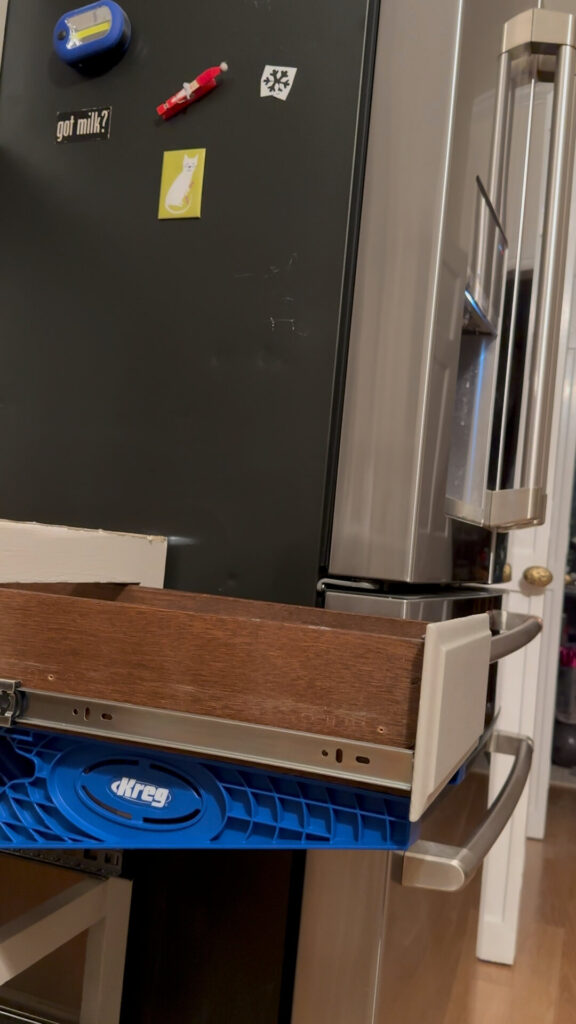
The jigs flip around to allow you to install the glides directly on the drawer without fighting gravity. Just make sure everything is level first!
With the first couple drawers I had to make a couple adjustments to get things fully level, but once I got going it really got much easier. And I fully credit it to the drawer jigs and clamps! If you do this and find your drawers are sticky or not soft closing, that means something isn’t level or spaced evenly. Take your time to double check the space and adjust the leveling on the slides if need be. It’s usually a small adjustment that makes all the difference.
Adding the jewelry
I’ll be honest, my new drawer pulls from EMTEK were motivating me through this entire project. As much as I didn’t want to deal with drawer slides, I was SO excited to update my hardware. You’ll hear designers say this all the time, but the hardware is truly the jewelry of the home. It’s what you touch countless times a day. It’s what shines against your paint color. And choosing the right hardware can make all the difference in your every day life.
I previously had regular handles on my drawers and they never felt quite right. Some even felt like they might rip right out of the drawers! Adding EMTEK’s cup cabinet pulls to my drawers has completely elevated both the look and the experience of using these drawers.
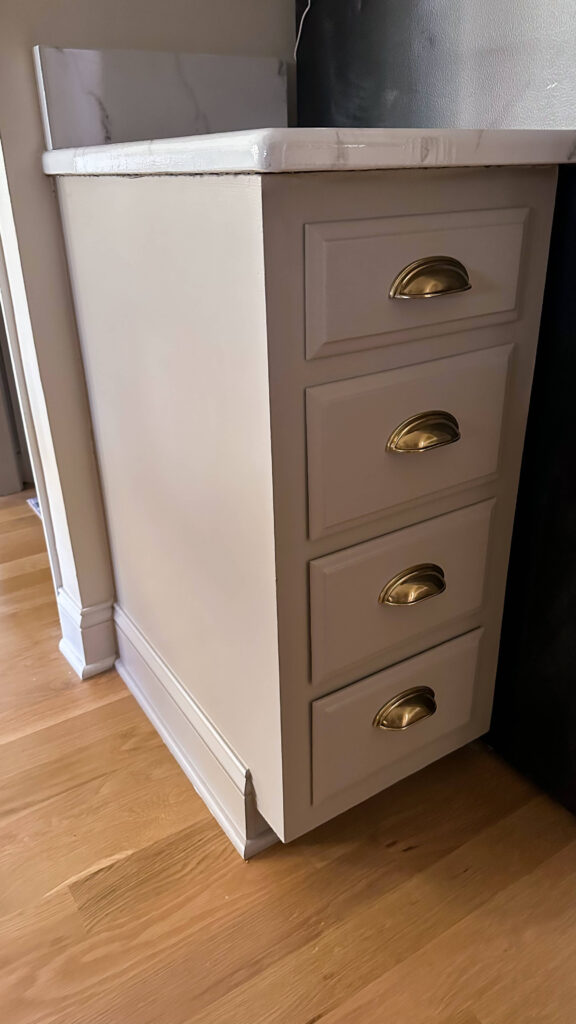
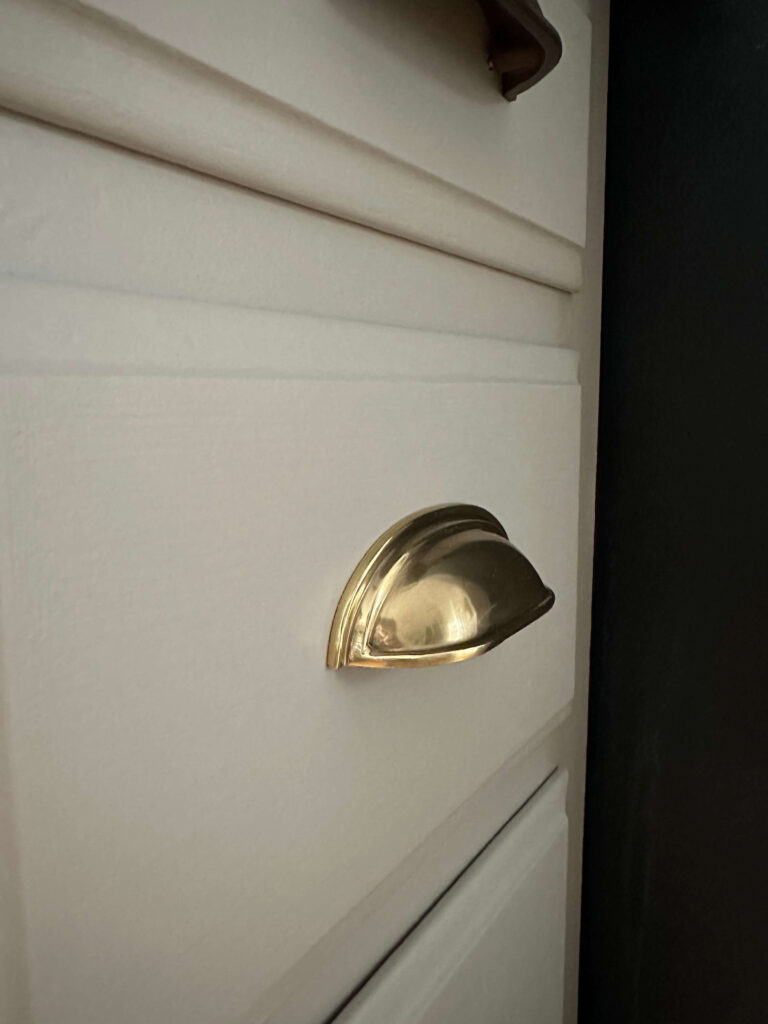
EMTEK Cup Cabinet Pulls in French Antique
If you’re thinking about adding any type of pull to your drawers, a good rule of thumb for selecting the size is choosing a pull that’s about 1/3 of the length of your drawer face. So for me, I chose EMTEK’s four inch cup pulls for my longer drawers, and the three inch cup pulls for the smaller drawers. I used this handy little template, drilled pilot holes and screwed the drawer pulls in without any problem.
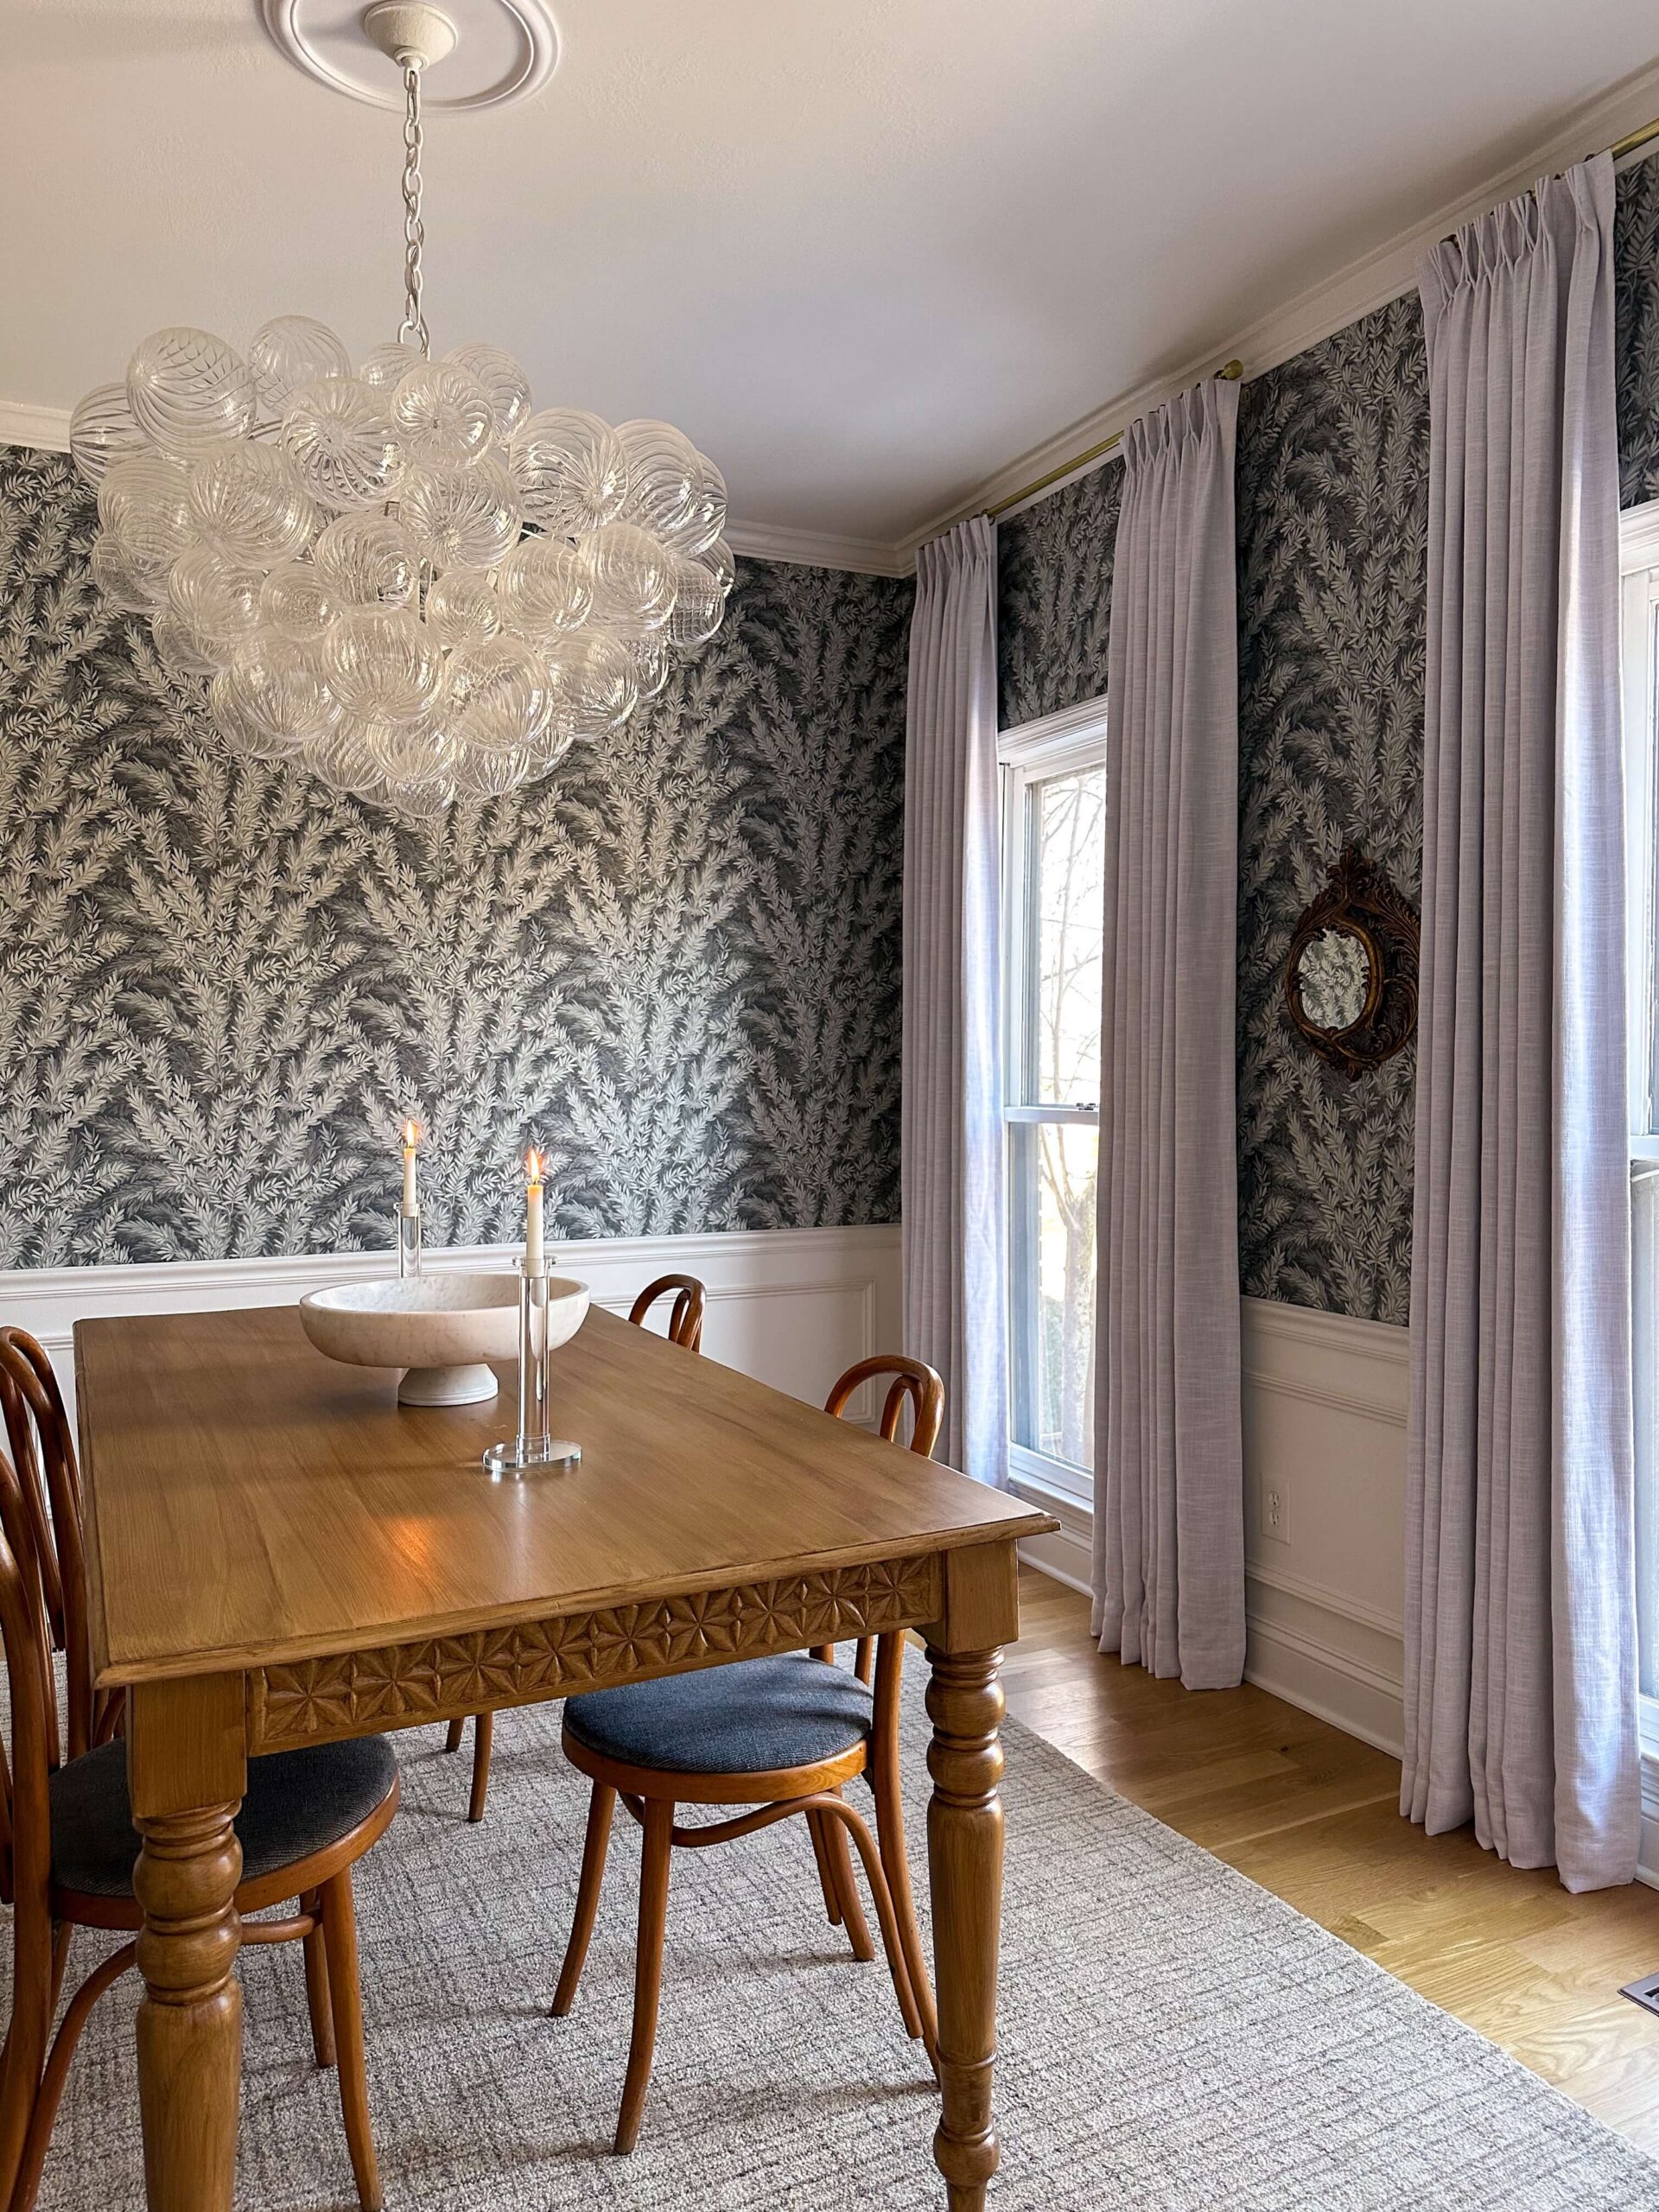
For an extra special touch, I used some leftover wallpaper from my dining room to line the drawers and make the insides feel a little bit more special. With the dining room being adjacent to the kitchen, I love how this ties the spaces together, and I also think the print works so beautifully with the cabinet color and the new drawer hardware.
What’s next for the budget friendly kitchen renovation?
Looking back I feel like I didn’t accomplish everything I had hoped this past week, but I also recognize I underestimated the amount of time it would take to clean, sand and paint all 28 doors on both sides.
This week I’m going back to the doors and will be installing hidden soft close hinges from Rockler Woodworking. We’ll get into cabinet types and door faces next week, but as a preview, my very old cabinets require a very specific hinge type to be both hidden and soft close. I was so thankful to find a solution at Rockler and have some special tools that will help make installation a little bit easier.
I’ve also started sketching out plans for the island and new wine fridge. Once I have my dimensions finalized I plan to visit a stone yard to look at remnants for the counter top. Originally I was planning to paint the island a warm brown, but now I’m thinking about making it the same color as the existing cabinets and looking for a soapstone top.
Other things on the list include caulking, installing the light pendants and the cherry on top will be my new rolling library ladder from Putnam Ladders! It arrived last week and I must say I’m “Christmas excited!” Make sure you keep an eye on socials to see how everything comes together this week.
To see and cheer on other designers, you can follow the One Room Challenge weekly progress reports here!
Catch up on the budget friendly kitchen renovation:
One Room Challenge Kitchen Renovation – Week 1
One Room Challenge Kitchen Renovation – Week 2
One Room Challenge Kitchen Renovation – Week 3
One Room Challenge Kitchen Renovation – Week 4
One Room Challenge Kitchen Renovation – Week 5
One Room Challenge Kitchen Renovation – Week 6