


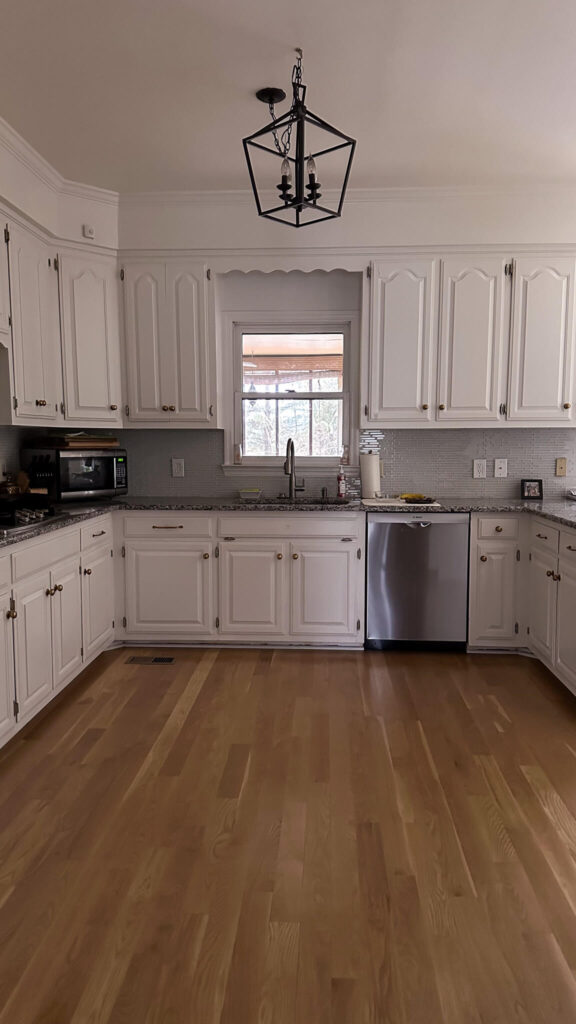
It’s the end of week one of the fall 2024 One Room Challenge and I feel like I’ve already lived 5 months in 5 days. All kidding aside, I knew when I picked the kitchen for my renovation project, that it would be no easy task. These first few days getting started have reminded me of that. Week one was filled with lots of preparation for the space, but also gave me some pause for my initial design plans and ultimately some changes. Let me share the journey and my thoughts with you…

Budget Friendly Kitchen Renovation Week One Accomplishments
This week, I managed to fully flush out the design plans for the space and am really excited with where I landed. I created a list of everything I need for the project, with links, pricing, etc. so I can have a rough idea of what I’ll be spending. I also created a timeline to help keep me on track to finish this massive undertaking in only 8 short weeks. If you don’t already know, I work a full time job with a commute, so this project is my 5-9 after my 9-5!
The Prep
The first step was to empty this kitchen, which I’ll admit I completely underestimated. I’ve been living in this house for 6 years, and have definitely overlooked how much I’ve accumulated since moving in. My dining room may or may not look like I’m hosting my own estate sale right now haha. As my mom said, I feel “right at home” with that concept.

A Plot Twist to the Plans
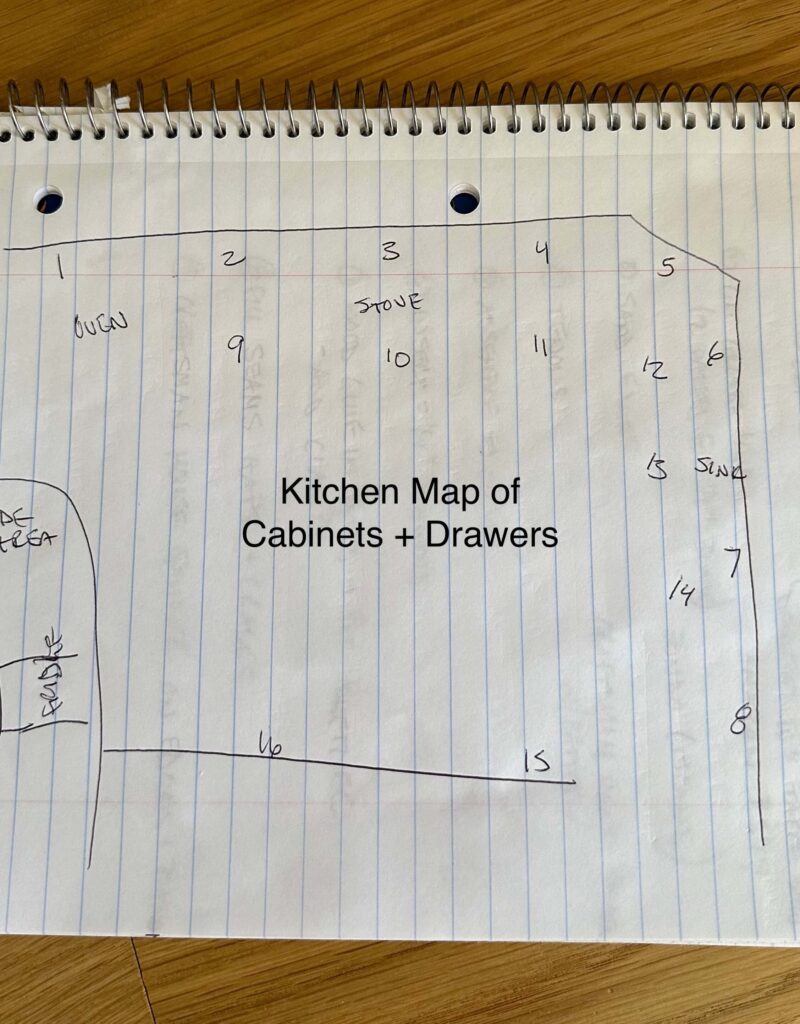
After the cupboards were emptied, I created a little map of my kitchen. I numbered each cabinet set and drawer, and then with masking tape, I labeled each piece. I certainly do not want to assume anything when it comes to this house, and that includes that the cabinet doors are all created equal!
Now I was ready to really take this kitchen a part! I began removing the hardware and setting it aside. From there I began removing the cabinet doors and the drawers as well, but as I was removing the drawers, I noticed the rails they were sliding on weren’t properly installed. Rather than make due with this, I took it upon myself to demo the existing framework for the drawers and will build new rails.
I’ve also decided to change the hinges. Originally I had planned to rub n buff these decorative hinges but to be perfectly honest I absolutely hate them. I don’t know what I’m doing from a hinge installation standpoint, and quite honestly it gives me more heartburn than any other part of this project. However I also know that in the end, I’ll be so happy I took the time to figure it out and I know it will change the entire look of the kitchen.
Originally I shared that I’d be starting with the woodworking, adding shelving to the corner cabinet and fixing what used to be a drawer under the double oven (the previous owner glued it shut). The new jigsaw I ordered was on backorder, so to make every minute count I’m shifting the timeline and am going to start with the painting portion first. My thought is by starting with painting, it will give the cabinets plenty of time to cure before placing items back inside. I also think it will serve as motivation to keep working each day, as it will be such a large transformation to the space.

Prepping the Cabinets for Painting
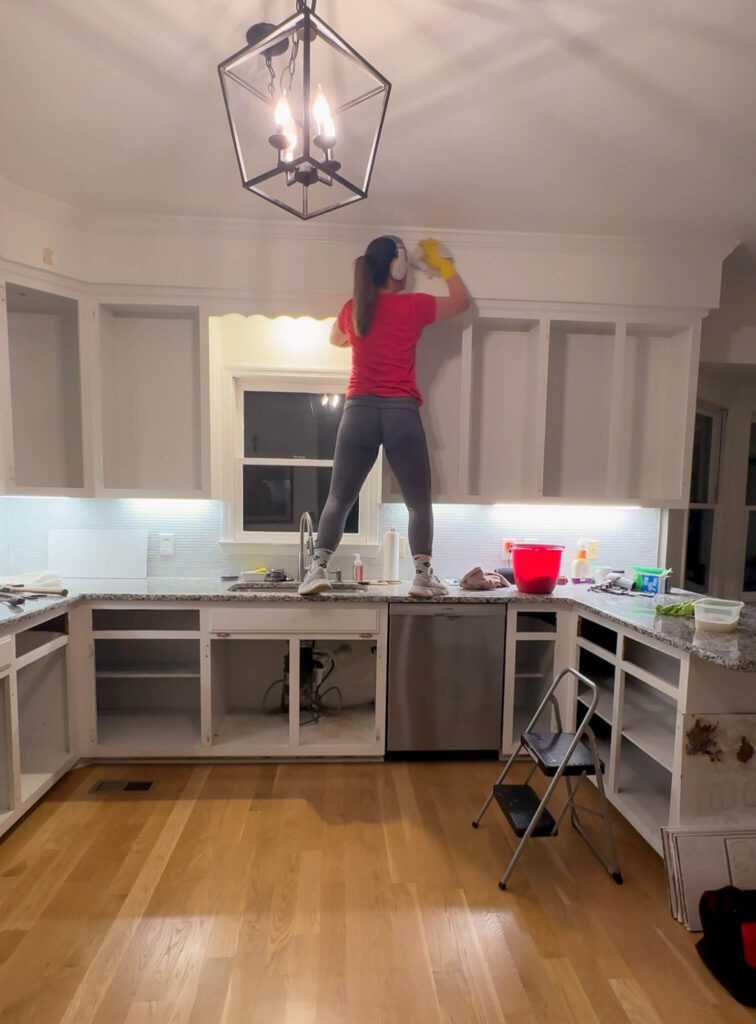
After shifting the plan to paint first, this past week was all about the prep work. Which by the way, does anyone like the prep work? I certainly do not! After the kitchen was emptied and the drawers and cabinet doors were removed, I got to work cleaning every nook and cranny.
Using a mix of dawn dish soap and warm water, I used my electric spin scrubber to clean every surface I could. In the hard to reach places I used a scour pad. After that, I rinsed this with fresh water and a different rag. Finally I dried with a third rag. If this sounds a bit excessive, that’s because it is, but it’s a necessary evil. My next step will be sanding and we don’t want to sand dirt into the wood!
Last but not least, I was able to squeeze in a little bit of patching. Knowing I’ll be changing out the hinges (or rather, really committing to that plan!) I used wood filler to fill each hole from the previous hinges. I’m very nervous about installing the new hinges and making everything even, but I’m more excited to get rid of these holes on my face frames.

Budget Friendly Kitchen Renovation One Room Challenge Week 2 Goals
So what’s next? Paint of course! But not so fast. I still need to sand everything first to create a rough surface for the paint to stick to. I’ve decided to invest in my first orbital sander and chose this one because it has varying speeds and seems relatively light to hold.
To help make this feel less overwhelming, I’m breaking this down by surface. The main focus of week 2 will be the actual cabinets themselves in the kitchen. After sanding, I’ll run a tack cloth over everything to clean up any dust, and then I can start sealing off the space.
I’ll be using a paint sprayer for the first time ever and am quite excited to try it out. But with that decision comes a lot of prep. I’ll tape off the floors, ceilings and create walls of plastic around the room. Windows, countertops, plumbing, appliances and more will all need sealed off.
After the sealing is complete, it will be one coat of primer, followed by any last minute sanding needs, and then two coats of paint! We’ll see how far I get this week but it will be wash, rinse and repeat for the shelves, drawer faces and cabinet doors (both sides).
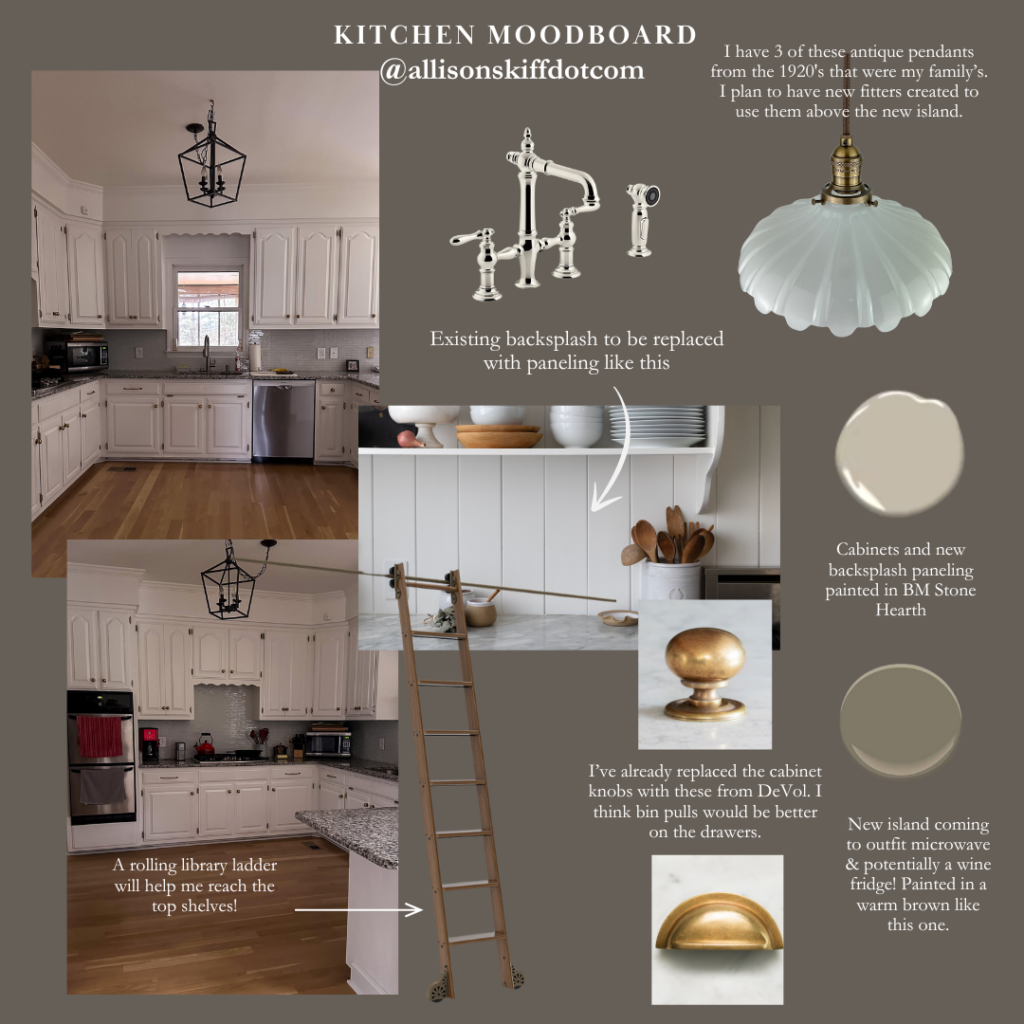
I hope you’ll follow along on socials and cheer me on! And if you need a refresher on the vision of the space, you can see all the details from my ORC Week 1 plans HERE.
To follow along with hundreds of talented designers, head to the One Room Challenge Weekly Updates HERE.
Catch Up on the Budget Friendly Kitchen Renovation:
One Room Challenge Kitchen Renovation – Week 1
One Room Challenge Kitchen Renovation – Week 2
One Room Challenge Kitchen Renovation – Week 3
One Room Challenge Kitchen Renovation – Week 4
One Room Challenge Kitchen Renovation – Week 5
One Room Challenge Kitchen Renovation – Week 6


You’re doing a great job and not compromising the important steps just to get the job done!! Can’t wait for the next update!!?