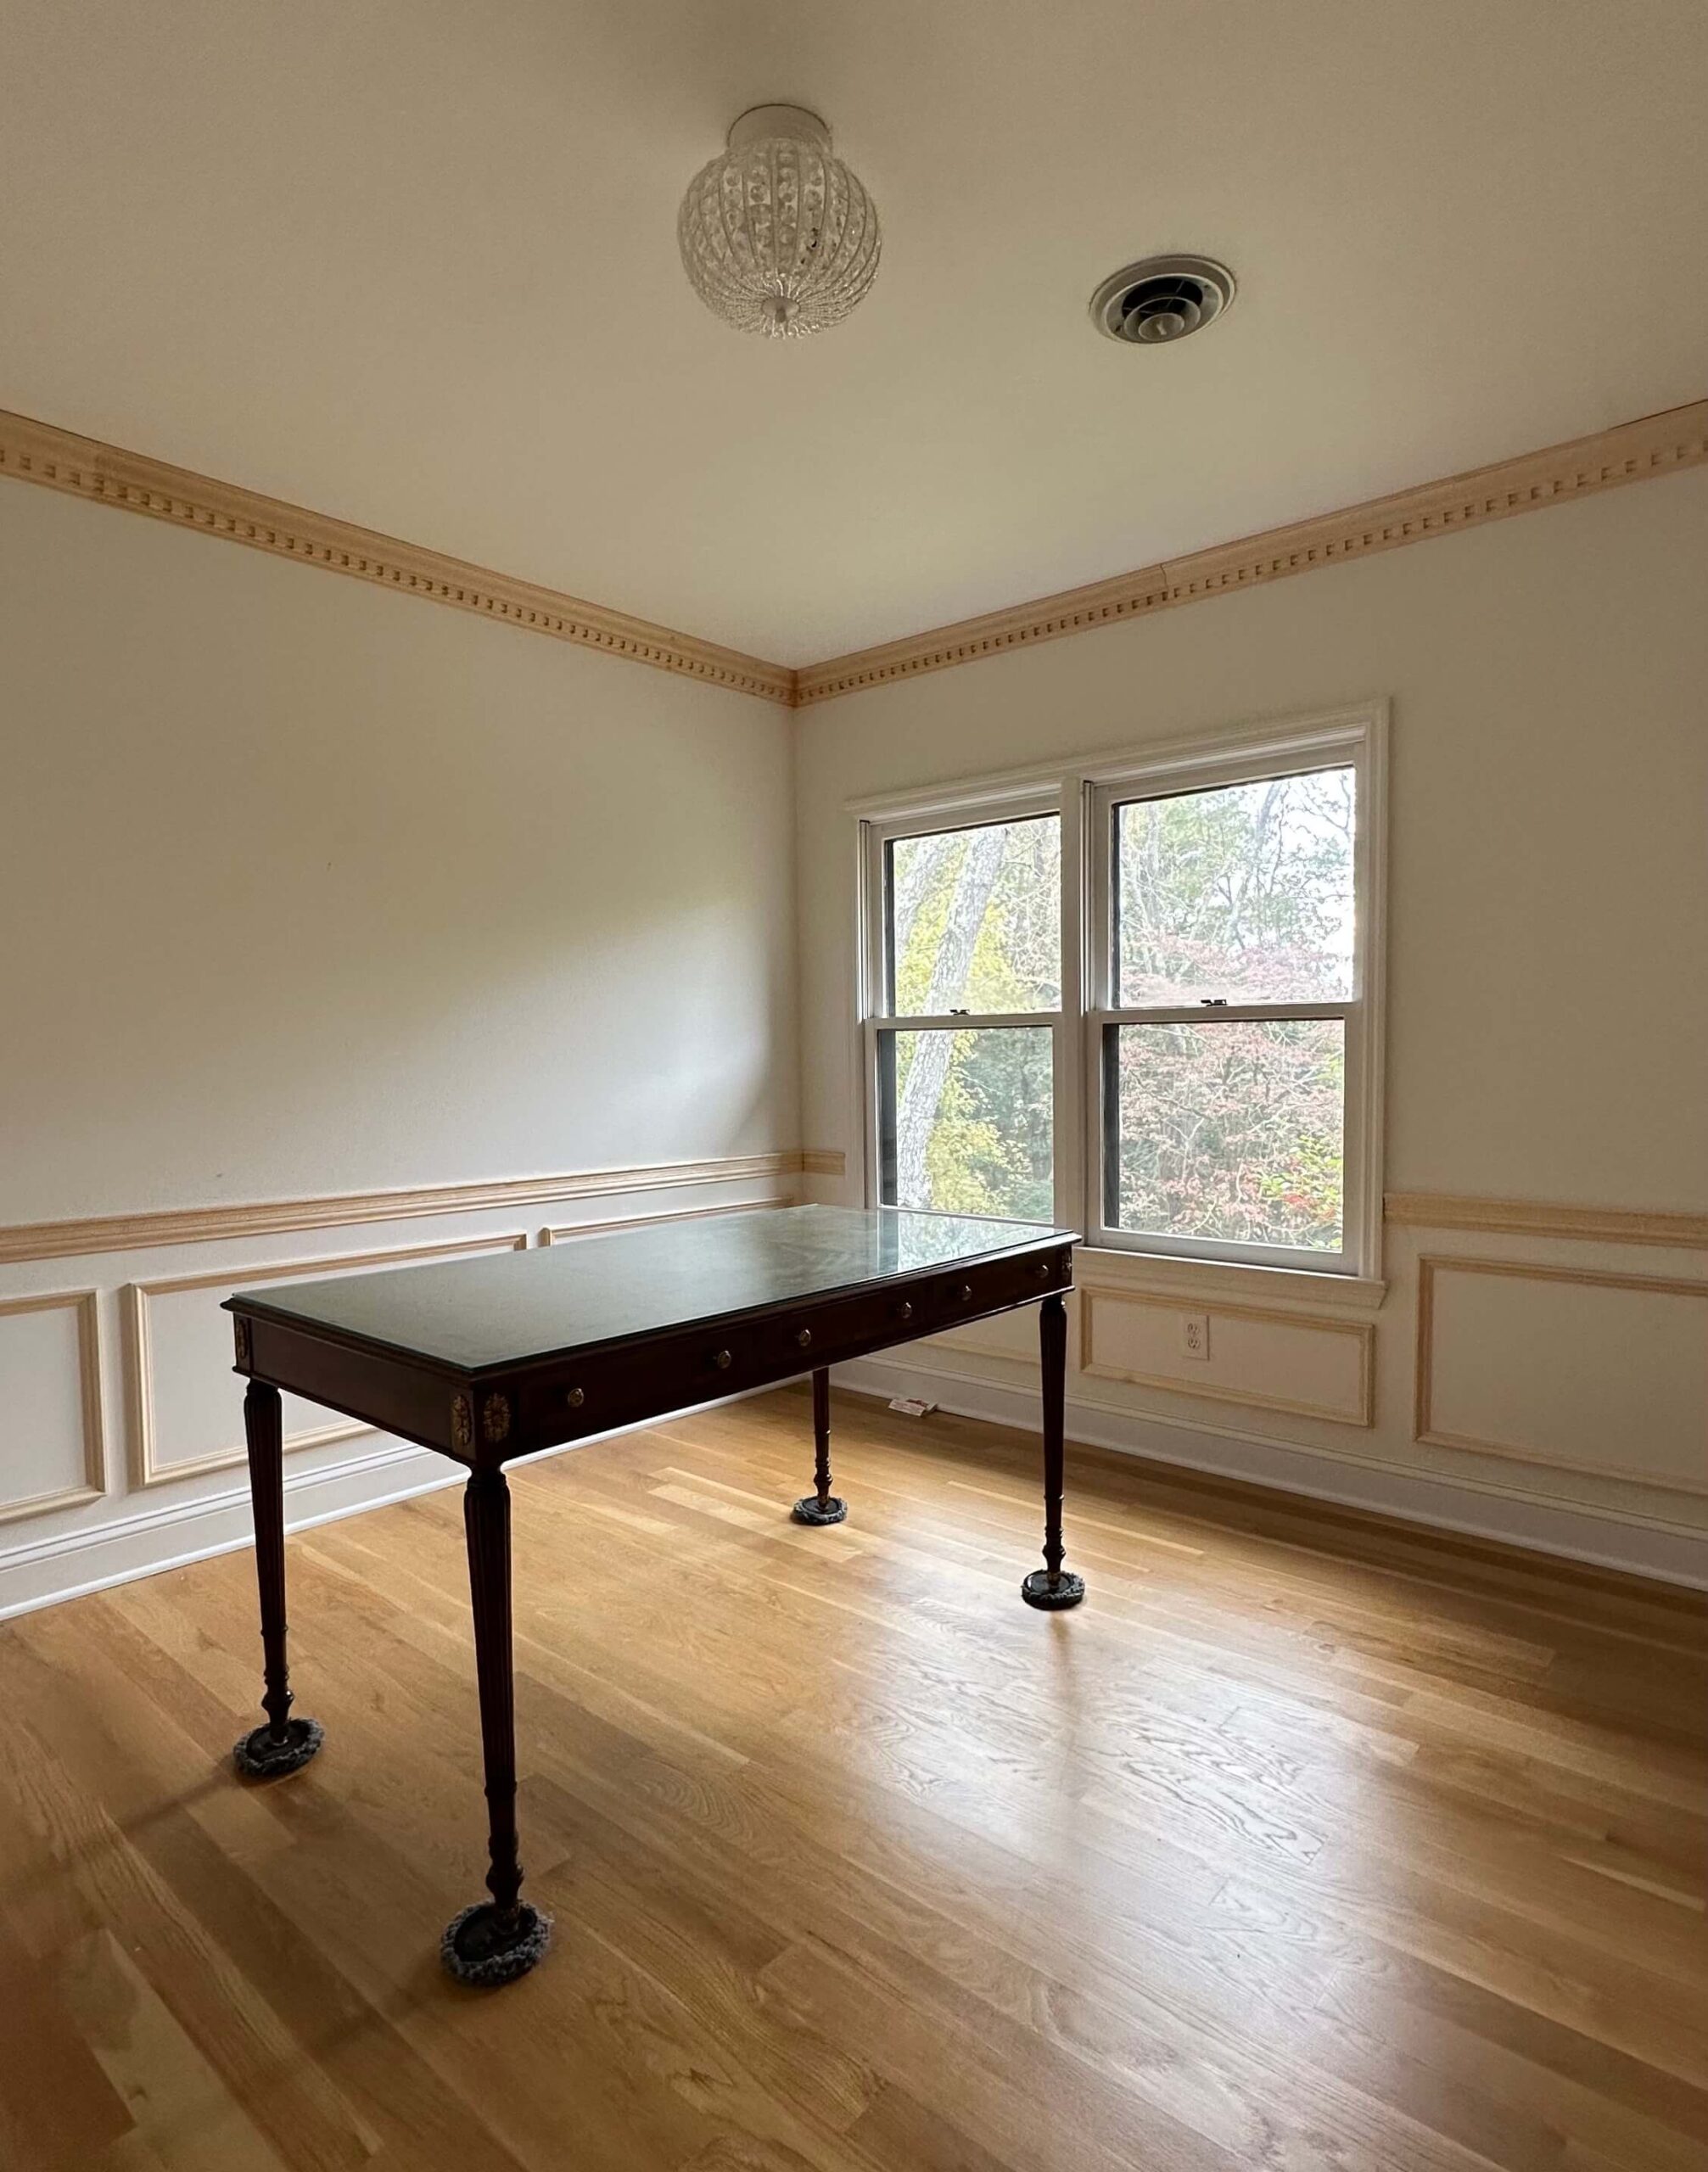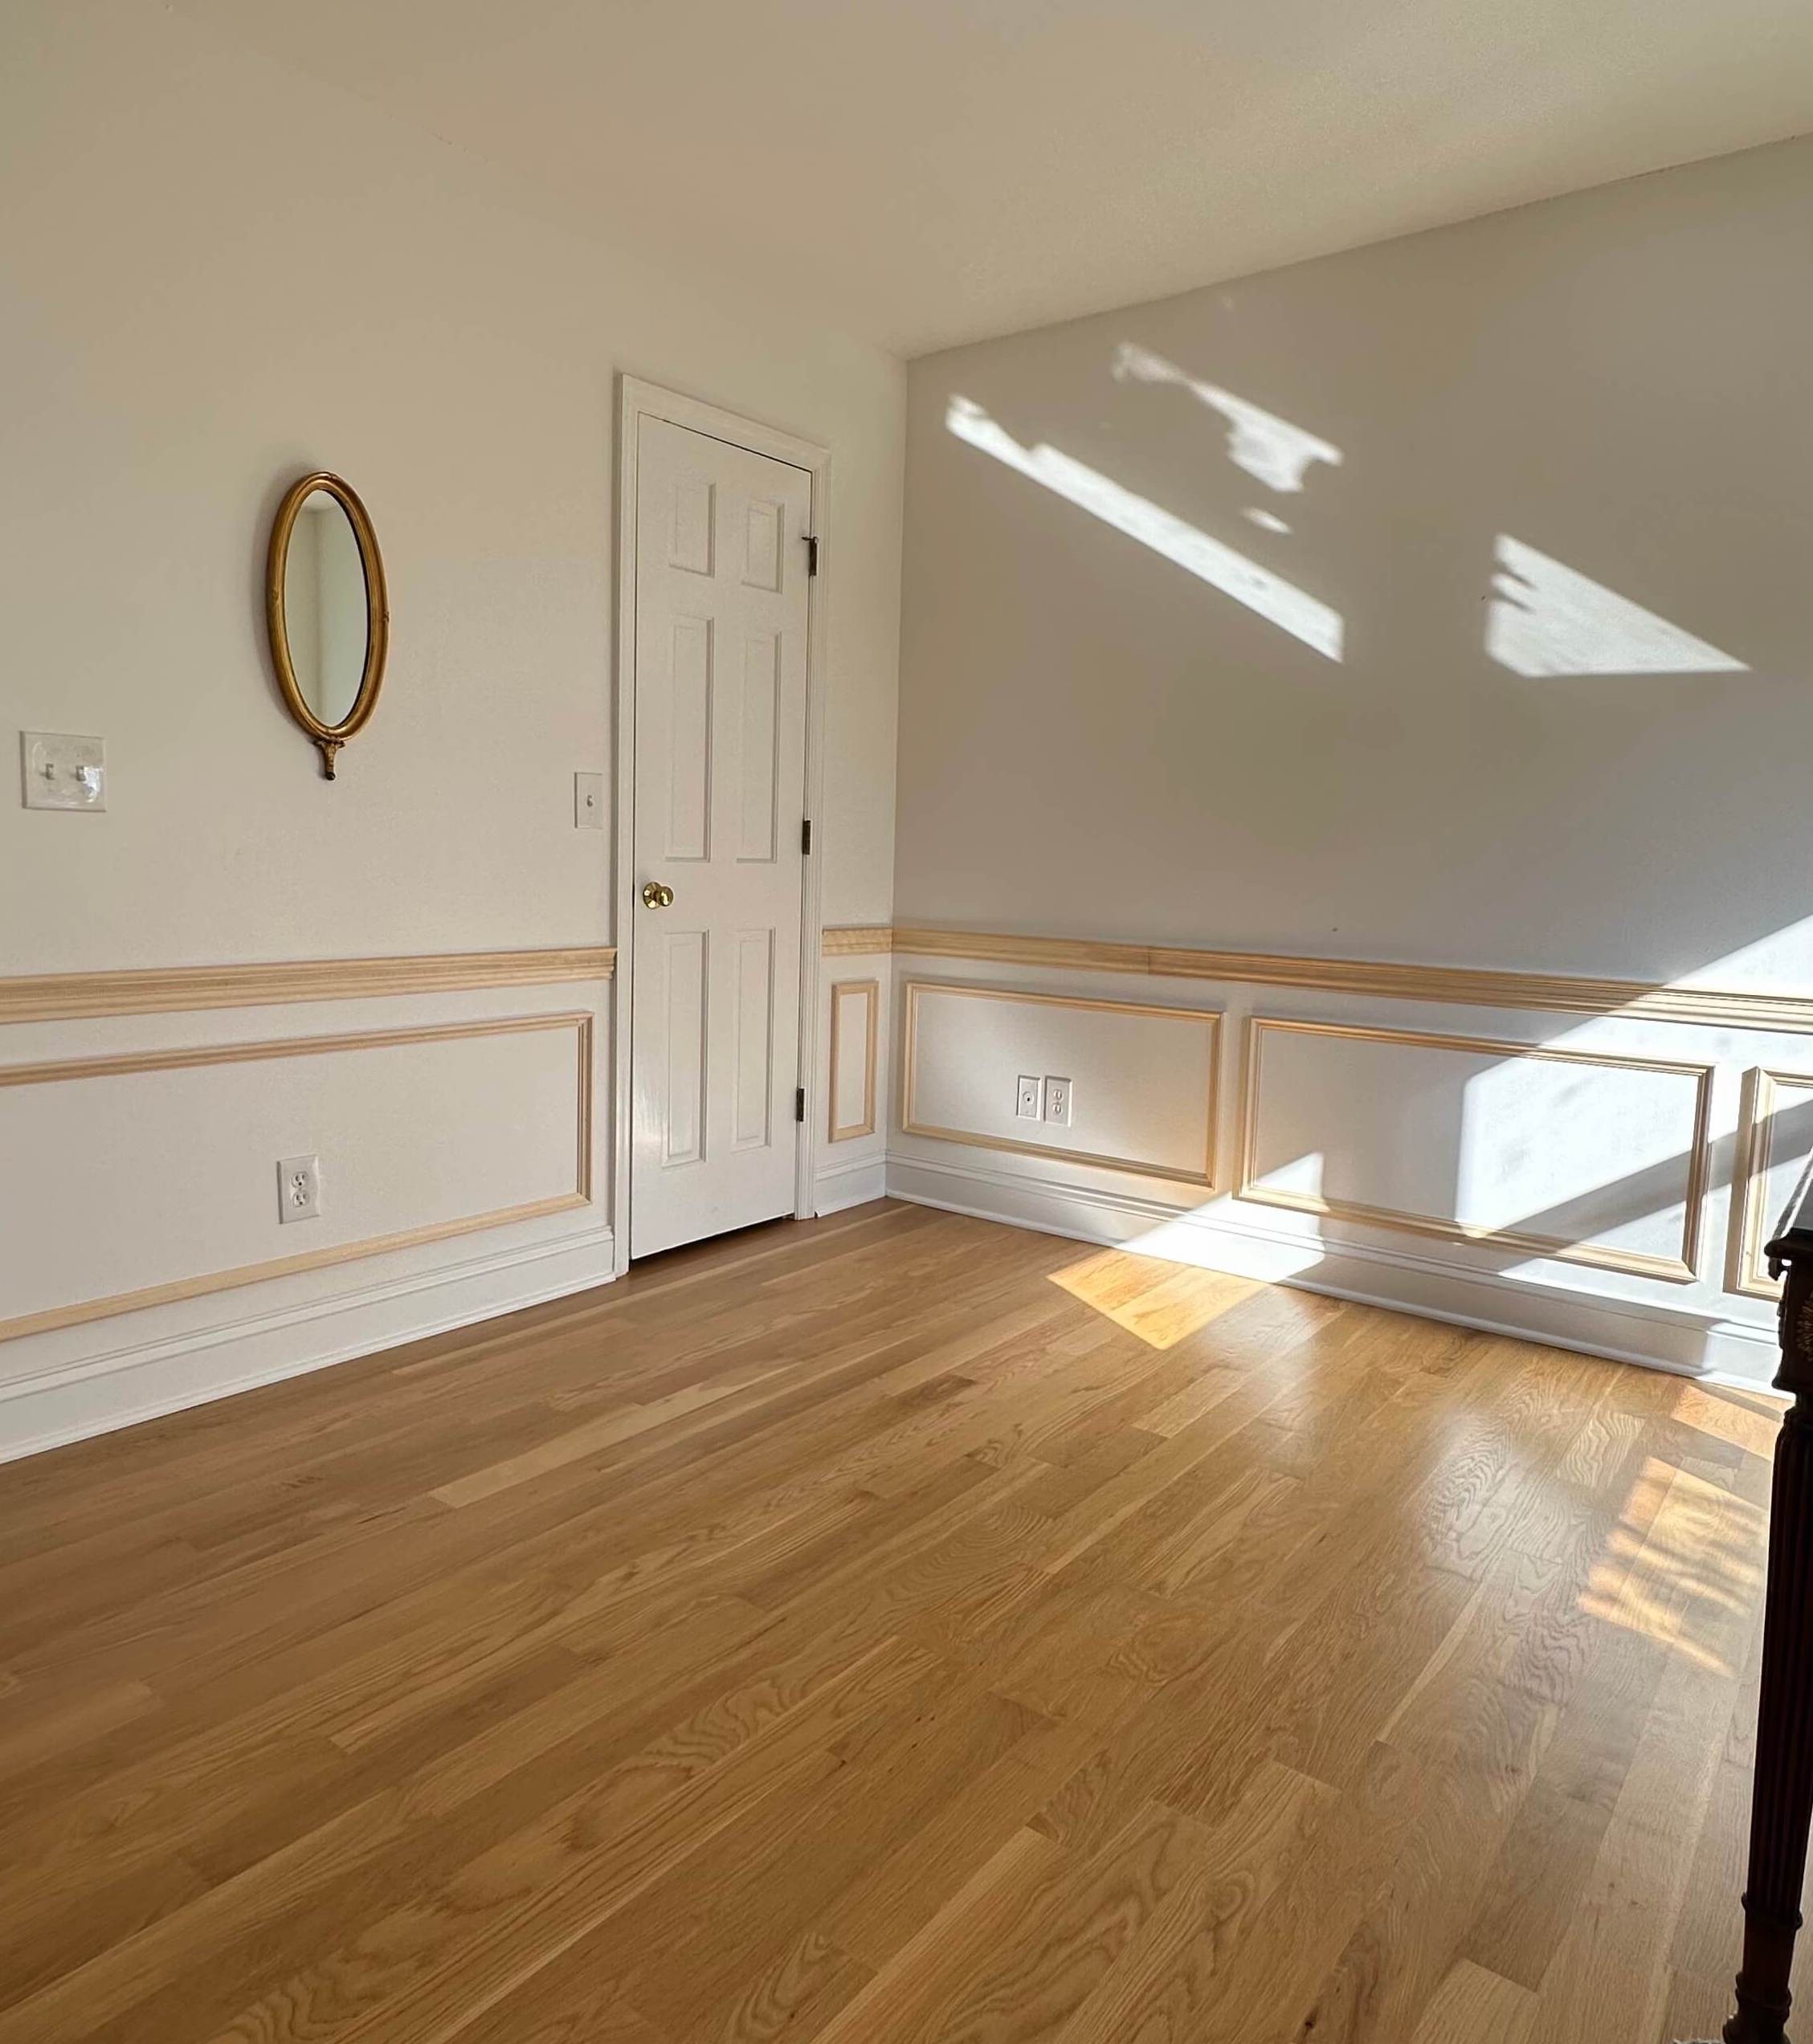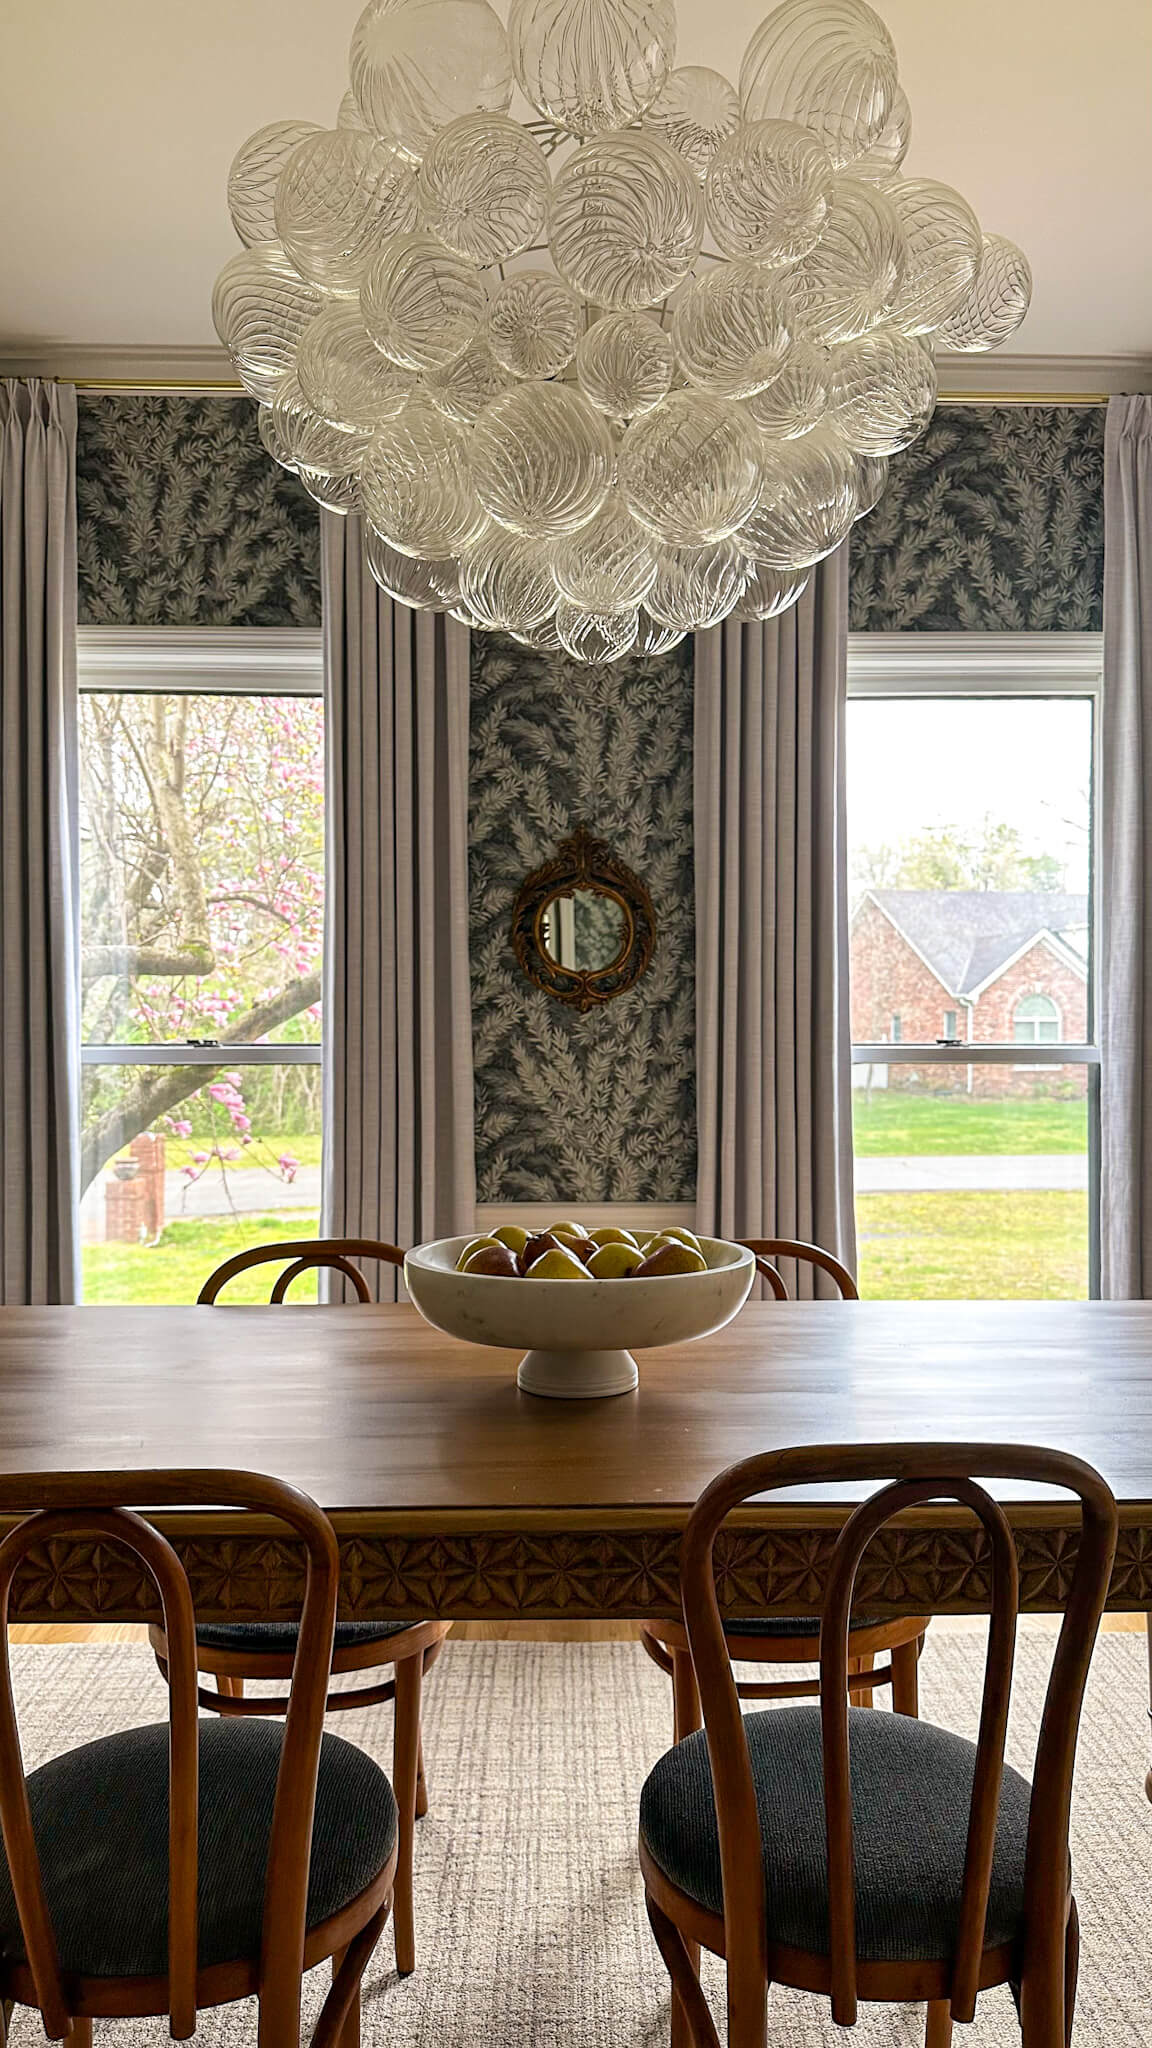



If you’re looking for wallpapering tips for beginners, I want to give you the honest version. Not the one that makes it look effortless in a 30-second clip, and not the overly technical tutorial that assumes you already know what you’re doing.
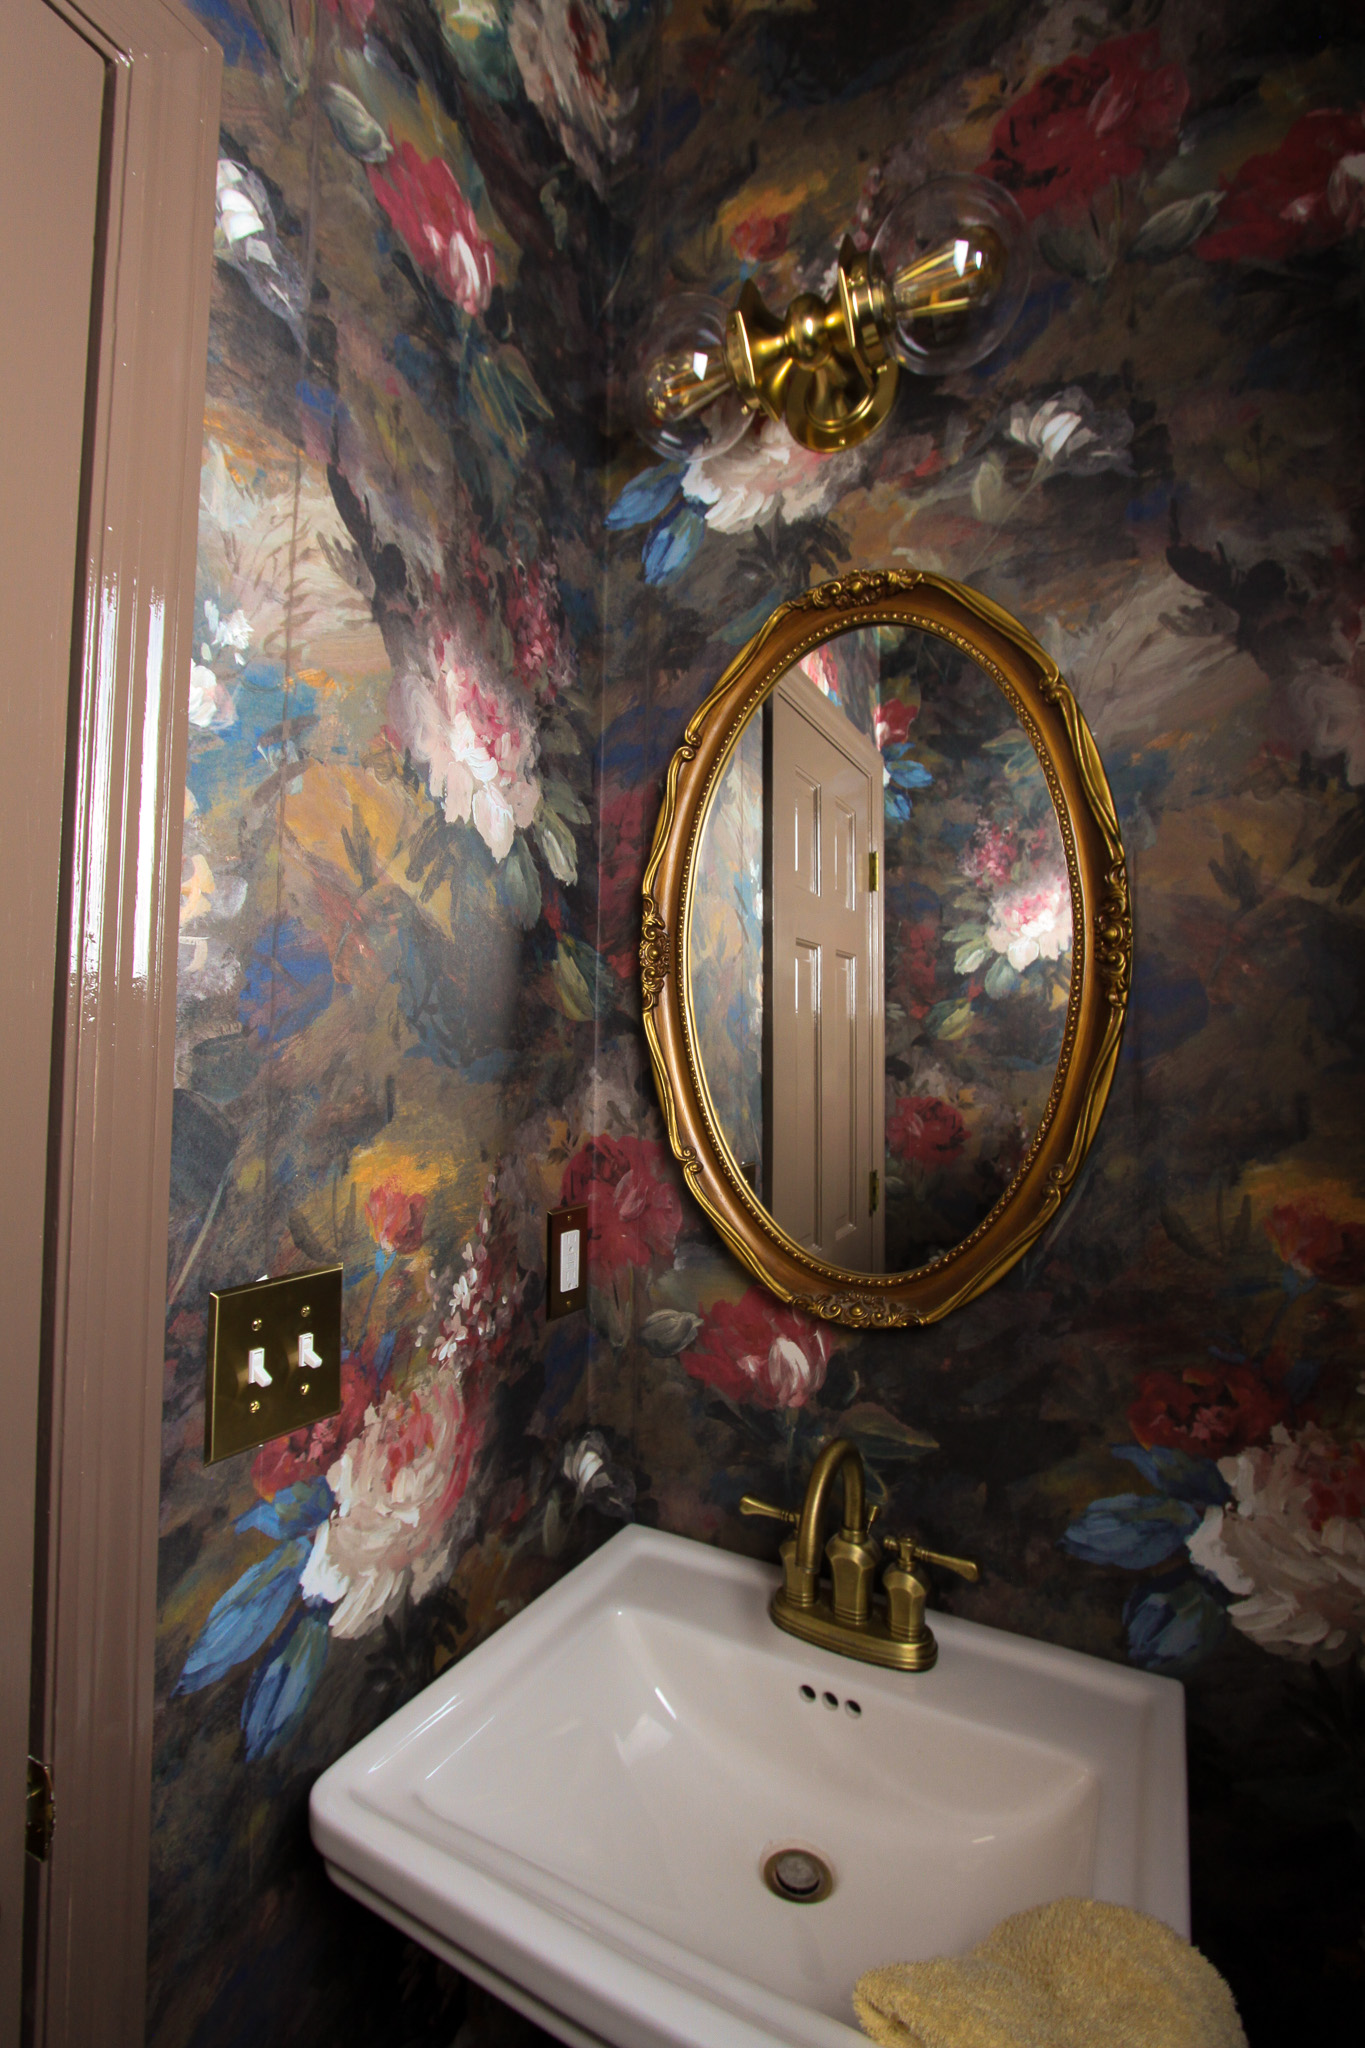
I learned most of these wallpapering lessons the hard way, and my powder room ended up being the real victim. I assumed my walls were straight (my house isn’t crazy old). So when I hung my first strip by eyeballing the corner, I trusted it. Everything that followed was slightly off and by the time I noticed, I was already several strips deep into a roll of expensive paper. That’s the kind of mistake that’s impossible to fix mid-project, and it’s also the kind nobody thinks to mention in the instructions.
The good news is that repetition creates confidence, so by the time I got to my home office last fall I felt like a total professional. So after 3 different DIY wallpaper projects, here’s what I wish someone had put in front of me on day one.
Your Walls Are Not Straight: Draw Your Own Plumb Line
I’ll say it again because I really need you to believe me: your walls are not straight. Even in newer construction. Even if they look fine. The corner you’re tempted to use as your starting reference? It’s almost certainly not perfectly vertical.
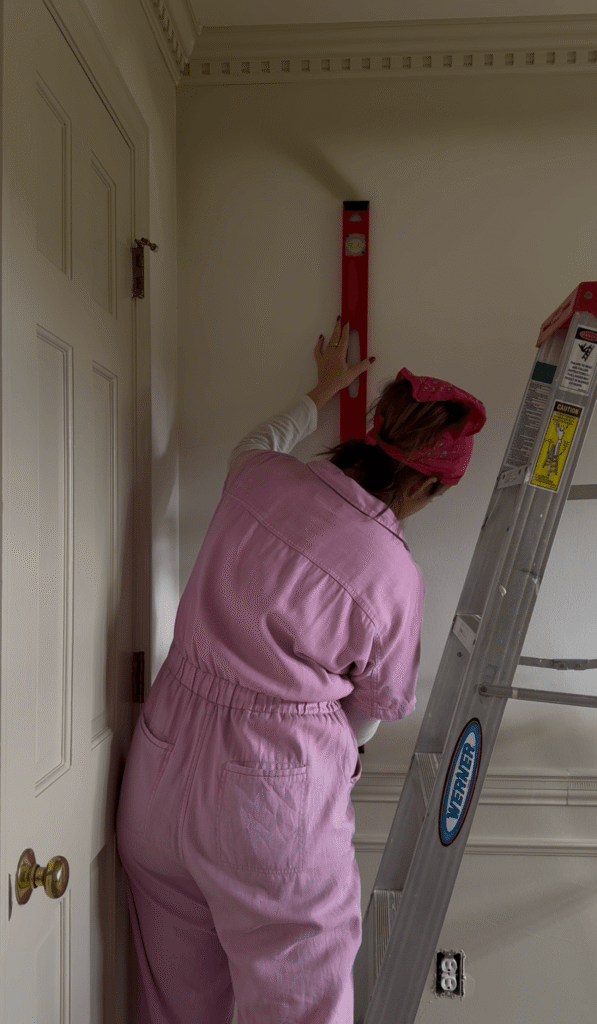
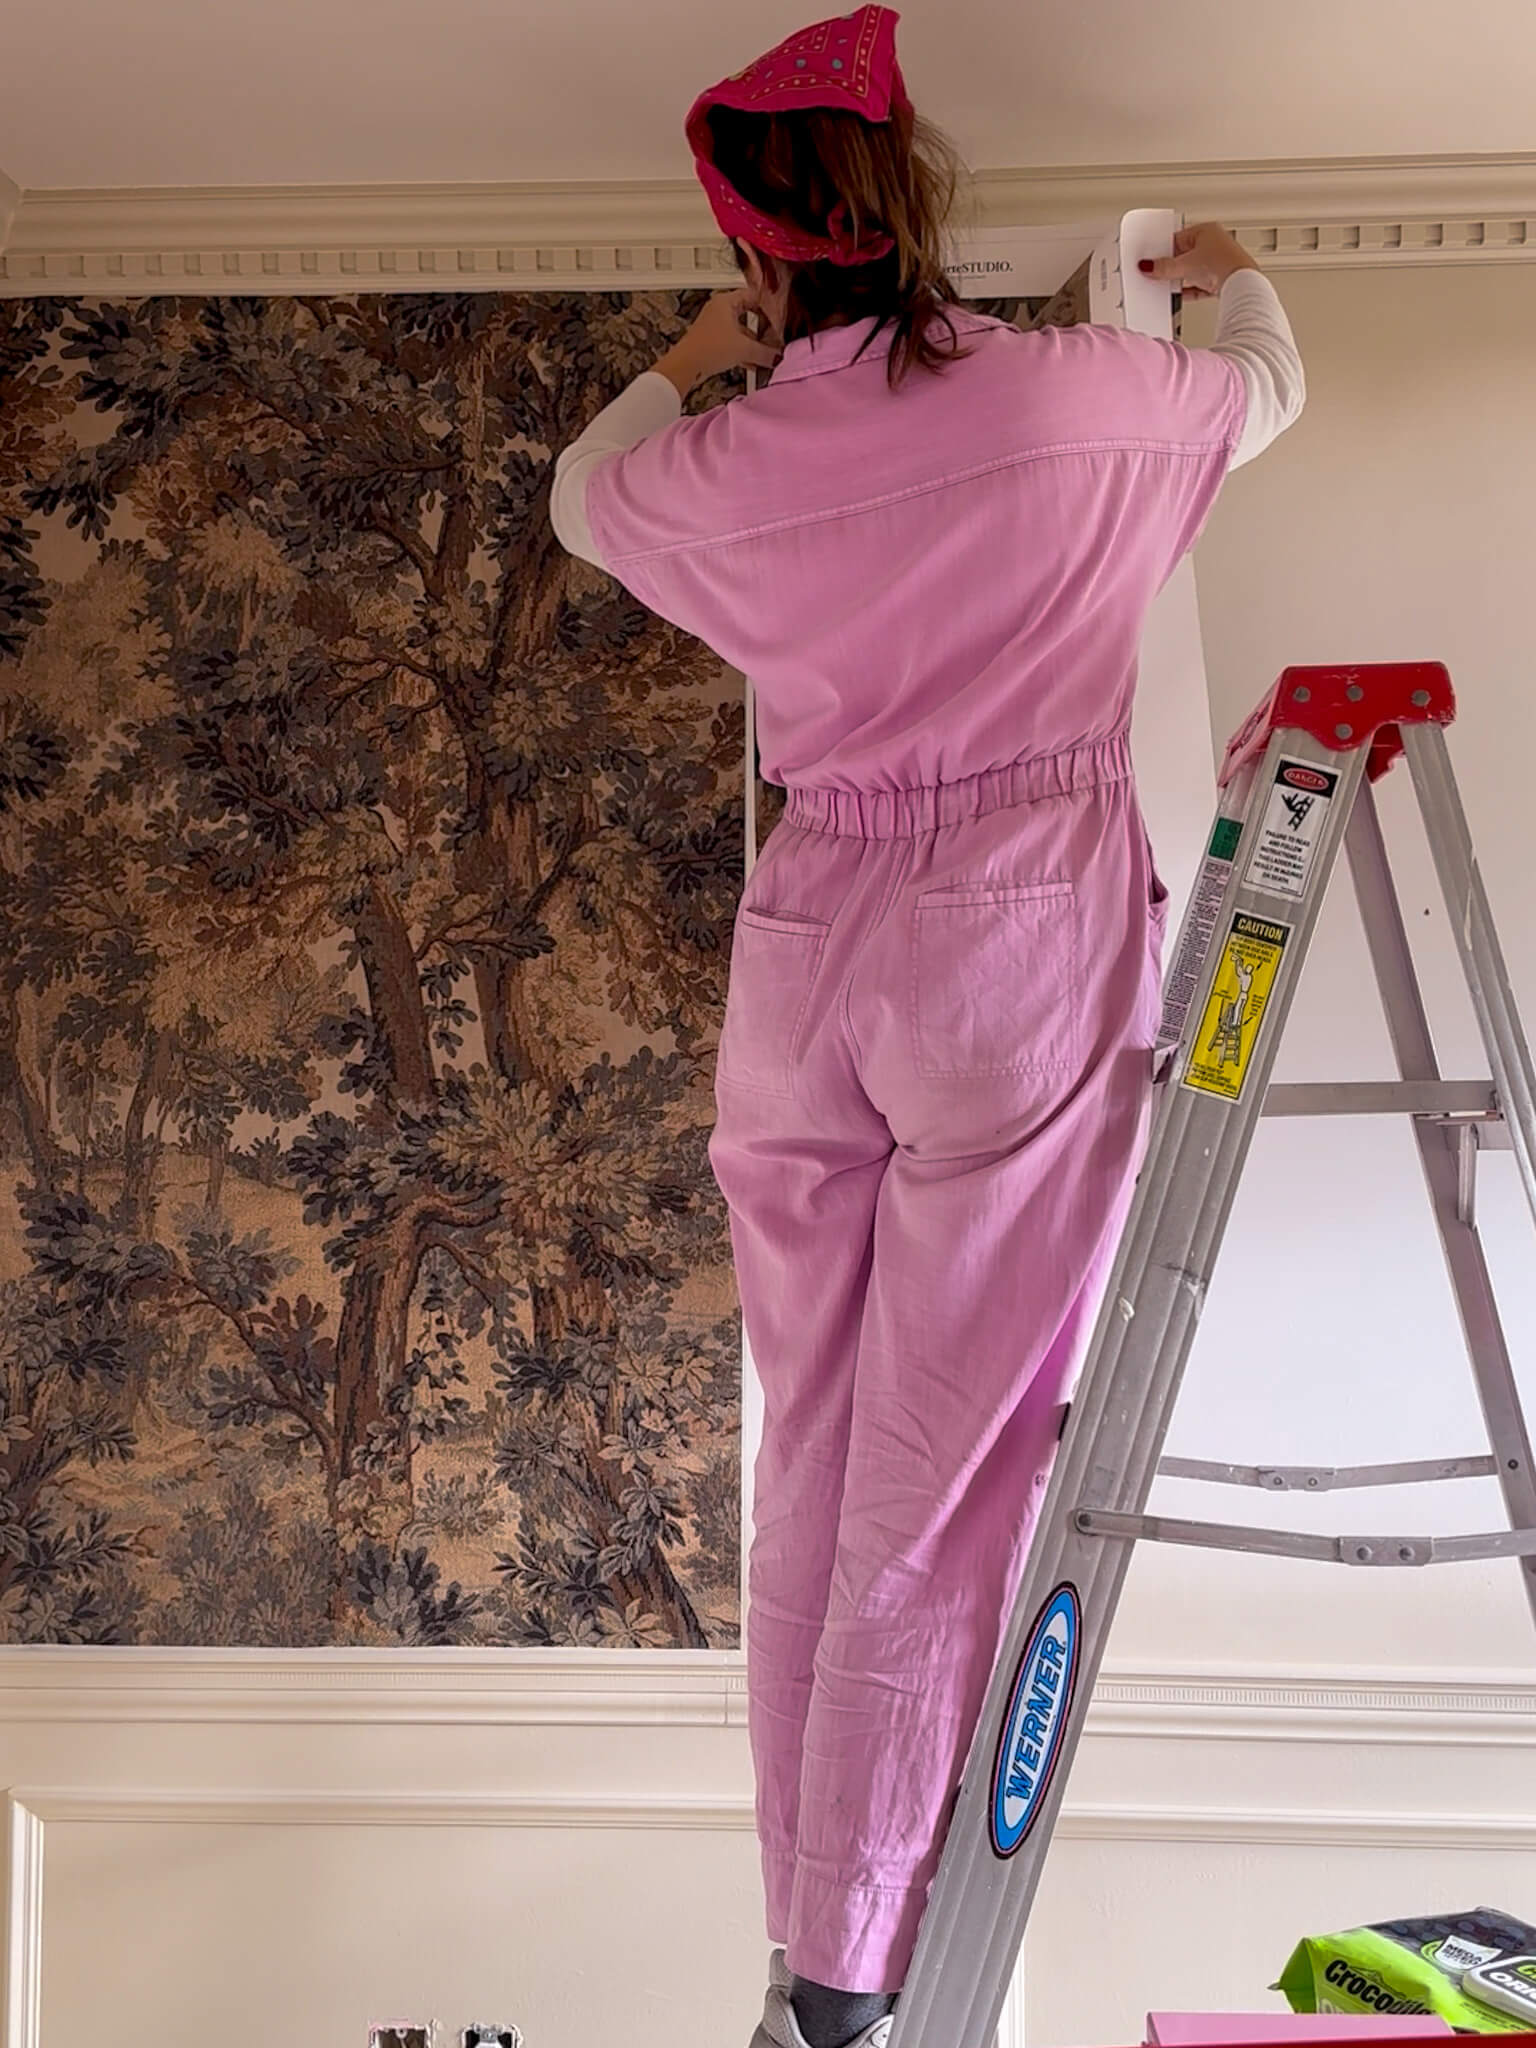
I prefer to use a long level to draw my lines and do so for each panel to ensure everything is straight
The fix is simple and takes about two minutes. Use a level (or a chalk line tool, which is even better) to draw a perfectly vertical line on your wall before you hang a single strip. Hang your first piece off that line — not the corner, not the edge of a window, not whatever your eye tells you looks right. Your eye will lie to you.
Every strip that follows should butt up against the previous one, not against an architectural feature. Once you do this, everything clicks into place. Skip it, and you’ll have a nightmare on your hands once you get halfway around the room.
Corners Need an Overlap: Don’t Wrap Straight Through
Here’s the thing about inside corners: they’re almost never a perfect 90 degrees. If you try to carry a full strip of wallpaper straight around a corner like it’s a continuous surface, you’ll end up with bubbling, lifting, or a seam that waves at you from across the room.
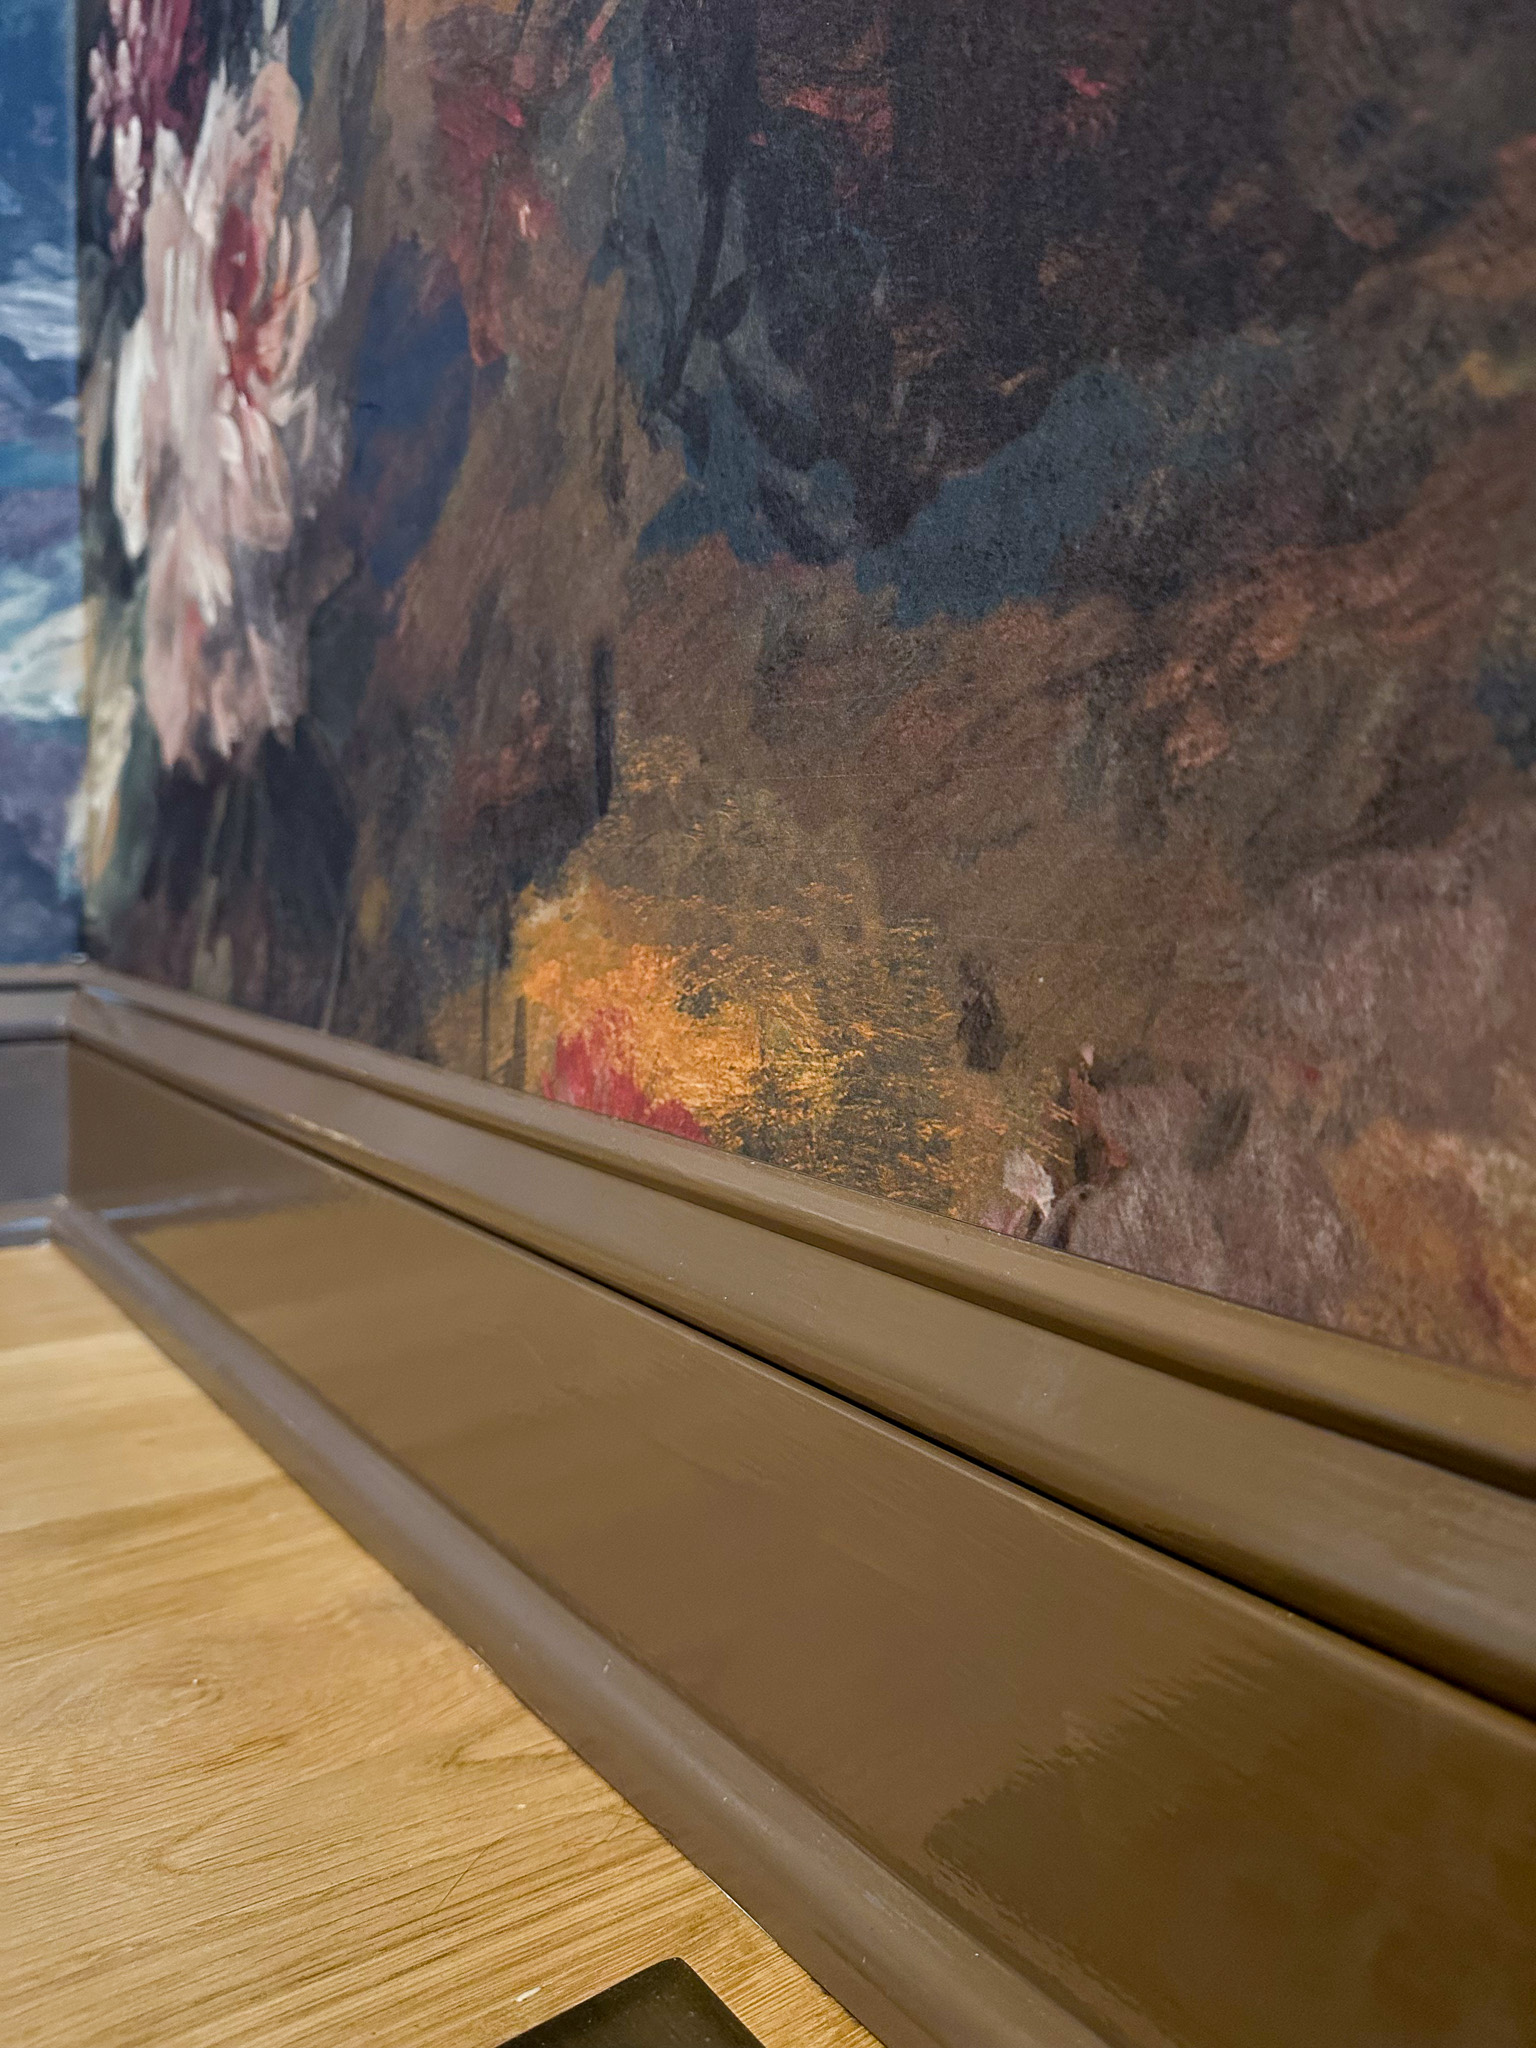
The right approach is to measure the distance from your last strip to the corner, then cut a piece that gives you a small overhang (about ⅛ inch) that wraps onto the adjacent wall. Start your next strip on the new wall with a fresh plumb line. That tiny overlap hides the imperfection of the corner without being noticeable once the paper is up.
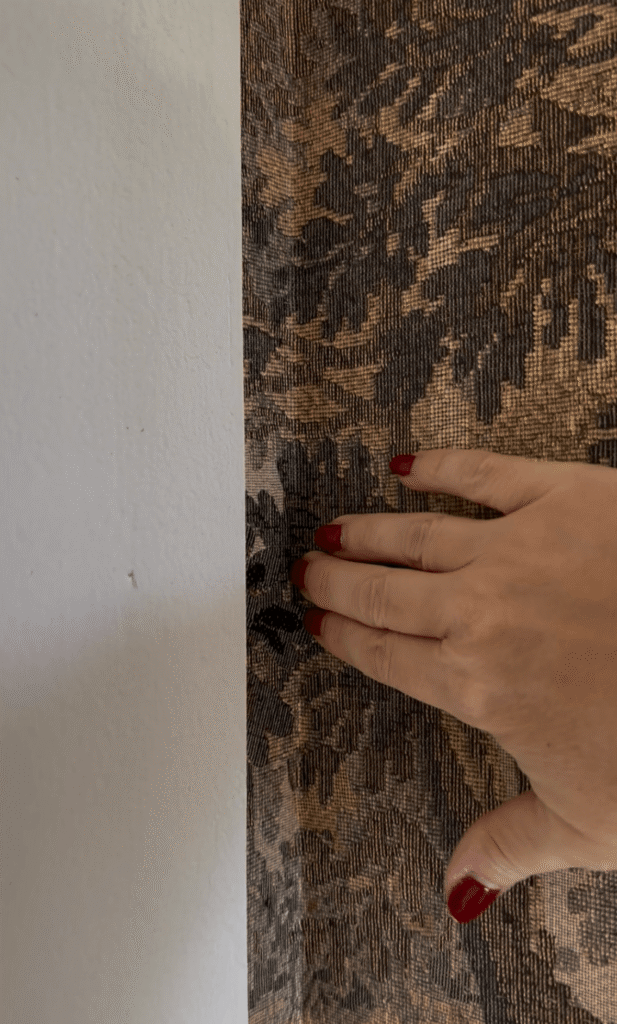
A step I didn’t know about the first two times I wallpapered. Always do an overlap to the adjacent wall.
I know it feels like extra steps. It is. But it’s the difference between wallpaper that looks professional and wallpaper that makes you slightly uncomfortable every time you walk past it.
Replace Your Blade Constantly
This one changed everything for me. I was using the same blade for far too long and wondering why my cuts looked ragged, why my paper was buckling at the seams, why the edges looked like they had been chewed on rather than cut.
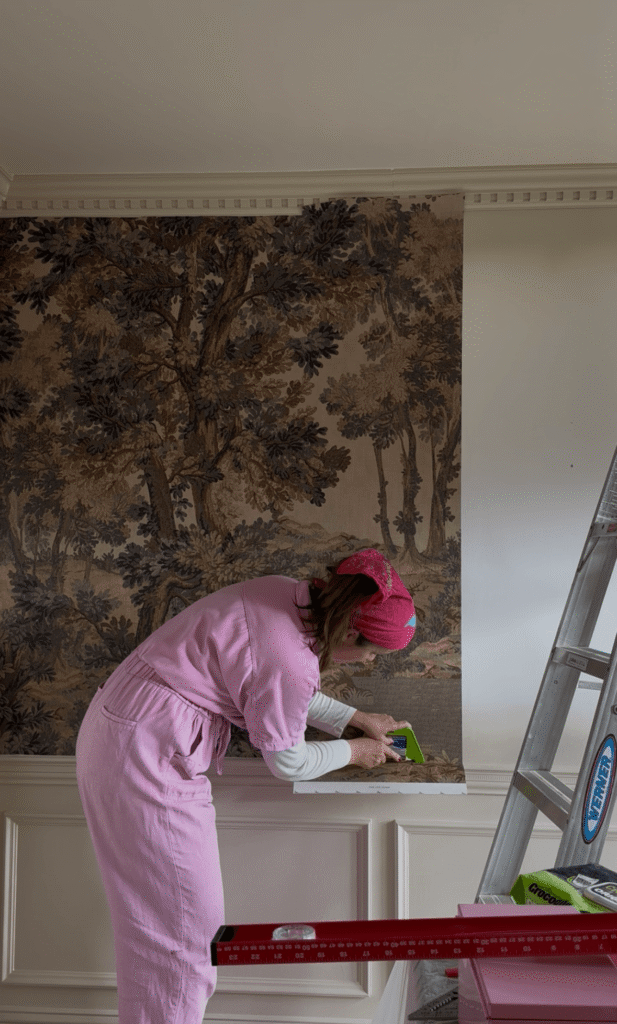
I prefer to use a snap knife and just snap the blade off after each cut. I used this one for the home office install and was super happy with it.
A dull blade doesn’t slice, it drags. And dragged paper buckles, tears, and leaves frayed edges that are impossible to hide at the seam. The rule I follow now: a fresh blade every one to two cuts. Yes, that feels excessive. No, it’s not. Blades are cheap. Wallpaper is not.
If you’re using a utility knife, load up on extra blades before you start. I prefer a snap knife as I find it is quick and keeps things moving. Either way, you’ll use more blades than you think, and so have them ready to go.
Prep Your Walls First (Don’t Skip This)
Wallpaper is unforgiving about wall condition. Any bump, crack, or texture shows right through the paper, especially if you’re hanging a lighter or thinner pattern. Before you do anything else, patch holes, sand down rough spots, and wipe the walls clean. Adhesive needs a smooth, clean surface to bond to properly.
A lot of experienced wallpaper hangers also recommend applying a coat of wallpaper sizing or primer before hanging. It gives the wall a slightly slick surface that lets you reposition strips as needed while the adhesive is still wet which is a lifesaver when you’re learning. It also prevents the drywall from absorbing moisture from the paste too quickly, which can cause bubbling.
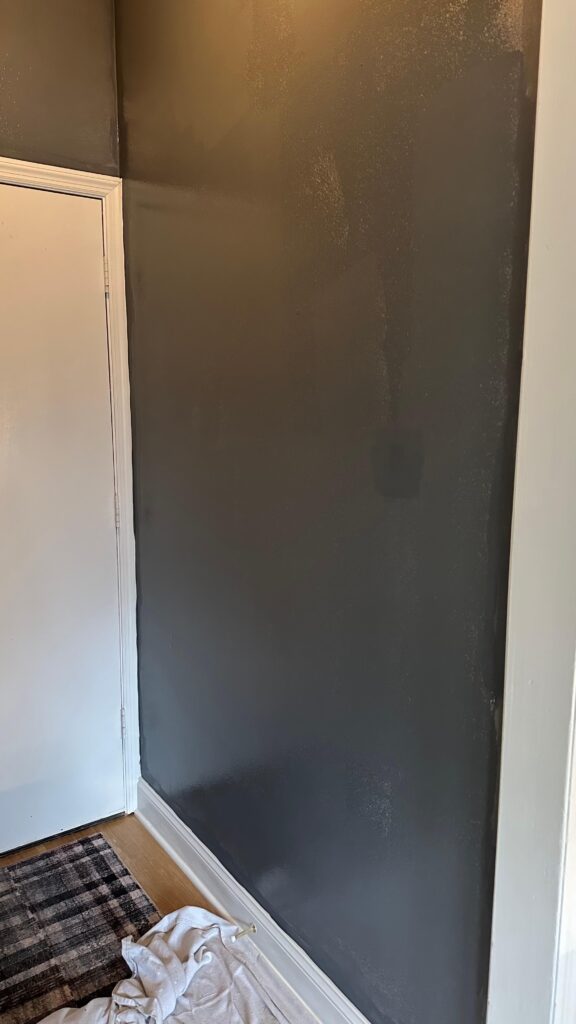
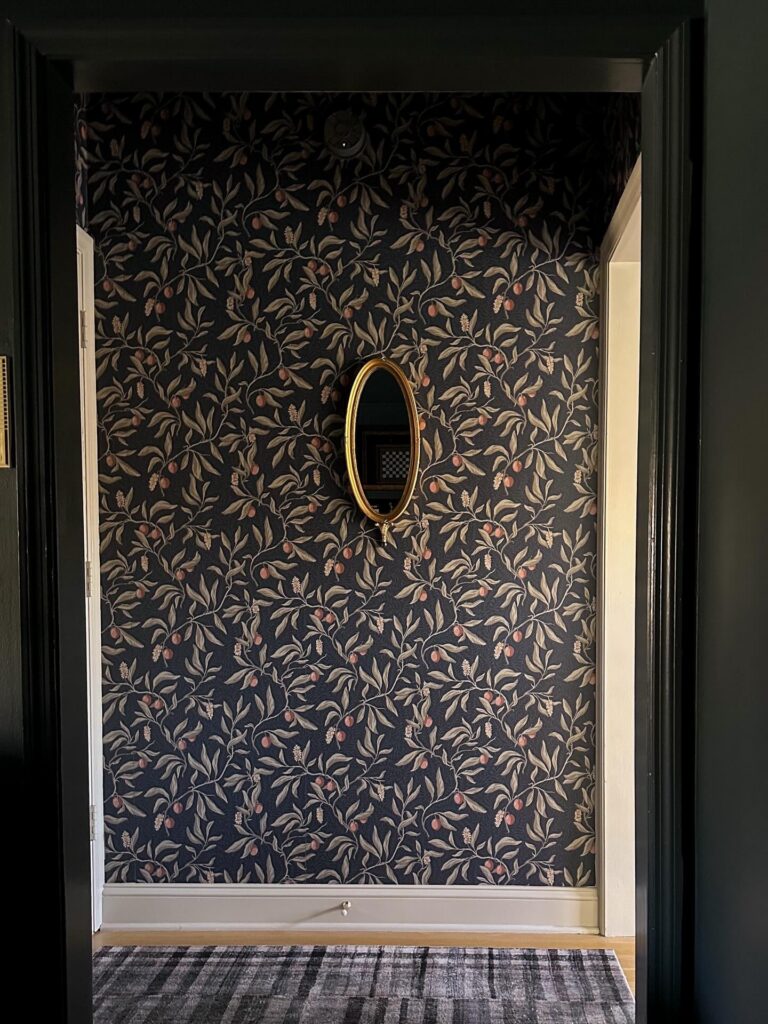
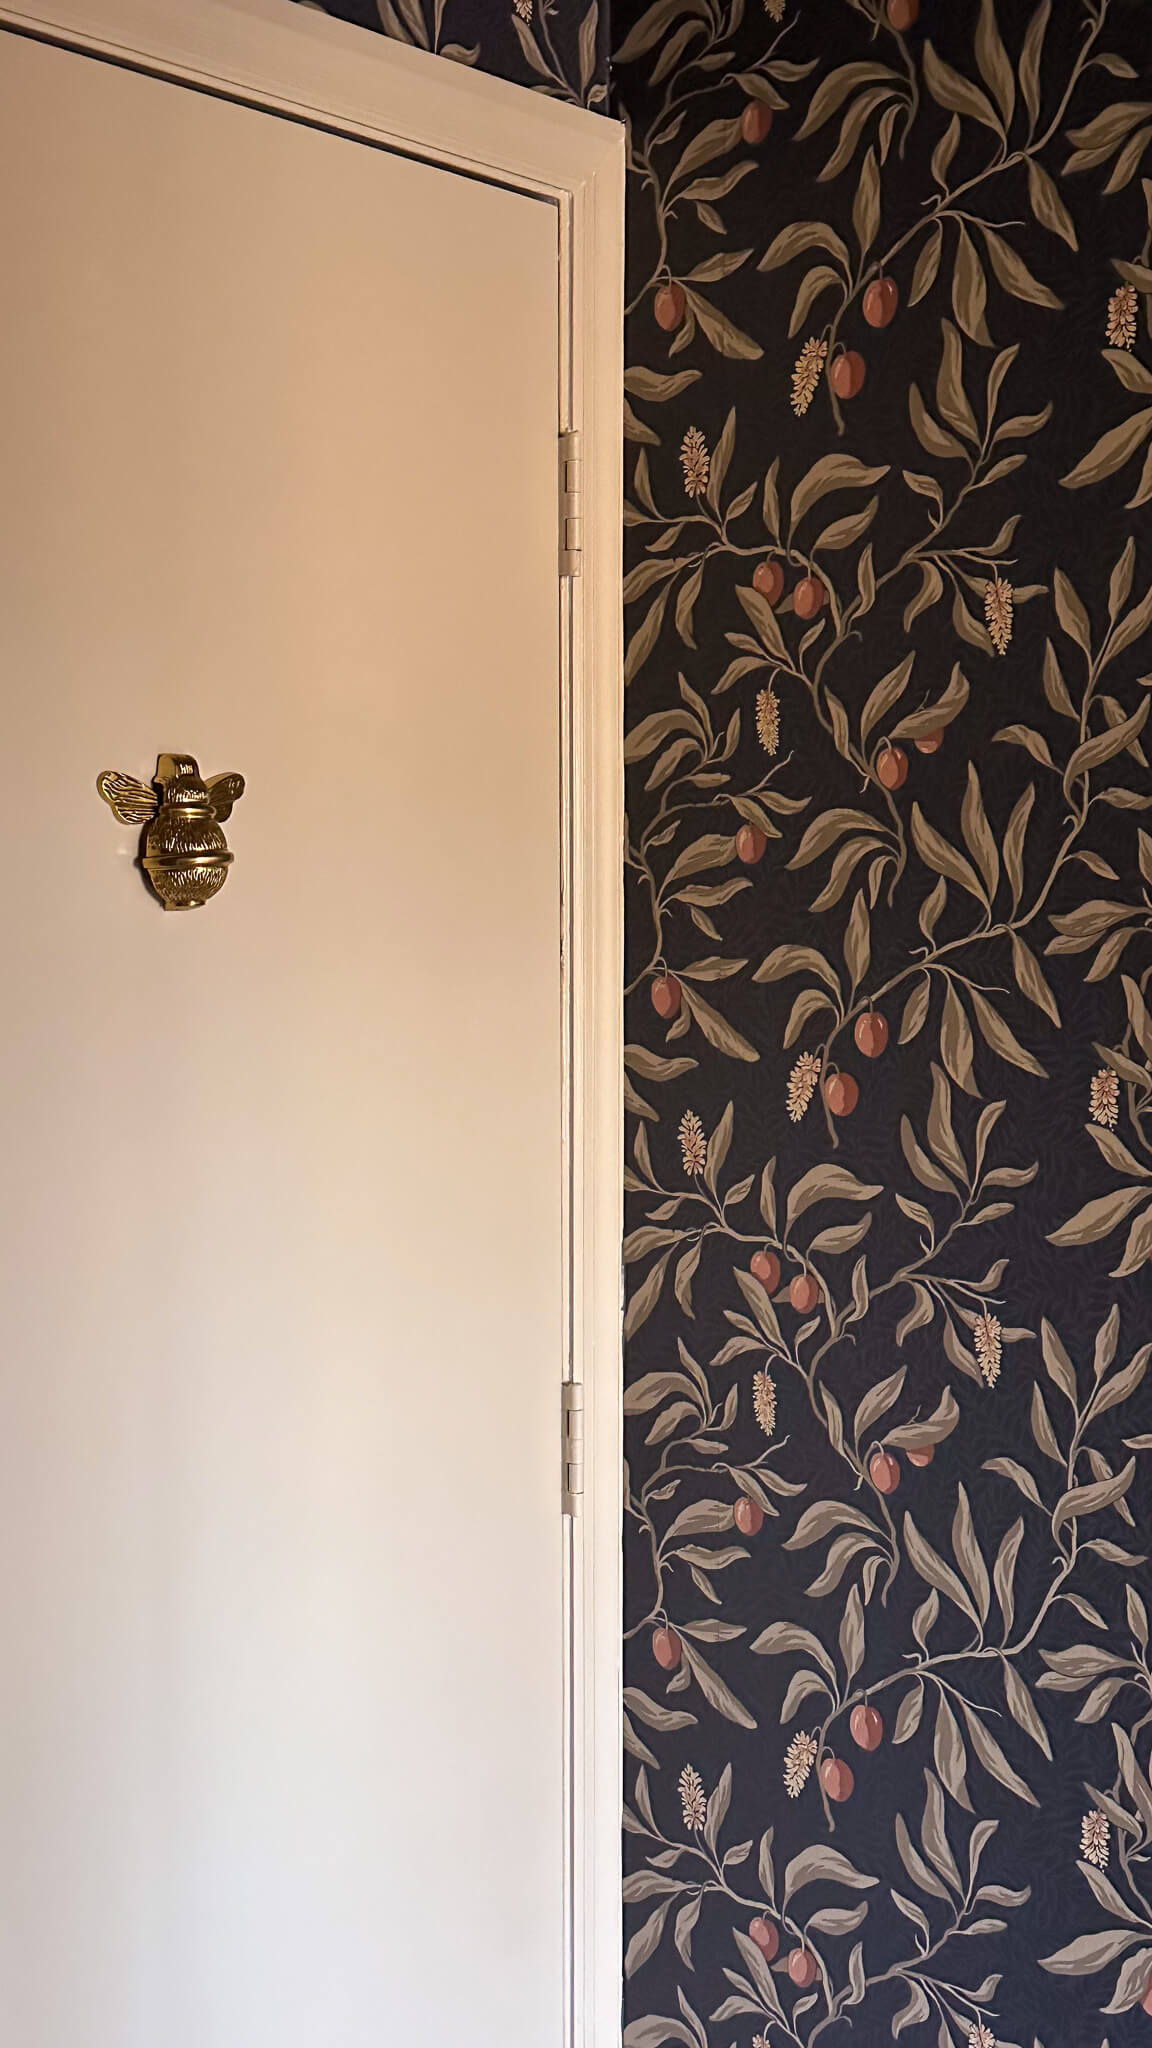
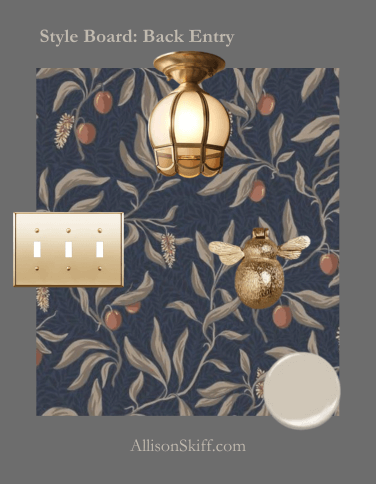
Before installing the wallpaper in the back entry I used a tinted primer to prep the walls, which helped disguise any seams or gaps.
If you’re using a dark wallpaper pattern, considering priming the walls first with a dark tinted primer. You can apply the wallpaper about 48 hours afterwards. A note on paint vs primer: if you paint your walls first you will need to wait 30 days before installing the wallpaper. I don’t make the rules, I’m just sharing them.
Smoothing Out Bubbles & Roll Seams as You Go
Bubbles happen. The key is catching them before the adhesive dries.
The mistake most beginners make is smoothing from the top down or from the outside in. Instead, work from the center of each strip outward toward the edges, pushing any air bubbles out as you go. A plastic smoother tool works well for this — it gives you consistent pressure without stretching or damaging the paper.
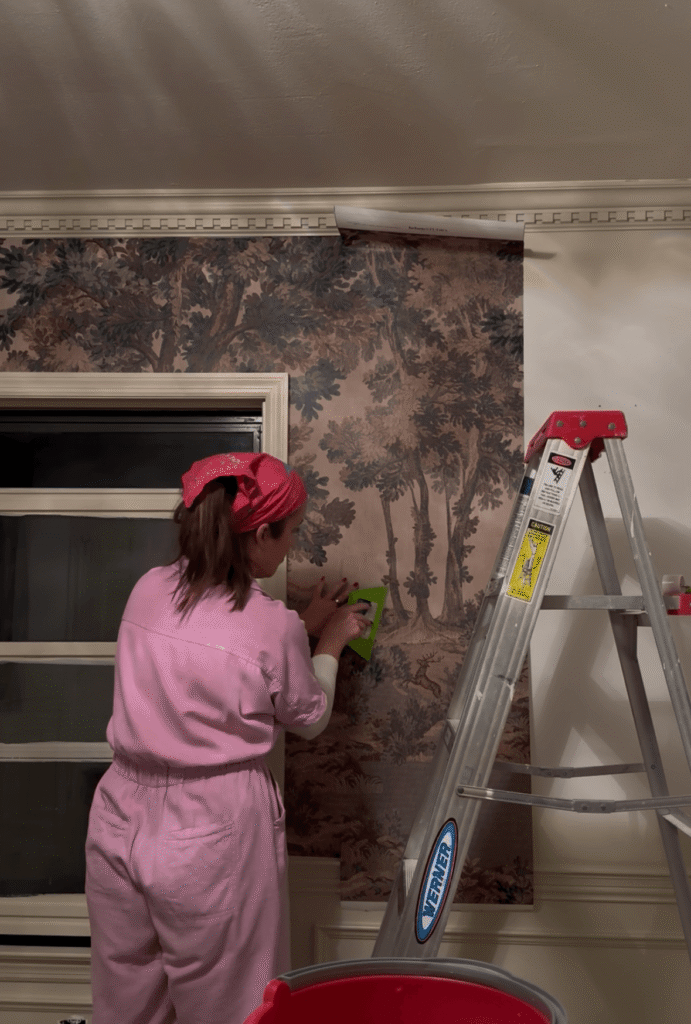
If you spot a bubble after the paper has already dried, all is not lost. You can often fix small ones by dampening the area, making a tiny pinprick with a needle, and smoothing the paper back flat. For larger bubbles, use a glue injector to get adhesive back under the paper, press it flat, and wipe away any excess.
Also make sure you’re rolling your seams. The seams have the highest liklihood of peeling back which is why we want to use a seam roller to really make sure they adhere right out of the gate.
Don’t Start in the Most Visible Spot
This is advice I didn’t get until after the fact, and it genuinely would have saved me some stress. When you’re learning, your first strip won’t be your best strip. Plan accordingly.
Start your first panel somewhere less conspicuous — behind a door, in a corner that’s partially hidden, or near a closet. The most visible wall in the room (usually the one directly opposite the entrance) should be reserved for when you’ve gotten a feel for the paper and the process. By the time you work your way around the room, you’ll be handling it with a lot more confidence.
The last strip is also almost never going to match the pattern perfectly where it meets the first — that’s just the reality of working around a room. Starting and ending near the entrance door, where it’s least likely to be noticed, is the move.
How to Handle Pattern Matching Without Losing Your Mind
If your wallpaper has a pattern repeat, budget for extra paper and take your time before each cut.
Roll out the next strip next to the previous one before you cut it, and slide it up or down until the pattern aligns. Mark your cut line from there. You’ll waste more paper this way, but you won’t waste a whole roll trying to fix a mismatch mid-project.
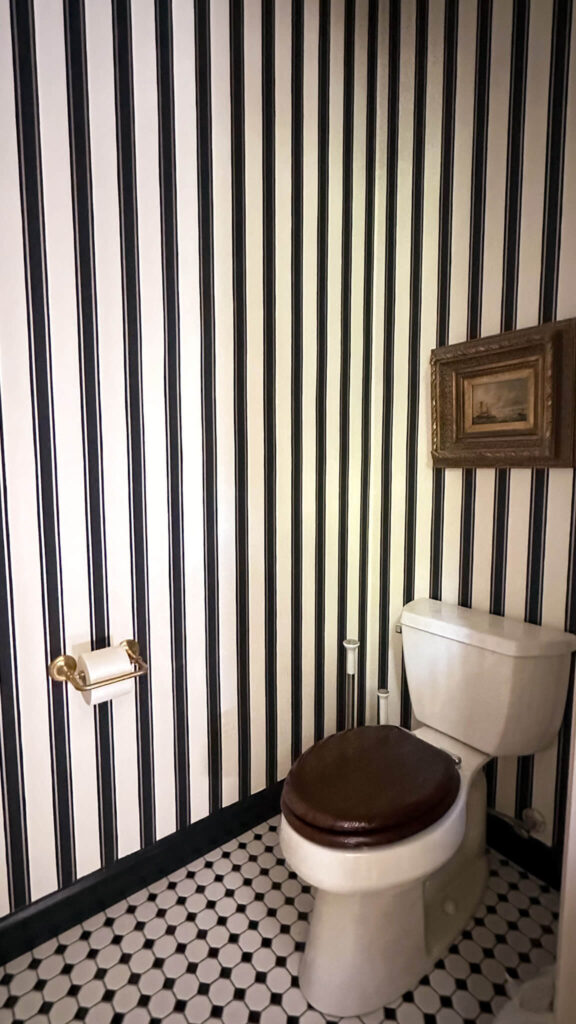
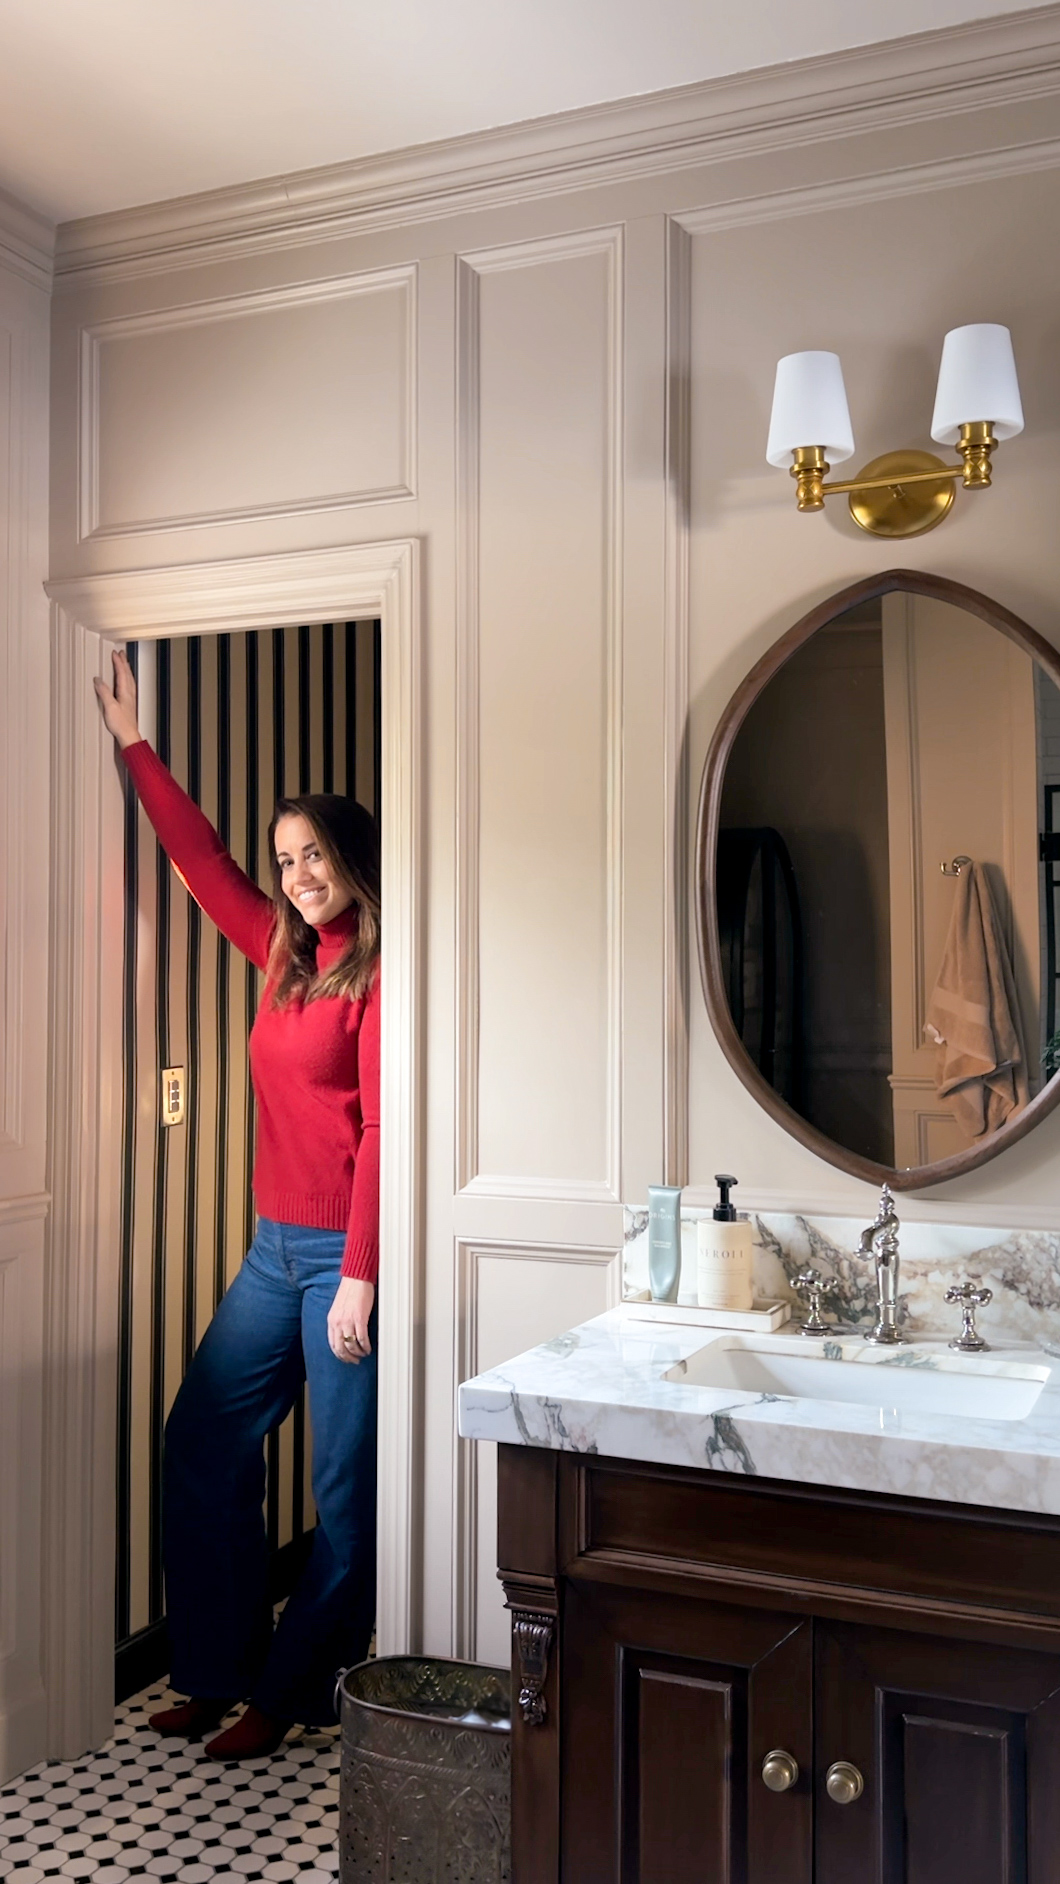
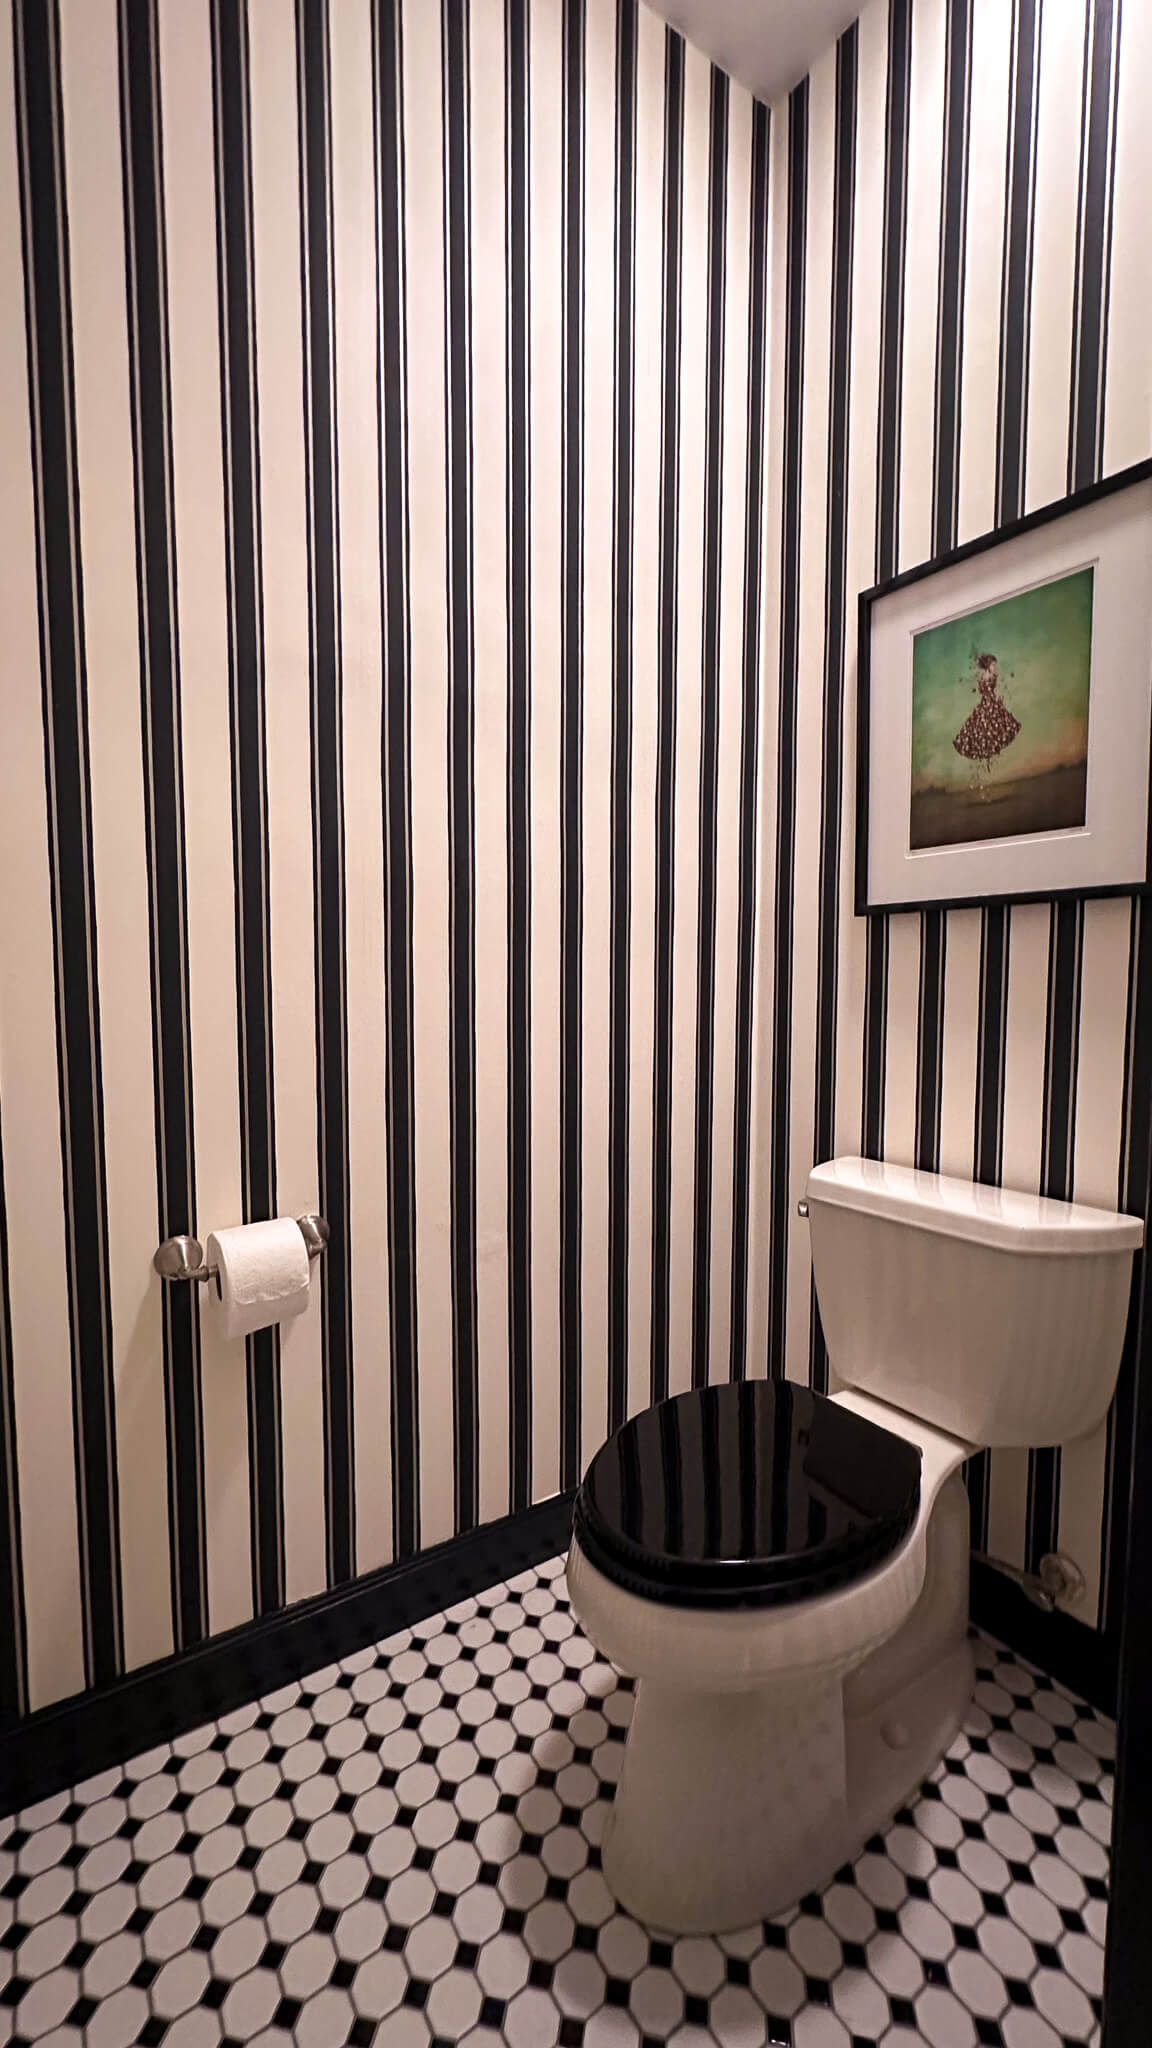
Shop: Striped Wallpaper | Floor Tile | Walnut Toilet Seat | Brass Toilet Paper Holder
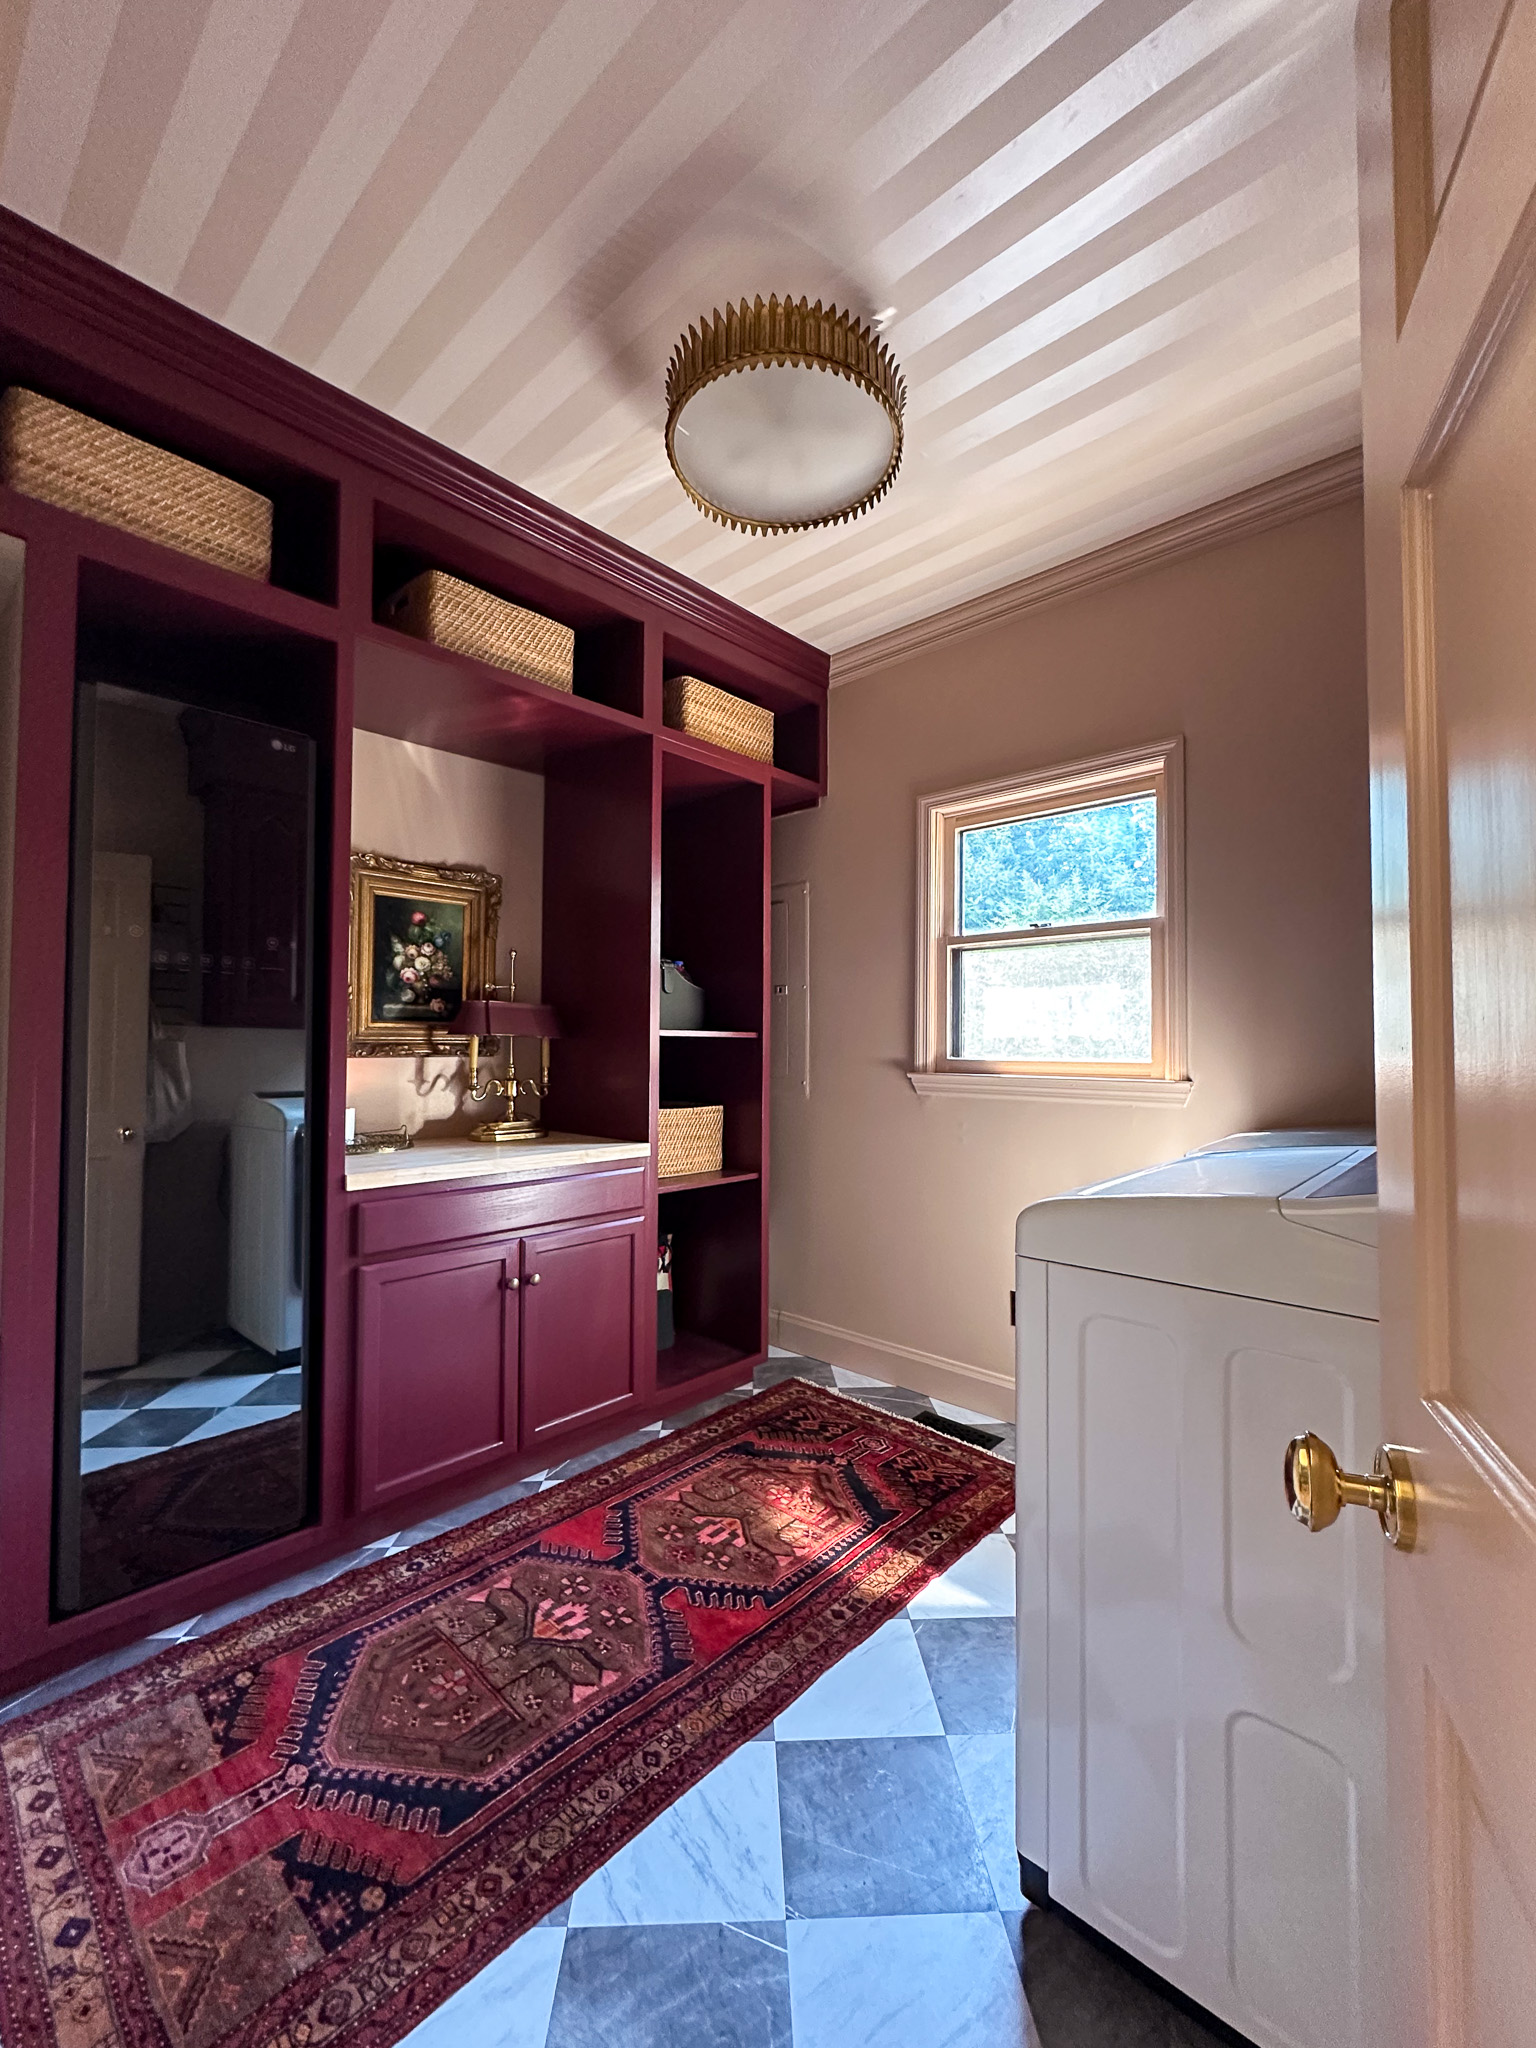
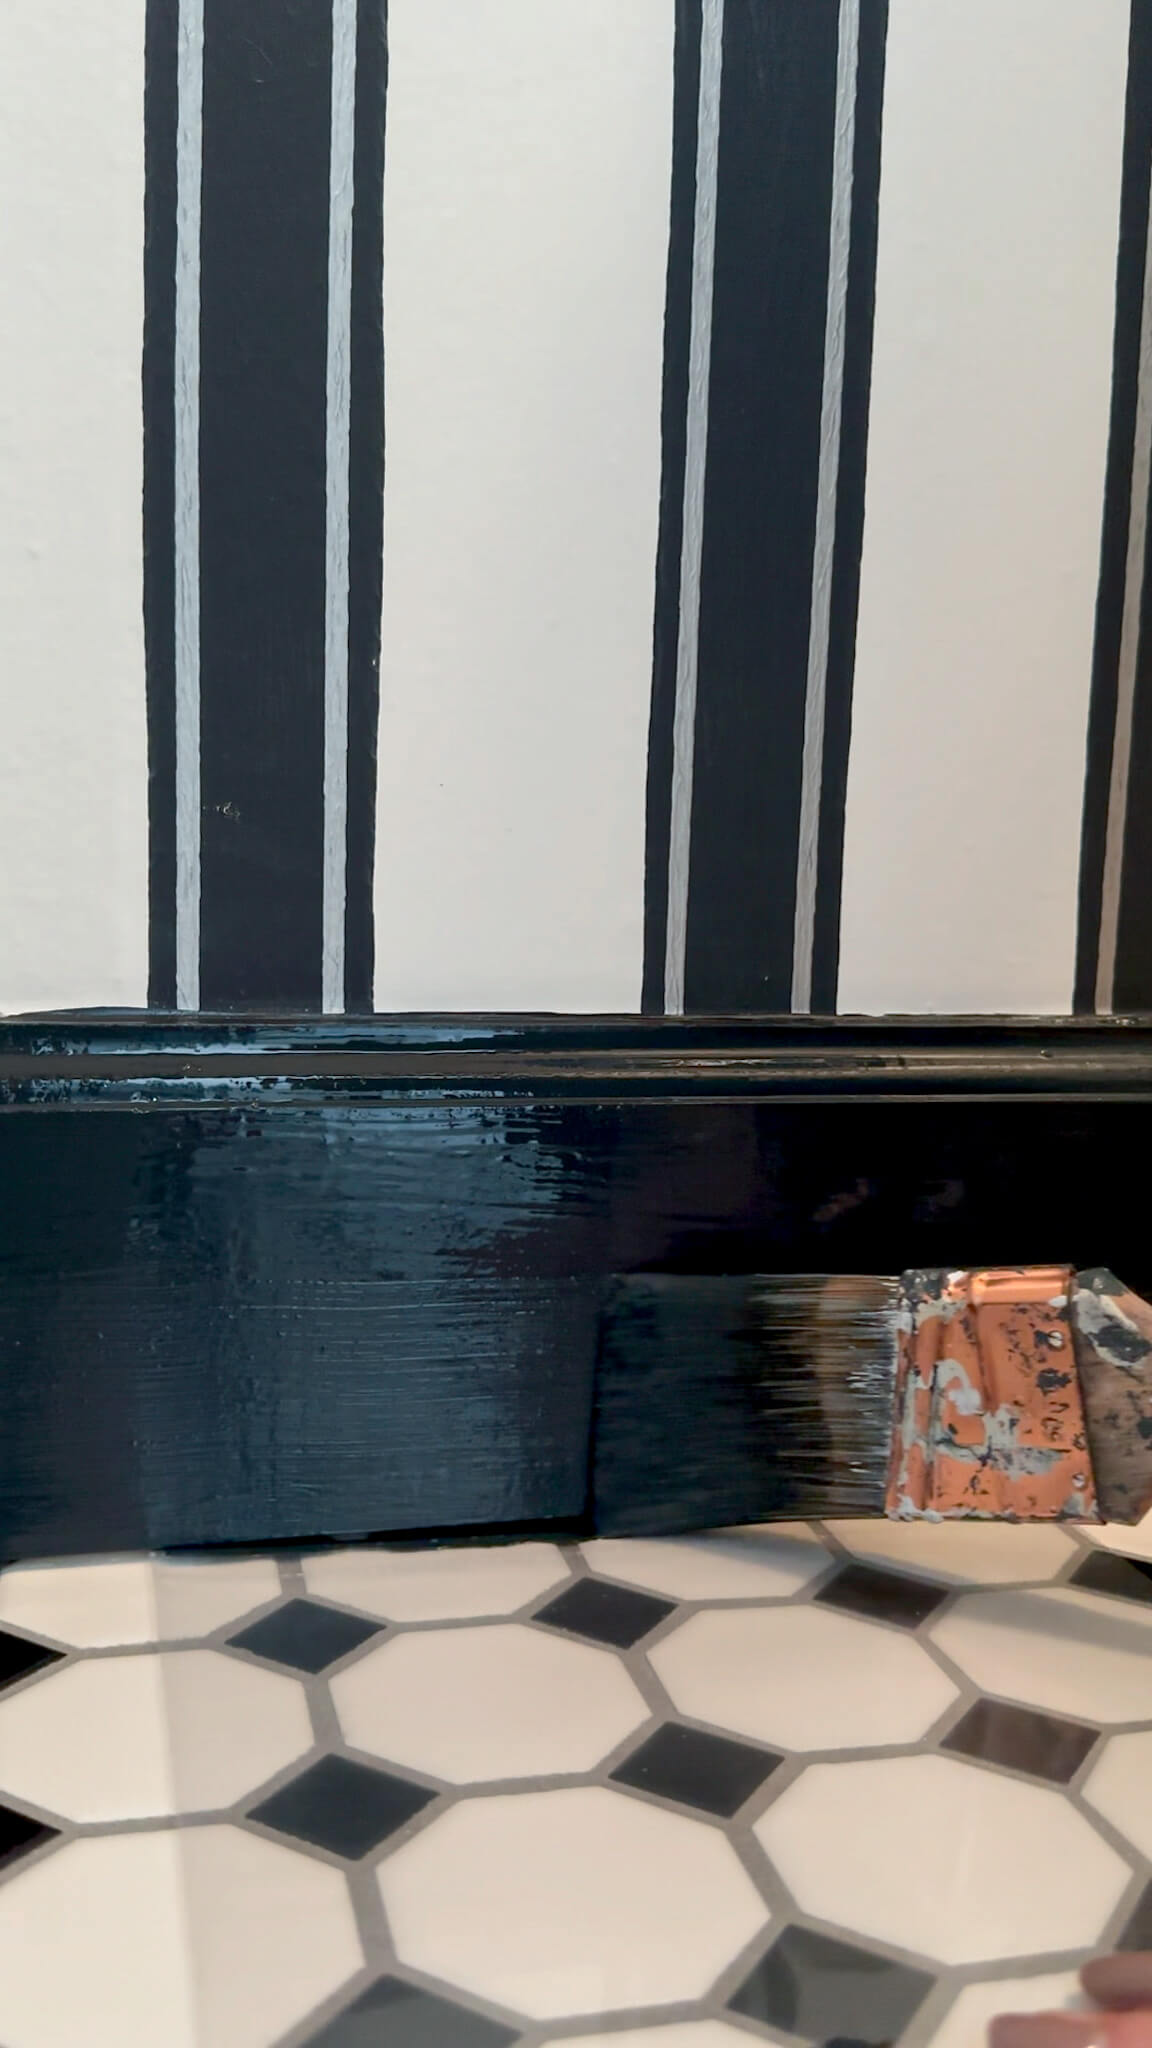
One other tip: if you’re new to wallpapering, avoid small, tight patterns on your first project. They’re the hardest to match consistently and the least forgiving if you’re slightly off. Larger-scale patterns or ones with a longer repeat are more manageable. You can see the alignment easily and make adjustments before the adhesive sets. I called in the pro’s for this tiny toilet room with striped wallpaper. It took him an entire day!
Smaller Rooms Do Not Equal Easier Installs
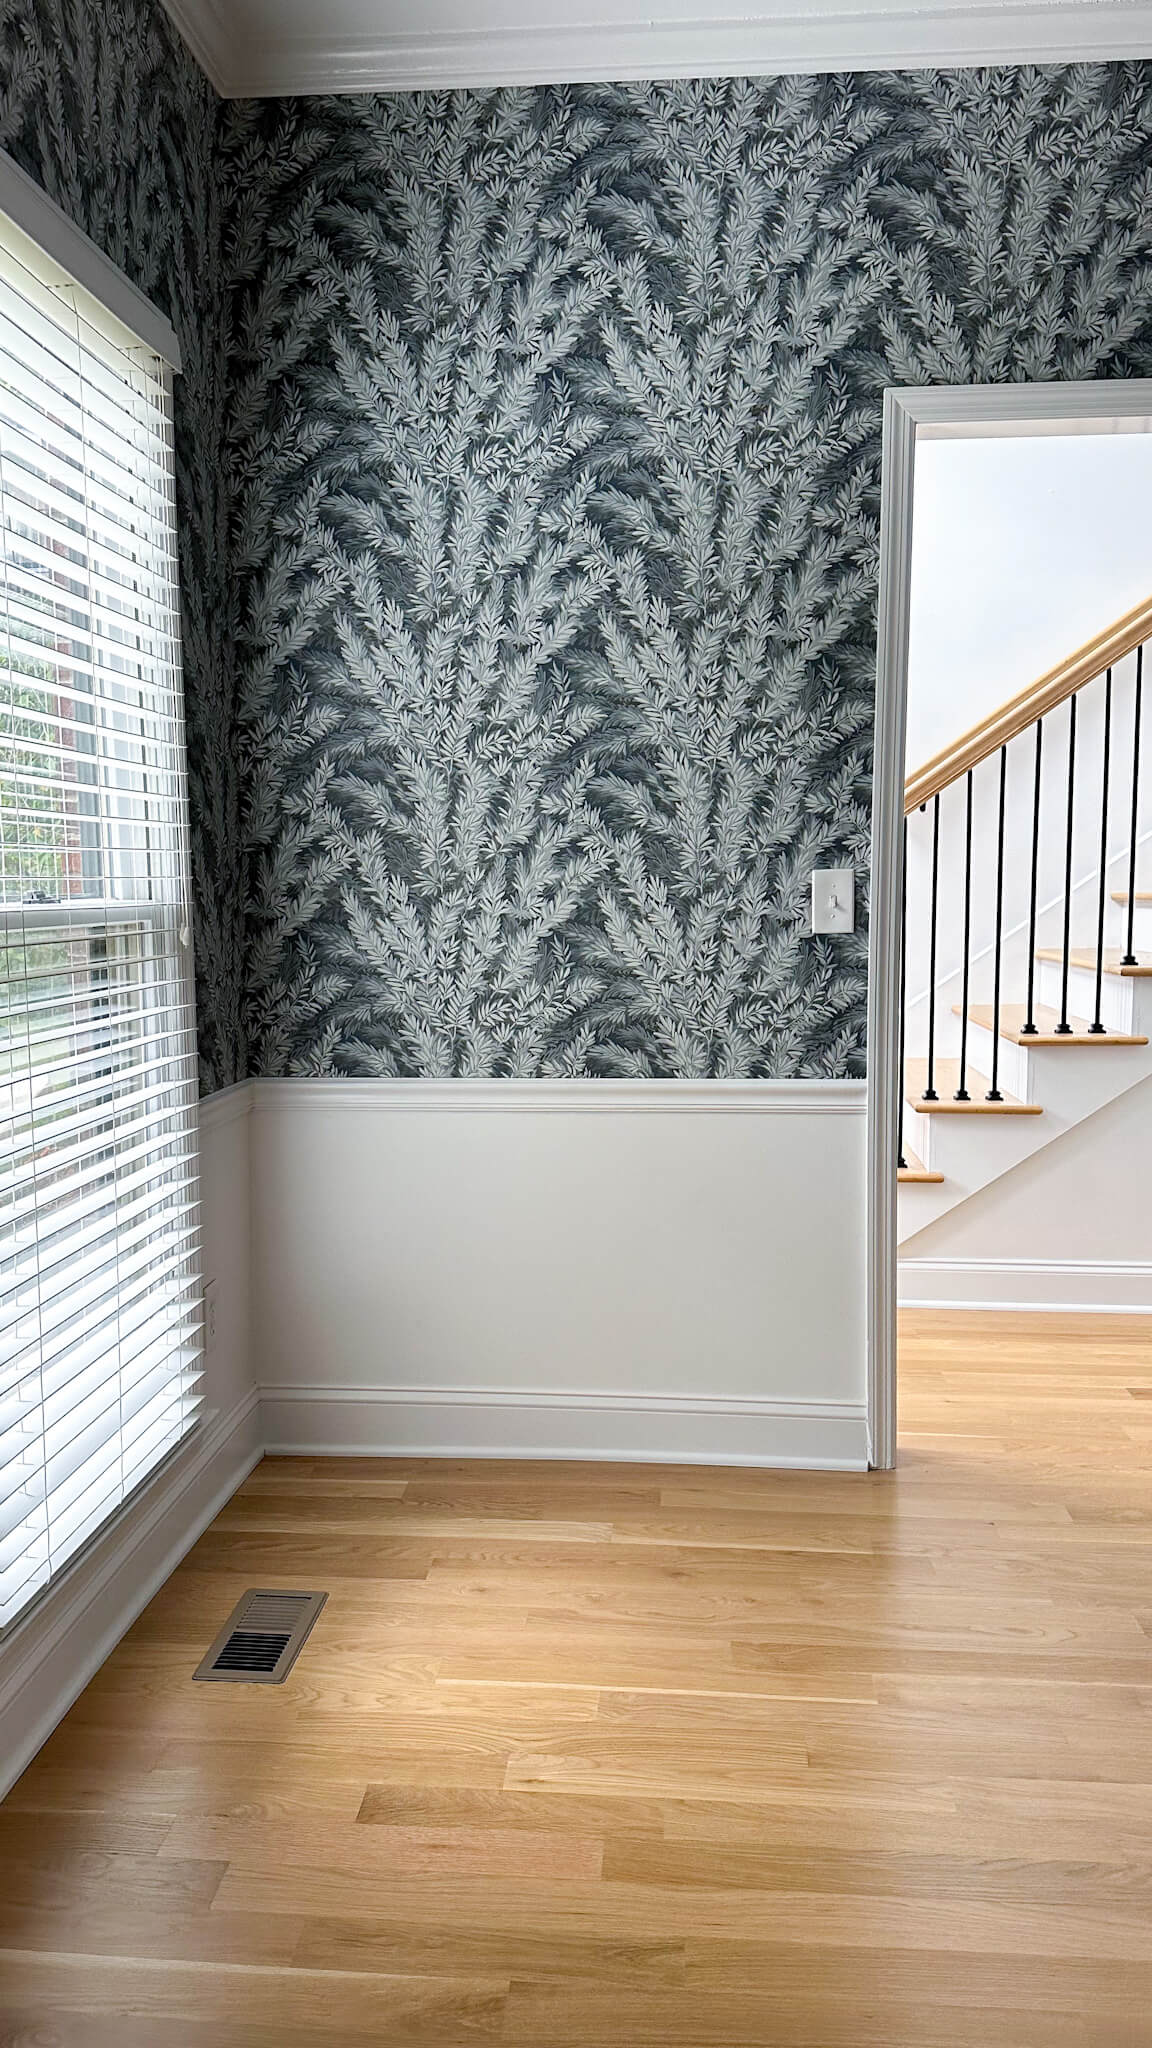
I’ve wallpapered 3 spaces myself: my powder room, my back entry and my home office. I can say hands down, the smaller rooms took just as long as the big room and they gave me so much trouble. Here’s why: you can only position your ladder a couple ways in a small space. You likely have more odd things to cut around (plumbing pipes, extra doorways, tiny slivers of wall in between casing).
It makes sense when you think about it, but you don’t know what you don’t know.
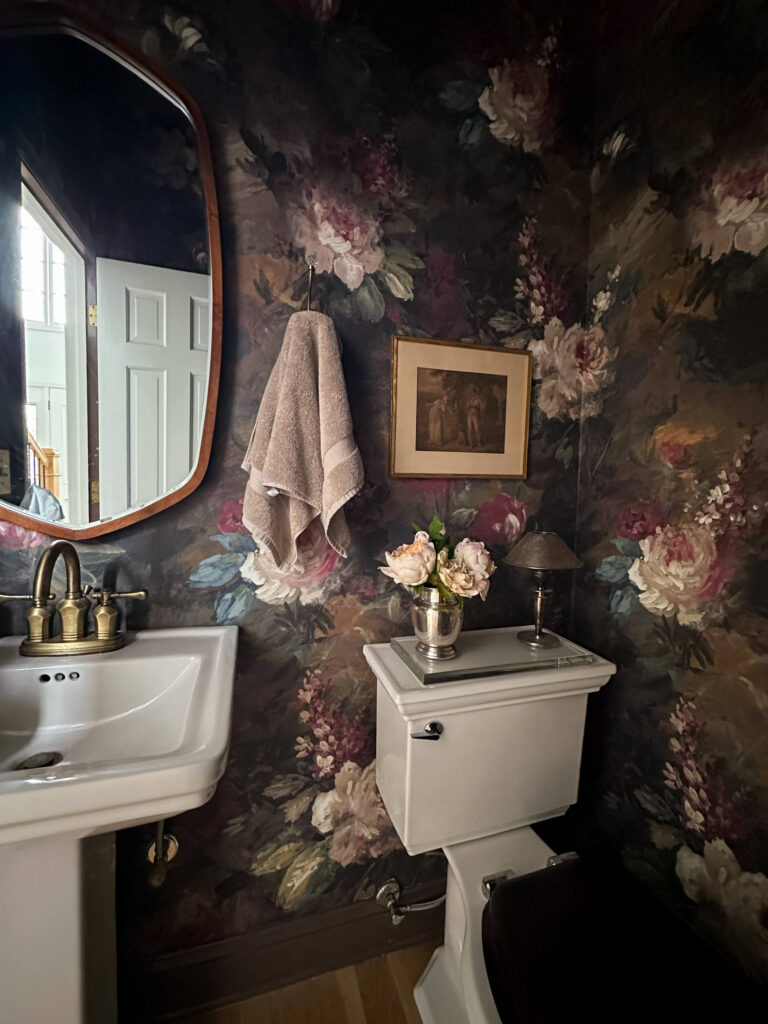
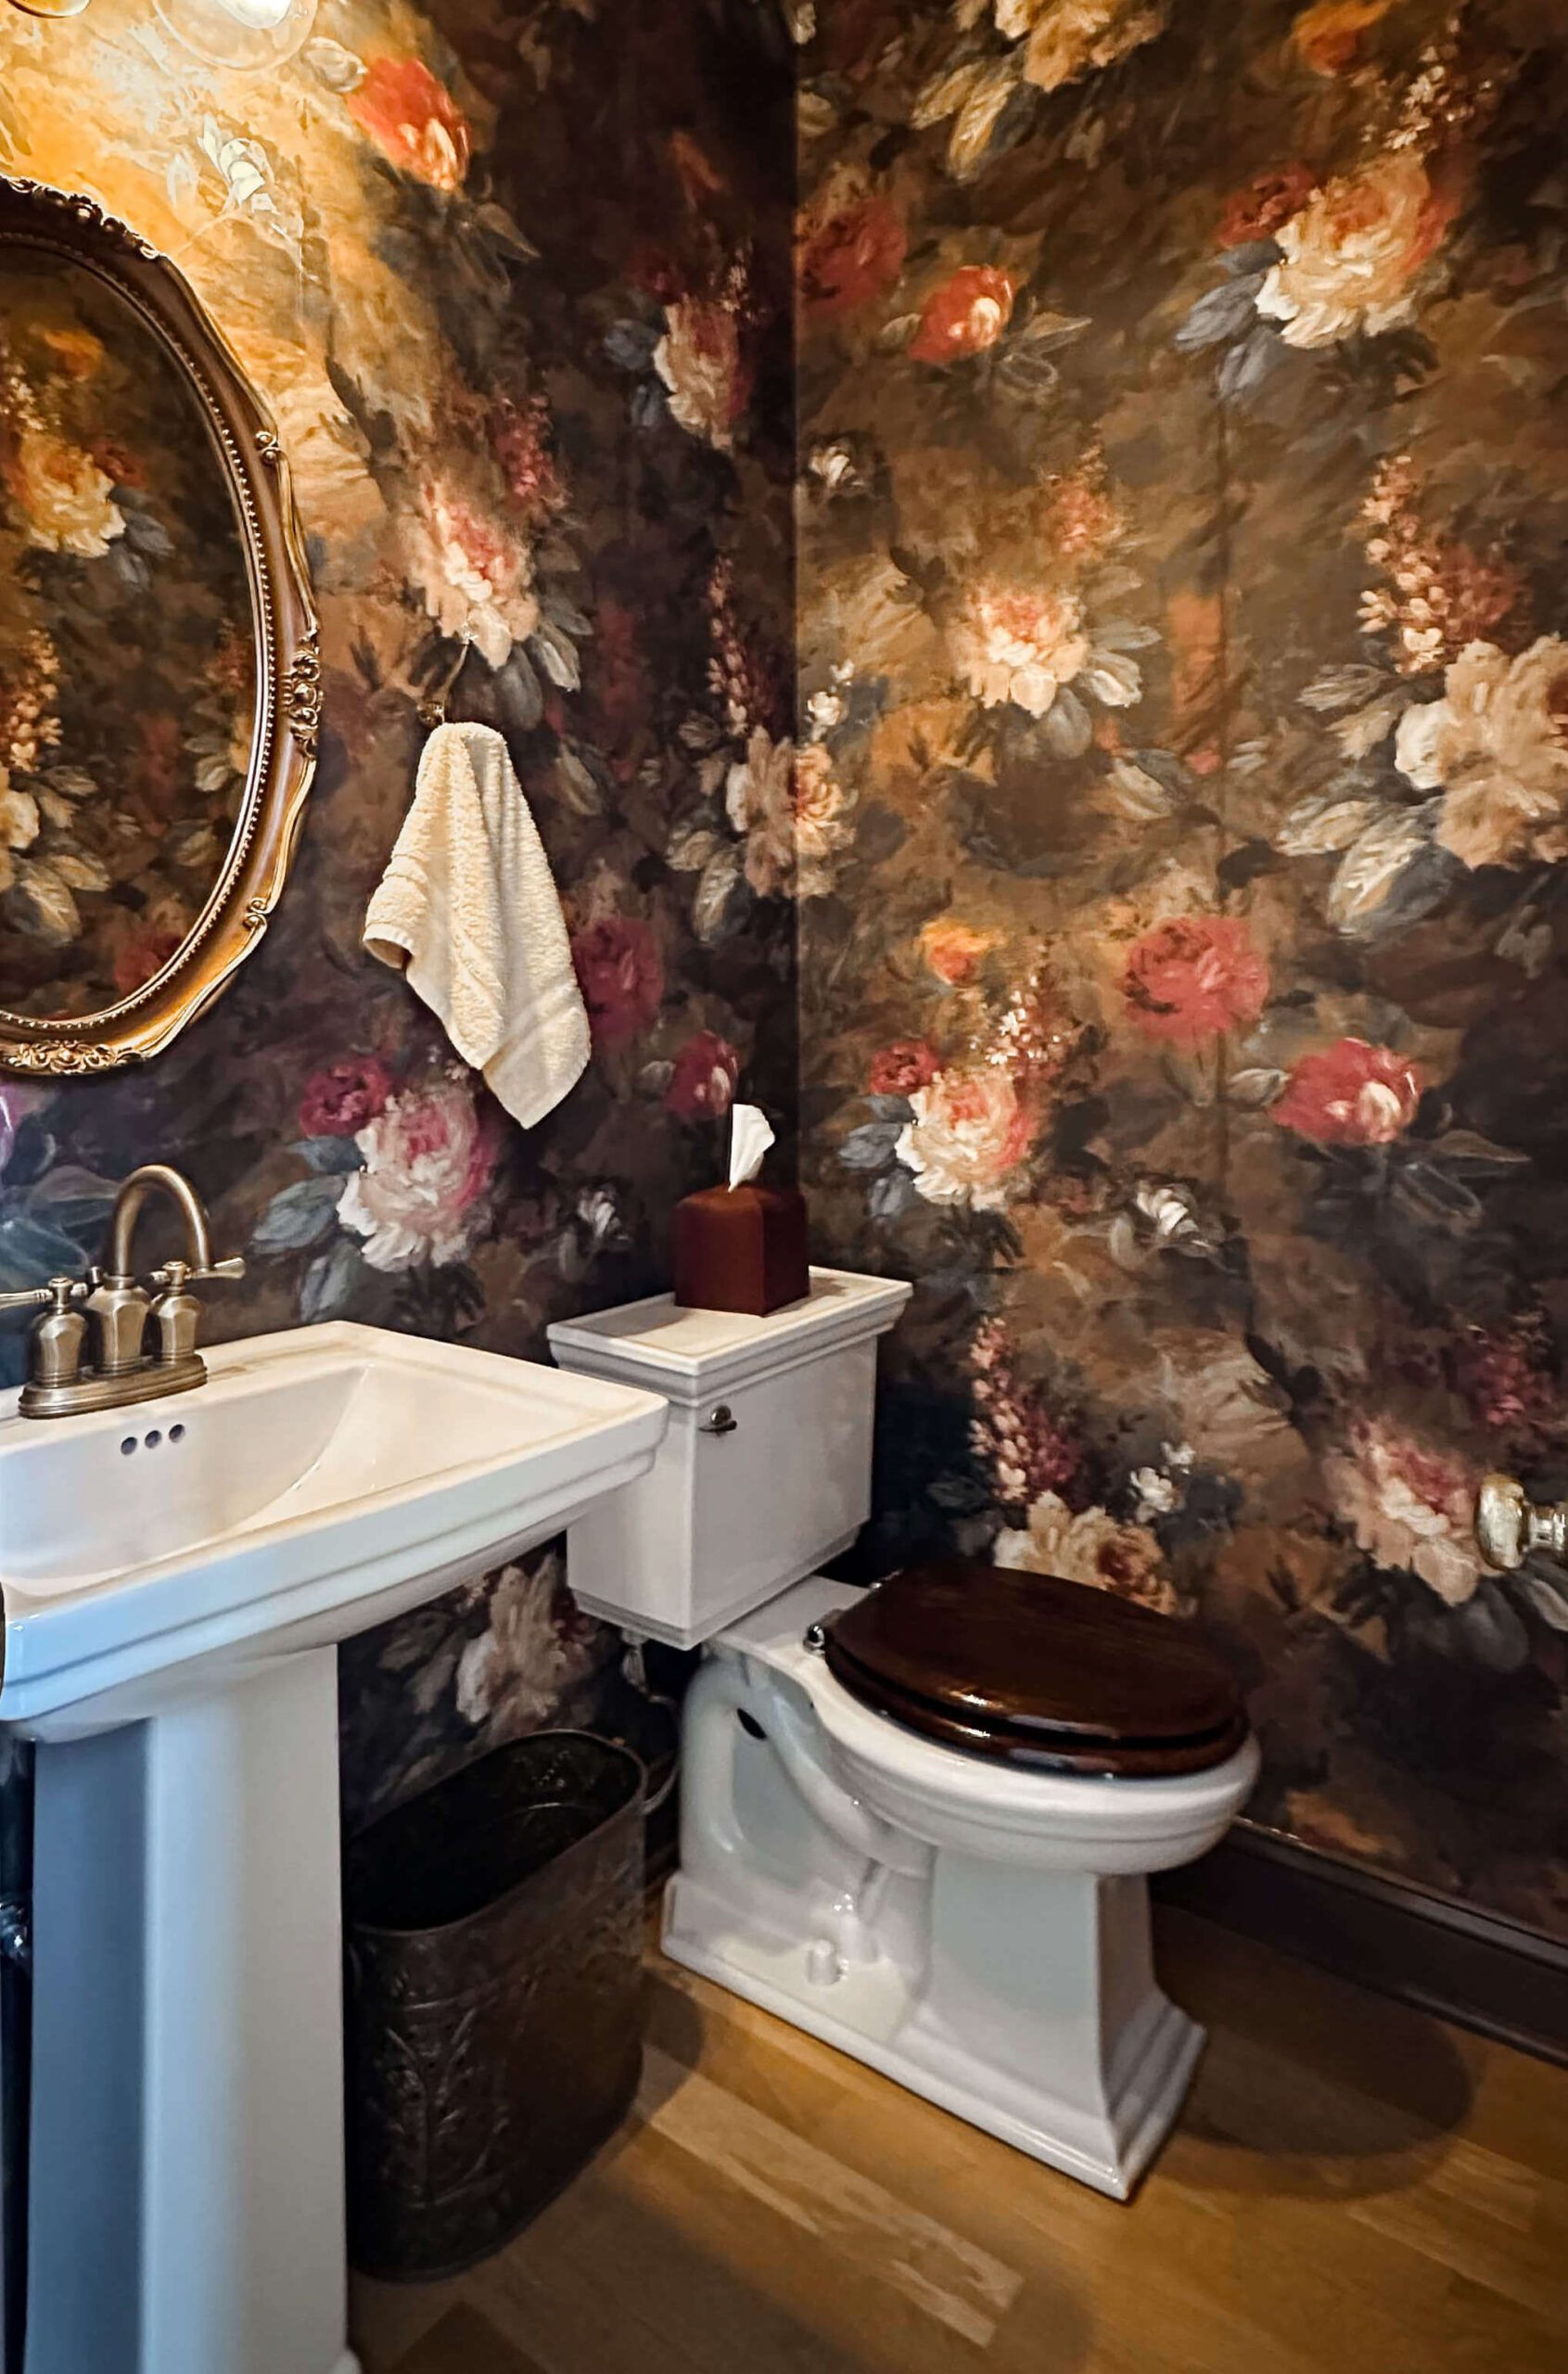
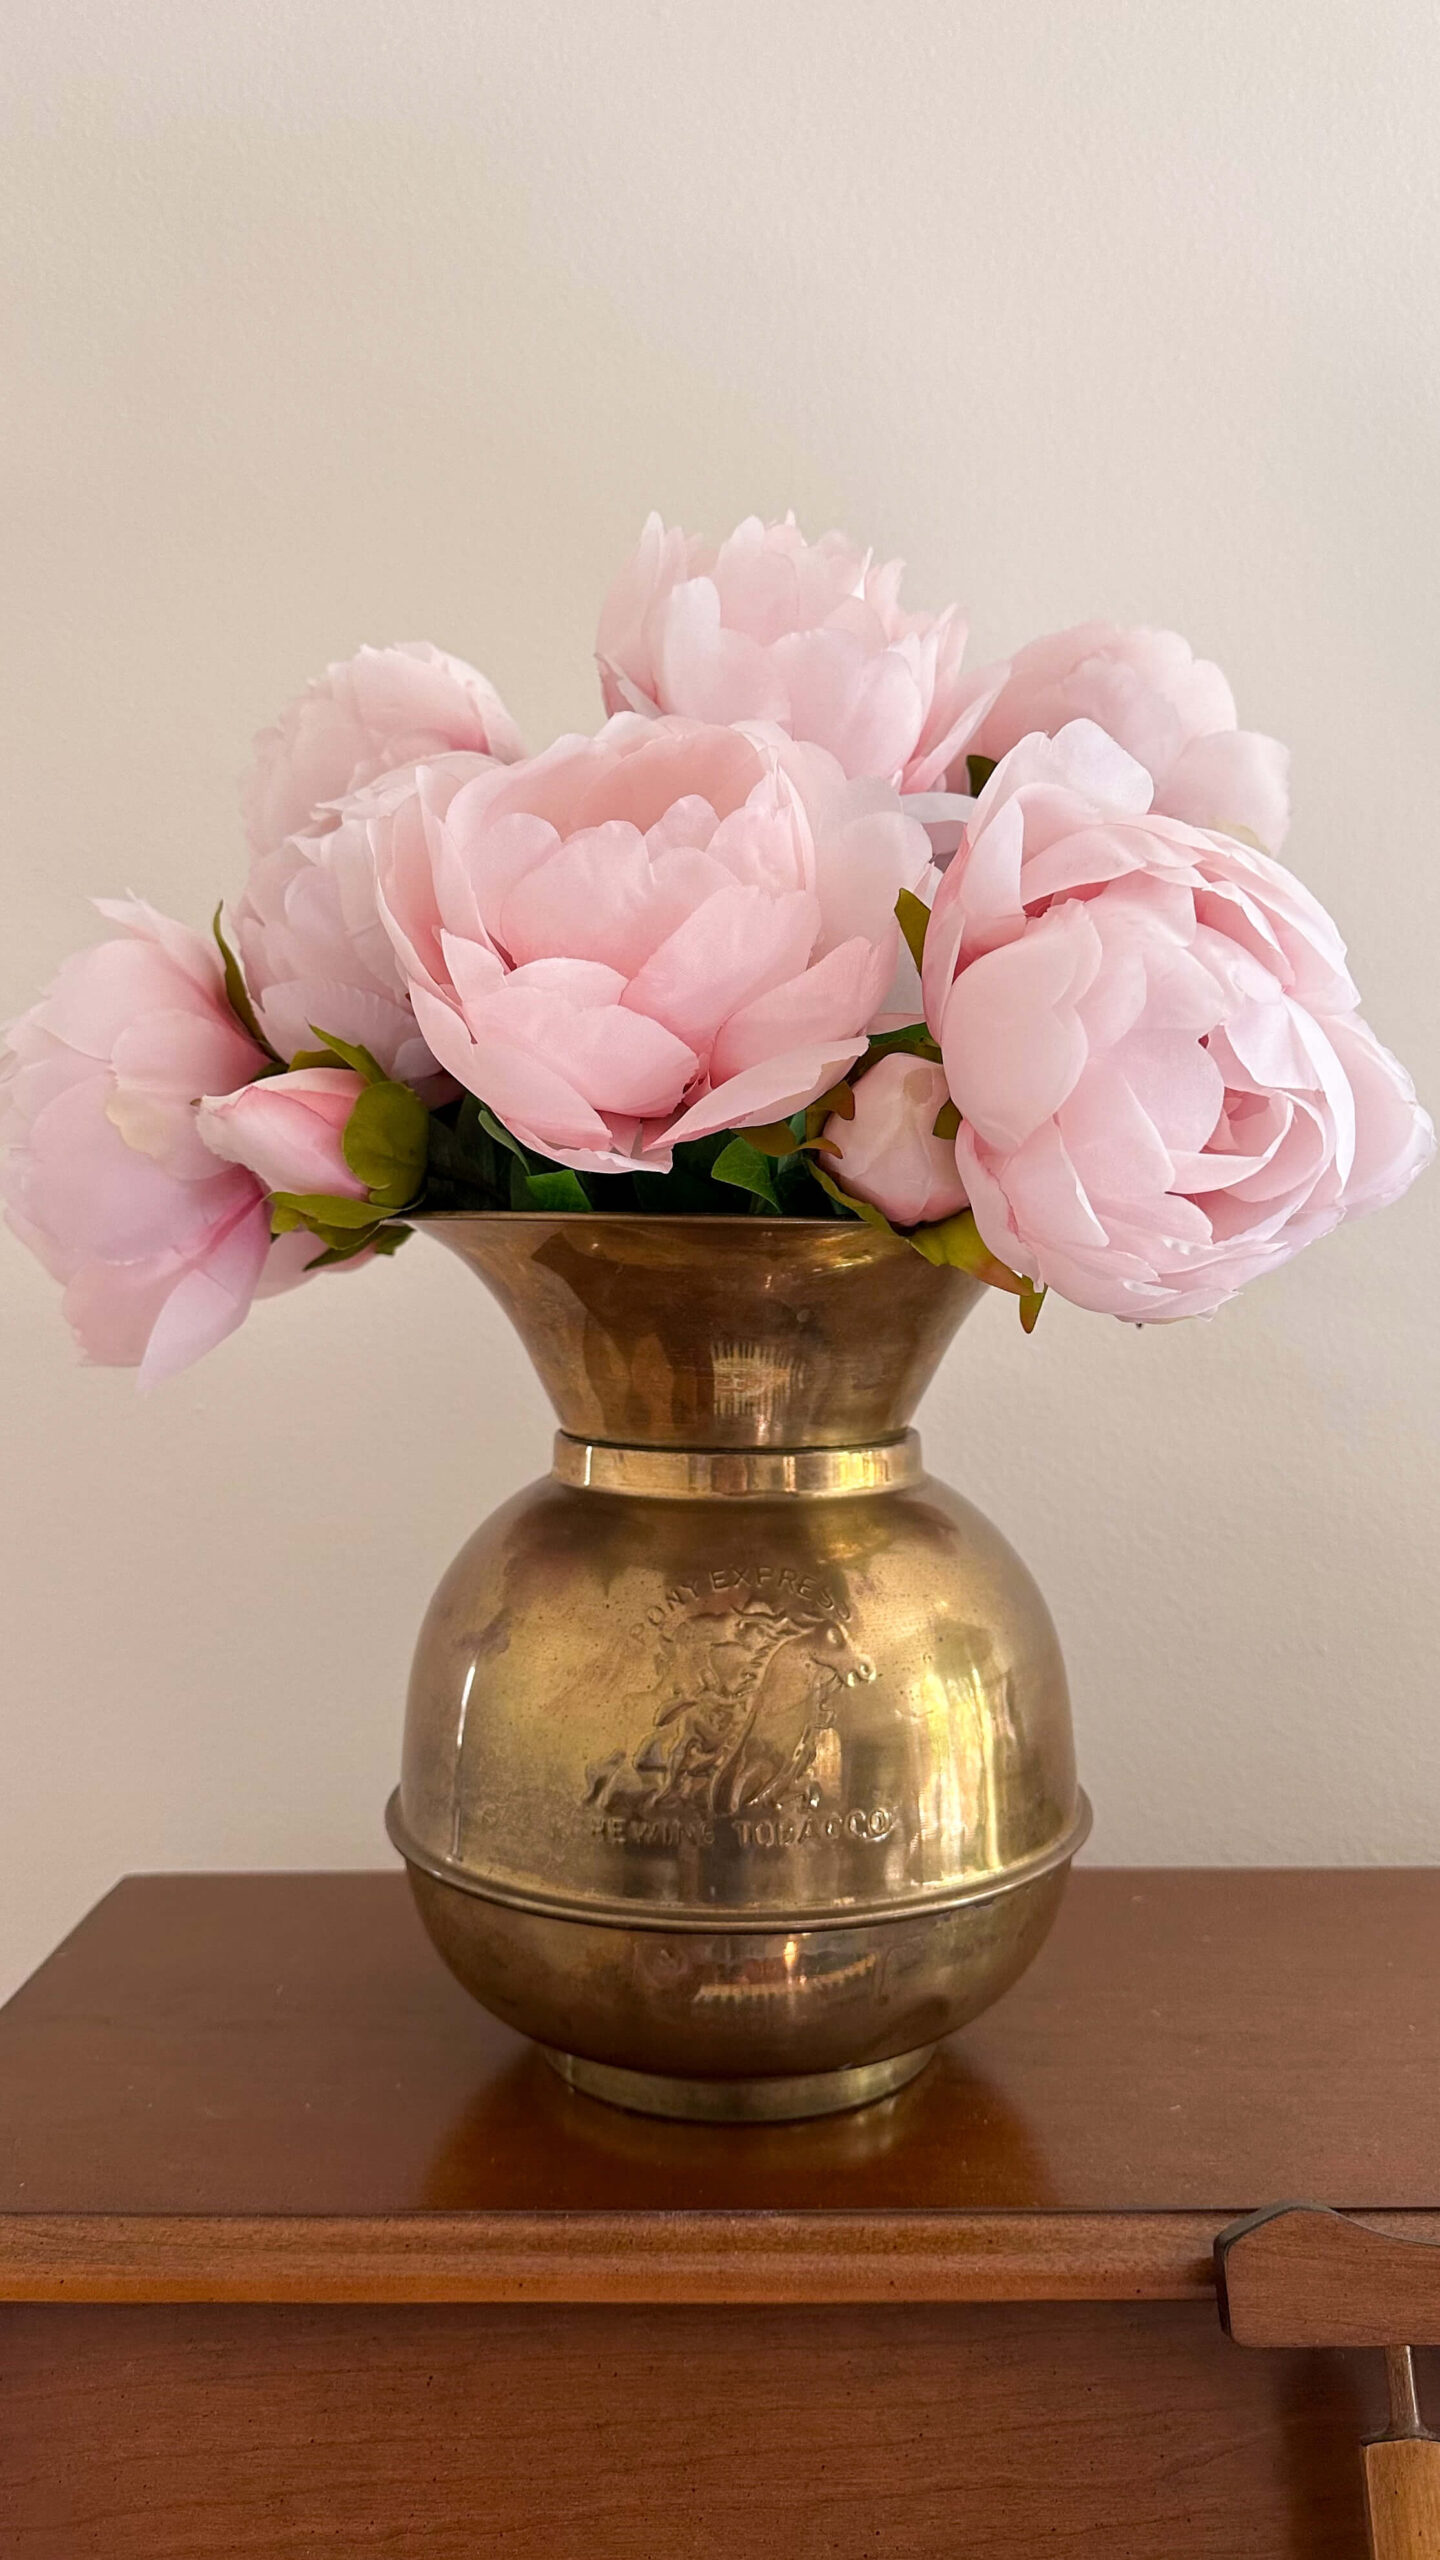
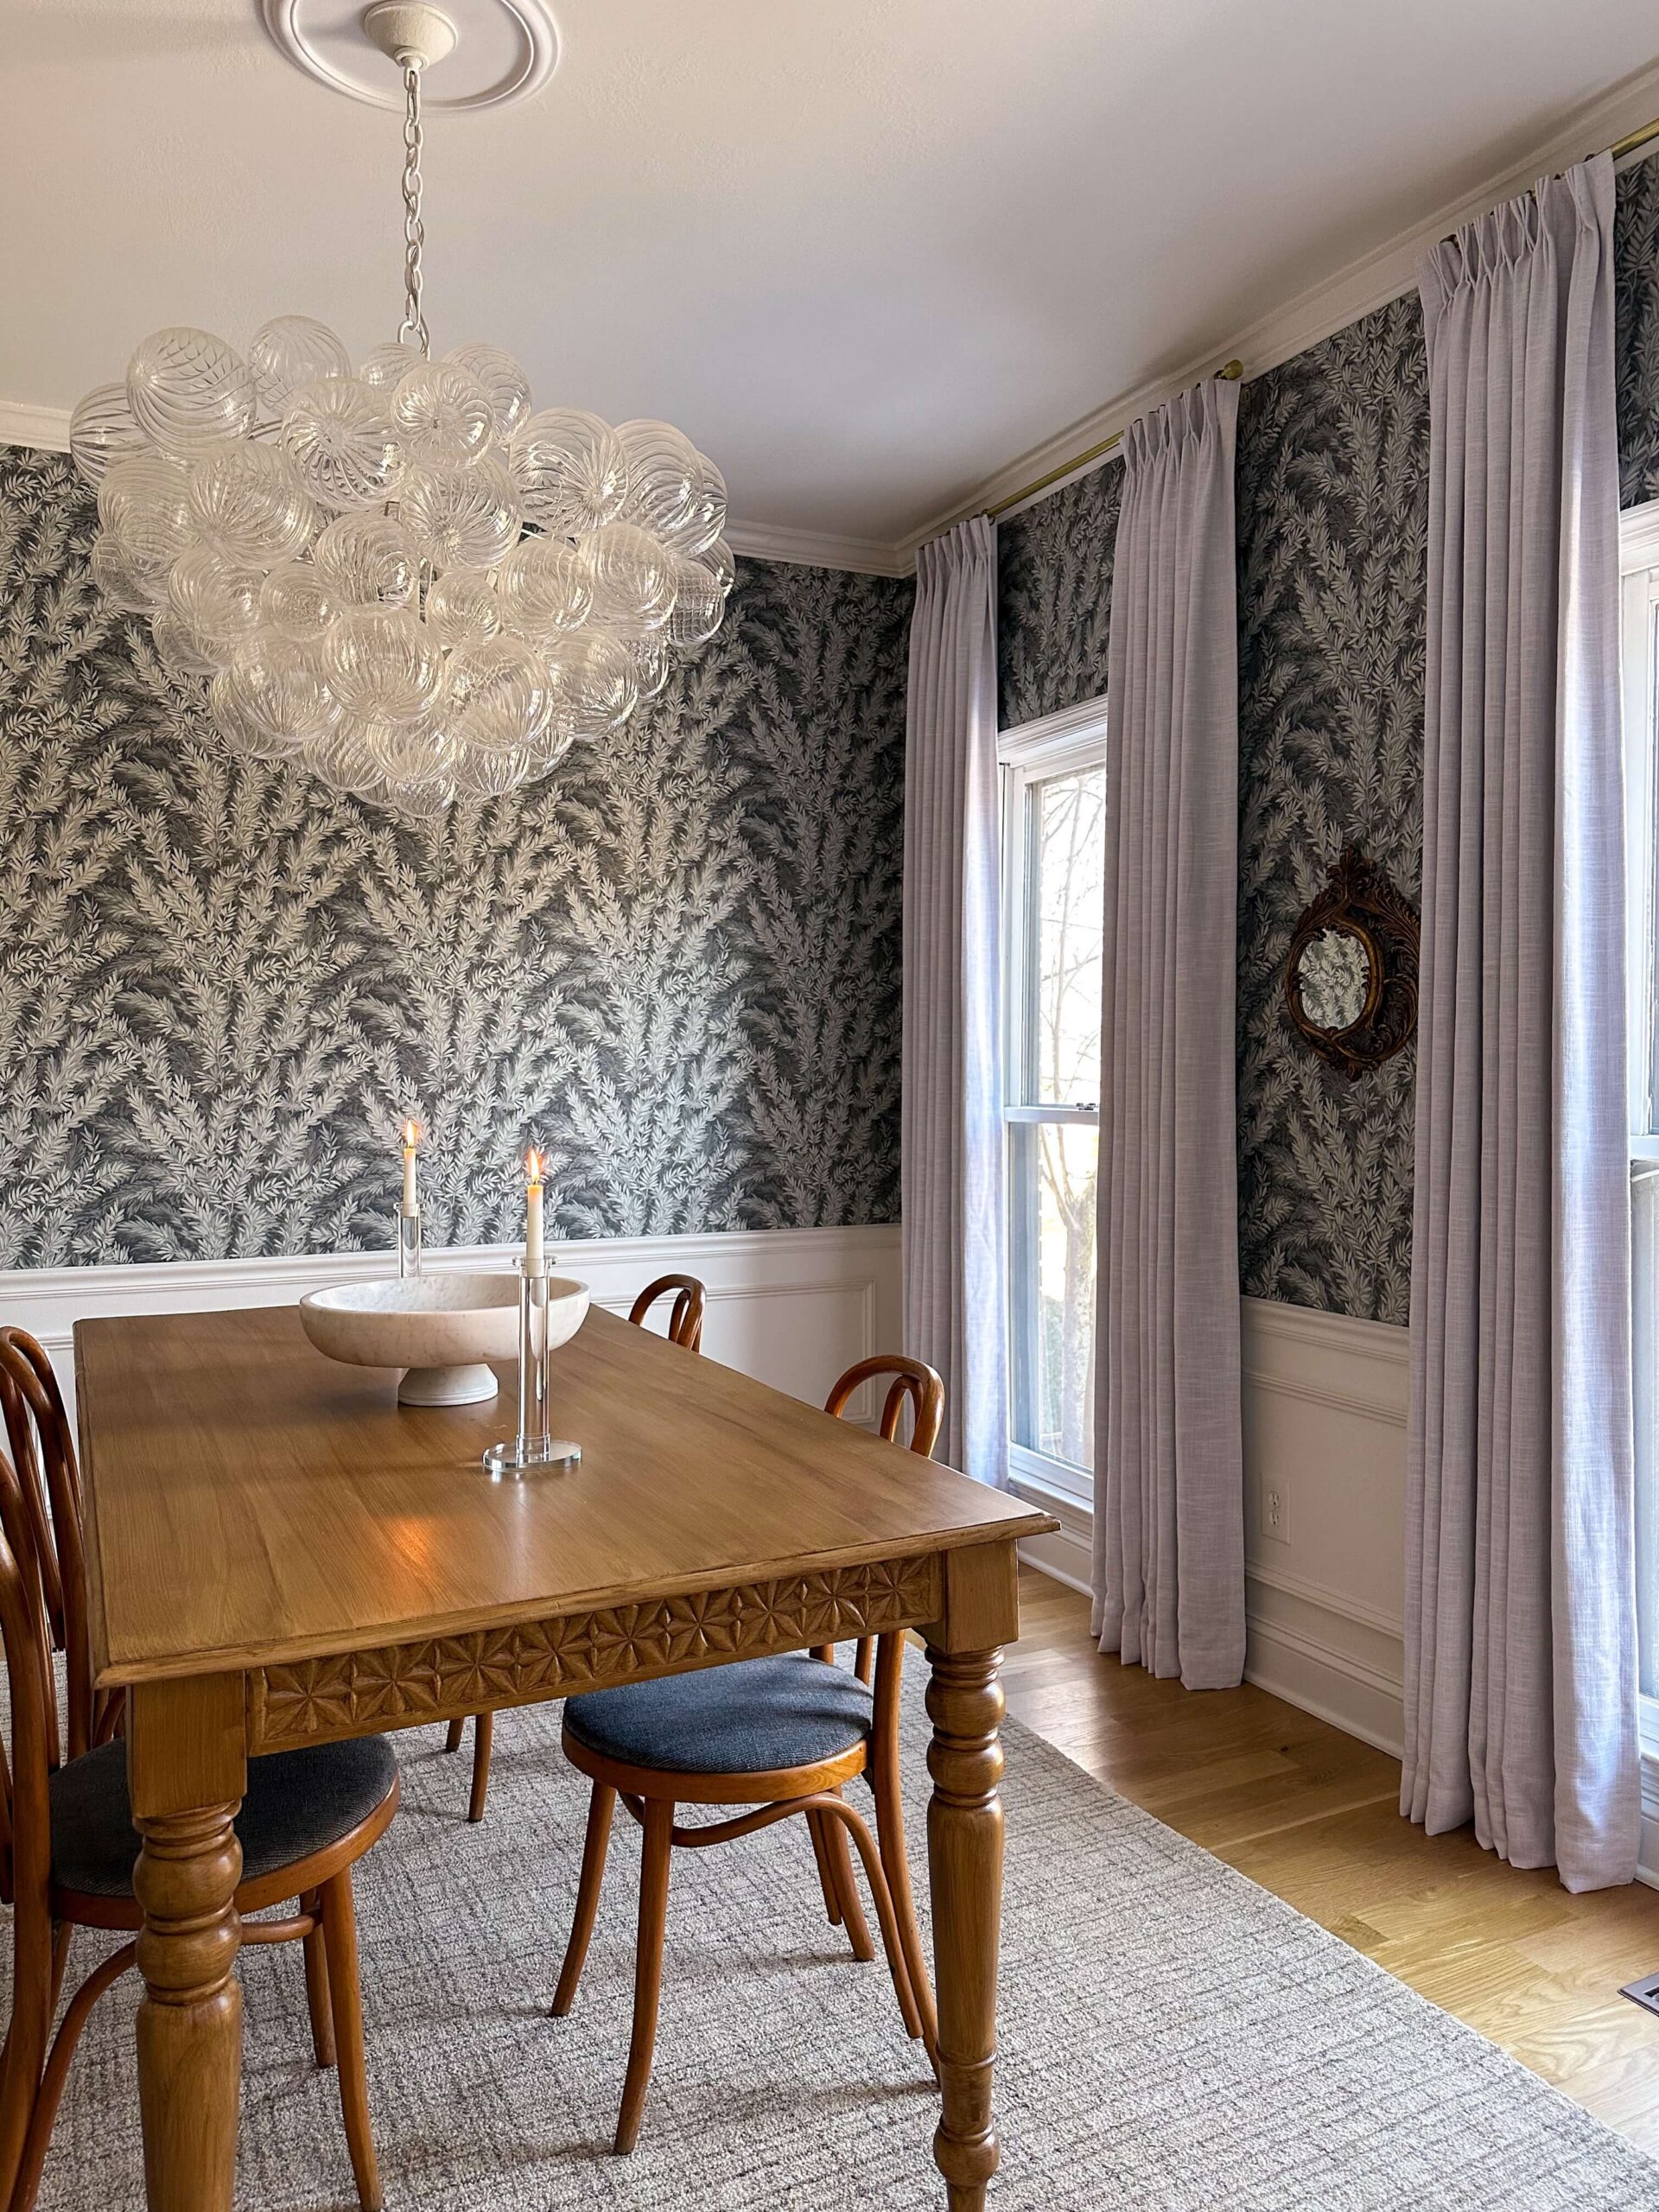
Shop: Wallpaper | Trim Paint | Mirror | Hand Towel | Toilet | Walnut Toilet Lid | Glass Tray | Peonies | Silver Vase (similar)
Closing Thoughts on Wallpapering For Beginners
Wallpapering has a bit of a reputation for being intimidating, but most of the things that go wrong are fixable (or preventable) once you know what to look for. Draw your plumb line. Overlap your corners. Change your blade way more often than you think you need to. Prep your walls. Smooth from the center out.
I learned all of this the way most people do – by making the mistakes first. If this saves you even one of them, then you’re already a step ahead.
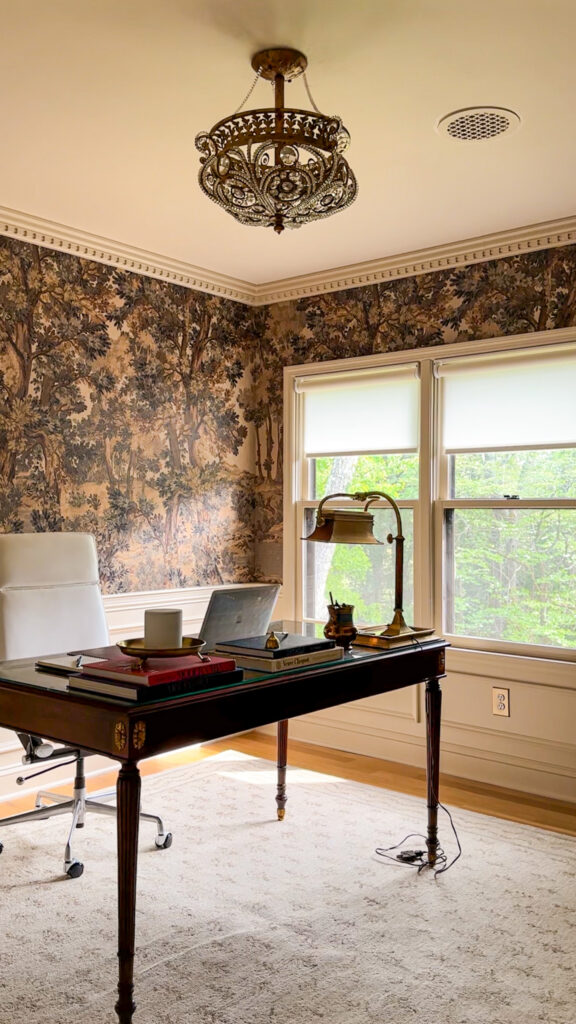
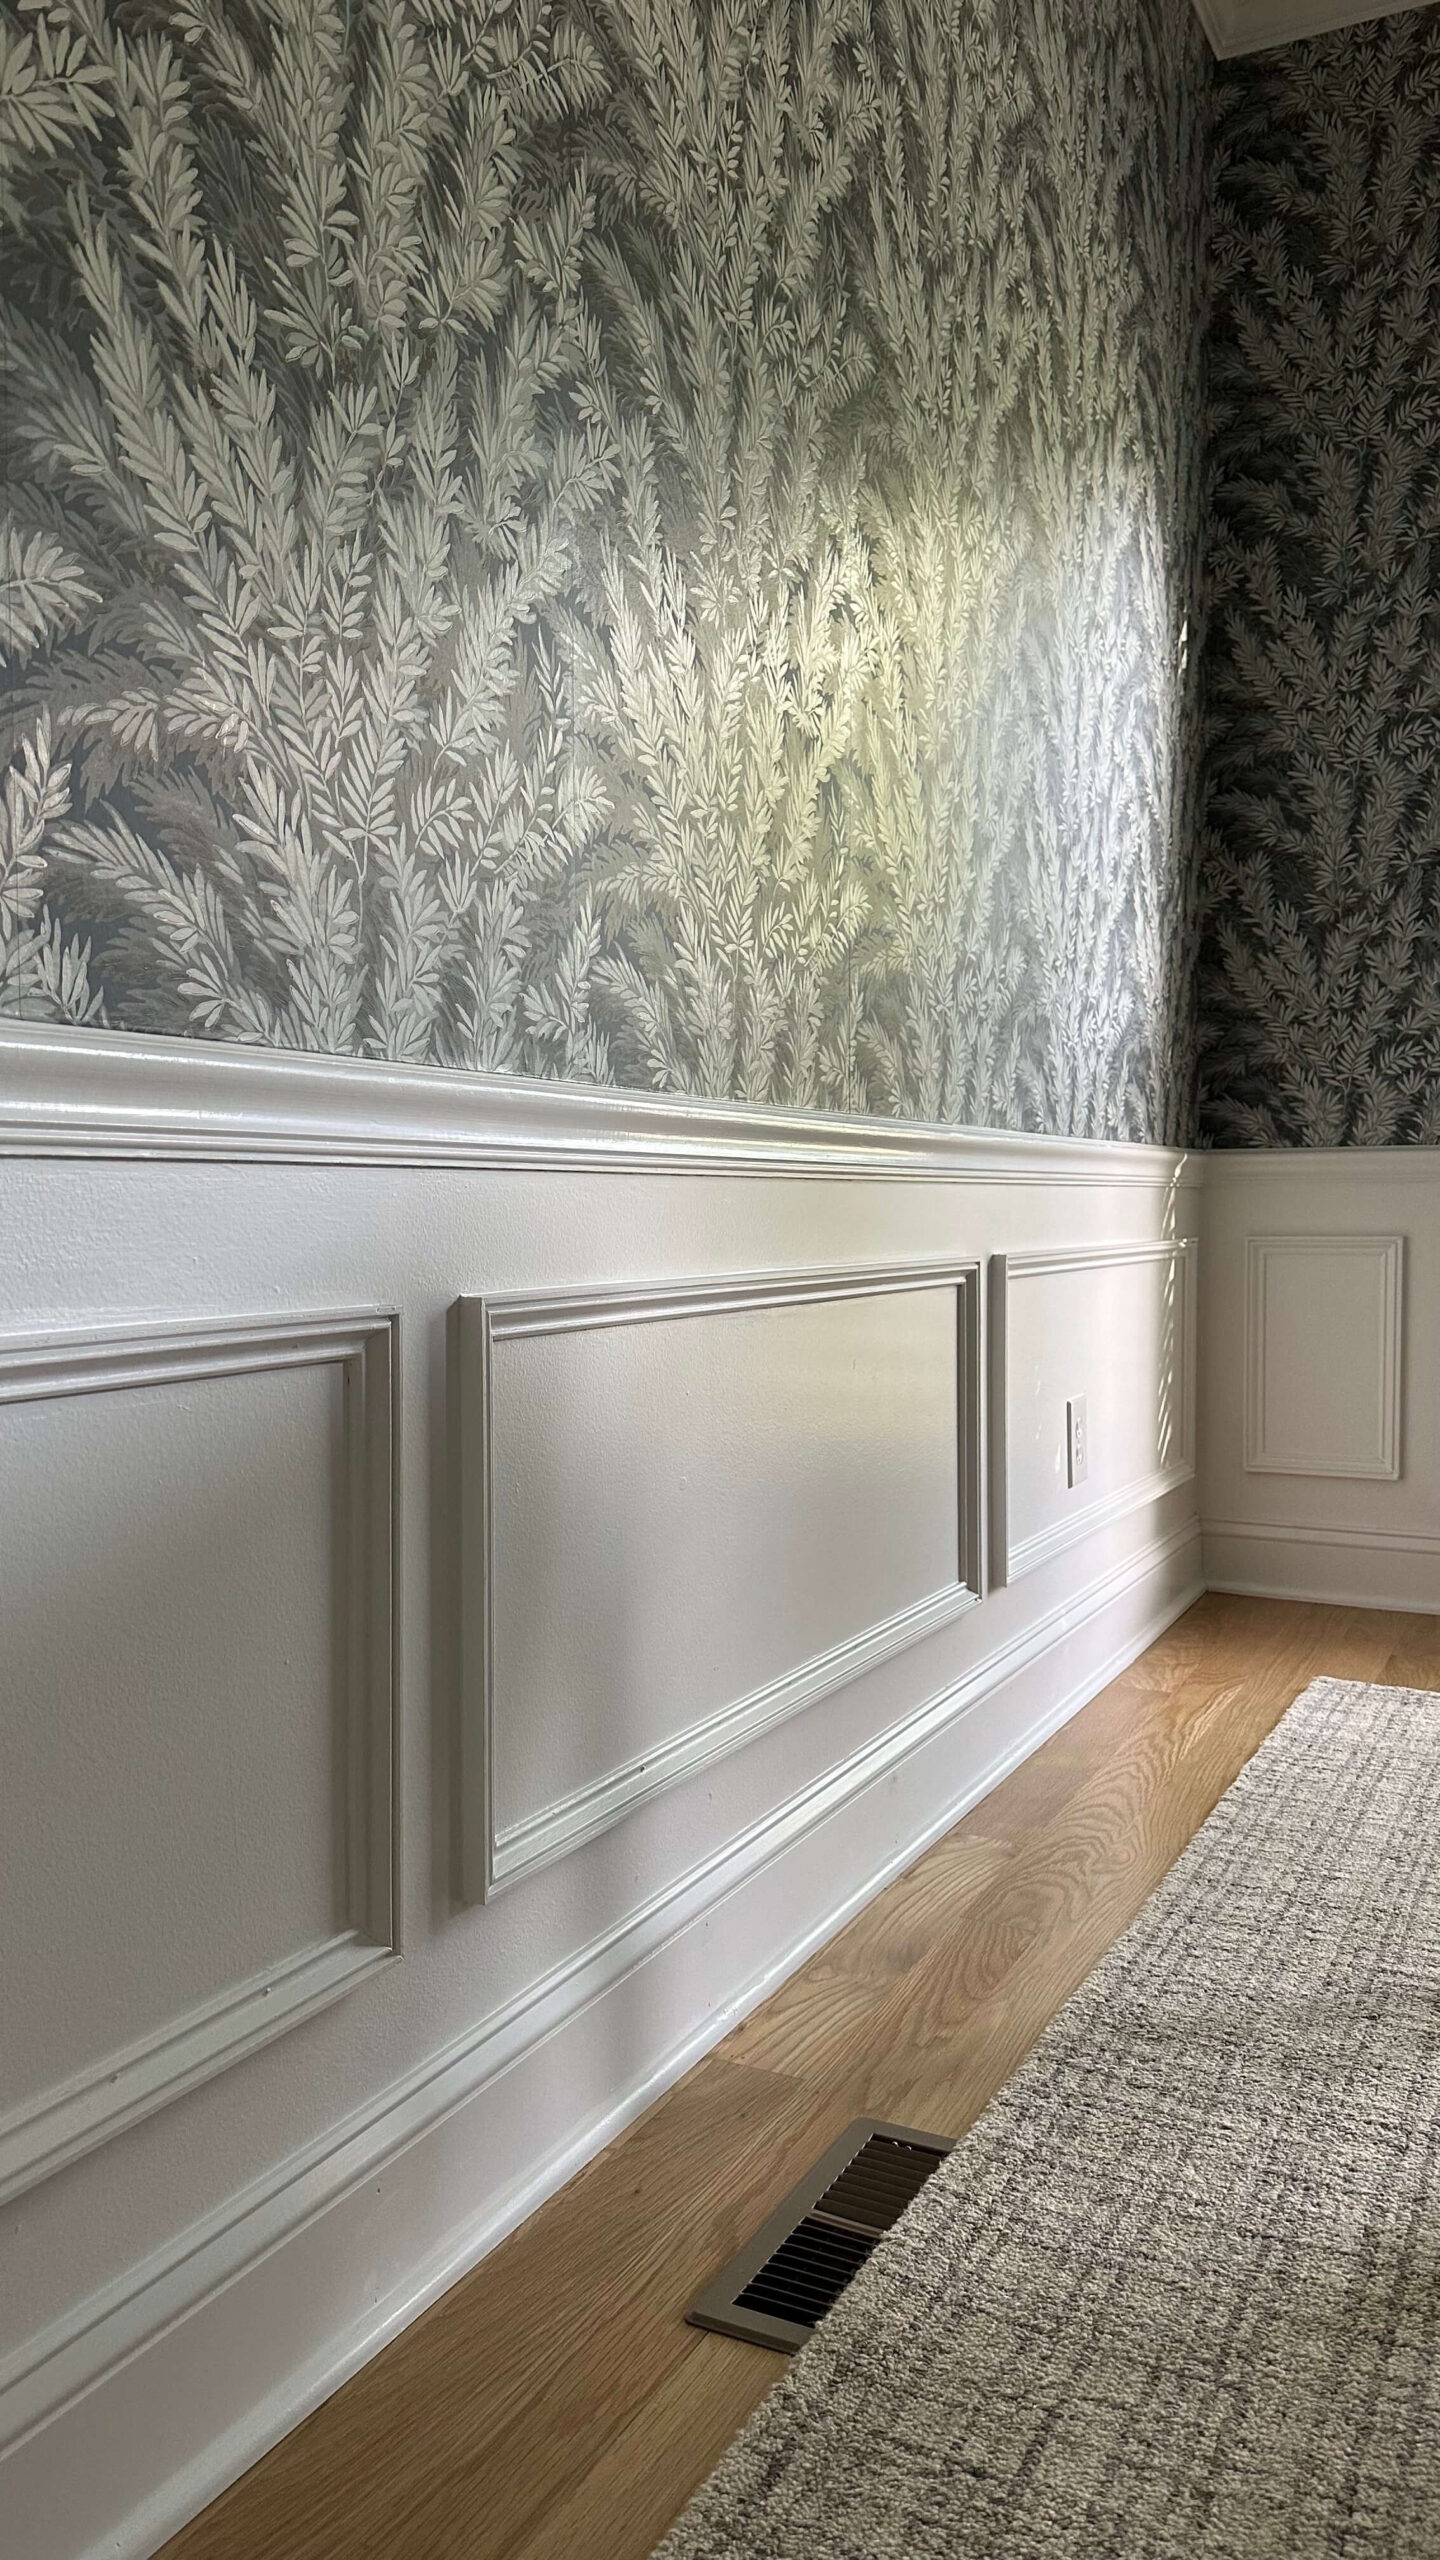
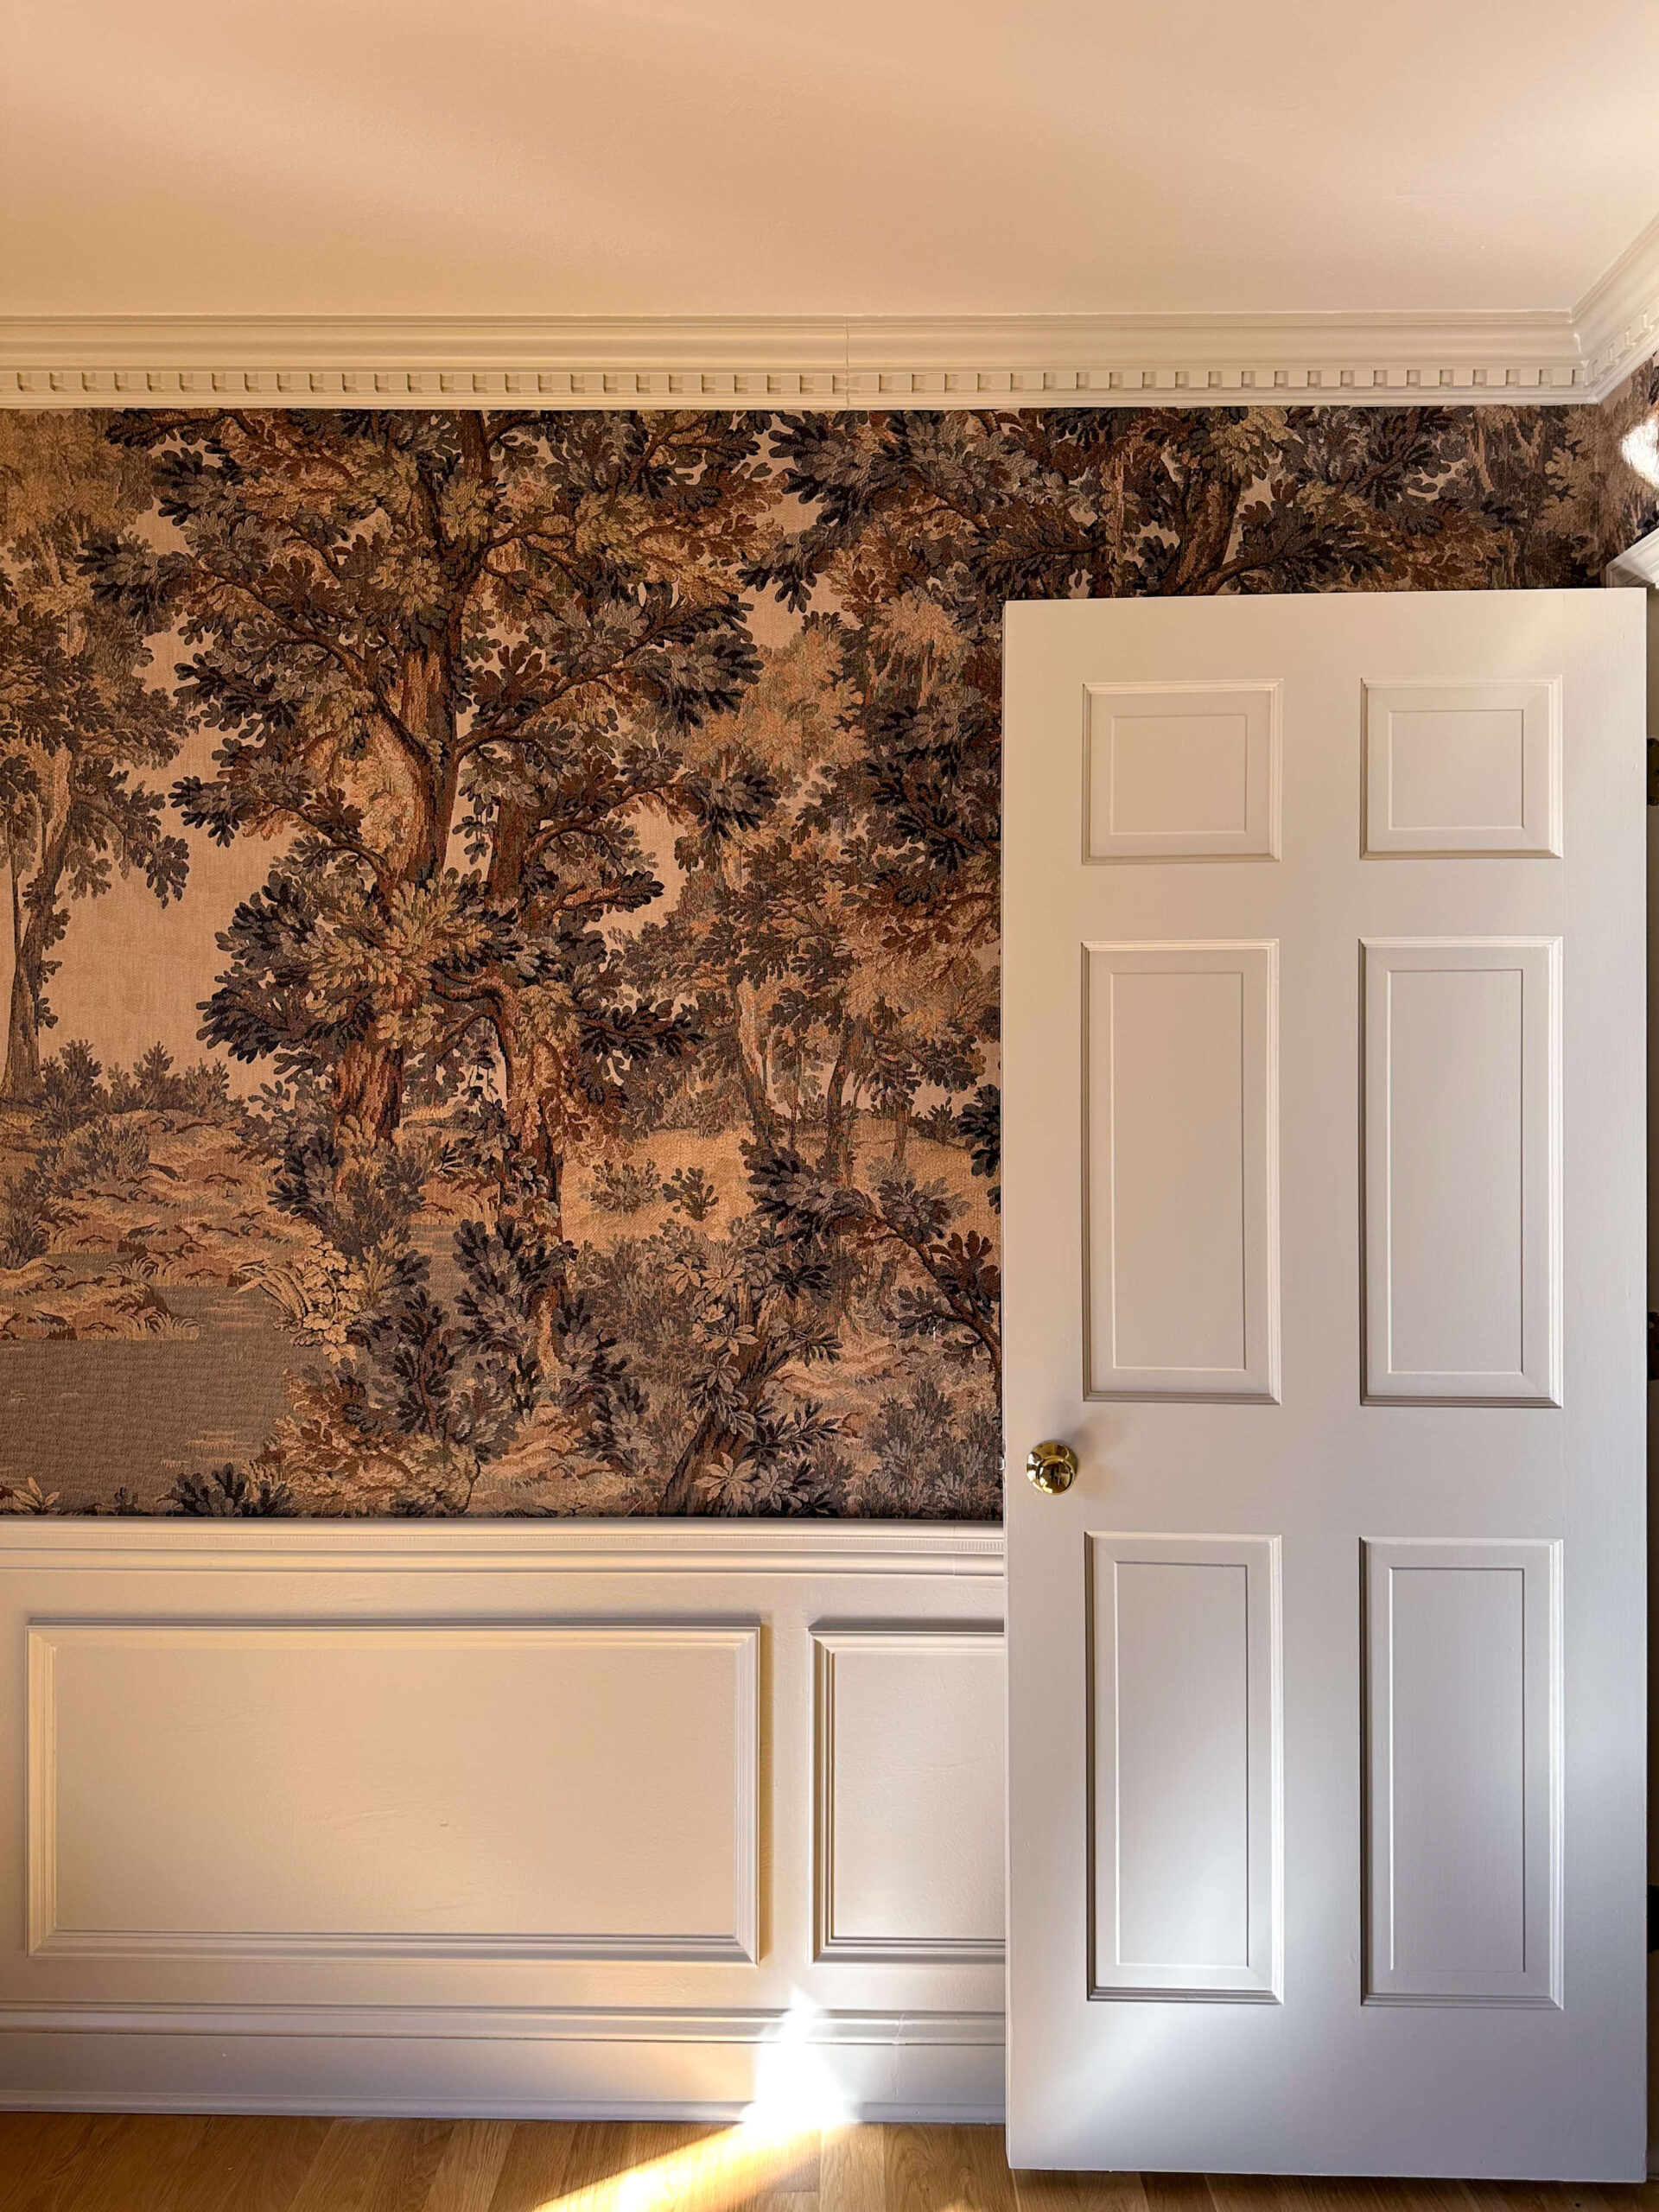
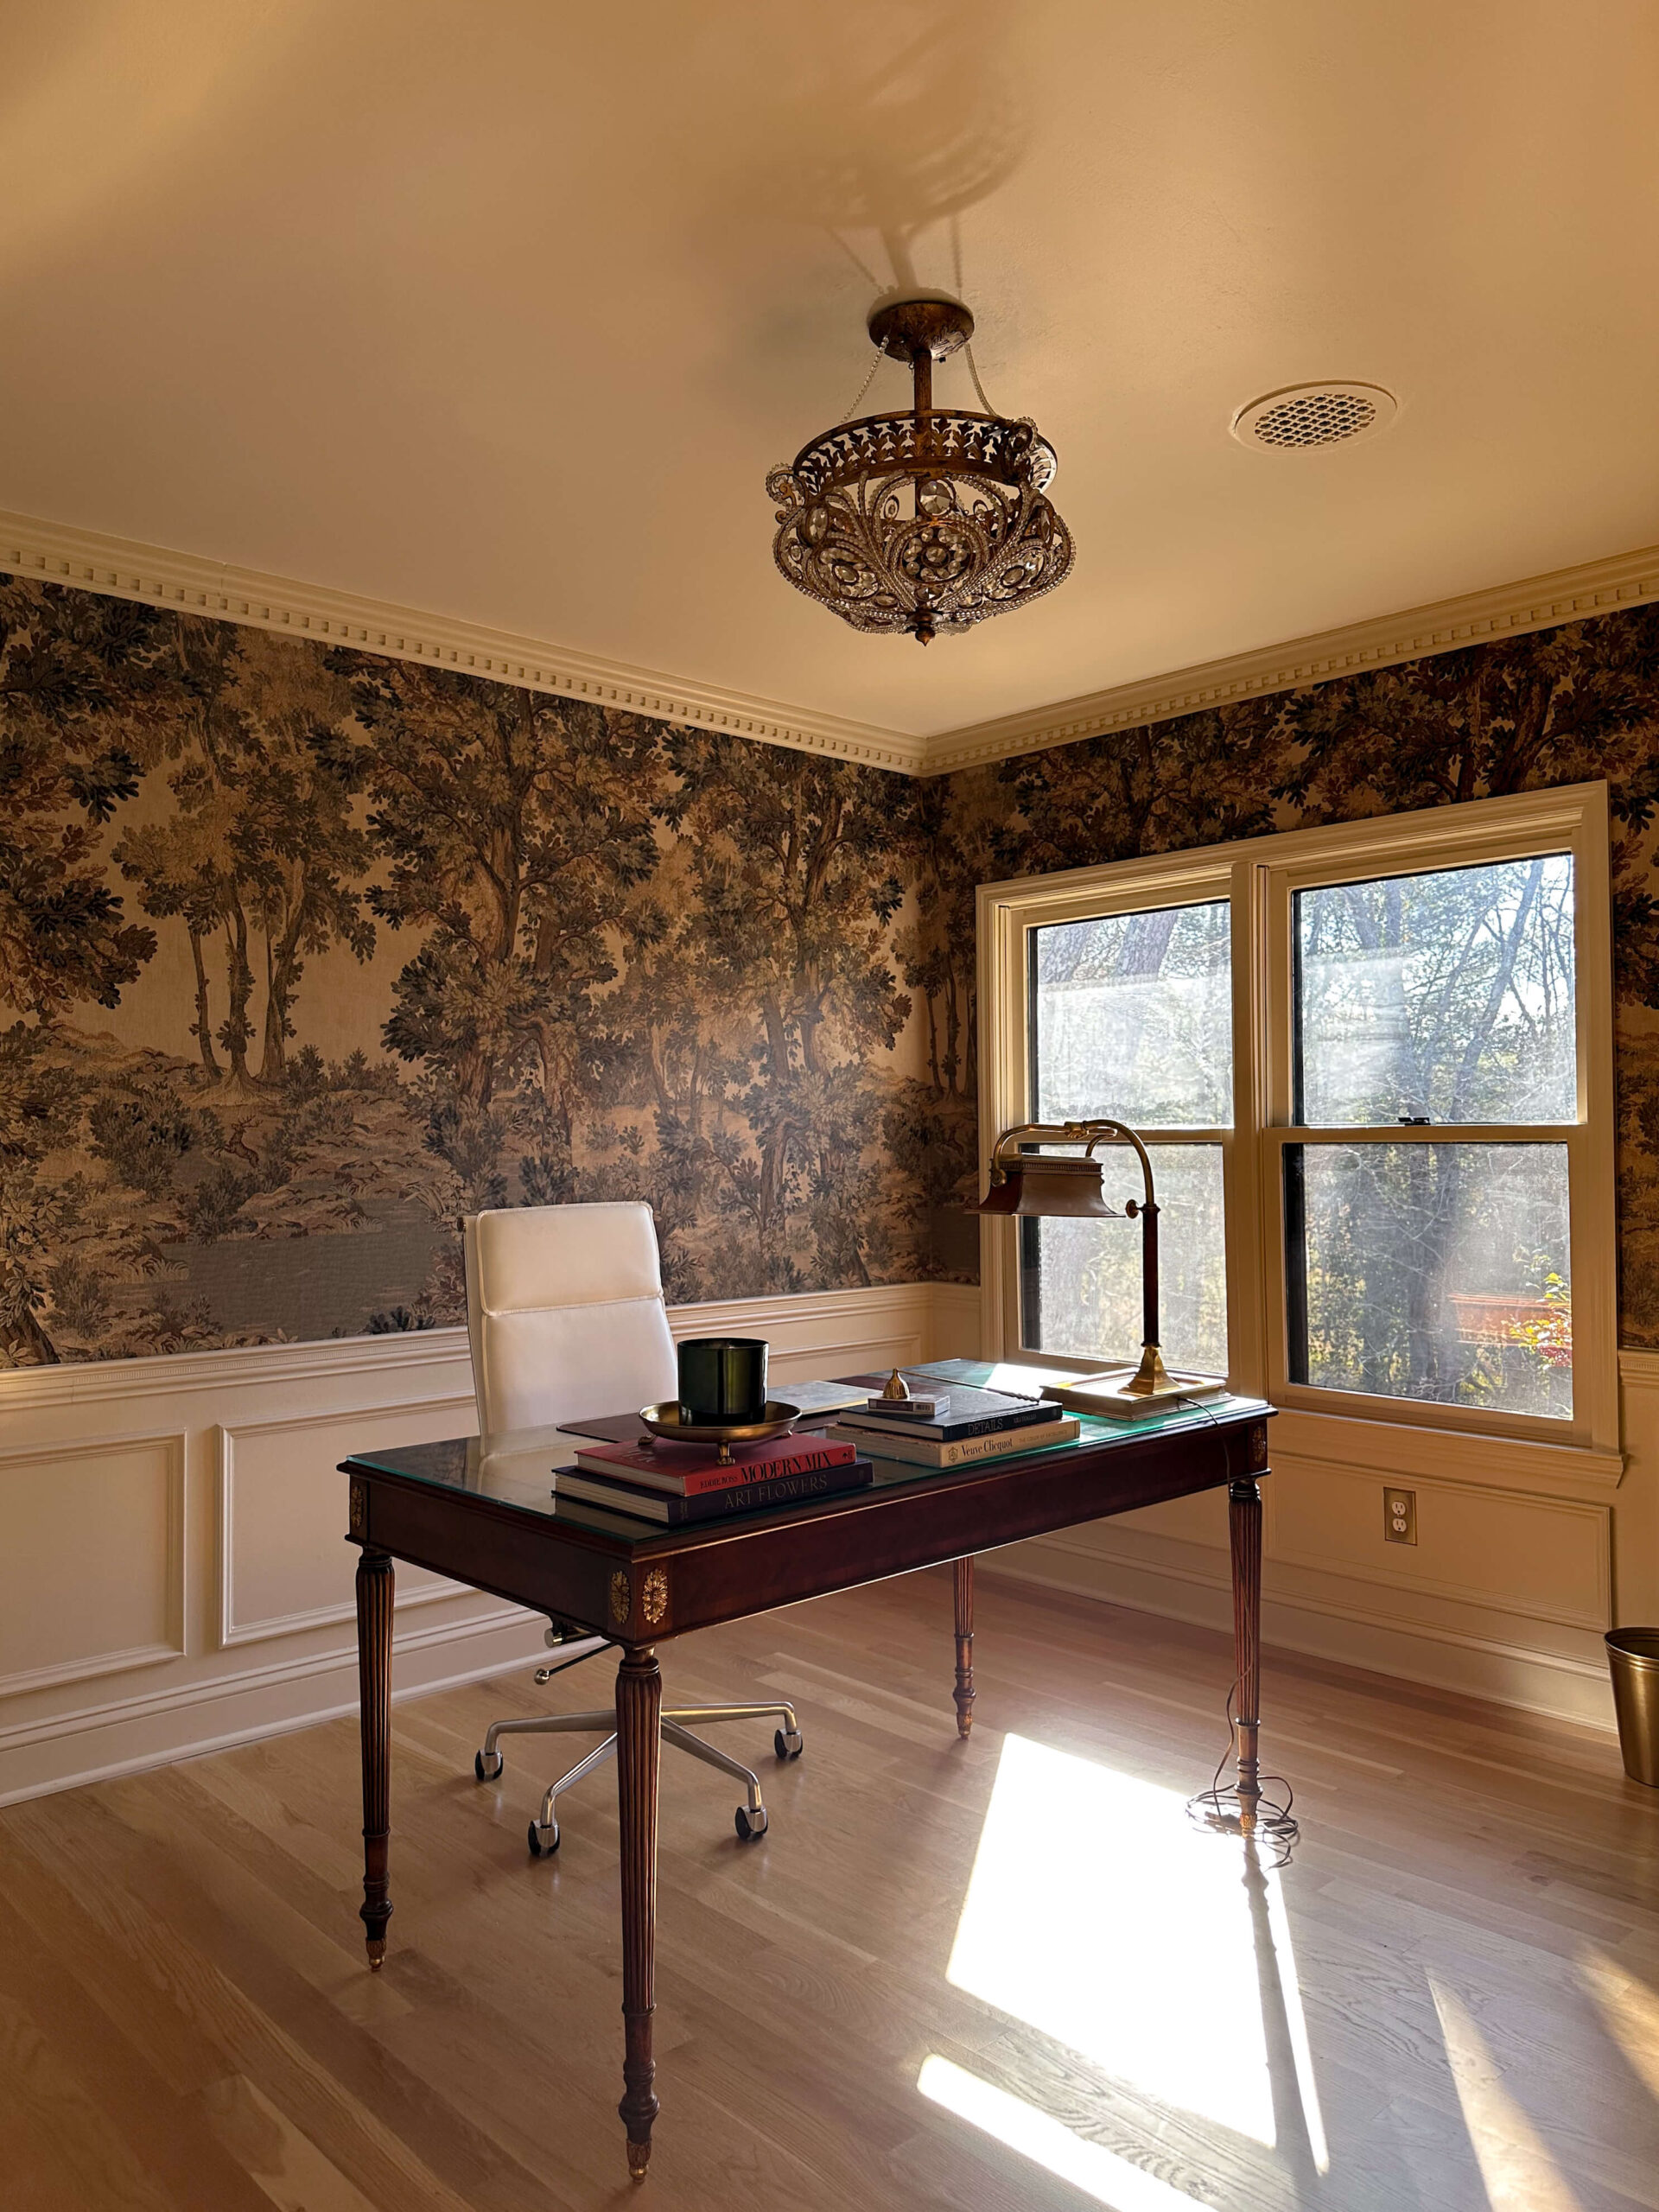
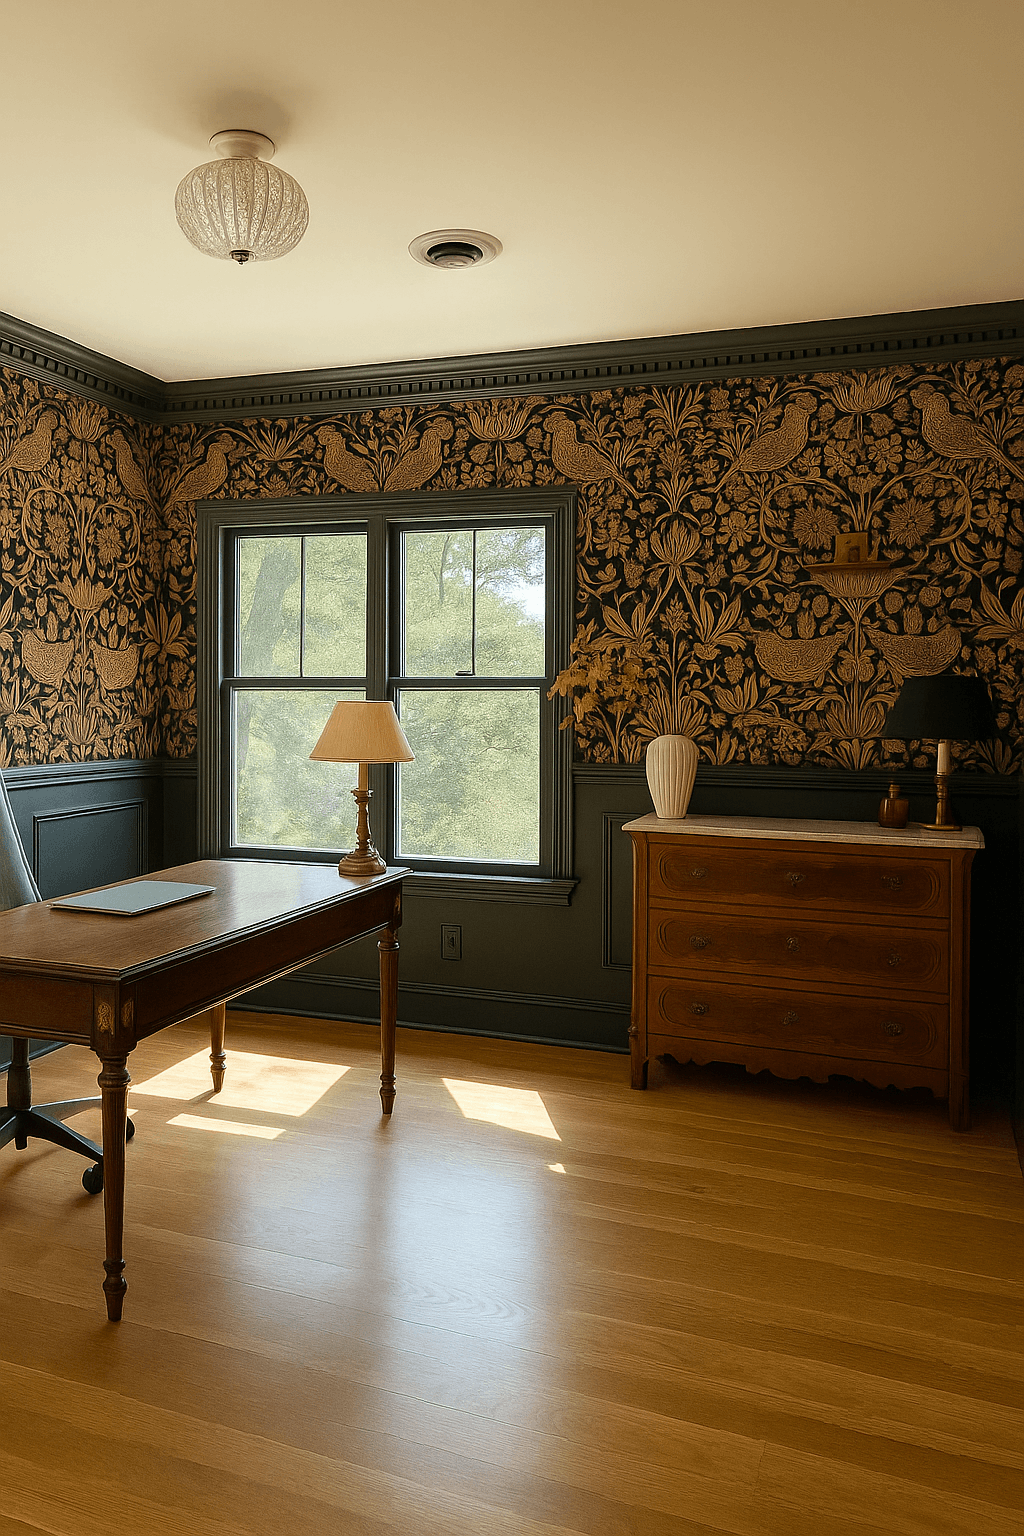
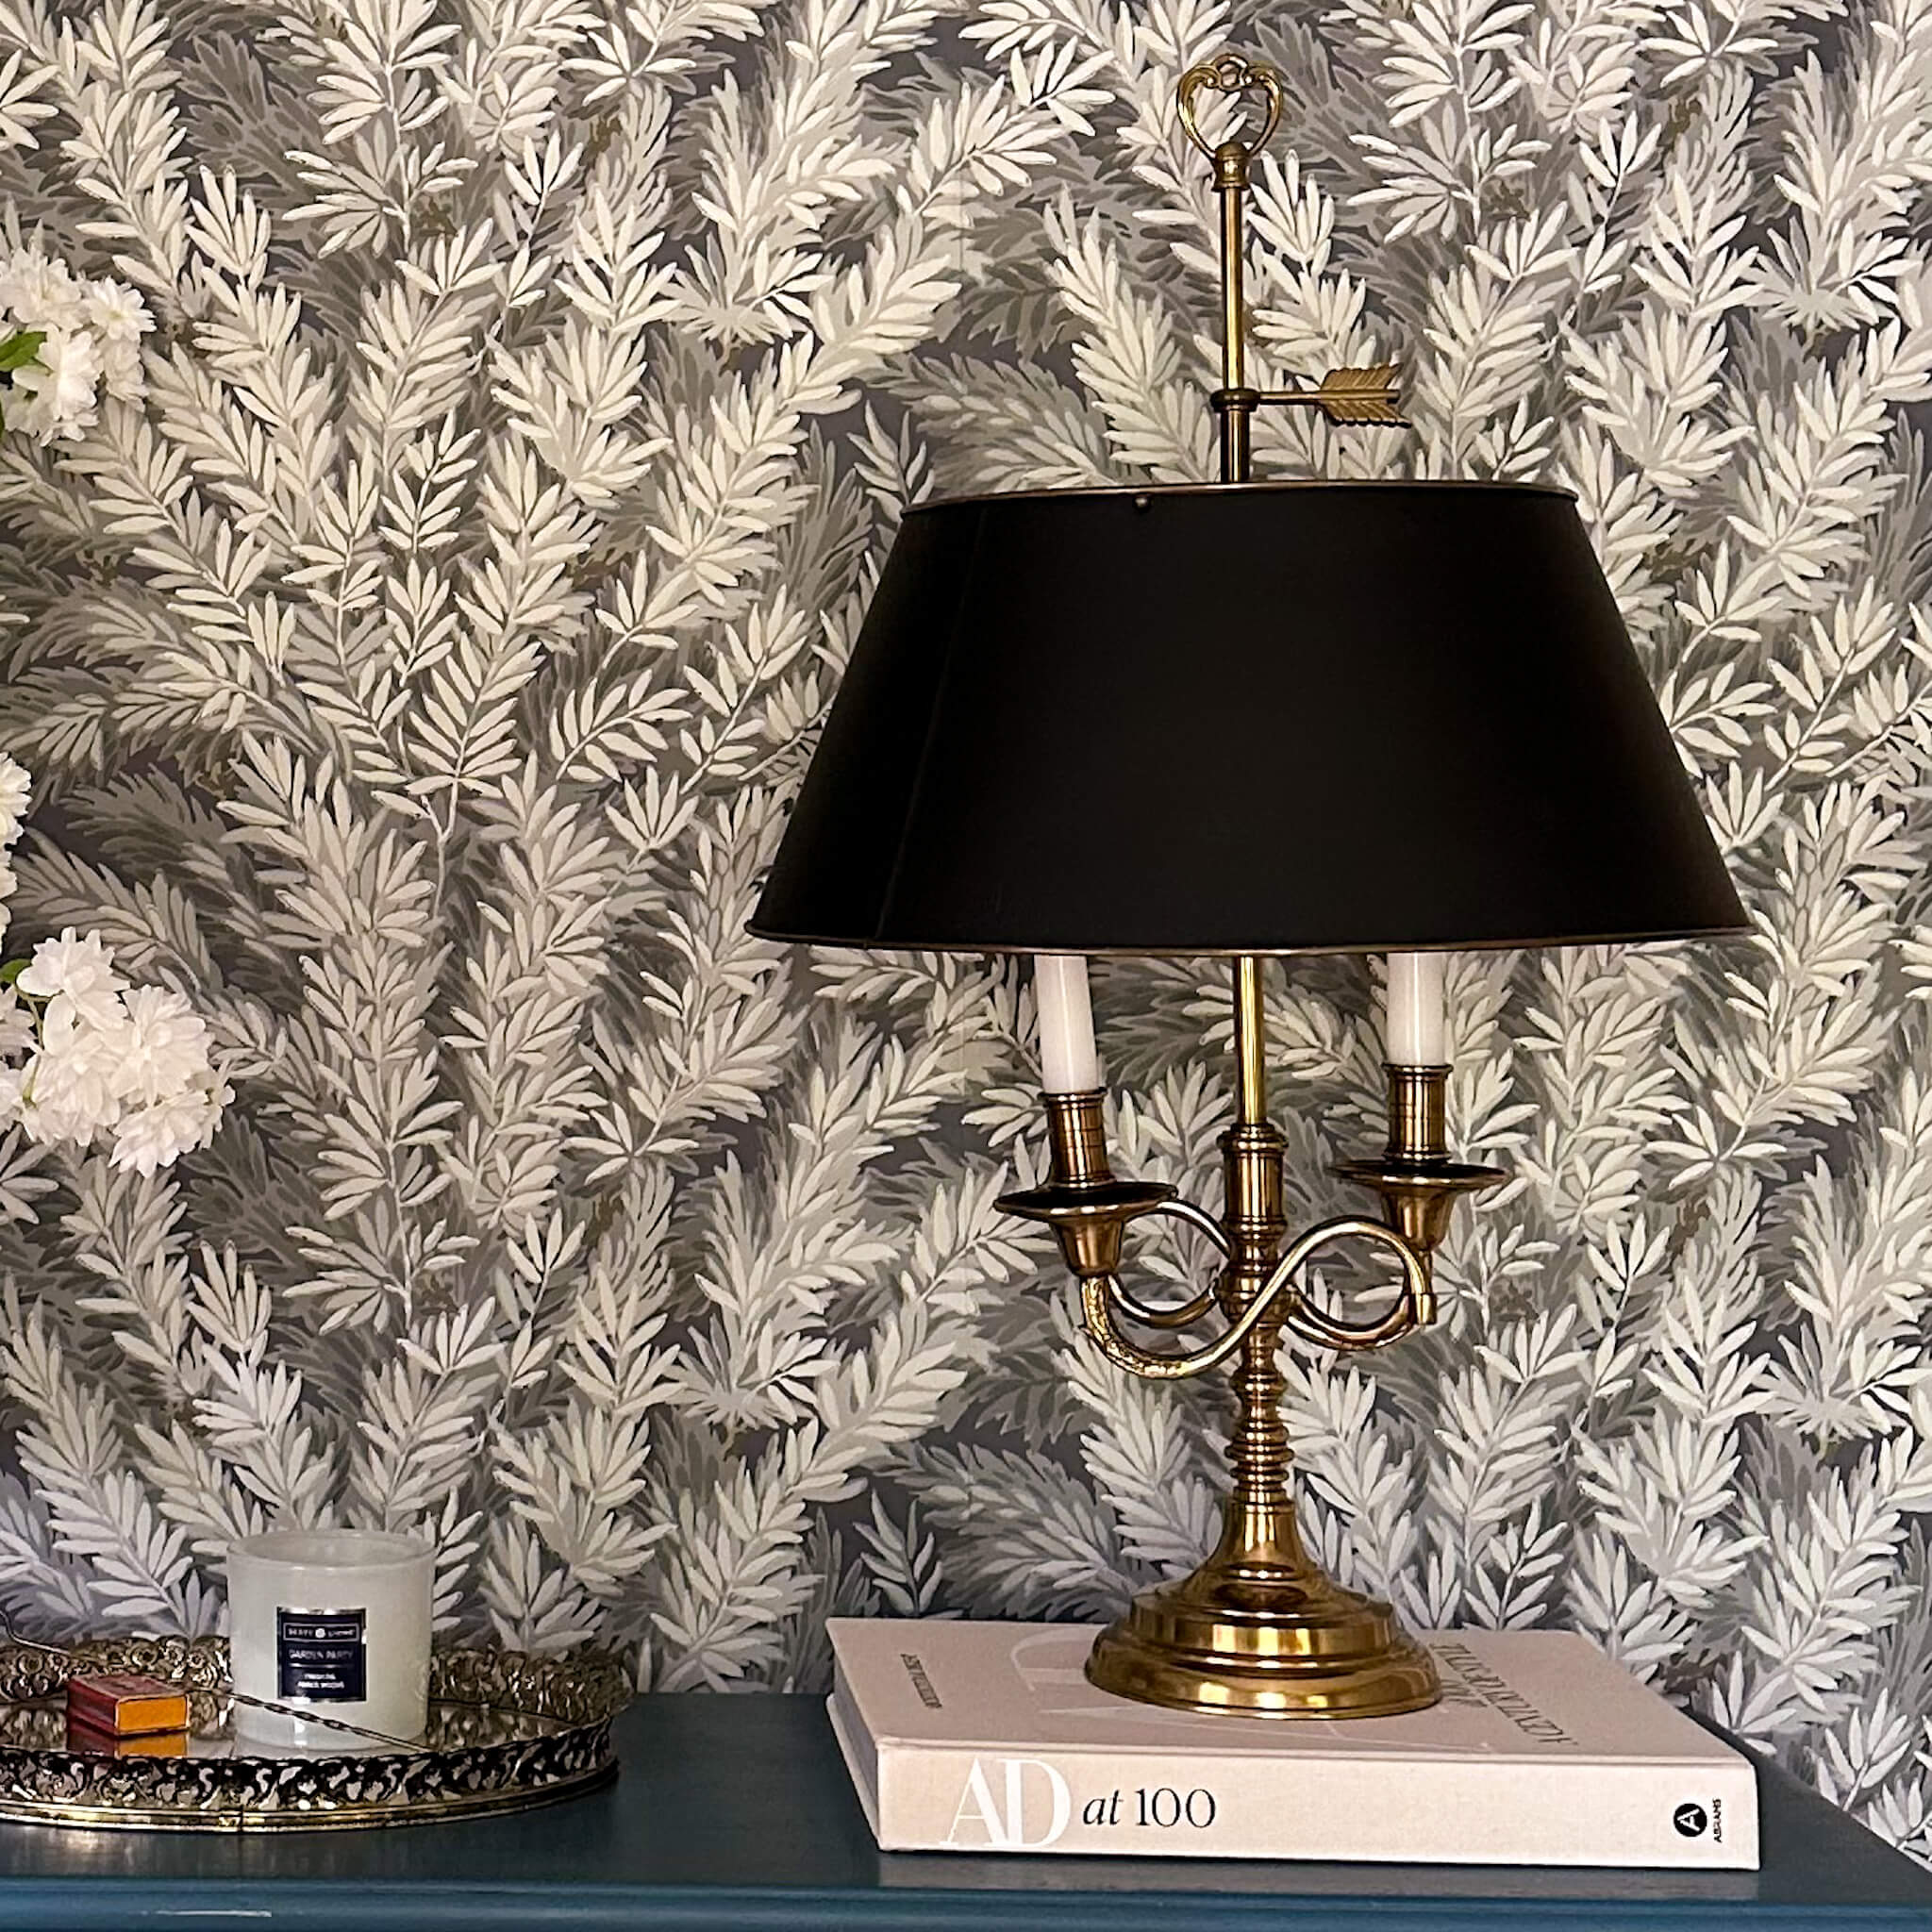
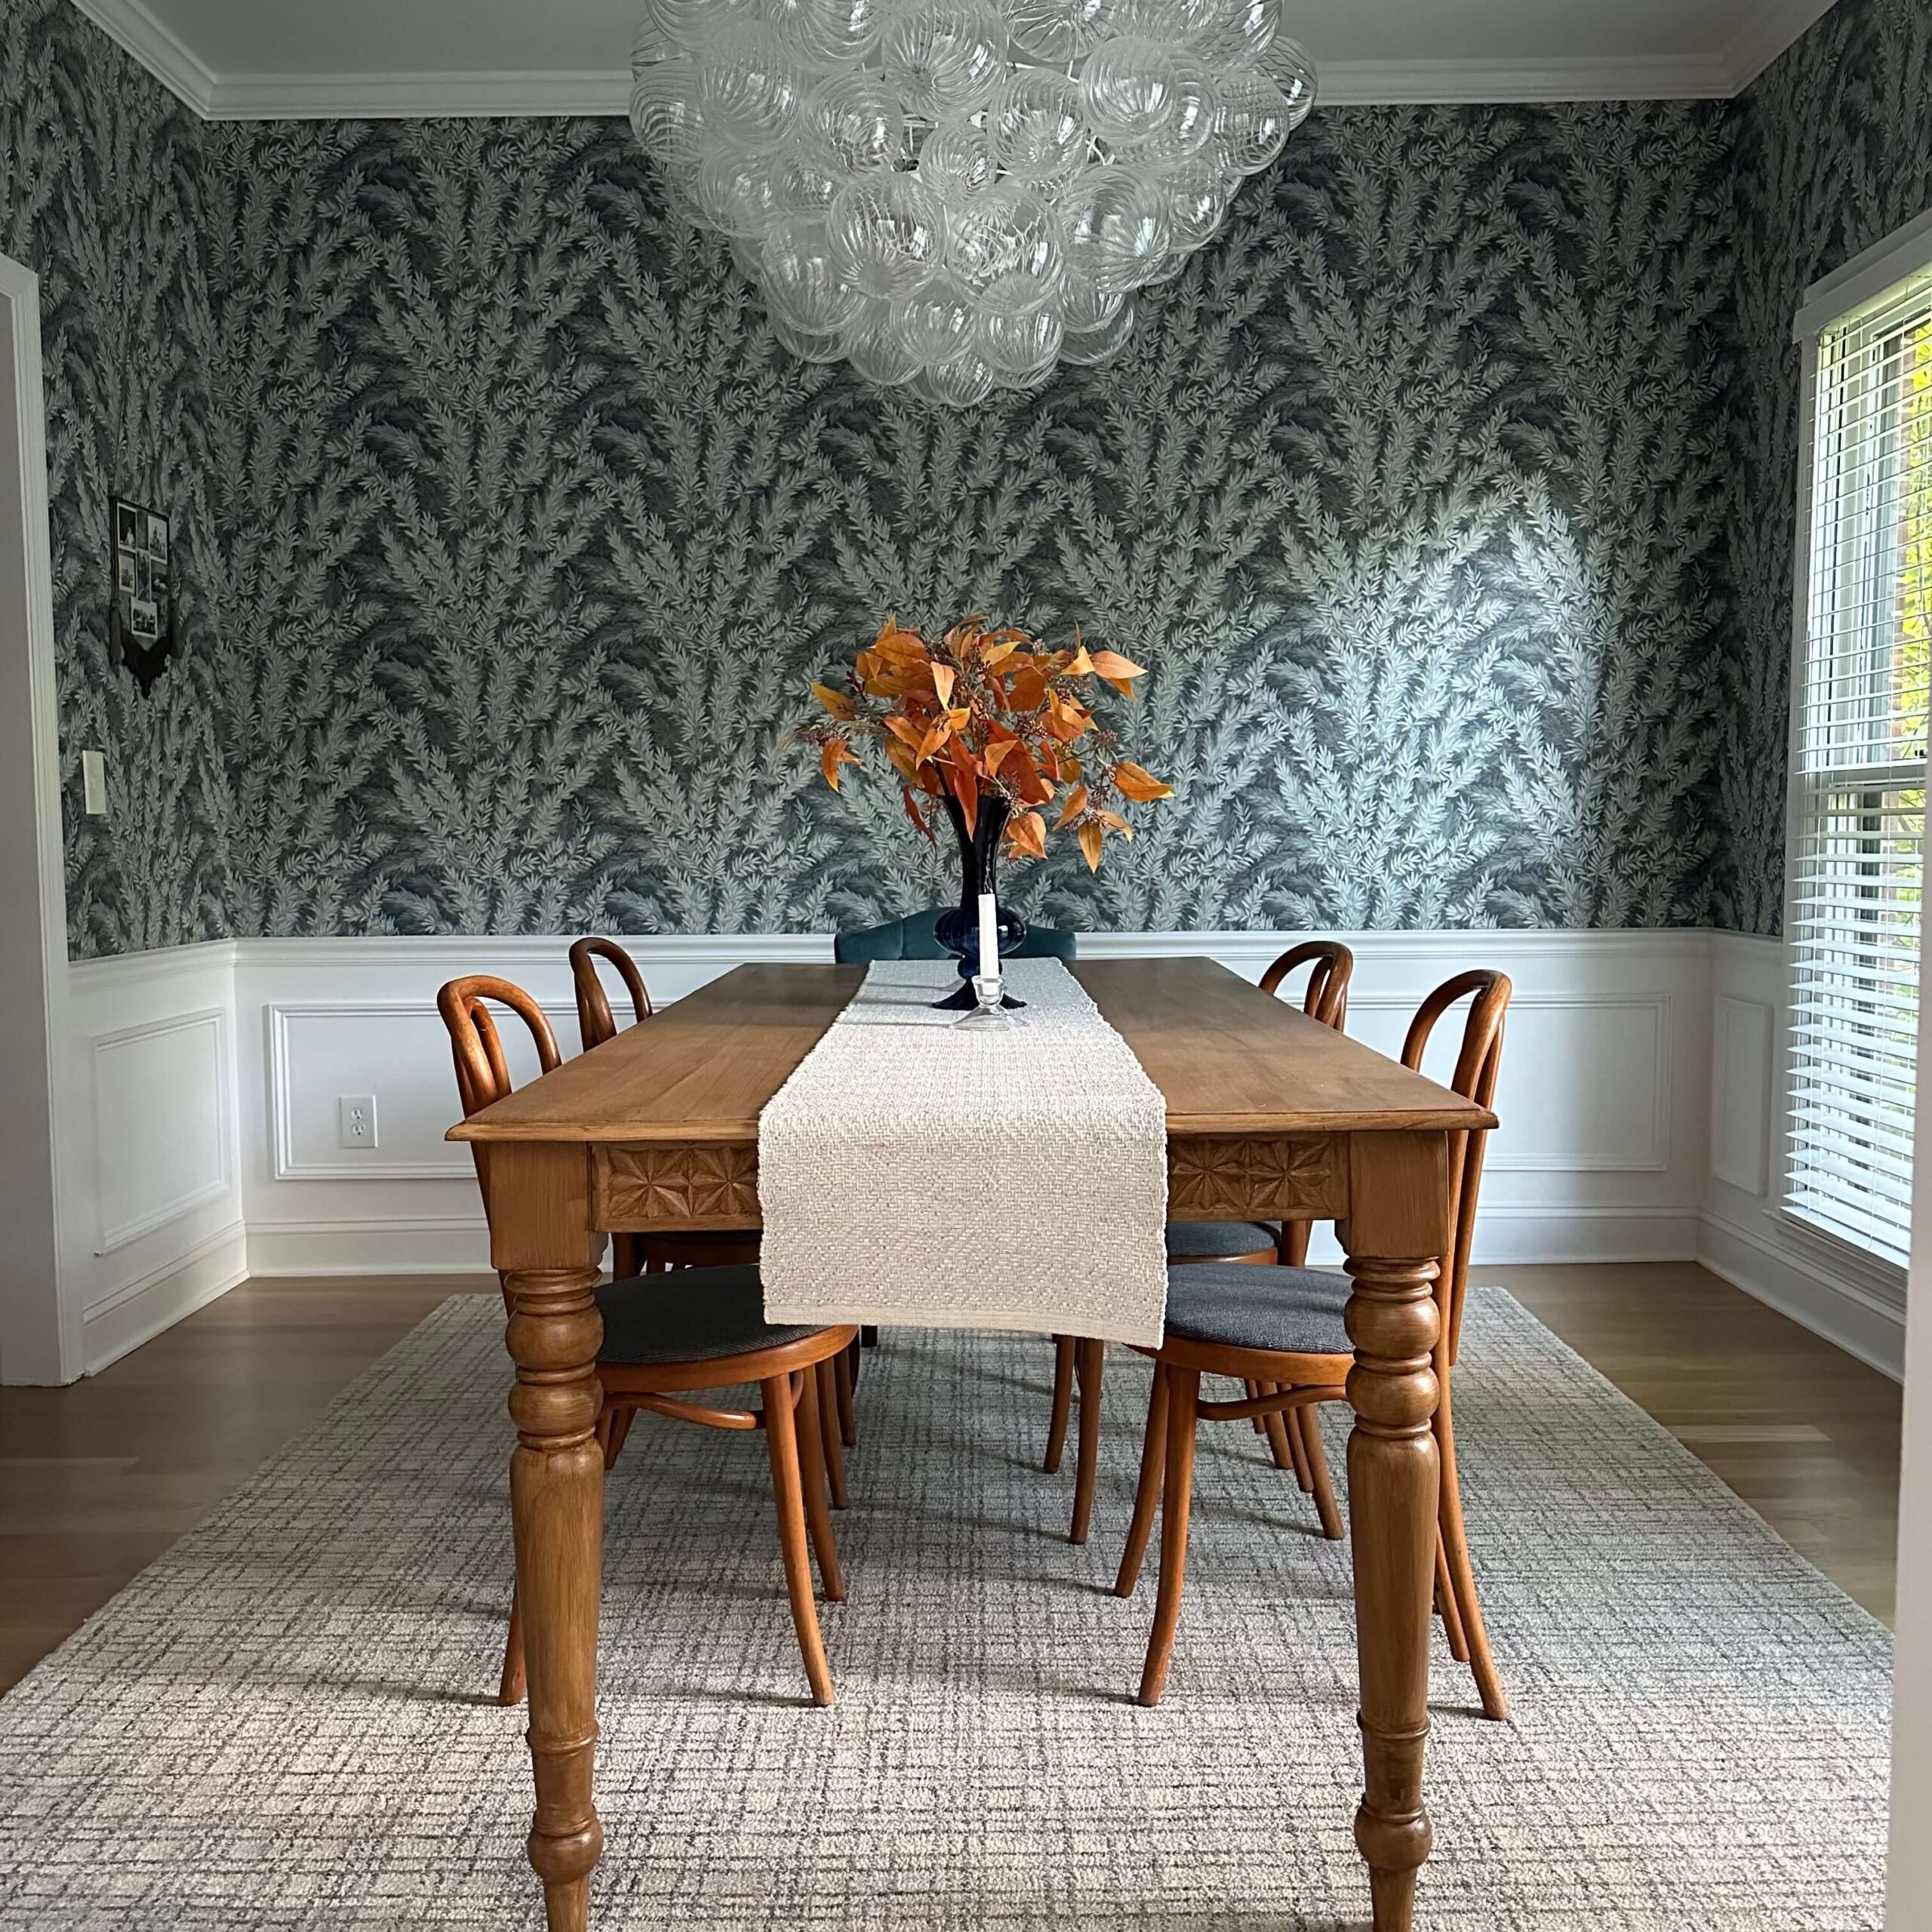
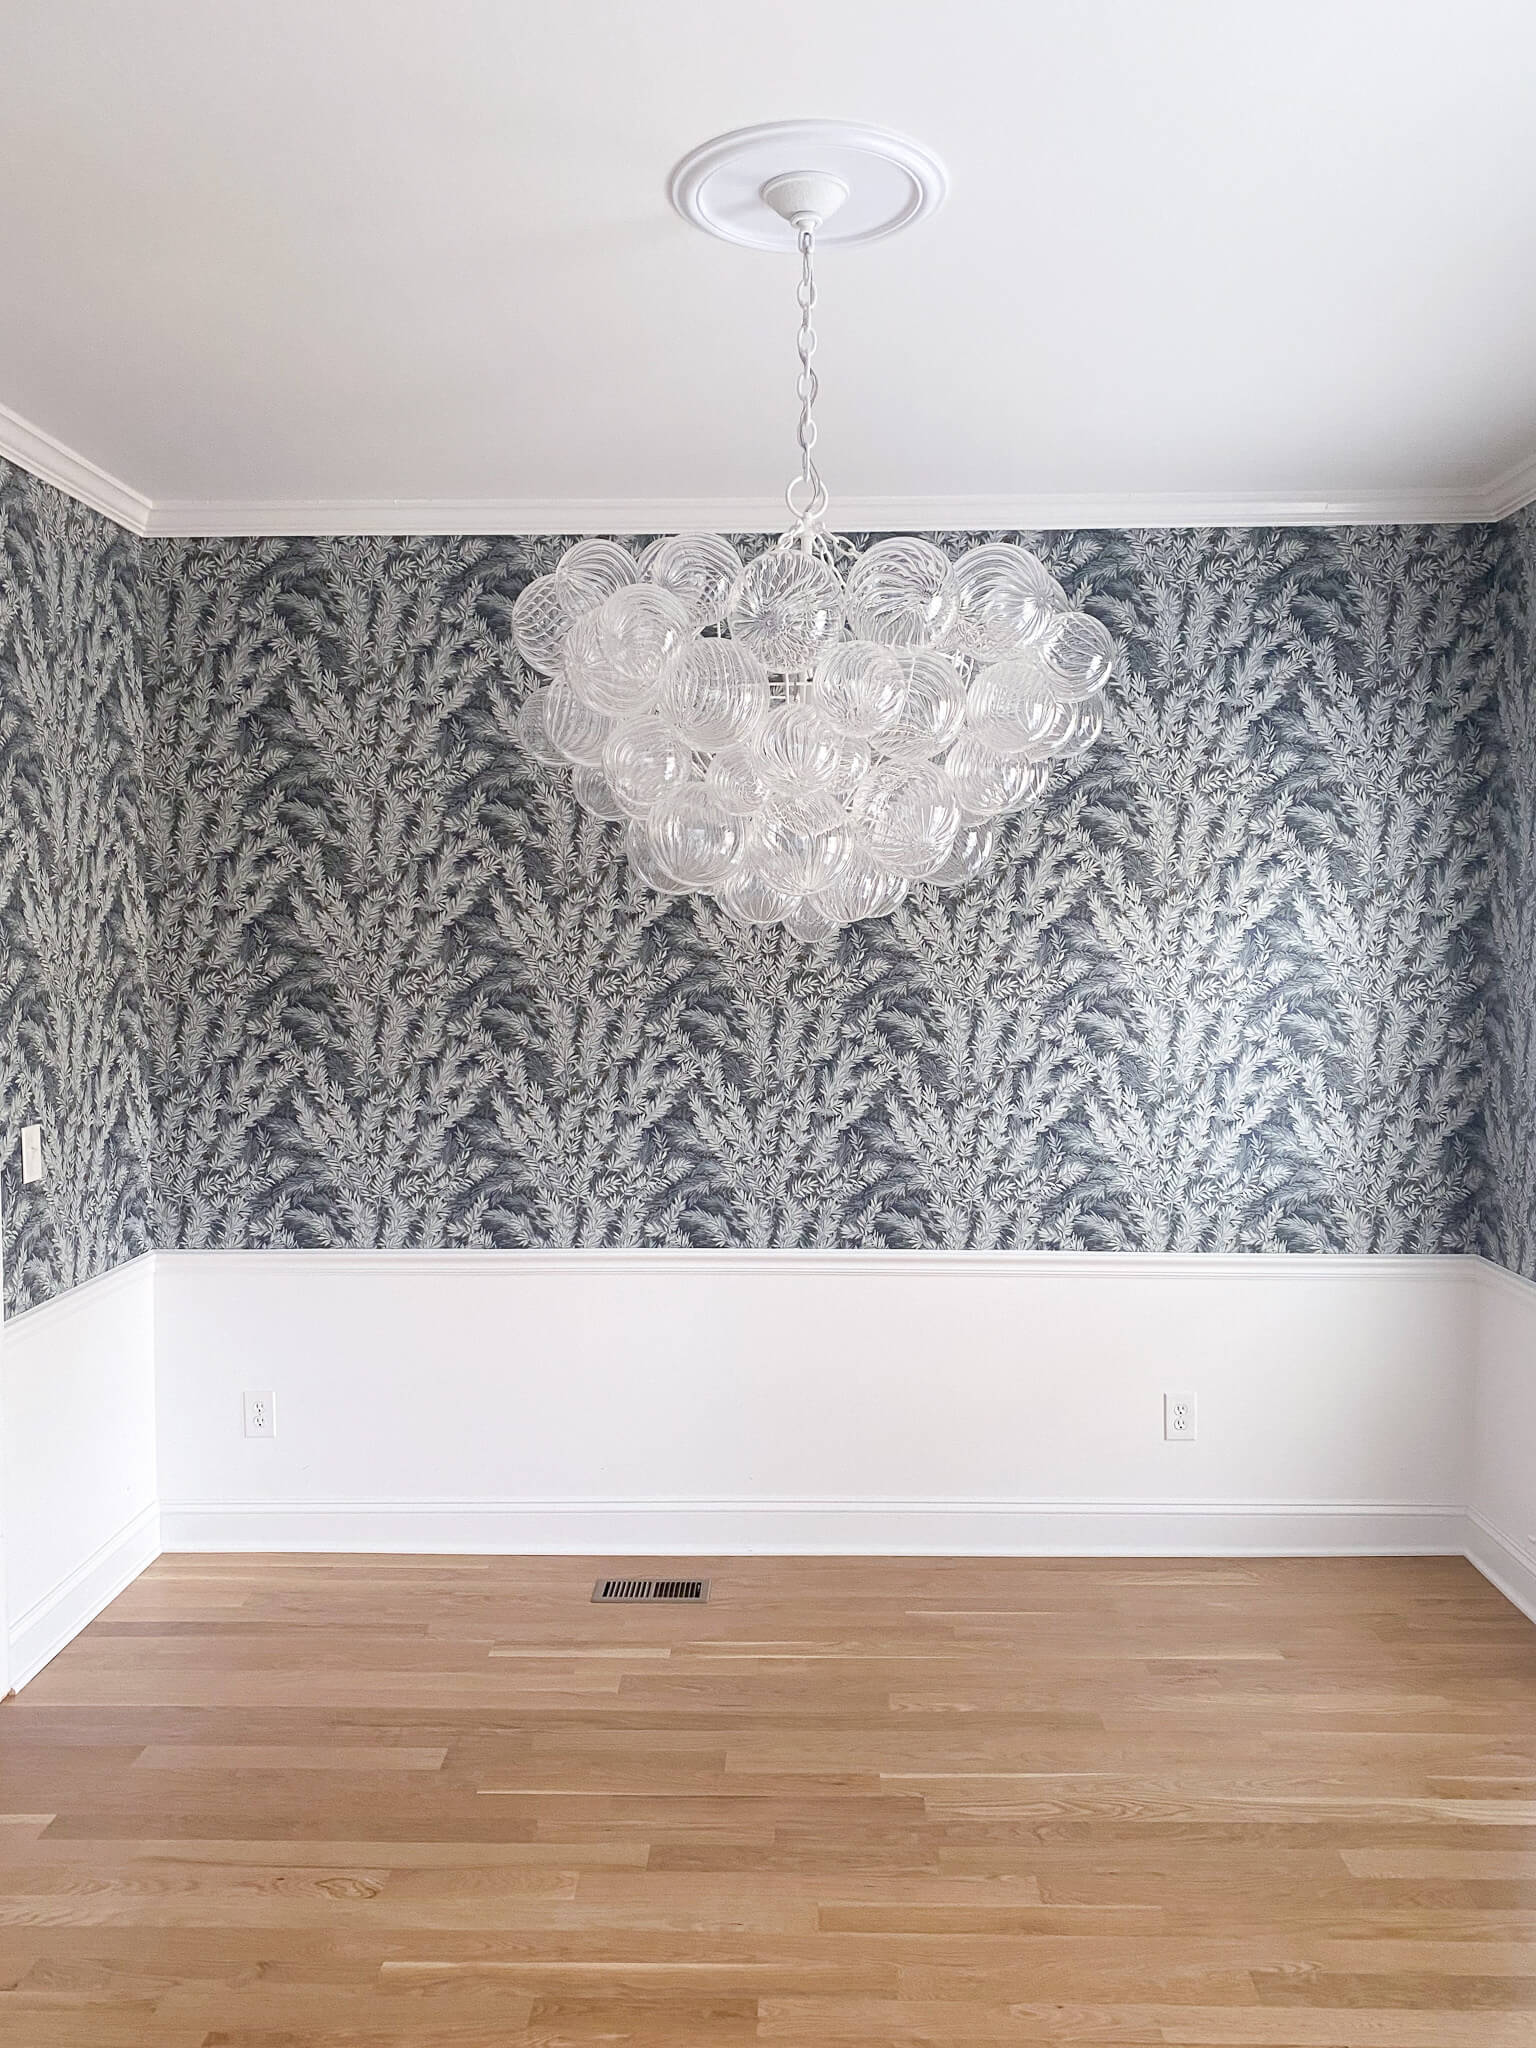
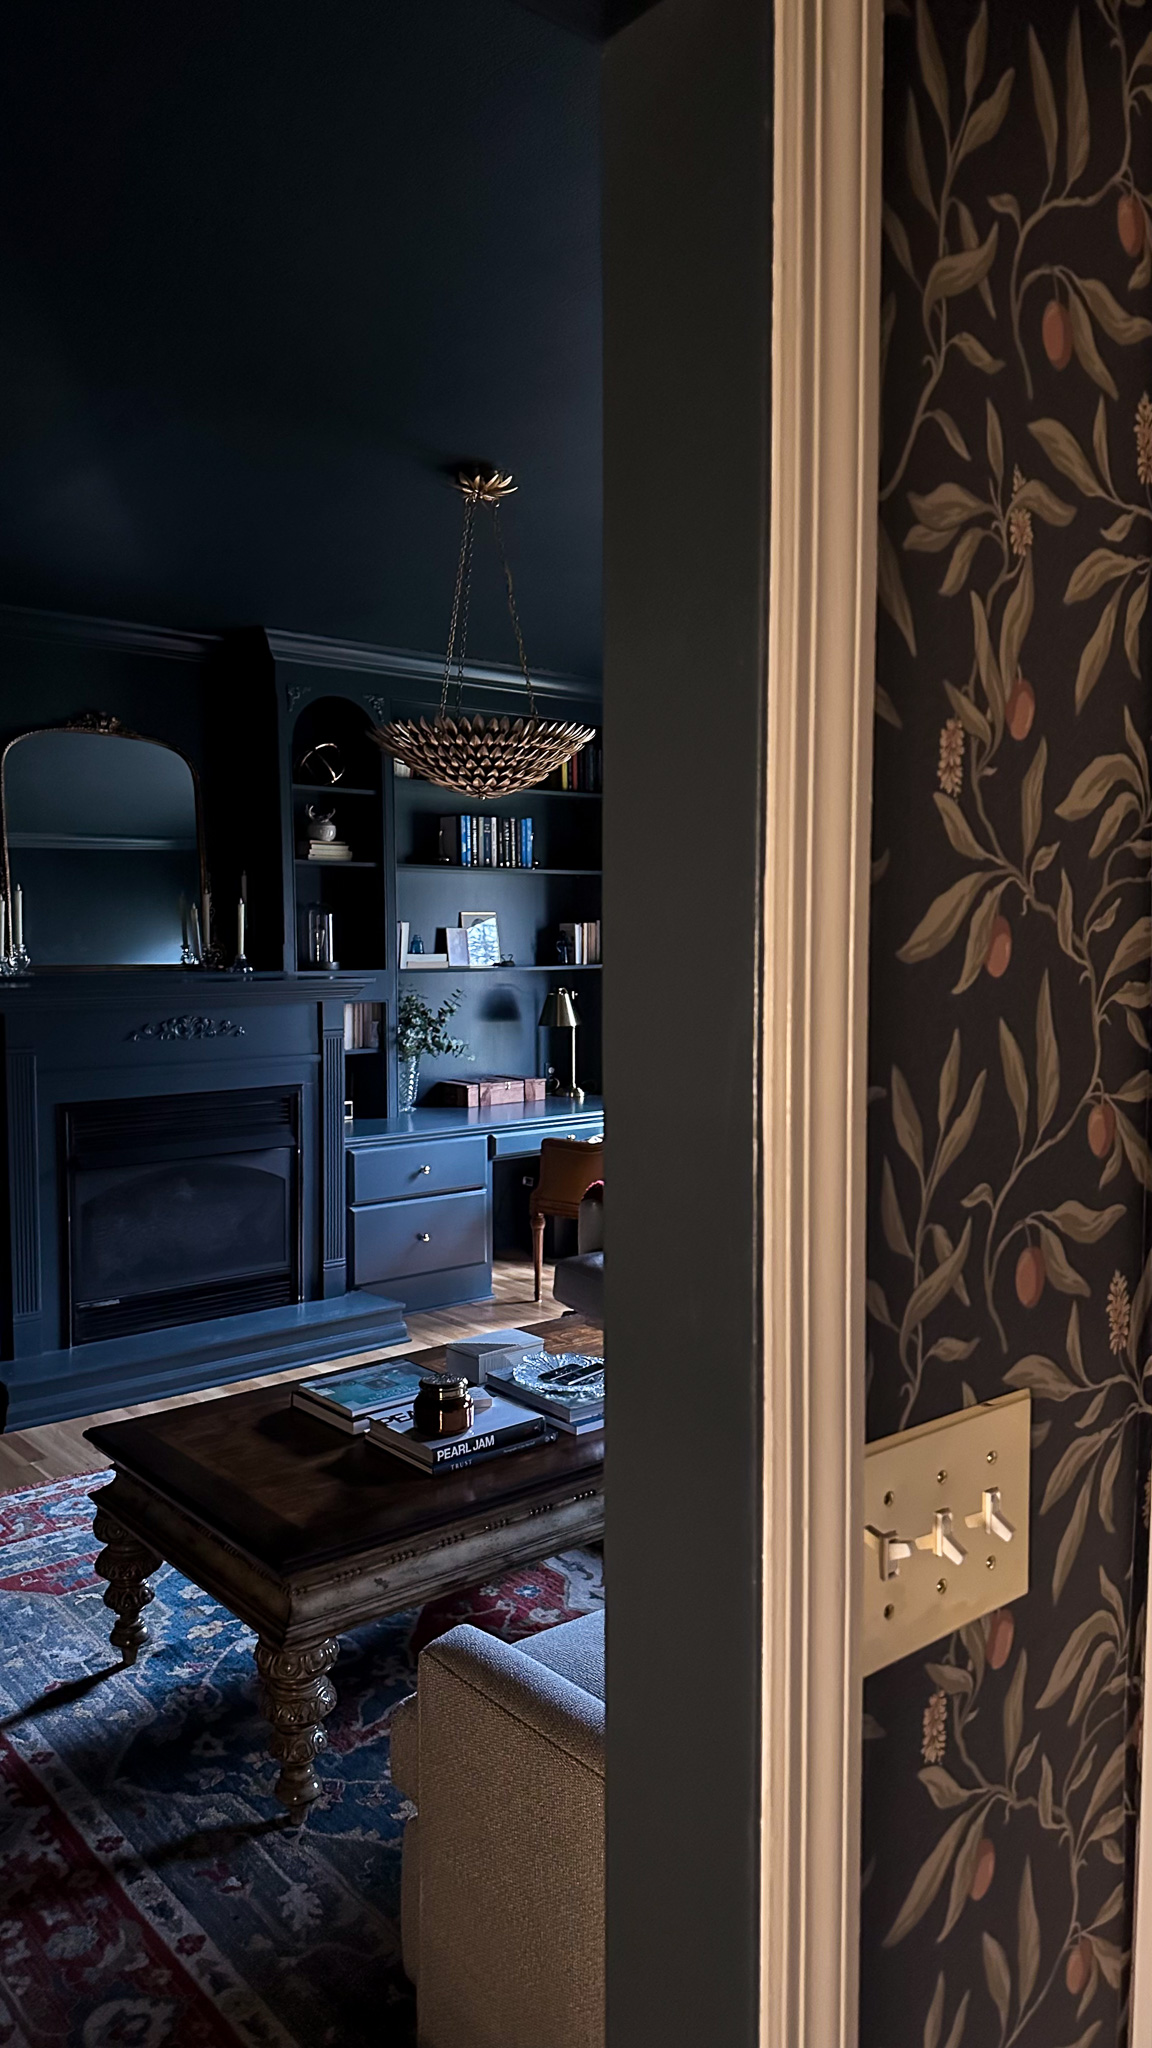
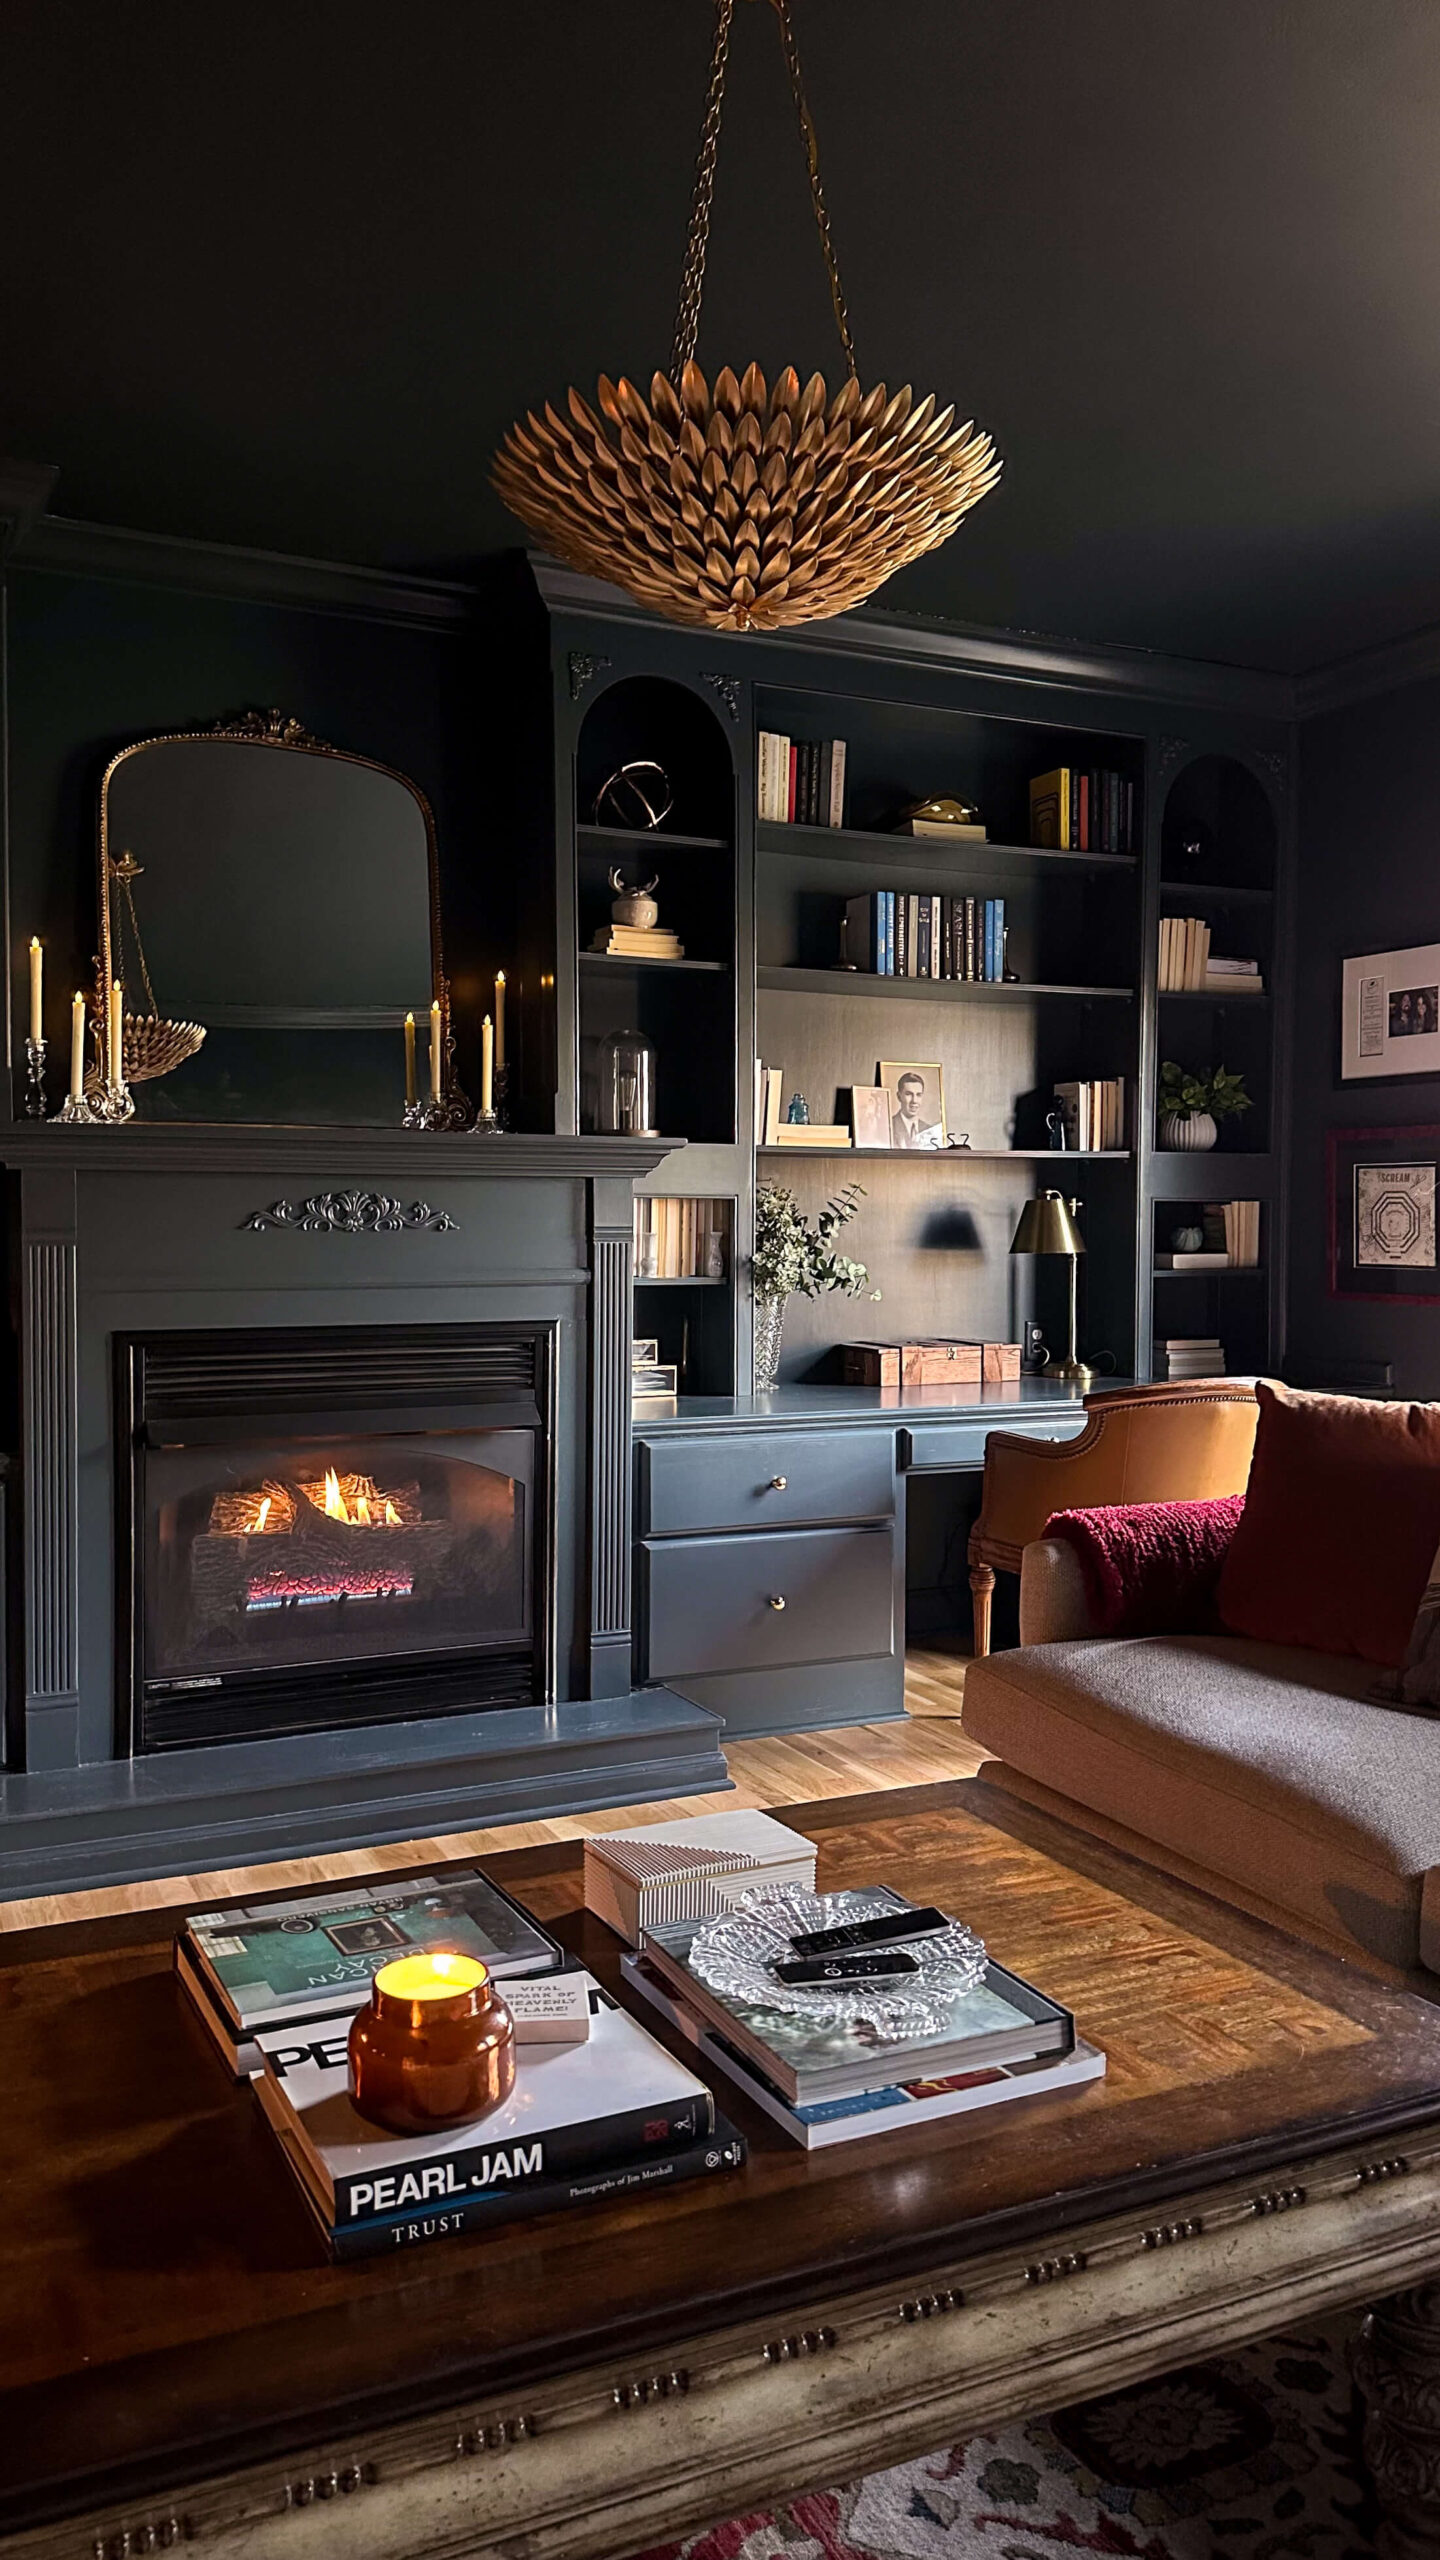
Shop: Wallpaper | Rug | Paint Color | Crown Molding | Desk | Brass Lamp | Window Shades
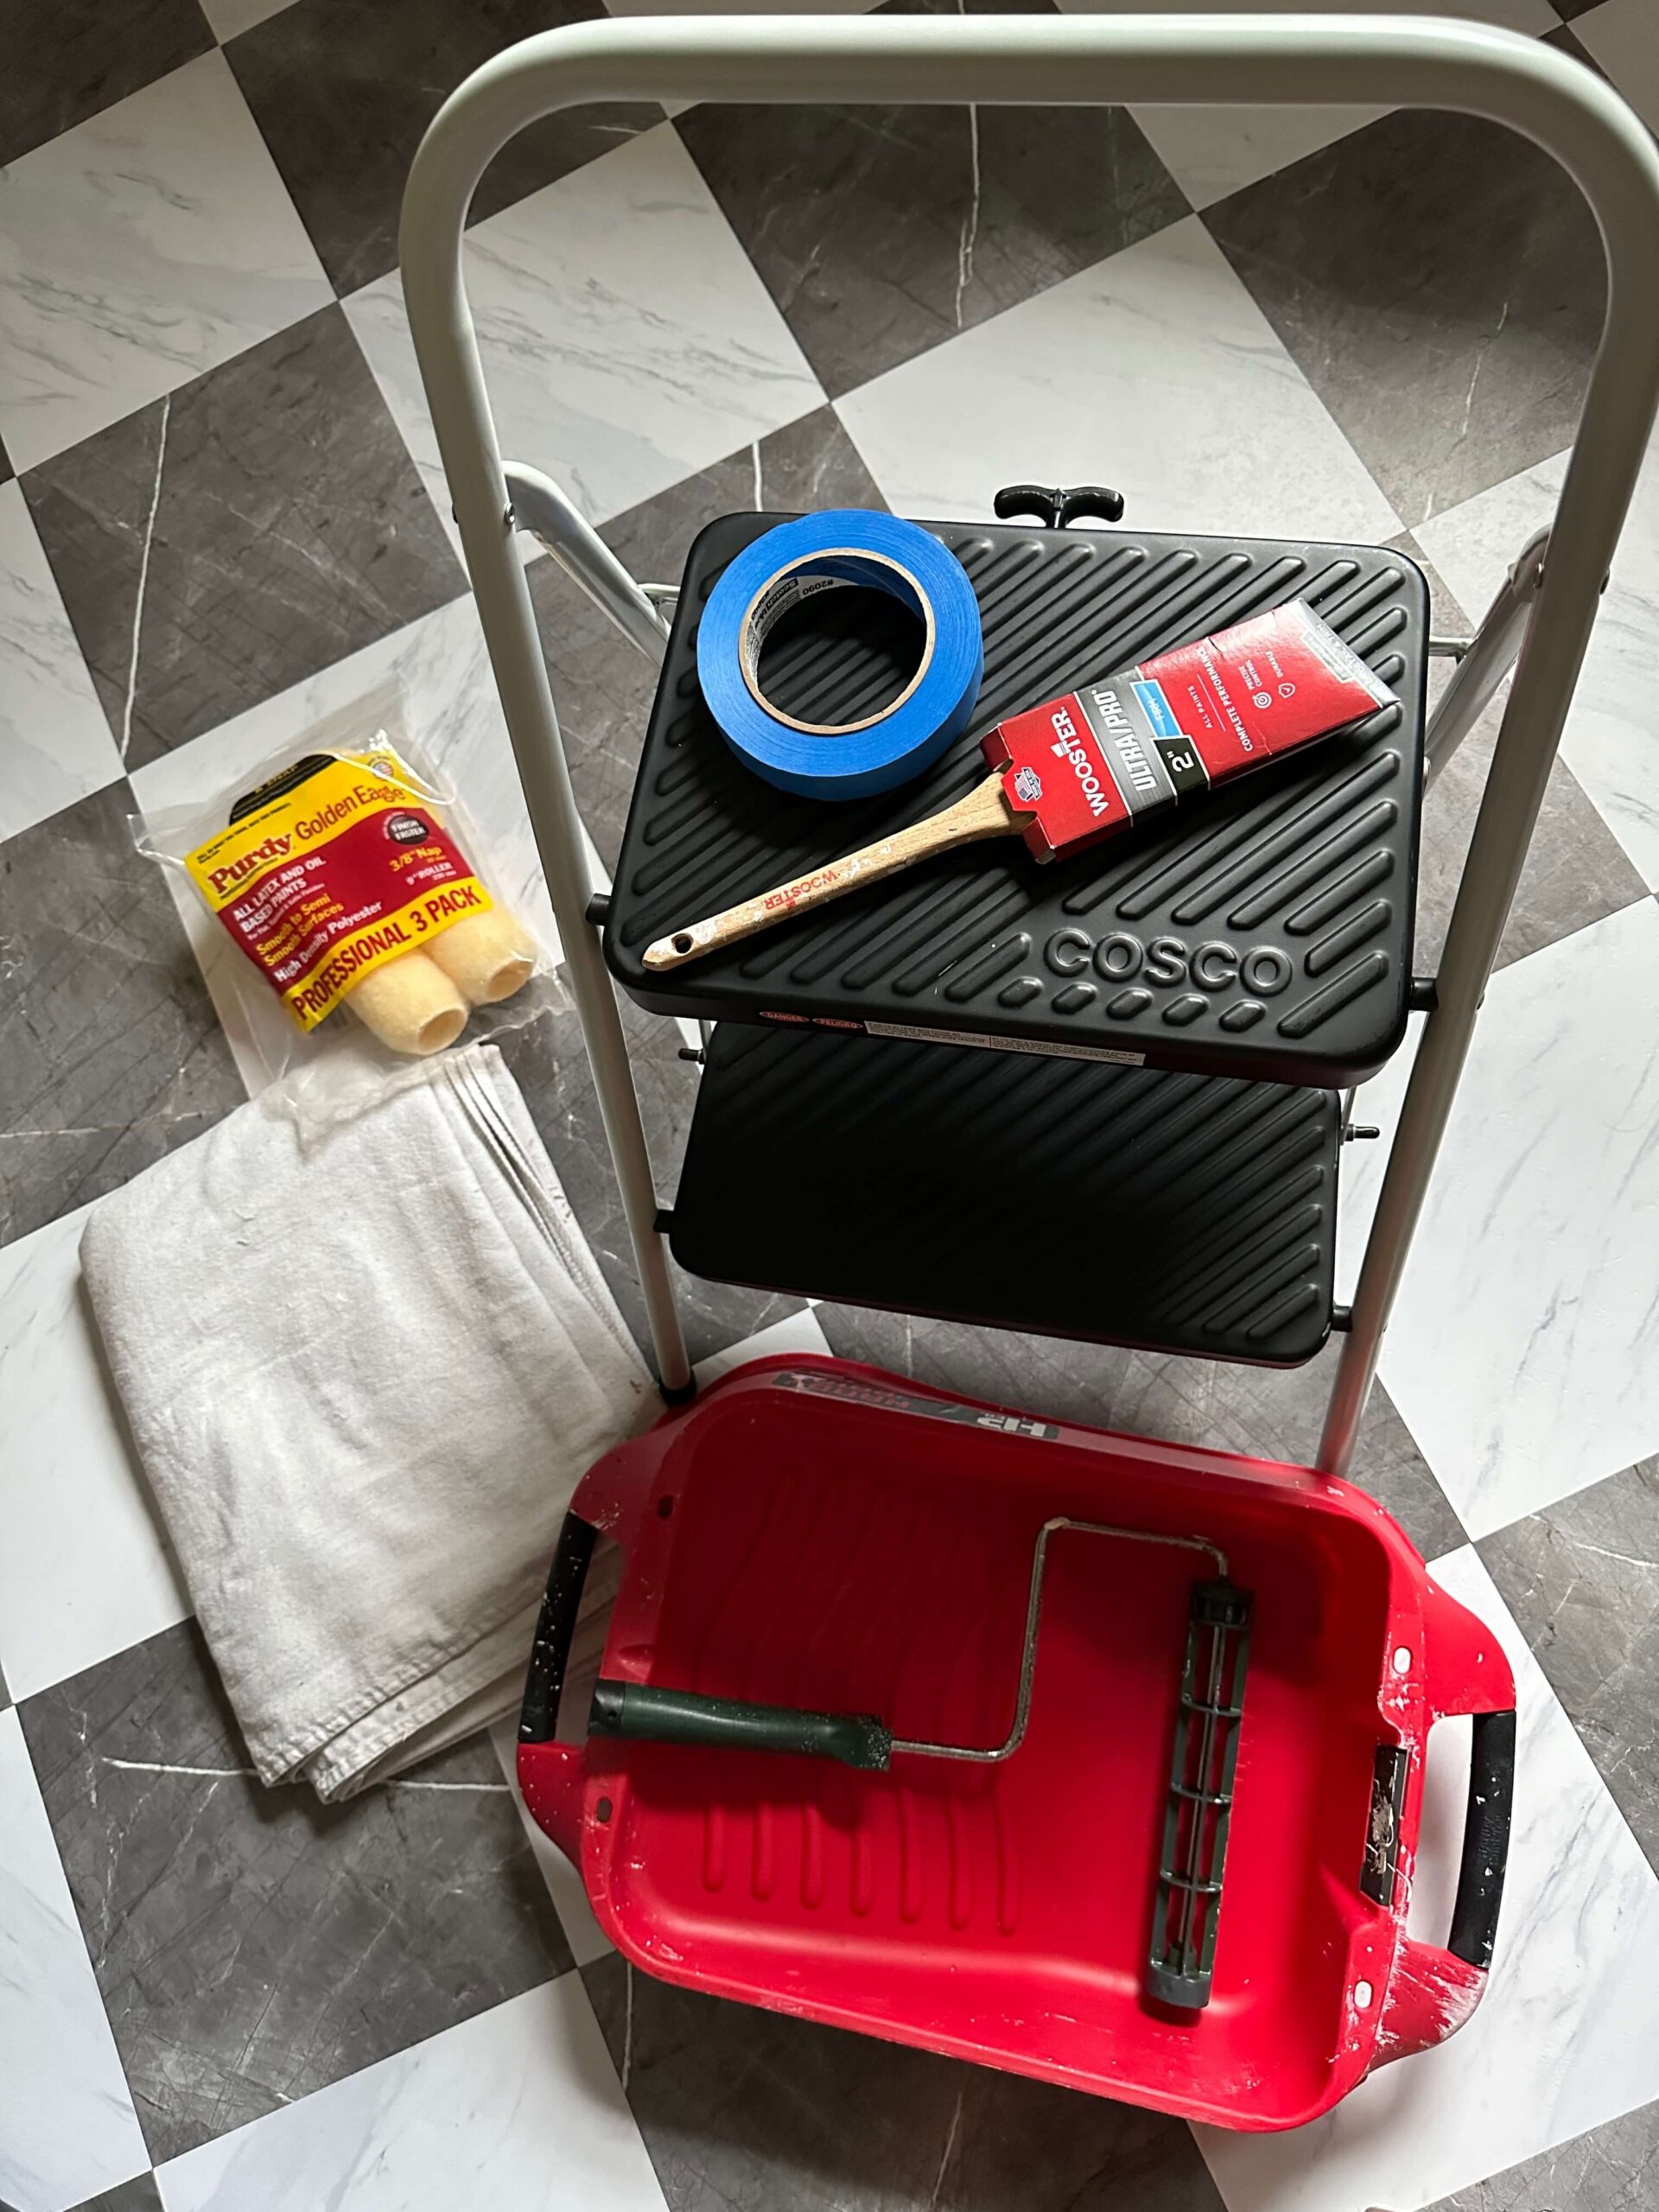
My Must Have Wallpaper Supplies:
Paint Roller, skin, paint tray & paint brush
Related:
Landscape Wallpaper Murals for Every Budget
Preparing Walls for Dark Wallpaper