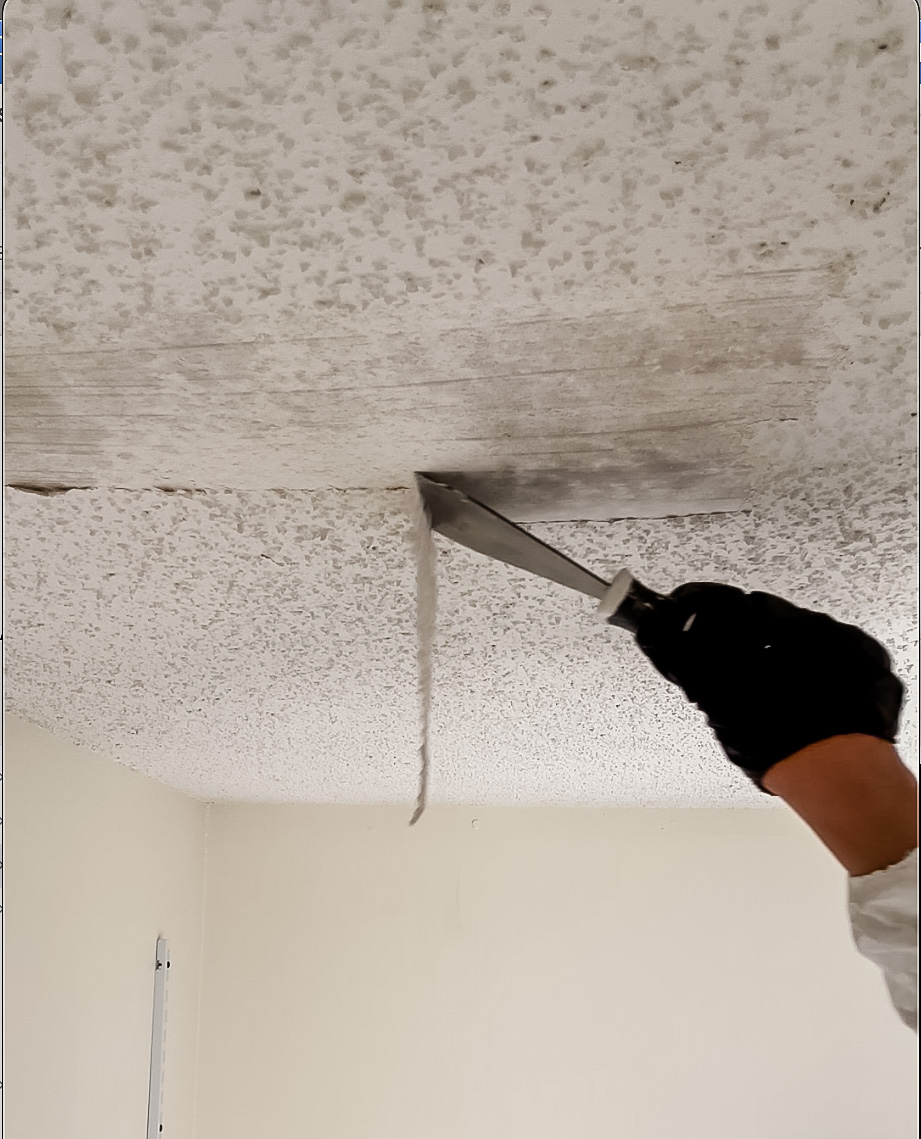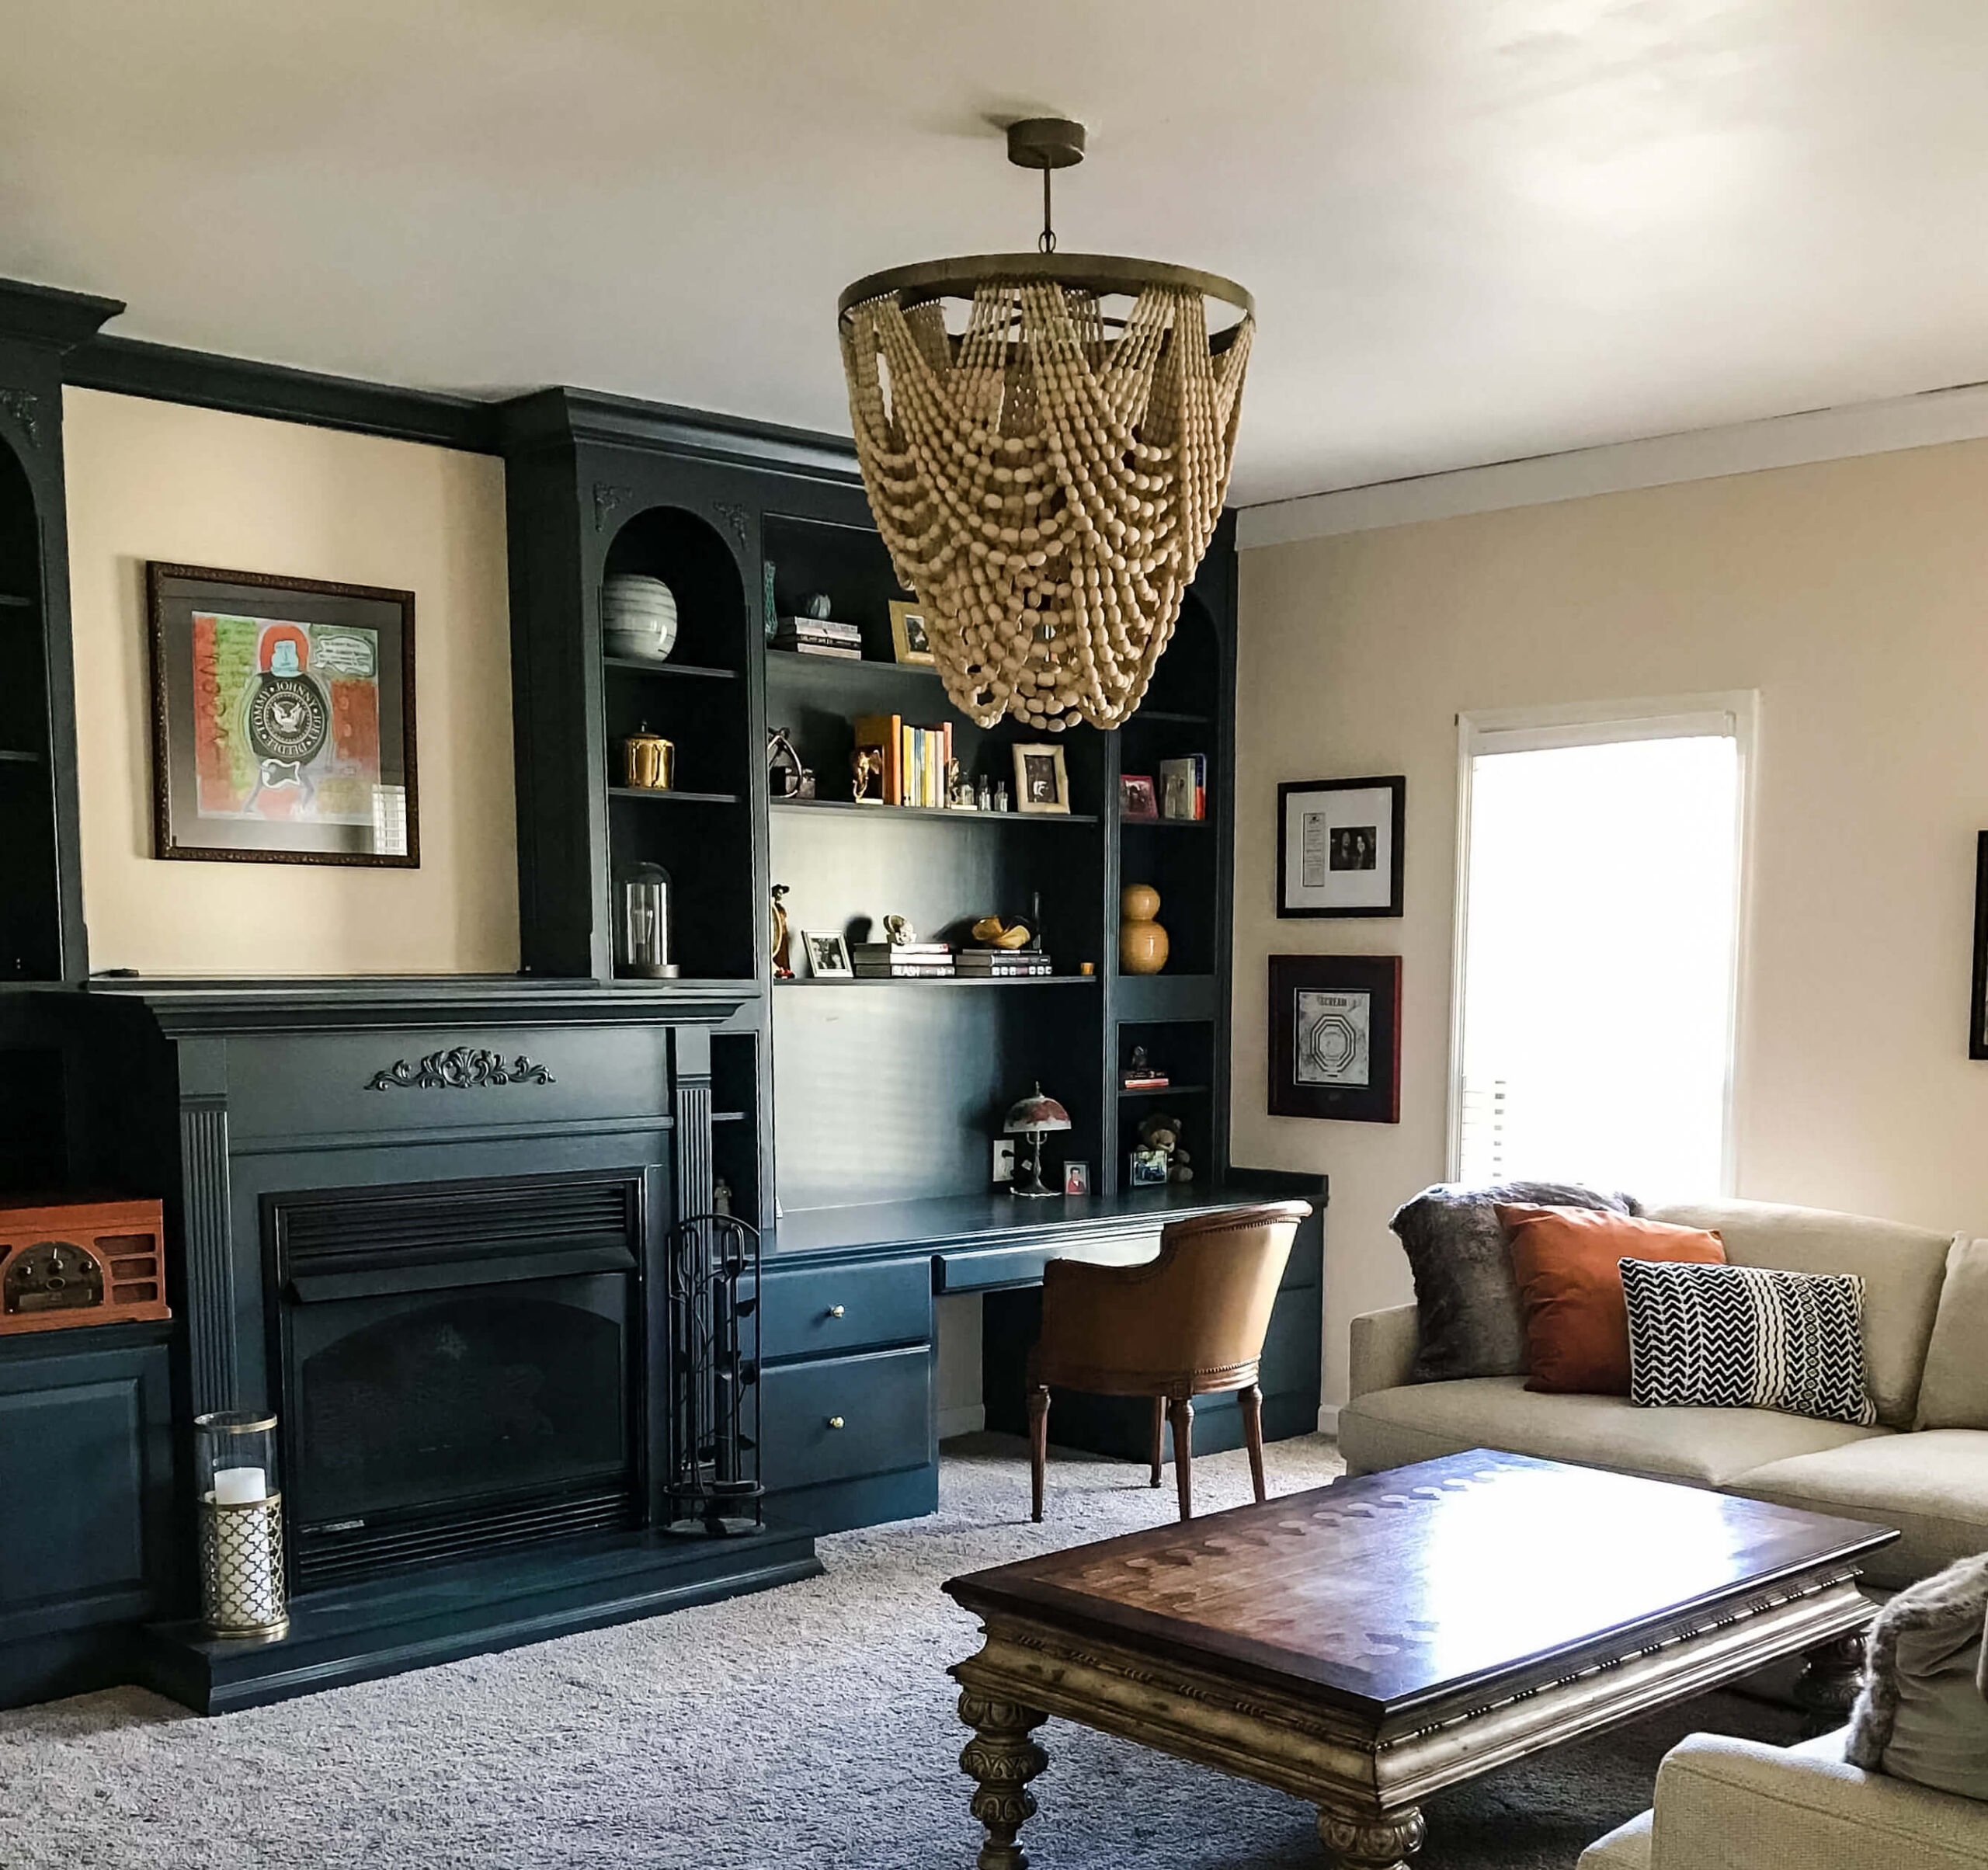




If you read my laundry room design plans post, you know this renovation has been two years in the making. Today I’m giving you the first real progress update: what’s been built, what I learned the hard way, and a proper introduction to the at home dry cleaning machine I designed the entire back wall around. It’s been an eventful few weeks!
Where the Laundry Room Renovation Stands Right Now
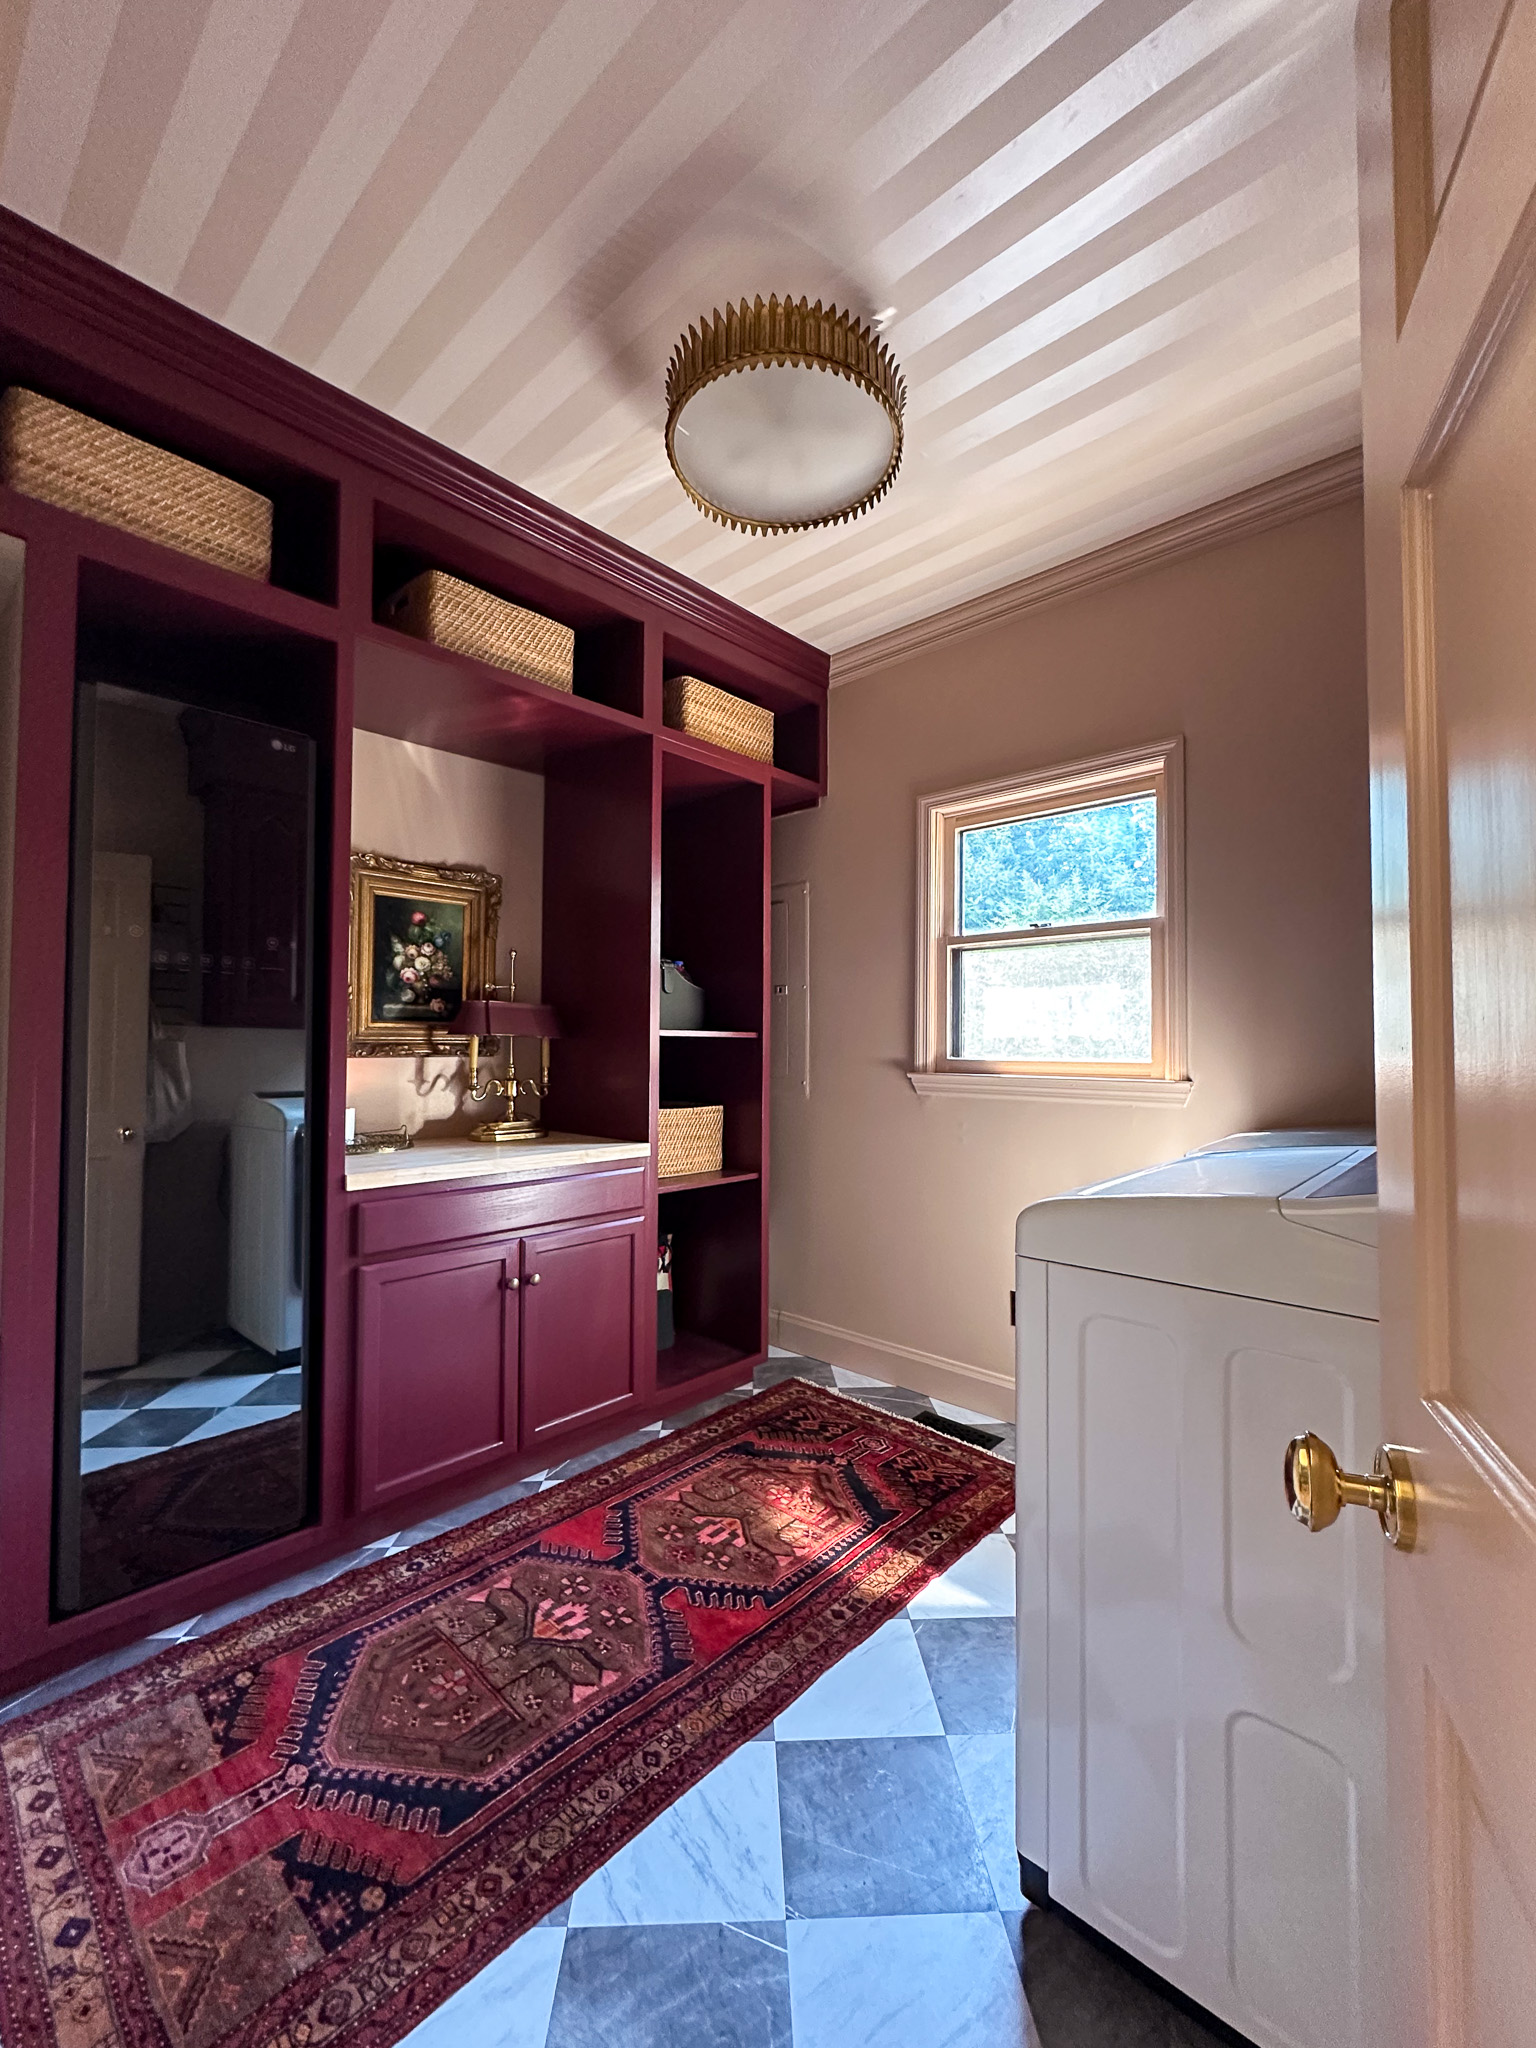
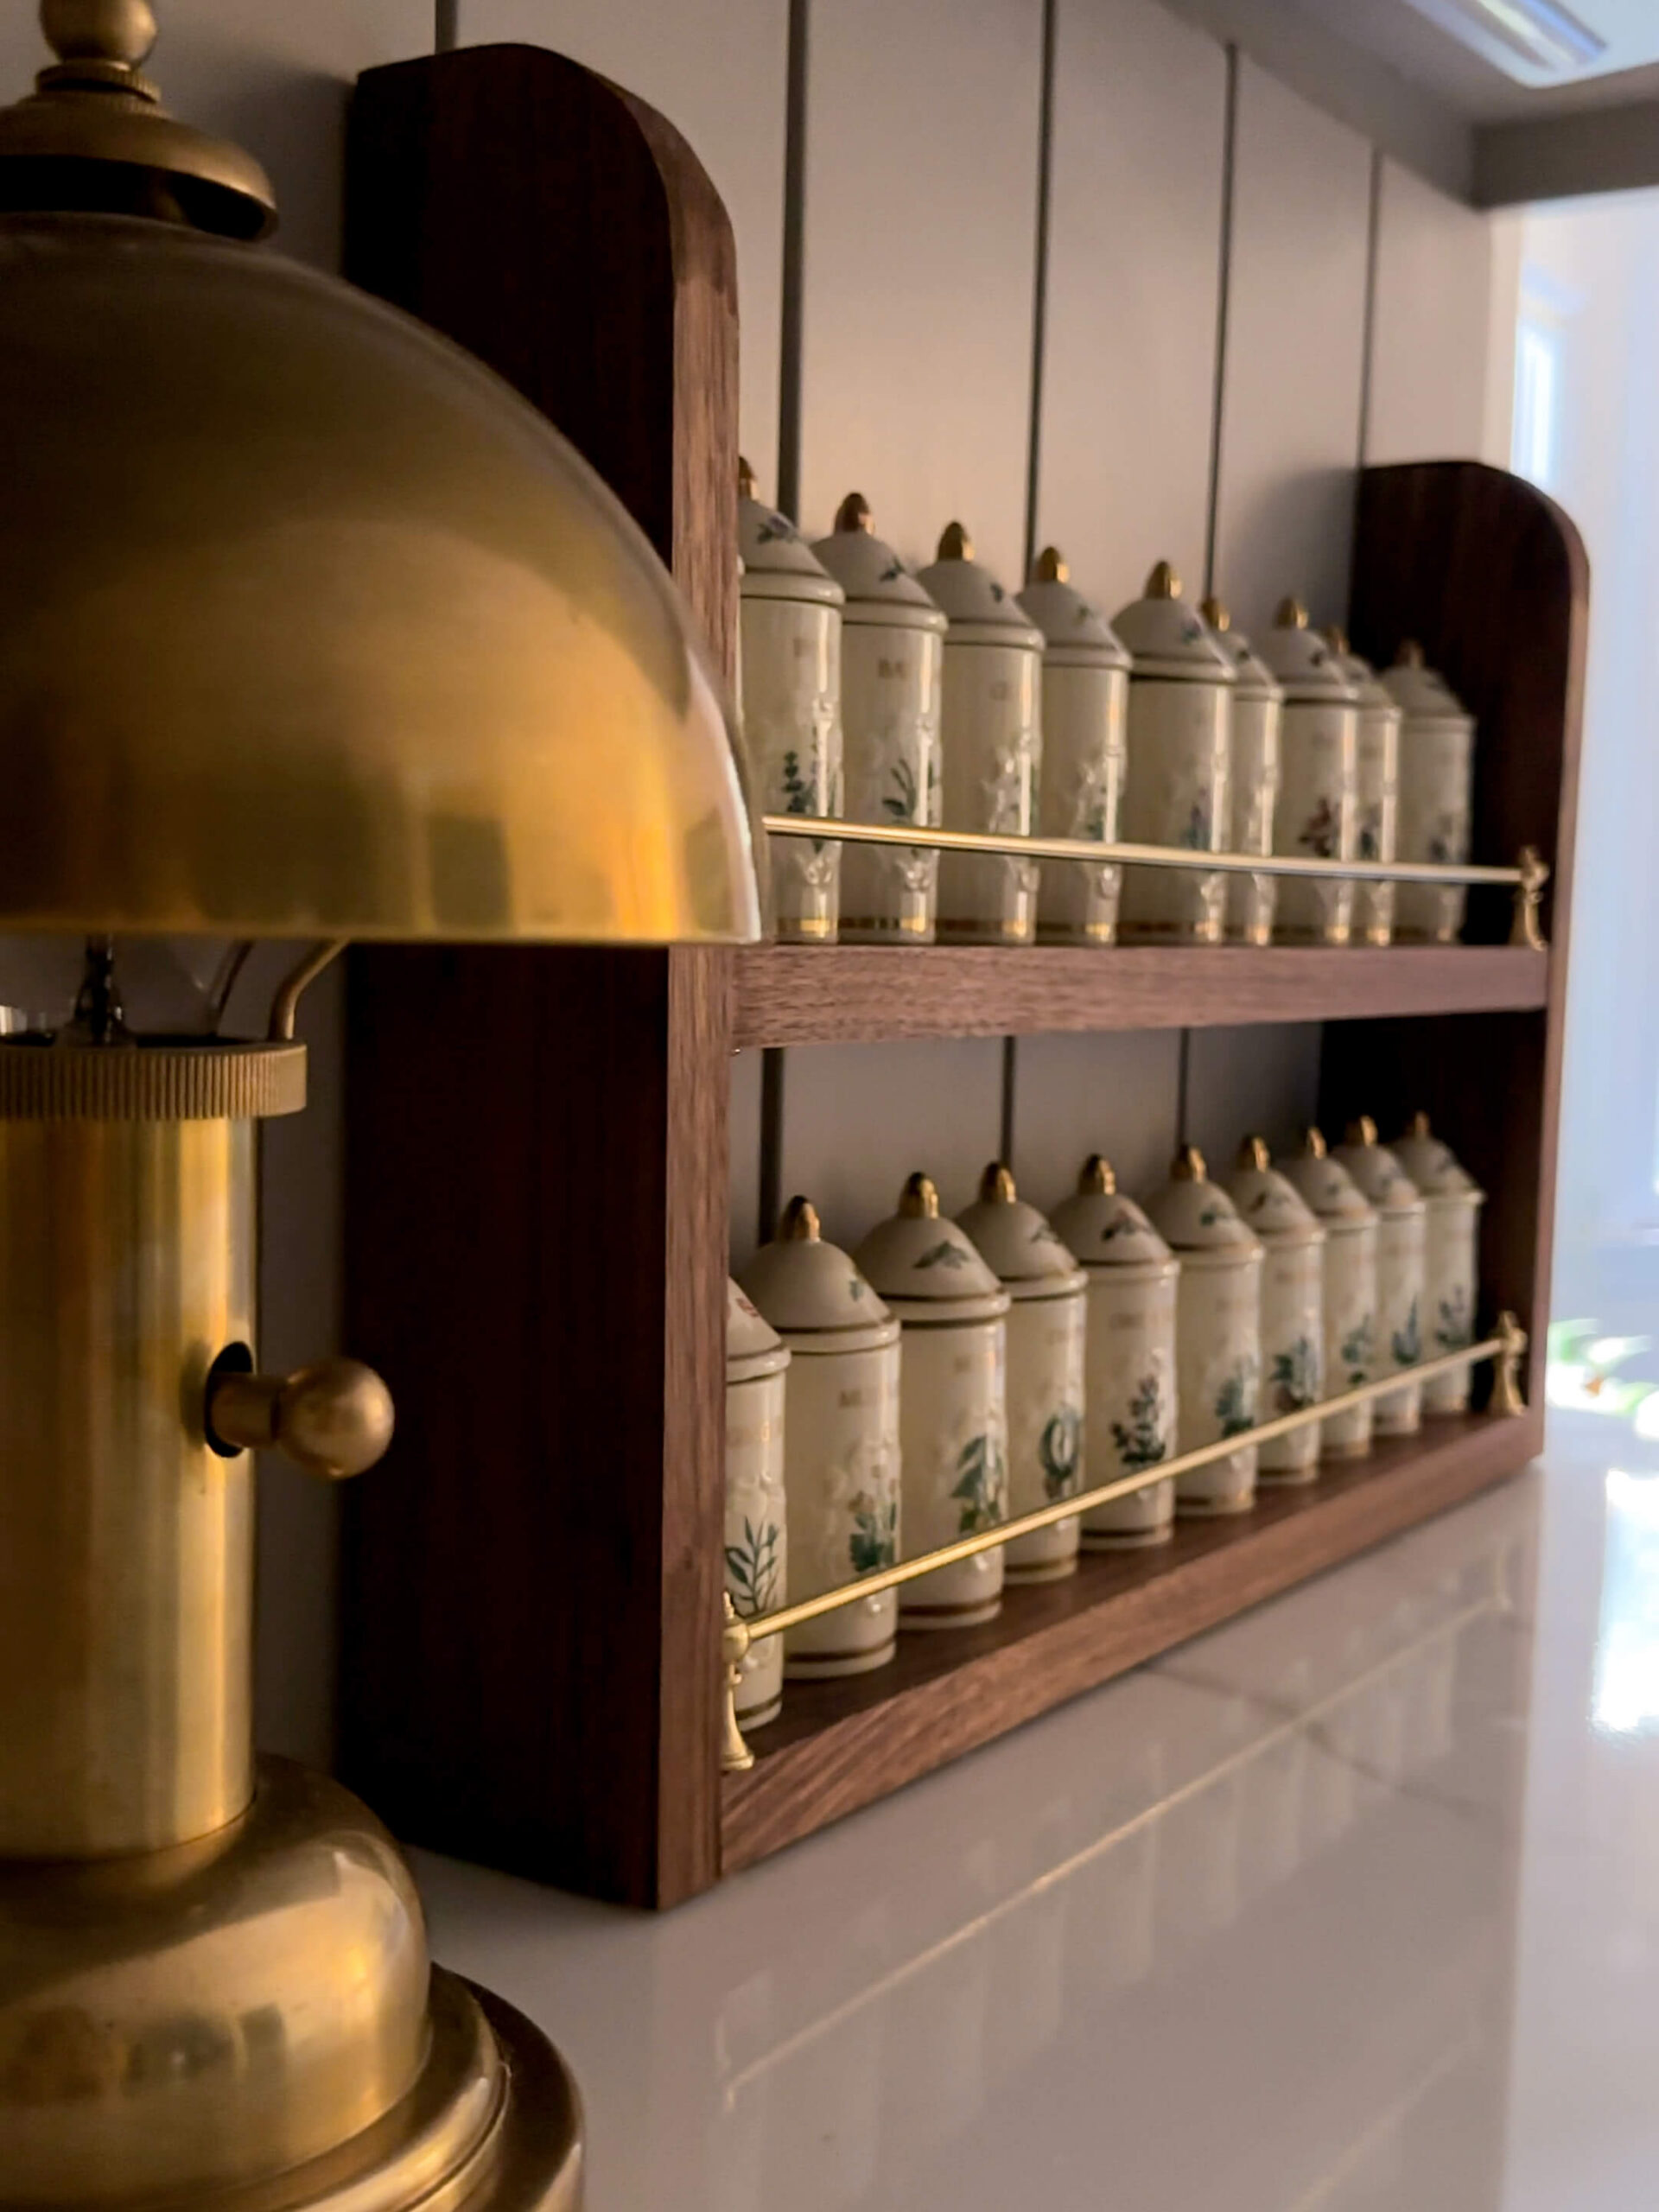
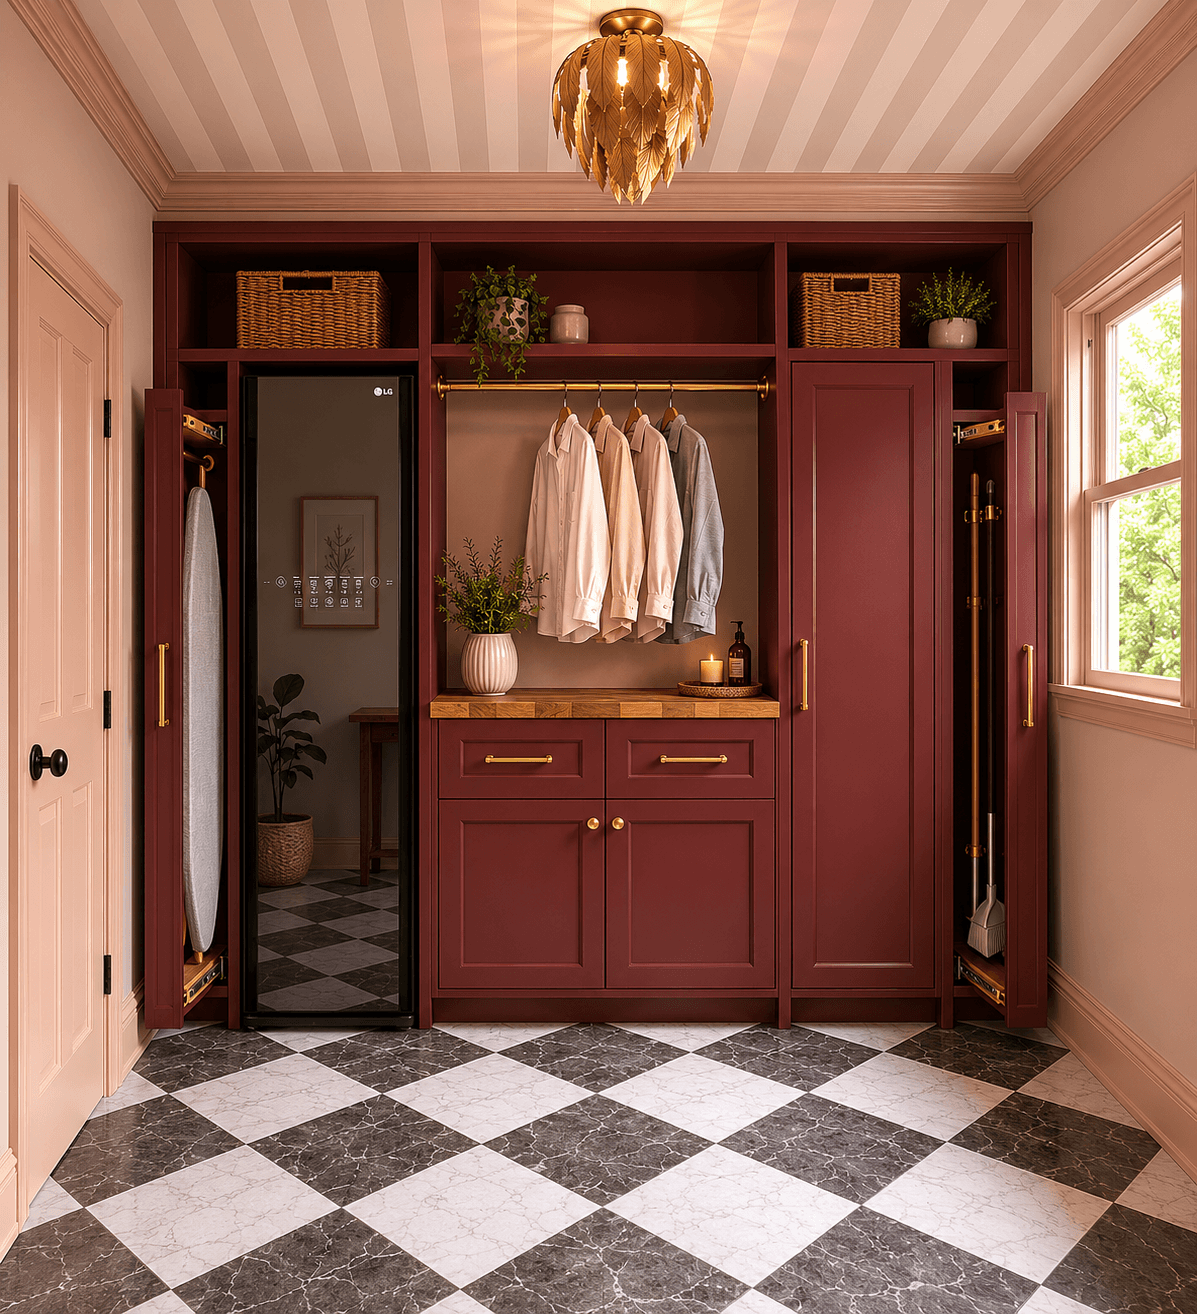
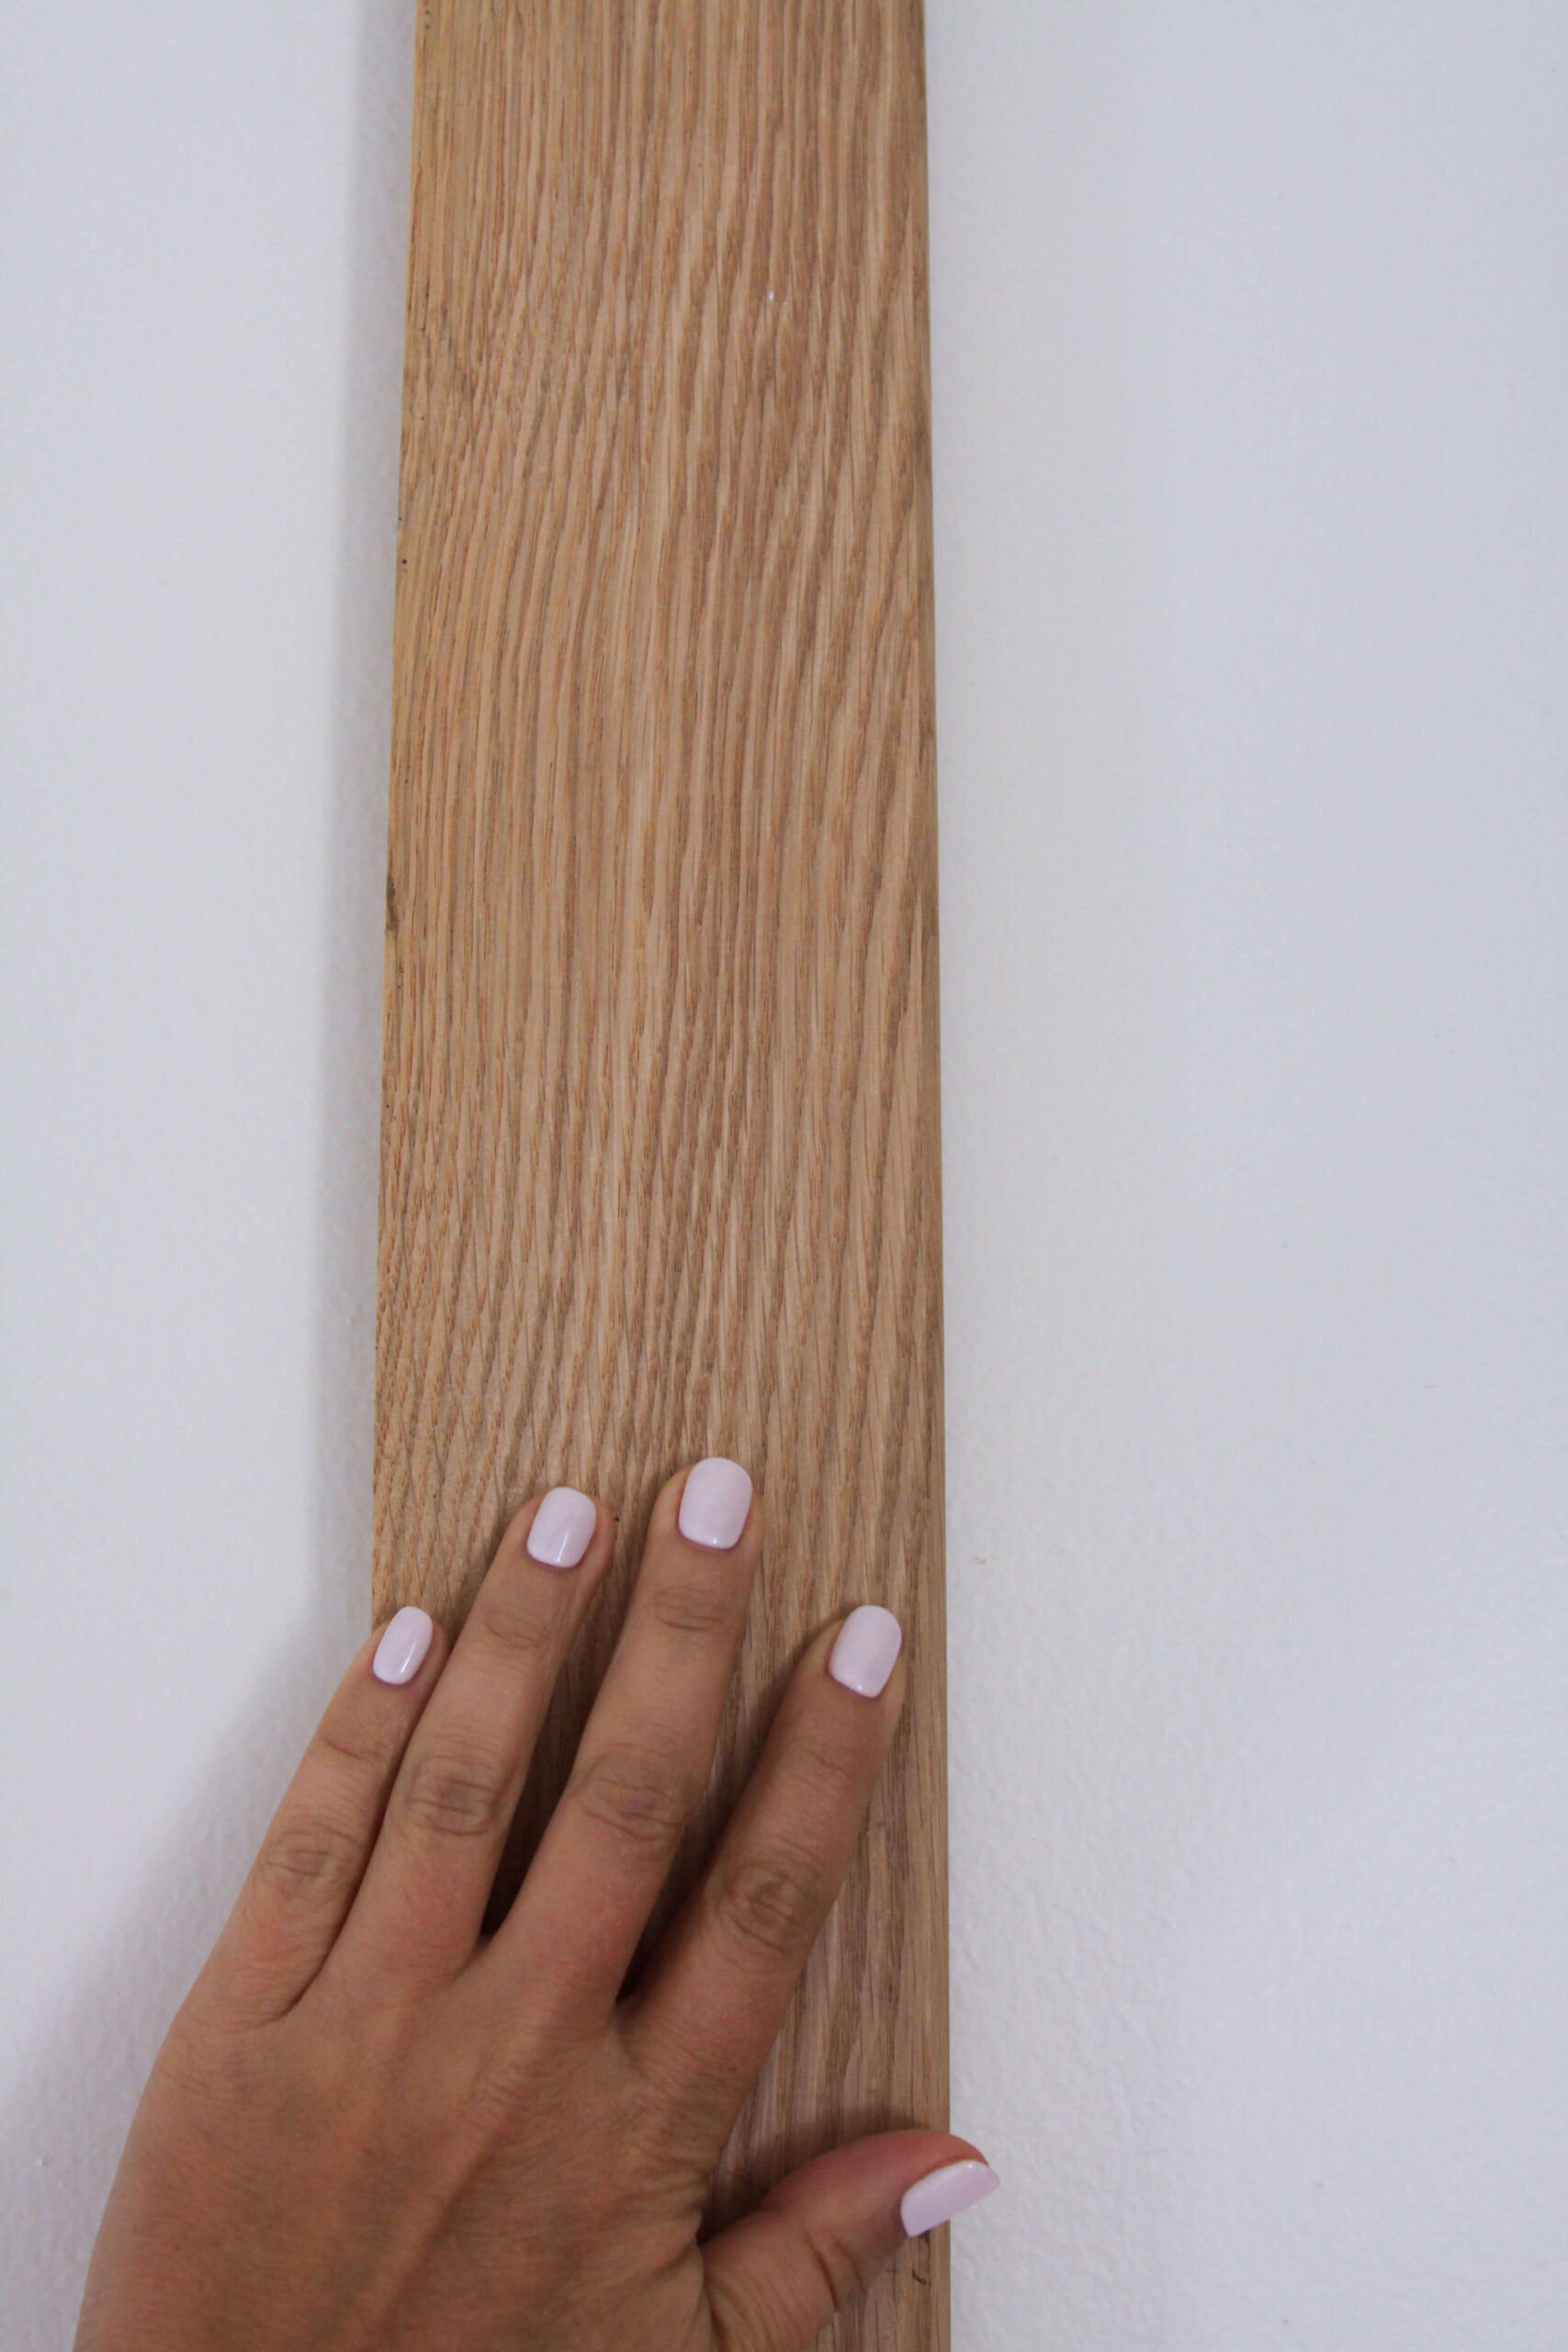
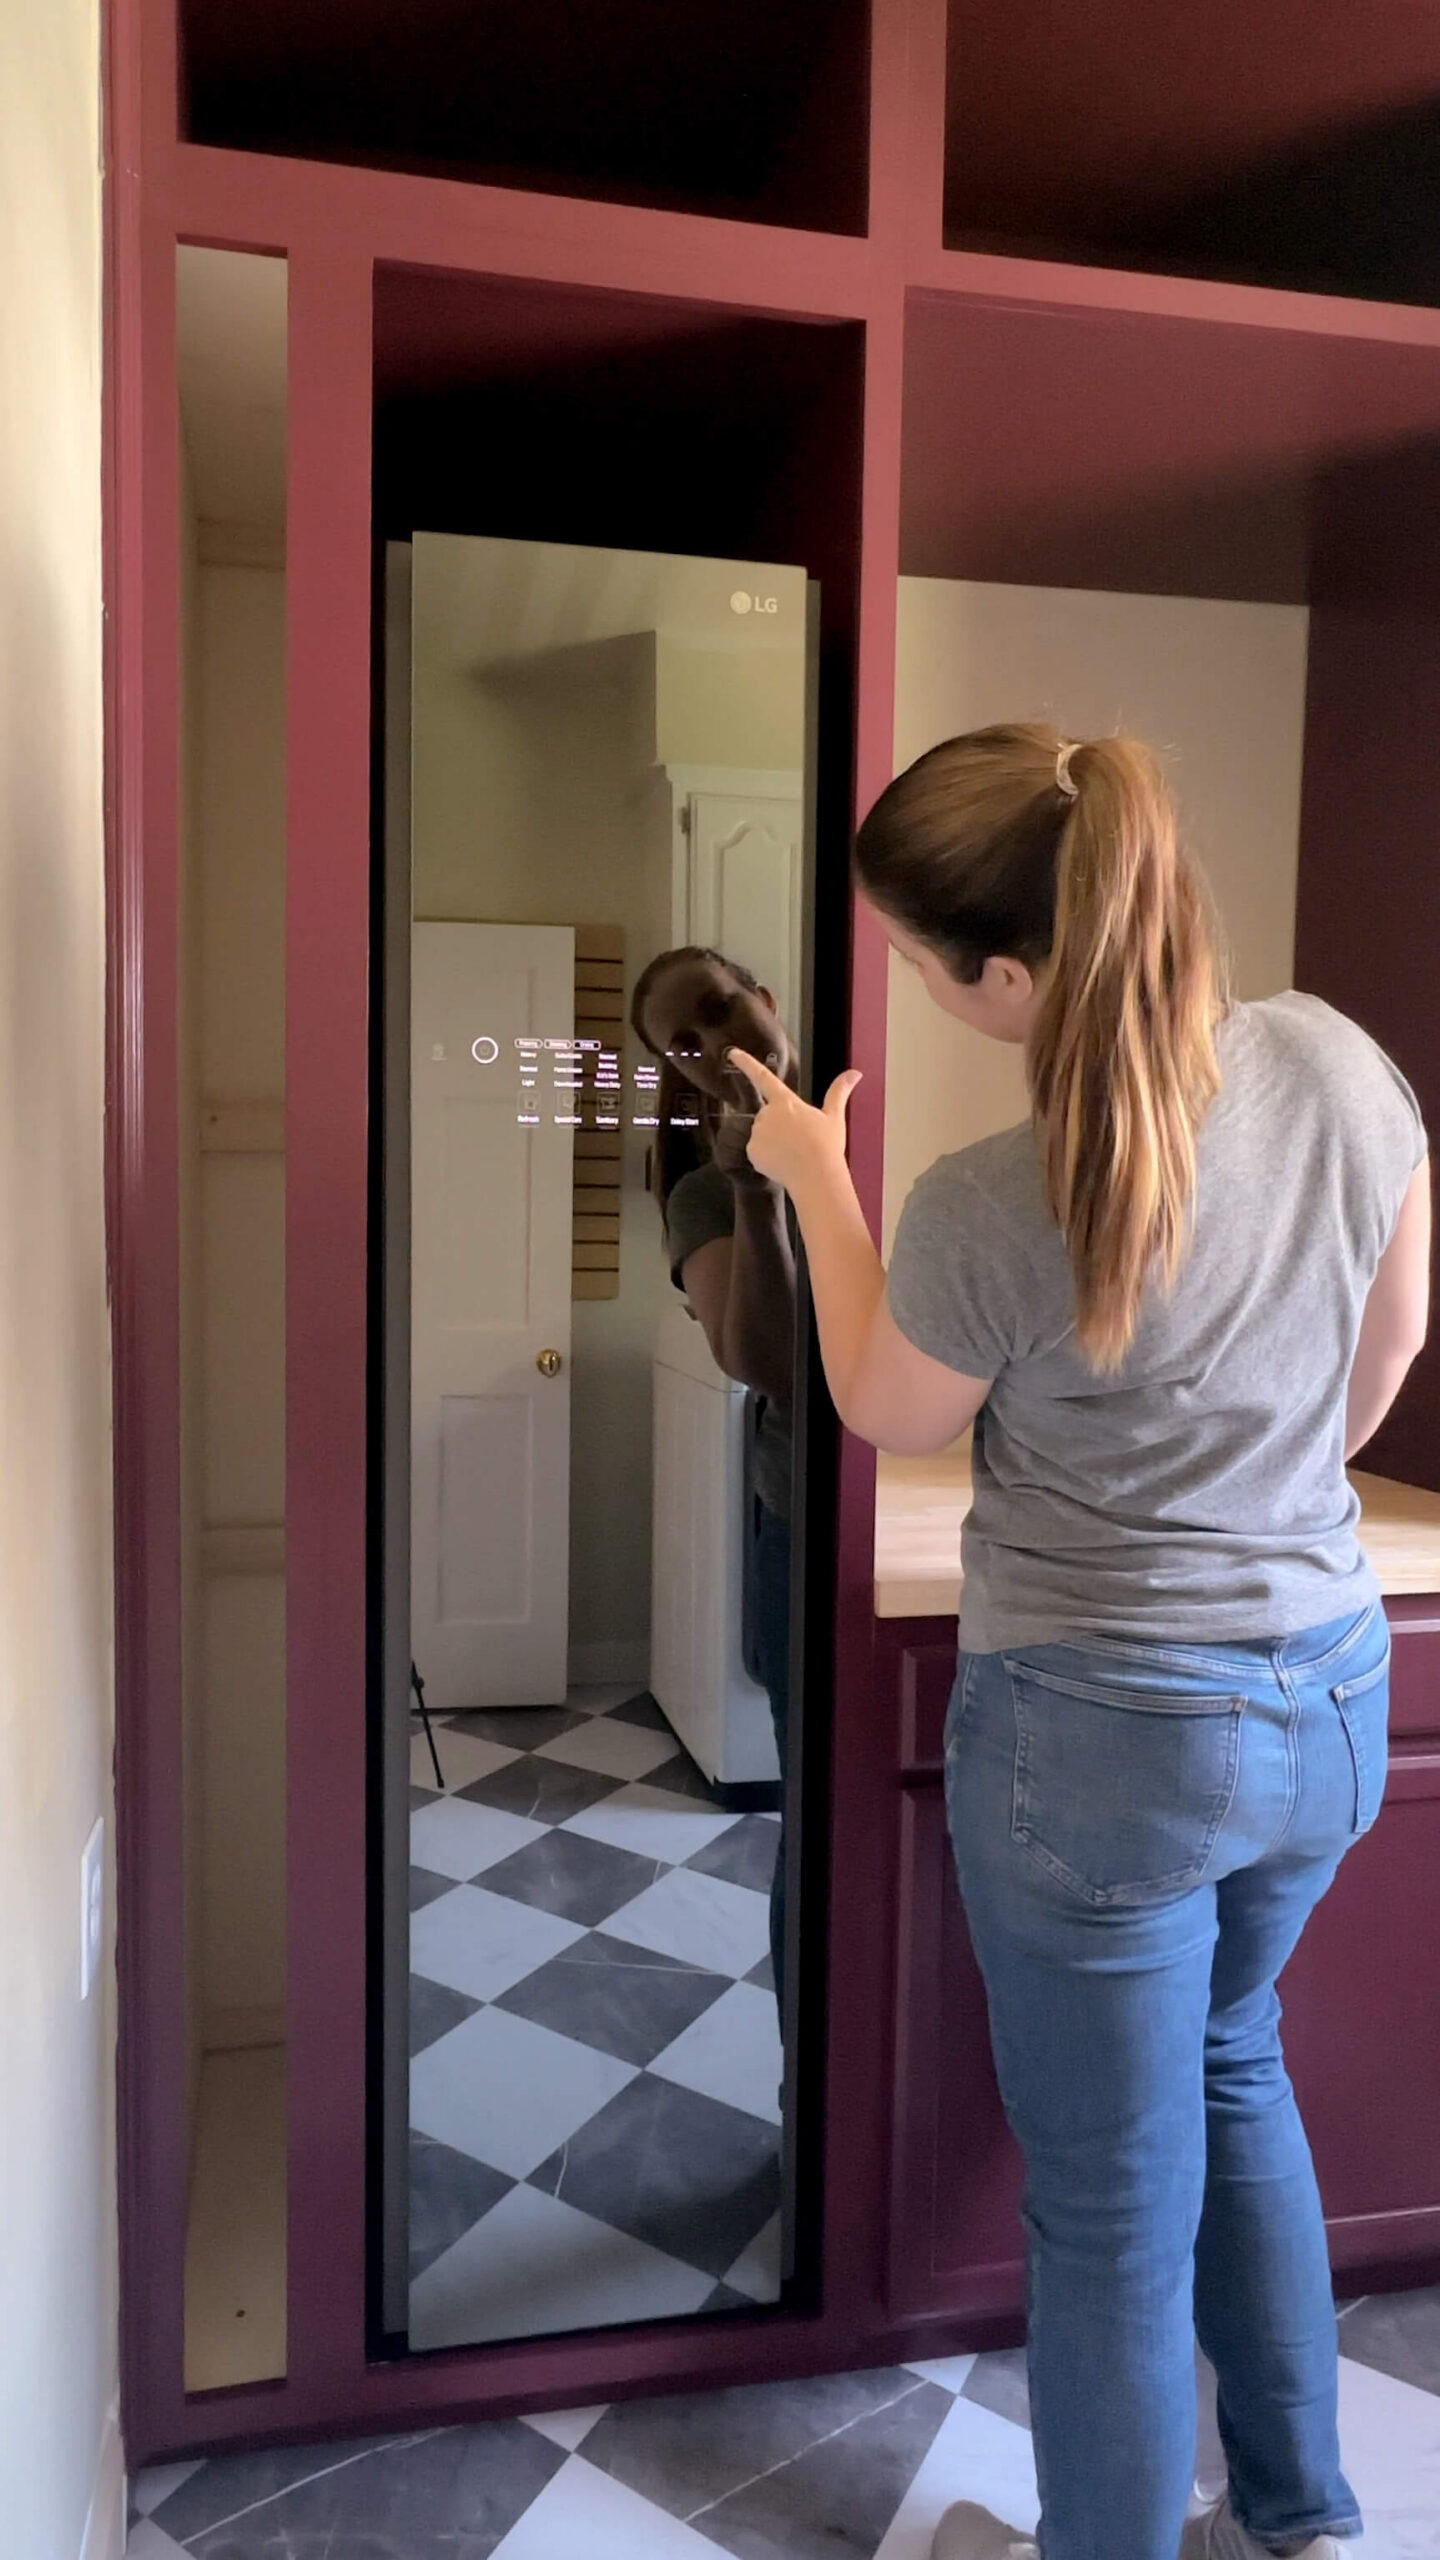
After years of wire shelving and complete chaos, the laundry room is starting to look like a functional command center I always knew it could be. The entire back wall of cabinets are built, face-framed, and painted in a deep burgundy which is a color I’ve been dying to bring into the home for years. The butcher block countertop with Danish oil (after loving it from my DIY Walnut Spice Rack) and is placed on top of the pre-built base cabinet.
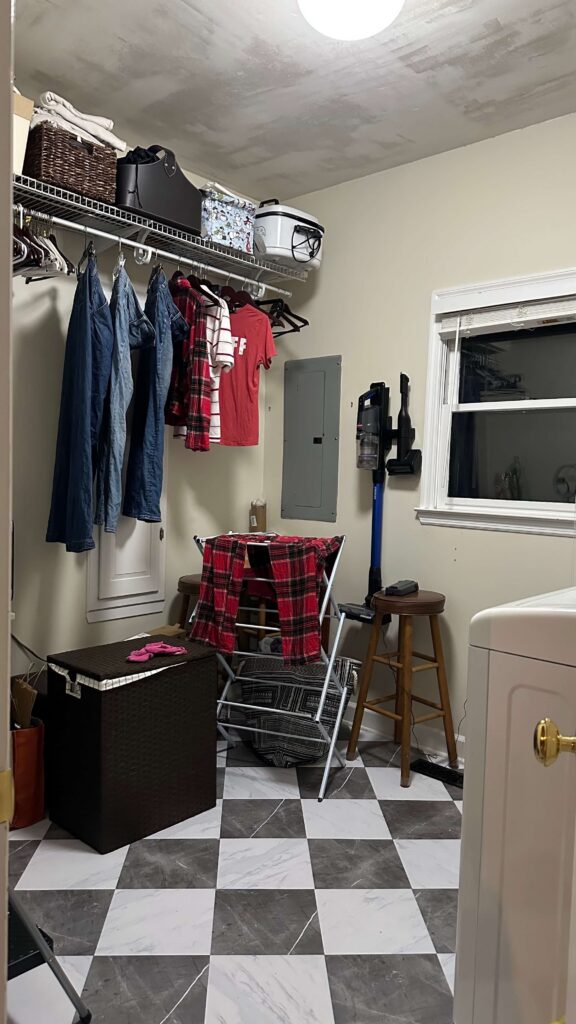
I truly can’t believe that this entire wall is starting to look like the design I mocked up and I can’t fully explain what that feels like after sitting on this project for so long. Can you believe this is even the same room?!
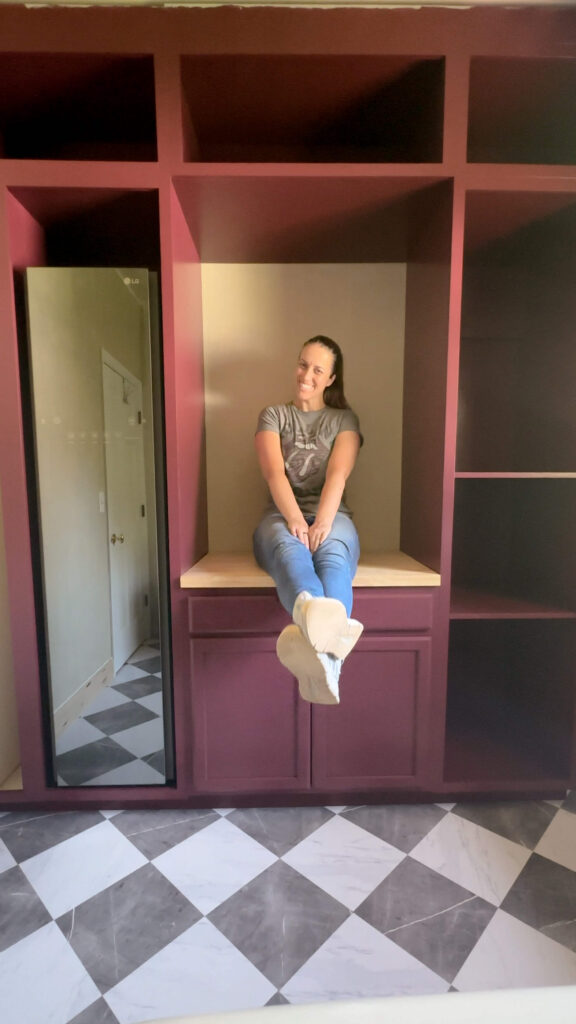
Teaching Myself to Build Cabinets (What Went Wrong Before It Went Right)
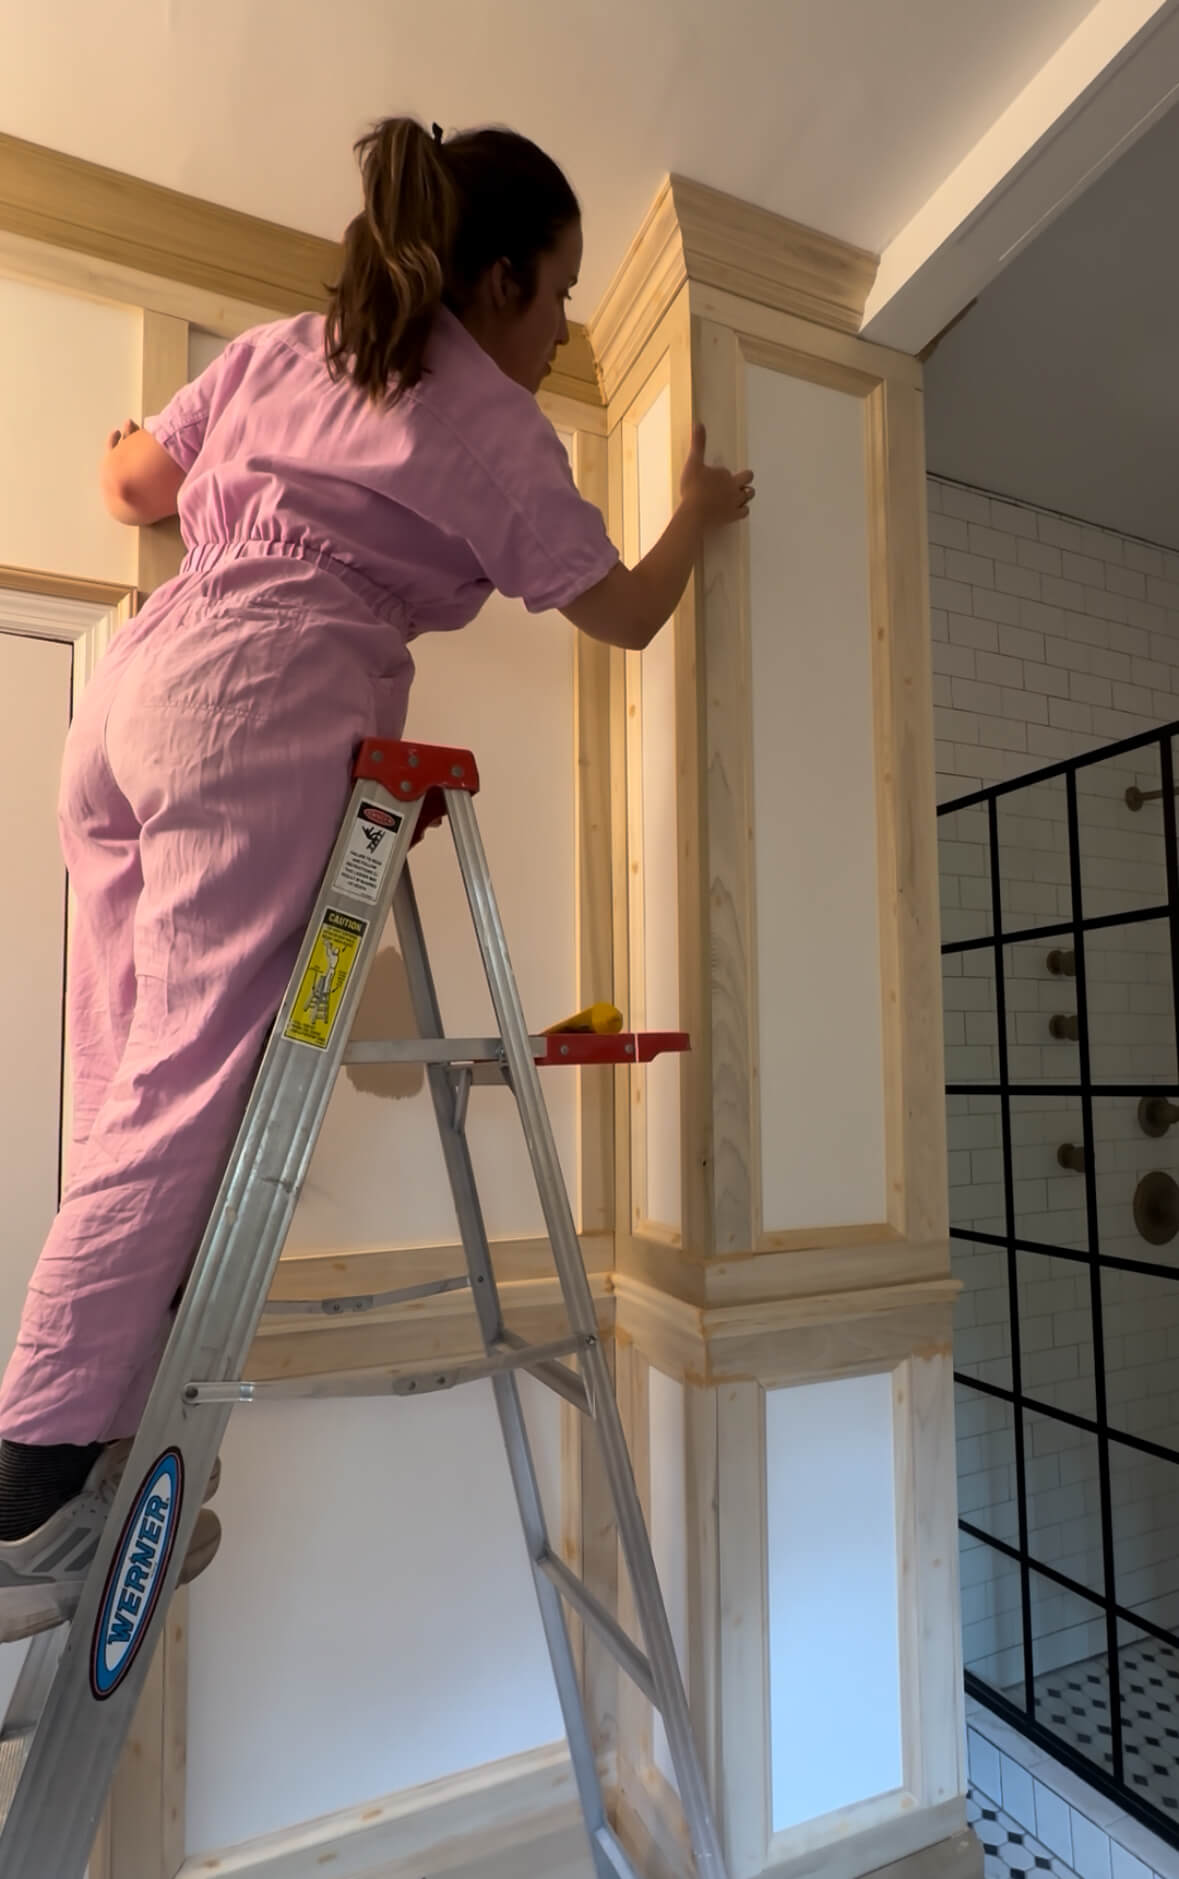
Building cabinets was one of my goals for 2026, and I knew going in that it wasn’t going to be easy. All of my woodworking so far has been two-dimensional — box molding, wainscoting, crown molding — and three-dimensional is a completely different skill set. I also chose this project to learn two new tools at once: a track saw (I went with a Makita after a lot of research and genuinely love it) and a pocket hole jig. The pocket holes were not going well at first, and I couldn’t figure out why. Turned out I didn’t have the collar set correctly on the jig. Once I fixed that, everything came together.
The hardest part of the whole build was getting cabinets of this scale properly squared. These are 7-foot cabinets, and managing that much weight while keeping everything square is hard with a crew. Solo, with no three-dimensional cabinet experience, it was a lot. I also had to figure out how to get the top cabinets placed above the 7 foot bottom cabinets. My solution for getting them up there was two ladders positioned as a kind of makeshift platform. I got each cabinet up onto them, crawled underneath, and pushed up. It worked.
They are not perfect, and I want to be upfront about that. Things shifted as I went. But I was able to finesse the placement so the row reads as straight, and I am genuinely proud of what I built. Learning in real time, as always.
Why I Pre-Bought the Base Cabinet and I’d Do It Again
The base cabinet under the butcher block (the folding station) I purchased pre-made rather than building myself. At the time I went back and forth on it. Now, having been through the cabinet build, I am so glad I made that call. The custom cabinets were hard, and having a solid pre-built piece to anchor the layout to made everything feel more manageable. Sometimes the smartest DIY decision is knowing which parts to skip.
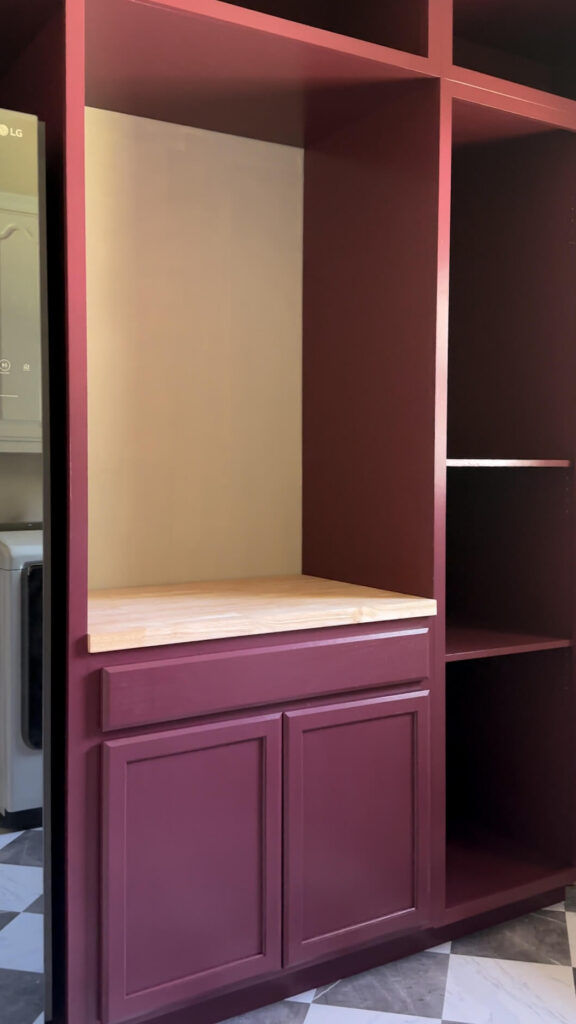
Meet the At Home Dry Cleaning Machine I Built the Room Around
Now for the part I have been the most excited to get to. The LG Styler has arrived, and it is exactly as sleek as I hoped.
Quick backstory for anyone who missed the design plans post: I first heard about the LG Styler on a design podcast a few months ago. They kept referencing an at home dry cleaning machine, and I had no idea something like that existed. I paused the episode, opened my phone up and started researching immediately. Within a few days I knew it was going in the laundry room, which meant designing a dedicated cabinet bay built specifically around its dimensions.
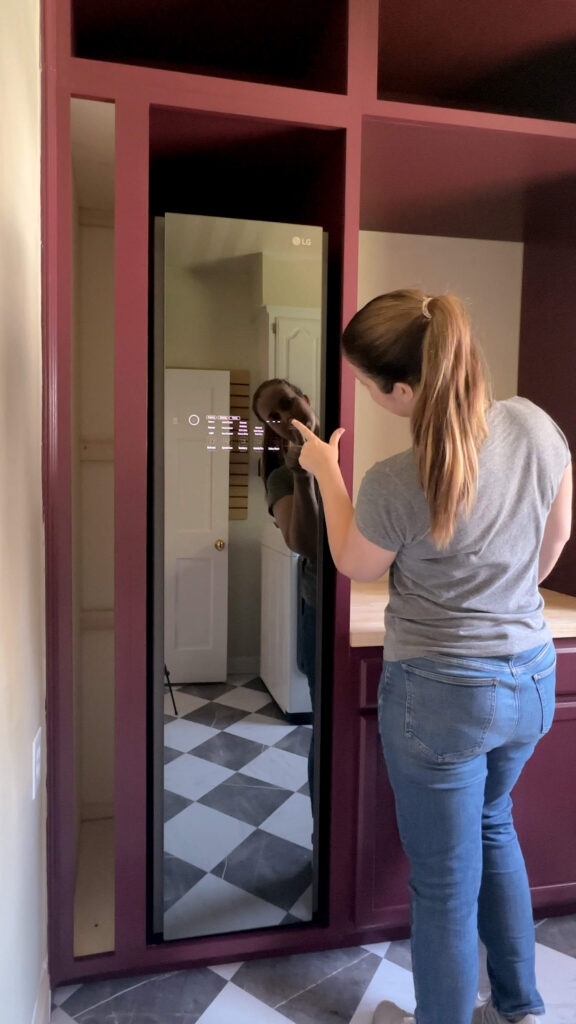
The Styler looks like a slim mirrored closet. When it’s not running, the front reads as a full-length mirror which, for a room that has been the ugliest space in the house for years, feels like a genuinely fun design moment. Getting it seated into the cabinet was tense. I had measured everything to spec, but there is always that split second of “what if it doesn’t fit.” It fit. The cabinet held. We are in business.
What the LG Styler at Home Dry Cleaning Machine Actually Does
For anyone who, like me until recently, had never heard of this kind of appliance: the LG Styler uses steam to sanitize, refresh, and de-wrinkle garments that can’t go through a normal wash cycle. Inside there are three hangers — two for tops and one pants creaser that mounts on the door — plus a shelf at the bottom that is perfect for things like pillows or home items I bring back from estate sales.
Setup is simple. The machine requires a standard outlet, no plumbing hookup required. There’s a small water tank you fill from any sink and a separate drainage tank for used water. That’s all the installation there is.
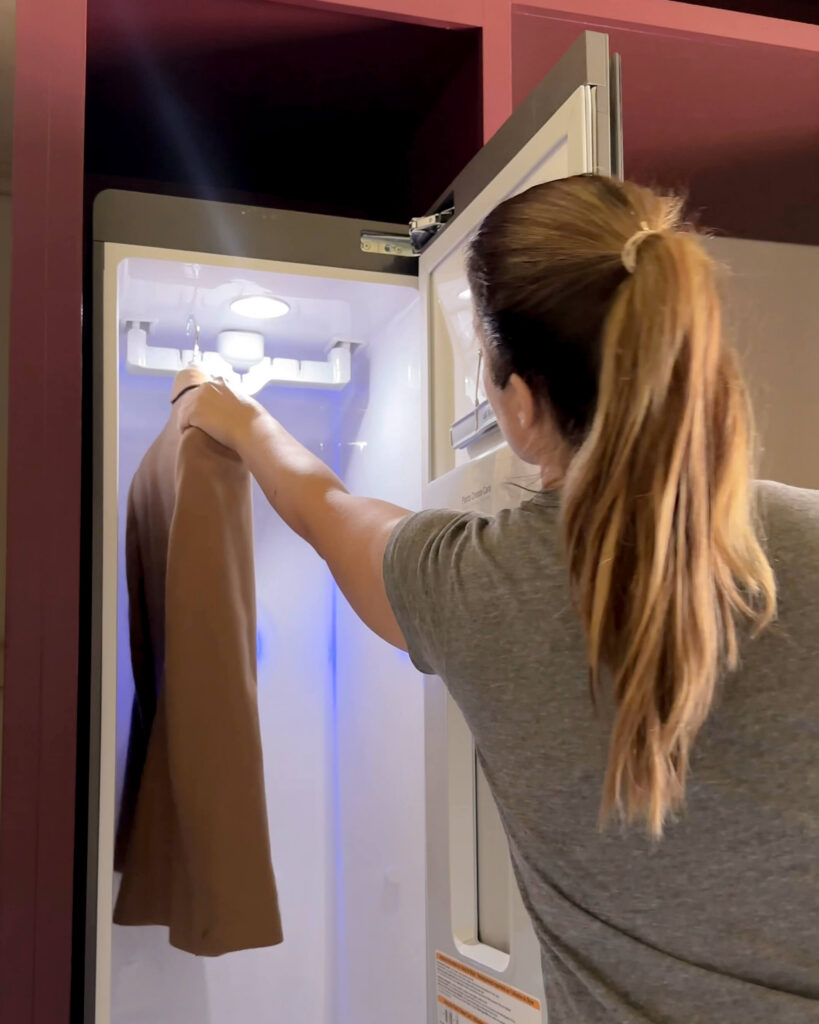
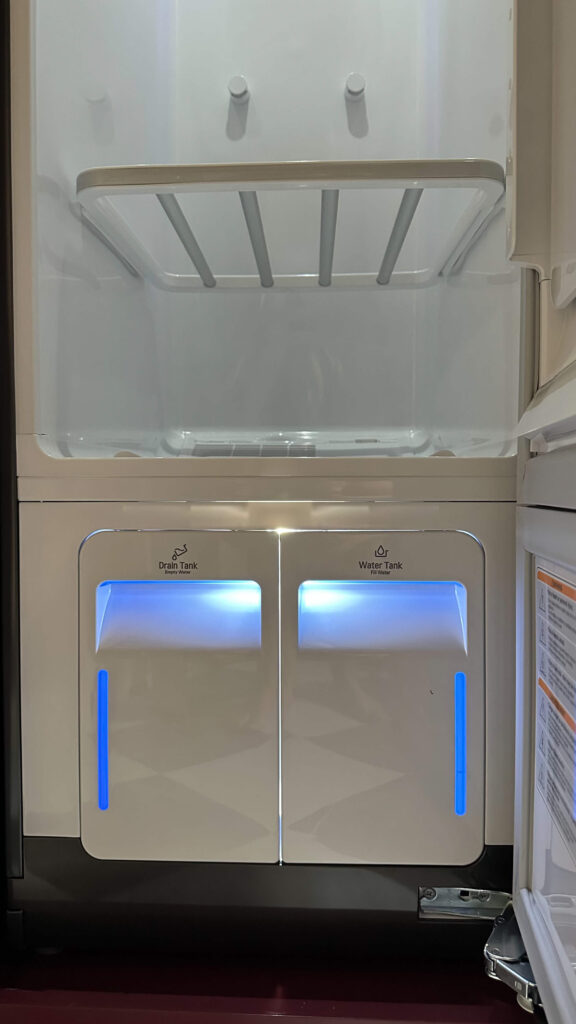
The at home dry cleaning machine doesn’t need a water hook-up as it has a refillable tank and a drainage tank!
What I’m most excited about is the sanitizing function. There are settings for every garment type and fabric, so I can treat delicate pieces safely without the damage risk of a washing machine. For winter sweaters especially, this is going to be a game changer. Earlier this year I had a close call with clothes moths and spent a significant amount of money at the dry cleaner trying to salvage my wardrobe. Having an at home dry cleaning machine that can sanitize sweaters, estate sale finds, and anything else that can’t easily go in the wash is exactly the kind of thing I didn’t know I needed until I needed it badly. Worth noting: the Styler’s steam also kills moths and their eggs, which for those of us with a winter sweater collection, is genuinely reassuring.
The little aroma filter slot is a nice touch too — you can add a dryer sheet or spray it with your favorite scent so it circulates through the cycle. I’m still in the early days of using it and plan to share more as I put it through its paces. First impressions: intuitive, sleek, and already earning its spot.
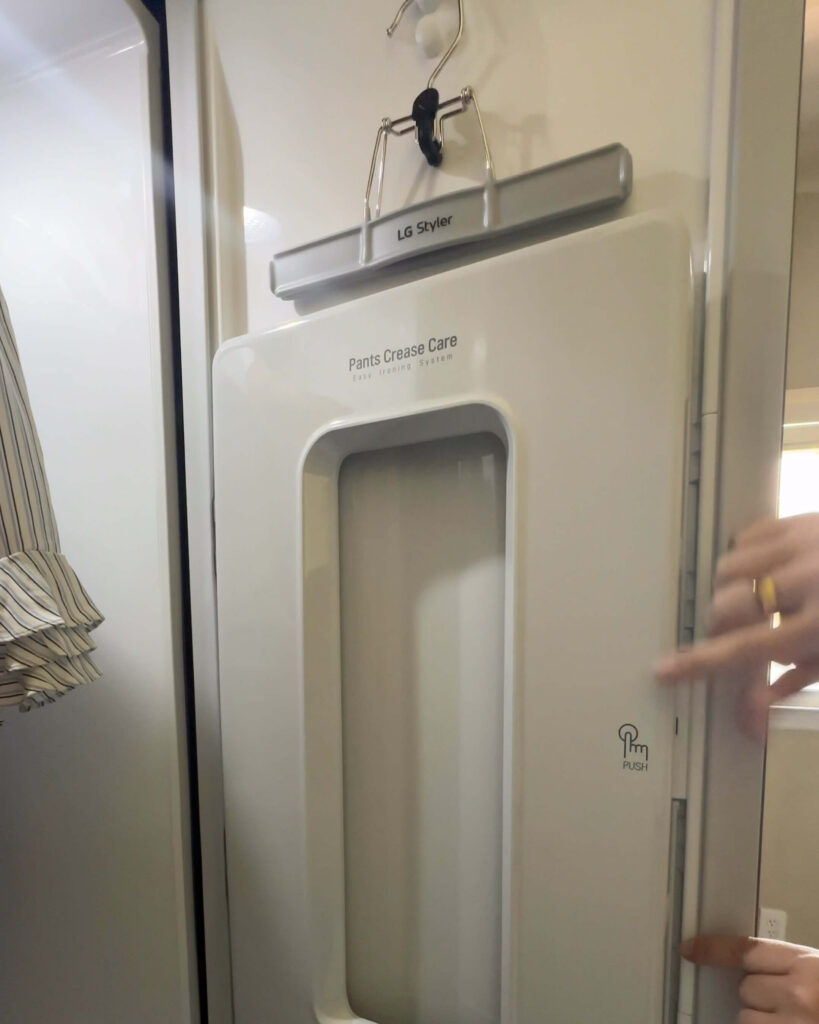
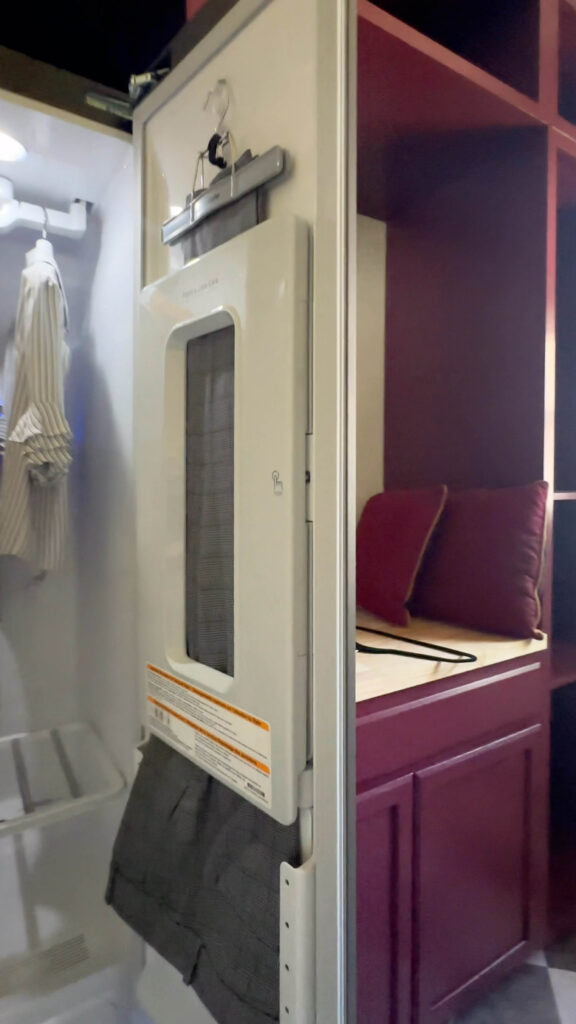
The at home dry cleaning machine also has the ability to crease your pants as you clean them!
What’s Still to Come Before the Laundry Room Reveal
Next up I’ll be wallpapering my first ever ceiling! I’ve wallpapered four times total in this house but never a ceiling, so why not start with stripes right?! I really didn’t realize what I signed up for until after the fact. After that, I’ll add crown molding (the same profile as the primary bathroom), then wall paint — the pink and burgundy color blocking I’ve had planned since the start. After that: window and door trim, tile under the dryer and baseboards. I’ll likely pause there and really take my time with the cabinet doors and the two pull-out storage cabinets since that’s going to be very new for me, but I feel like it will be manageable. After that, it will be the finishing touches — hardware, light fixture, window treatments!
It’s a long list. But it’s the fun kind of long list, where I can actually see the finish line.
Make sure you’re following along on Instagram so you don’t miss the progress in real time. And if you want to shop anything from the laundry room so far, everything is linked here.