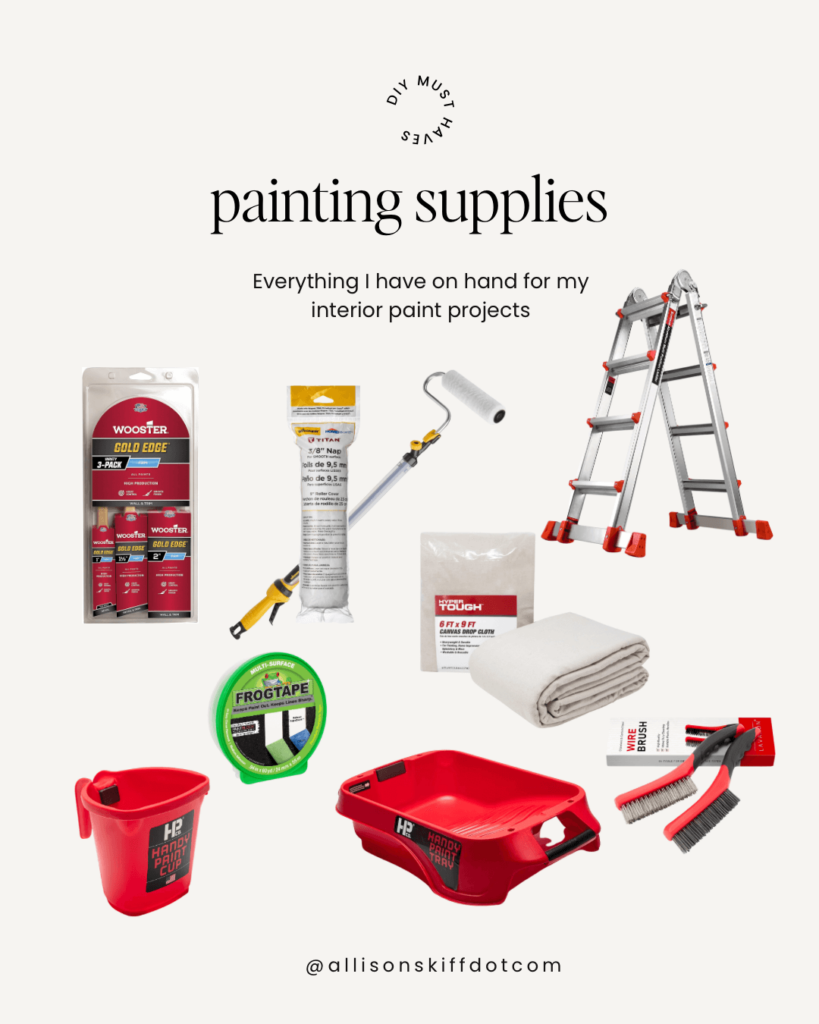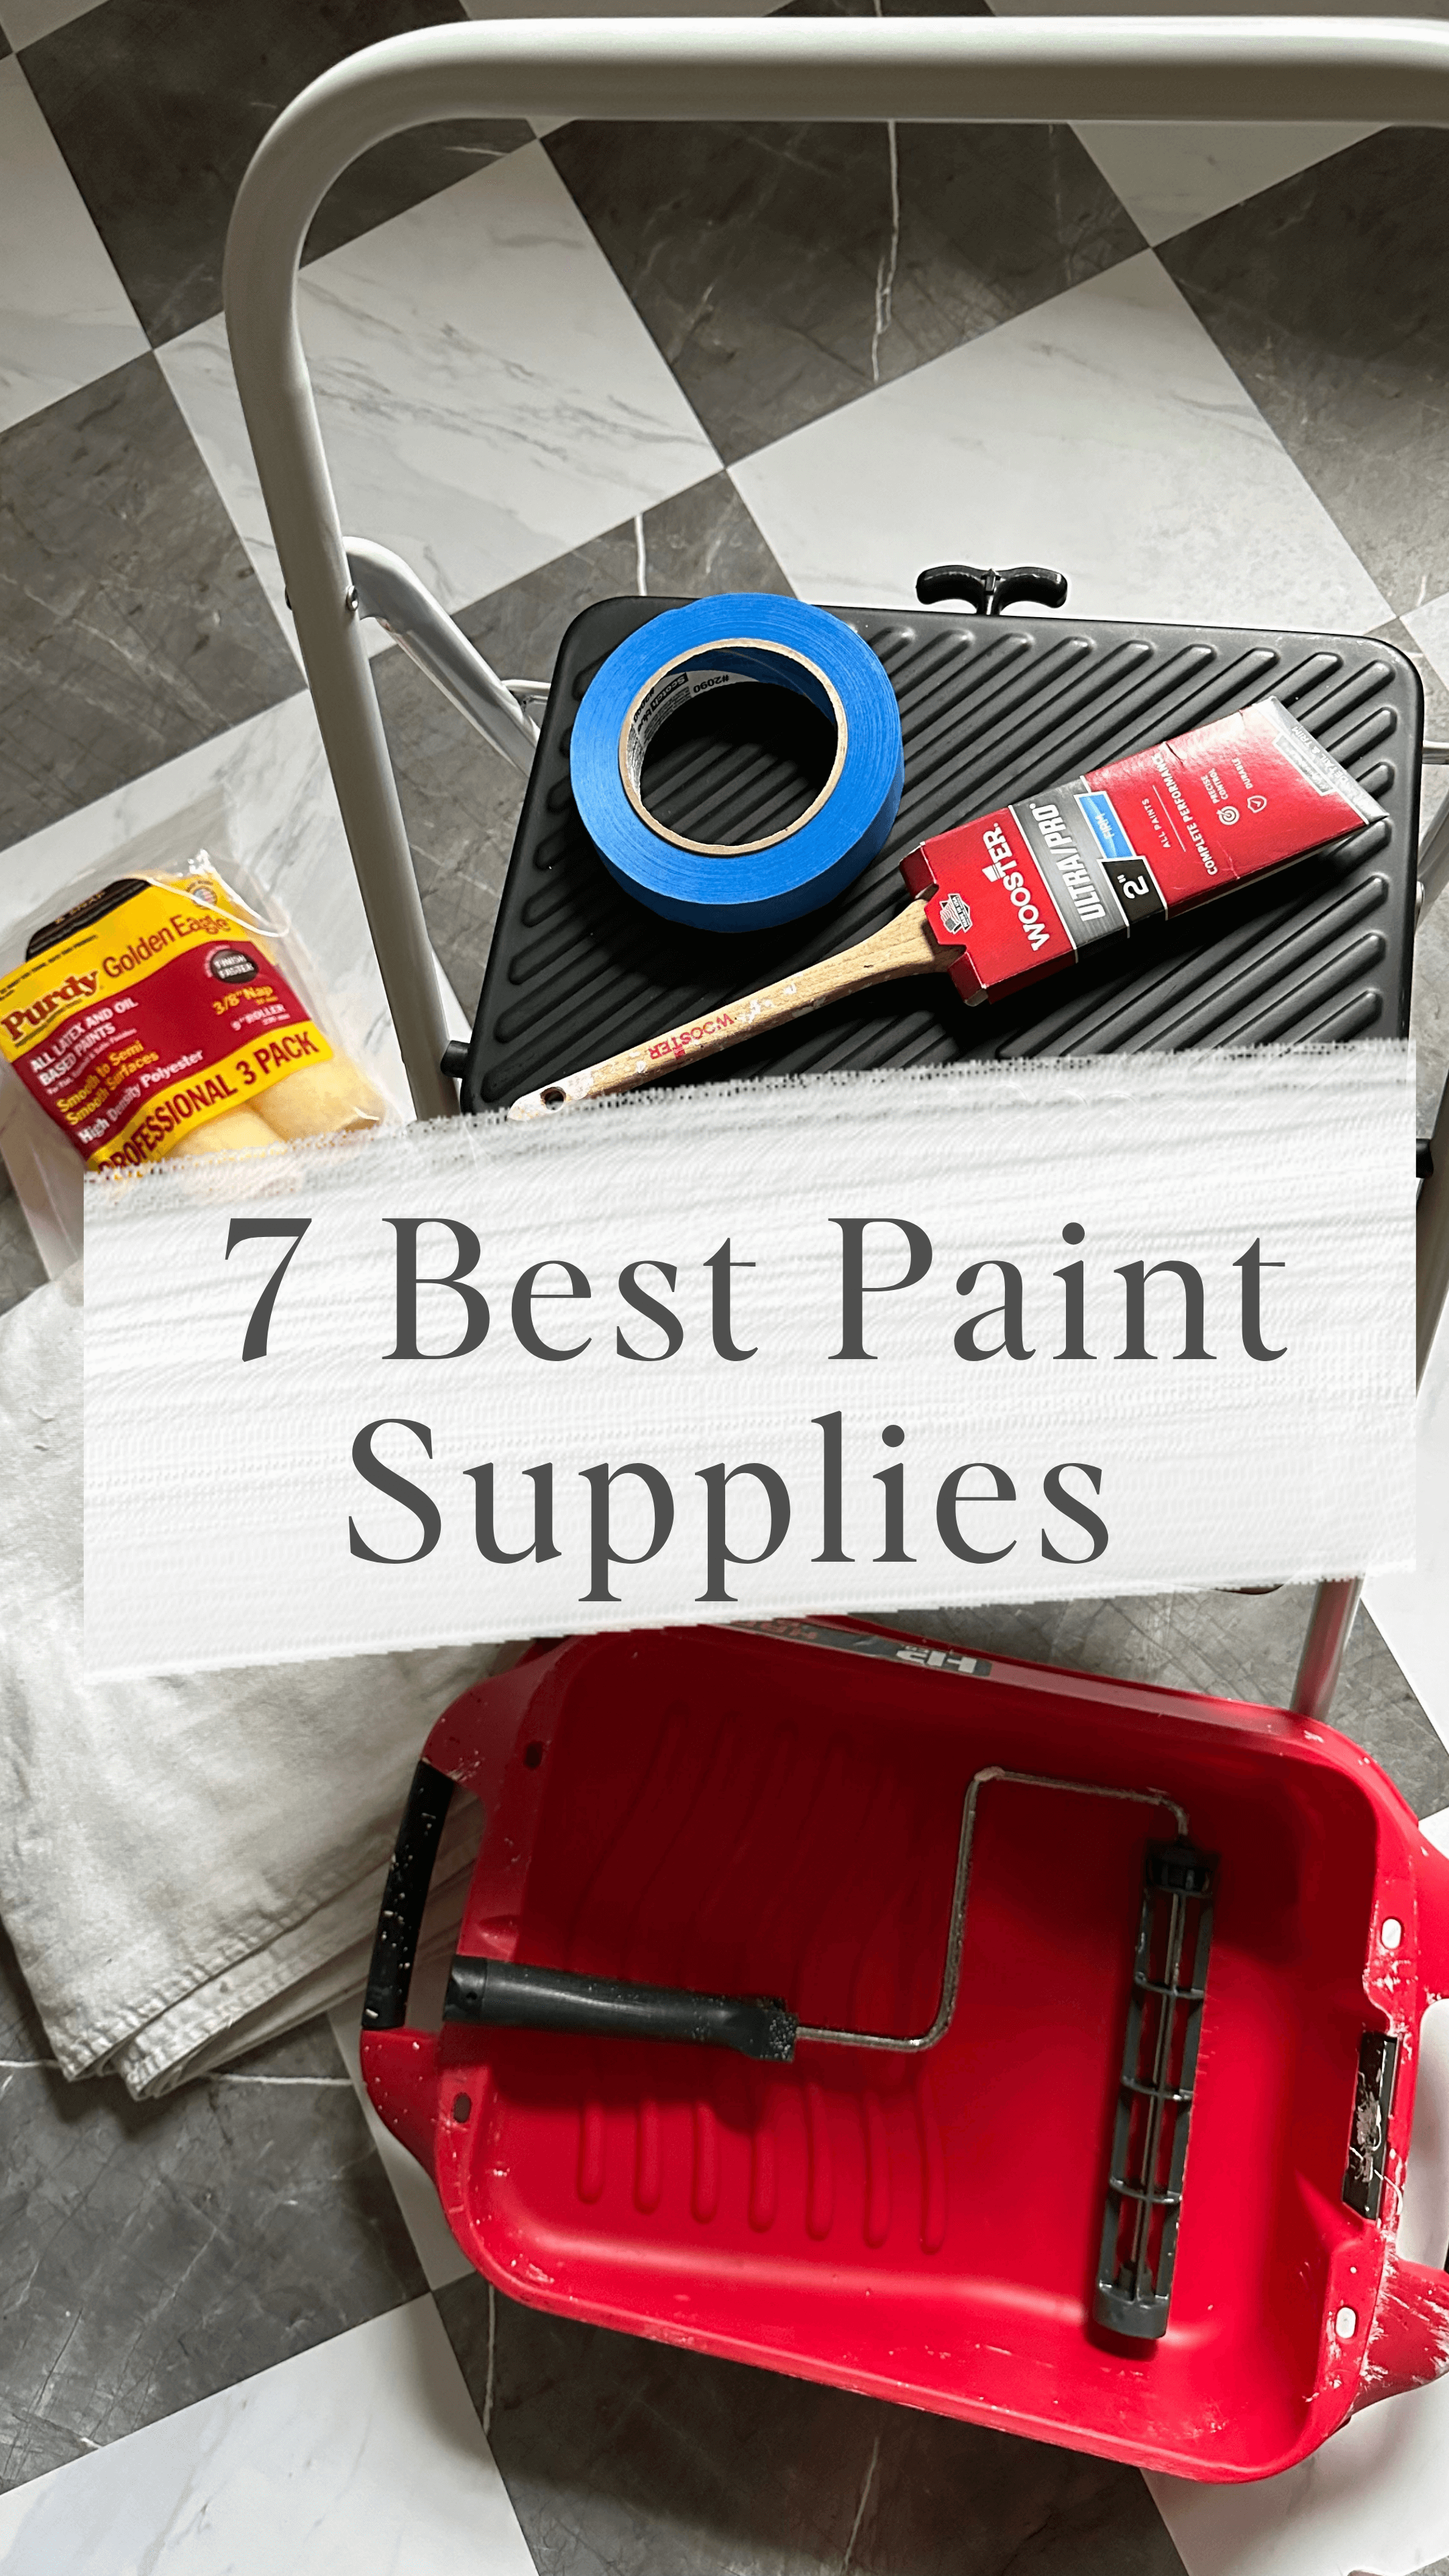


When preparing to tackle an interior painting project, taking the time to prepare the space as well as using the right painting supplies can make your DIY job look like a professional one. Here’s a list of the seven best paint supplies – as well as some additional ones – to make sure you have on hand before starting to paint.
1. Paint Brush
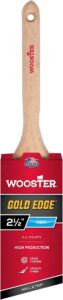
What you’re painting will dictate the type of brush you need. This is a good general rule of thumb…
- 1-1 ½ inch angled paint brush: interior trim, tight corners, window sashes or any kind of detail work.
- 2-2 ½ inch angled paint brush: window frames, baseboards, casings, moldings, cutting in edges of walls and ceilings
- 2-2 ½ inch flat paint brush: cabinets, furniture, stairs, railings, shutters, gutters
- 3-4 inch flat paint brush: mostly for exterior work
2. Painter’s Tape
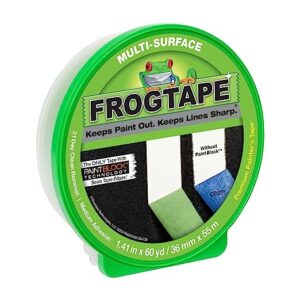
Painter’s Tape is used to tape off areas that you do not want your new paint to get on such as transitions of walls to ceilings, walls/ceilings to trim, baseboards to floors, light fixtures, trim work if you’re painting the transoms different colors.
3. Paint Tray
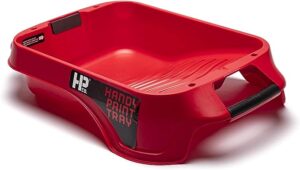
Invest in a heavy duty paint tray that won’t move around while you’re rolling your paint off. I like this one because it has a magnetic strip for your brush. You can also find paint trays with disposable liners for easy clean-up.
4. Drop cloths
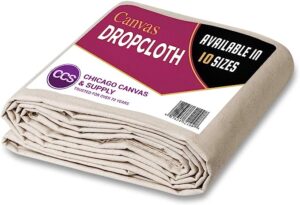
Investing in at least two heavy duty drop cloths will be essential to protect your floors while painting. These are my favorite and have lasted me many years!
5. Ladder / Step Stool
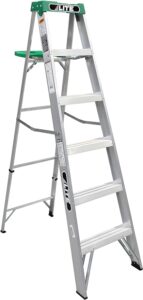
Depending on what you’re painting, you could possible get away with a step stool. Otherwise a 6 or 7ft ladder should be sufficient for most interior projects
6. Paint Roller
There are different sizes of rollers depending on the project you’re tackling. For interior walls a 9 inch roller is perfect. This will be another one time investment.
7. Paint skins

There are several different types of paint skins to choose from and your choice will be guided by both the surface you’re painting as well as type of paint.
- Fabric Types
- Synthetic covers (nylon, dacron or polyester) – ideal for most latex paints.
- Natural covers (mohair or sheepskin) – should be used with oil-based paints. If used with latex paints, the water in the paint may swell the fibers, causing them to become matted.
- Blended covers (polyester / wool blend) – combines the extra pickup of wool with polyester for longer life. Can be used with all paints.
- Pile Depth: Pile depth refers to the thickness of the roller cover’s fiber nap. It’s essential to choose the right pile for the surface you’re painting.
- 3/8″ roller nap – the best choice for ultra smooth surfaces. Choose for painting plaster, doors, etc.
- 1/2″ roller nap – ideal for interior walls and ceilings.
- 3/4″ roller nap – utilize this nap for rougher surfaces like house exteriors.
- 1.25″ roller nap – for the roughest surfaces such as concrete block, brick and fences.
Additional Supplies and Tools You May Need
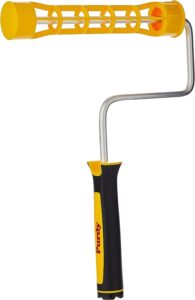
Roller Extension: Not absolutely necessary for painting walls, but I think it makes the job go so much faster. If you’re painting ceilings you’ll need to invest in one of these. This one has additional attachments for dusting and cleaning!
Painter’s Cup: If you’re on a really tight budget you can also use a plastic cup instead. I bought this one and absolutely love the magnet that I can attach my brush to when not using, as well as the ergonomic handle.
Wood Putty: Used for covering nail holes on trim.
Spackle: Used for covering nail holes on dry wall. I love this kind because it goes on pink and it turns white when it’s 100% dry.
Putty Knife: Used to spread and even out the putty / spackle. This set has every size you’ll likely need.
Screw Driver: You’ll need to remove all the light switch and outlet covers before you paint walls, and potentially overhead lights if you’re painting ceilings.
Hammer: You’ll also need to remove any nails in the walls before you paint.
Bucket / Sponge / Cleaning Solution: The surface you’re planning to paint should be clean of dirt and grime. This will ensure the paint is adhering to the surface and has a long lasting application. Run your sponge lightly over the entire surface. Usually just some Dawn will work fine with the exception of a space like the kitchen, where you’ll want to use Trisodium Phosphate to properly remove the grease build up.
220 Grit Sandpaper: You’ll use this to smooth any uneven areas on the surface such as nail holes, previously dried spackle, etc.
Tack Cloths: Running over the surface one last time, especially after sanding, will ensure you’ve removed all dust and debris, resulting in a seamless finish.
Rags: it’s always good to have a few on hand just in case you have a spill or a misguided paint stroke.
Preparing the Space
Sometimes the prep work before painting can feel like just as much work as the actual painting itself. I’ll list all the steps and depending on your experience level you may be able to skip a few.
- Move everything out of the room if possible. If you need to leave a large piece of furniture in the room, make sure you cover it with a drop cloth or old sheet.
- Pull out all nails on the wall
- Remove all light switch covers and outlet covers
- Clean the walls with a damp sponge to remove all dirt. If you don’t do this and your walls are dirty, you will roll the dirt onto the walls mixed inside of your paint. The result is tiny clumps – fun! Clean your walls.
- Taping: Depending on what colors you’re using and your experience level, you may want to tape off your trim. If you’re not sure, that probably means you should do it, so take the extra time to mask off that trim so that clean up is easy.
- Nail holes / Damaged Areas: To prepare the surface, lightly swipe a fine, 220-grit sanding block over the nail hole (or problem area) to sand away ridges. Work in a circular motion over drywall. Patch any nail holes, dents, etc. with spackling paste. Wait for it to dry and then sand the area so that it’s smooth. Wipe with a tack cloth.
- Lay drop cloths throughout the room. This is always important because no matter how careful you are, the paint will splatter as you roll it.
Shop My Favorite Painting Supplies