


Today, I’ve got a fantastic project that will instantly elevate the look of your space: painting interior trim. Whether you’re a seasoned DIY pro or just starting your home improvement journey, this step-by-step interior trim painting guide will help you achieve a polished and professional finish. Let’s dive in!
Why Paint Your Interior Trim?
Before we get our hands dirty, let’s talk about why painting interior trim is such a game-changer. Trim, whether it’s baseboards, crown molding, or window casings, is like the icing on the cake in your home’s design. It adds depth, character, and a touch of elegance to any room. When you paint it, you have the power to:
- Refresh and modernize your space: Over time, trim can become scuffed, faded, or discolored. A fresh coat of paint can breathe new life into your home.
- Create visual contrast: Choosing the right trim color can make your walls pop and draw attention to architectural details.
- Highlight your decor: Painted trim can frame your furniture and artwork, making them stand out in style.
Now that we’re on the same page about the magic of painted trim, let’s go over the essential steps to get started:
1. Gather Your Materials
For this project, you’ll need:
- Painter’s tape
- Drop cloths
- Sandpaper (medium and fine grit)
- A putty knife
- Wood filler
- A paintbrush (2-inch angled sash brush is ideal)
- Painter’s cup
- Tack Cloth
- Rags
- Primer
- Paint: choose a high-quality trim paint in the finish of your choice. More about paint finishes here.
2. Prep Your Space
- Clear the room: Remove furniture and cover the floor with drop cloths to protect it from paint splatter.
- Clean the trim: Dust and wipe down the trim to ensure a smooth surface for painting.
- Fill any gaps or imperfections with wood filler. Once it dries, sand the patched areas until they’re smooth.
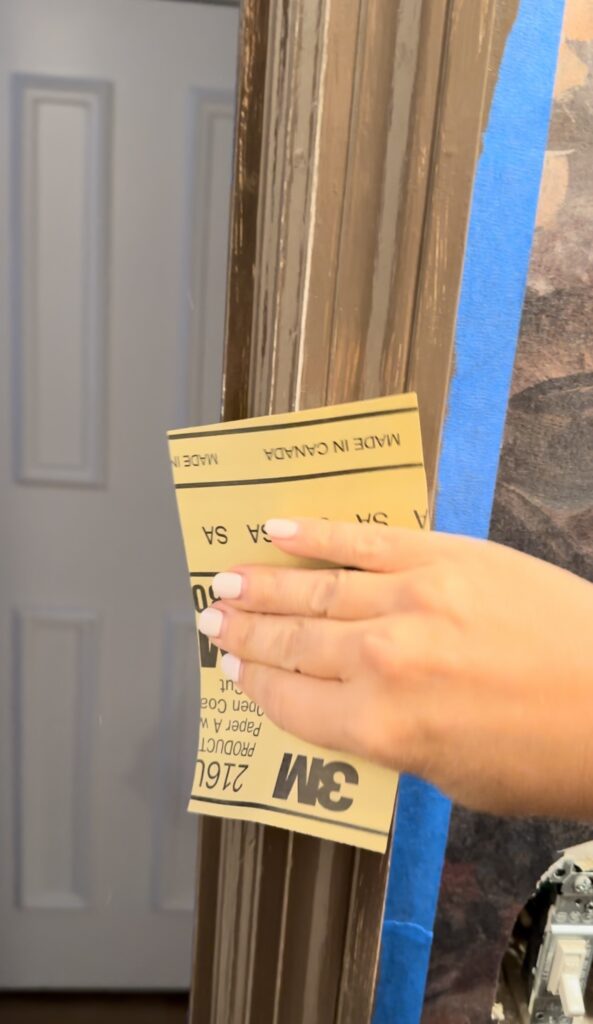
- Sand down all trim with 220 grit sandpaper. This is an important step that many overlook but is not to be skipped. By doing this, you’re giving the new paint something to grip on to and it will help promote it’s durability.
- If you skip this step, prepare for your new trim to chip easily and even peel off in some instances.
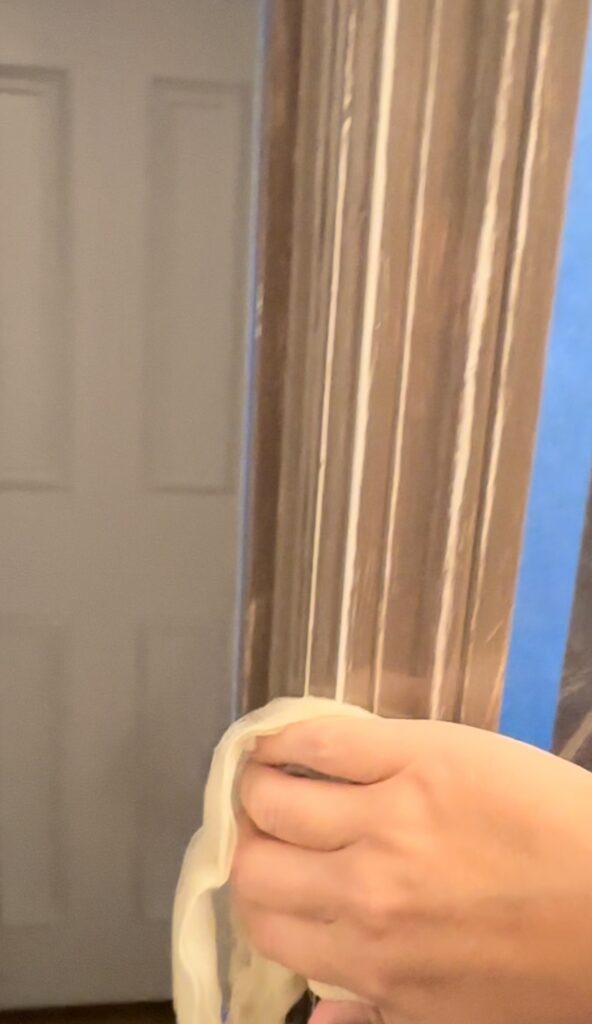
- Wipe up dust with a cloth and vacuum remaining dust on floor area
- Go over all surfaces one last time with a tack cloth
3. Tape and Protect
Carefully apply painter’s tape along the edges of the trim to protect your walls from paint splatter. Make sure it’s securely adhered to avoid any bleed-through. I usually like to run my putty knife over it just to make sure.
4. Prime Time
Apply a coat of primer to the trim. Primer helps the paint adhere better and ensures a smooth, even finish. Let it dry completely before moving on to the next step (usually 2-3 hours is sufficient but always check your paint can label for drying time).
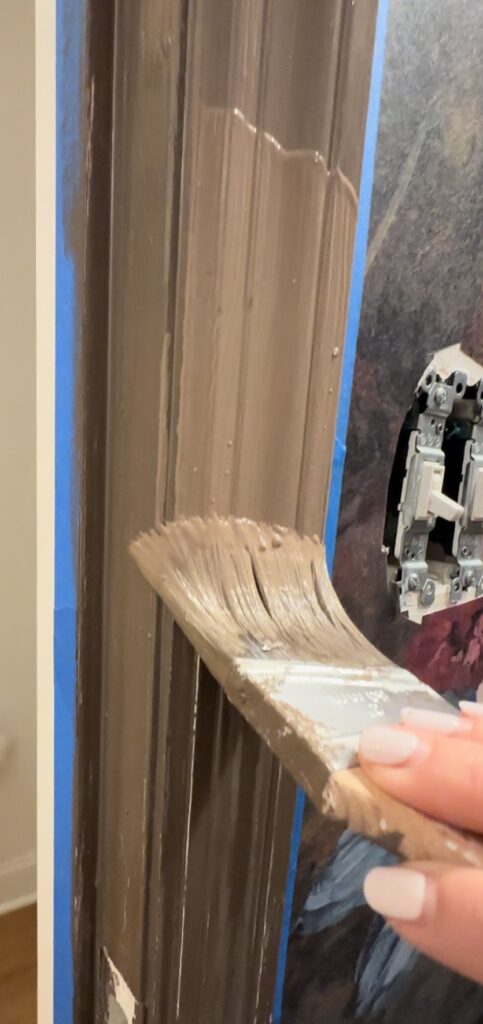
5. Paint Away
Now comes the fun part! Dip your paintbrush into your chosen trim paint and carefully start applying it to the trim. Use smooth, even strokes, and always paint in the direction of the wood grain for the best results. Do not overload your paint brush. A thin coat will promote quick drying time and an even finish. If you try to lay it on too thick, you’ll have paint drips, bubbles and in some cases even tackiness. Less is more here.
6. Sanding + Second Coat
Once your first coat has fully dried (again always check the label for drying time) use a sheet of fine sandpaper and gently run this over the trim. Repeat the same steps as before, wiping with a rag, vacuuming and then going over once more with a tack cloth. Using the same technique as the first coat, apply a second coat to all trim.
7. Remove Tape and Enjoy
As soon as you finish that second coat (if needed) and the paint is still wet, gently remove the painter’s tape at a 45-degree angle for clean, crisp lines. Let the paint dry completely, and then stand back and admire your handiwork!
Pro Tips:
- Invest in quality paint and brushes: The right tools make a huge difference in achieving a professional finish.
- Take your time: Rushing through the job can lead to mistakes. Patient, steady strokes will give you the best results.
- Choose the right finish: Consider your room’s function when selecting a finish. Satin or semi-gloss works well for trim as they are durable and easy to clean.
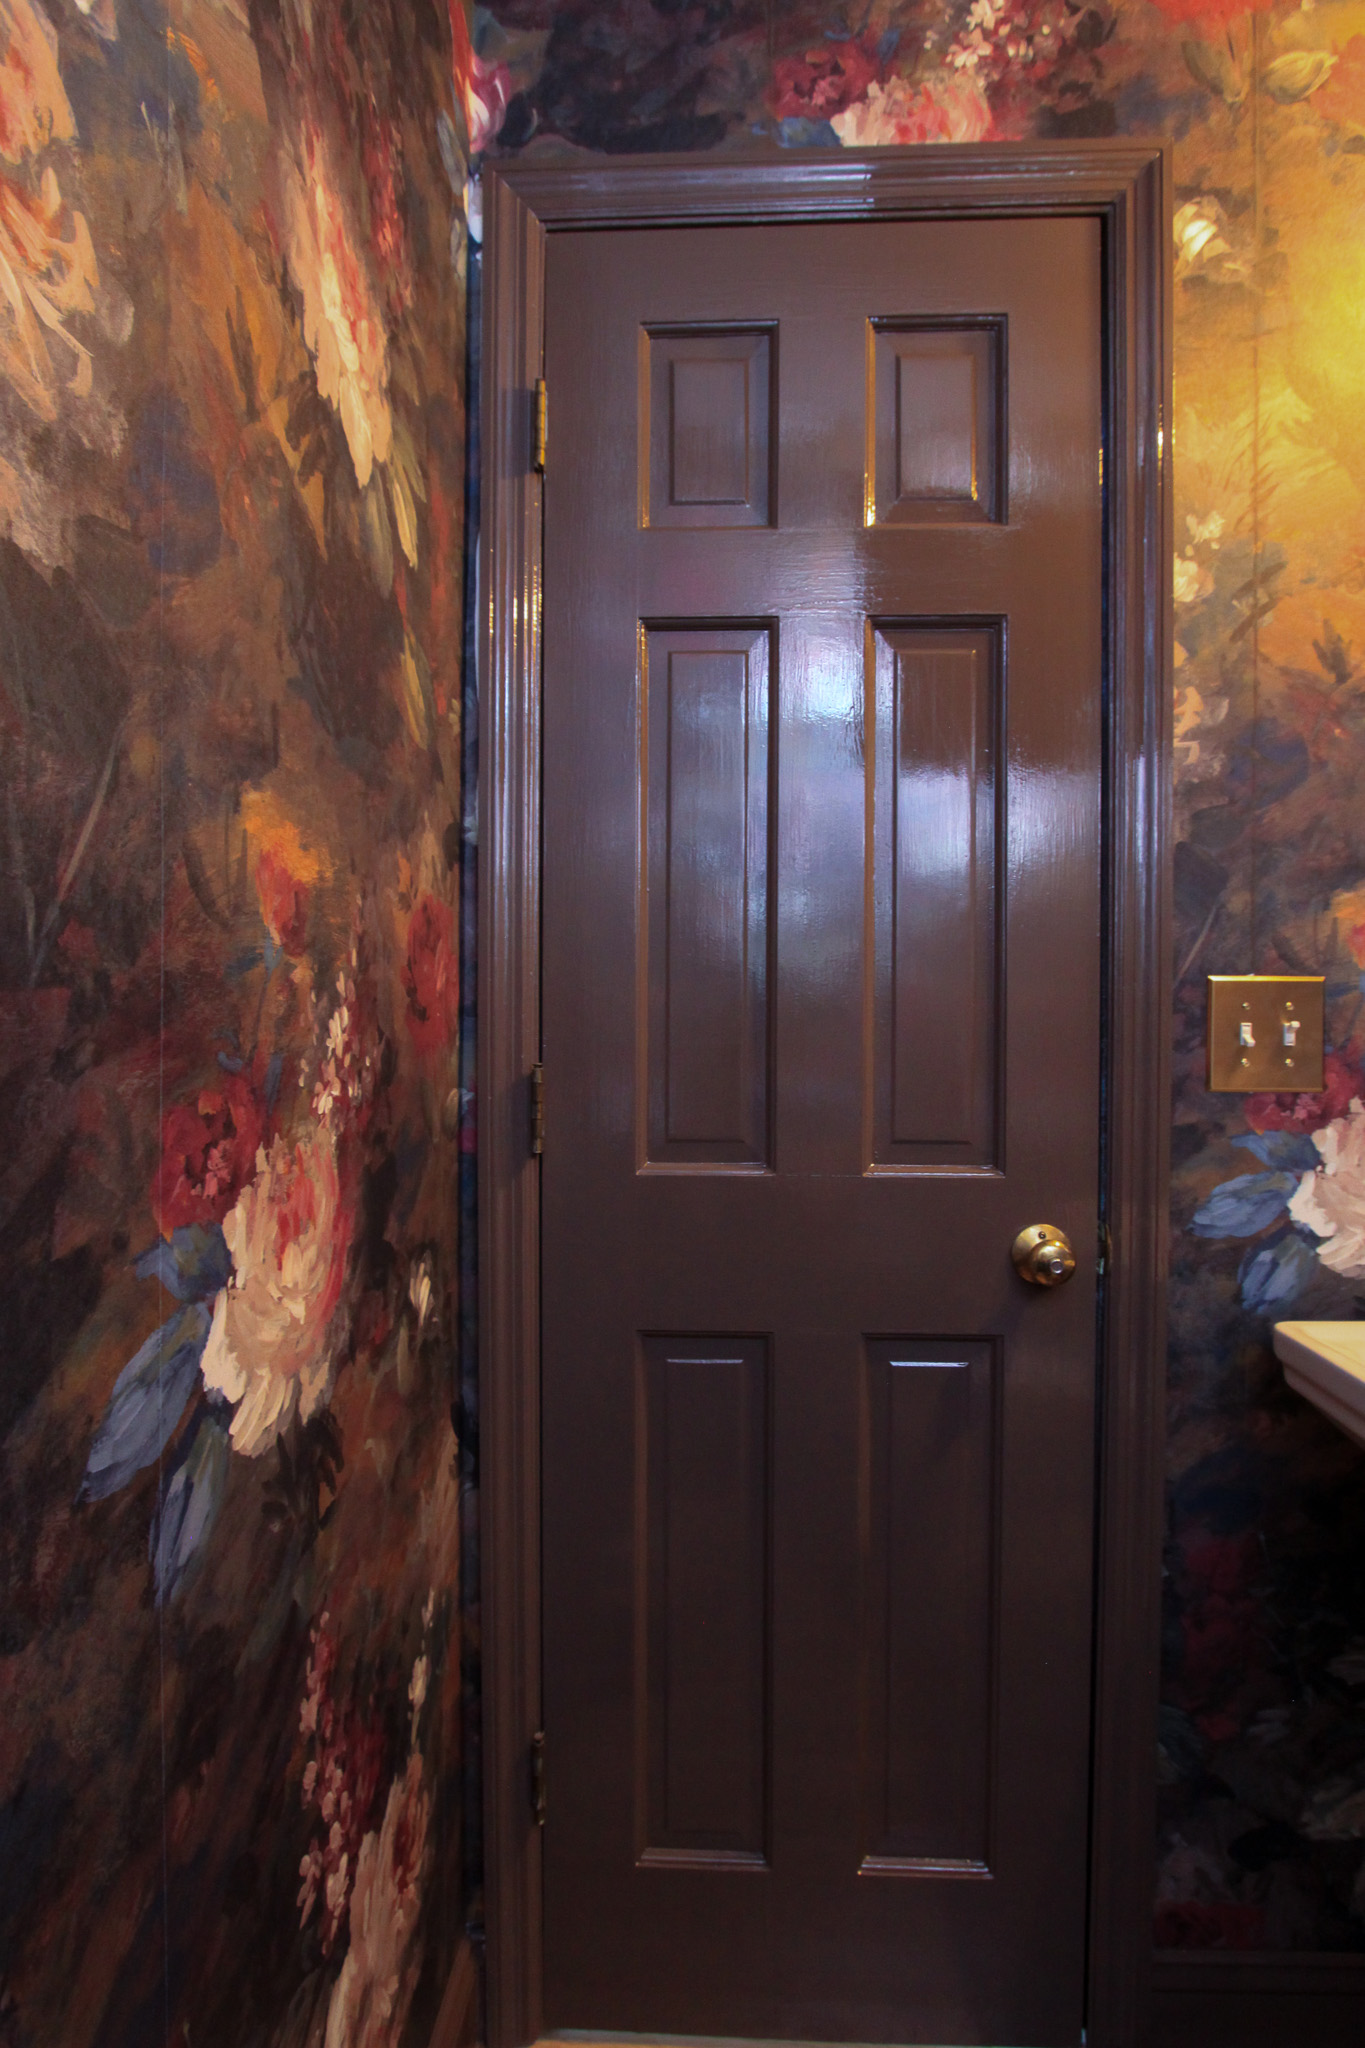
And there you have it! Painting interior trim is a DIY project that can truly transform your space without breaking the bank. It’s a small effort that pays off big in terms of style and value, and can make your entire house feel completely new. So, go ahead and add this project to your weekend to-do list and watch your home come to life with renewed charm.
If you have any questions or want to share your trim painting success stories, drop me a comment below. Happy painting, and stay tuned for more fabulous DIY tips and tricks right here on the blog!
Related:
How to choose the right paint sheen for your project
Using RetiqueIt to transform my dining room table from black to wood grain


