


This week was a huge turning point for the primary bathroom renovation because I finally started to see some real changes. I gave you a little sneak peek in last week’s post, but a pallet (594 lbs!) of custom trim arrived and I could not wait to get it on my walls. As eager as I was to get going, I had to coach myself on slowing down because there are so many moving pieces (and so much math!) that went into designing wainscoting in the primary bathroom.
I also needed to buy, set up and learn how to use a new miter saw to cut these thicker pieces of wood, so that took some time too. (Ps – I chose this one and am so happy with it!). This will be a two part post, as I haven’t completely finished the wainscoting yet, but for part one I want to focus on the wainscoting design, everything I ordered and the progress to date.
Designing Wainscoting in the Primary Bathroom
If you’ve been following along with me over the past year, you know I installed picture frame molding below my existing chair rail in the dining room last spring, and then double boxed picture frame molding in my primary bedroom last summer. This time, I want to mix things up by creating more of a wainscoting look in the primary bathroom. I think it will be a nice compliment to the primary bedroom trim and I’m oddly excited about challenging my DIY skills.
To achieve this look, I’ve partnered with Novo Building Products and Ornamental Mouldings, who are known for providing the best in moulding and millwork offerings. I’m thrilled be to working with their beautiful profiles and I know the trim is going to create the warm and welcoming room I’m envisioning.
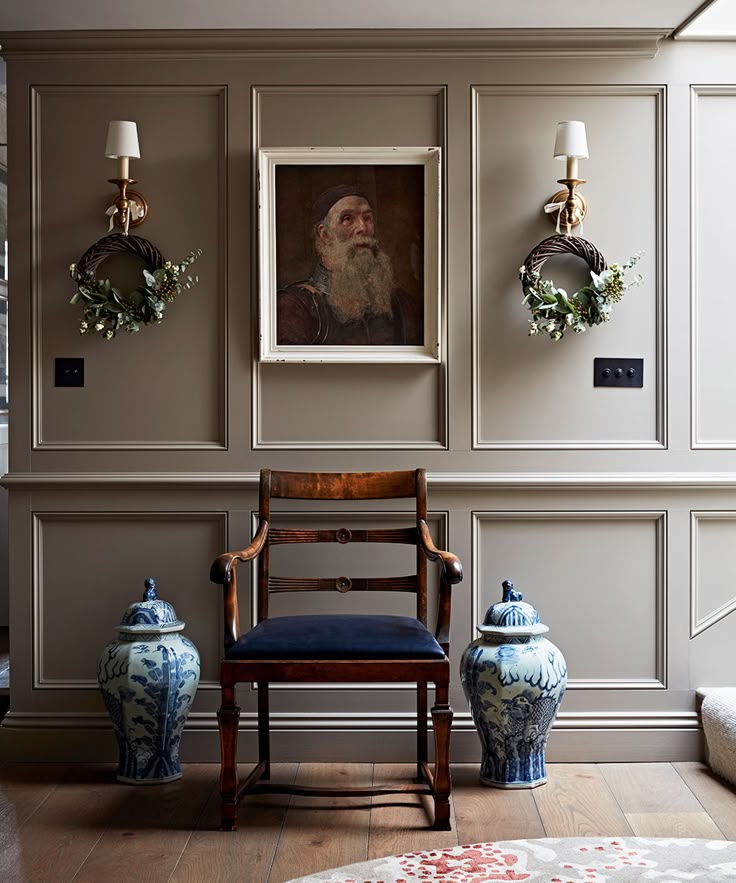
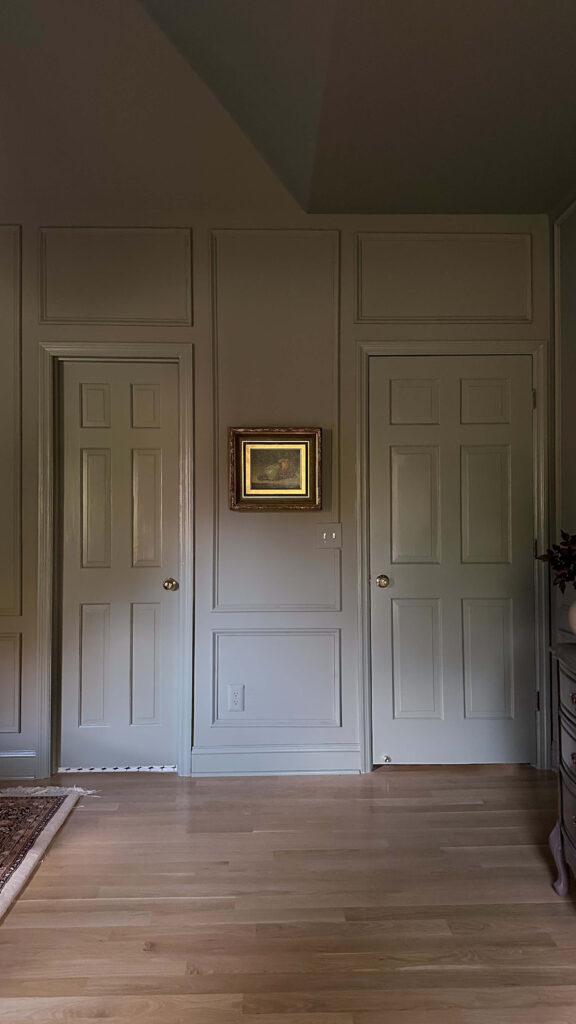
Left: Wainscoting Inspiration | Right: Primary Bedroom Custom Trim
Wainscoting Product List
To achieve the wainscoting look, this was everything I ordered and how I plan to use it:
Ornamental Mouldings White Hardwood Colonial Backband: we’ll get into this below, but I ordered backband to place around two existing door frames, as well as one existing window frame.
Ornamental Mouldings 3.5” poplar boards (8 ft length): these will be for the horizontal trim pieces. The bottom and top boards will be overlapped by 1” by both the baseboards and crown molding, resulting in a 2.5” profile.
Ornamental Mouldings 2.5” poplar boards (8 ft length): these will be the vertical boards for my boxes, which are also referred to as stiles.
Ornamental Mouldings 5.5” Charlotte Baseboards (8 ft length): oddly enough, the existing baseboards in my bathroom are 1 inch shorter than all of the baseboards in my house and it drives me nuts. These new 5.5” baseboards will bring continuity to the overall flow of the house.
Ornamental Mouldings Unfinished White Hardwood Colonial Chair Rail Moulding: I love the profile of this chair rail! It will sit about 41” up from the floor and on top of the horizontal molding.
Ornamental Mouldings White Hardwood Colonial Base Cap Moulding: this will be for the picture frame molding, which will be cut to go inside of each box of the poplar frames. This is an extra step but will give everything an elevated and finished look.
Ornamental Mouldings White Hardwood Cornice Crown Molding: last but certainly not least, the bathroom will be dressed with crown molding. I think this is going to add the layer of luxury I’m craving for this room.
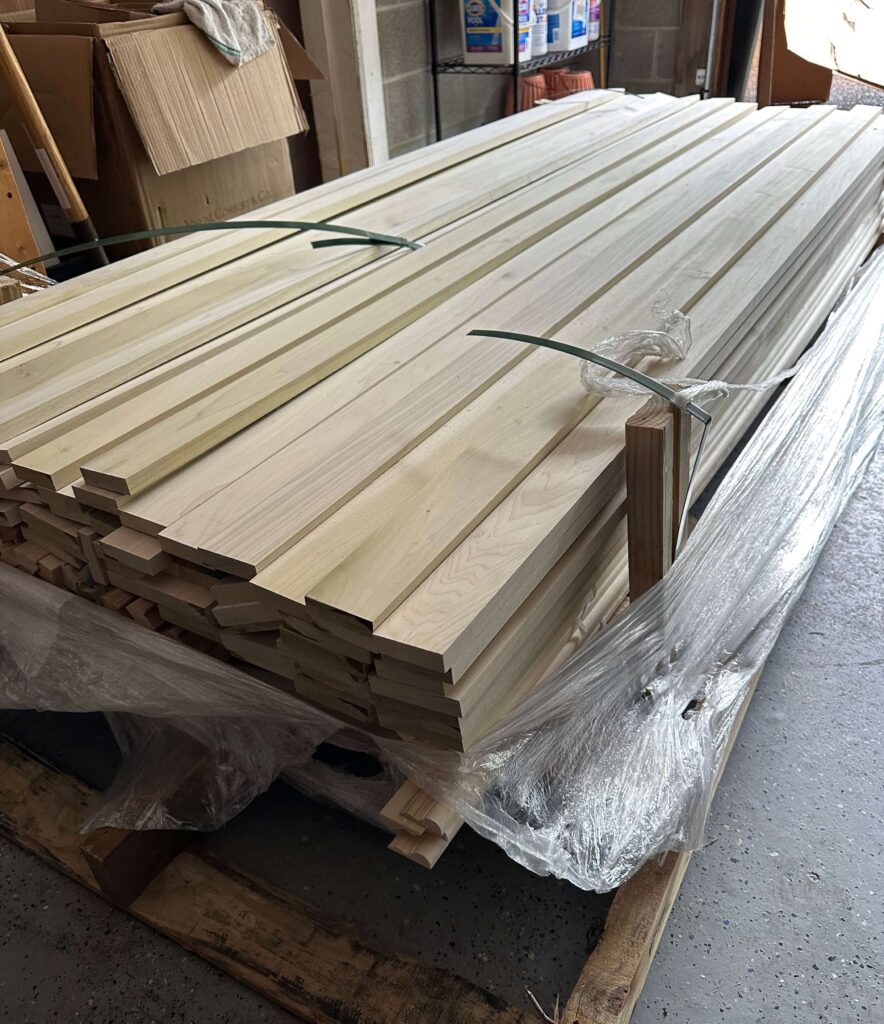
All of the Ornamental Moulddings custom trim I’m using for the wainscoting in my primary bathroom!
Installation Step 1: Adding Backband
Before I could get started with installing any of the wall paneling, I needed to install backband around the door and window casings. If you’re wondering what backband is, it’s essentially a decorative strip of trim that’s installed in front of or around another piece of moulding. Some people use it to enhance their existing trim, but for my purposes I’m installing it to extend the profile of my existing trim. If I didn’t do this, the new wall paneling would not sit flush against the door or window frames. And that wouldn’t be a good look.
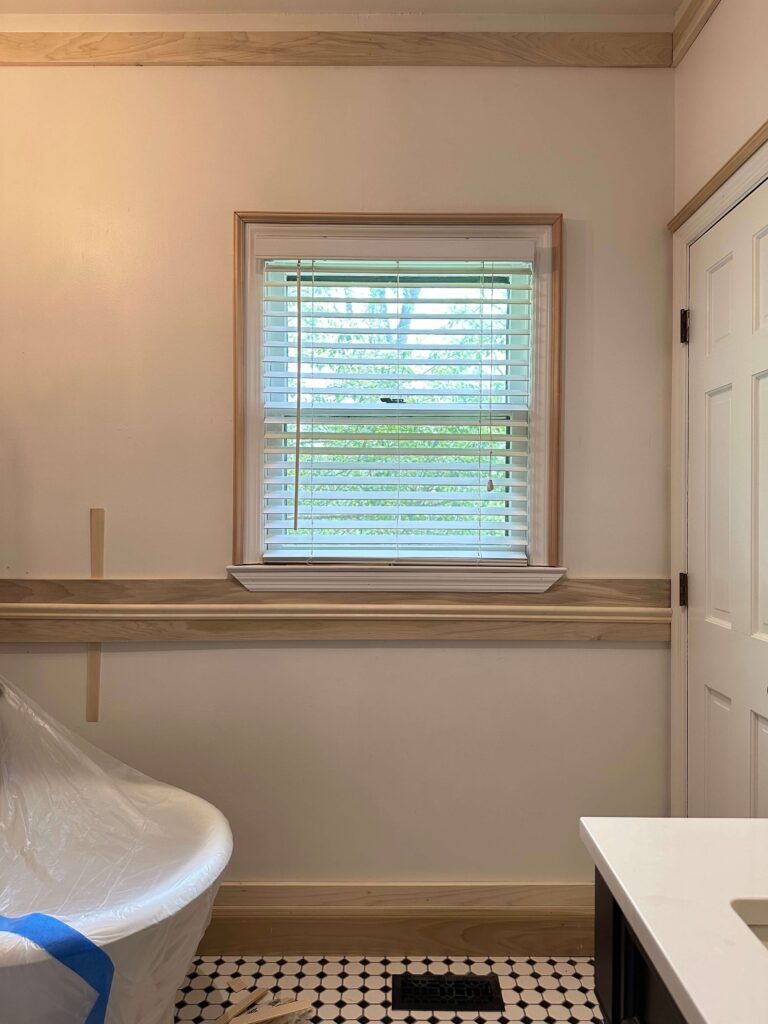
I also ripped out the existing window sill trim and installed a new longer window sill so it would extend past the new backband. Generally a good rule of thumb is anywhere from 0.5” to 1 inch past your window casing.
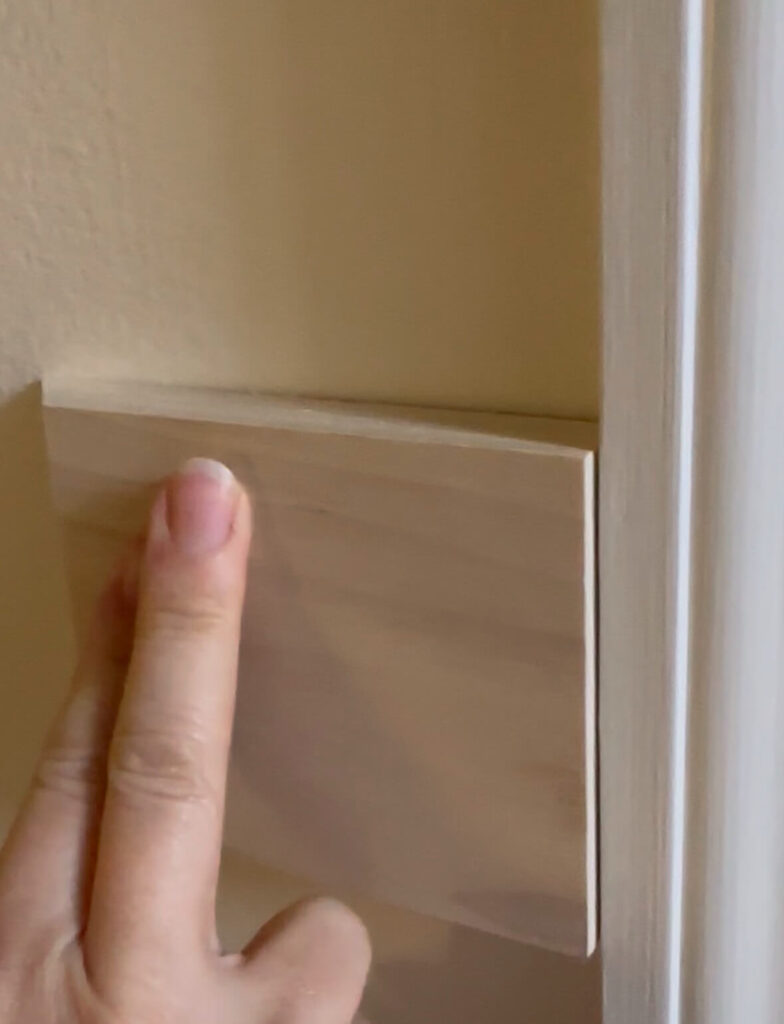
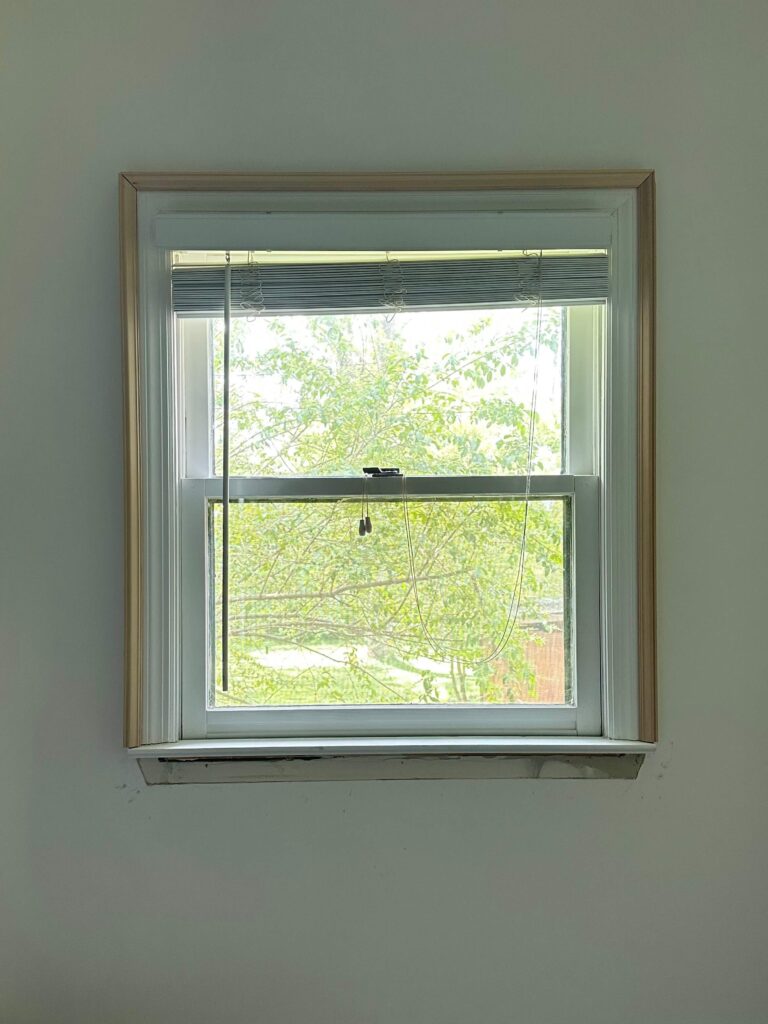
Left: an example of how the trim would extend past any existing trim | Right: Back band installed around my bathroom window
Installation Step 2: Adding the Horizontal Wall paneling
I think there could have been a few different ways to start this project, but I opted to start with the horizontal boards first and from the bottom up. My existing baseboards sit 4.5” high, so I simply placed my 3.5” poplar boards on top of them and nailed them into place using my brad nailer and 2 inch brad nails. This allowed me to ensure everything was level out of the gate.
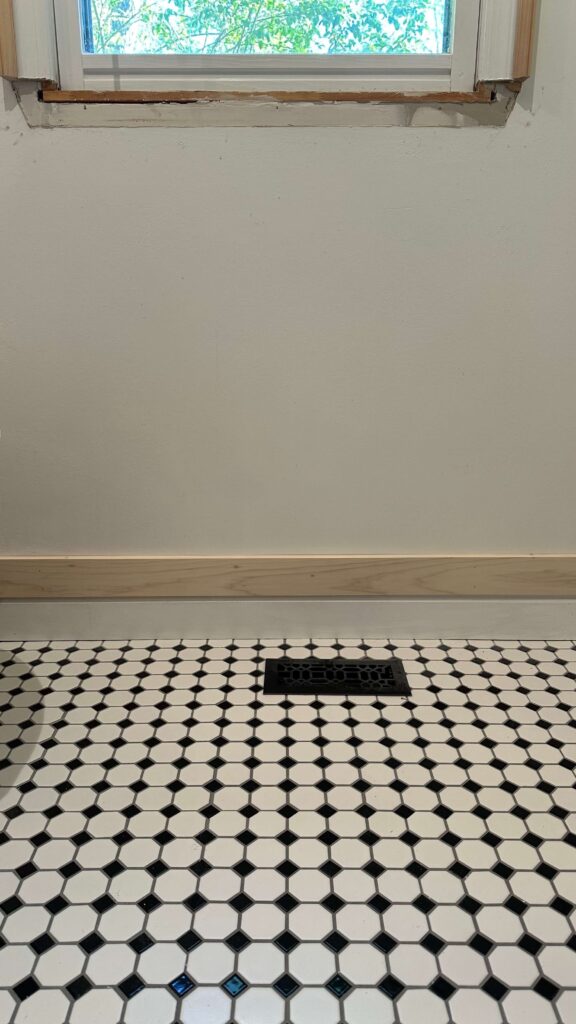
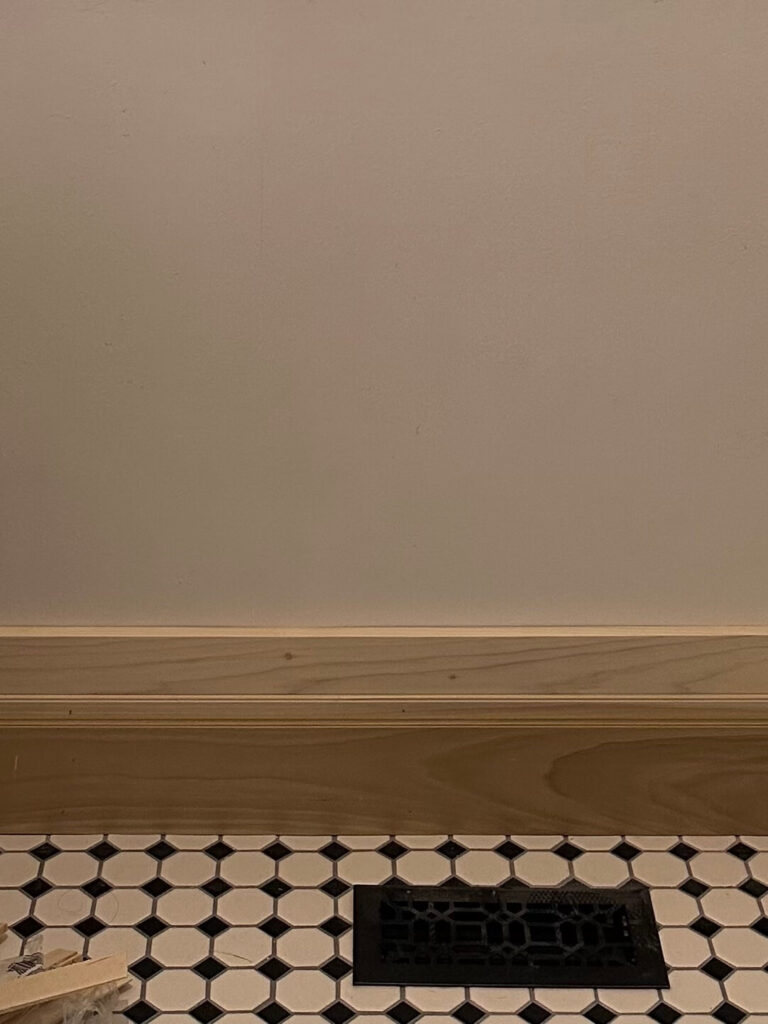
Left: 3.5″ Poplar board installed on top of existing 4.5″ high baseboard | Right: New 5.5″ baseboard installed in front
From there, I added my new baseboards on top. I placed shims in between the old baseboards and the new baseboards to seal up any spacing, and to allow an extra grip for the nails. You’ll also see some shims in between my walls and the horizontal boards in these photos. My walls are not even, so this helped fill the extra space when I went to nail everything in place. Don’t worry, these snap right off and I’ll be adding the picture frame molding inside of the boxes and then we’ll caulk.
Installation Step 3: Determining the Chair Rail Height
The hardest part of this installation was determining the chair rail height, which would determine where I placed the middle horizontal boards. The new vanity countertop has not been installed yet, so I was doing a little bit of guess work on my measurements. I know I want a box around the vanity area so the base of that board would need to start where the new and yet to be installed backsplash ends. In the end I decided to have the middle of the chair rail sit at 41” above the floor. I have 9 foot ceilings so this is a little bit higher than 1/3 of the height of the room, but I had to work around some existing features like the vanity and window that didn’t have any flexibility.
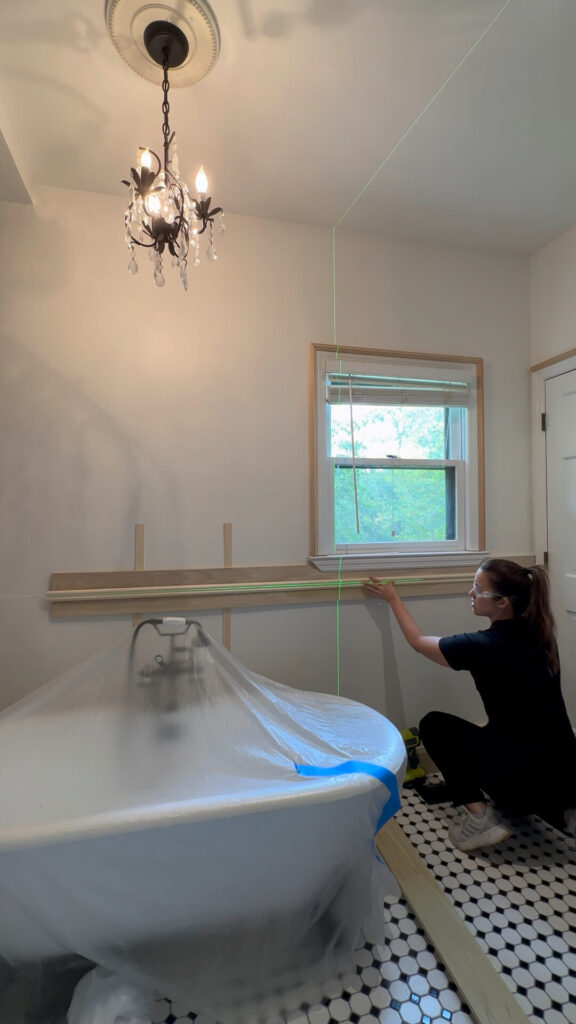
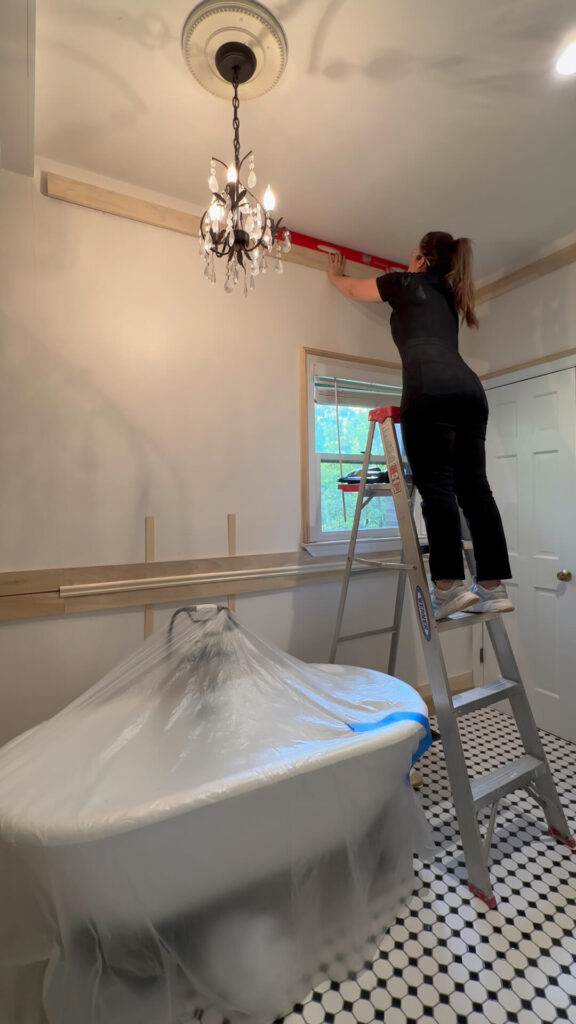
After I figured out my measurements, I installed the top 3.5” poplar board with the base sitting at that 41” mark off the floor. The second 3.5” board went right below that, and using my new laser level, I centered the middle of the chair rail to sit right in the middle and installed that on top. Can you start to see the vision now?
Installation Step 4: Installing Around The Bathtub
Installing long pieces of wood by yourself is tricky enough – the boards are heavy, and you’re trying to keep everything level while nailing things into place without them moving. Add to the challenge of working around a clawfoot tub that your ladder doesn’t reach around and you’ve got yourself a bit of a pickle.
If you run into this, I figured out a great solution (that worked!). Measure where you want the base of your board to sit and tap nails halfway into the wall at that point. I did about 4 nails total which allowed me to rest the left side of the 8 ft board, while keep it level on the left and nailing it into place. I then moved my ladder to the left side of the tub, checked the level and finished nailing on that side. I removed the nails and I’ll be installing the picture frame molding inside this box, so there’s no need to worry about filling the holes.
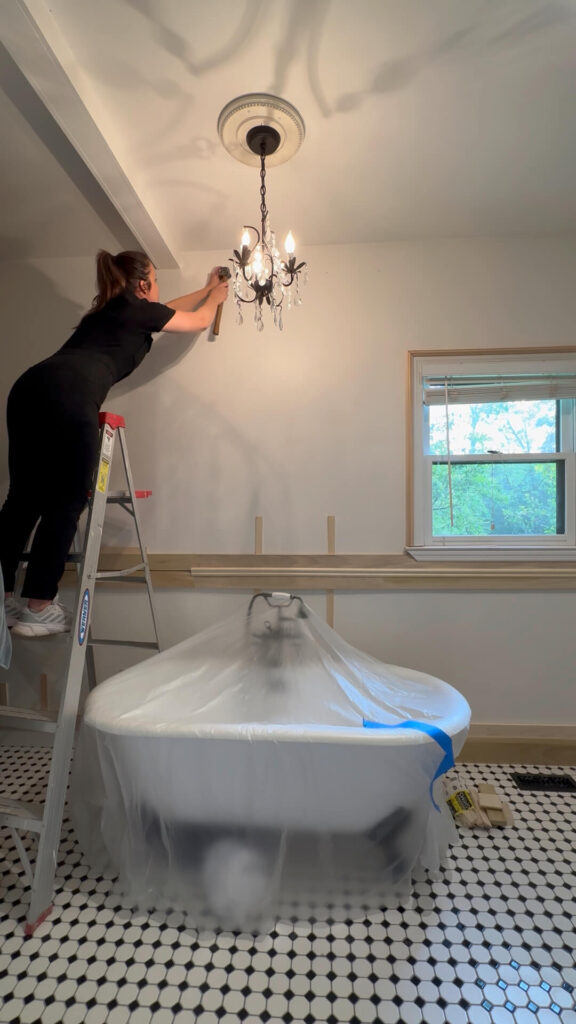
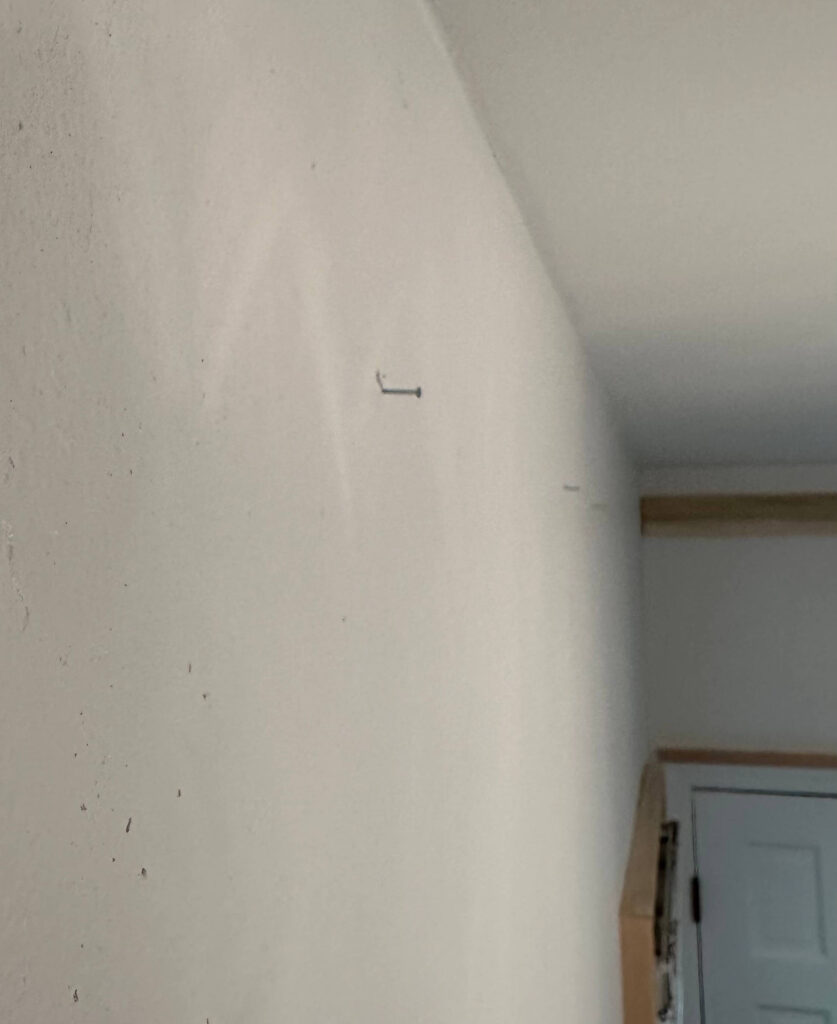
From left to right: tacking nails 6″ down from the ceiling allowed me to rest an 8 ft long board to ensure it was level before nailing it in place
Looking ahead to week 6: Designing the Wainscoting Pt 2
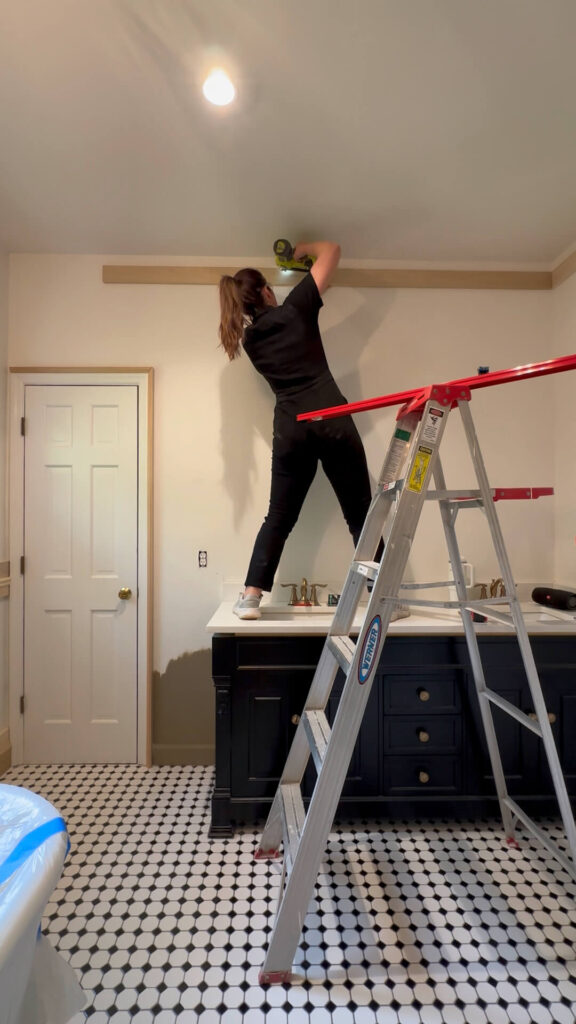
This past week I got most of the horizontal molding installed around the room! I have a few more pieces to go and then we’ll get to figuring out our box sizes. I did not bother drawing this out in advance, as I think it’s going to be best to design for each particular wall itself. I’ll cut some vertical 2.5” boards and move them around a bit, and see what looks best. From there I’ll make some quick decisions and we’ll get to making these boxes.
My goal is to get all of the boxes created, and then knock out the picture frame molding that goes on the inside. I’ve done this twice now, so I anticipate this to go mostly smooth (hopefully!). Lastly, it will be time for the crown molding. I’m excited for the end result, however I’ve heard this can be quite challenging. This is why I’m saving this for last, as I don’t want it to take the wind out of my sails!
Some other odds and ends that will be happening: I still need to decide on paint color, so keep an eye on socials for some paint swatching. And while determining the chair rail height, I realized I need to move two more electrical boxes in the room, so there will be some more drywall patching (but also some more pretty brass electrical switches!).

Everything I’m Using for the Wainscoting in the Primary Bathroom:
Bosch Sliding Compound Miter Saw
Ornamental Mouldings 3.5” poplar boards
Ornamental Mouldings 2.5” poplar boards
Ornamental Moulding 5.5” Charlotte Baseboards
Ornamental Mouldings White Hardwood Colonial Backband
Ornamental Mouldings Unfinished White Hardwood Colonial Chair Rail Moulding
Ornamental Mouldings White Hardwood Colonial Base Cap Moulding (Picture Frame Molding)
Ornamental Mouldings White Hardwood Cornice Crown Molding
Visit the One Room Challenge page to follow along with our DIY and designer community! You’ll find everything from small to large projects, at all skill levels.
Catch Up On the Spring One Room Challenge:
Spring 2025 One Room Challenge Week 1
Spring 2025 One Room Challenge Week 2
Spring 2025 One Room Challenge Week 3
Spring 2025 One Room Challenge Week 4


