


The past couple weeks were big for the DIY primary bathroom renovation—equal parts progress and problem-solving. Here’s where things stand, what’s finished, and what’s coming next.
The Vanity: From Black to Walnut Beauty
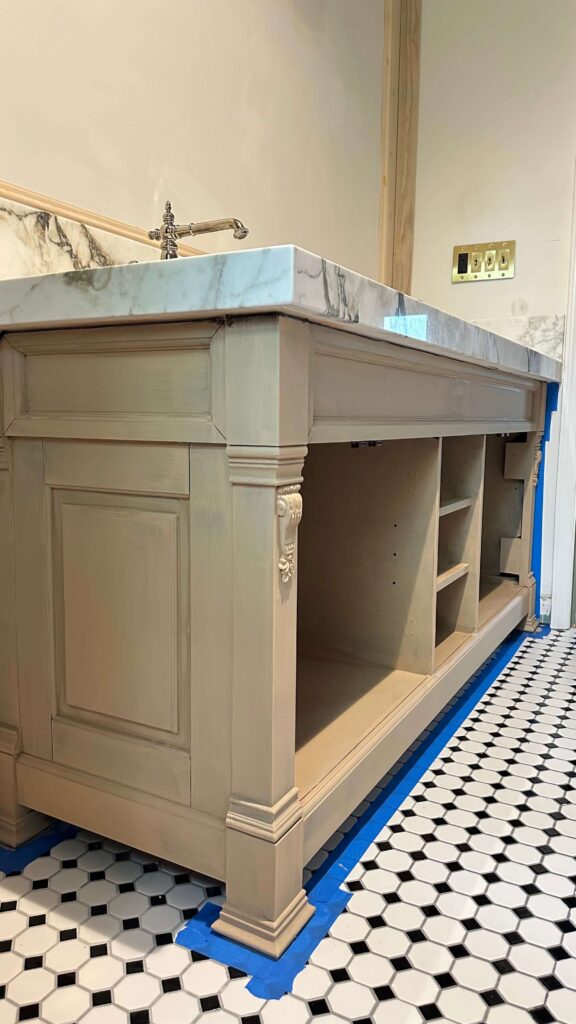
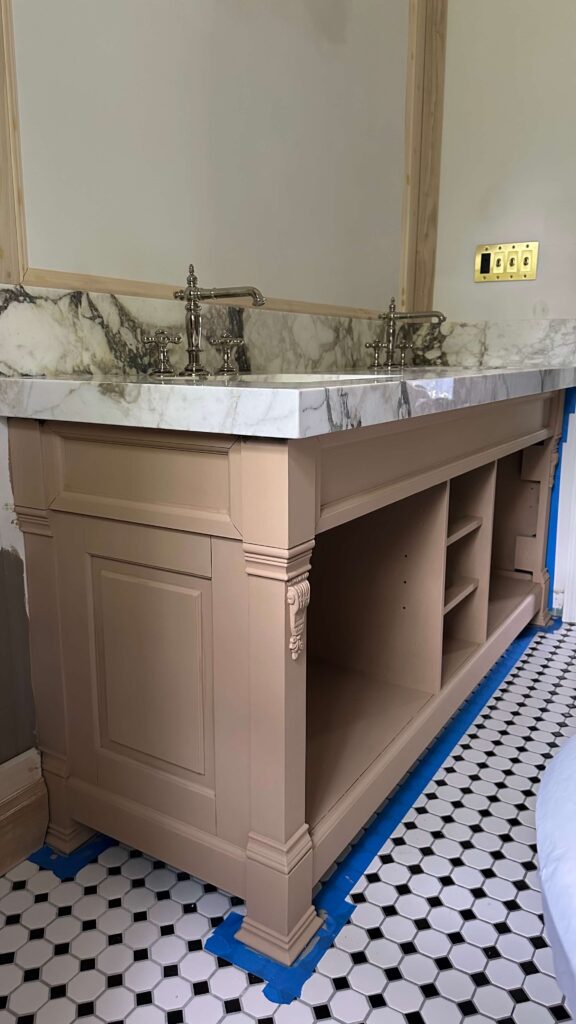
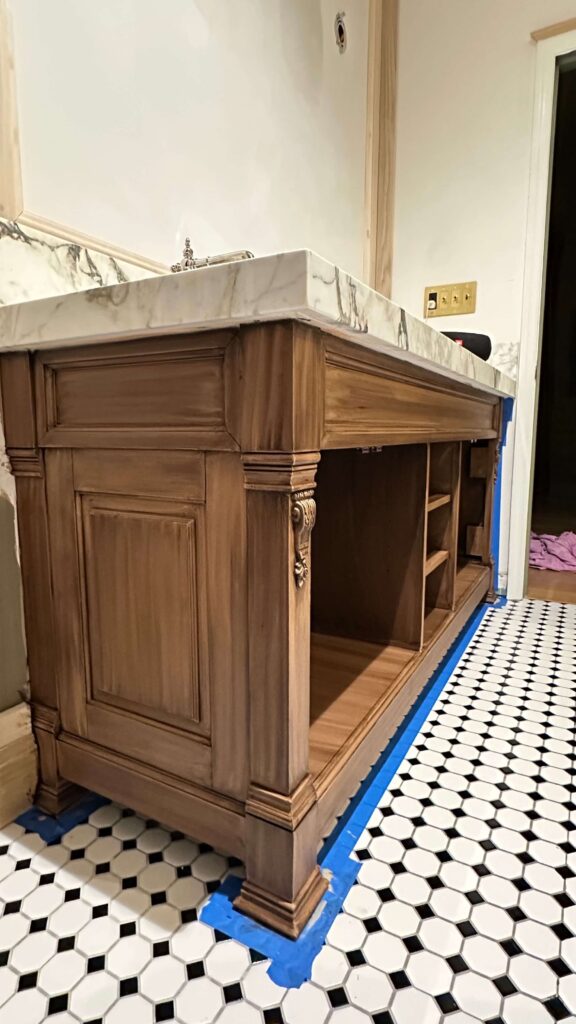
Remember when the countertop installers dripped something down the front of the black vanity drawers? Total mess. But it turned out to be the push I didn’t know I needed. I used Retique It Liquid Wood and Varathane gel stain in Dark Walnut to completely flip the finish—and now I’m in love.

Here’s how I did it:
- Removed all doors, drawers, hardware, hinges, and sliders
- Lightly sanded everything (no stripping necessary—just enough to rough it up)
- Applied 4 coats of Liquid Wood for full coverage (you may need fewer coats if your piece starts lighter)
- Stained everything with Dark Walnut gel stain using a regular paint brush and wiped it back with a paper towel
- On the recessed drawer and door fronts, I needed 3 coats to even things out
- Finished it all with 2 coats of Minwax Polycrylic in Satin for durability
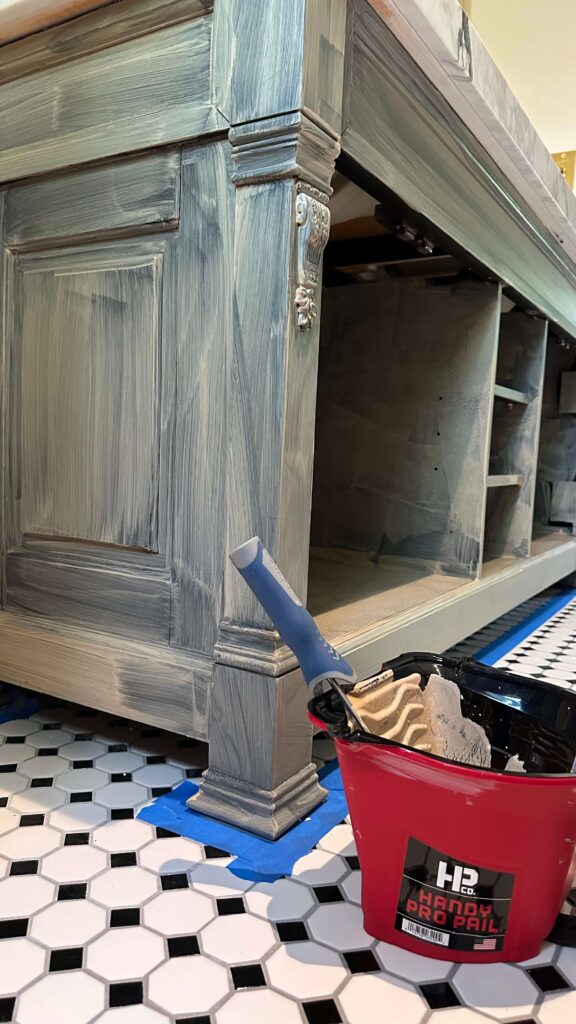

Shop: RetiqueIt Liquid Wood | Varathane Gel Stain | Poly Top Coat | Handy Paint Pail Supplies
I’ve used this method before on my dining table, so I trusted the process—and it paid off again. The walnut tone completely transformed the space and adds warmth I didn’t realize was missing.
Other DIY Primary Bathroom Renovation Progress Highlights
Here’s everything else that happened in the bathroom this week:
Electrical + Drywall
- Had the chandelier socket over the tub moved to center it correctly
- Brought in a drywall pro to patch the ceiling and smooth everything out (because a lumpy ceiling is not the look)
- Moved the electrical outlet next to the vanity to sit under the counter—no more awkward wall plug floating mid-height
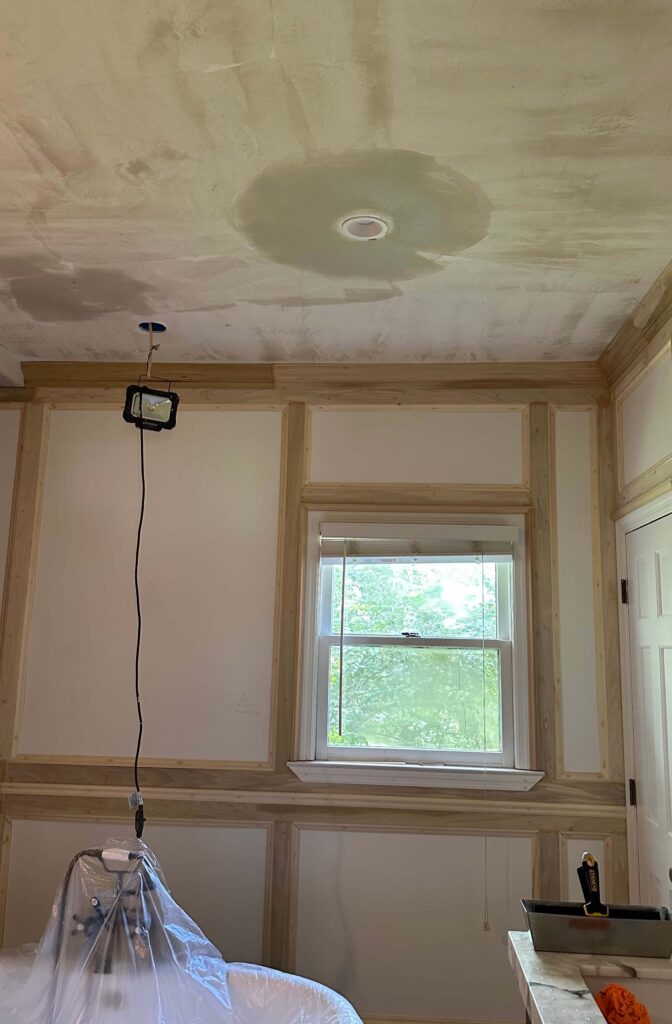
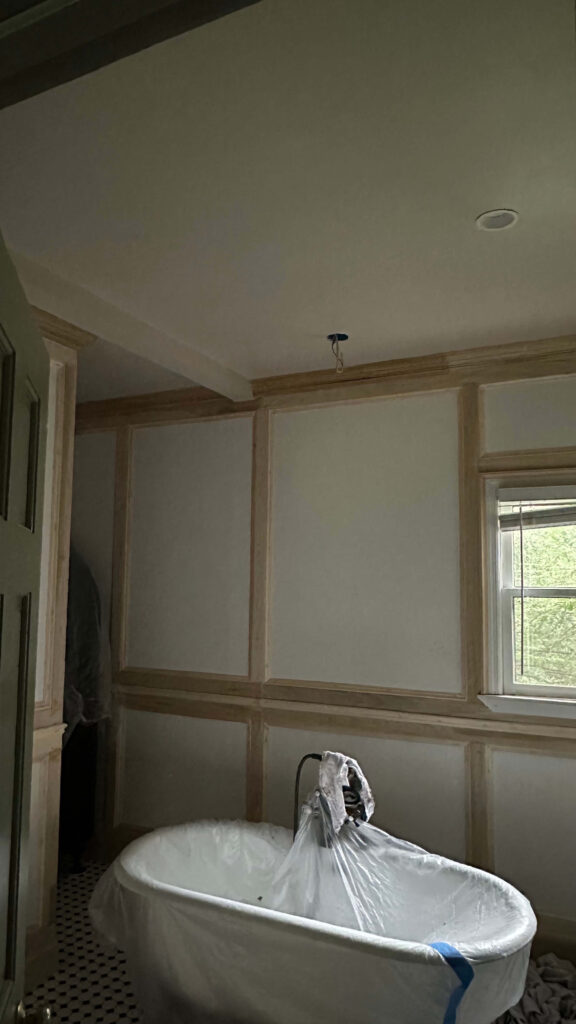
Feels so good to have a fresh ceiling!
Trim + Wall Boxes
- Finished installing the last piece of back band around the bathroom door
- Built out the wall boxes surrounding the doorway—only one left to go
- That last box? It’s going to require a precision cut around the detailed vanity trim. Still puzzling that out, but I’m close. I ordered this, and I think it’s going to help me fill gaps without requiring precise cutting. I’ll be sure to report back!
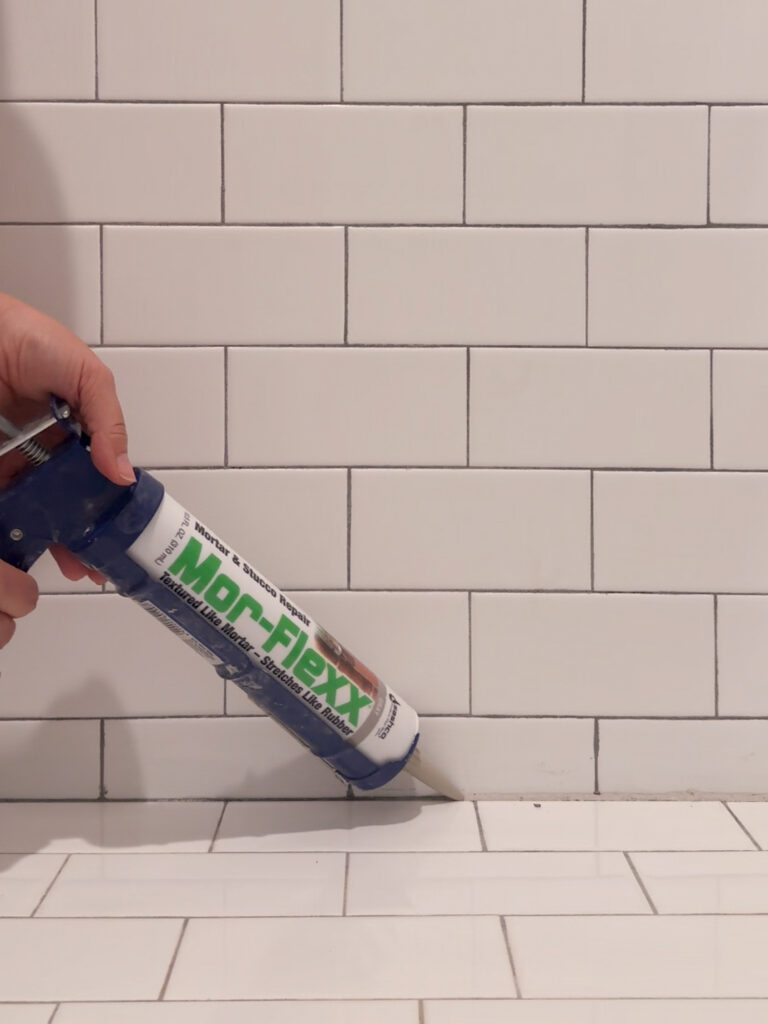
Small Repairs + Paint
- Repaired cracked grout on the shower bench with Mor-Flexx by Sashco in gray—simple fix, looks brand new
- Painted the bathroom ceiling in Farrow & Ball’s “Stirabout”
- Used their light-toned primer first (highly recommend if you want their paints to perform well)
- Followed with 2 coats of Stirabout for a clean, bright finish.
- Some notes on painting supplies: I tried a new painting tool for the ceilings (this paint pad) and I’m officially hooked! It was faster, less messy and resulted in the smoothest finish! I’m buying refills and plan to use this for the walls. I also used this Handy Paint Pail Cup with a liner and a lid which was perfect for a job that has multiple coats. It made clean up a breeze and I was able to leave my paint in the cup overnight without worrying about it drying out. Highly recommend Handy Paint Pail products for any painting project you have lined up!
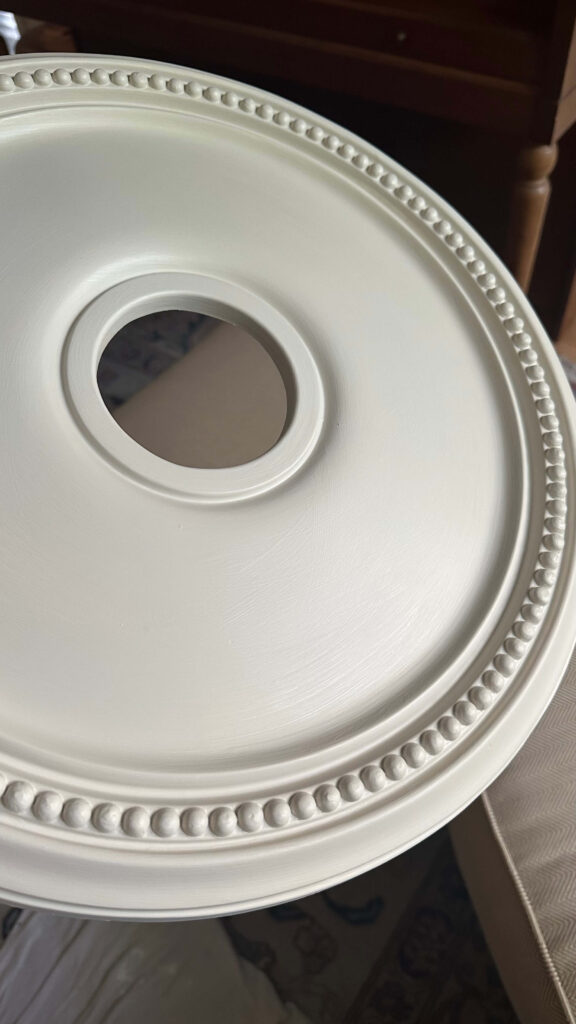
- I also painted my new ceiling medallion which will go above the bathtub. I think it’s going to add that extra special touch to the finished space!
Shop: Mor-Flexx Sealant | Ceiling Medallion
Filling the Gaps & Cracks
Perhaps one of the most unexciting parts of any custom millwork projects is filling the gaps, holes and whatnots. However taking time to do this part of the project the right way is what’s going to give you a seamless professional finish. Here’s what I did:
- All nail holes and miter joints (the inside corners of every single box) got filled with wood filler (I like this option) and then sanded. I also added wood filler where I butted up two pieces of trim on the outside corners. Given there were over 1500 nail holes, this was daunting!
- All seams got a fresh bead of caulk. I like Big Stretch for this, as it stretches as the house will expand and contract with temperatures, and it’s paintable.
- Seams include the top and bottom of the crown molding, the top of the baseboards, and the top, sides and bottoms of all the poplar boards, picture frame molding and chair rail. I went through 9.5 bottles of Big Stretch for this!
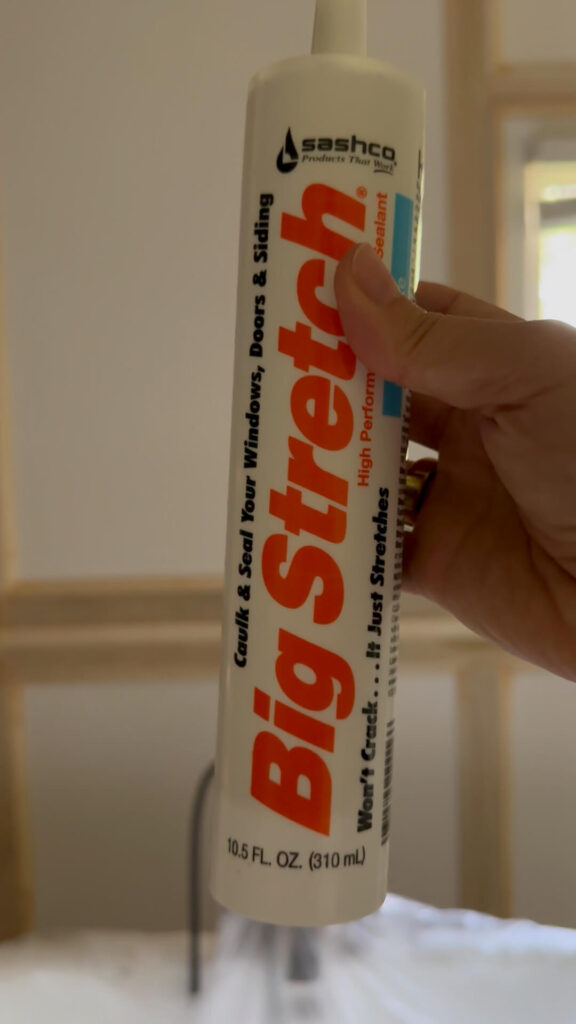
Shop: Big Stretch Caulk
What’s Next for the DIY Primary Bathroom Renovation?
This coming week is all about details:
- Finish that final wall box next to the vanity
- Prime the walls and apply 2 coats of paint
- Install the vintage chandelier above the tub and wall sconces above the vanity
- Reinstall vanity drawers and doors, plus new hardware
- Schedule the plumber to reinstall the freestanding tub and switch out the faucet from oil-rubbed bronze to this vintage polished nickel version
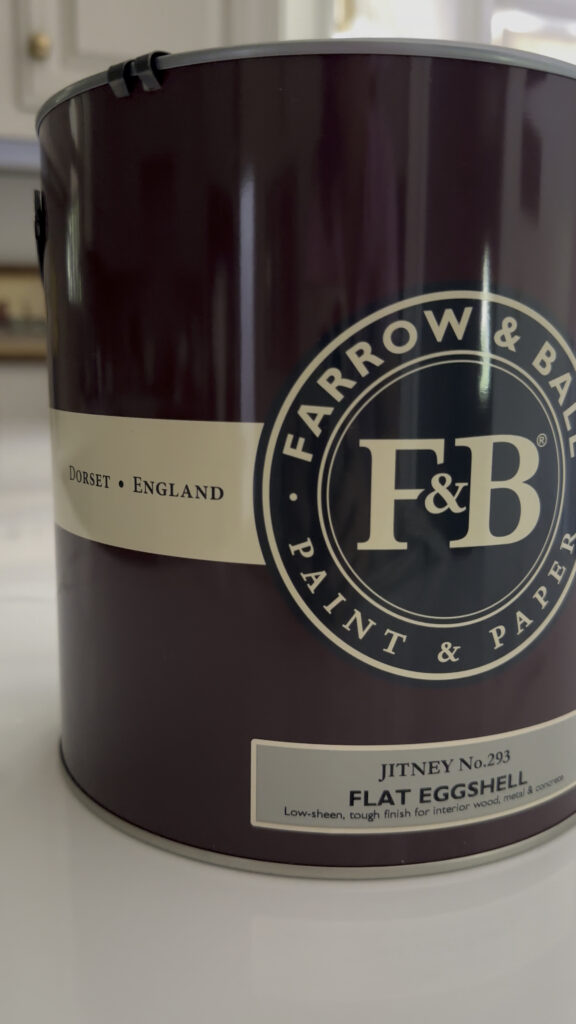
The paint for the primary bathroom will be Farrow & Ball’s Jitney! I’m using a new finish: Flat Eggshell.
It sounds like a lot, but we’re solidly in the homestretch now. The transformation is starting to really take shape, and I can’t wait to share the final reveal.
Thanks for following along! More pretty details and finished shots coming soon. If you’re tackling your own vanity flip or bathroom renovation, drop your questions in the comments—I’m happy to share tips.
Catch Up on the Primary Bathroom Renovation Journey
Spring 2025 One Room Challenge Week 1
Spring 2025 One Room Challenge Week 2
Spring 2025 One Room Challenge Week 3
Spring 2025 One Room Challenge Week 4
Spring 2025 One Room Challenge Week 5
Spring 2025 One Room Challenge Week 6 & 7


