Not too long ago, a type of paint called “chalk paint” was all the rage. I don’t know if it was the look of the finish that attracted people, or the ease of application, but everywhere you turned, something was being refinished with chalk paint. As with most things, what comes around goes around and chalk paint is no longer the life of the party. So now what? Well the good news is, it can be undone. The bad news is, it isn’t easy. So using my experience as a firsthand example, lets dive into how to remove chalk paint.
Back in 2011, I fell victim to purchasing a dresser that was painted in a pastel blue chalk paint. I’ve never really liked the color, so I think I must have been attracted to the shape of the actual piece itself, but I remember being so excited about it. I purchased it from Etsy and paid way too much for shipping, but you don’t know what you don’t know.
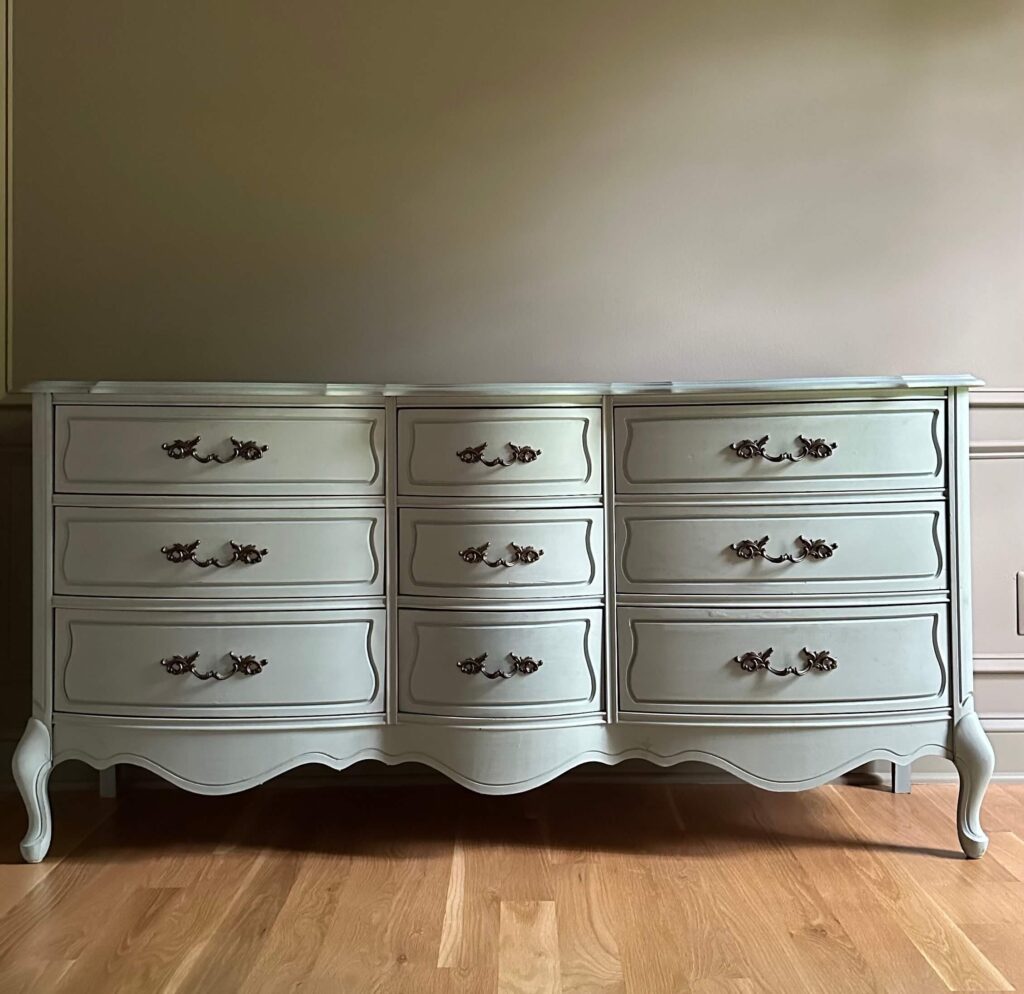
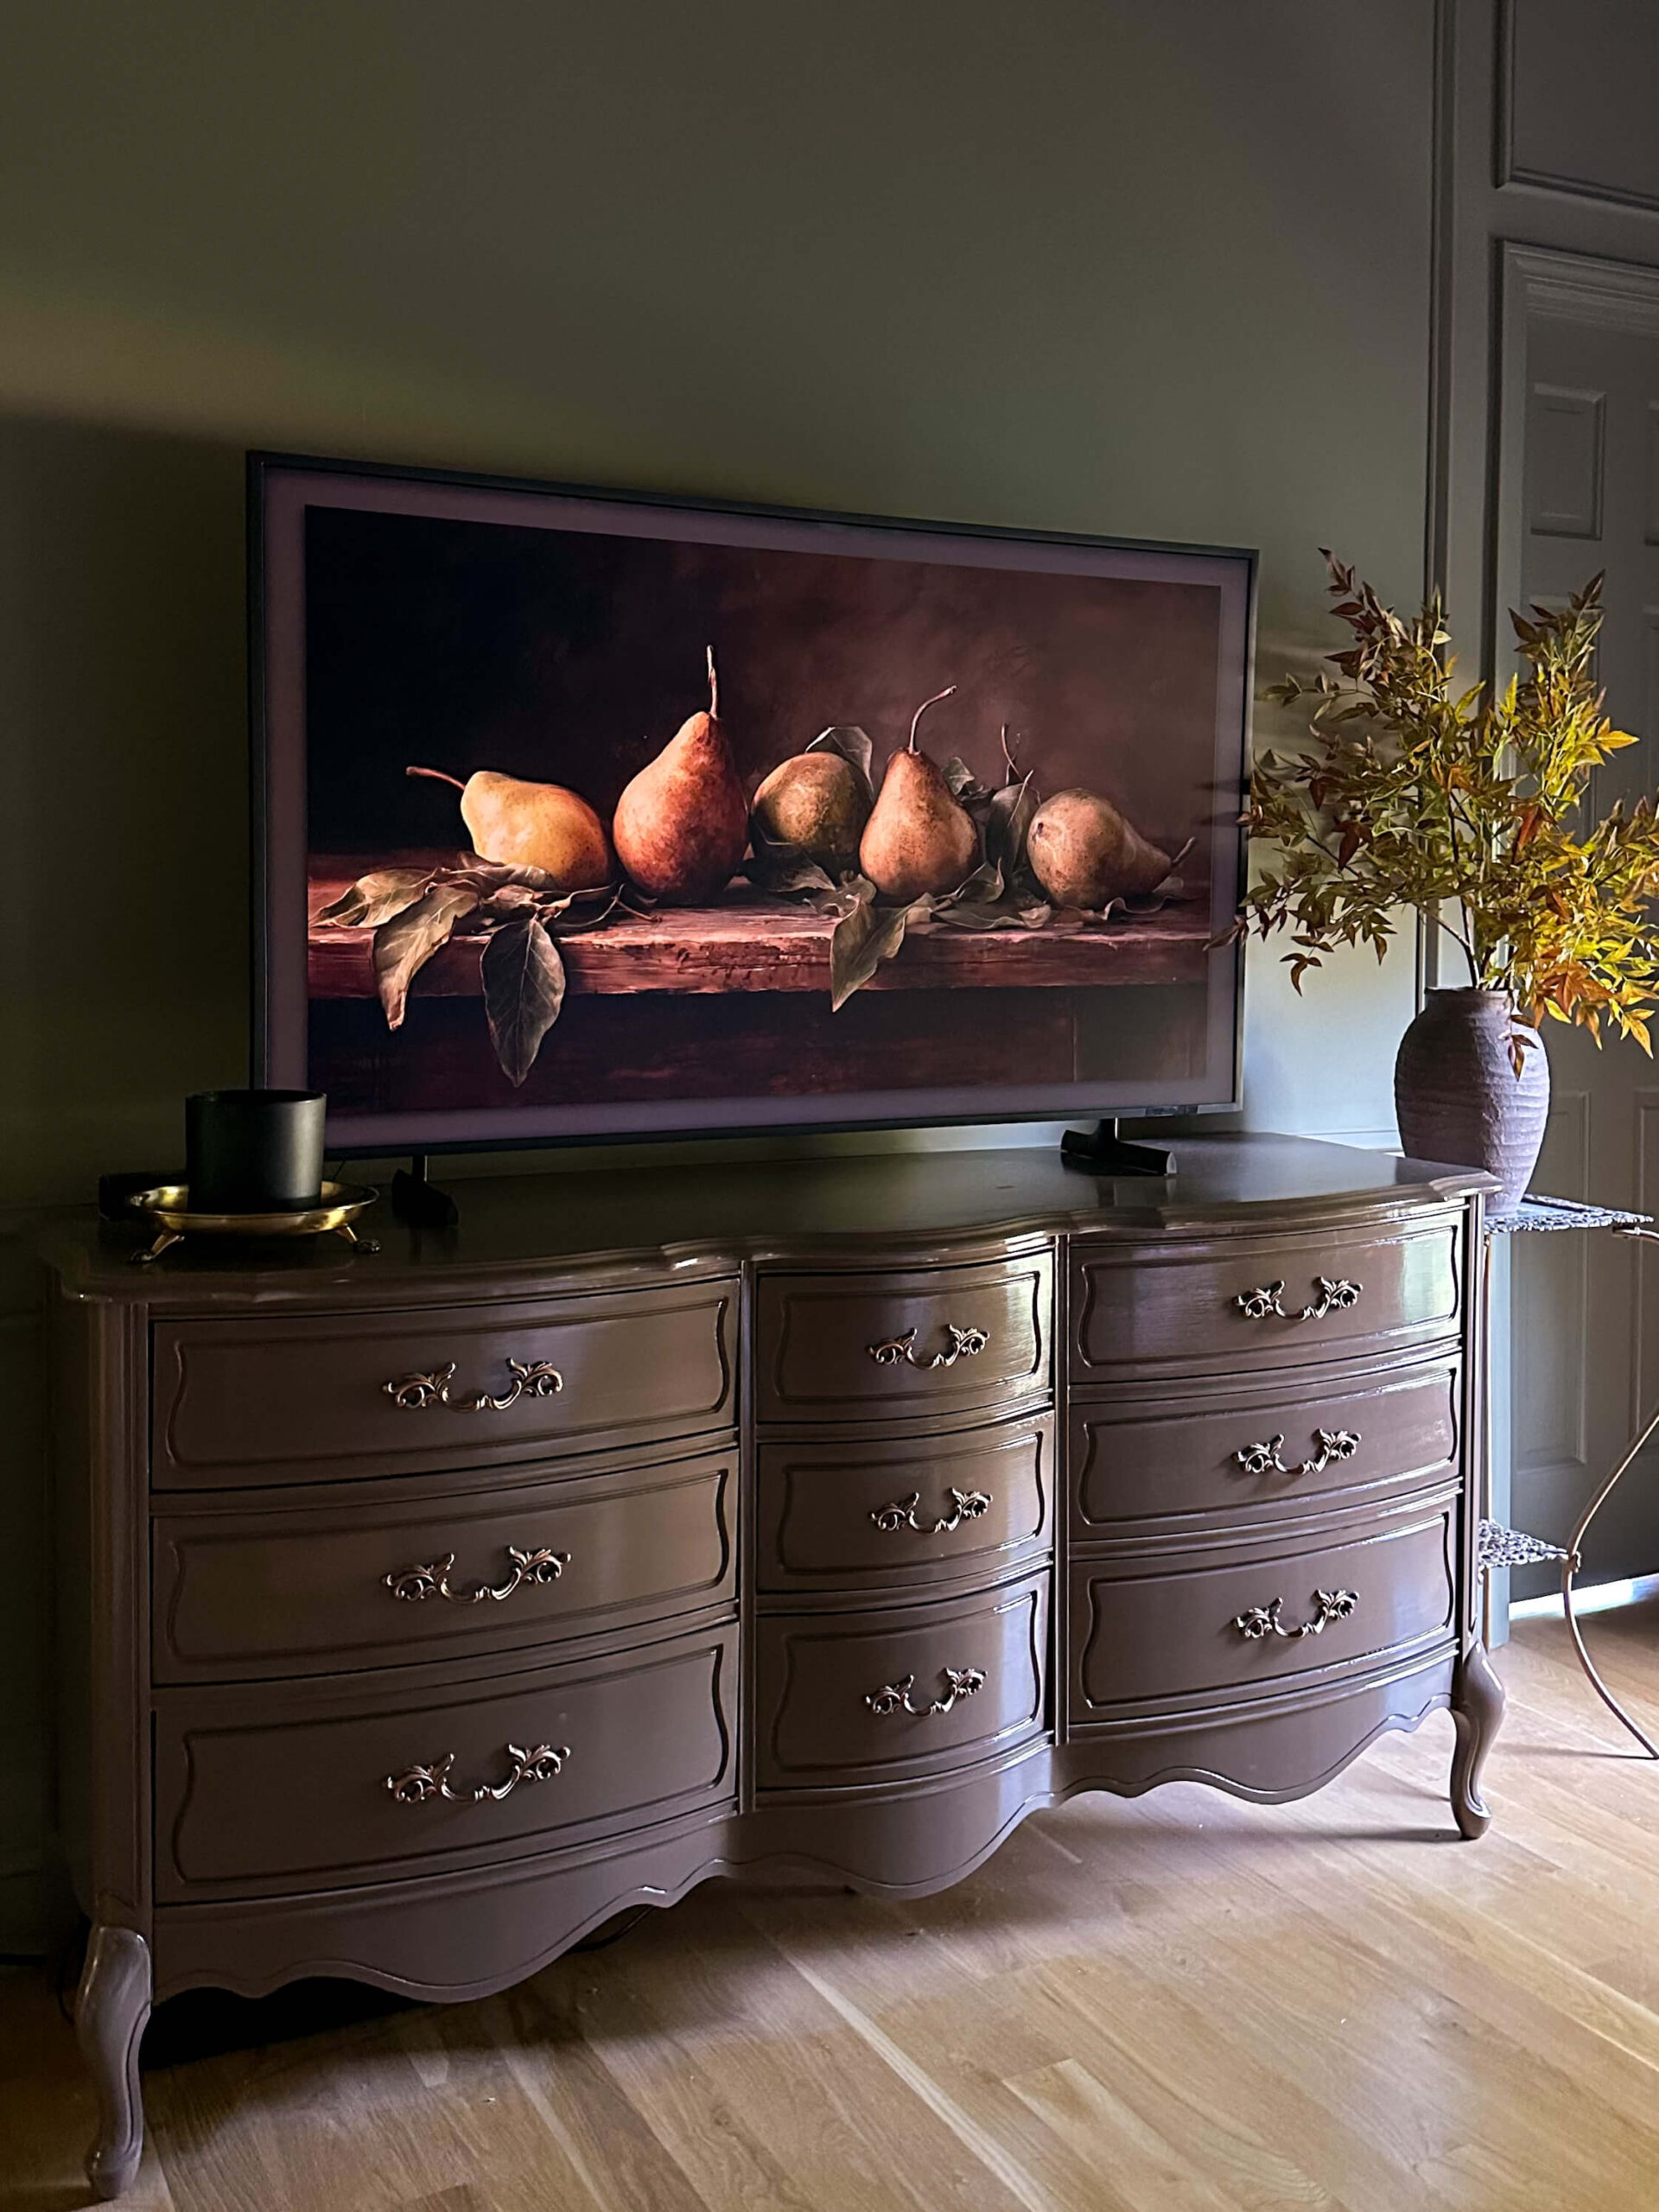
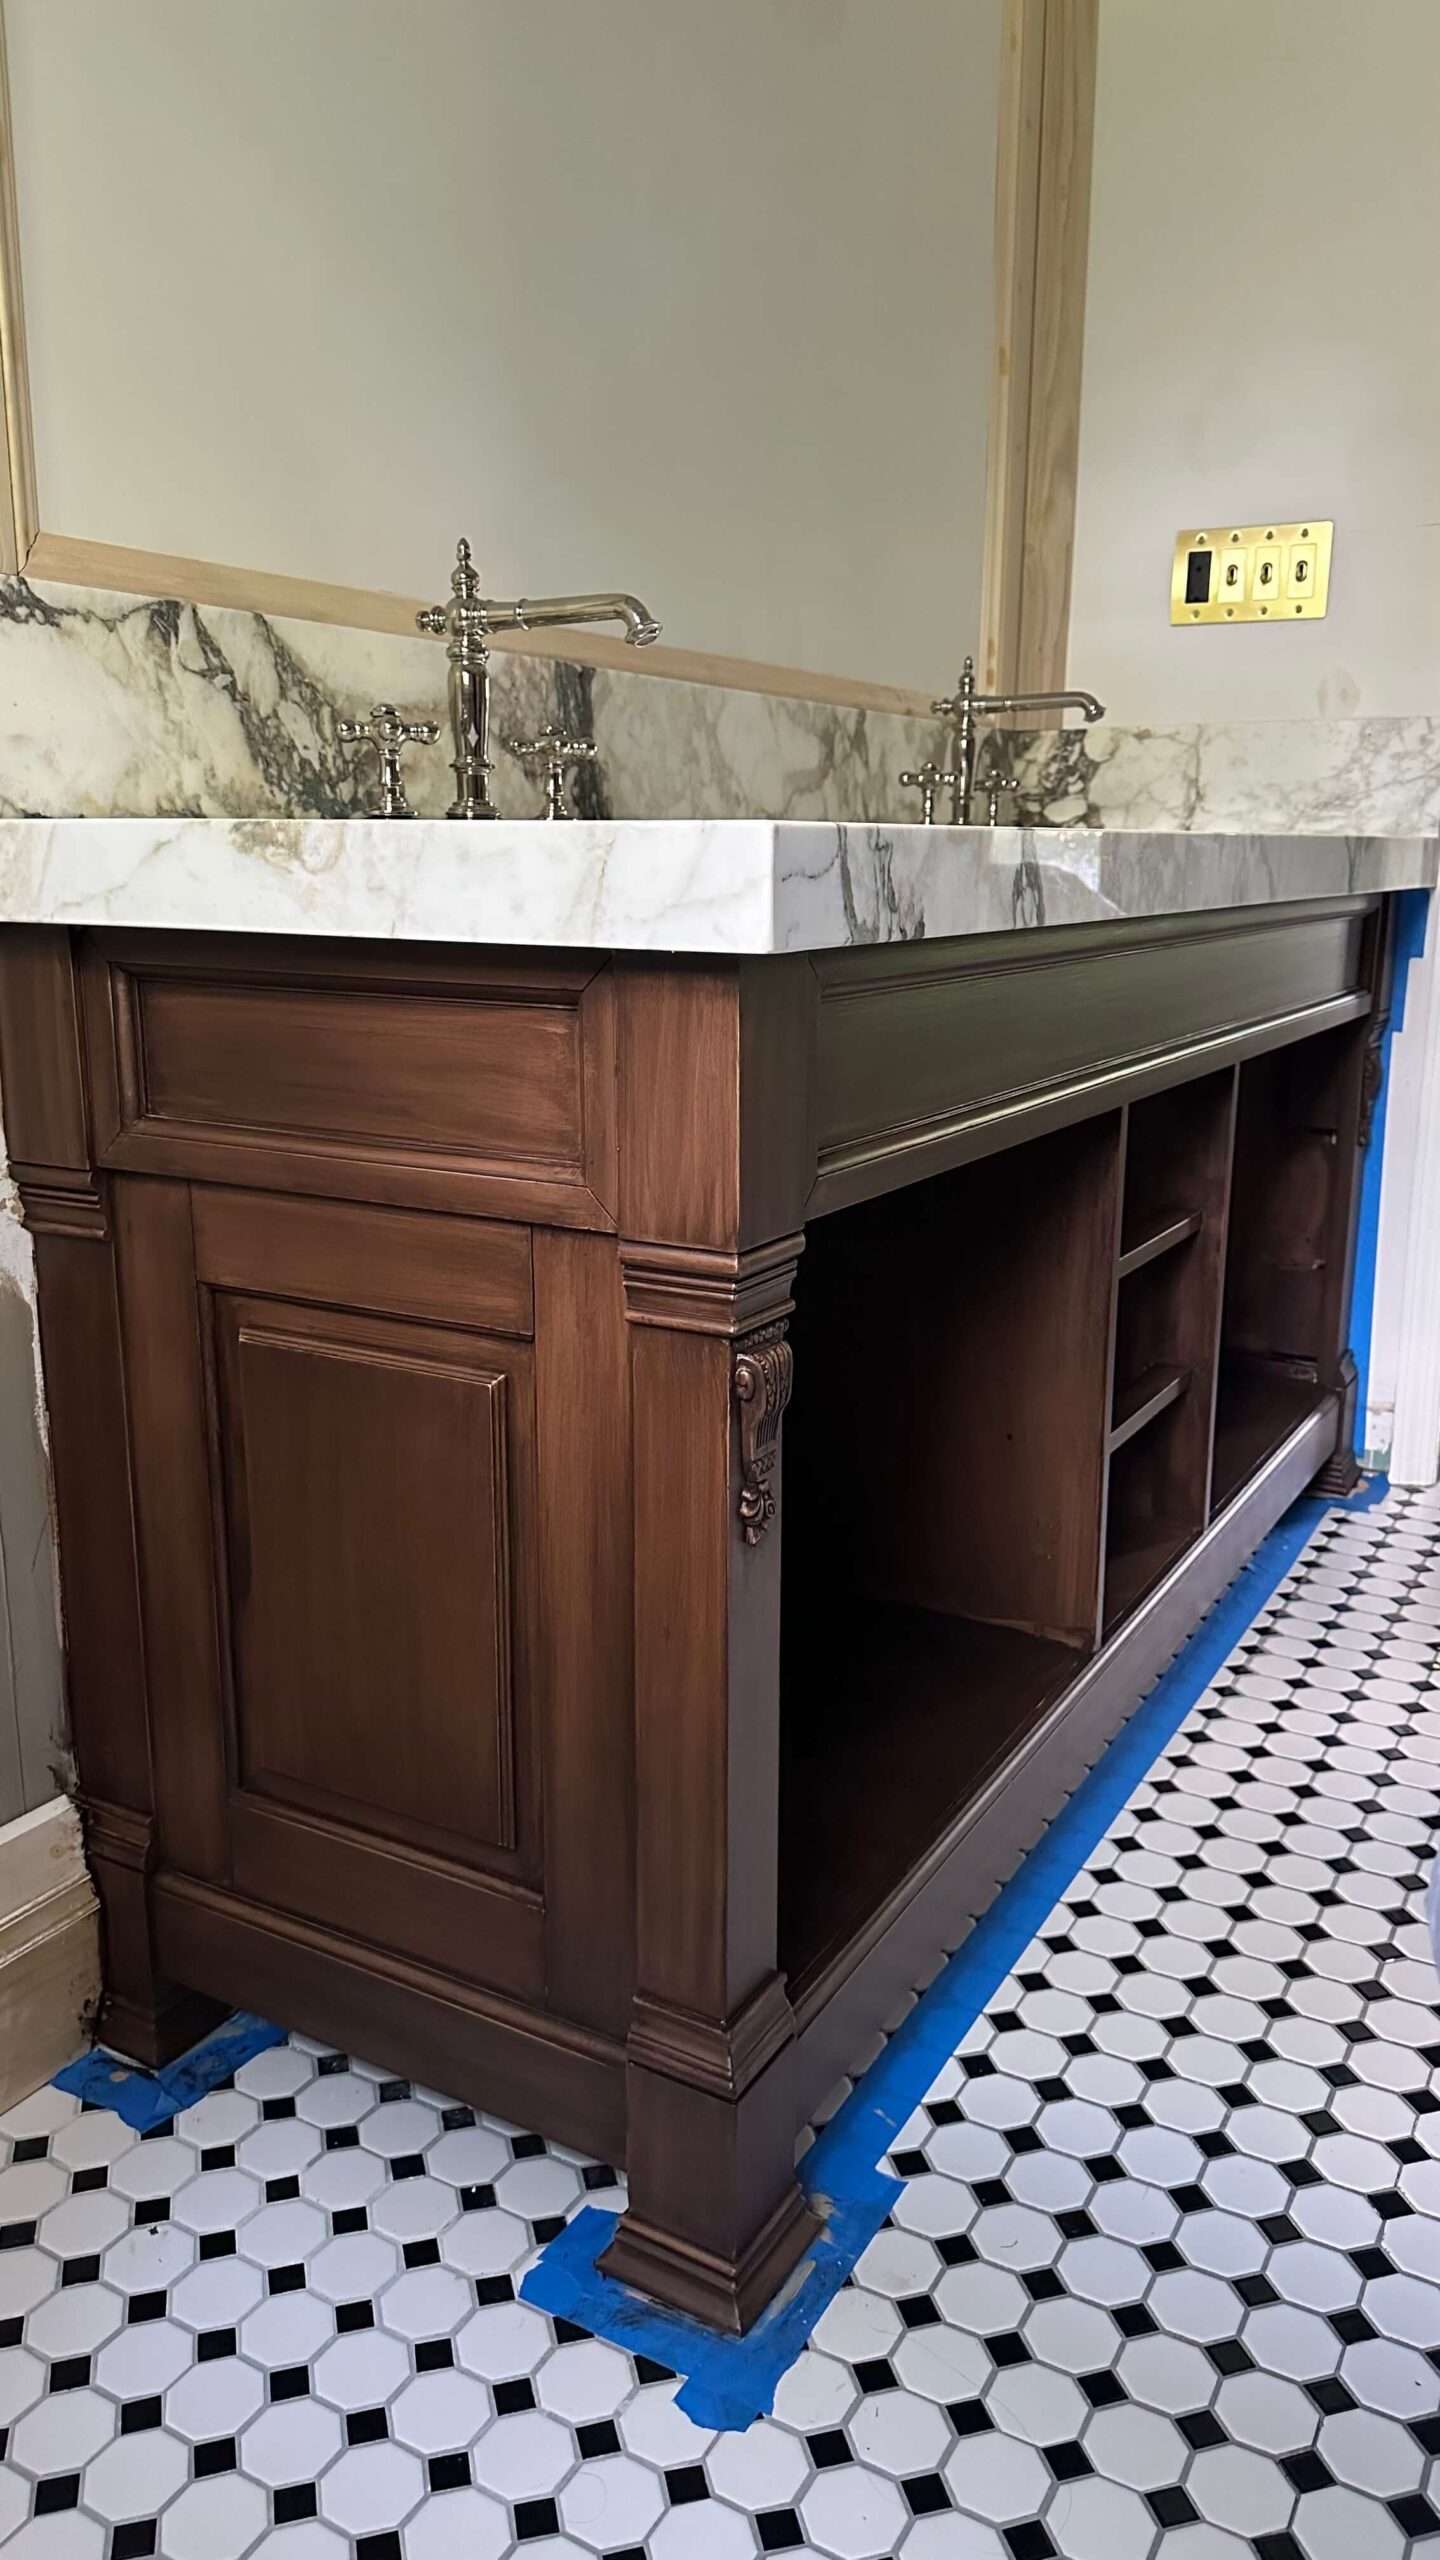
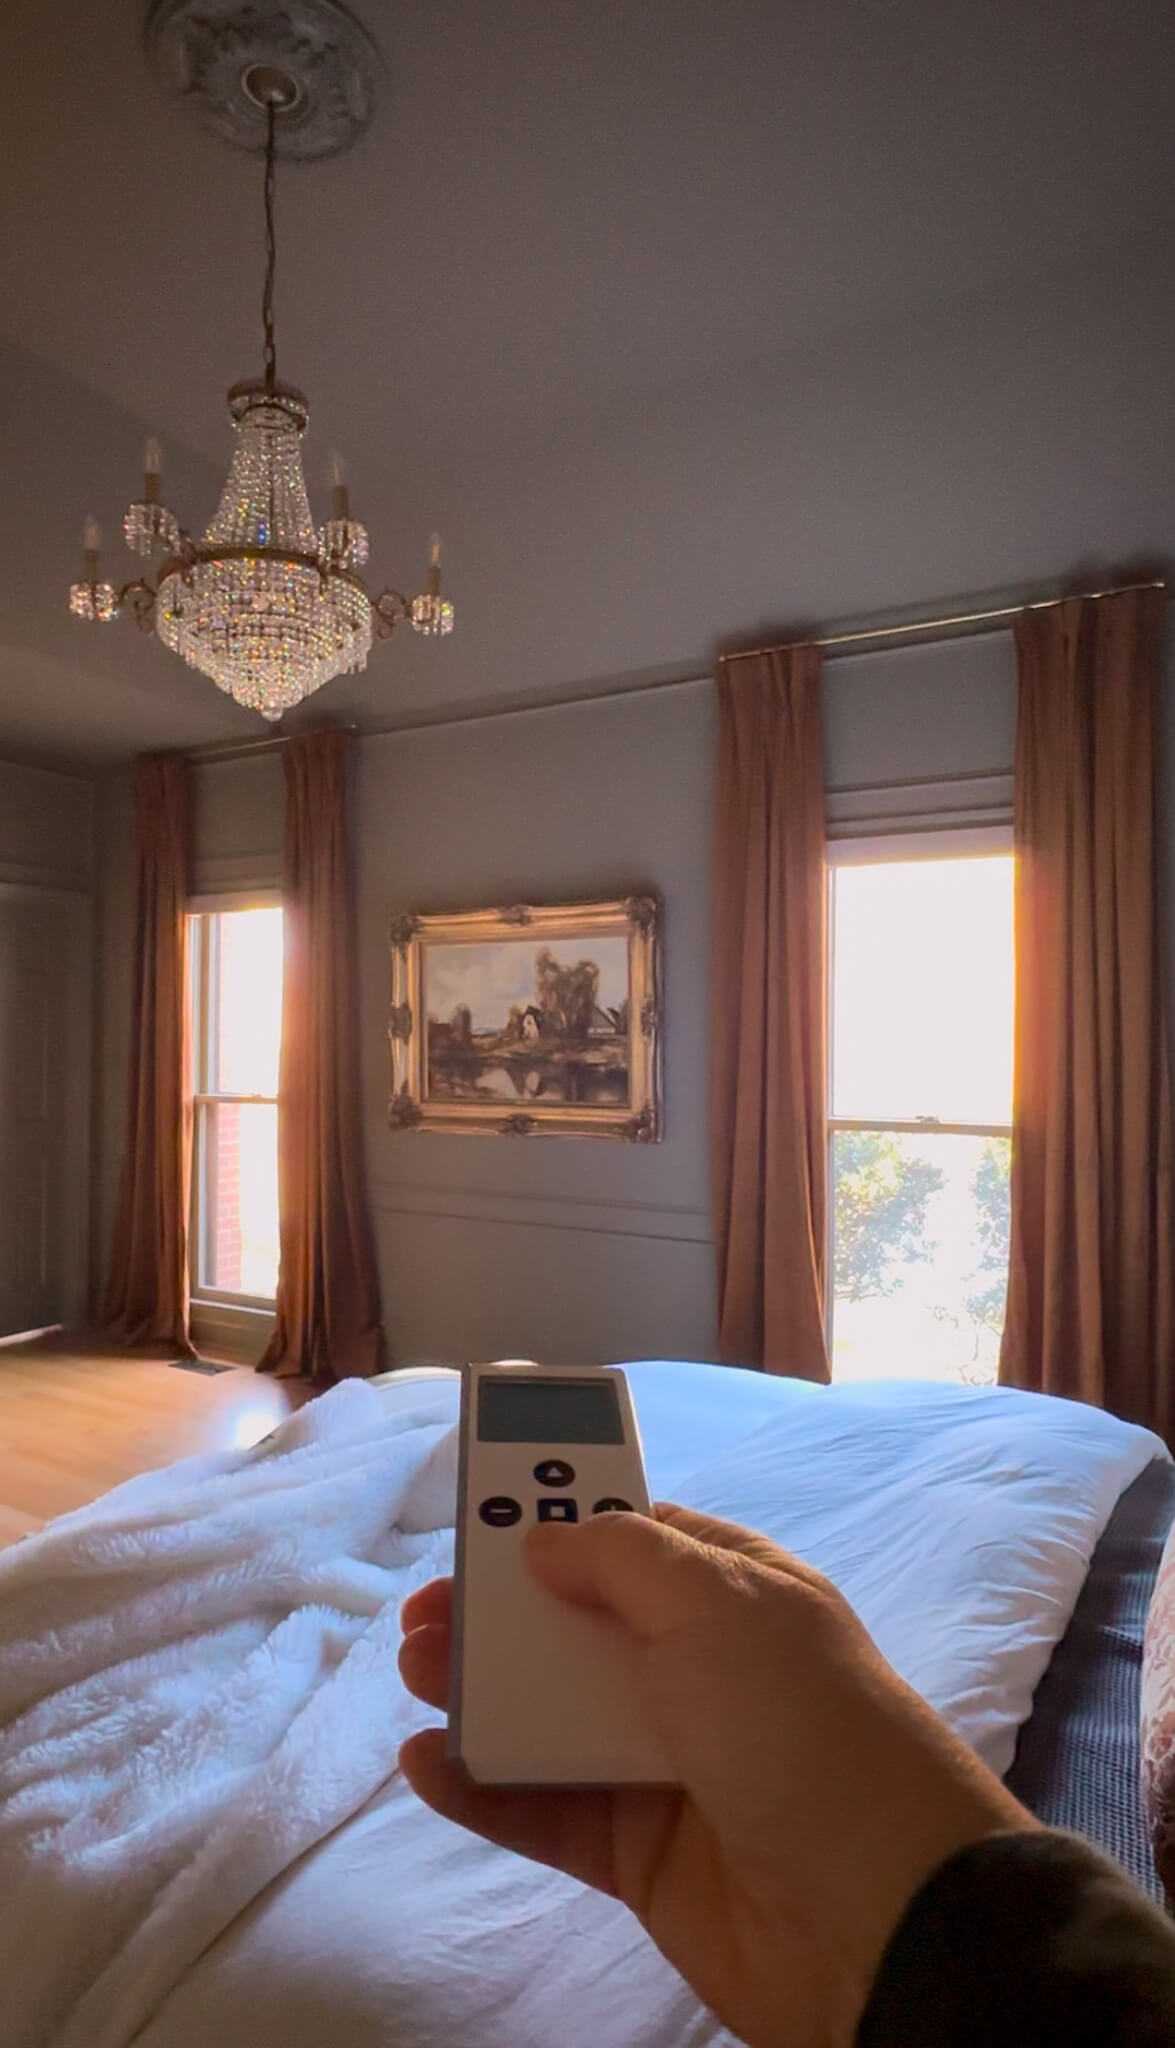
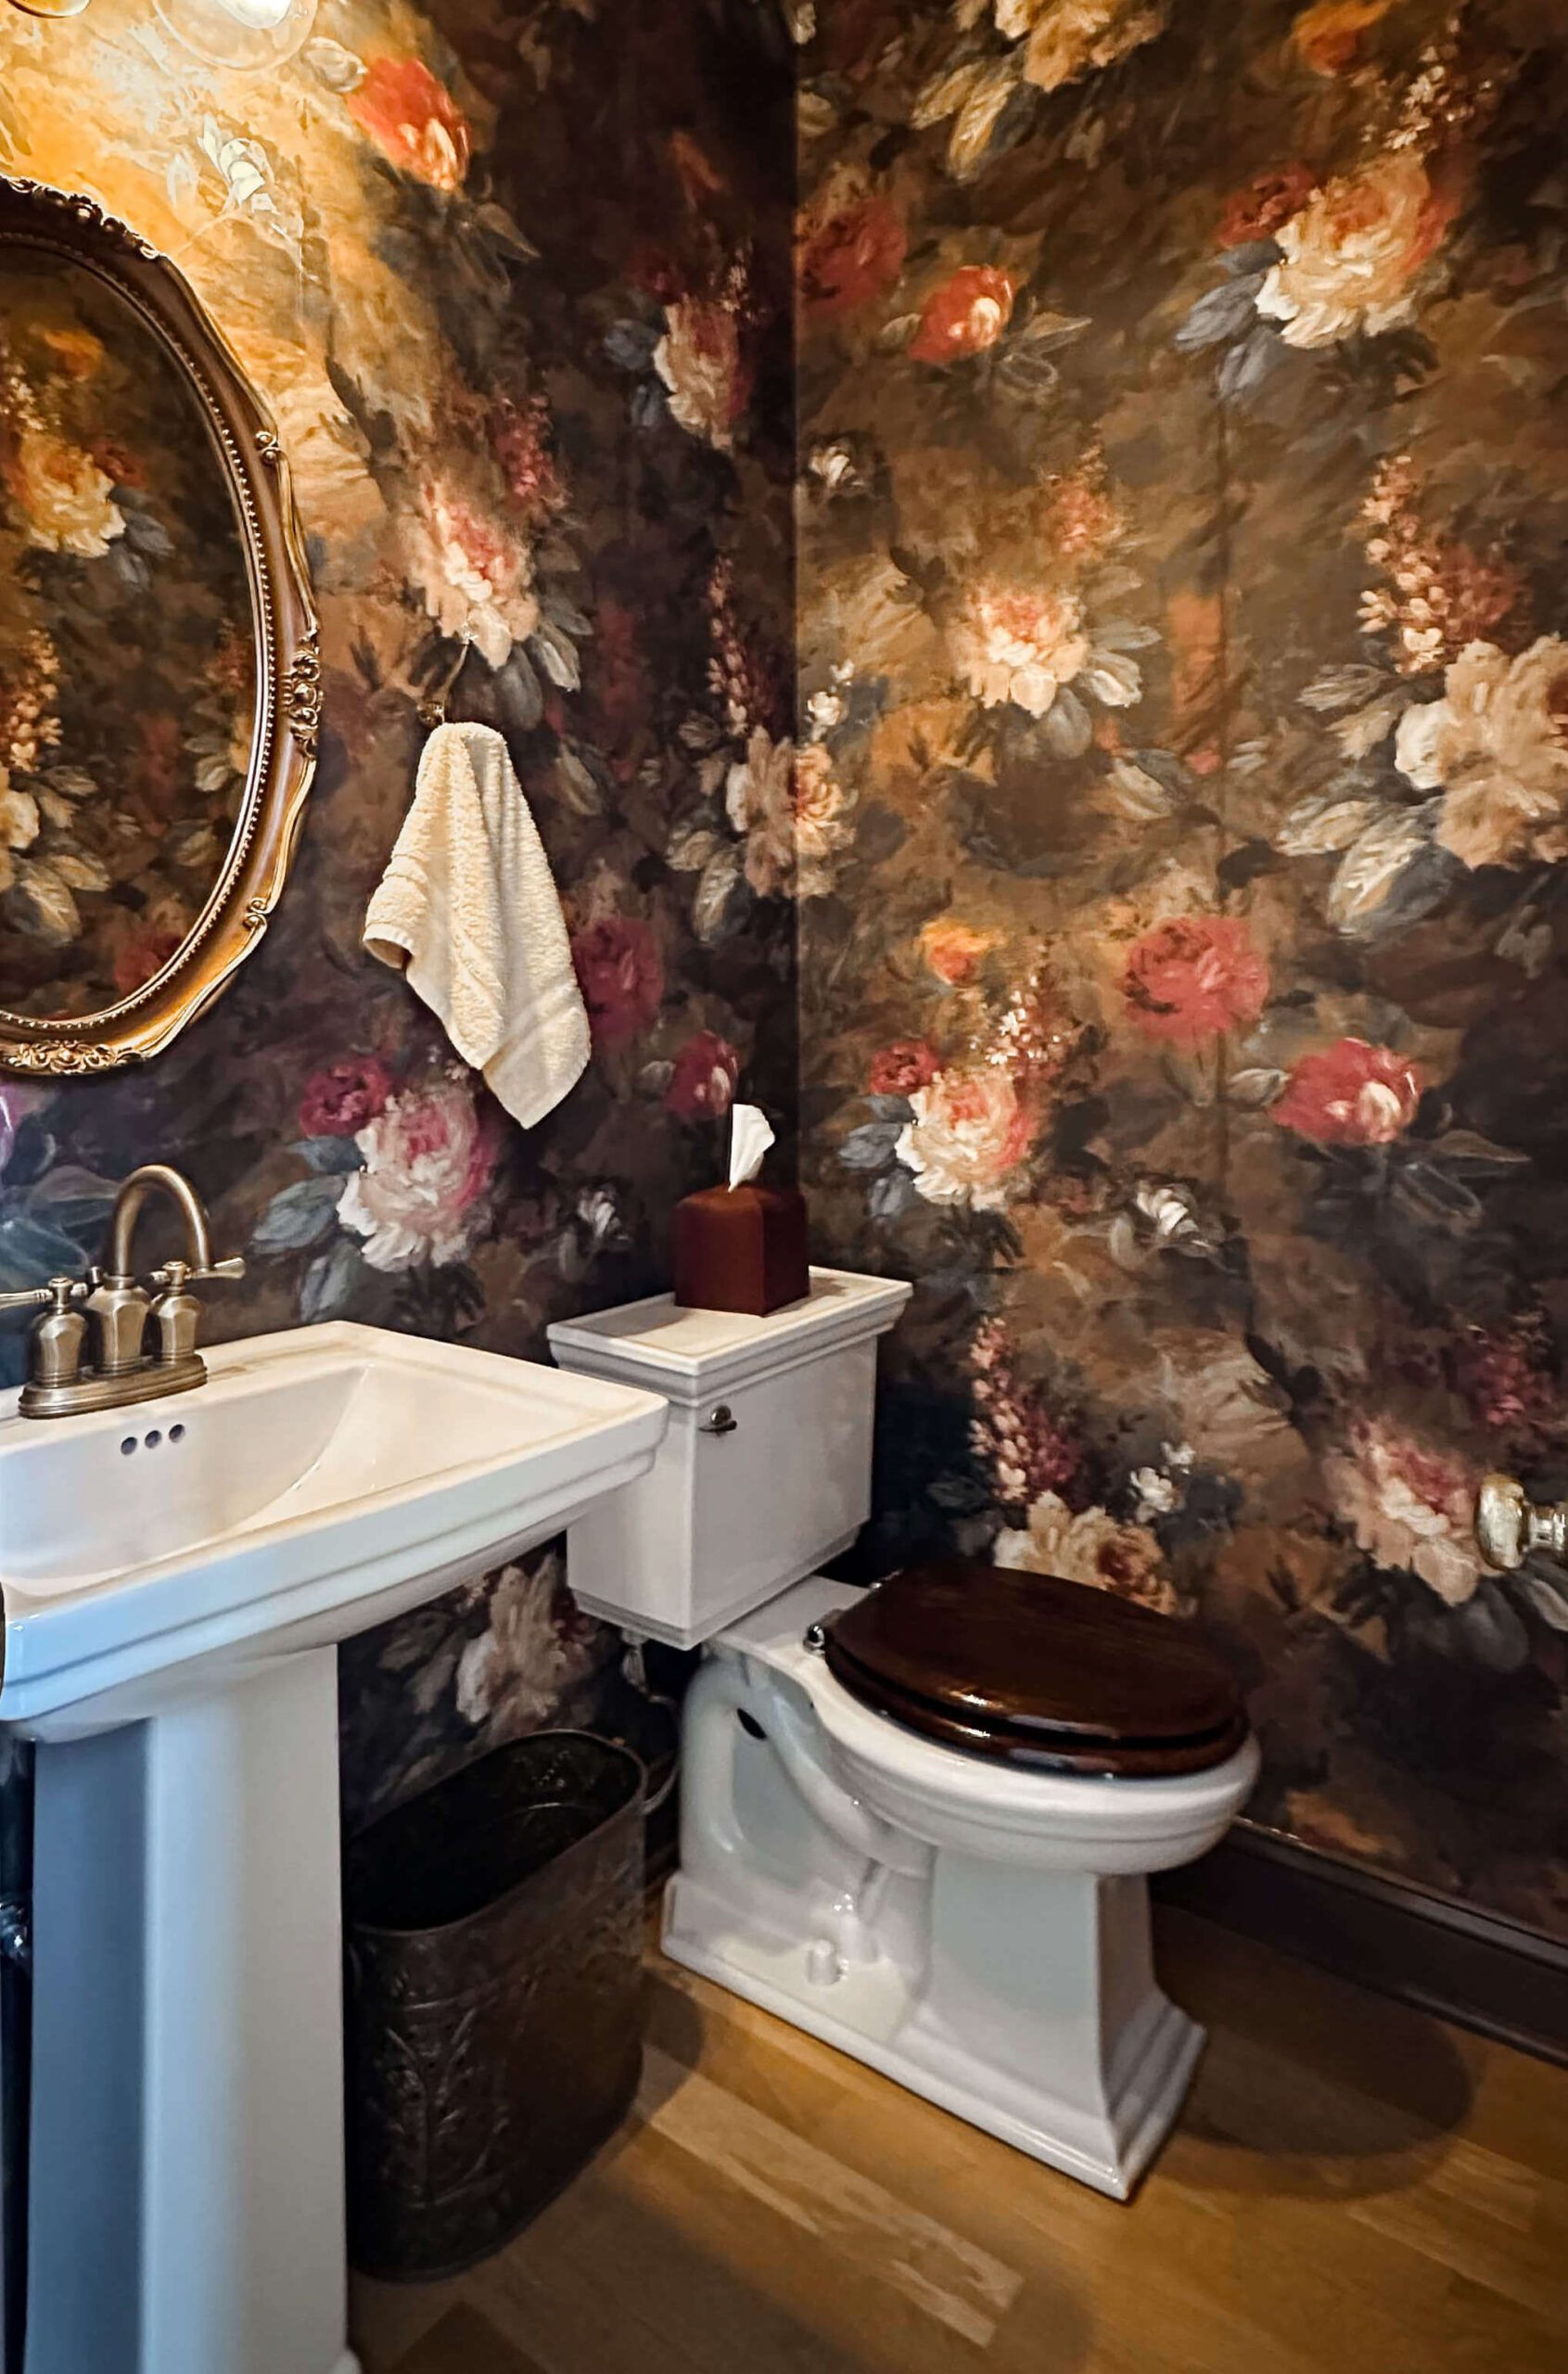
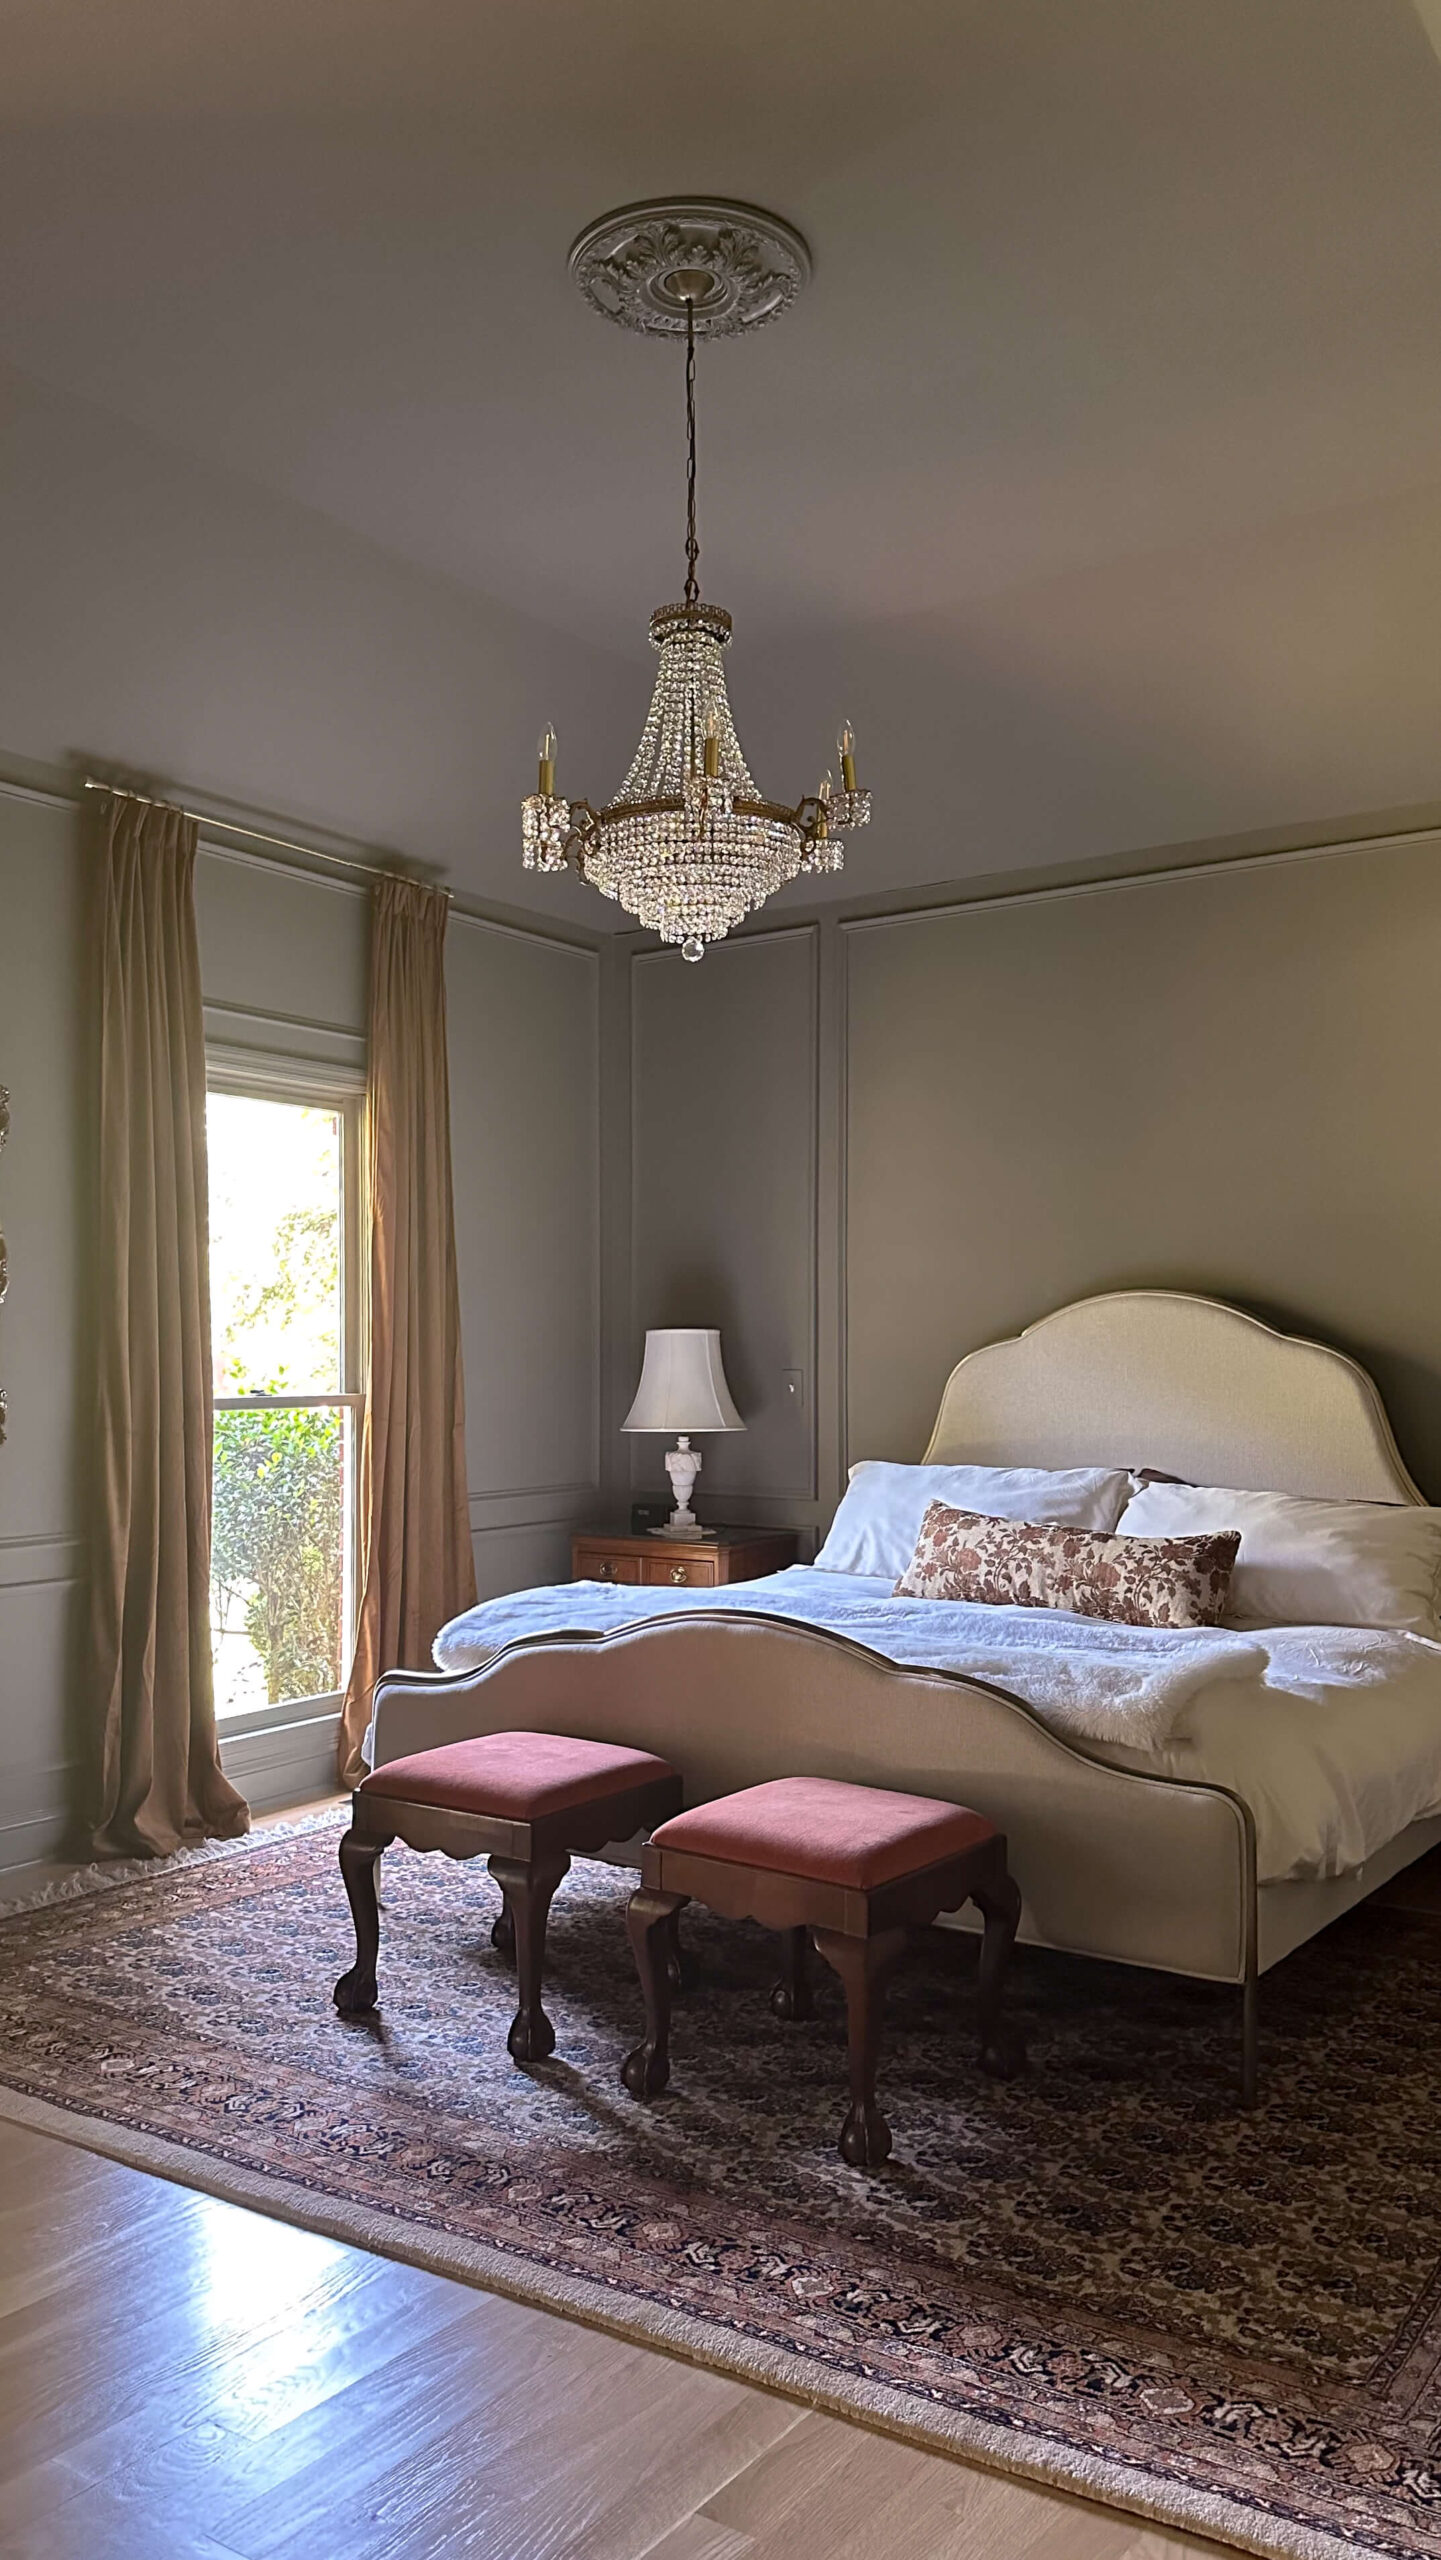
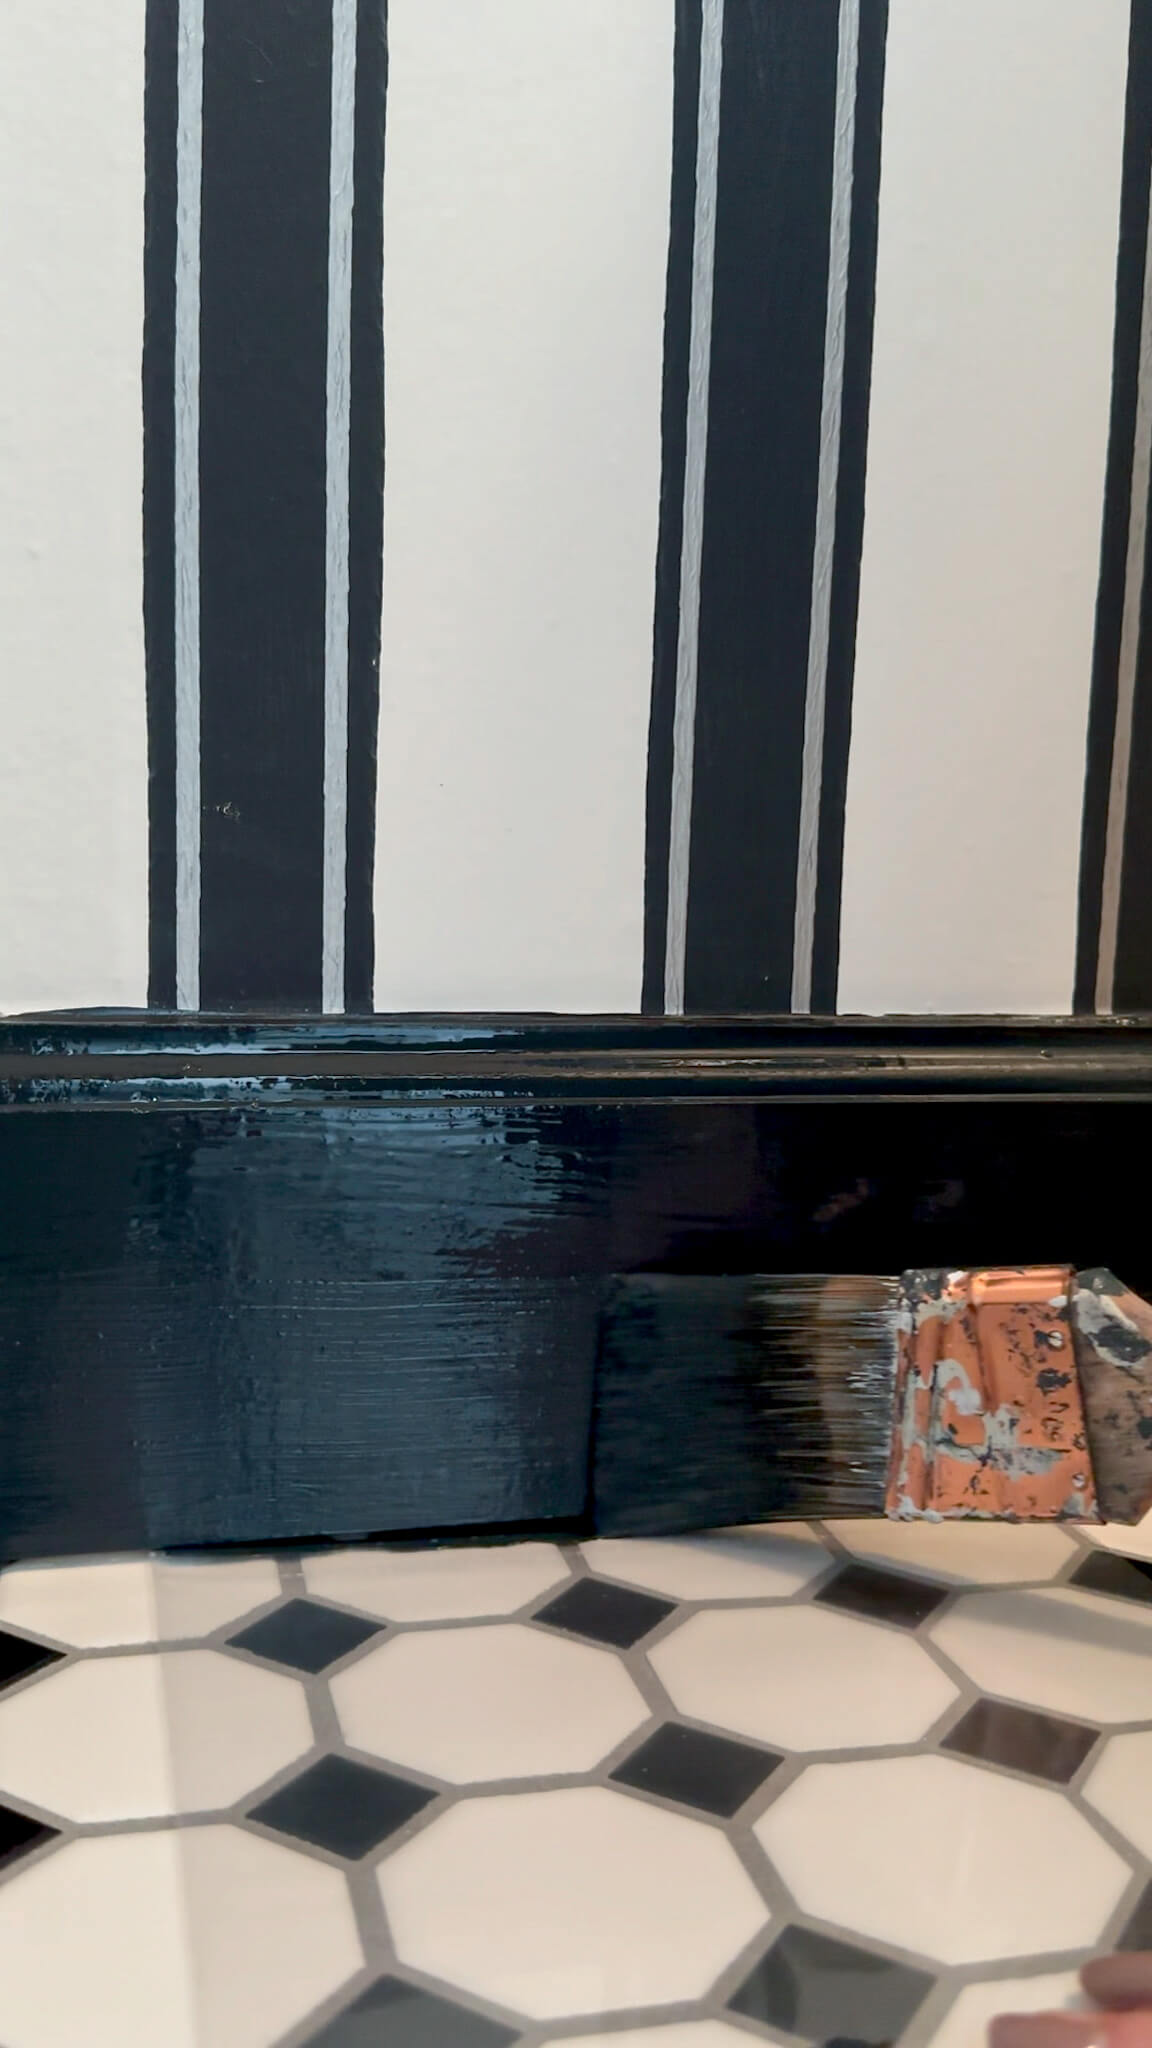
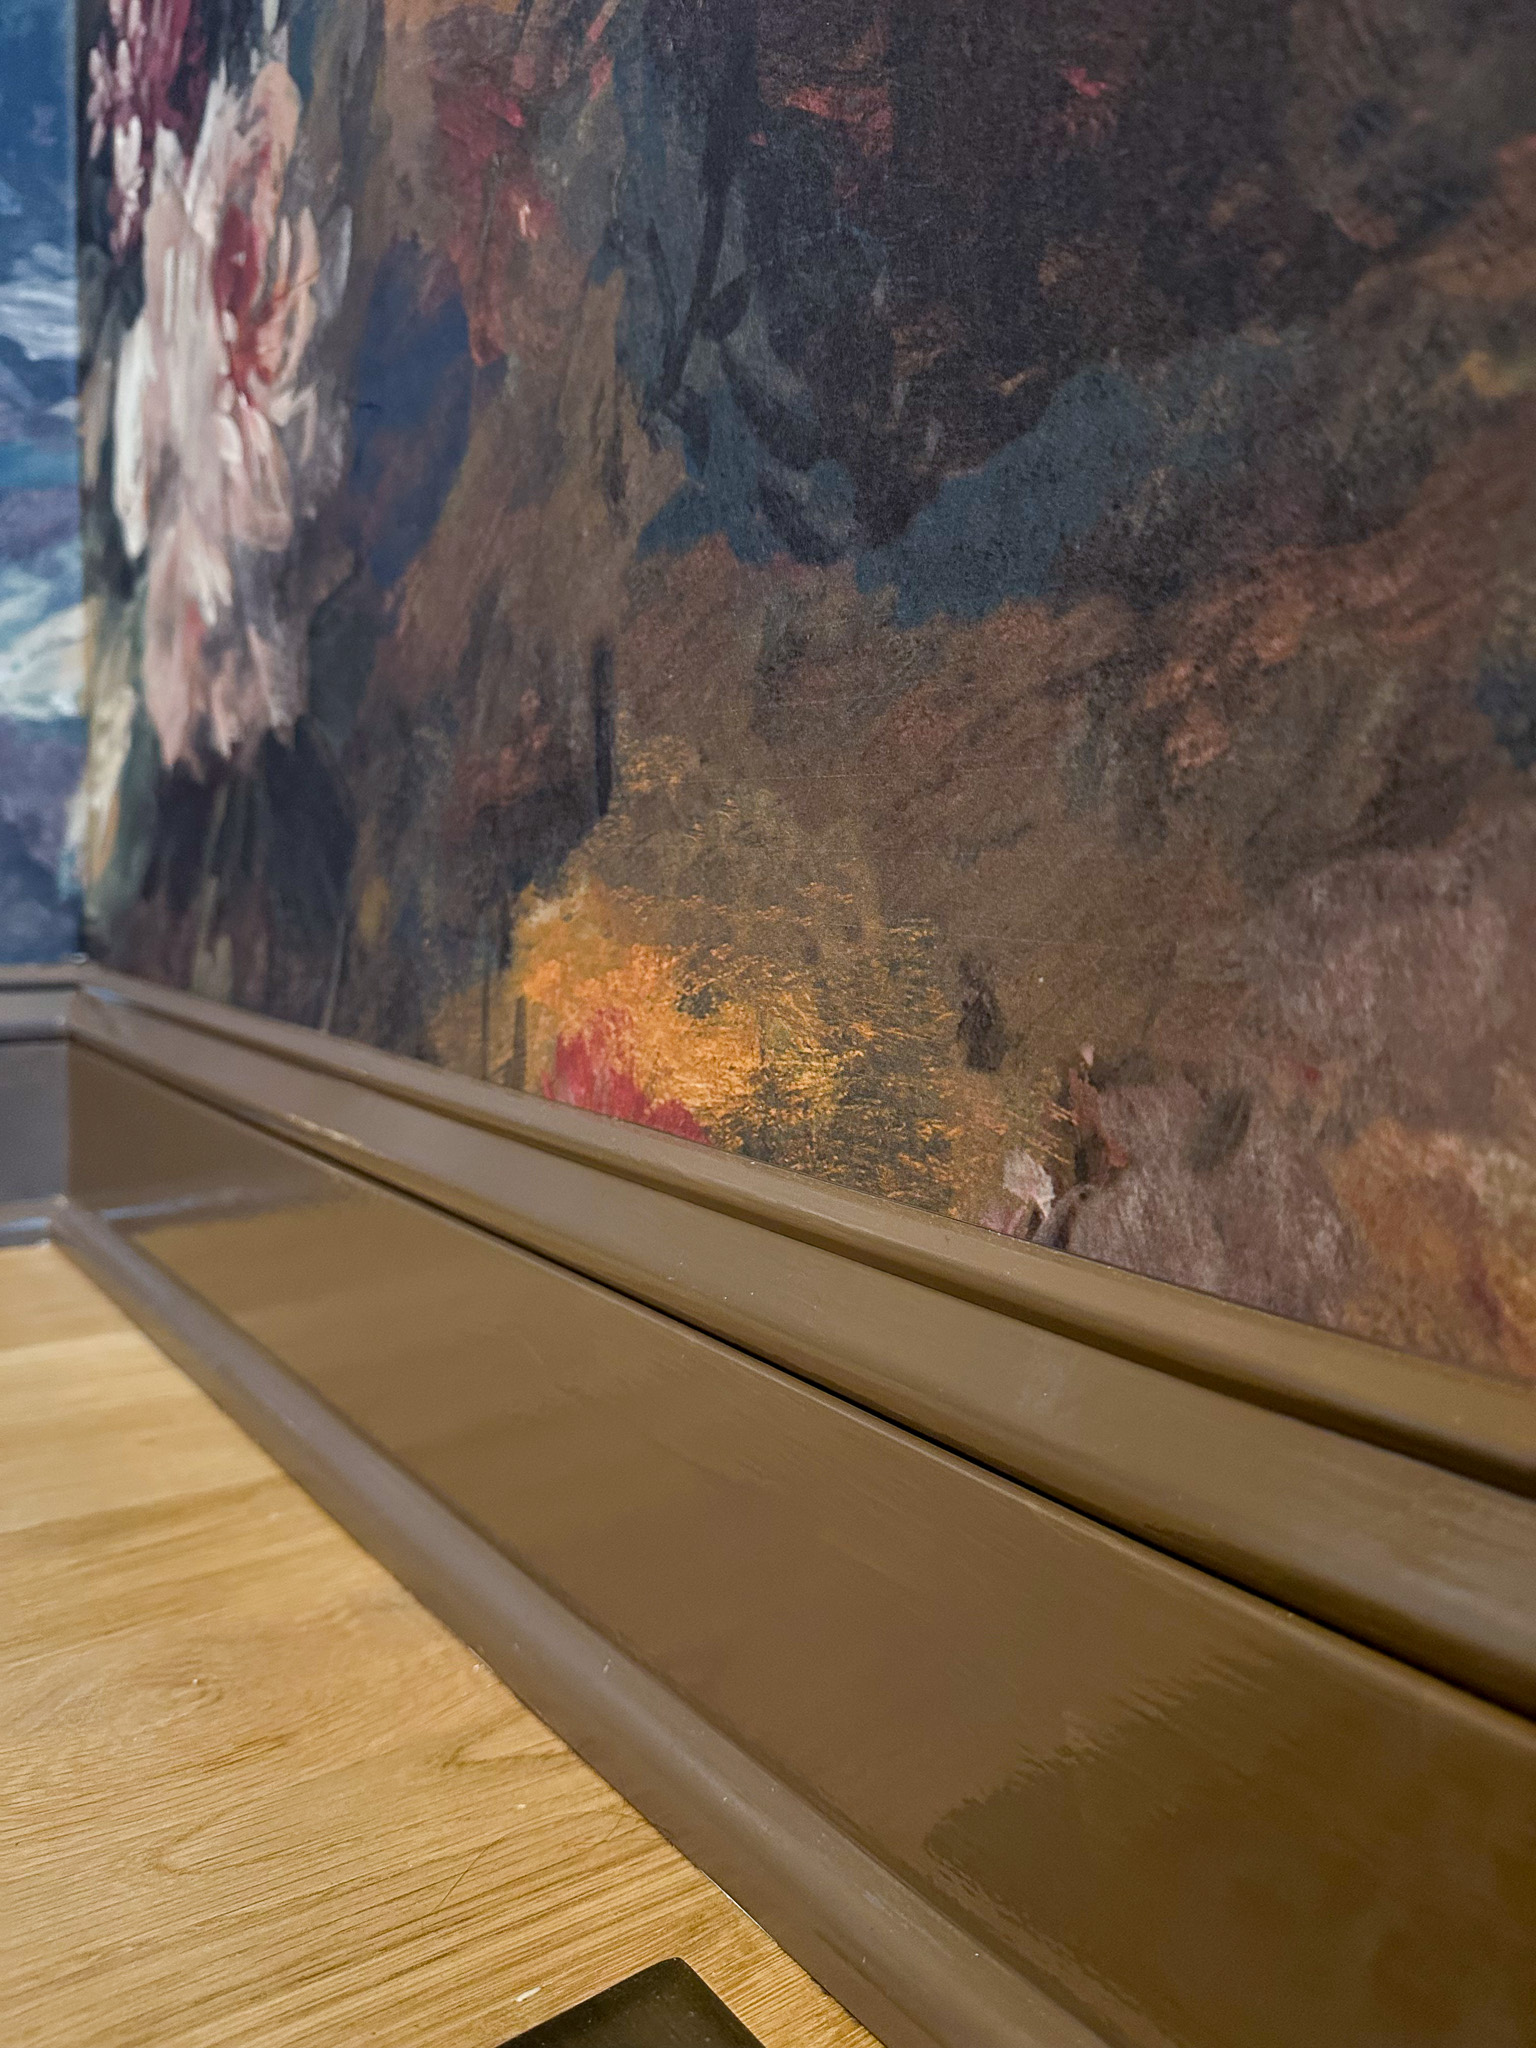
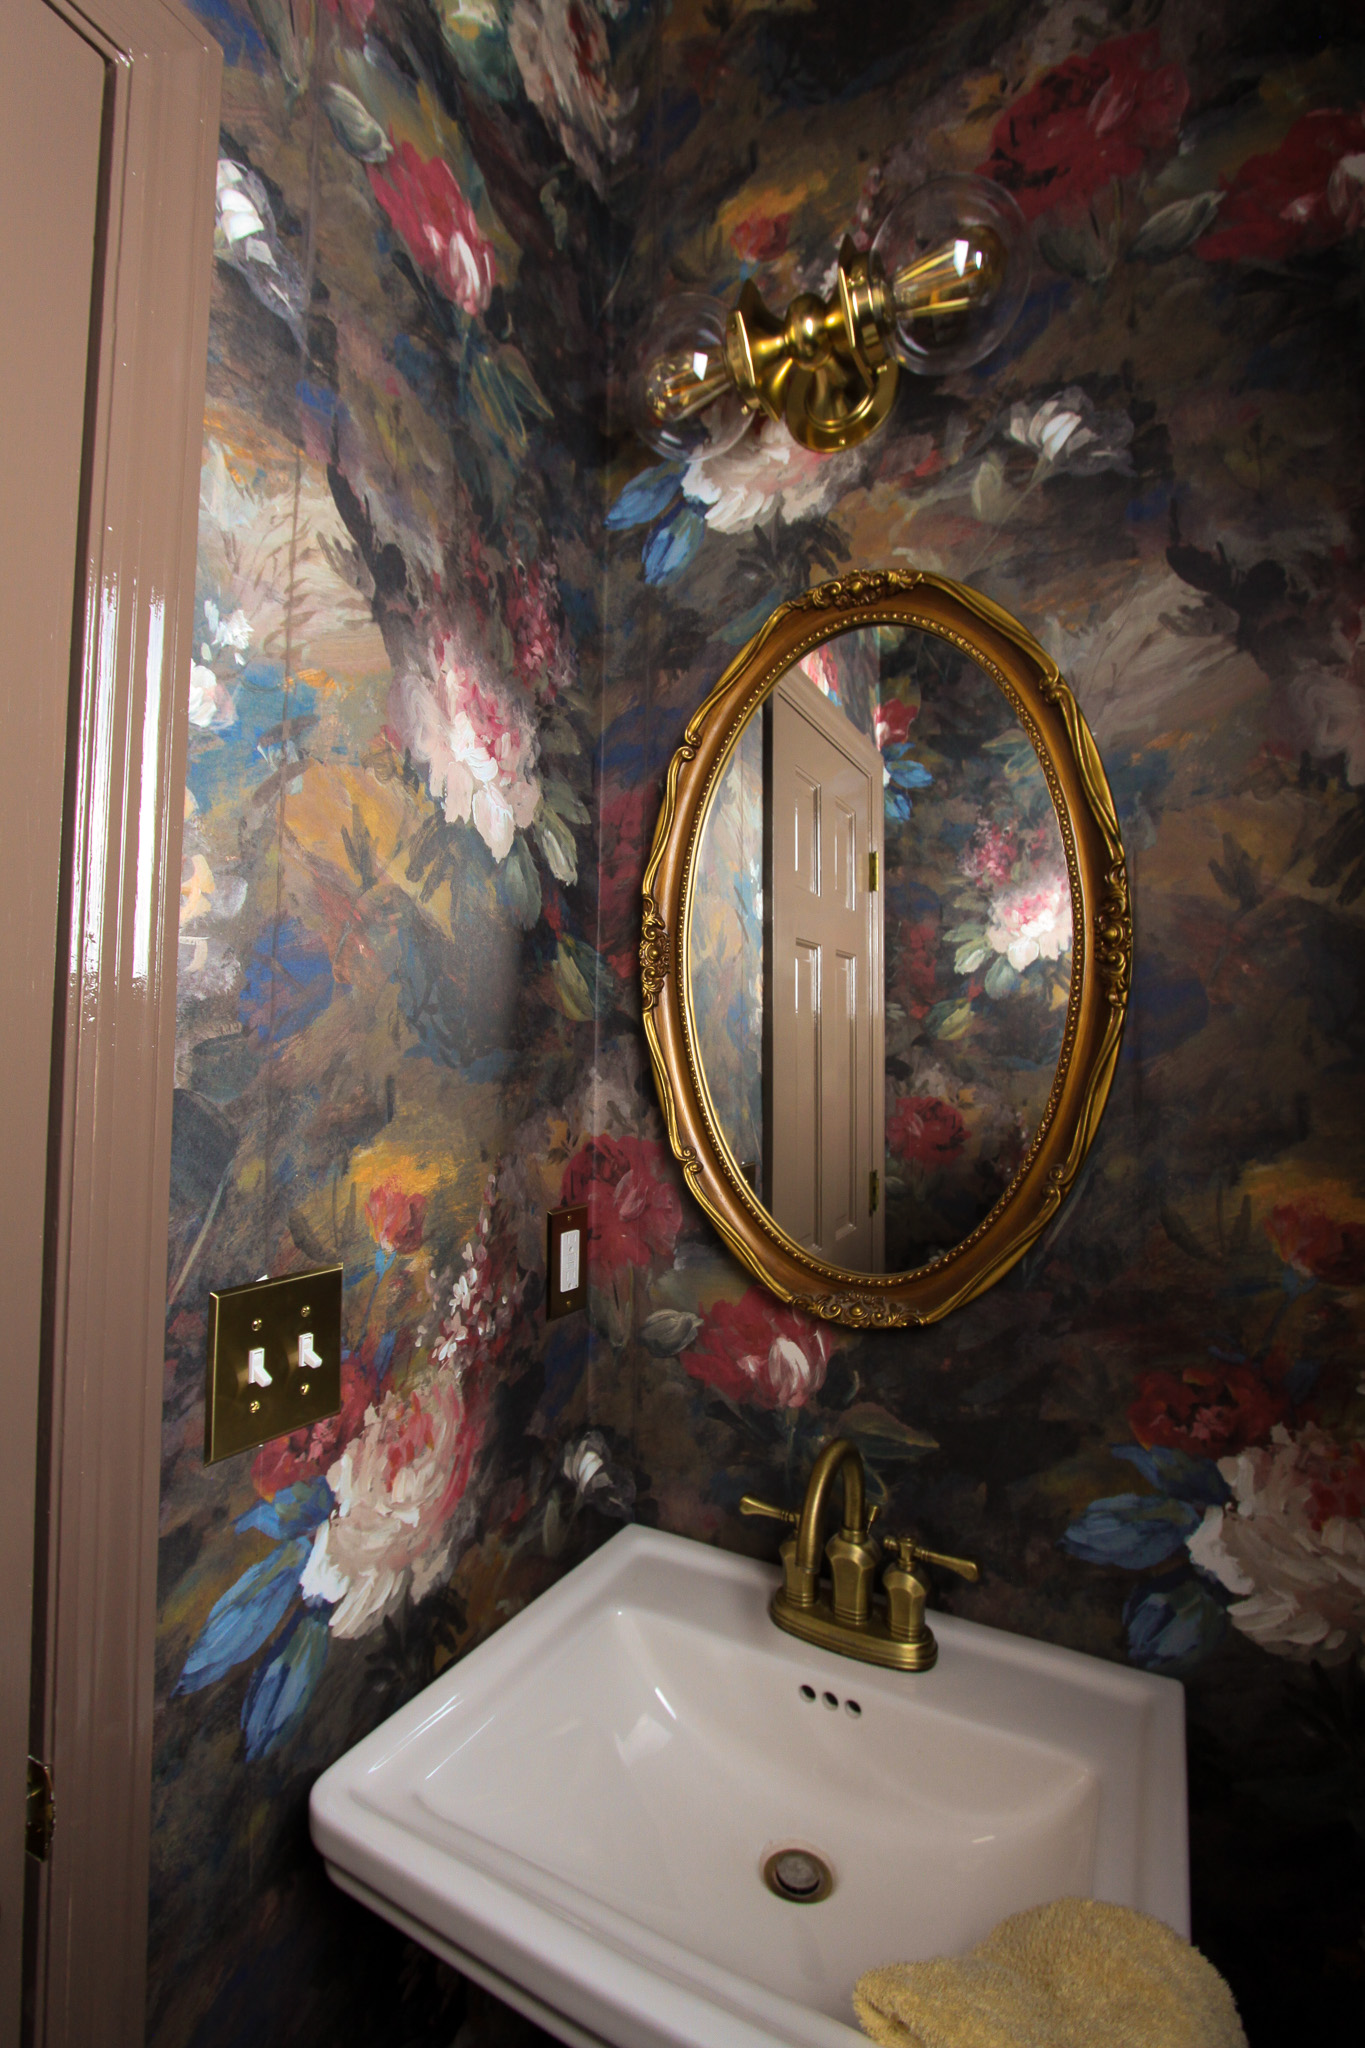
With the recent primary bedroom flip, the time has finally come to remove the robin’s egg blue and transform this vintage dresser into the beauty I know it can be. It has wonderful bones and after I started evolving the color scheme in the bedroom, I knew the full gloss chocolate paint I had leftover from the powder room would be perfect for it.
How to Remove Chalk Paint
Step 1: Prep the Piece
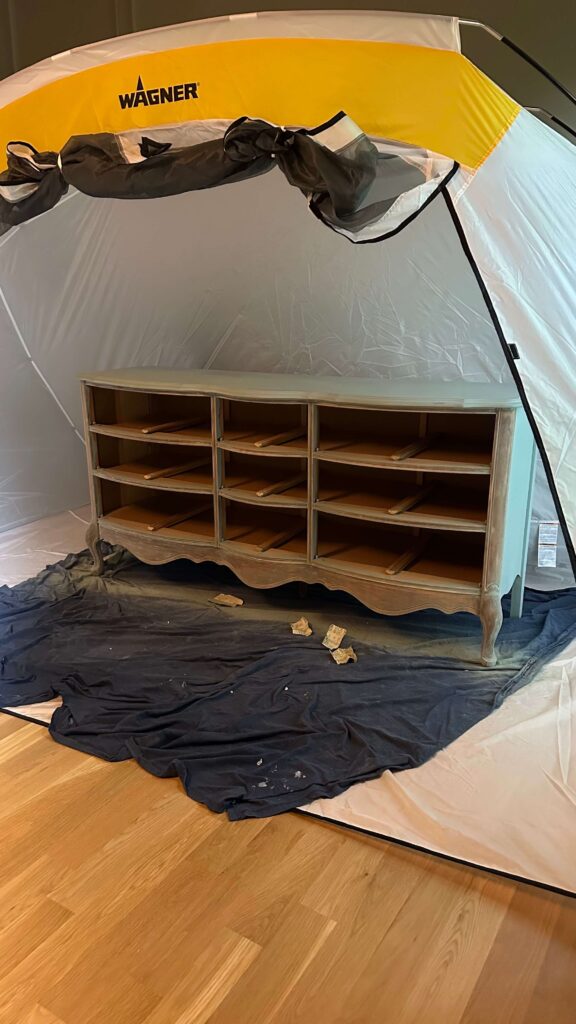
Just like anything, before you start digging in, you want to prep your workspace. Wipe down the furniture, remove the hardware and prep the surrounding area. I wasn’t able to move this heavy piece out of the room, so I invested in a spray shelter and it was the best $40 I could have spent. They come in all shapes and sizes and even zip up to keep dirt out (this is the one I used).
Step 2: Removing the wax
If you’ve painted before, you’re no stranger to sanding your woodwork to ensure your new paint has something to grip to. While the objective is the same in the end, there’s another layer (quite literally!) involved with this. The goal here is to remove the wax finish that’s over your chalk paint. If you don’t, the new paint / stain will not adhere to your furniture and you’ll have to start all over again. So this is important!
Use an 80 grit sandpaper and sand with the grain until you start to see the shine wearing off the furniture. Be warned this is very messy and the dust goes everywhere. Wear old clothes, gloves and a mask. If you’re going to be repainting your furniture a color, then there’s no need to go all the way down to the wood grain. The goal here is to simply remove the top coat of wax. If you’re not painting your furniture another color, you’ll want to keep going until you get down to the wood grain.
Step 3: Smooth things over
After you’ve been thorough with the heavy grit sandpaper, clean any loose dust with a shop vacuum. Then run a fine grit sandpaper over all surfaces to smooth things out. This should be relatively light work, but will likely still yield colored chalk paint dust.
Step 4: Tack Test
This was where I found my work was tested. Vacuum or wipe any loose dust that’s visible and then grab your tack cloth. Gently run the tack cloth over all surfaces and pay attention to see if the cloth wants to grip any spots. If you find the cloth not smoothly gliding over your furniture, inspect that area thoroughly. Chances are, there’s residual wax that needs to be removed.
If so, repeat steps 2-4 until the tack cloth glides across all surfaces.
Now assuming you’re painting your furniture a color and not restoring to a wood finish…
Step 5: Prime
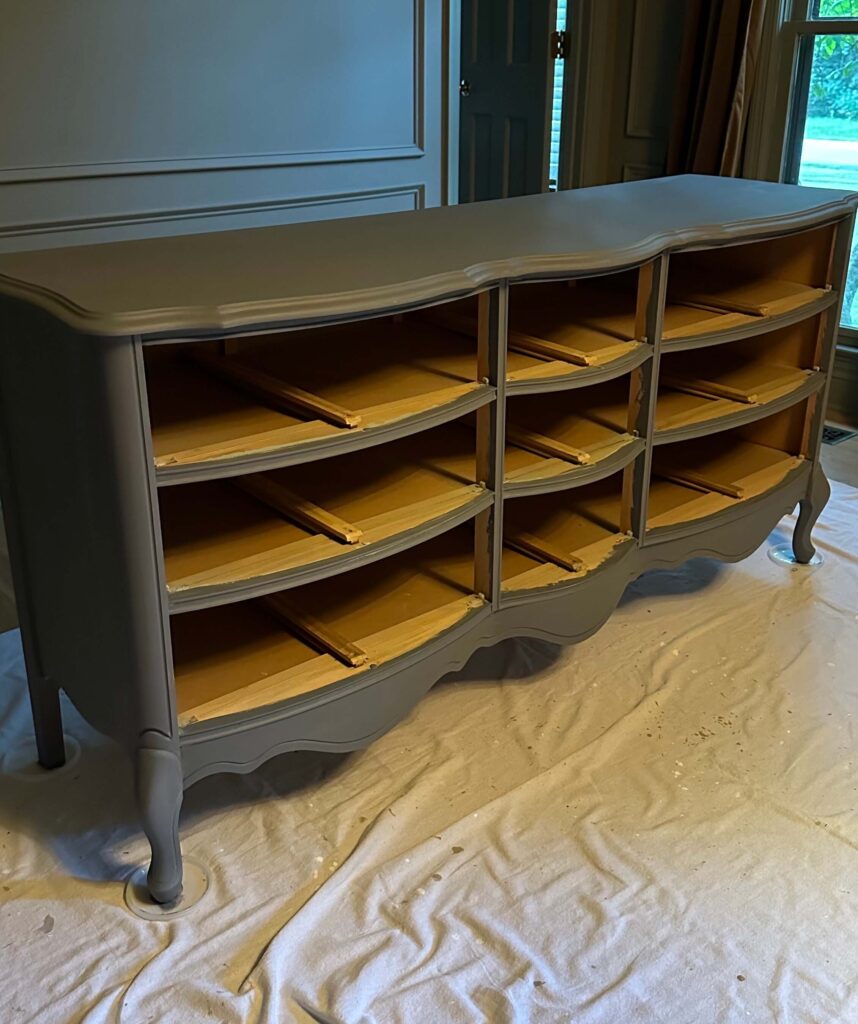
The good news is the hard part is over! This is the last step before you get to paint your furniture a new color! Depending on which color you’re painting your piece, prime it with either a regular primer or tinted primer. I found one coat to be sufficient for my dresser, however I did go ahead and have it tinted since I was painting the dresser a chocolate brown.

Step 6: Paint!
You’re finally ready to paint! Paint as you normally would and enjoy this process because the chalk paint is far behind you!
Alternatives for how to remove chalk paint?
I did a ton of research on this project before I even touched a piece of sandpaper. There were many suggestions out there ranging from mineral spirits to a heat gun to turpentine. Ultimately I decided to stick to the devil I knew which was sanding. I did not personally paint this furniture the first go around, so I didn’t know what the original woodwork was or looked like, and I didn’t want to run the risk of damaging it. It’s a little bit more work, but if you’re on the fence about how to remove chalk paint, I’d highly recommend sanding because you have full control.
The final dresser flip
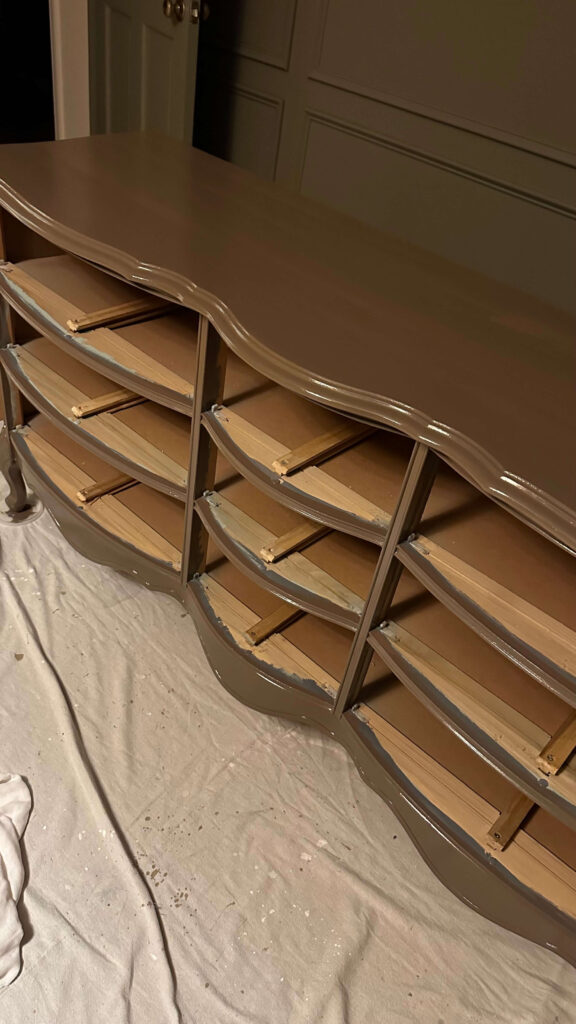
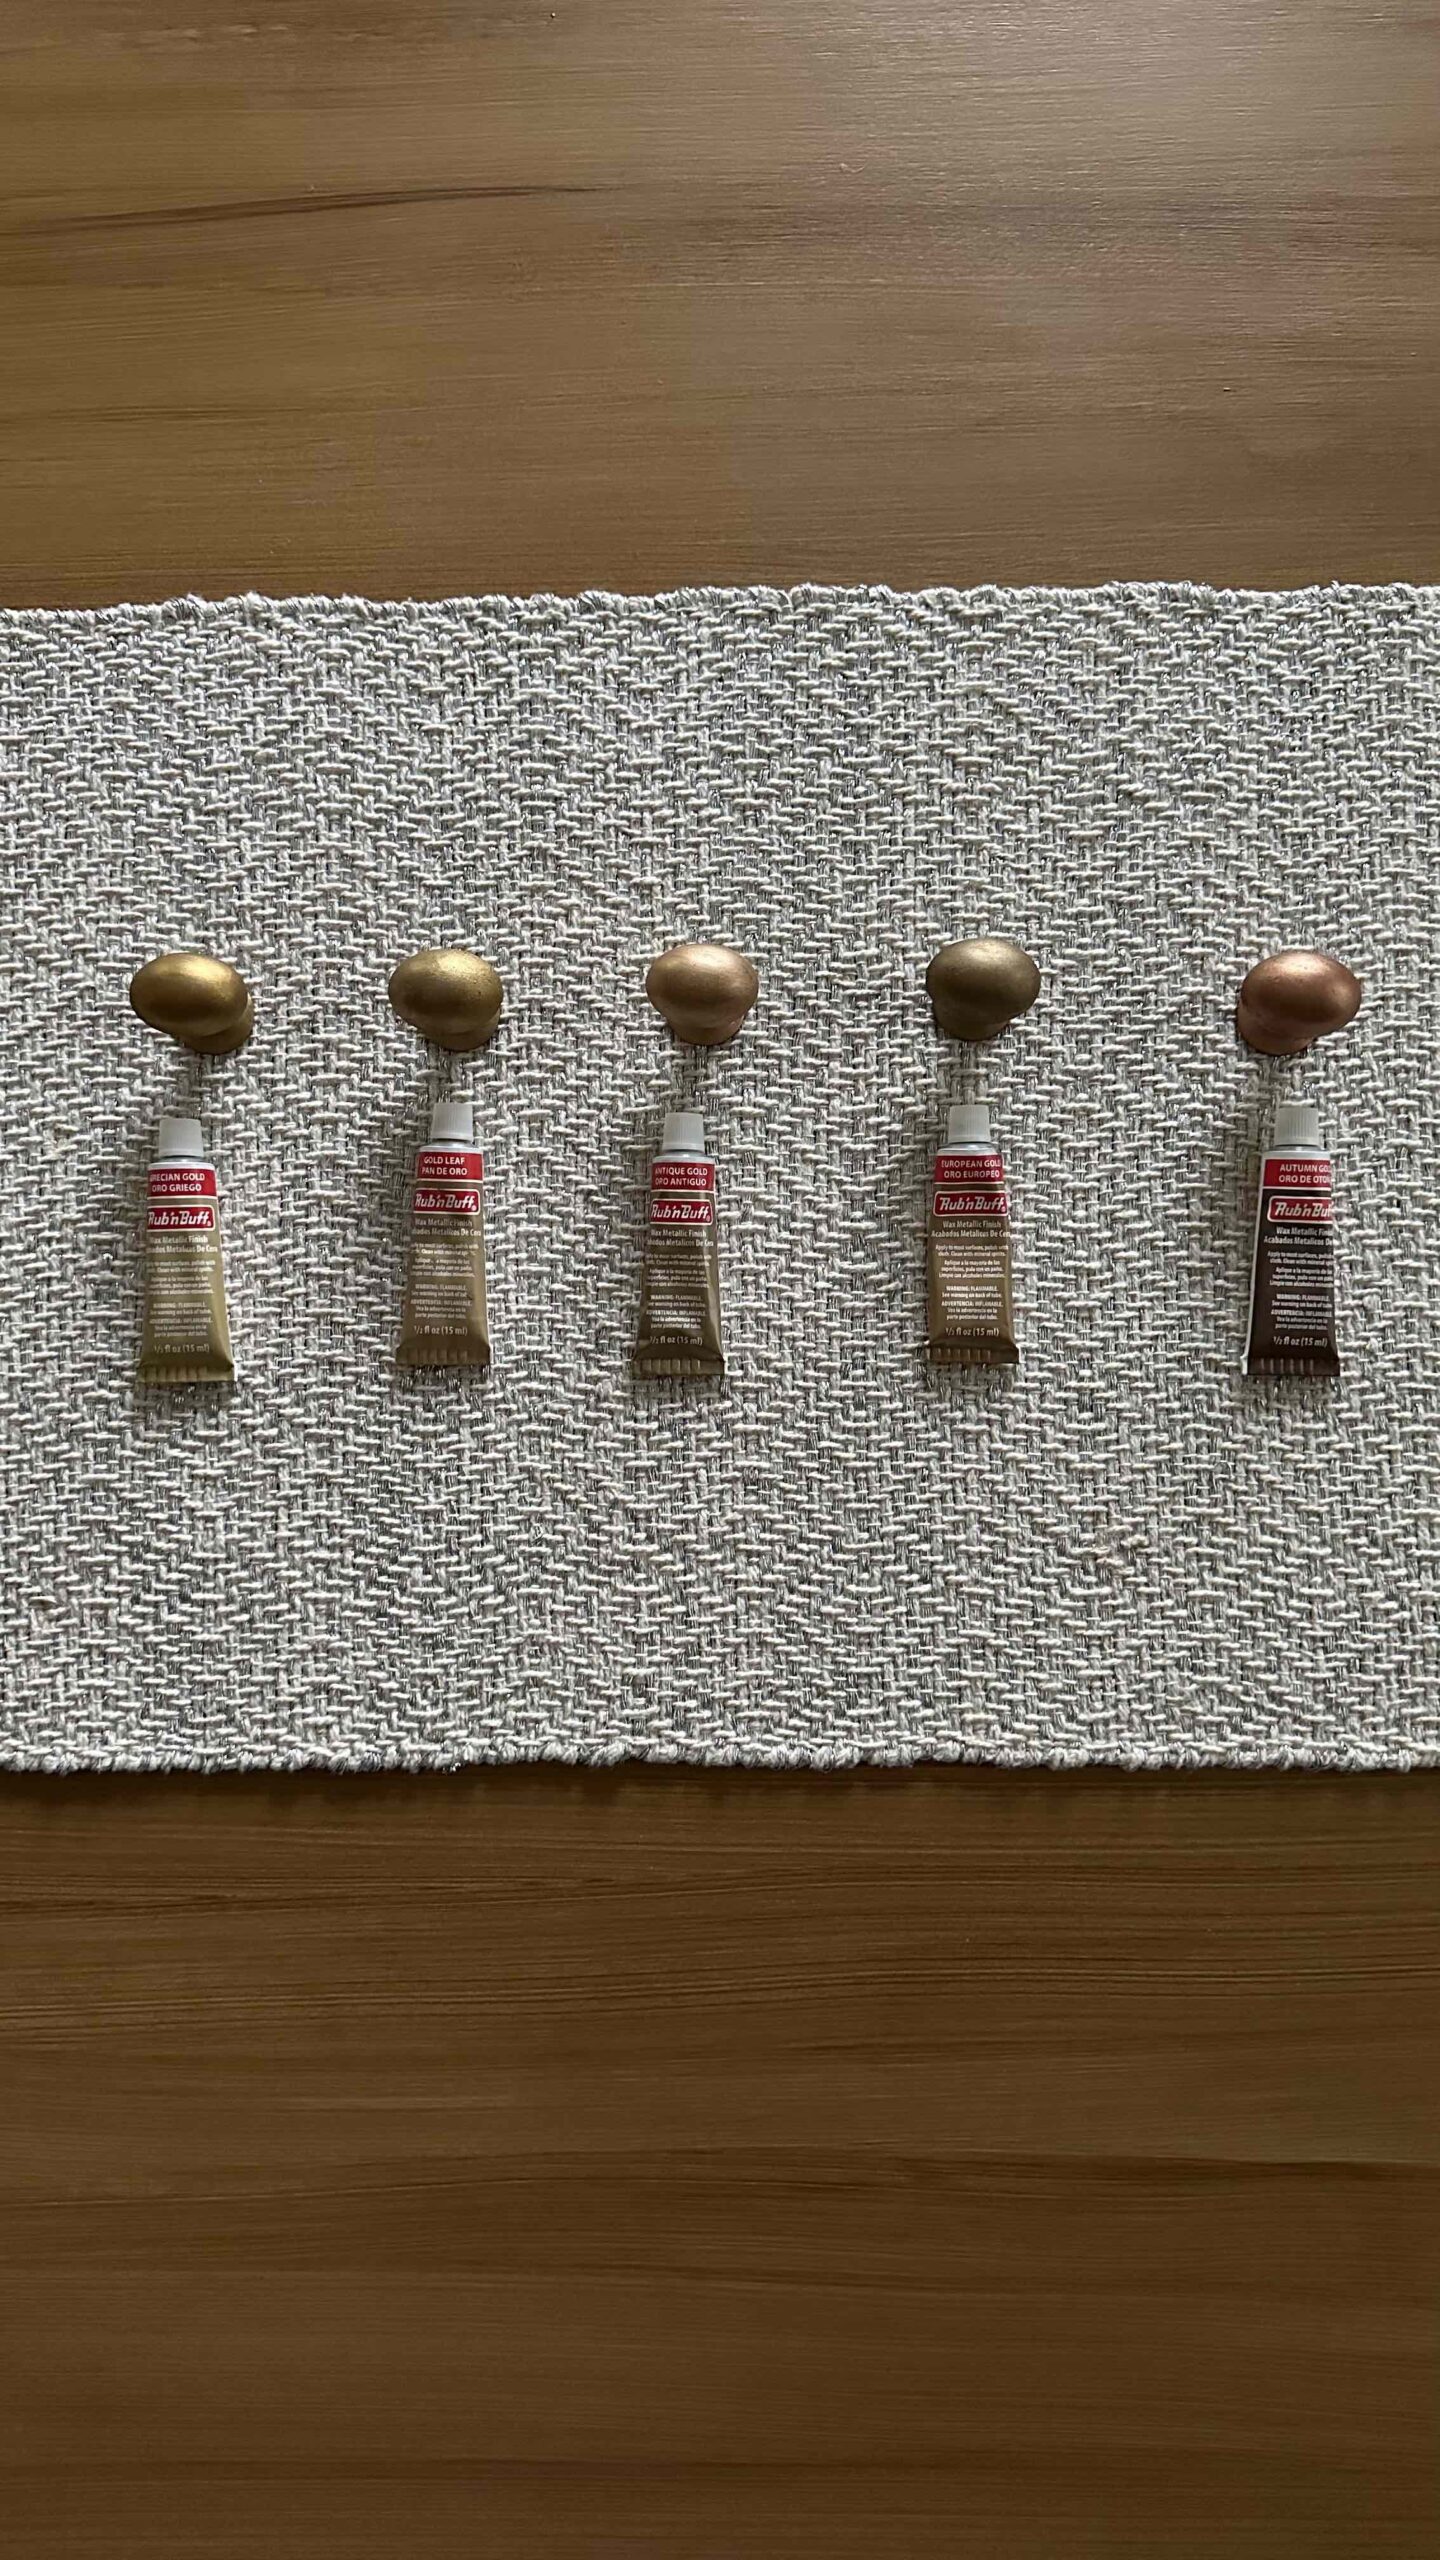
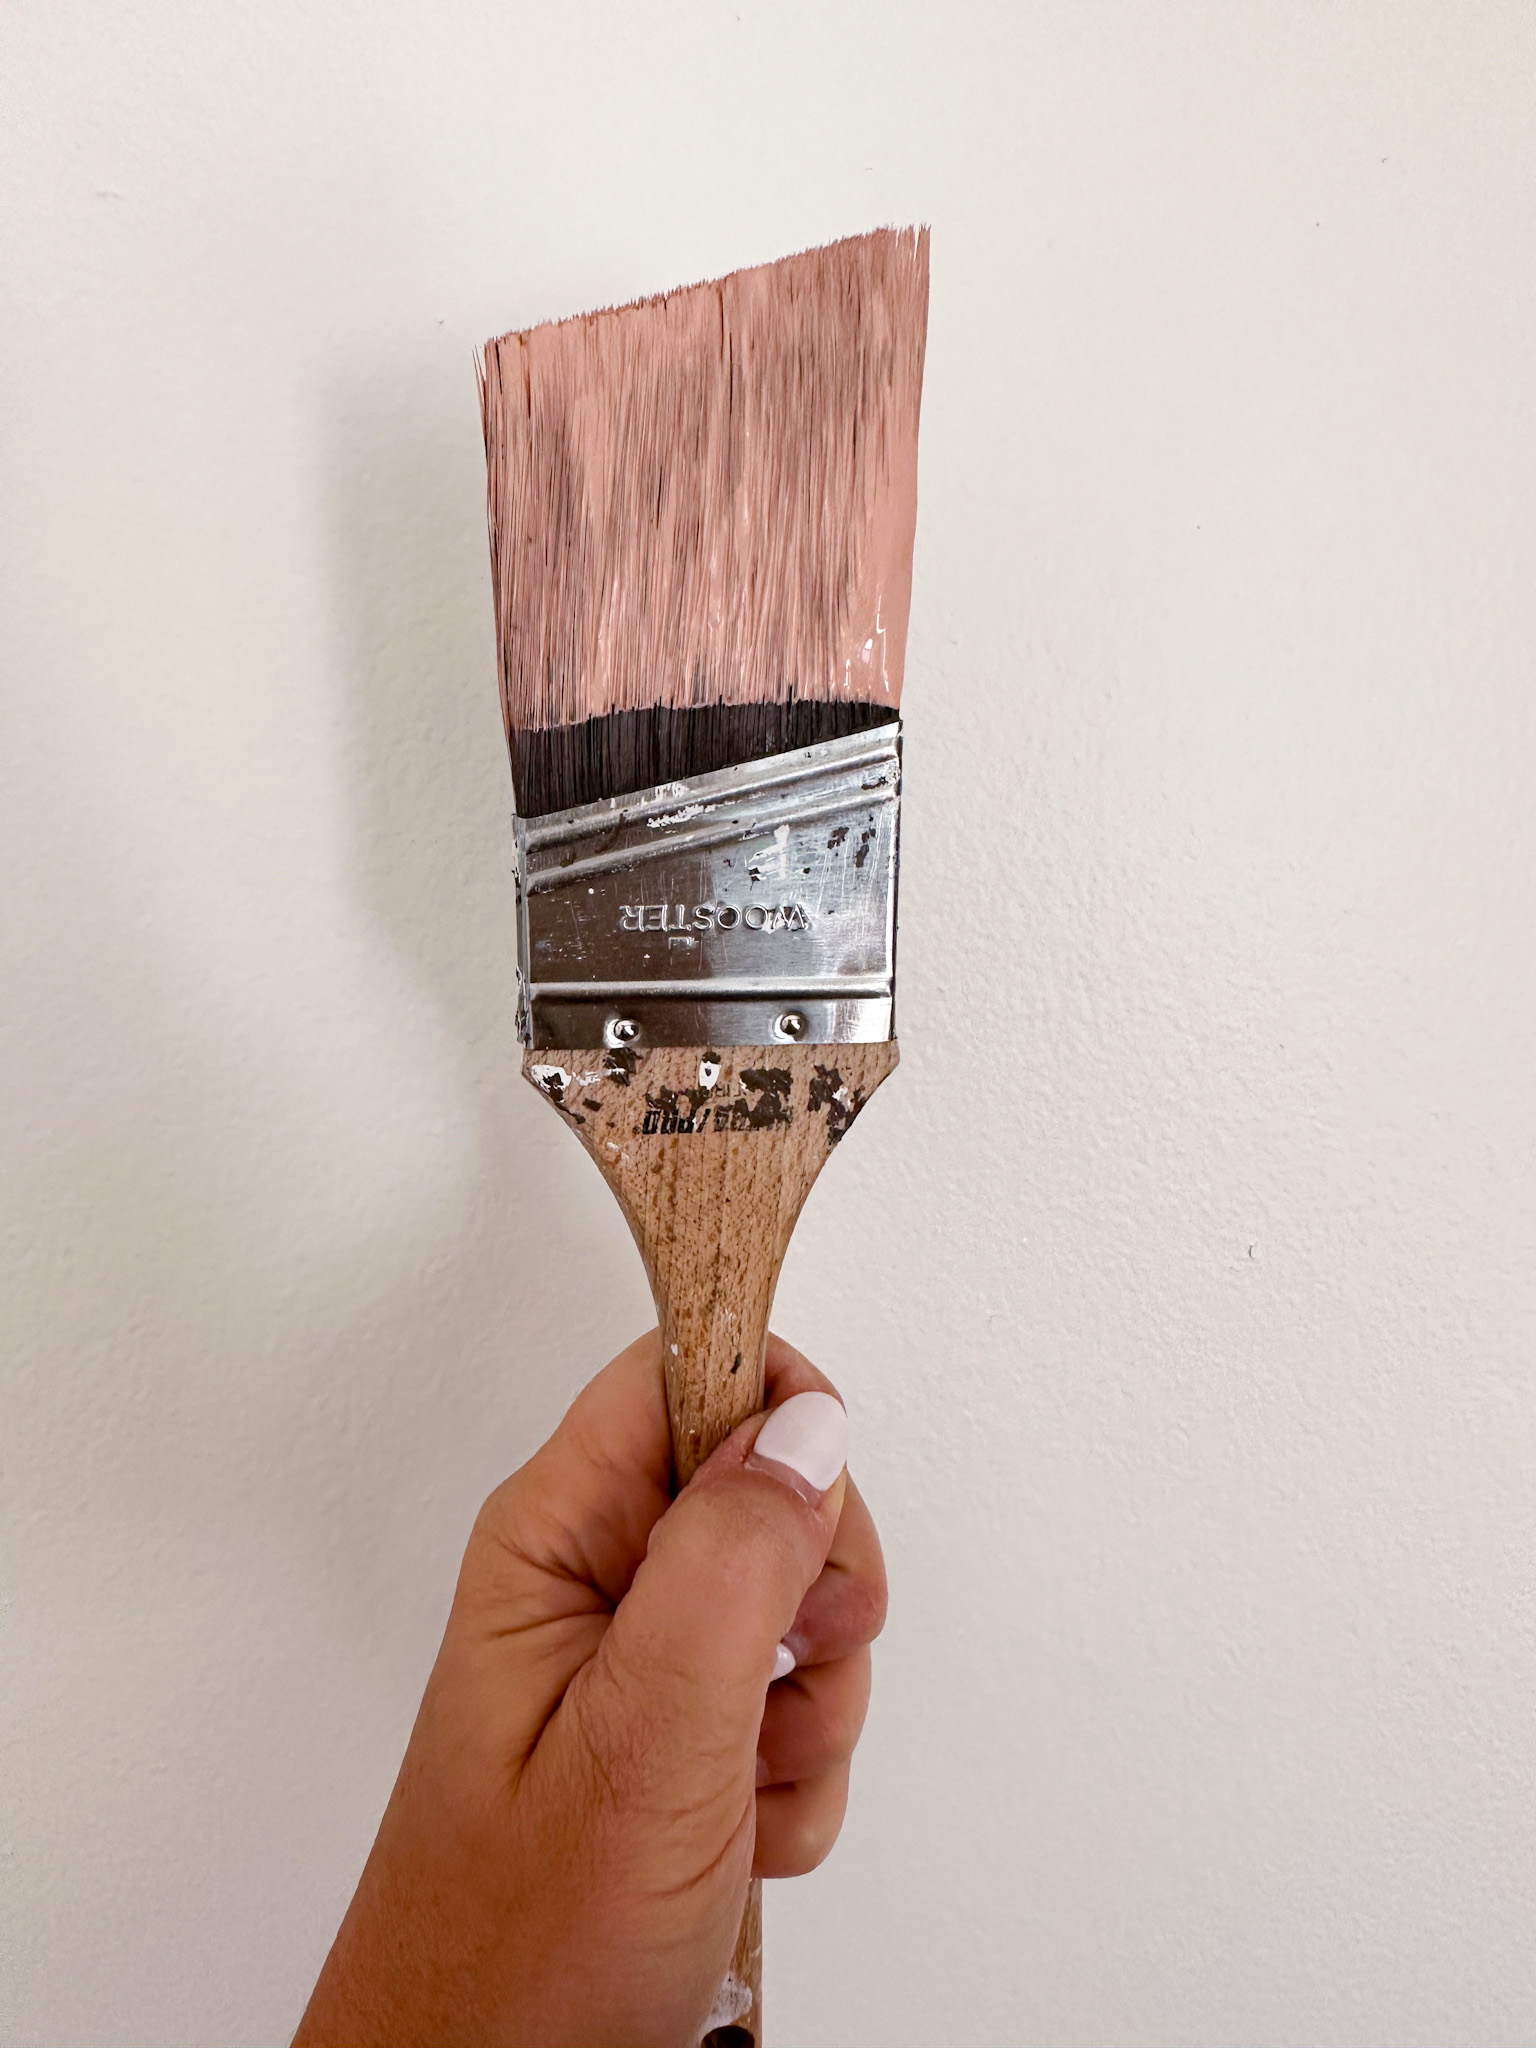
After I painted the body of the dresser and the drawers in Farrow & Ball’s London Clay, it was time to focus on the hardware. I used Rub ‘n’ Buff in Spanish Copper and didn’t focus on trying to make it perfect. I like that some of the original darkness of the hardware is peeking through the copper, as I think it gives it a warm patina.
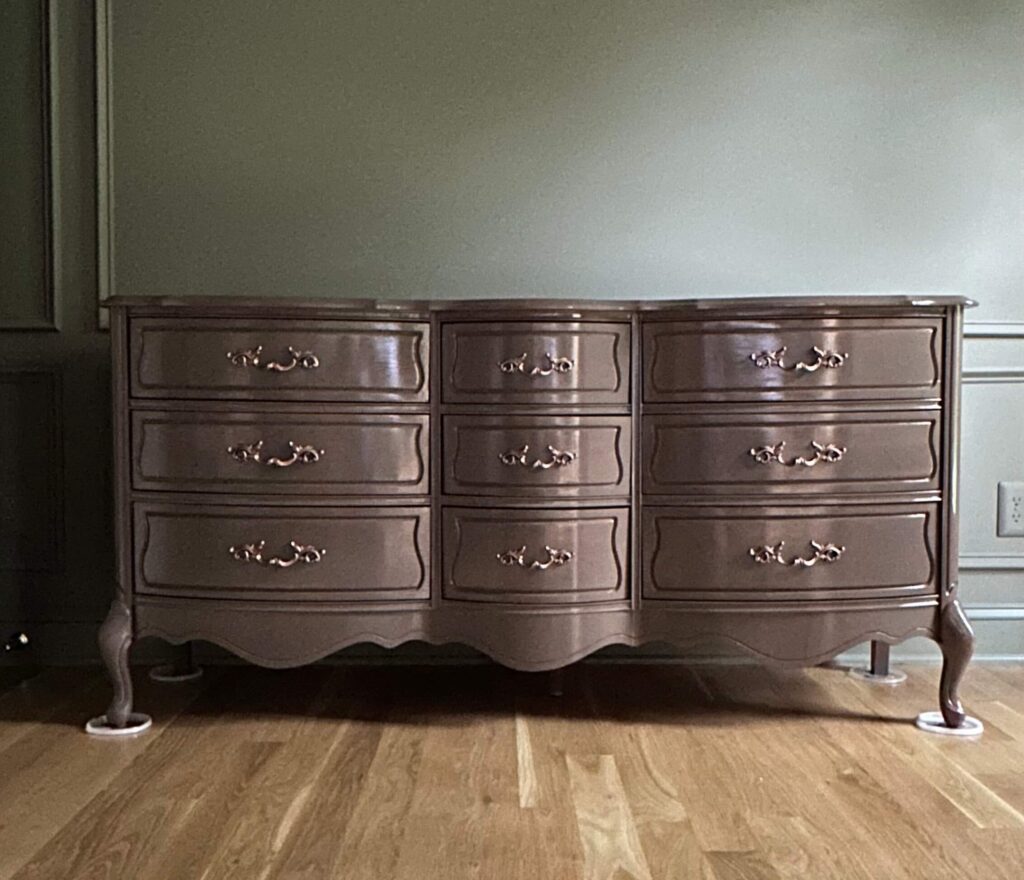
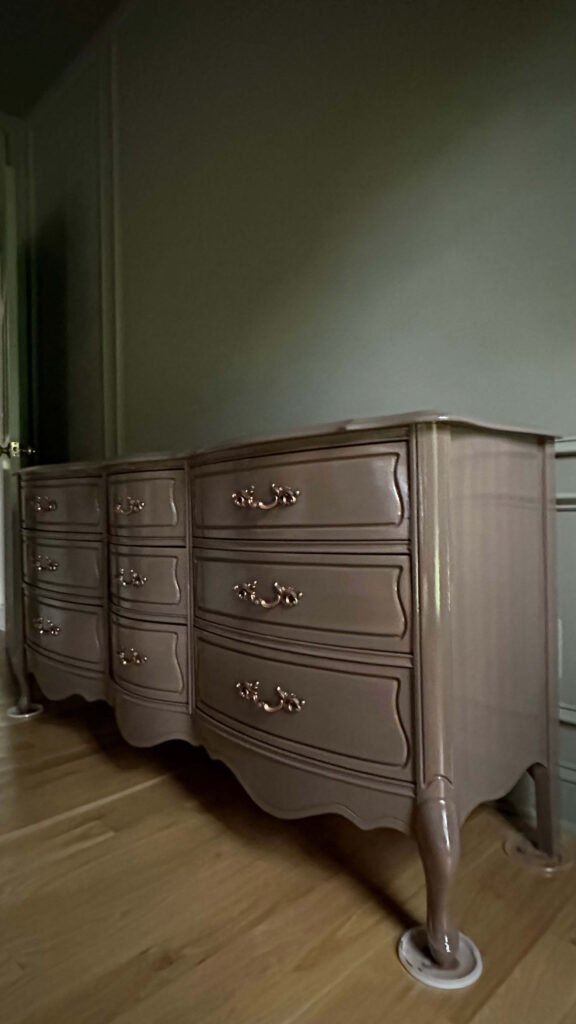
The paint is still a bit tacky which is why I have the plaster coasters underneath just to be safe!
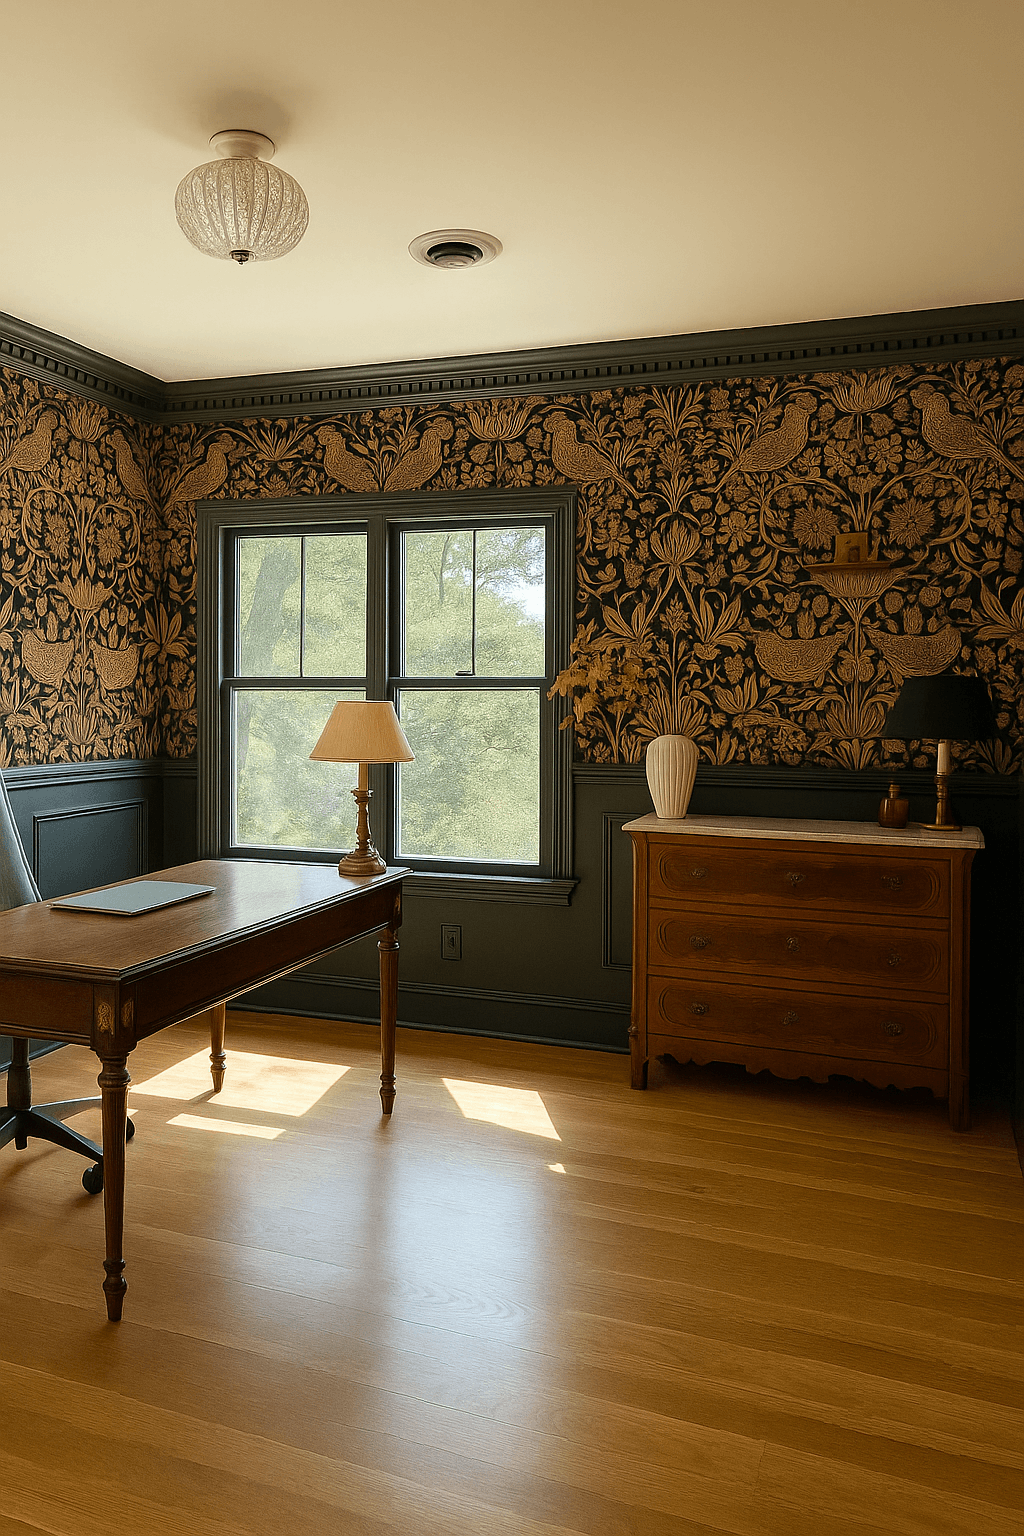
I honestly cannot believe this is the same piece of furniture I started with! Although it was not an easy flip (and I don’t think furniture flipping is in my future) I’m very proud of the final result from this project. It adds a pop of interest to the overall room, while coexisting perfectly with the moody color palette. I’m so happy I was able to restore and up-cycle this piece of furniture rather than buy something new.
If you have any questions about this project, drop them below in the comments section and I’ll do my best to answer!
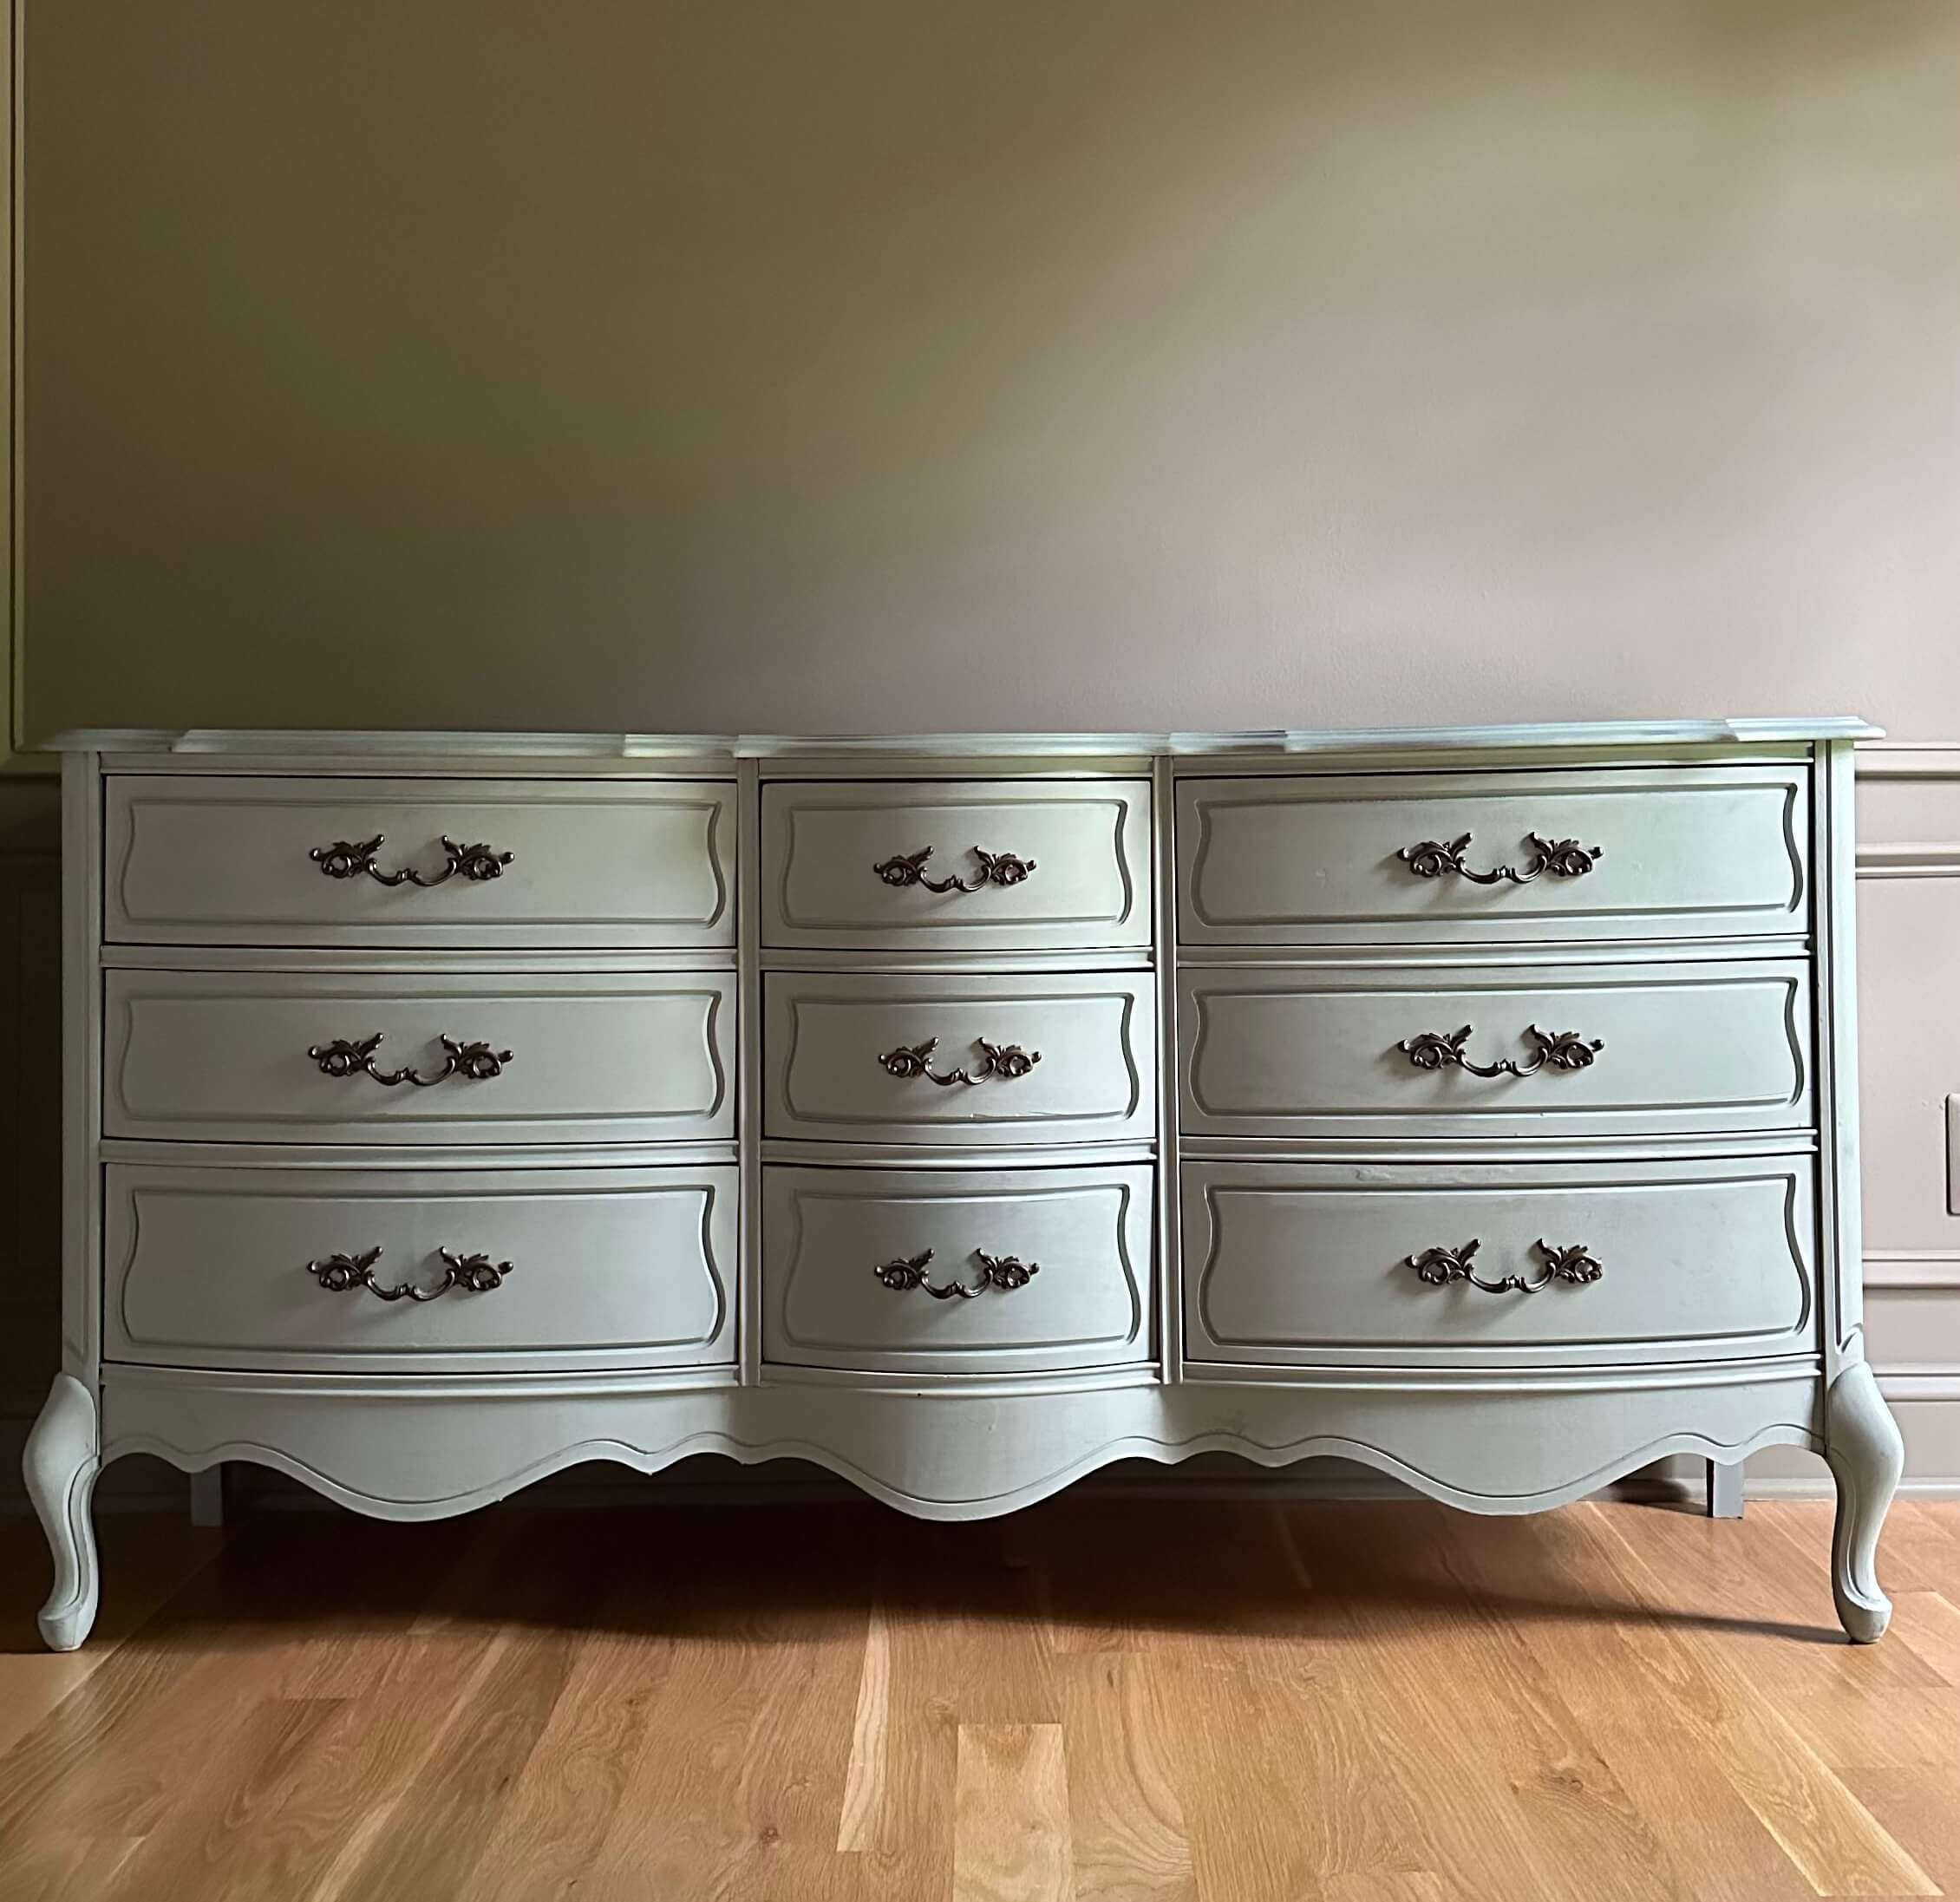



















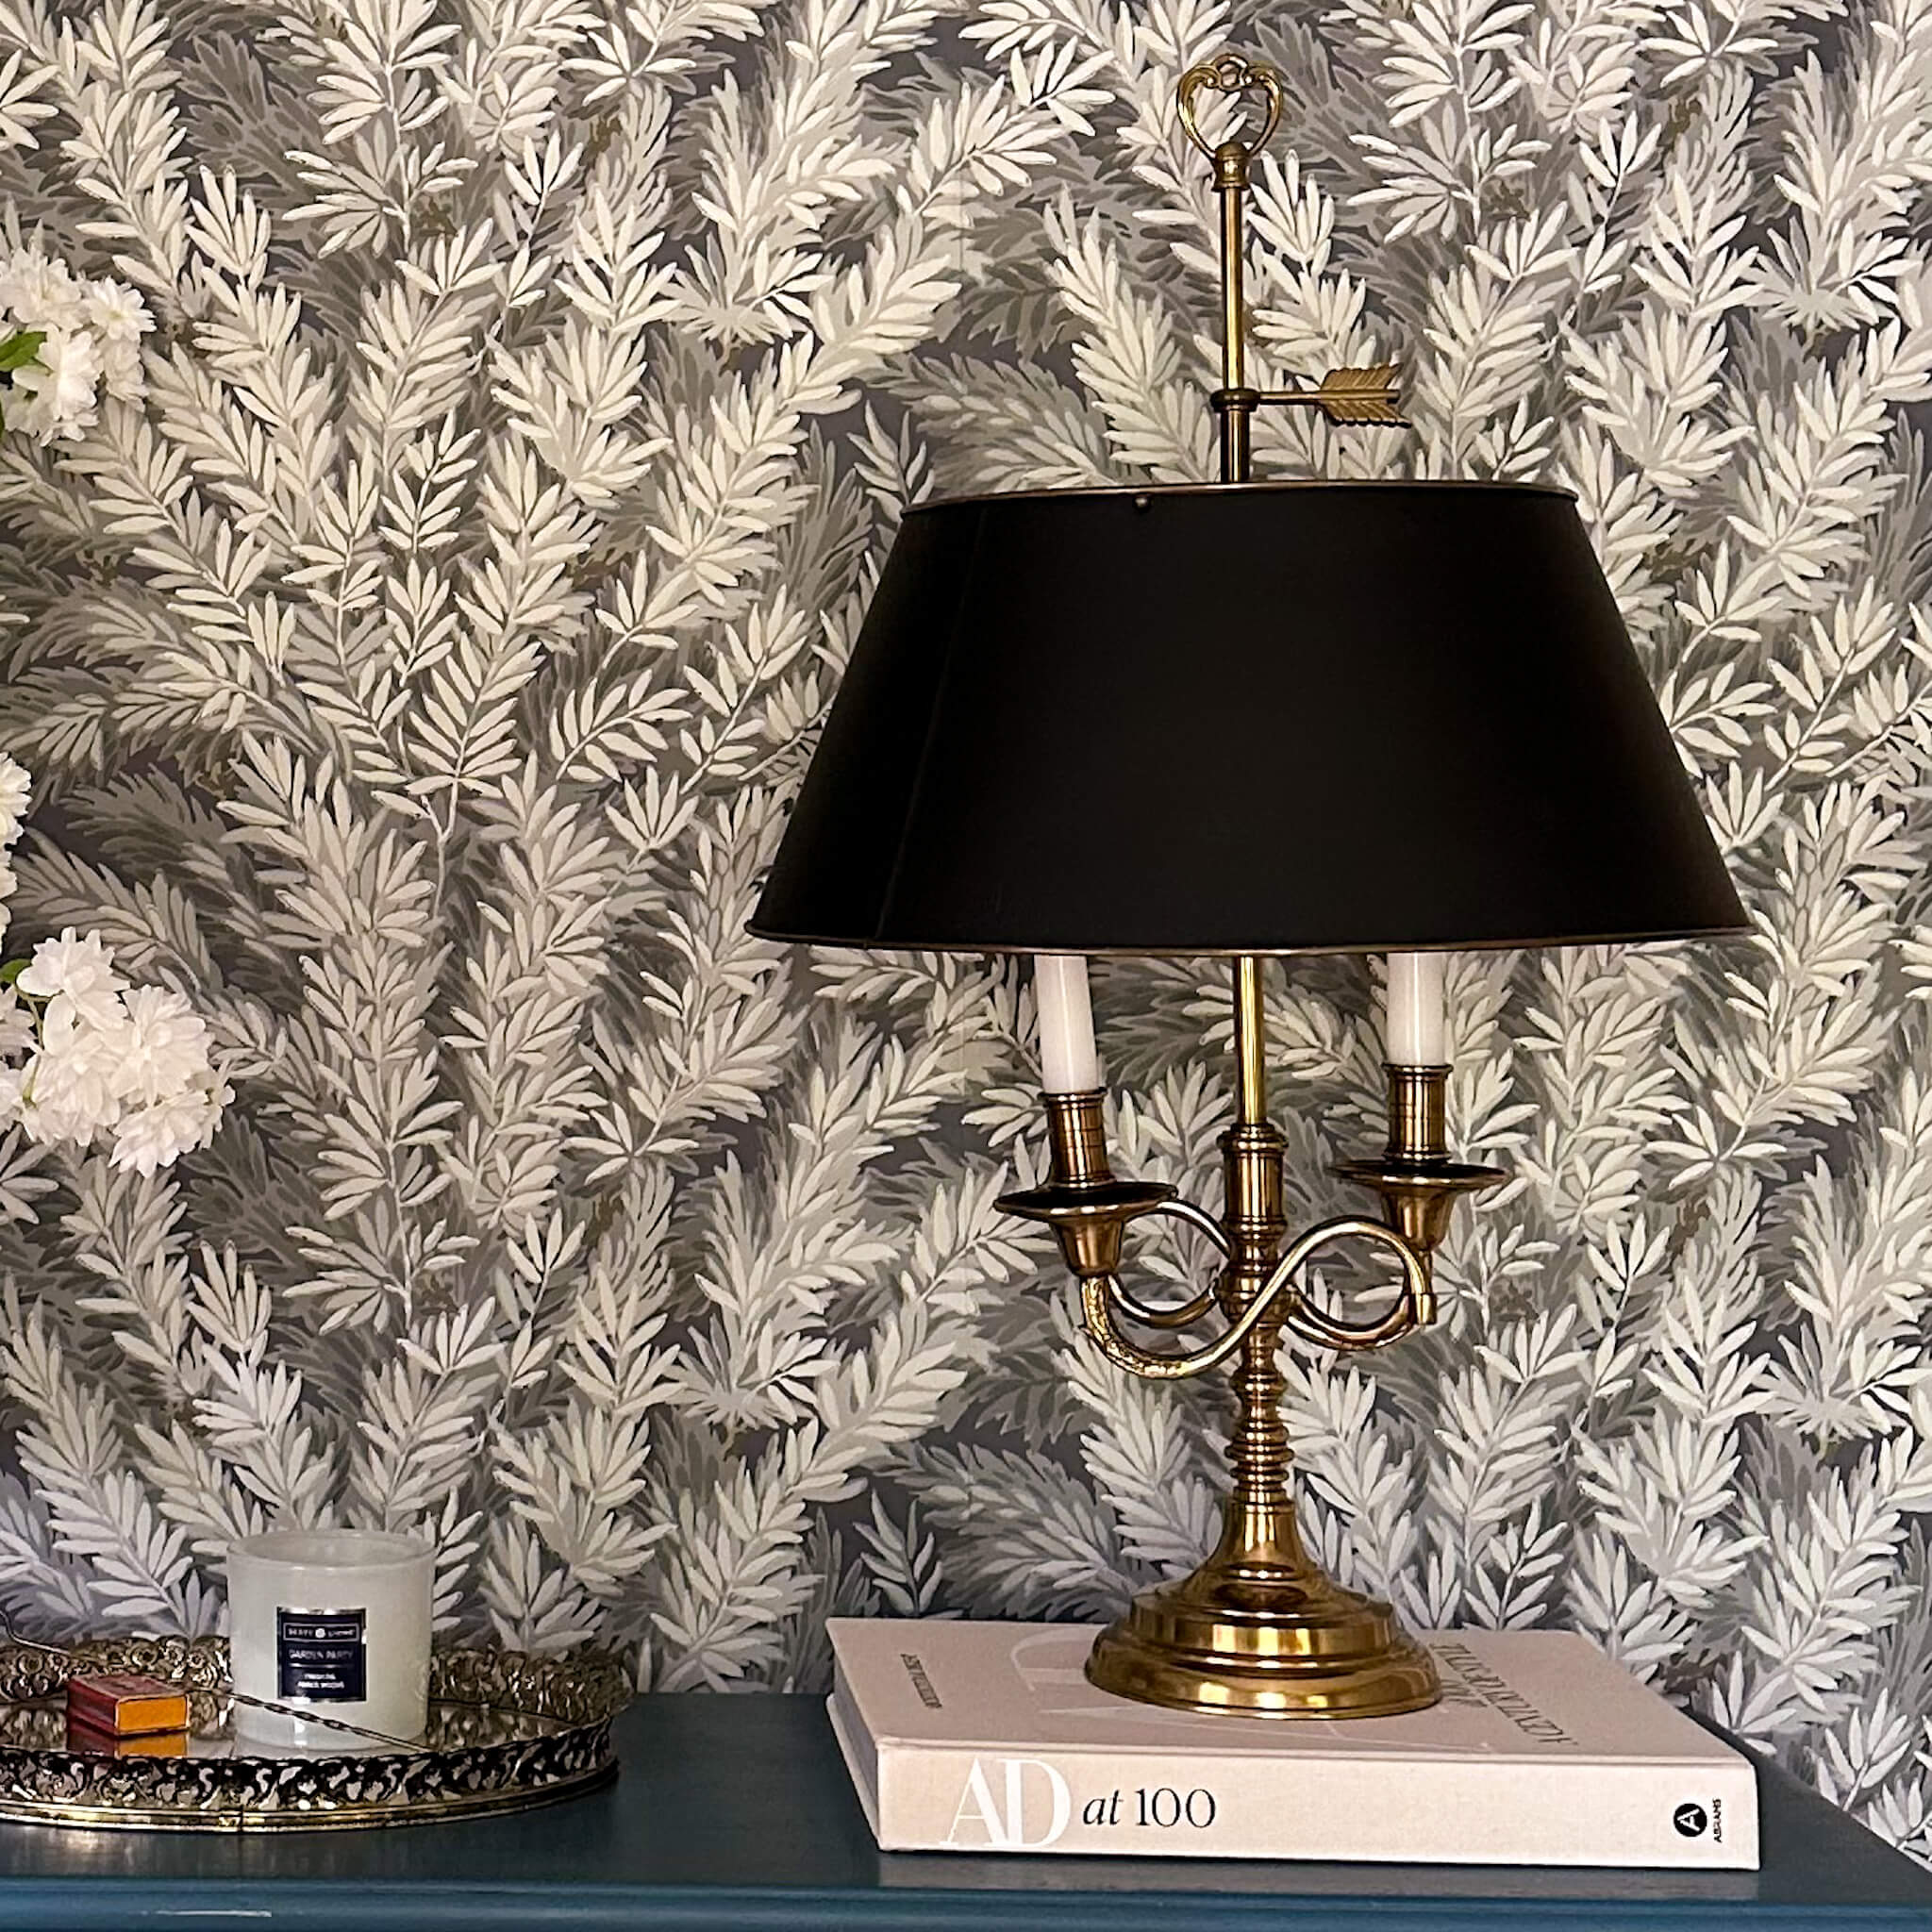

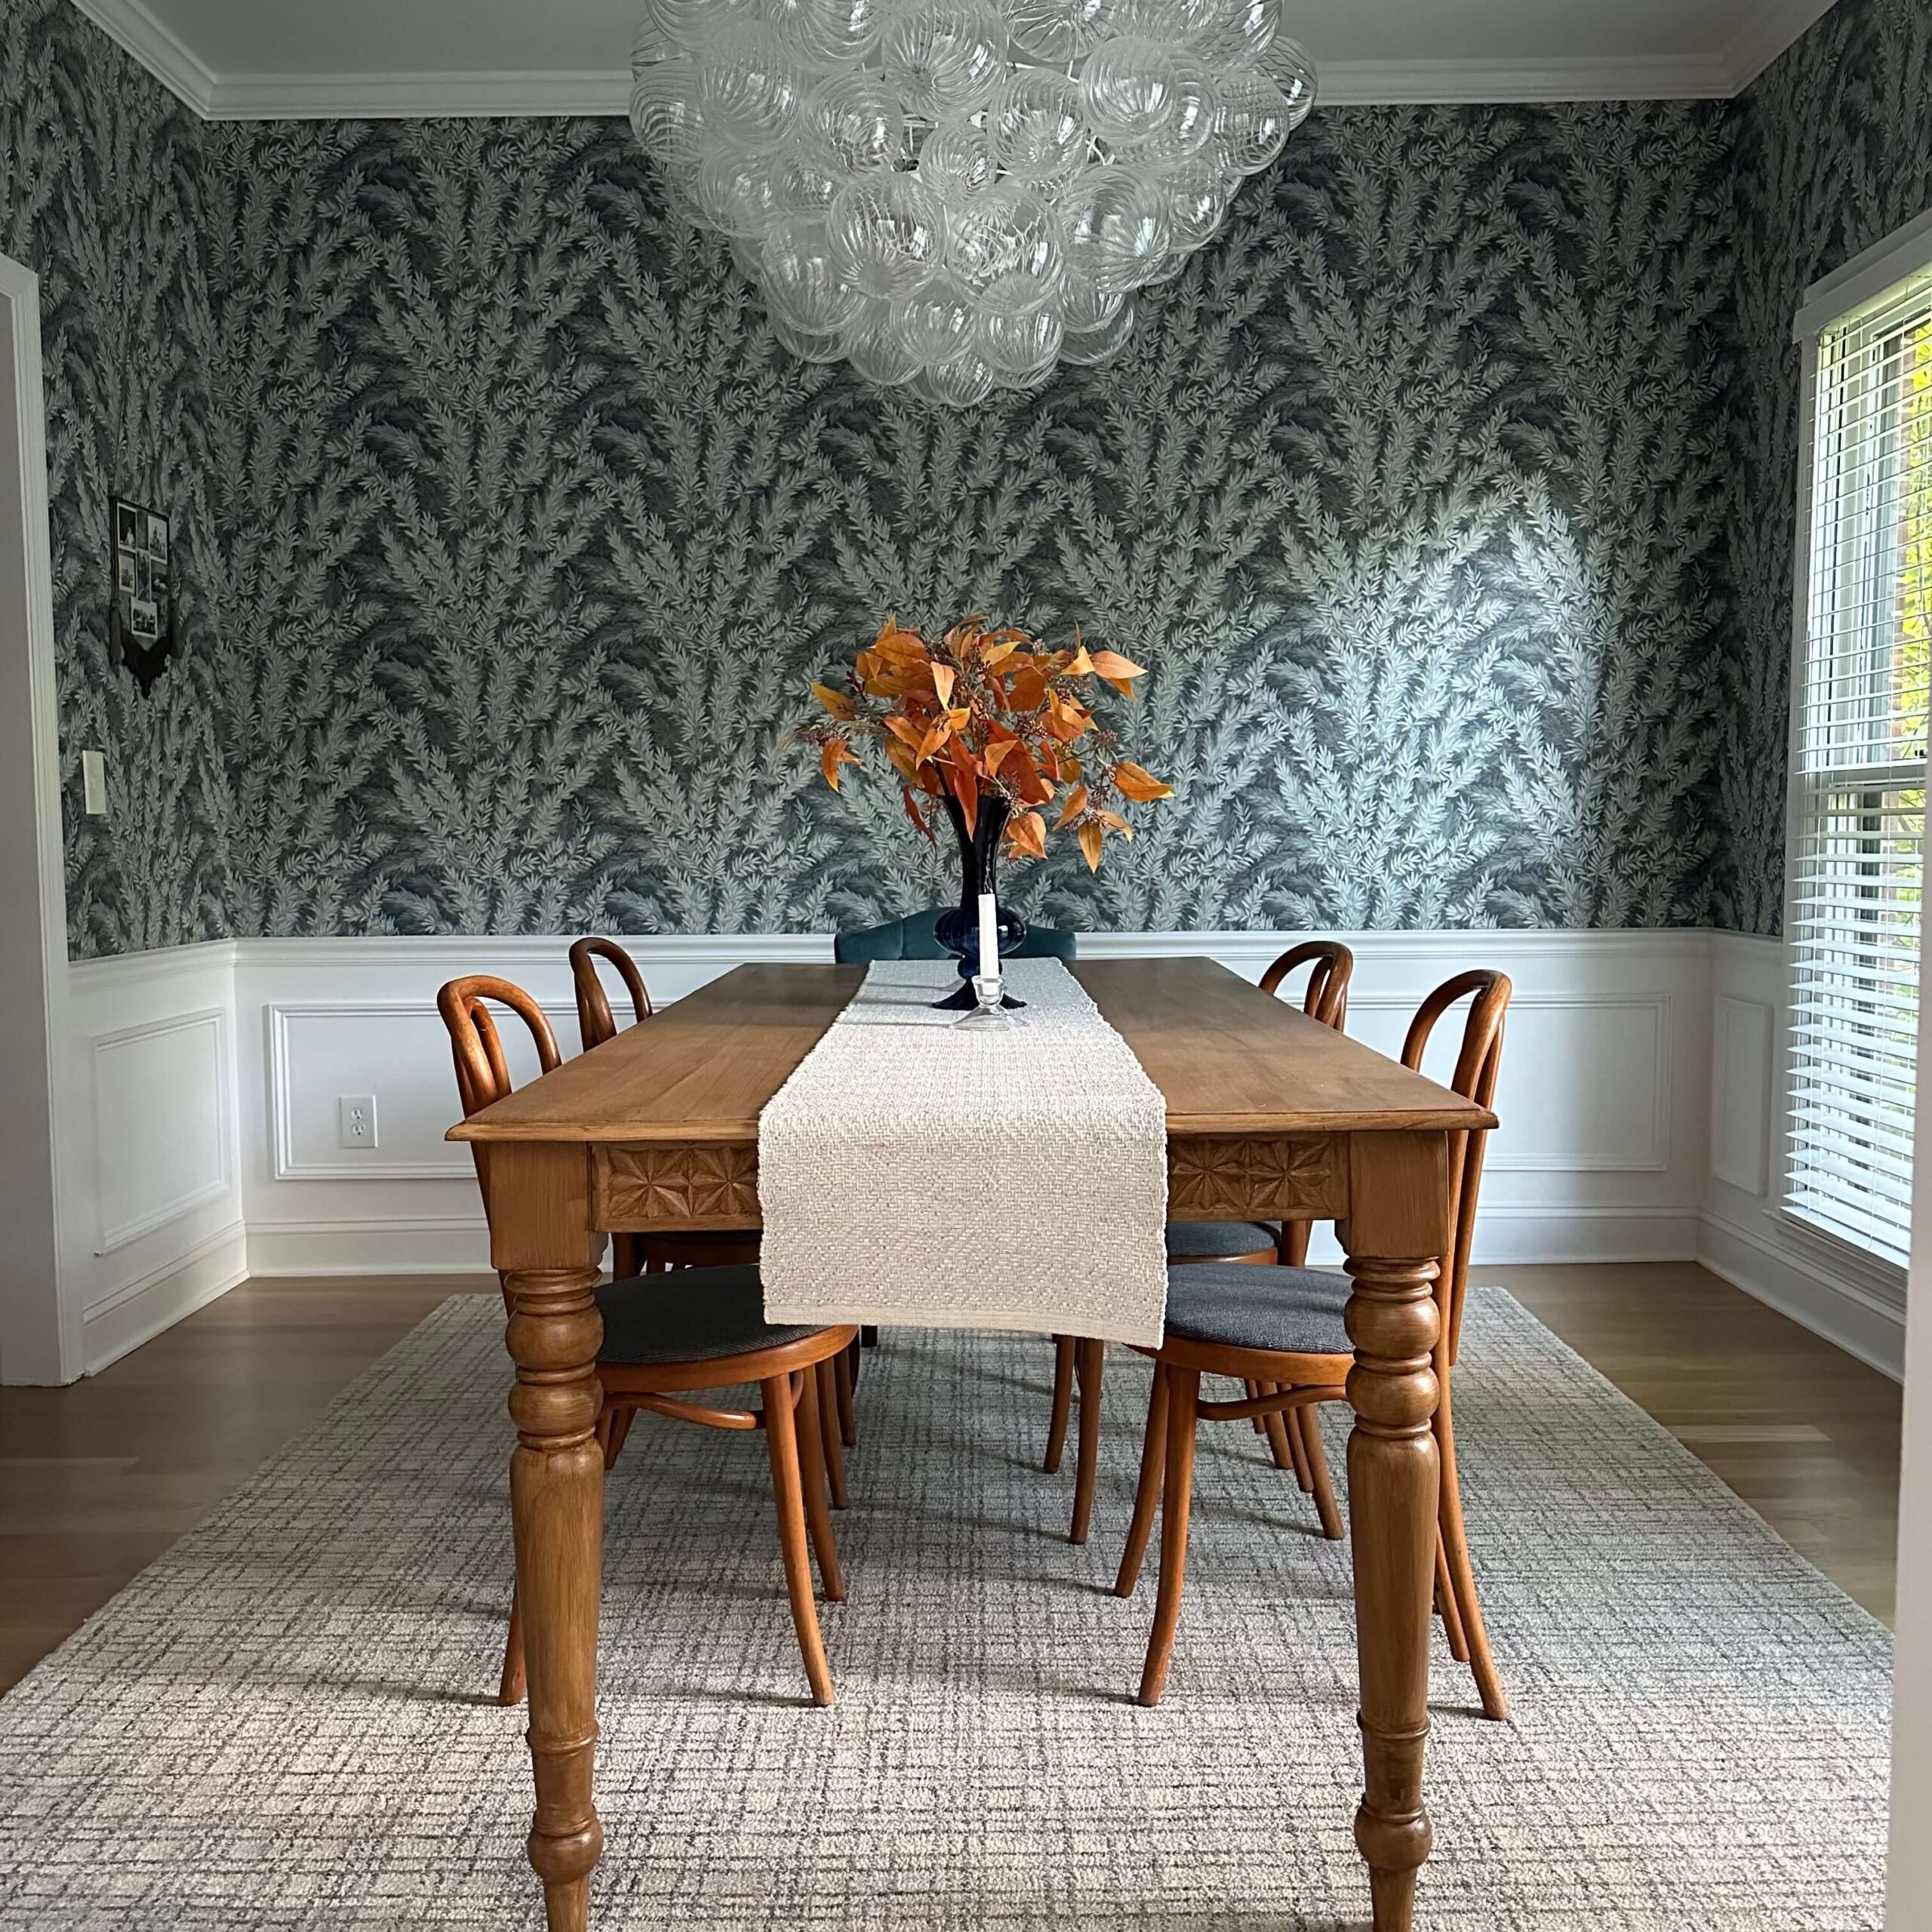















It was a lot of hard work but the outcome was well worth it! Beautiful!