


Technically, from a calendar perspective, this is the bathroom renovation halfway point. But from an actual implementation standpoint maybe not so much. However, progress is progress, so I’m happy to share what I accomplished over this past week, as well as what I learned. I taught myself a crash course in how to skim coat walls, received some exciting deliveries and started mapping out the wainscoting for the walls.
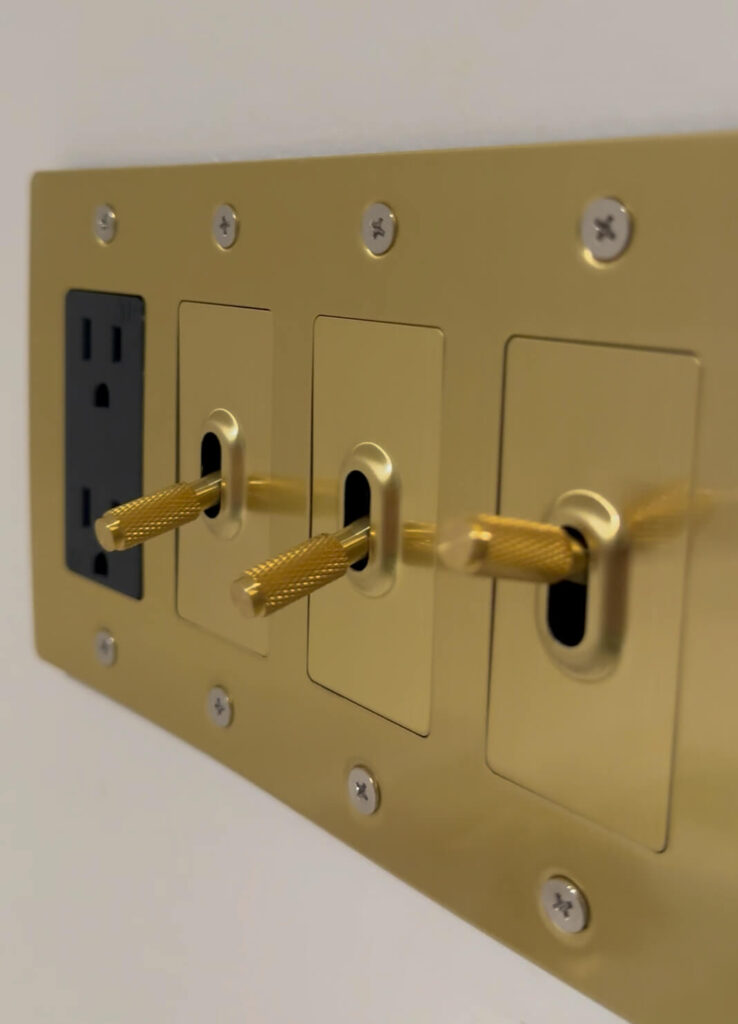
I shared last week about doing some drywall patching on the main wall above the vanity, and it was wash, rinse and repeat after getting all the electrical switches consolidated. Here’s another look at that new brass toggle switch plate in case you missed it.
The next thing I wanted to tackle was smoothing out some of the bumps and lumps on my other walls that the orbital sander couldn’t take care of. These were due to a combination of some bad tape jobs as well as spackle that was not previously sanded down before being painted over. I had never skim coated an entire wall before, so this was a first, and there was a learning curve.
Bathroom Renovation Week 4: Skim Coating Walls
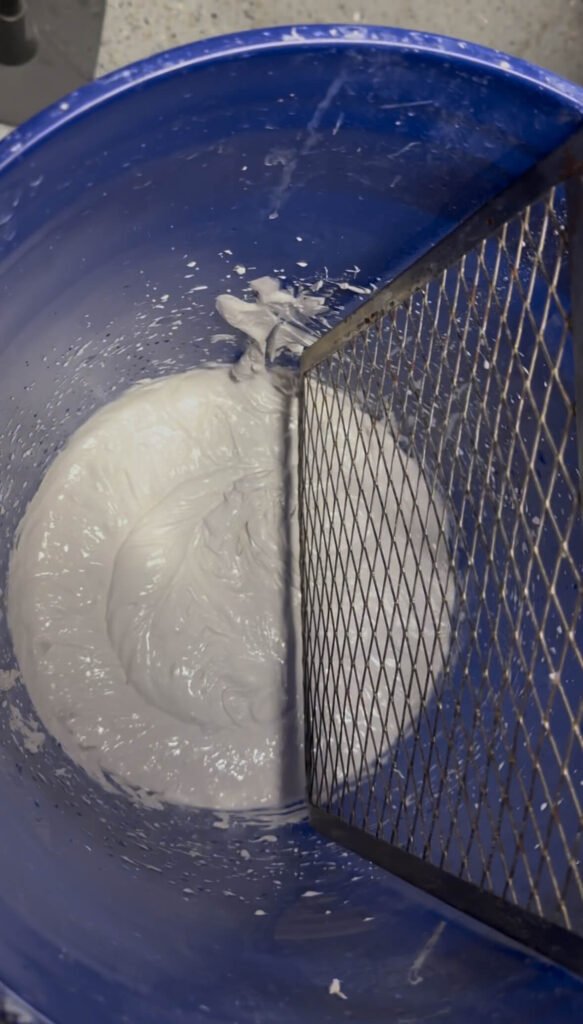
When getting ready to skim coat, the first thing you want to do is to tape off all your floors and any other big objects you’ll be working around. The joint compound will go everywhere! Next you’ll want to get your joint compound mixed up. I chose this joint compound and scooped out several scoops into a bucket, and then using my drill and a mixing wand, I added water and mixed just like you’d mix cake batter. You want the consistency to look like yogurt in the end, so just add a little bit of water at a time until it looks like yogurt.
Next is applying the compound to the walls. Similar to painting walls, you’ll use a paint roller and paint skin with a 3/8″ nap to apply the joint compound. I added this grid to my bucket, which ensured I didn’t have too much on my roller, and then rolled it onto the wall. What’s different about this vs painting is you can go any direction you need to: vertical, horizontal, diagonal – you just want a thick and even coverage.
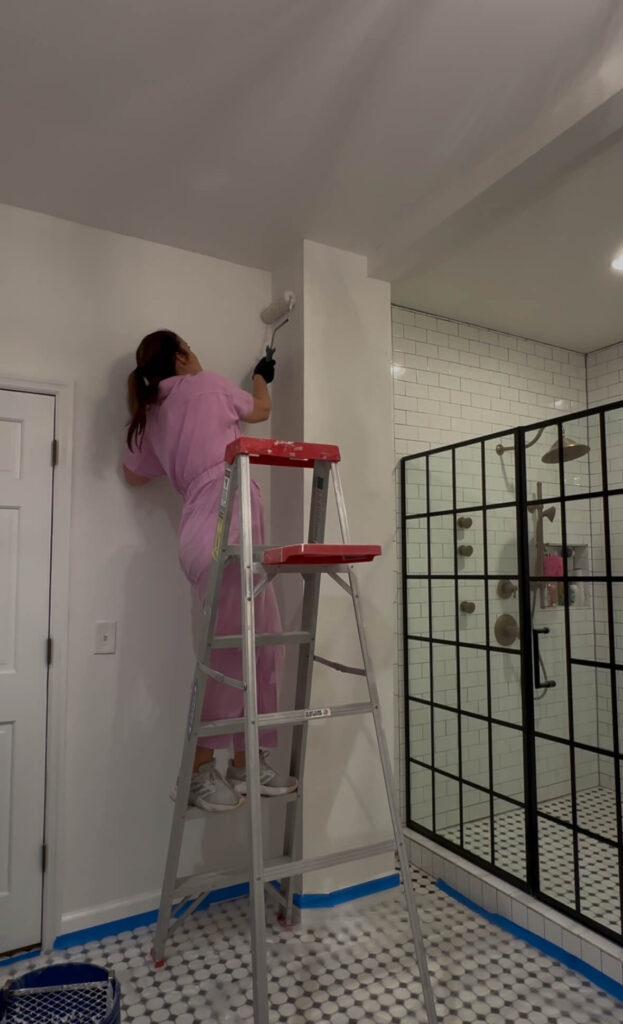
Note that this phase is going to make you question what you’re doing because it looks like you’re adding texture to your walls, not removing it! Work in small sections because you don’t want the joint compound to dry before you get a chance to smooth it out.
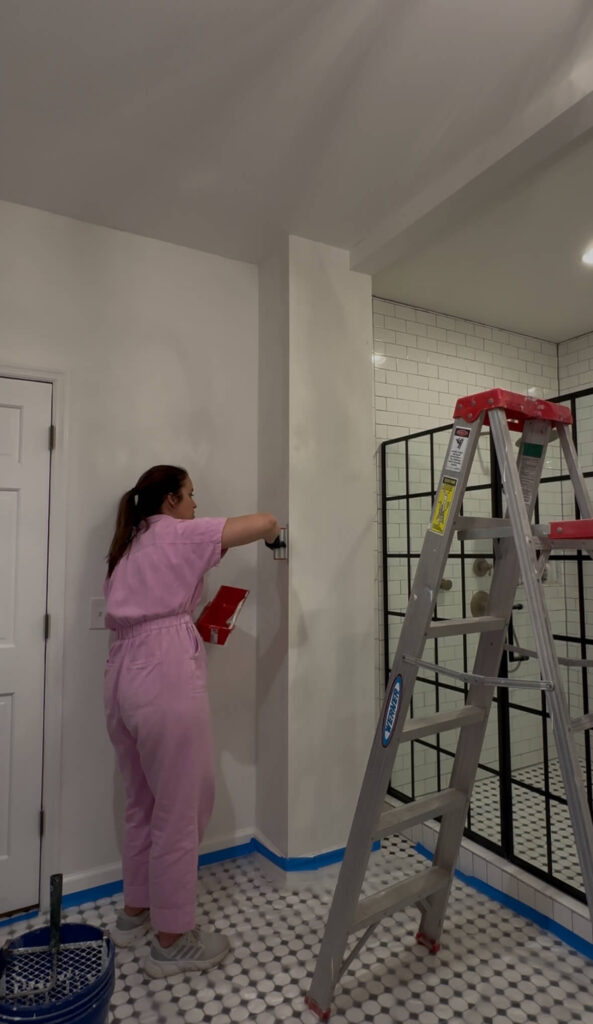
After it’s applied, you’ll use the blade of your choice (usually either a 12-inch blade or smaller) and gently glide it across the wall, leaving a smooth finish. You’ll likely have some small lines, but don’t obsess over these. They can be smoothed out during sanding and if you try to smooth them out during this phase of the process you’ll make things worse not better. I found that going horizontally was easier for some reason than vertically, but again, this was my first time doing this so I’m sure it gets easier with more practice.
Allow the compound to dry for 24 hours and then you’ll be ready to sand. I used a piece of sand paper vs my orbital sander, because I wanted to make sure I wasn’t taking too much off, especially with this being my first time doing this.
A change of plans
I’ll be honest, I did not like skim coating at all, and I think this was largely due to the fact that the two walls I skim coated were uneven in the first place. I figured this out after the fact of course. While these two walls were in rough shape, the process made me step back and assess if I really needed to do every single wall in the bathroom and the answer is NO.
Instead, I went through and spackled holes and cracks where necessary and I think the primer will help to smooth out any smaller discrepancies with texture. While the ceiling could definitely use a skim coat, I’m going to save this for when I do the next phase of the bathroom (involving the shower, as I’ll need to make some changes to lighting and this will be most efficient to do all at once.
Special delivery!
It always helps to balance out the not so fun parts with some deliveries, so I was excited to receive my new light fixtures this week! I’ve been a long-time fan of Visual Comfort (that’s the brand that did my bubble chandelier in the dining room) so I was excited to find a way to incorporate them into the bathroom. These double brass sconces are the perfect warm brass and I love the little X detail on the posts. Topped with frosted glass shades I think these are going to add so much warmth to my vanity area. I cannot wait to get them up!
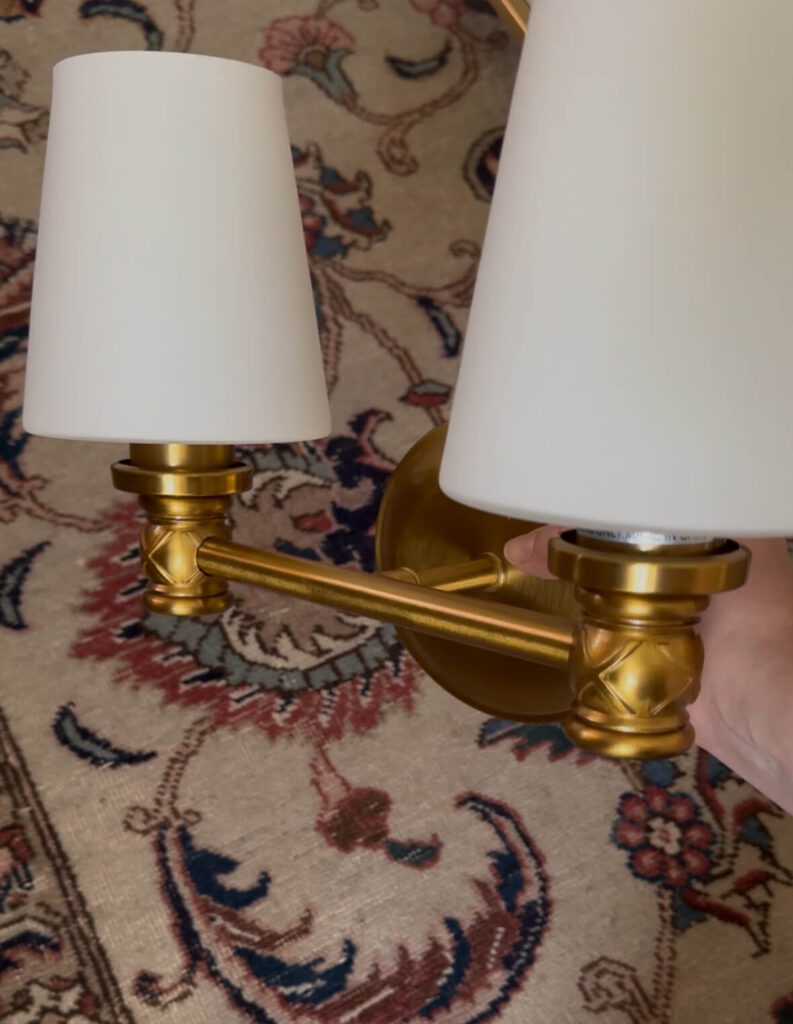
Shop: Vanity Sconces
The final measurements for the new marble countertops also took place and installation should be in the next two to three weeks, which will be right on time! I’m starting to explore what I want for a faucet and I’m leaning towards this pretty one as my front runner.
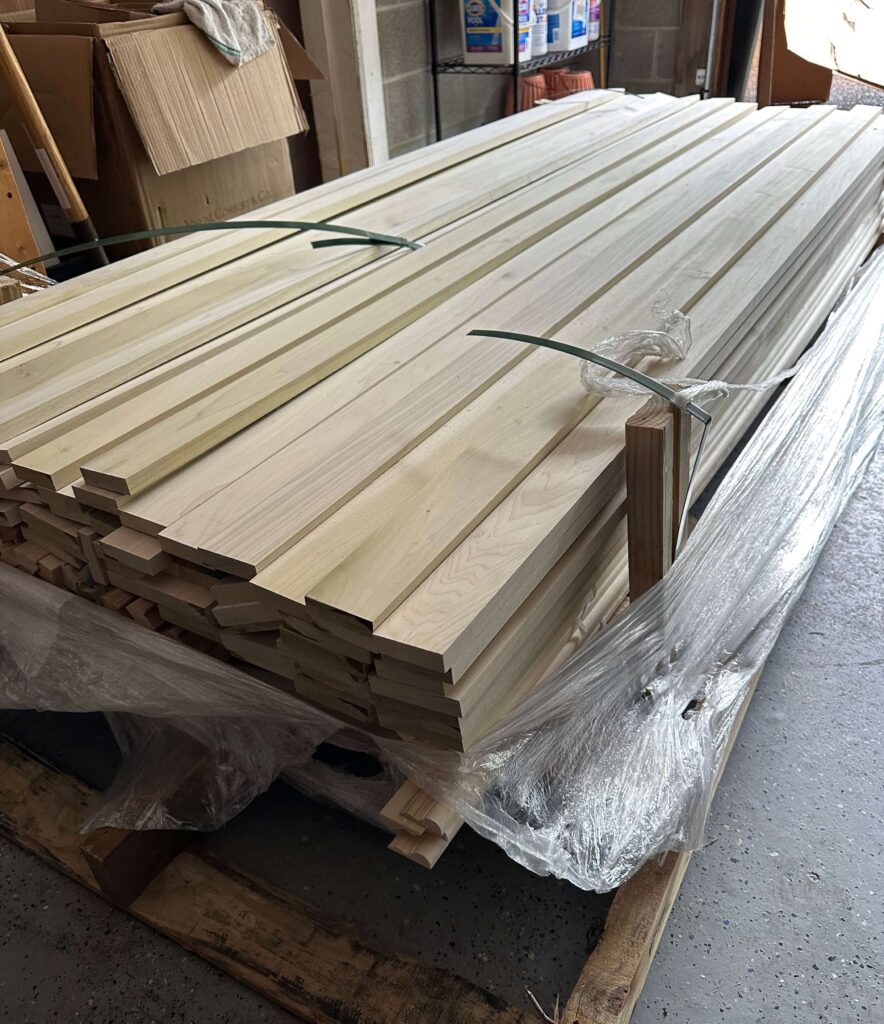
Also arriving this week was 594 pounds of woodwork!!! I’m partnering with Novo Building Products for this project and they’ve generously supplied everything I need for my custom wainscoting. I’ll be adding crown molding, new baseboards, a chair rail, wainscoting and then picture frame molding inside the wainscoting for an elevated look.
What’s Next?
You probably got the hint from the above, but the next step will be adding the wainscoting to the walls! I’m really excited for this, because we’ll finally start to see the transformation take shape. While I’ve added custom trim in both the dining room and primary bedroom so far, this design will be a little bit different. I’m excited to push my DIY skills and have a finished result that adds so much dimension to the space.
Stay tuned on socials over the next week to see the entire process unfold. I’ll also be sharing my vision for phase 2 of the primary bathroom renovation, as it will impact the trim design and installation. I’m excited to share more with you soon! And if you haven’t already, make sure to visit the One Room Challenge page where you can follow along with dozens of talented designers that span across every type of project and style you could imagine.
Catch Up On the Spring One Room Challenge:
Spring 2025 One Room Challenge Week 1
Spring 2025 One Room Challenge Week 2
Spring 2025 One Room Challenge Week 3


