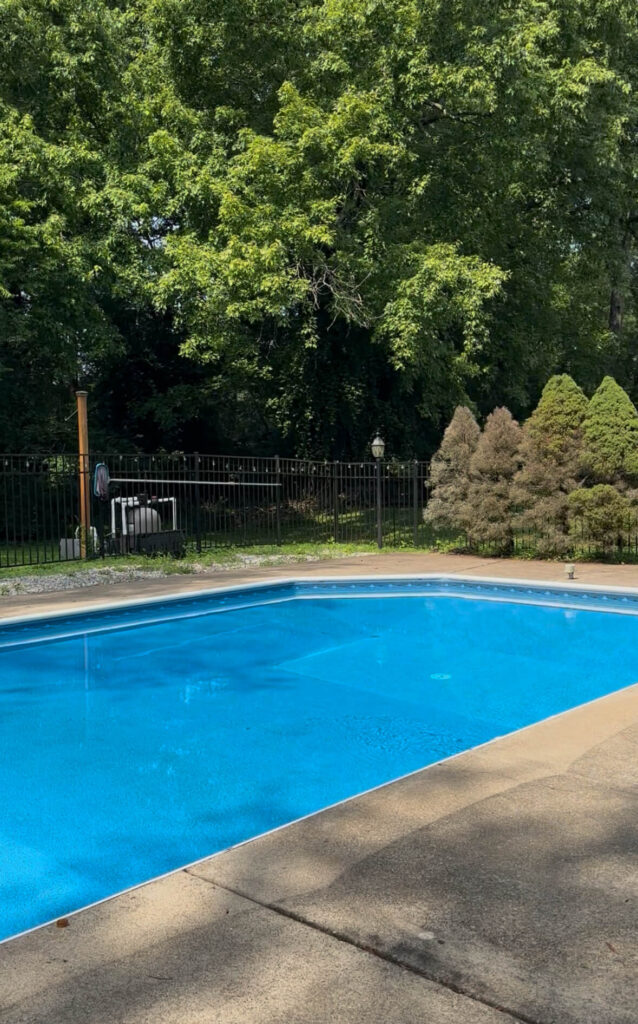
There’s something incredibly satisfying about transforming a tired space with your own two hands—especially when the “before” includes dying pine trees and a garden bed filled with dirty rocks and weeds. Earlier this summer, I had my front yard professionally landscaped, but the back pool area? Due to budget that’s been my DIY special. I wanted something beautiful, functional, and low-maintenance, something I could set and forget. That’s when I decided to take on a DIY paver and turf installation project.
Below you’ll find the full tutorial combining both parts of the process—from mockups to pavers to turf—plus every product I used so you can tackle your own backyard makeover.
Step 1: The Vision + Planning
Every good project starts with a plan, and mine began with a few layout mockups. I tested a couple of different designs using large square concrete pavers with strips of artificial turf in between.
I originally envisioned a diamond layout, but once I measured my garden beds, I realized it wouldn’t line up properly—so I pivoted to a clean, straight design that fit the space perfectly.
Two mock-ups (one with a row of 3 pavers, one with 2) and my initial install of a diamond pattern. I would end up changing this in the end!
Pro Tip: If your pavers don’t visually align in your mockup, it’s worth reworking the pattern before you start cutting turf later on.
Step 2: Clearing the Space
The next step in my DIY paver and turf installation was getting rid of the mess. I pulled weeds, rocks, and the remnants of some very sad pine trees. Then I worked on leveling the soil as best as possible—trust me, this step makes everything easier later on. You’ll need a pick axe, a heavy rake and a good shovel for this process. I also purchased a special shovel with blades on the side which helped cut through deep roots when removing the pine trees.
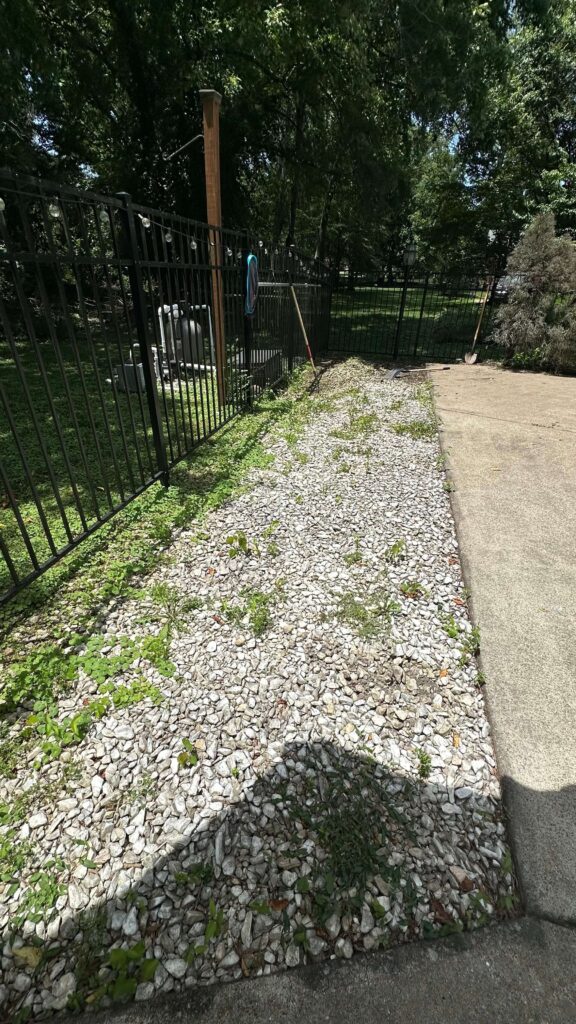
The before and after of the area. It felt so good to get everything cleared out!
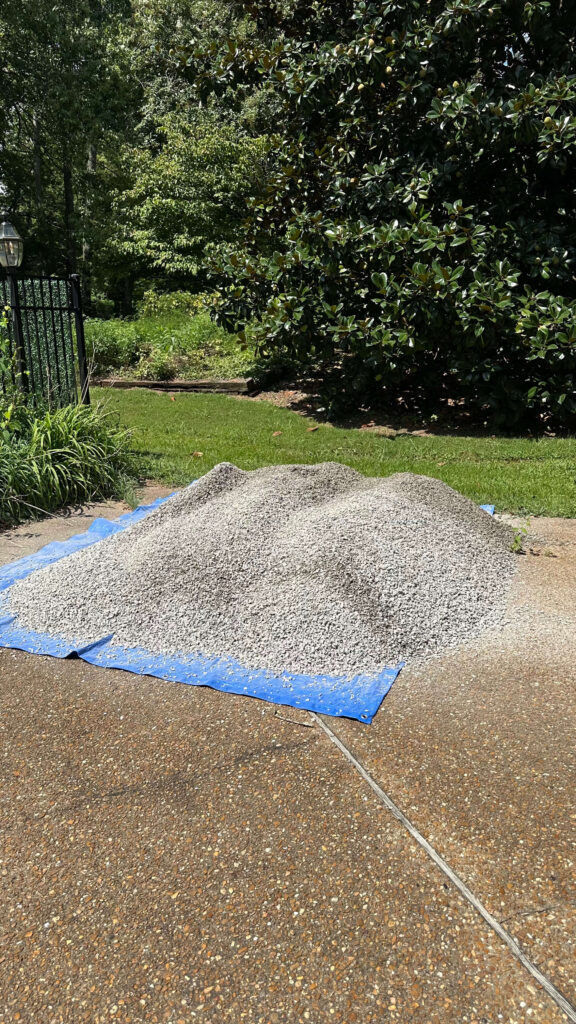
Step 3: The Decomposed Granite Base
Once the area was clear, I had two tons of decomposed granite dropped in my driveway. (I about died when I saw how much that actually was.) Often referred to as “DC” this type of rock allows for the best drainage for a project like pavers. Luckily you can have it delivered!
Before hauling it over, I should’ve installed a garden edger to contain the material—but I learned that one the hard way. Another thing I didn’t do and should have was tamped down the soil before laying the decompossed granite. When you’re removing roots, the soil needs to settle. Helping it along with a tamp will take care of this for you and you’ll avoid things settling after the fact.
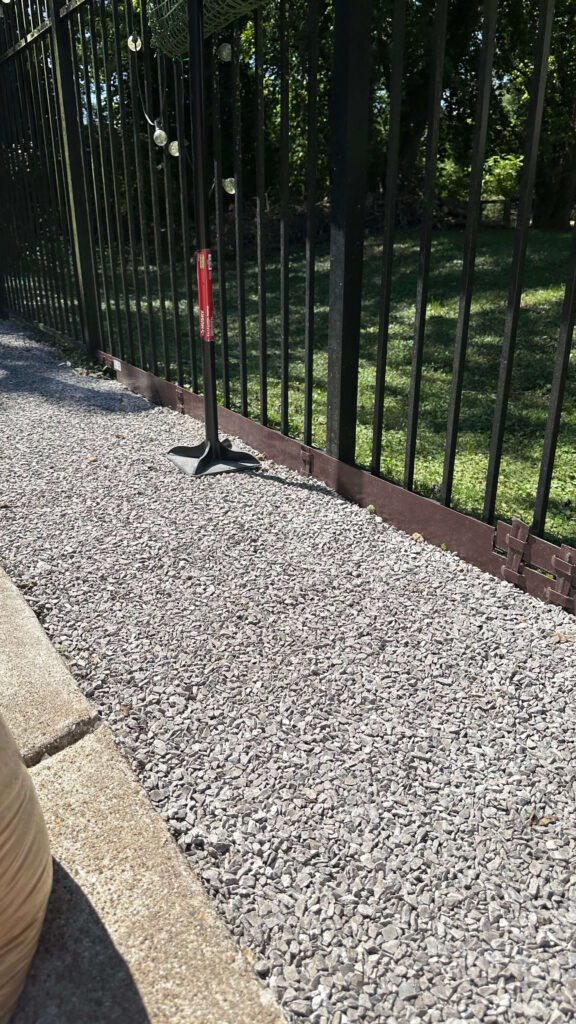
Anyhow, back to the process: Using buckets, I shoveled the granite over to the garden beds, spread it evenly, and raked it level with a heavy-duty rake. A good rule of thumb is about 2 inches of rock for drainage purposes.
Next I tamped everything down by hand to create a solid base for the pavers. You can also rent a tamper, however I didn’t have the ability to haul one myself so I did this by hand. Try to level the rock as much as you can, but don’t get terribly detailed with it, as we’ll do sand in the next step which will help fill in gaps.
Step 4: Sand Layer + Leveling
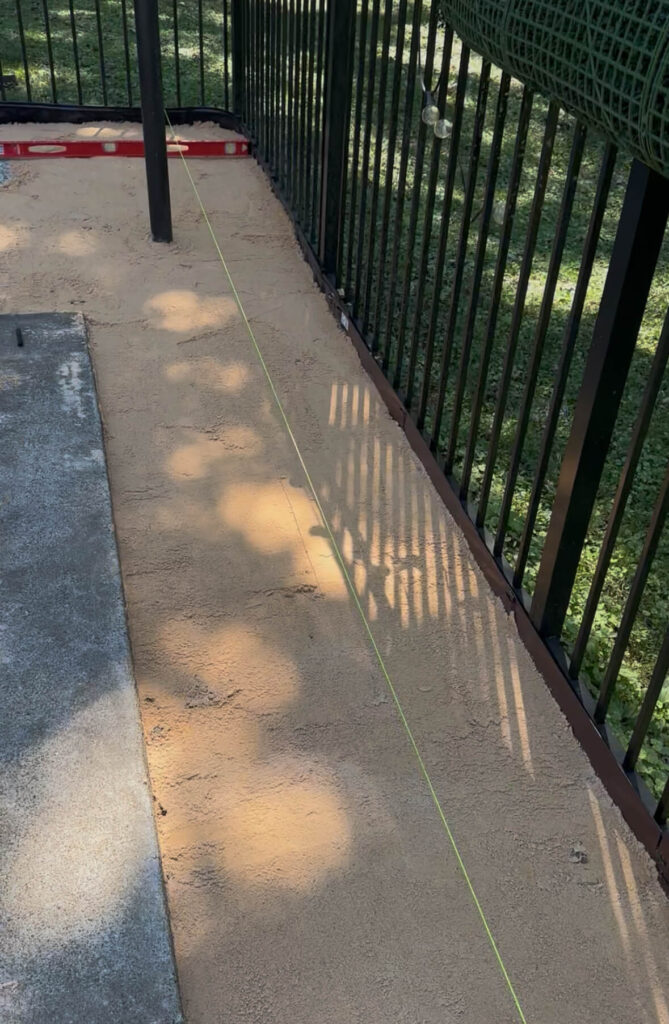
Next came sand. You’ll want to purchase “paver sand” which is used specifically for this purpose and you should plan on one to two inches total. Since my pavers are aesthetic and are not being walked or driven on, I went for one inch. If your pavers are going to be getting normal use and traffic, you’ll want two to three inches of sand.
The easiest method for installing the sand was dumping one bag at a time, leveling it with a rake, then again with a flat board (a process called screeding). Use a level to ensure everything is even and keep screeding until it is. This step creates an even foundation for your pavers to sit securely without wobbling, which is key to a polished finish.

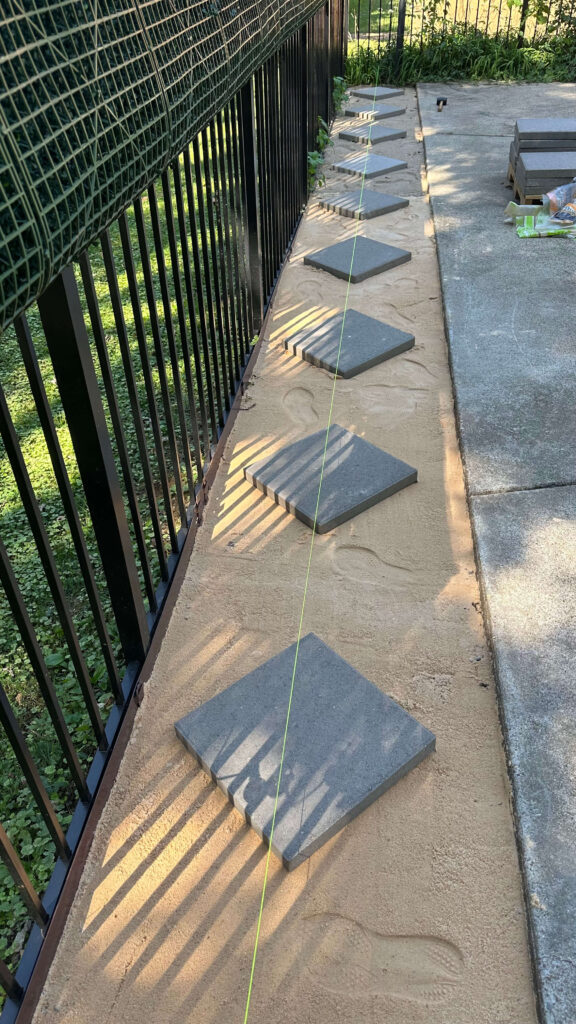
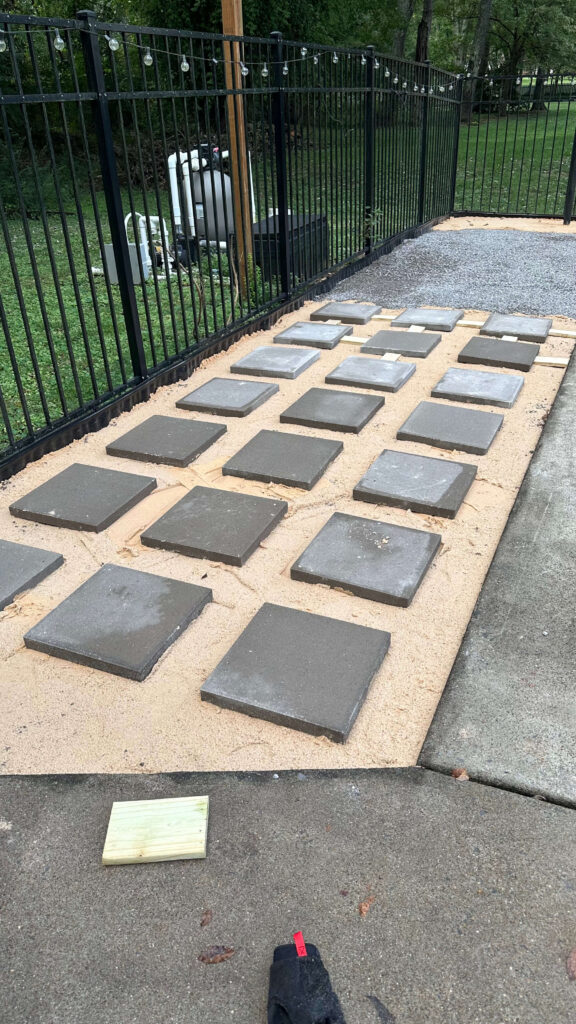
Step 5: Laying the Pavers
Here’s where the DIY paver and turf installation really started to come to life. I began with my diamond pattern in the narrow bed but quickly realized it didn’t translate to the larger area. Half pavers and awkward cuts just weren’t the look I wanted, so I switched to a straight layout that felt cleaner and more intentional.
To keep spacing consistent, I cut seven-inch wooden blocks to use as spacers between each paver—this is key because it makes trimming and fitting the turf much easier later on.
These are the pavers I used (ps – they deliver!)
Each paver weighed about thirty-six pounds, and with sixty total, that’s over two thousand pounds I moved around… and yes, a few of them got set more than once. Once you have your pavers placed, tamp them down with a rubber mallet to help set them.
Step 6: Installing the Artificial Turf
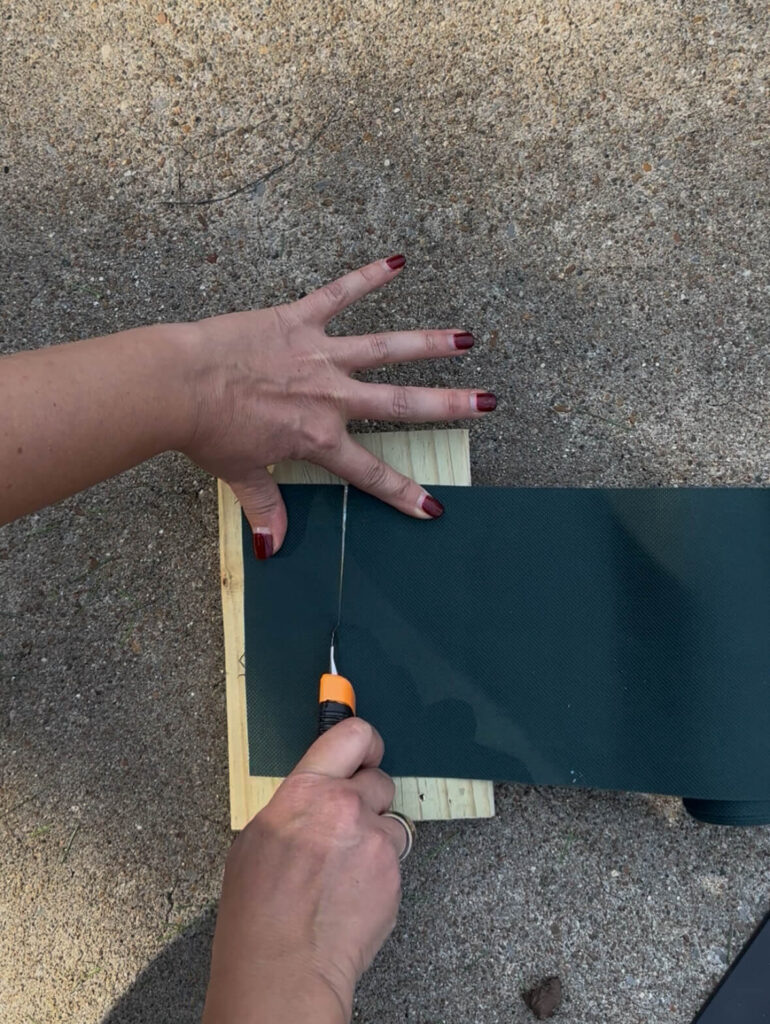
With the pavers in place, it was time for the artificial turf. Using the same wood block spacer, I cut my turf to the width and length for the longer pieces first. I used scissors to do this, but would highly recommend a good utility knife like this one instead (I learned that towards the end). It’s so much faster!
An important step to note when you’re installing artificial turf is to make sure all of the blades are pointing in the same direction. Make sure to plan this during your cuts, otherwise you’ll end up with a lot of waste. Dry fit the turf in the spaces first (some pavers may need slightly shifted) and then follow these steps to lock it all in place:
- Join the pieces of turf together with seam tape. I used this kind and it’s EXTRA sticky, which gave me peace of mind. Place it on both pieces of turf you’re joining and then press down.
- Next using a hammer, you’ll want to hammer a staple over the seam. This is going to add extra reinforcement through weather. Brush over the blades with your hand to hide the staple after you’ve hammered it in place.
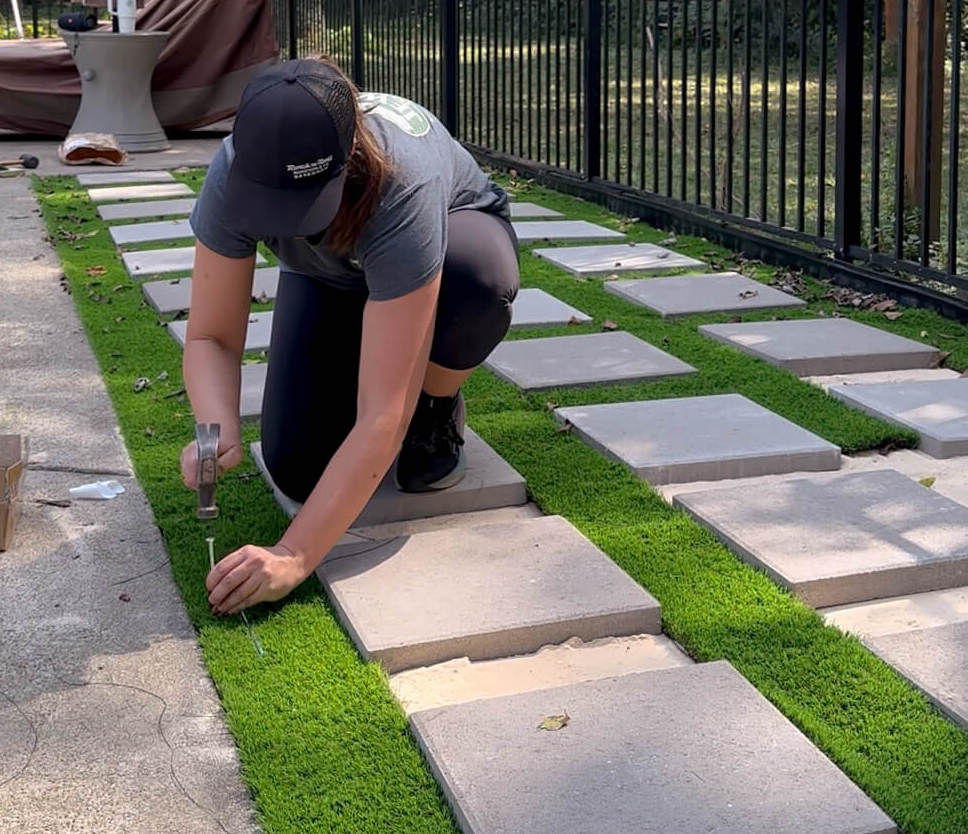
- Last is hammering 5 inch galvanized nails throughout. I really focused on doing this every foot along the perimeter of the garden beds, as well as where I saw the turf shifting near the pavers. A good test is to get your leaf blower out and see if any turf lifts when you blow over the area. If it does, drive a nail into that spot.
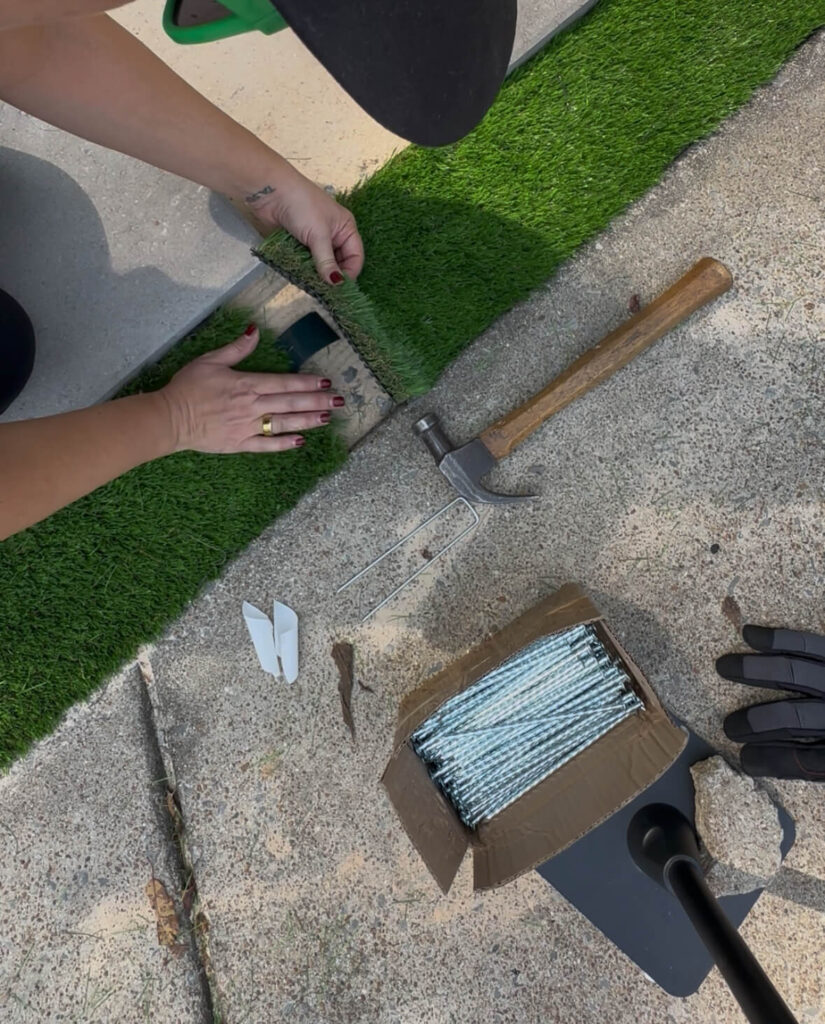
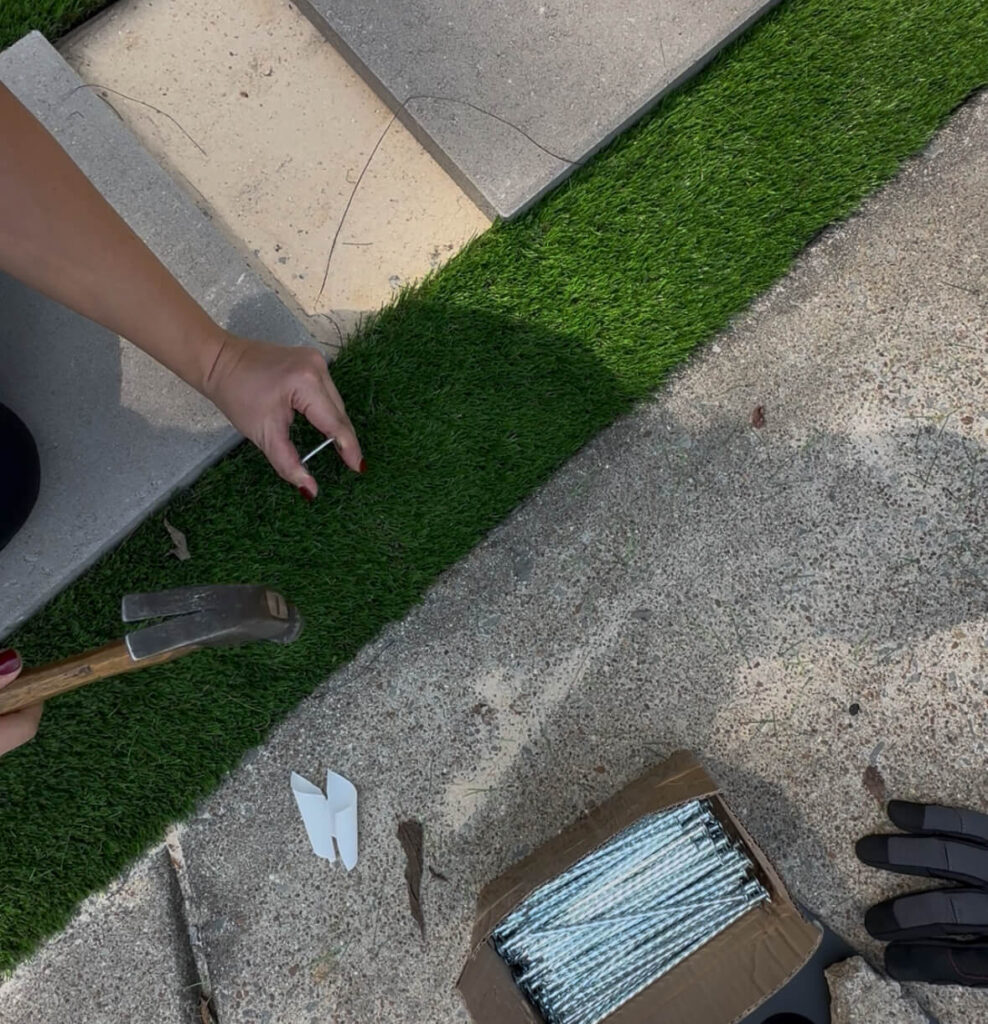
From top left to bottom: cutting the seam tape, installing the seam tape, installing the staples, adding the 5 inch nails throughout
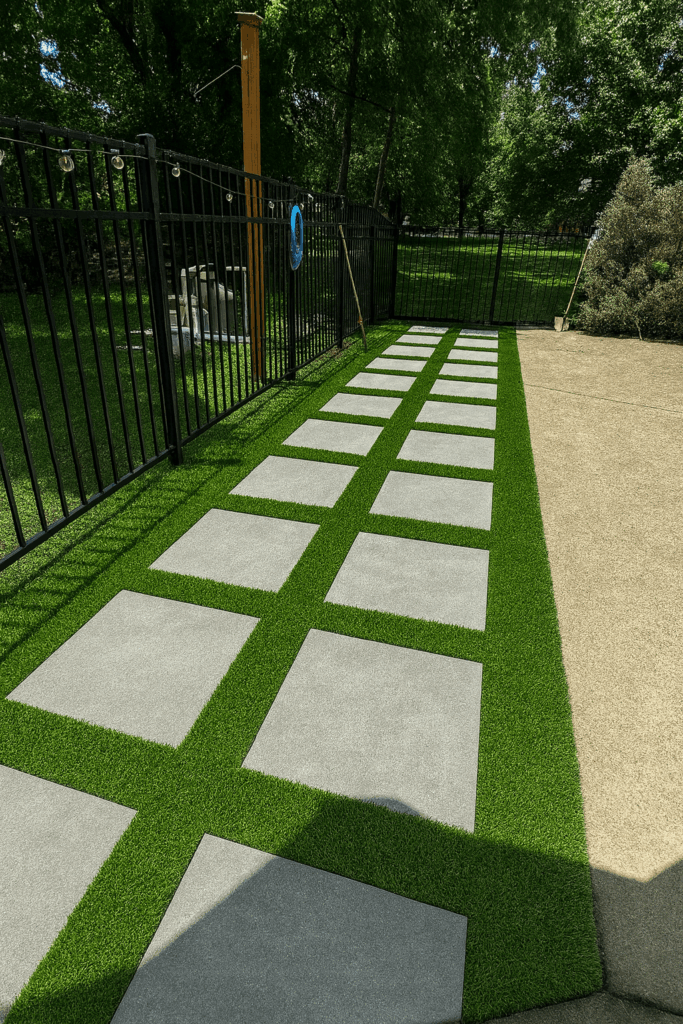
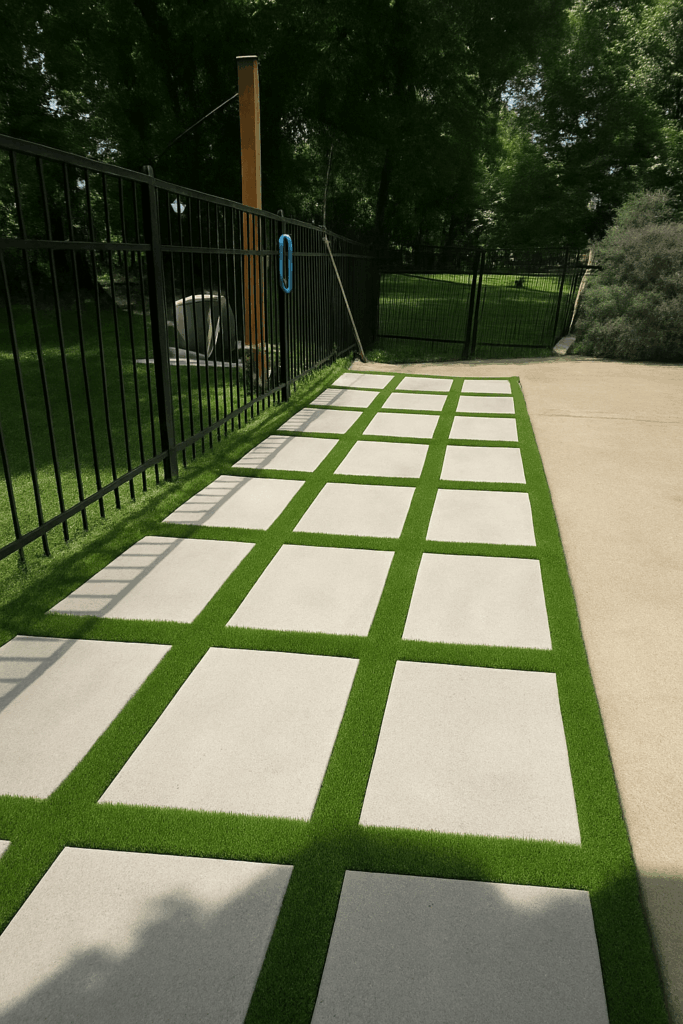
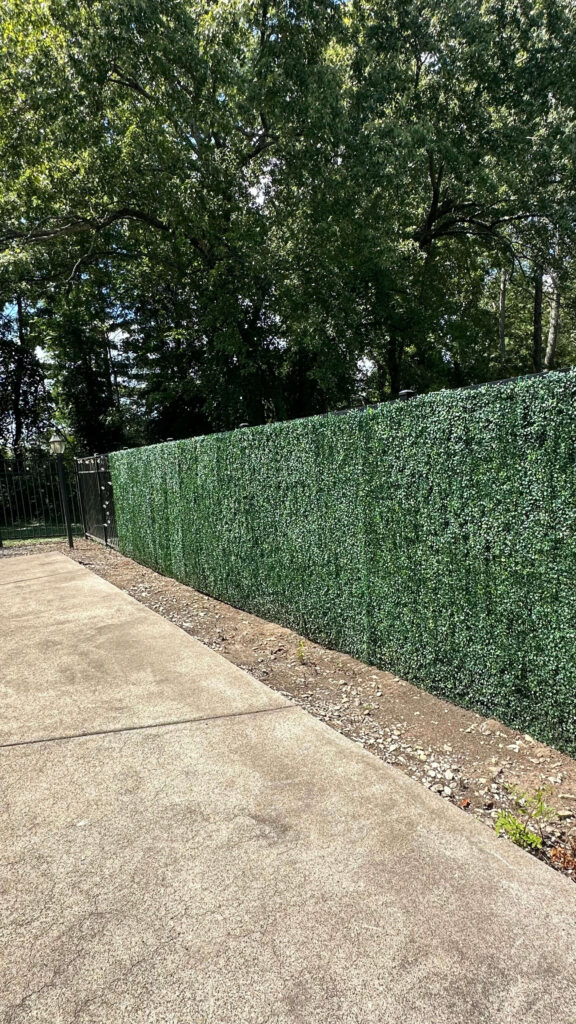
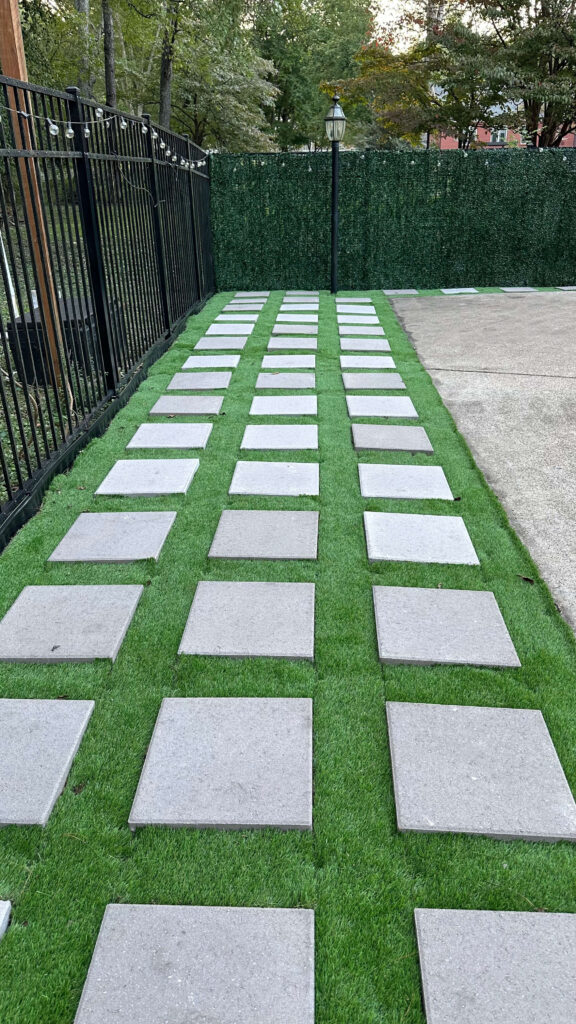
The Final Reveal
The before-and-after speaks for itself. What was once a neglected corner of the yard is now a polished, functional extension of my outdoor living space. For some extra privacy from the neighbors, I also opted to add a faux boxwood privacy fence on one side. For the time being, this has been a fantastic solution.
This DIY paver and turf installation took some muscle and a few learning curves, but the result was absolutely worth it. It’s proof that with a little planning, persistence, and a few trips to Lowe’s, you can completely transform your outdoor space.

Shop the DIY paver and Turf Installation Project
You can shop every item from this project directly below and start your own backyard transformation.
- Level
- Bucket
- Shovel
- Speared shovel (for removing roots)
- Pick axe
- Heavy-duty rake
- Tamper
- Hammer
- Rubber mallet
- Measuring tape
- Scissors
- Utility Knife (use this to cut your turf and your seam tape)
- Gloves
- Concrete pavers
- Artificial turf
- Decomposed granite
- Paver sand
- Seam tape
- Staples
- Galvanized Nails
- Garden edger
- Wheelbarrow
- Boxwood Privacy fence (I used 4 panels)
Related Posts:
My Front Yard Exterior Makeover
Budget Friendly Pool Patio Refresh