Recently I teased on socials that this kitchen is a vicious cycle of painting, sanding, cleaning and sawing. It was a joke but it’s really quite accurate! So naturally I’m back into a painting phase for week 6 of the budget friendly kitchen renovation: transforming the countertops. Yes that’s right, I’m aiming to DIY my existing dark granite countertops into a faux Carrara Marble finish. I’ve partnered with the brand Giani for this transformation and have been a mixed bag of nervous and excited. Without further ado, let’s get into it…
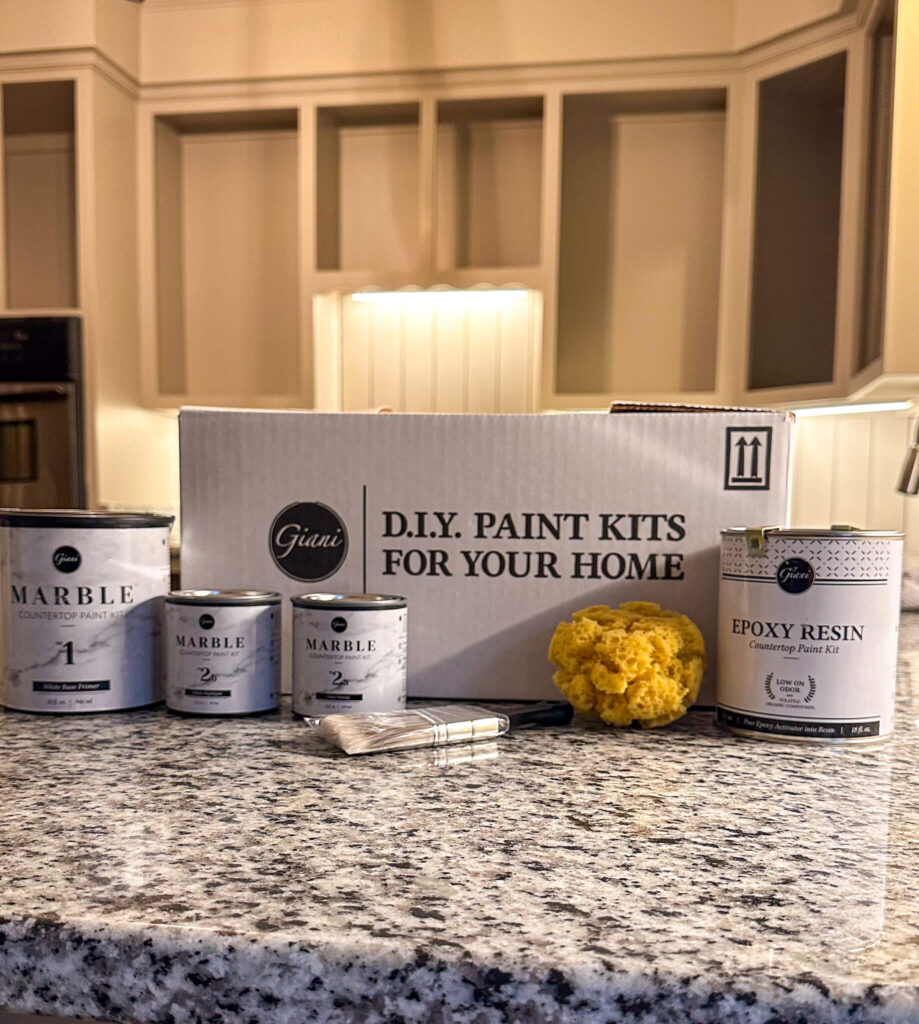
Giani Carrara Marble Countertop Kit
Step 1: Clean + Prep
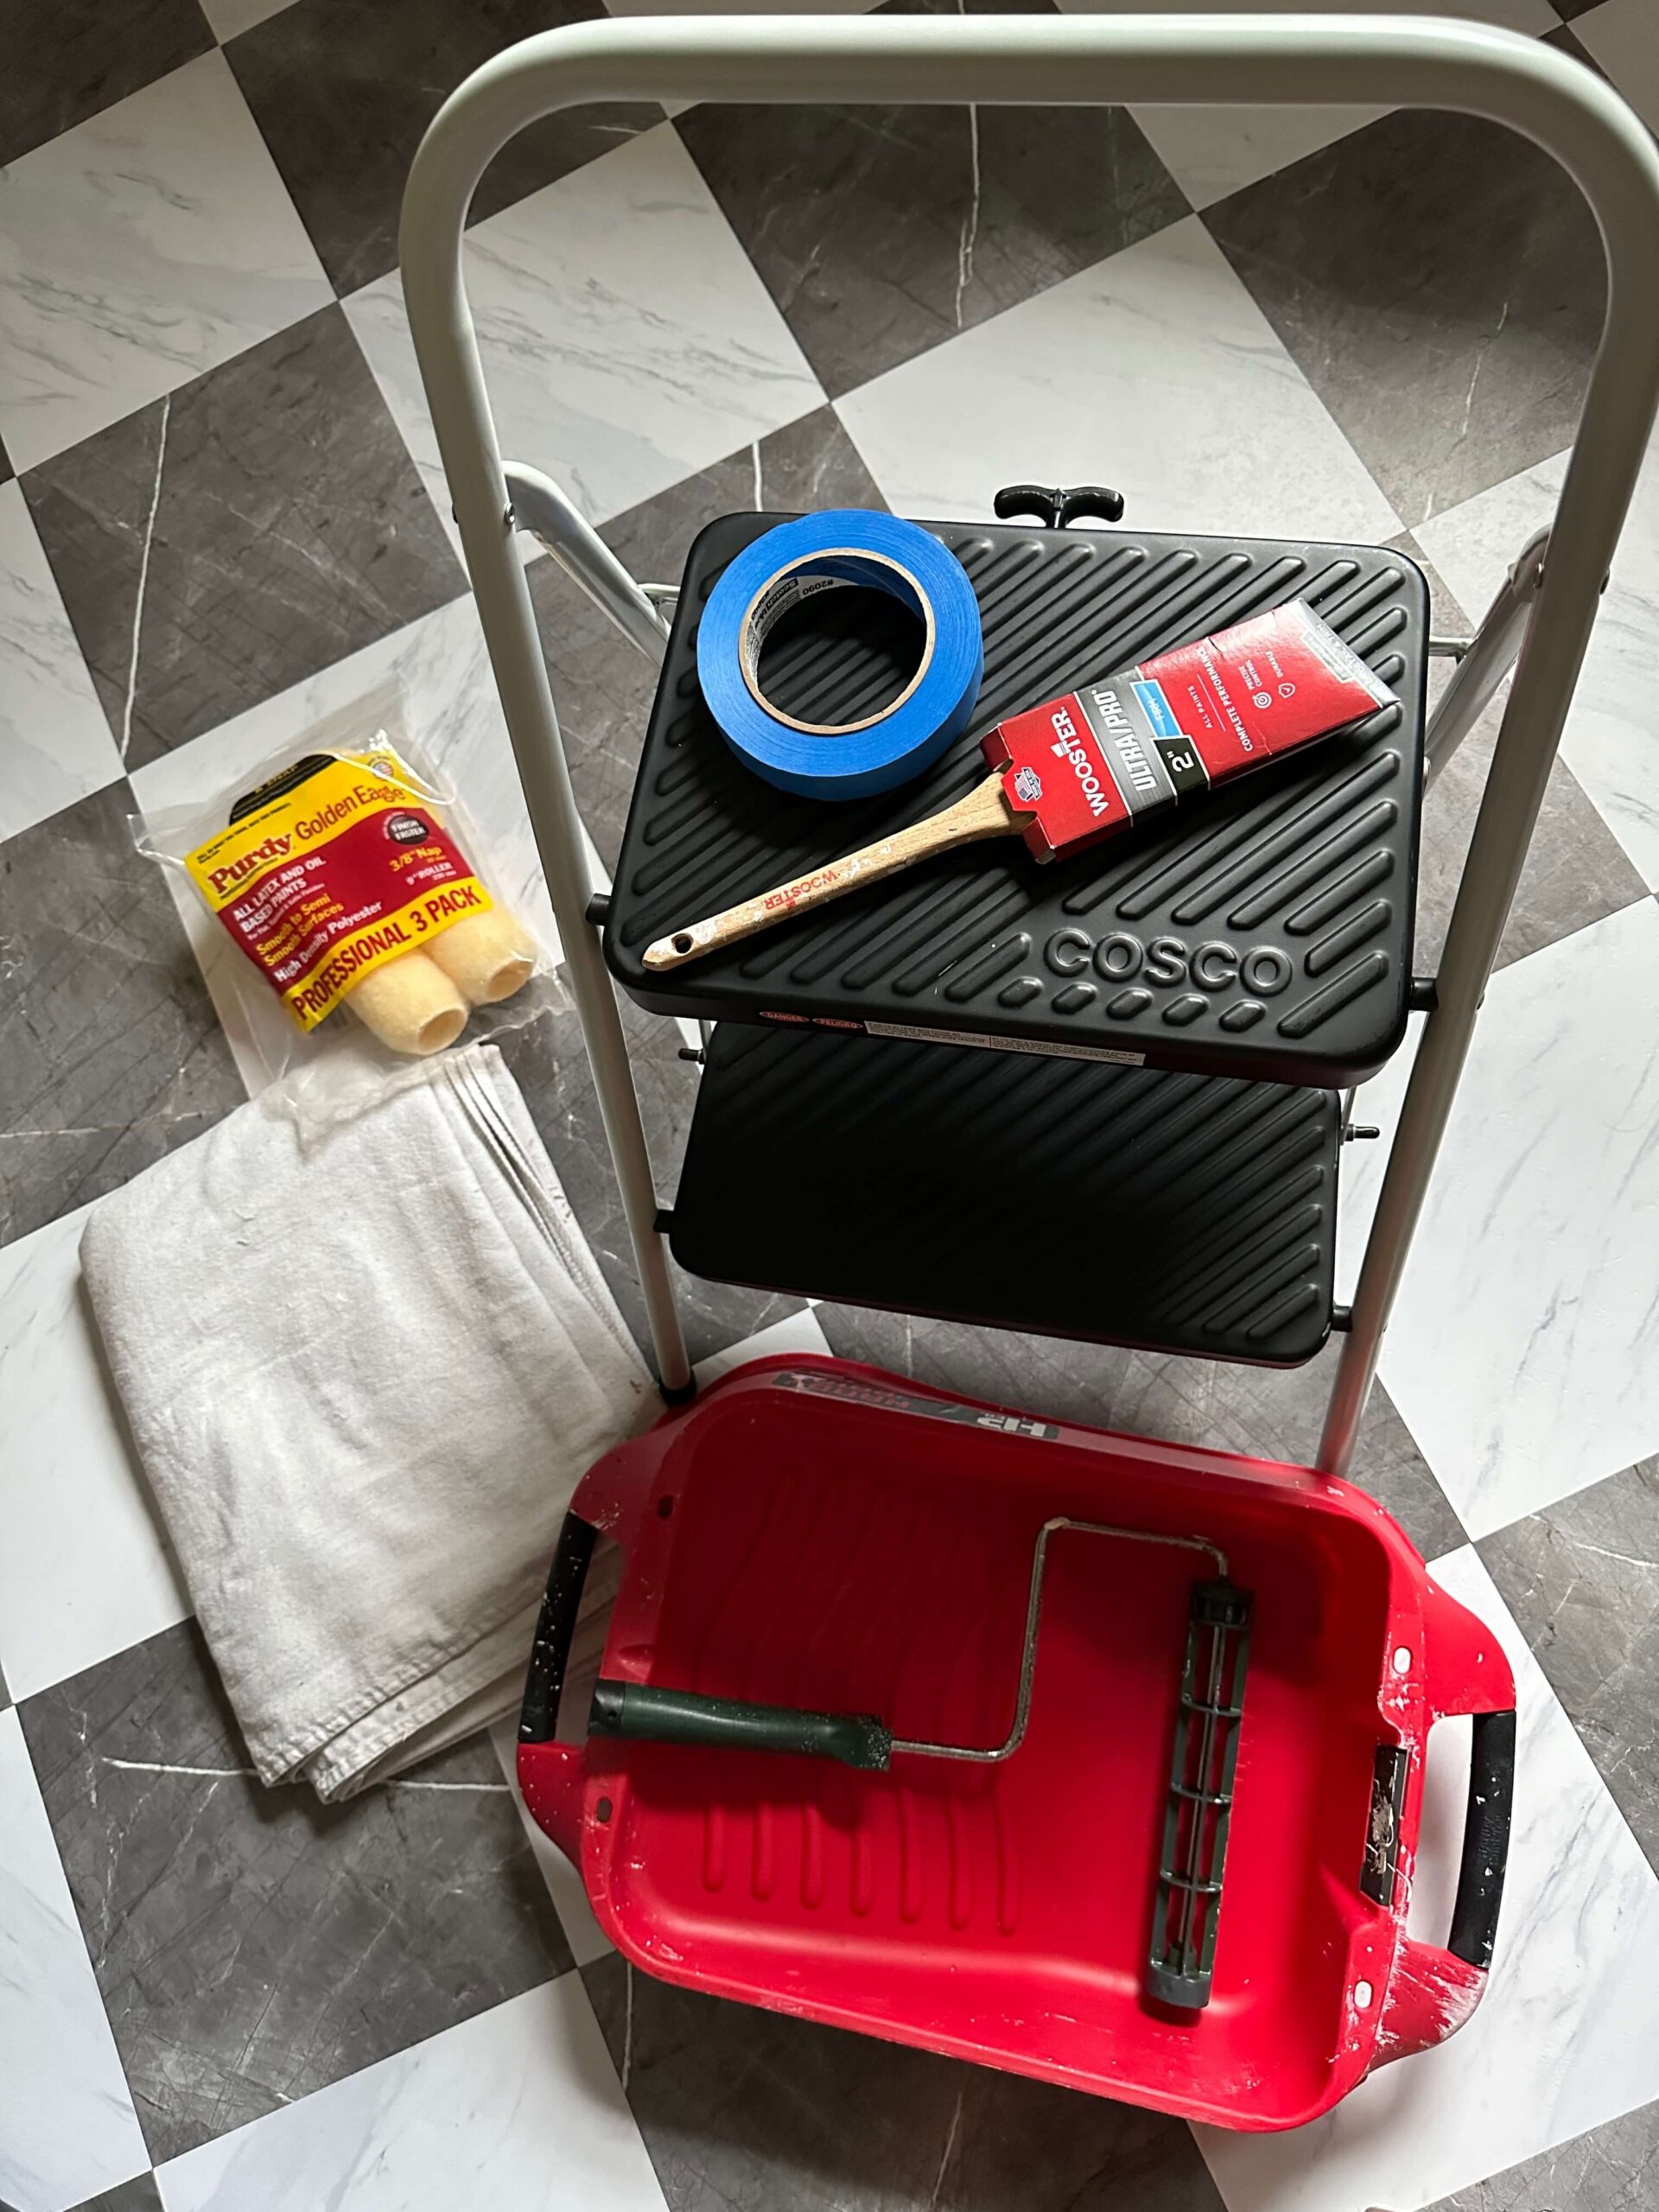
The Giani Marble Countertop Kit came with everything I needed for this flip, including very thorough instructions. To start, they recommend you clean your counters with dish detergent and warm water. I went a step further an also cleaned with a lacquer thinner just to really make sure my granite counters were fully clear of all the dirt, grim and grease. After that, it was time to tape off the new backsplash, as well as the cooktop, sink, dishwasher and lower cabinets. The kit came with all the plastic needed for this, I just had to supply the painter’s tape and then I added extra drop cloths on the floor just to be safe.
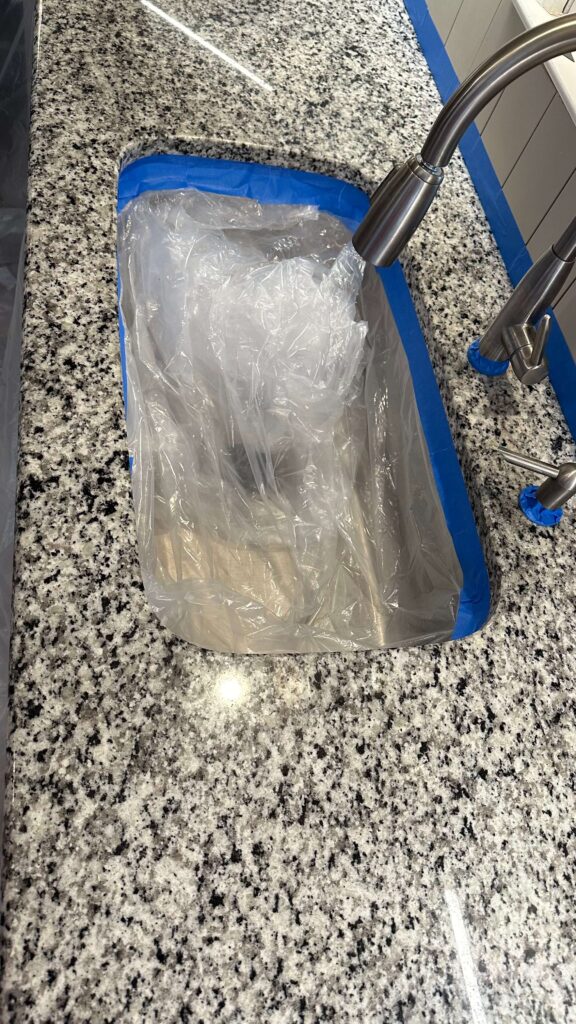

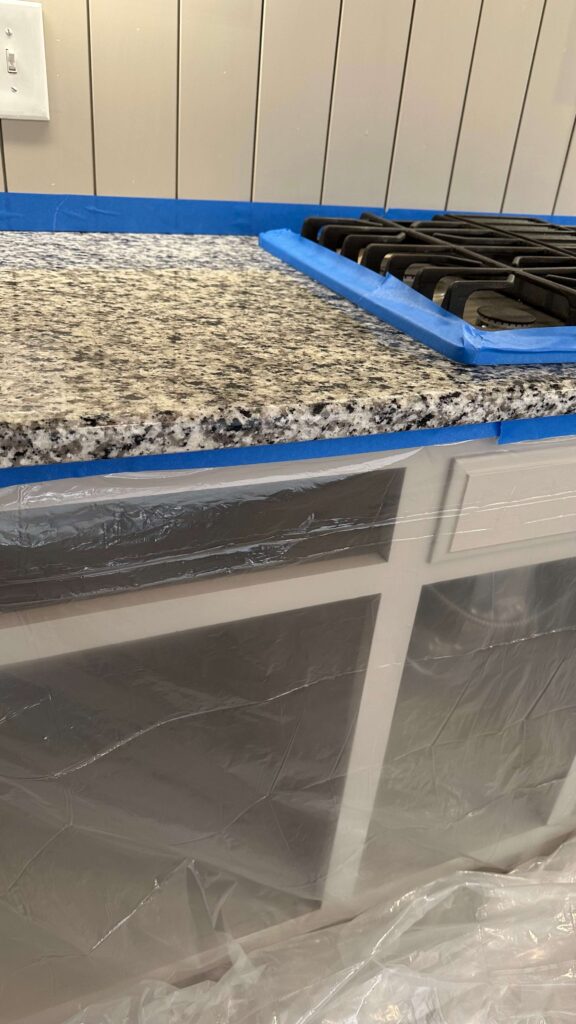
Make sure to tape off everything and add extra plastic for the epoxy drippage
Step 2: Prime the Counters
Next, just like with any painting project, it was time for the primer. Since I chose a white Carrara marble kit, my base is white but there are kit options for black counters too! My counters are quite dark, so it took three coats of primer to achieve full coverage. I let each coat dry for about two hours and the entire process went quite quickly.
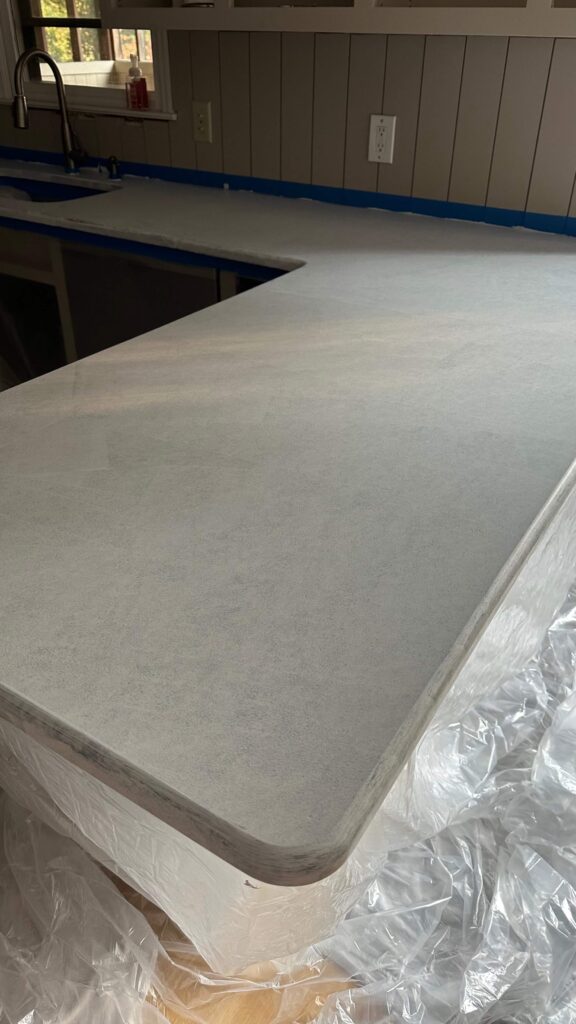
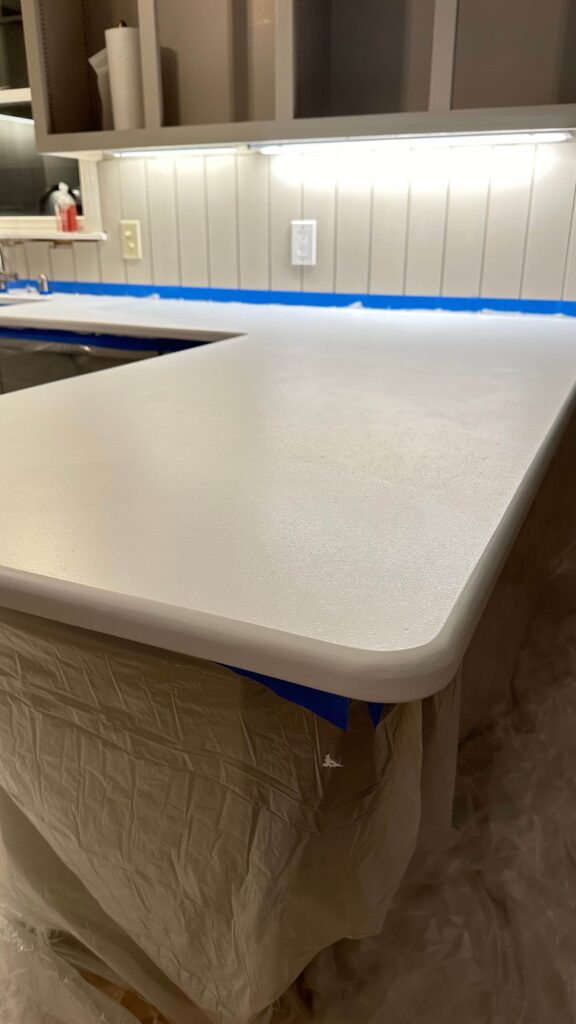
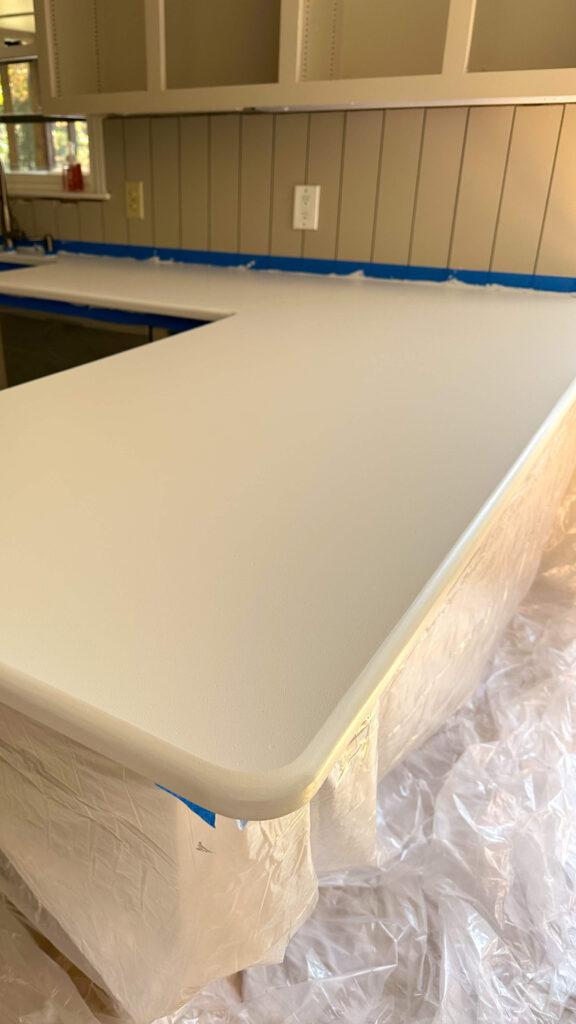
In order: 1 coat of primer, 2 coats + 3 coats
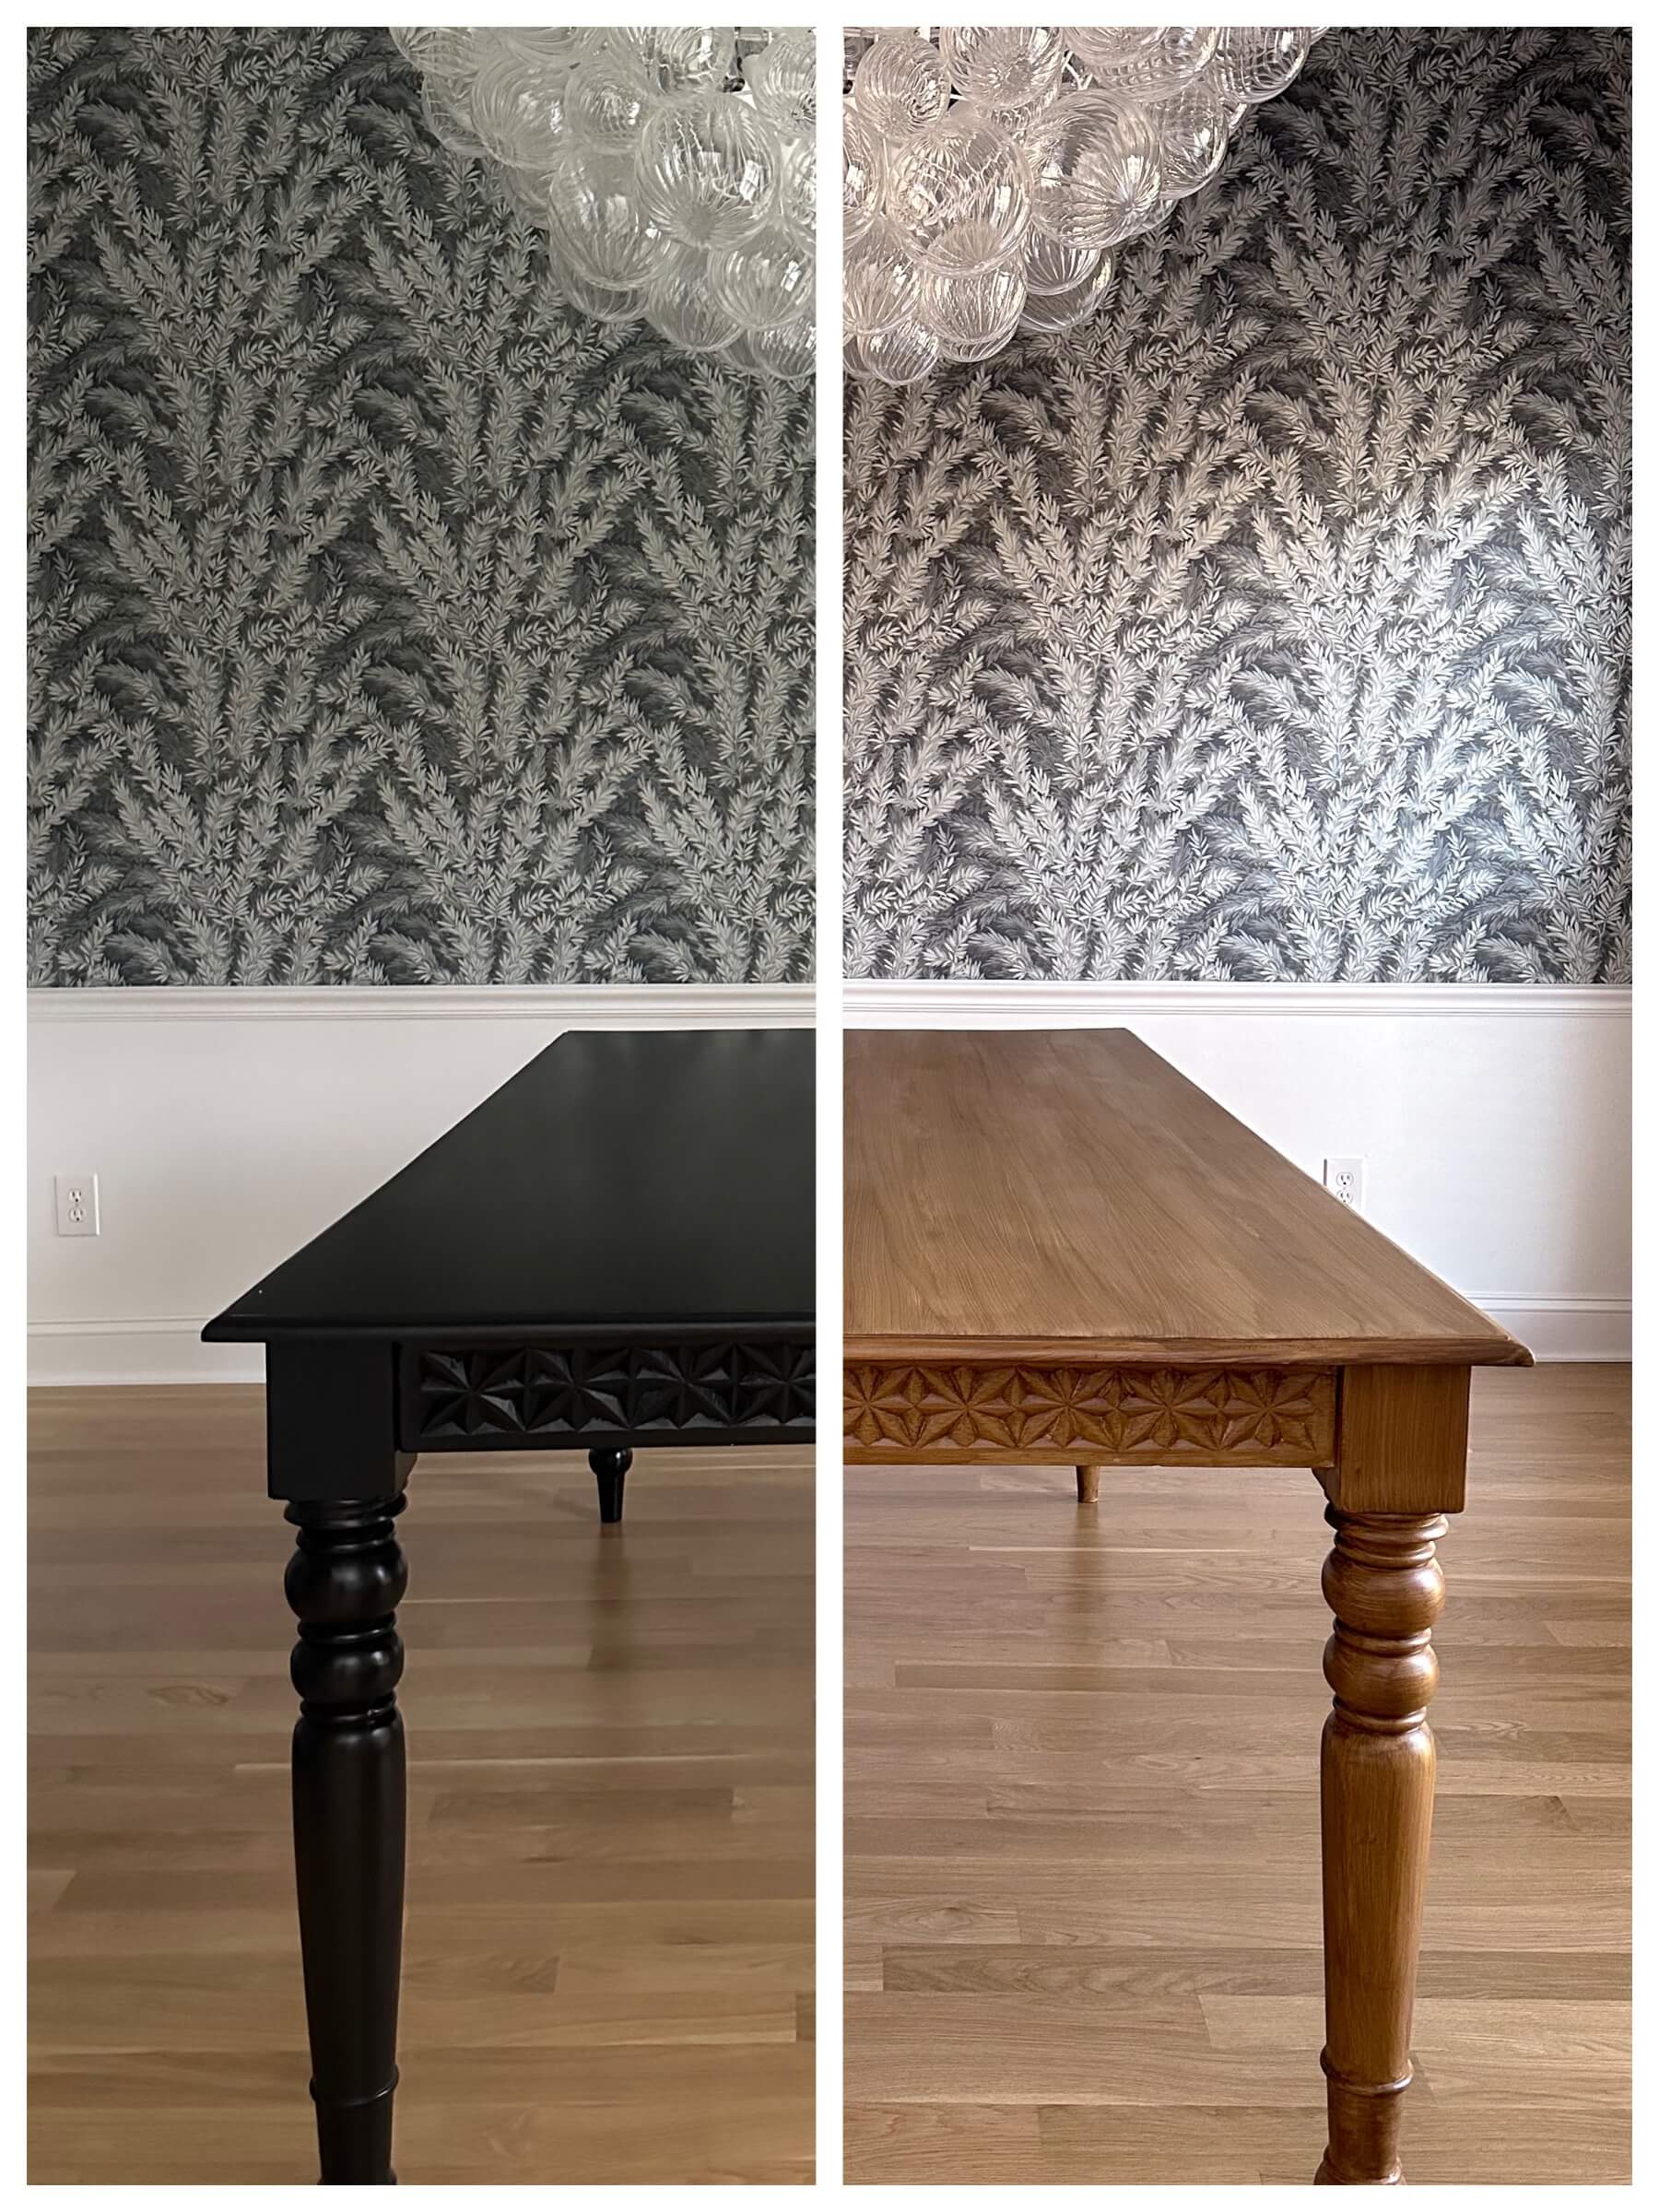
I had so many people ask me if I was nervous to do this, and it’s kind of a mixed answer. Yes because it naturally feels a bit wrong to paint stone counters! But also no, because I did something similar to my dining room table last year. In case you weren’t here for it, my table used to be black and I transformed it to a wood finish using a kit from RetiqueIt! It was a fun and easy weekend DIY and it’s still holding up.
If you attempt to do this, make sure you’re thinking about the edge right underneath the counters. If you’re sitting in a room and have a line of sight to your counters, you can see the underside of them. So account for this when you’re taping and priming.
Step 3: Veining
Okay if I’m being completely honest this was the part where I got quite nervous and a bit spun up in the process. The kit comes with a grey paint for the veining, an artist’s brush, a water bottle and a paint brush.
To create a vein, dip the artists brush into the grey paint and lightly drag the tip of it across the countertop. While you drag it, twist it gently in your finger tips to create a more natural looking movement to the line. After painting the line, hold the water bottle a foot away from the line and spray. You’ll see the paint start to feather and bleed, making it fainter and more realistic looking.
Using the regular paint brush, tap down the line to create a feathering effect. The more water you use and the more tapping you do, the fainter the line will become. If you decide you don’t like the vein, you can spray water on it, wipe with a paper towel and it will be erased just like that! (as long as you work relatively quickly)
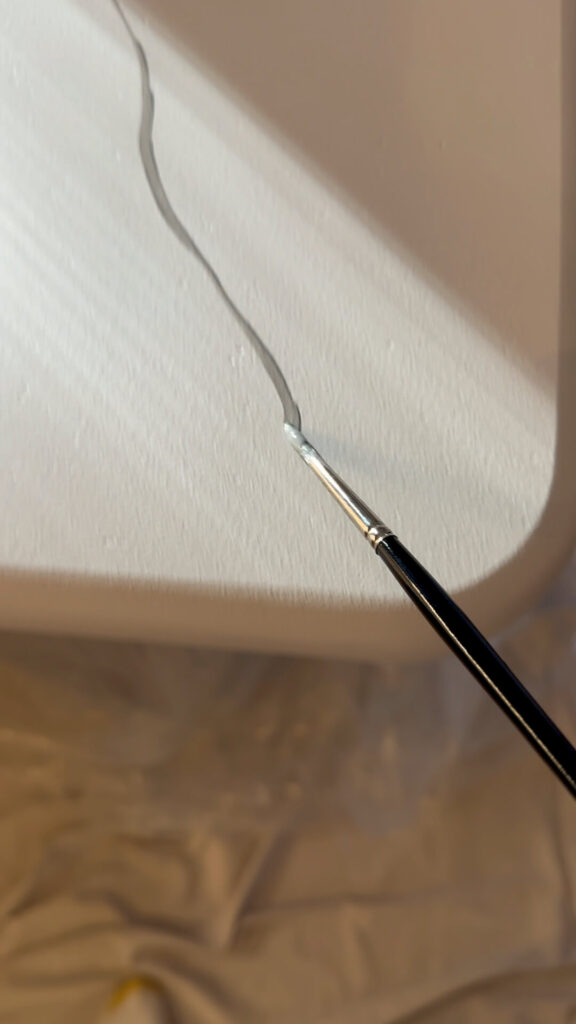
For a more natural look, change up the veins between long veins, crescent veins and Y shaped veins. I tried to make mine go in the same direction to mimic a real slab, however it does get tricky with a peninsula design.
I found this part to be quite difficult because of a few things. First, I had unrealistic expectations and had even set up a real marble slab to look at. This created a bit of overwhelm and need for perfection. Once I let go of the idea that my counters were not going to look like the real slab, things got easier. I also had an artificial deadline of wanting to epoxy within the same day which created a rushed feeling. Don’t do this. Take your time with the veining and make sure you’re happy with it.
Final Touches
The kit also comes with white highlight paint and a sponge. This is a really fun touch that adds depth to the countertops, and in my opinion makes it look more realistic. I let the grey veining dry for four hours just to be safe and then gently dabbed the white highlight paint on top of each vein. I also dabbed some on plain white areas, however upon drying I don’t know if this resulted in a very dramatic effect. I don’t hate it, but it doesn’t do much for me.
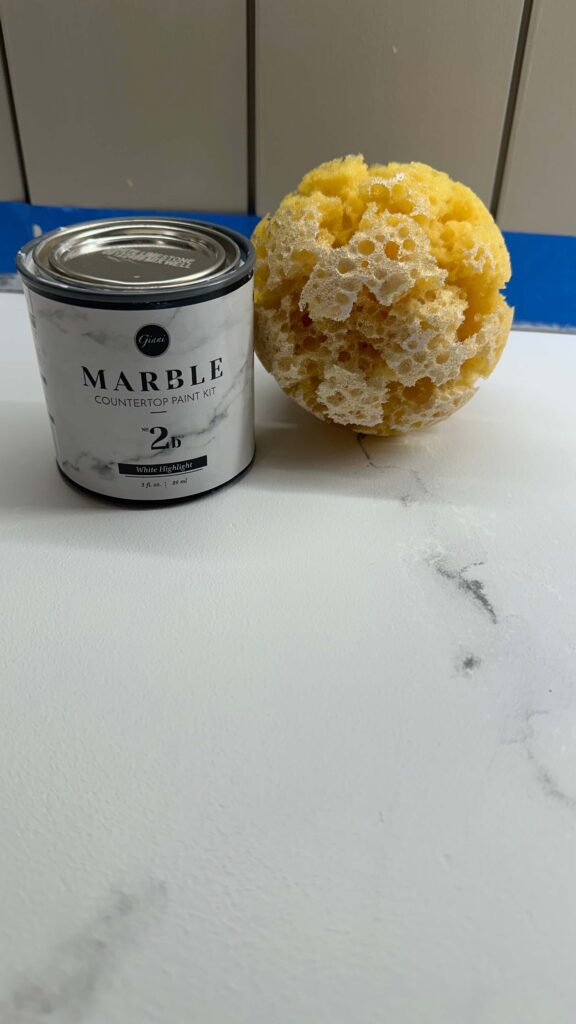
Epoxy
After all paint has dried for at least four hours it’s time for the epoxy. This is when things get permanent! This is a real particular part of the transformation and precision matters. Each can of epoxy will cover 6 square feet, so it’s essential to measure out the area and plan your cans before getting started. There’s also a very specific roller brush that’s used for this part of the process and rather than rolling, you are guiding / pushing the epoxy.
The epoxy cans come halfway filled with room for adding the “activator” which is included in the kit. Upon adding the activator, you stir vigorously for 3.5 minutes and then dump the contents in an S shape on the designated space. Using both the roller and a paint brush for the corners, push the epoxy to all edges. The epoxy is self leveling so it will level out and drip over the countertops which is why the preparation is so key.

During this process I continued to go back along the edges of my countertops with a brush and wiped the epoxy drips. They will harden and dry as drips, so this is important to do (and plan on doing it for 1-2 hours). Another important step is removing the tape on time. Within 1-2 hours of application you want to remove all of the tape on your surfaces but leave the plastic. The reason for this is once the epoxy hardens it will essentially turn things as hard as cement. Meaning your tape will be permanently adhered to your surface if you don’t remove it while things are a bit sticky.
The epoxy will need a full 24 hours to dry without running the risk of dust or lint getting trapped. Plan to avoid the entire area, turn off the air, close windows, etc. Everything will be hard to the touch within 48 hours! I’ve decided to wait a full week before placing anything on my countertops just to be safe, and am also going to avoid using any appliances for that amount of time as well.
A word of Caution
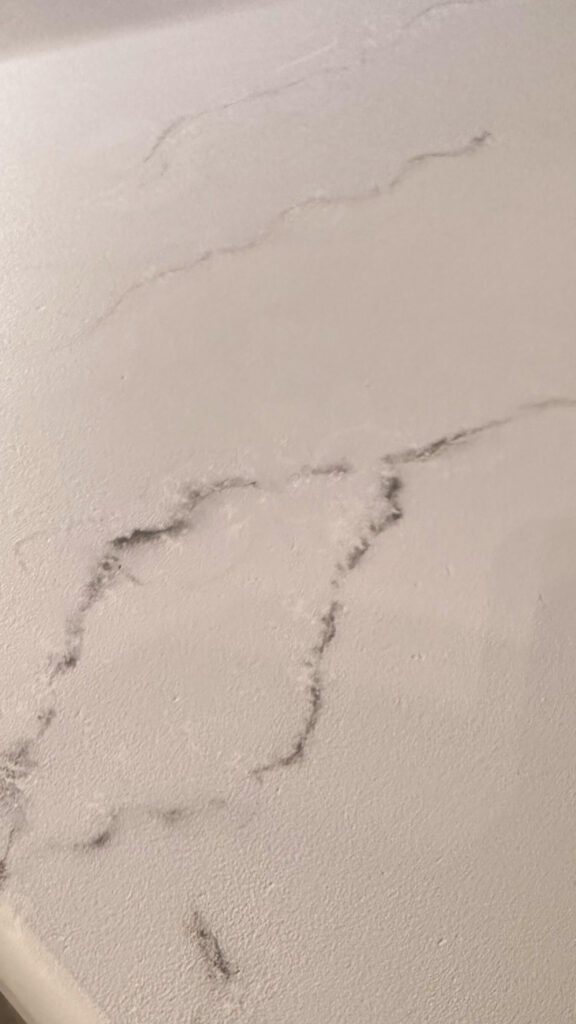
One thing I wish I would have done is another wipe down of the counters in between painting and the epoxy. I thought about doing this but since I had been avoiding the kitchen I didn’t think there would be any dust or lint. Well, there is, and there are some tiny bubbles/bumps in the counters to show for it. But I know that I’m likely the only one that will ever be looking that closely at things and really it’s not a big deal. However if you’re attempting this DIY I’d suggest doing this.
The Final Results: Transforming My Granite Counters into a Faux Carrara Marble finish
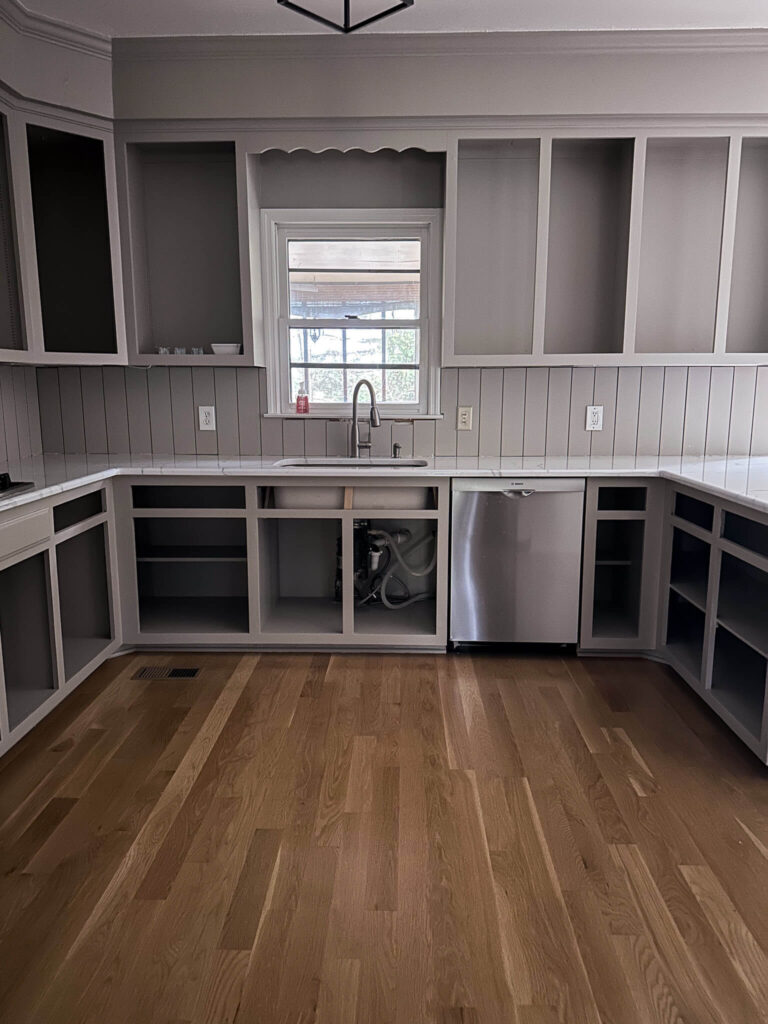
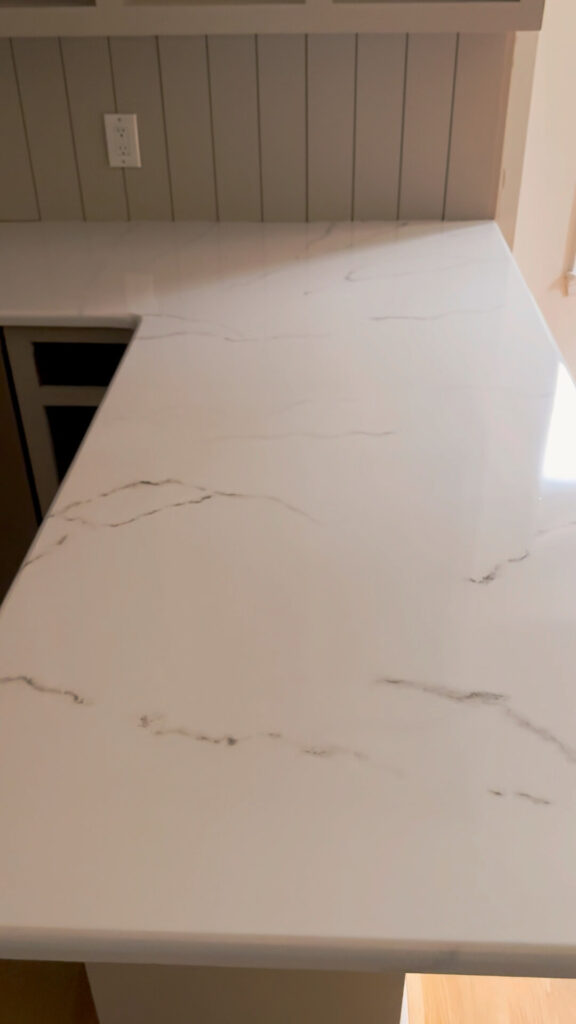
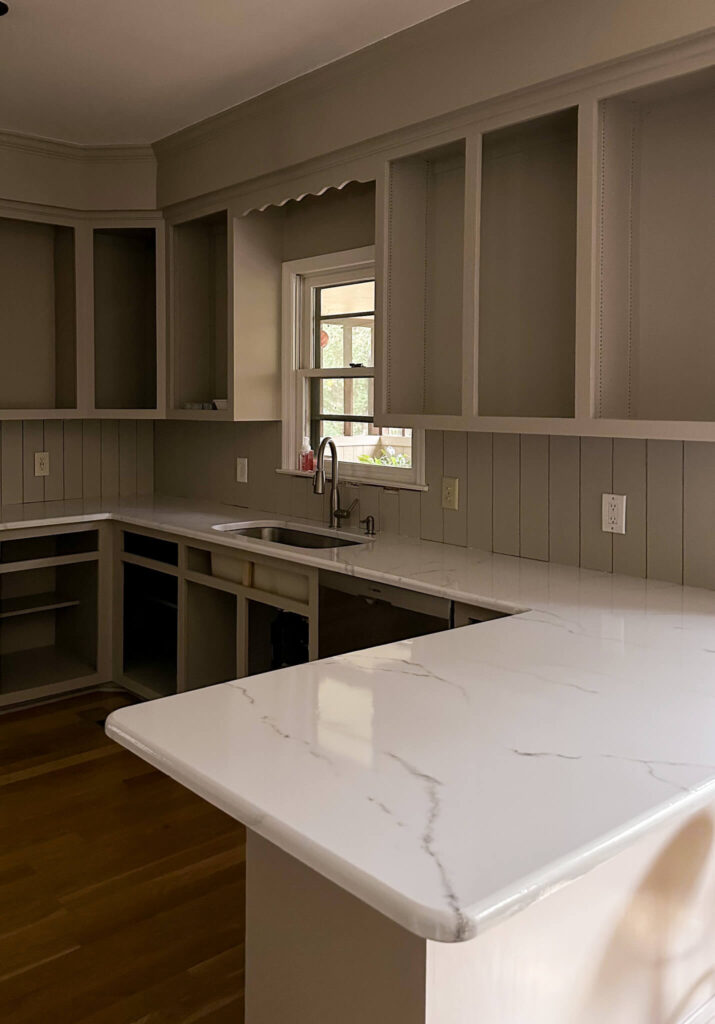
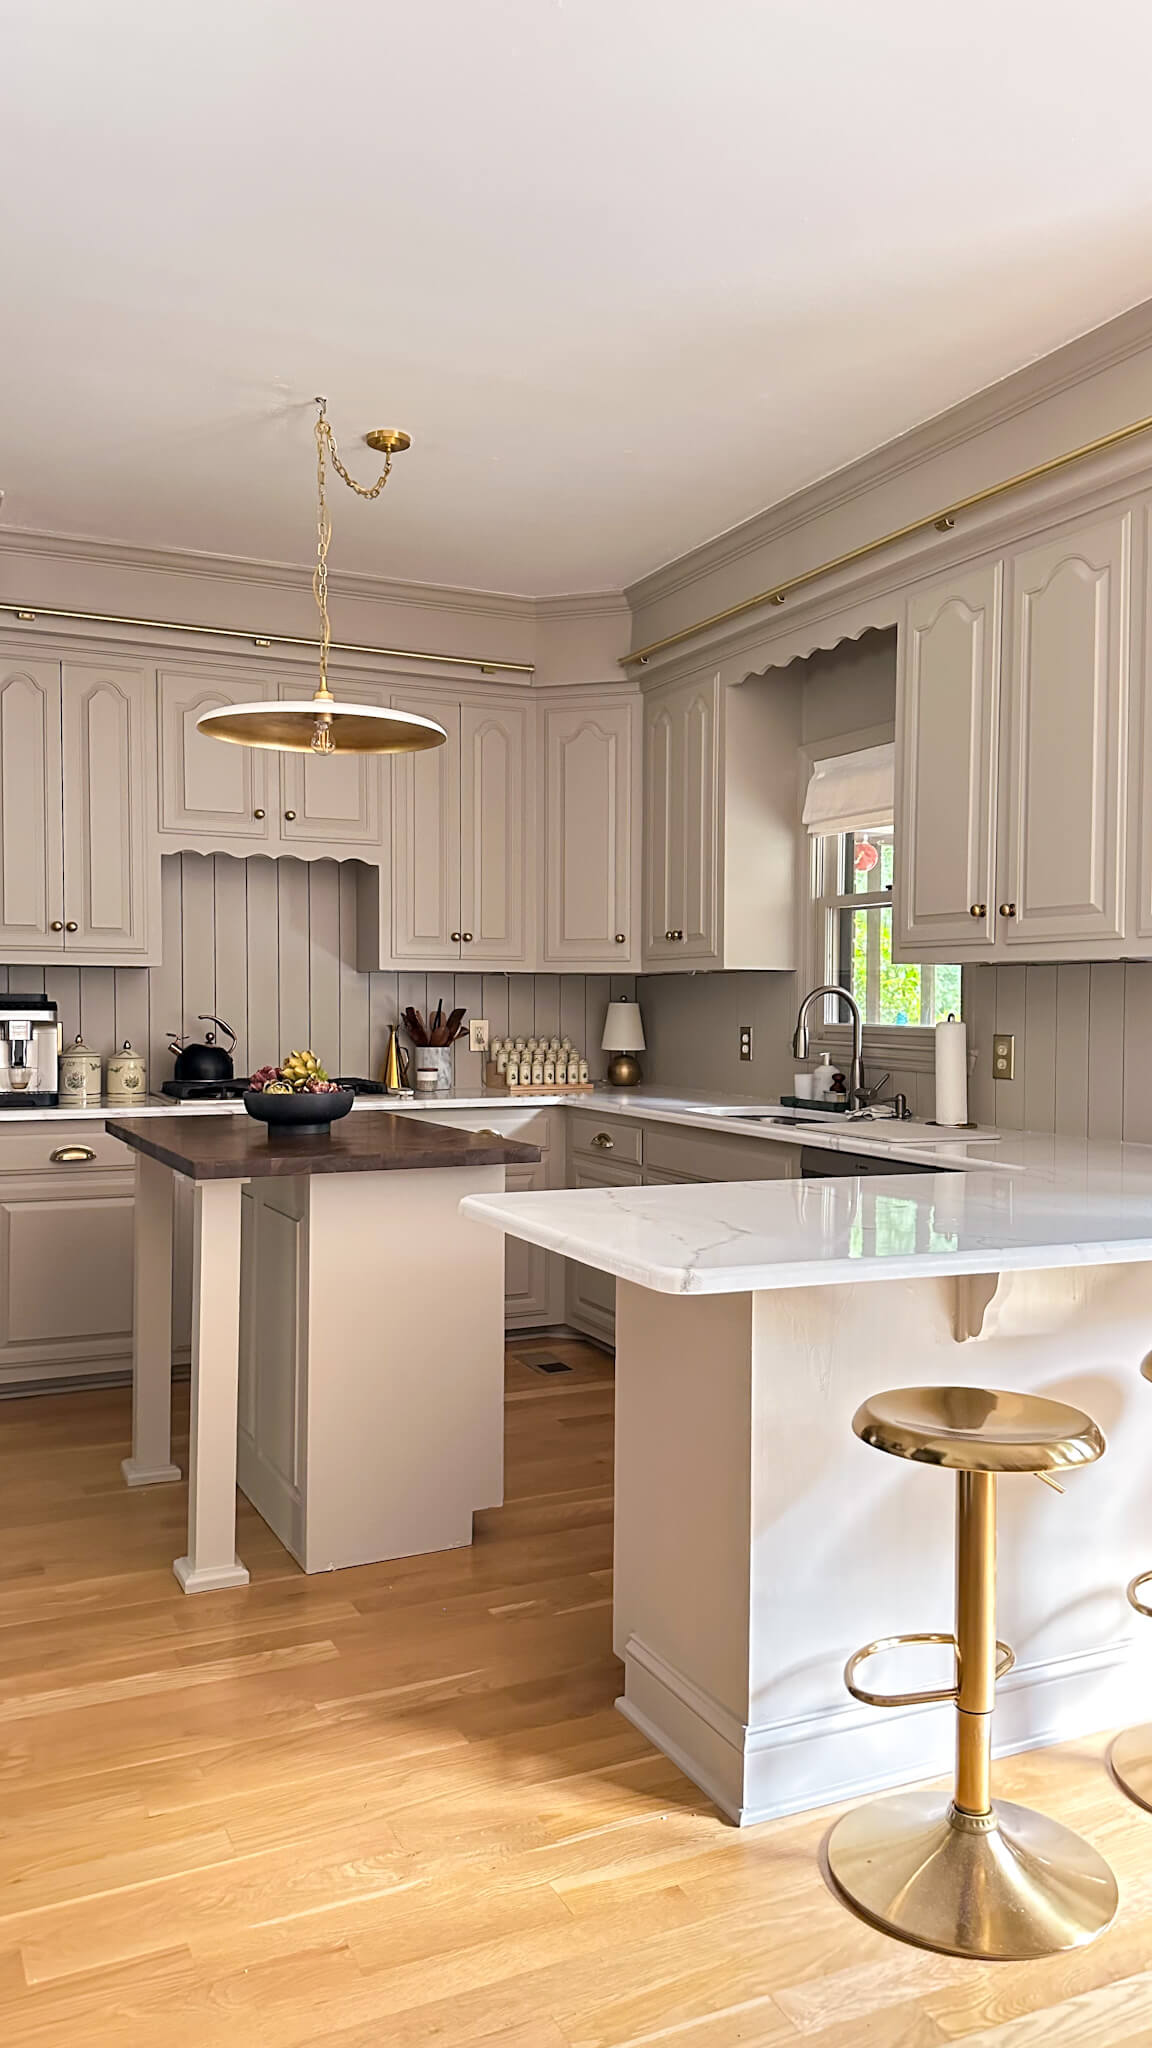
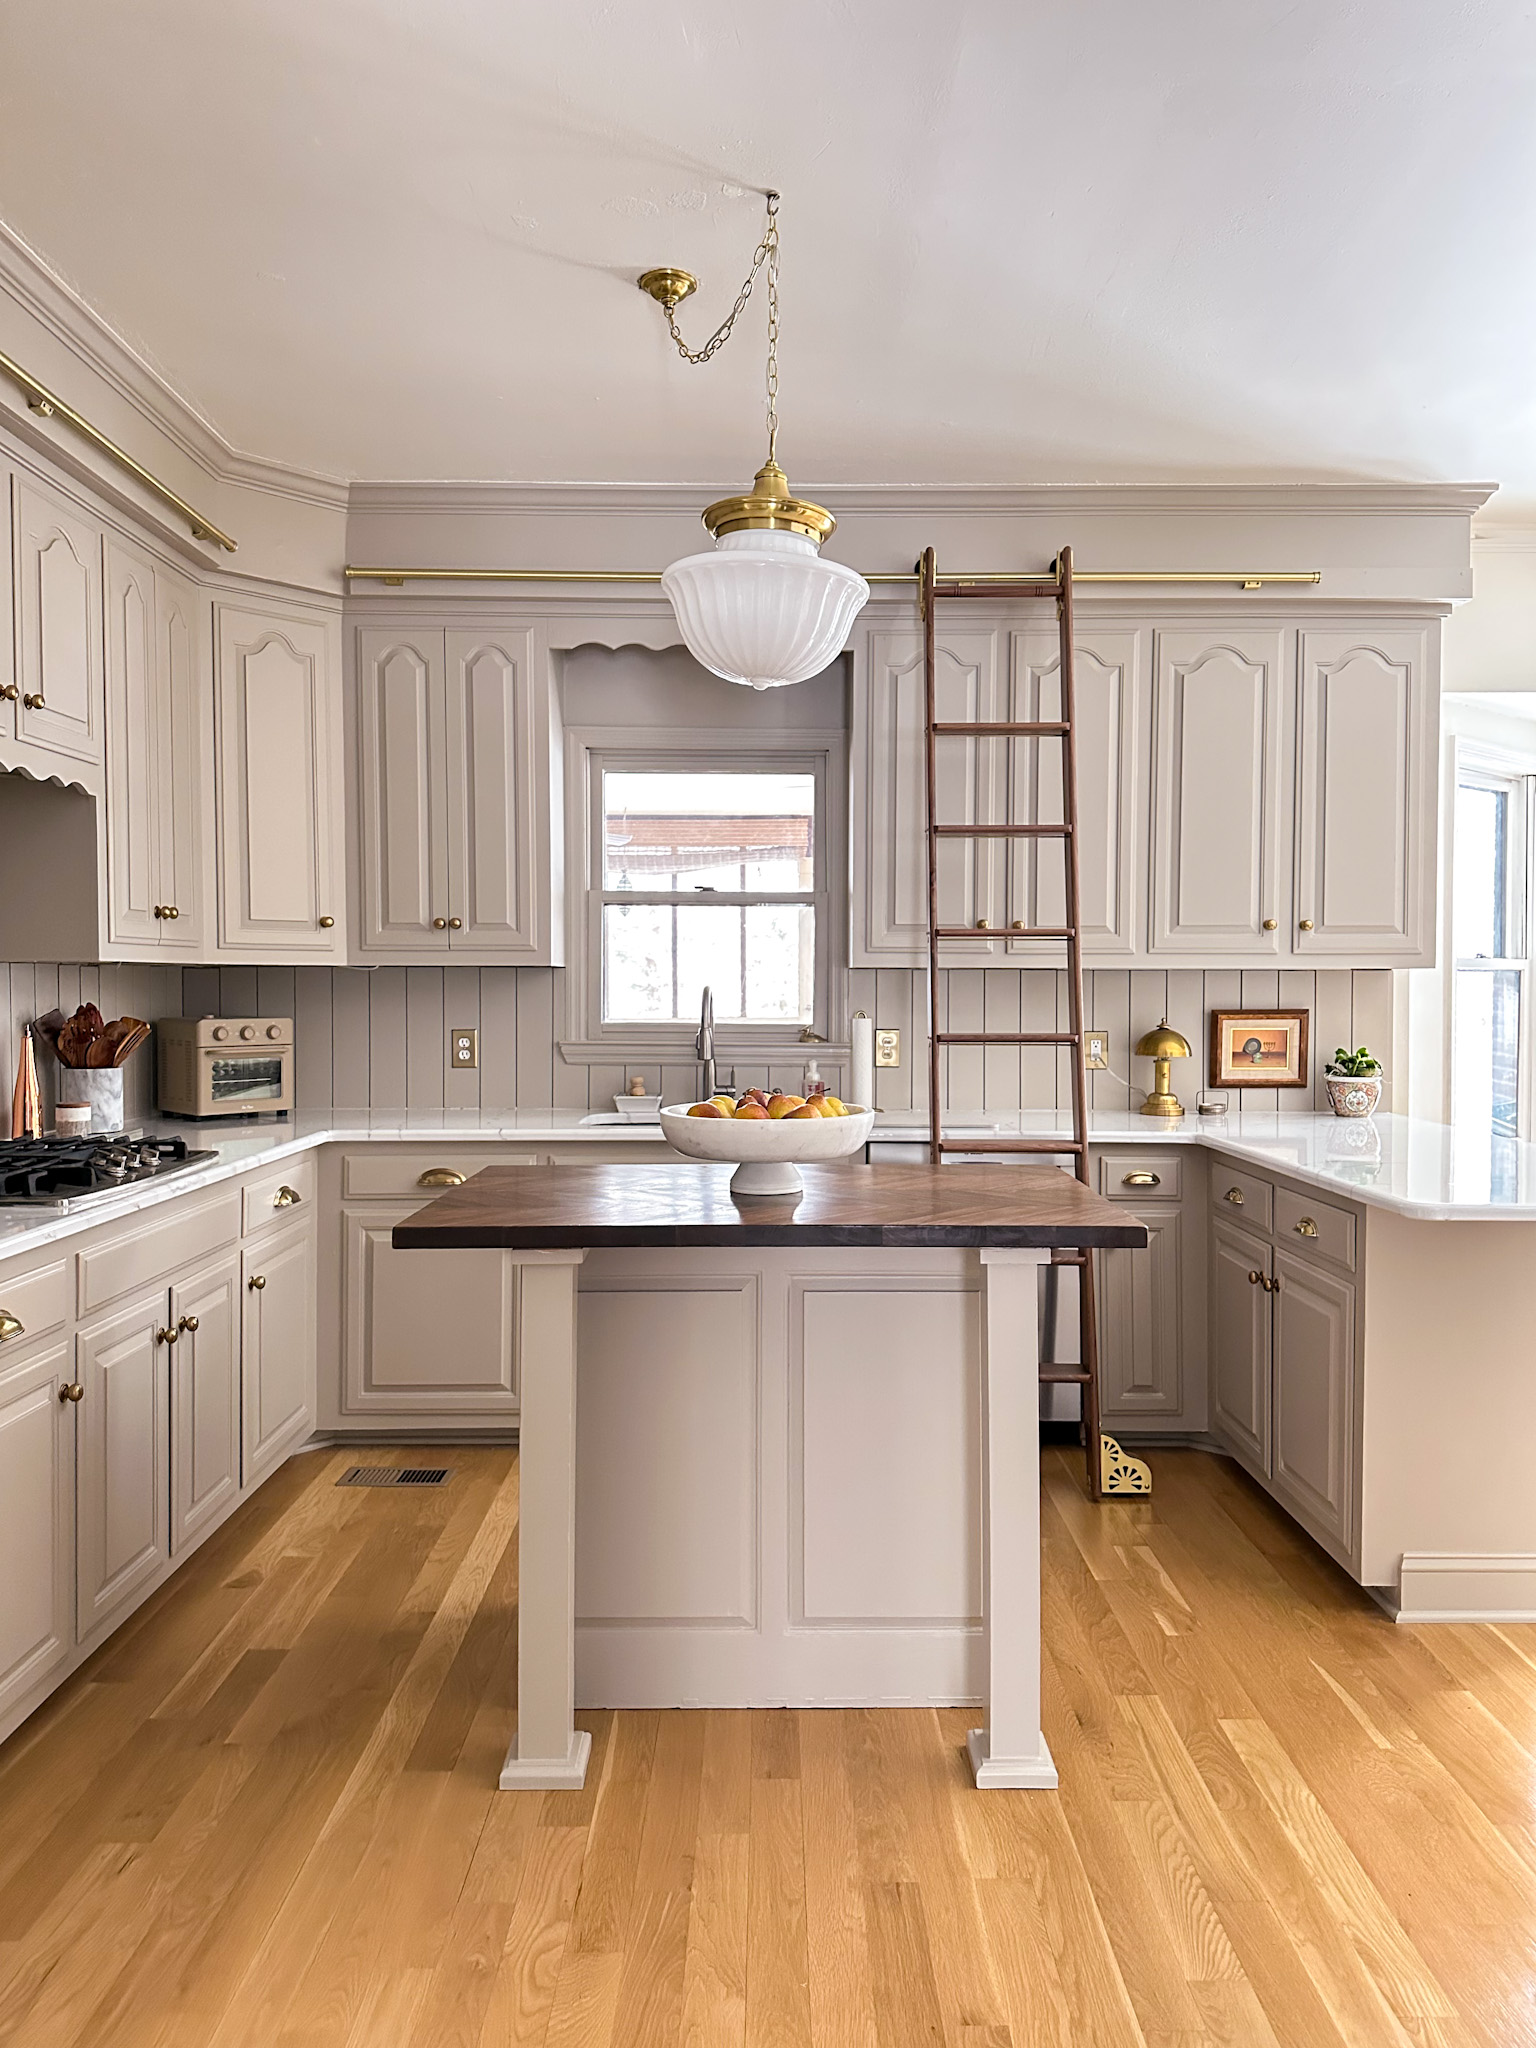
I think the results really speak for themselves! I can’t believe these are the same countertops! And I also can’t believe the results I achieved by using a kit that cost $200 vs spending $8k-$10k for real marble! I’m thrilled with how the counters are complimenting the new cabinet color and backsplash, and I know everything is really going to come together once I get the pendant lights installed as well as the brass hardware.
If you’d like to see a step by step process of how I transformed my granite counters into a faux carrara finish I have a couple of videos on my instagram: Part 1 and Part 2. There’s also a recap version to tie it all together.
Fall One Room Challenge Budget Friendly Kitchen Renovation: What’s next for Week 6?
Believe it or not, this budget friendly kitchen renovation is not going to be an open concept one. So we’re back into the cycle of cleaning, sanding and painting as I tackle the doors and drawers to the cabinet boxes. I’m extra excited for this because after this is checked off, I can put things back in the cupboards and get my house back in order.
During the design process I decided to change the hardware on all of my drawers to cup pulls rather than knobs / handles I previously had. I’ve partnered with EMTEK on this and the hardware just arrived in the mail this past week! I was so excited to open the box and hold these up against the new cabinet color!
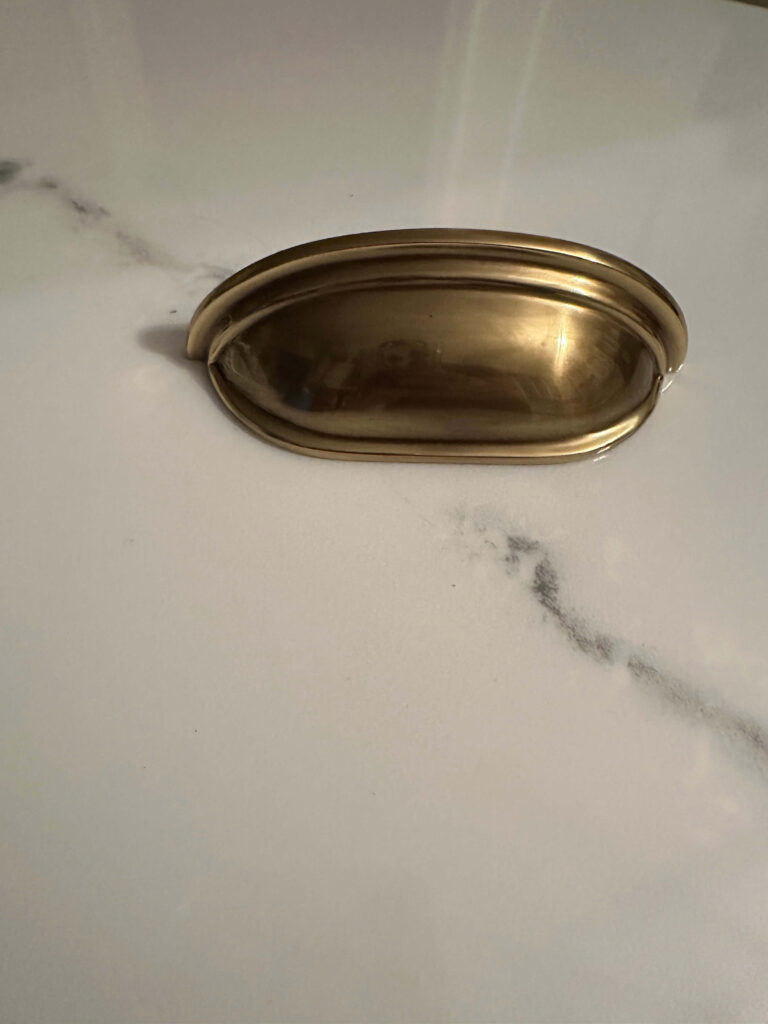
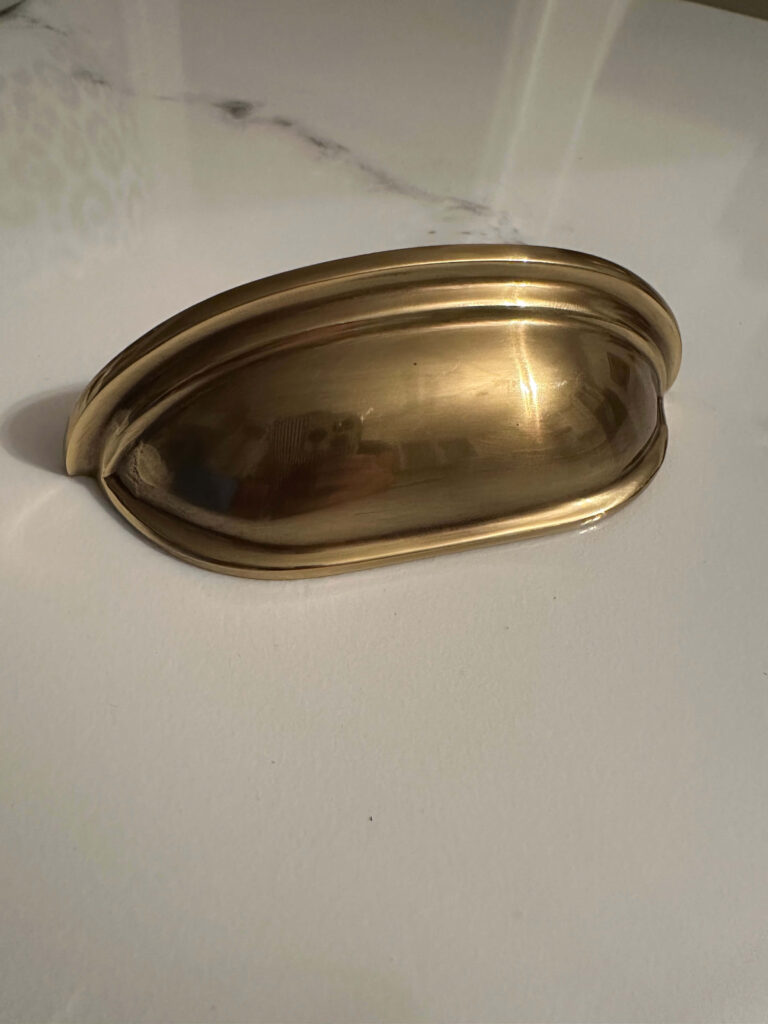
EMTEK Cup Pulls in French Antique
I’ll also changing out the hinges from the old fashioned decorative hinges to a European hidden soft close. This feels a little bit daunting, but luckily Rockler Woodworking has the exact hinges that will work with my 1990’s cabinets, as well as a jig template to make drilling easy. I’ll be sharing all the details of this process so make sure you keep an eye on socials to follow along!
To see and cheer on other designers, you can follow the One Room Challenge weekly progress reports here!
Catch up on the budget friendly kitchen renovation:
One Room Challenge Kitchen Renovation – Week 1
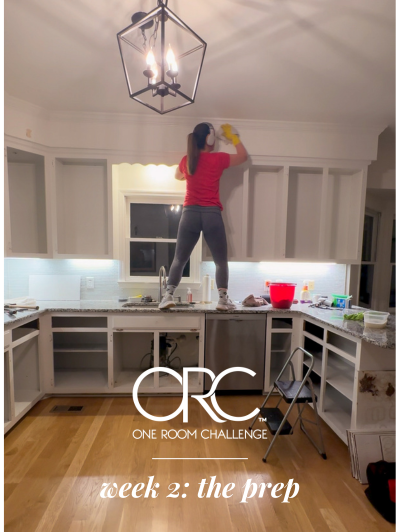
One Room Challenge Kitchen Renovation – Week 2
One Room Challenge Kitchen Renovation – Week 3
One Room Challenge Kitchen Renovation – Week 4
One Room Challenge Kitchen Renovation – Week 5
One Room Challenge Kitchen Renovation – Week 6

















































Loving the new countertop makeover and drawer pulls! Classic.
Thank you so much! I love how everything is working together and how warm it feels now!