


A much overdue update on an overdue project: the primary bathroom renovation. I’ll be the first to admit that my setback with the countertop company took the momentum out of this project, and if I’m being honest, I needed to step away from it for a little bit because it was making me quite sad. But alas, I’m really getting tired of doing my make-up in my closet, brushing my teeth in the kitchen sink, and having a mountain of bedding and toiletries piled on my bedroom floor. So today, I’m going to hold myself accountable to finish this project by publicly sharing a deadline for the primary bathroom renovation.
Here’s everything I need to knock out, along with my estimated time to complete each task, and finally my “new” deadline for the project.
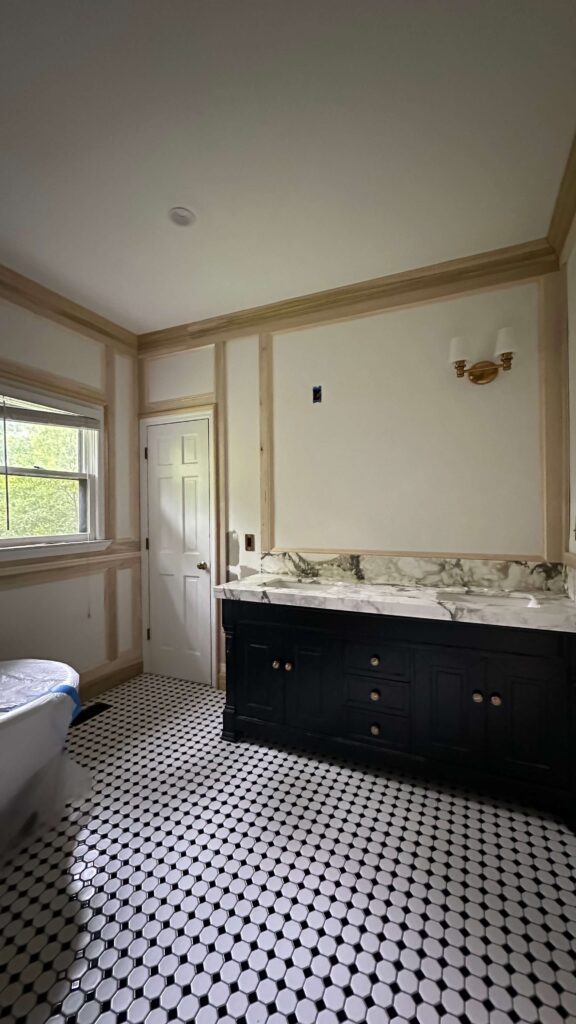
Refinishing the Black Vanity Cabinet to a Walnut Finish
If you followed along on Instagram, you’re aware of the drama with my bathroom vanity. Refinishing this was never part of the plan (I was going to work with the black color scheme) however the countertop company spilt a chemical on the vanity and I can’t get it to it’s previous finish. Plus now the finish on the base doesn’t match the doors and drawers.
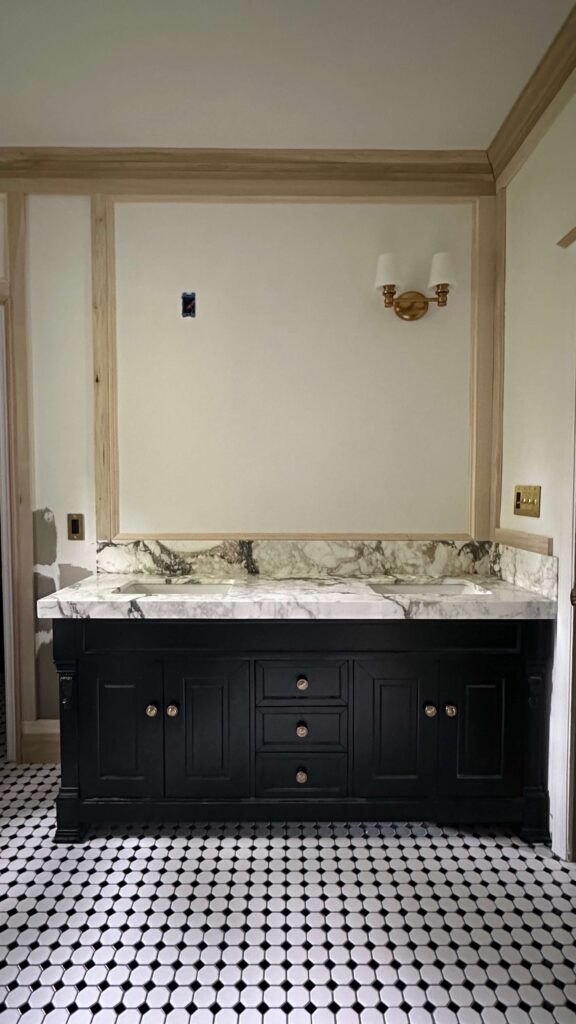
So, the options are to leave it alone (I’m not chill enough to do that), repaint it black or refinish it to a wood tone. I refinished my dining room table from black to wood tone a couple years ago by using a kit from RetiqueIt, so I’m going to give that a whirl in the bathroom. The table has held up great and I think my skills have come a long way since then so I have high hopes.
Estimated Time: 5 days with drying time
Remaining Trim Work
I’m waiting to finish the vanity before I finish the last few remaining pieces of trimwork. It’s going to be easier to paint the vanity vs working around some tight spaces with the wood, so I’ll zip right through this as soon as the last coat is on the vanity.
Estimated time: 2 hours
Wood filling & Sanding
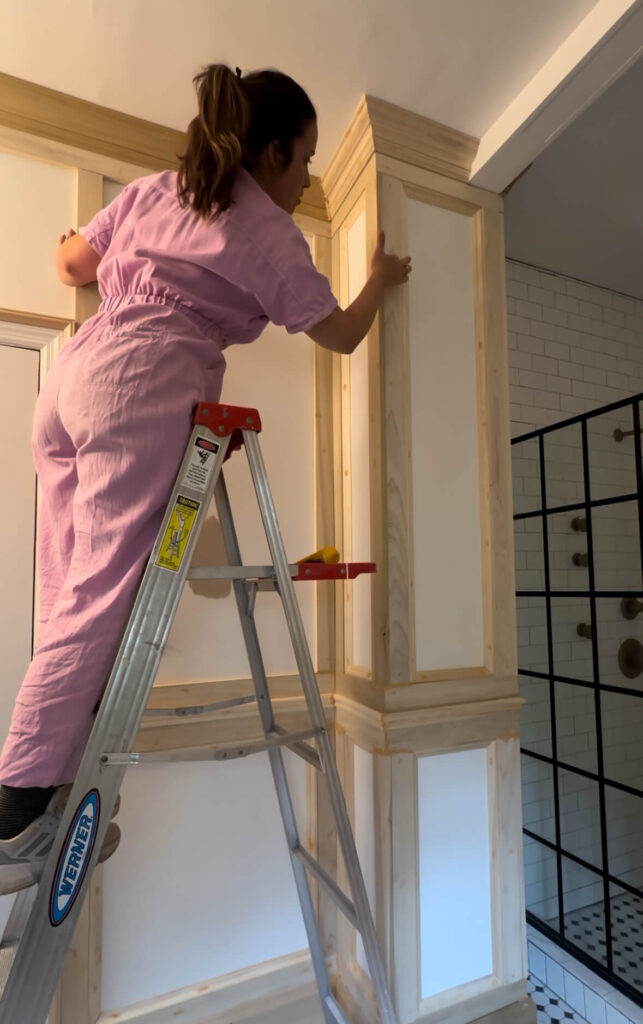
Jumpsuit (similar)
The good news is that I’ve already done a first pass at filling every single nail hole (there’s about 1500 of them), as well as all the seams. The bad news is I need to go over some spots more than once. While this is my least favorite part of any woodworking project, I’ve learned the hard way how important it is to get this part right (I have a couple bumps of wood filler in the primary bedroom I can’t unsee). So I’m going to be meticulous and take as many passes as I need on this part of the project.
Estimated Time: 2 days
Patching the Ceiling
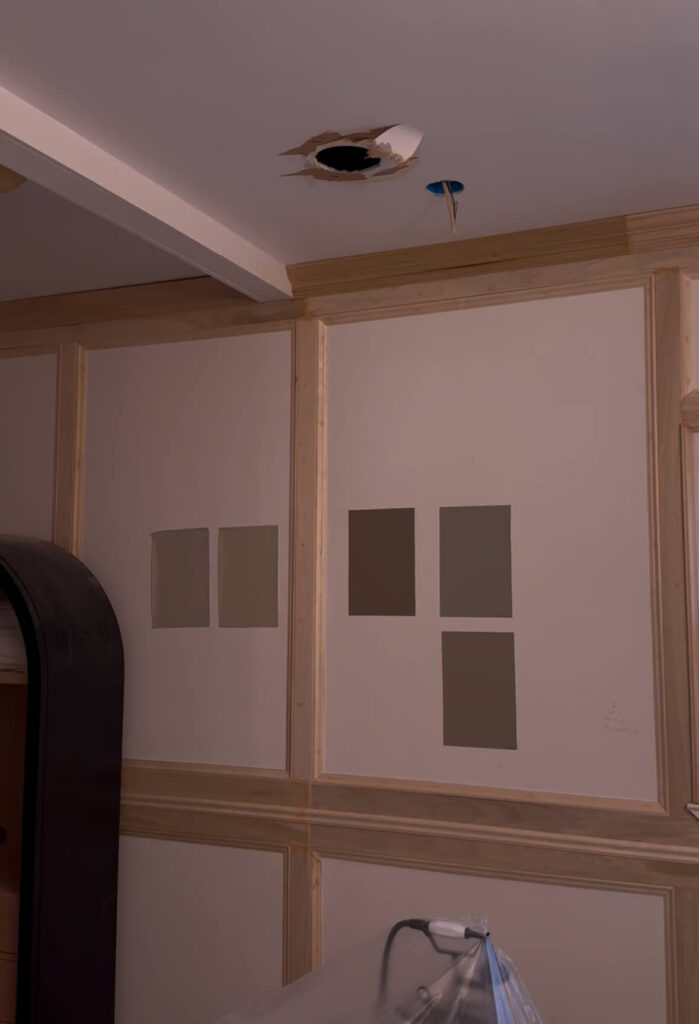
Last week I had an electrician come to relocate the junction box for the chandelier over my bathtub. I’ll be moving the bathtub just a little bit to the right and then back towards the wall, but the existing light was already a bit off centered so this was definitely necessary.
Since my drywall abilities are a 5/10, I’m choosing to hire out for the ceiling patchwork. I have a great drywall guy that worked on my kitchen a few years back when I had a refrigerator leak, and I’m going to have him do this. But just know I’m going to be shadowing him and asking a ton of questions along the way, as this is something I hope to get good at eventually.
Estimated Time: 1 day (scheduled for this Friday!)
Caulking
This is something I always underestimate! With this project, there’s so many layers of trim, so it’s definitely going to take some time. I’ll be using Big Stretch by Sashco and will be caulking in between the crown, picture frame trim, baseboards and horizontal/vertical boards I’ve installed.
I’m also going to be repairing some grout in the shower with Sashco’s Mor-Flexx product which I’m quite excited to try. The shower will eventually get updated but I’m probably a year out from that. In the meantime, this is going to be a great solution to clean up some grout lines on the shower bench and seal up some cracks on the floor.
Estimated Time: 1 full day (8 hours)
Priming & Painting
Oh I dream of the day I get to paint! For this room I’ll need to do one coat of primer, and then two coats of topcoat. The walls and trimwork will all be the same color, and the ceiling will be a complimentary cream. I’m also going to update the baseboards in the toilet room. TBD if I keep it consistent with the rest of the room or if I go with a burgundy. I’ll also need to paint the bathroom door and I think I’m going to paint both sides the same color.
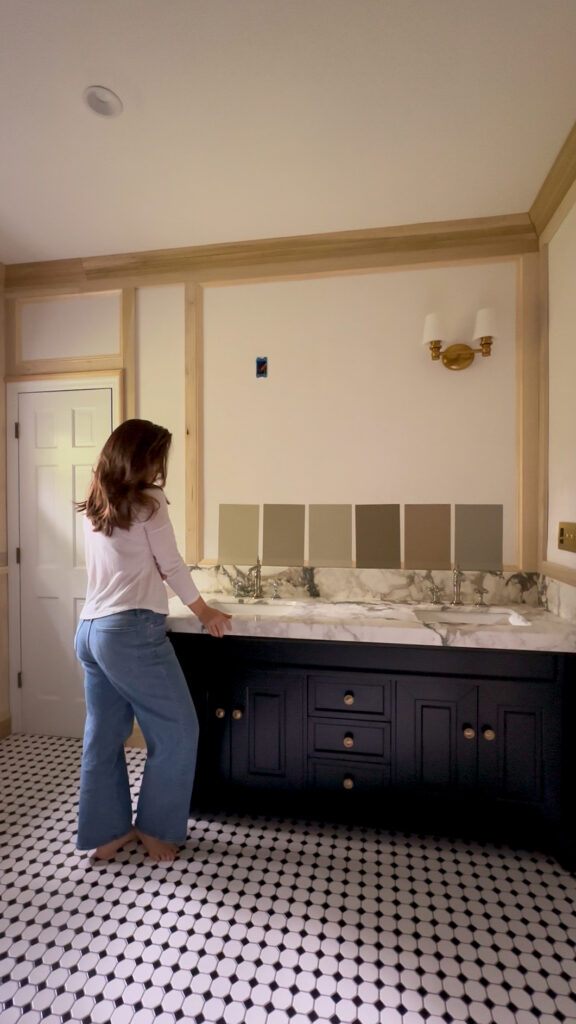
Still deciding on a paint color but I *think* I know which one!
Estimated Time: 3-4 days
Bathtub Installation
The bathtub has been disconnected for a couple weeks now, and I’m leaving it like this until I have everything painted. There may be some touch ups afterwards, but it’s making it so much easier for me to properly wood fill everything, and I know it will make painting easier too. When it’s time to reconnect everything, I’m going to have them swap out my oil rubbed bronze fixtures to a polished nickel set (see photo for what I ordered). This will match the new sink faucets and I think will create a really pretty and cohesive look.
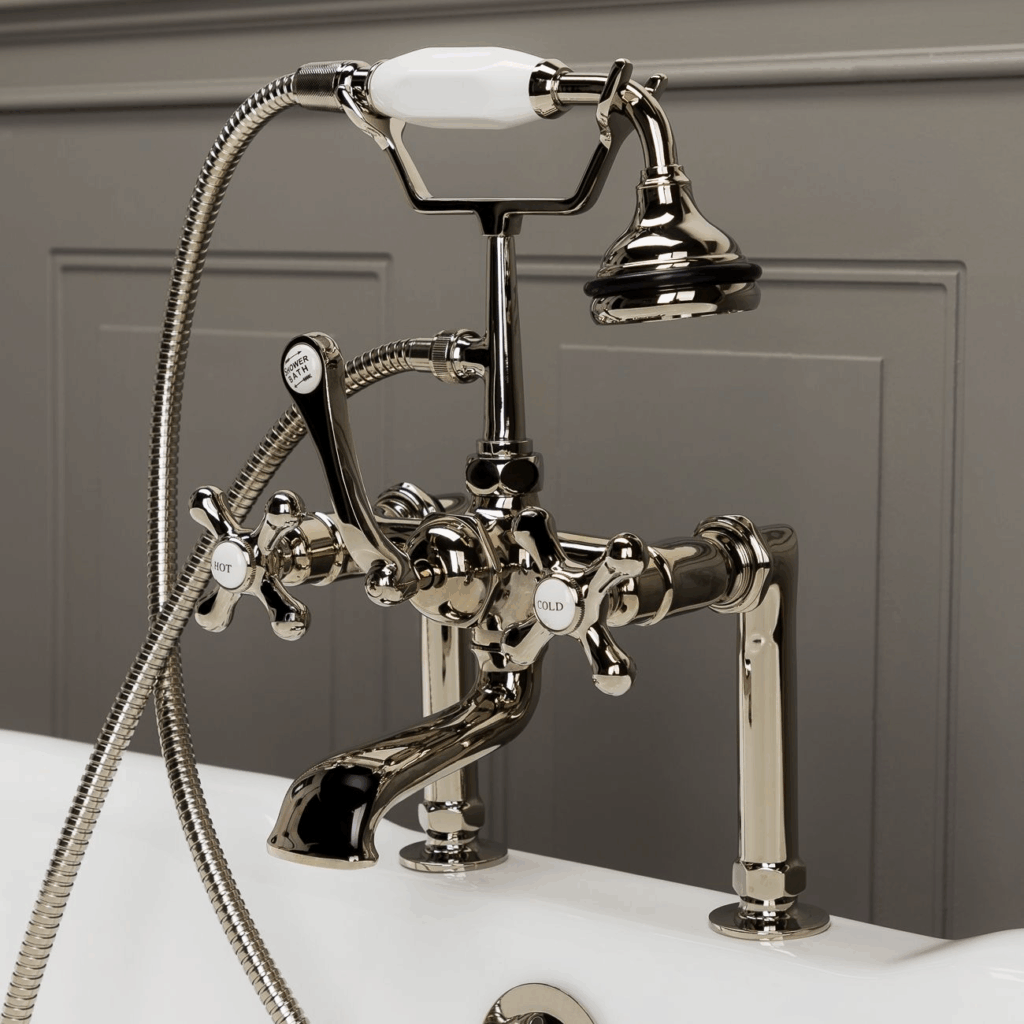
Vintage Clawfoot Tub Deck Mount English Telephone Faucet With Handshower
After the plumbers are out of the house, I’m planning to paint the feet of the clawfoot tub a high gloss white. At least that’s what I’m thinking right now. I reserve my right to change my mind, which I very well could do after the entire space is painted. I’ve seen bathtubs and feet painted all one color before and that could be a beautiful option too! Stay tuned on this.
Estimated time: 2 days (to include painting)
Installing the Pretty Pieces
I fantasize about this moment. I have the most beautiful sconces to install from Lighting Design Company (one has been up for a while as I wanted to make sure my spacing for the woodwork looked ok) and I just know they’re going to add so much charm to this room. The lights are capped on the bottom and open on the top which means you’re not getting that harsh downlight like you do from most overhead sconces. Instead it’s a soft warm glow which is just what I want.
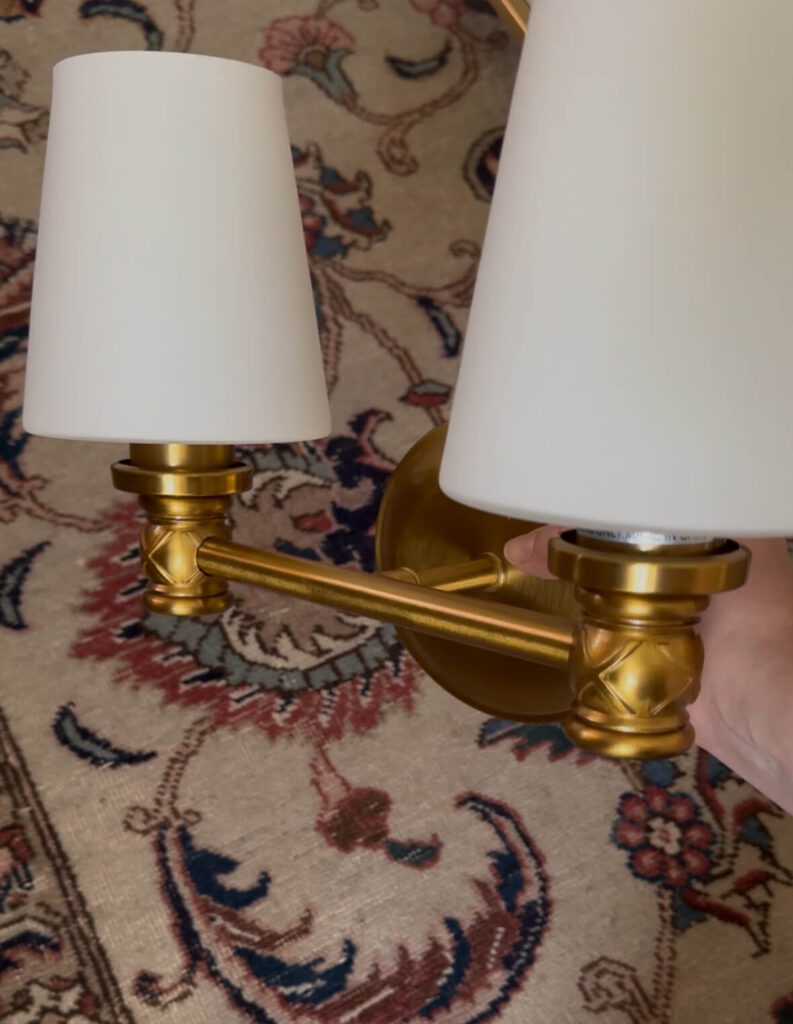
Visual Comfort Xavierre Two Light Vanity Sconce
Additionally, I have new hardware for the vanity (so glad I didn’t install that and have it ruined by the counter company!). I think the new knobs with the backplate are going to look so luxe against the new walnut finish I’m planning.
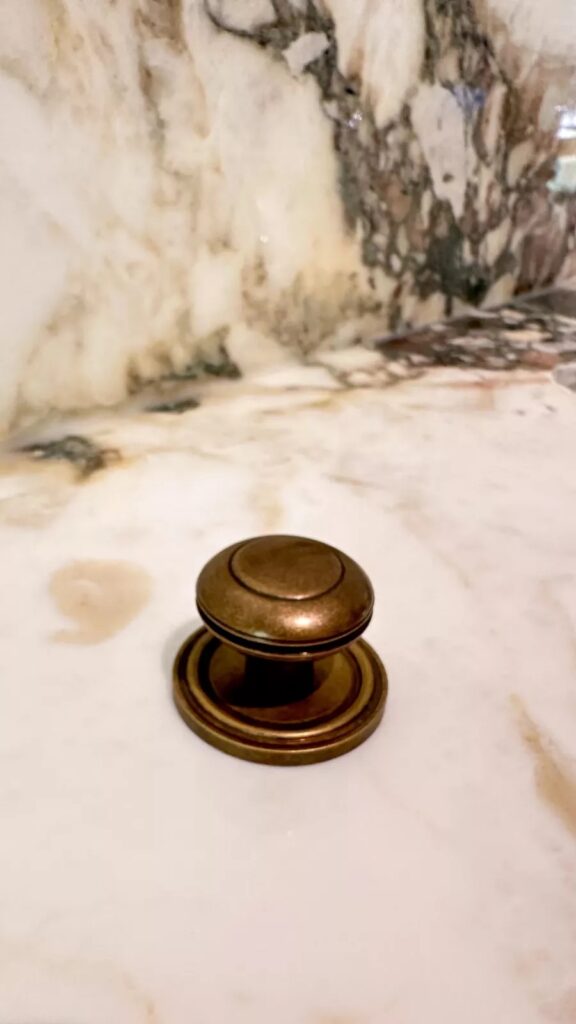
Crewe Cabinet Knob | Roanoke Backplate
Lastly, I’ll hang new mirrors and will need to figure out the placement of the towel hooks. I picked up this gorgeous vintage chandelier in Pittsburgh back in February and will hang it above the bathtub, and I just know it’s going to be a whole moment!

Picture this vintage pendant (left) above the bathtub! Worth the wait in my opinion.
I’m planning to swap out the venetian blinds for a roman shade, but I want to get the room painted before deciding on a color or pattern. I do think a pattern would be quite fun!
Estimated Time: 3 hours
My Deadline for the Primary Bathroom Renovation
Now that it’s all written down, I’m wondering if this is realistic, but you know I love a good challenge so let’s just go for it. Having only nights and weekends to work on this project, I’m going to push to have final photos ready to share by Monday August 11th. That sounds a little aggressive, but I also want to get to landscaping outside so we’re going to push.
Make sure you’re following along on socials for the play by play. I’m excited to get back into the swing of things and finally knock this project out!
Related
Spring 2025 One Room Challenge Week 1
Spring 2025 One Room Challenge Week 2
Spring 2025 One Room Challenge Week 3
Spring 2025 One Room Challenge Week 4
Spring 2025 One Room Challenge Week 5


