


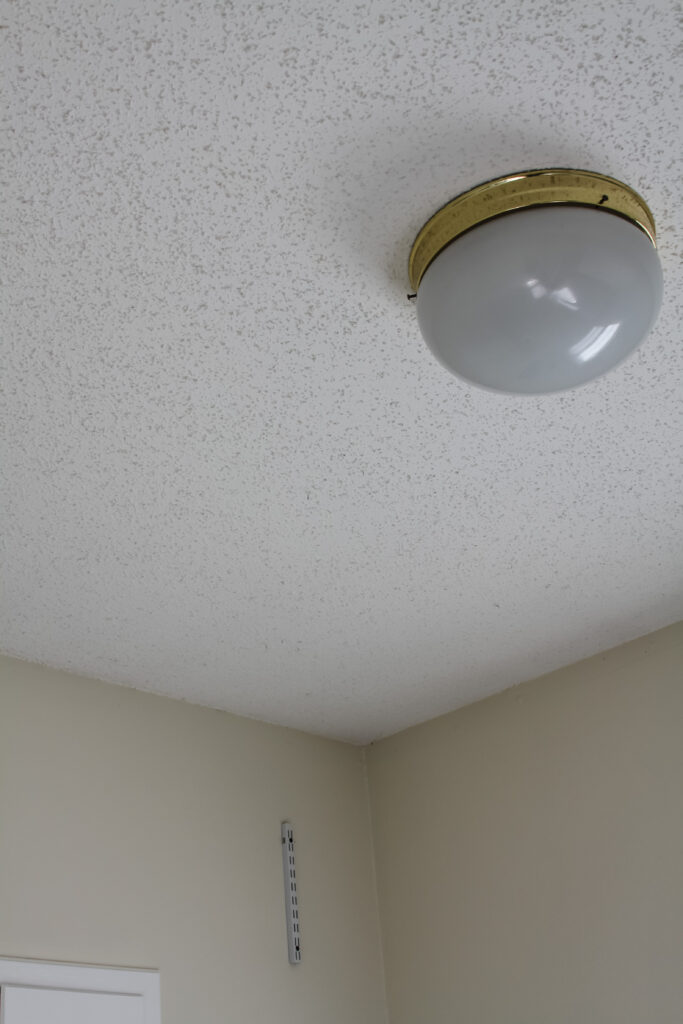
Yes, I bought a house with popcorn ceilings and yes I scraped every square inch of them off, all by myself. 3,222 square feet to be exact.
When I bought this house, there was no question that these ceilings were going to get fixed, but it was something I planned to hire out for. I was talking to my mom one day, complaining about how ugly the ceilings are and how dirty they looked (and I couldn’t clean them!) and she told me that one of my cousins removed her popcorn ceilings herself. The seed was planted. Why not try? If it was something I couldn’t do myself, then I could hire out as I originally planned.
Ignorance is truly bliss because this was a bear of a project, and I had no idea how hard and dirty this job was going to be. In the end, I’m so glad I did it myself, as it allowed me to save money that I could invest into other areas of the house. If you have popcorn ceilings and are considering removing them yourself, read on for my step-by-step how to guide.
How To Remove Popcorn Ceilings: A Step-by-Step Guide
Removing popcorn ceilings can be a messy and time-consuming task, but it’s possible to do it yourself with the right tools and precautions. Here’s my step-by-step guide as well as key learnings from along the way:
1. Test for asbestos: You can read all about asbestos as much as you want to, but regardless of the year your house was built I’d suggest testing just to be safe. You can buy self test kits that are easy and relatively cheap, or you can call a professional to test. This is the kit I used and I had my (negative!) results inside of a week. If asbestos is present, hire a licensed asbestos abatement contractor for safe removal.
2. Prepare the area: Remove everything possible from the room including light fixtures. Cover the floors with sheets or drop cloths, and then add an extra layer of plastic sheeting on top for easier clean up. You can also try to hang the plastic sheeting on the walls taping them up with frog tape (see supplies list next), however I chose to let them be and then just cleaned the walls at the very end.
3. Supplies: For protective gear make sure you’re wearing a mask, goggles/glasses and gloves at the minimum. Towards the end of this project I chose to invest in a hazmat suit. You’ll need: a ladder, a spray bottle or pump, fabric softener, a wide putty knife, plastic, painters tape, garbage bags, a shop vac, rags, sandpaper and determination.
4. Wet the ceiling: Before scraping, you need to moisten the popcorn texture to make it easier to remove. Fill your spray bottle with warm water and add a tablespoon of fabric softener. Lightly wet the ceiling being careful not to oversaturate it, as it can damage the underlying surface. Wait 10 minutes.
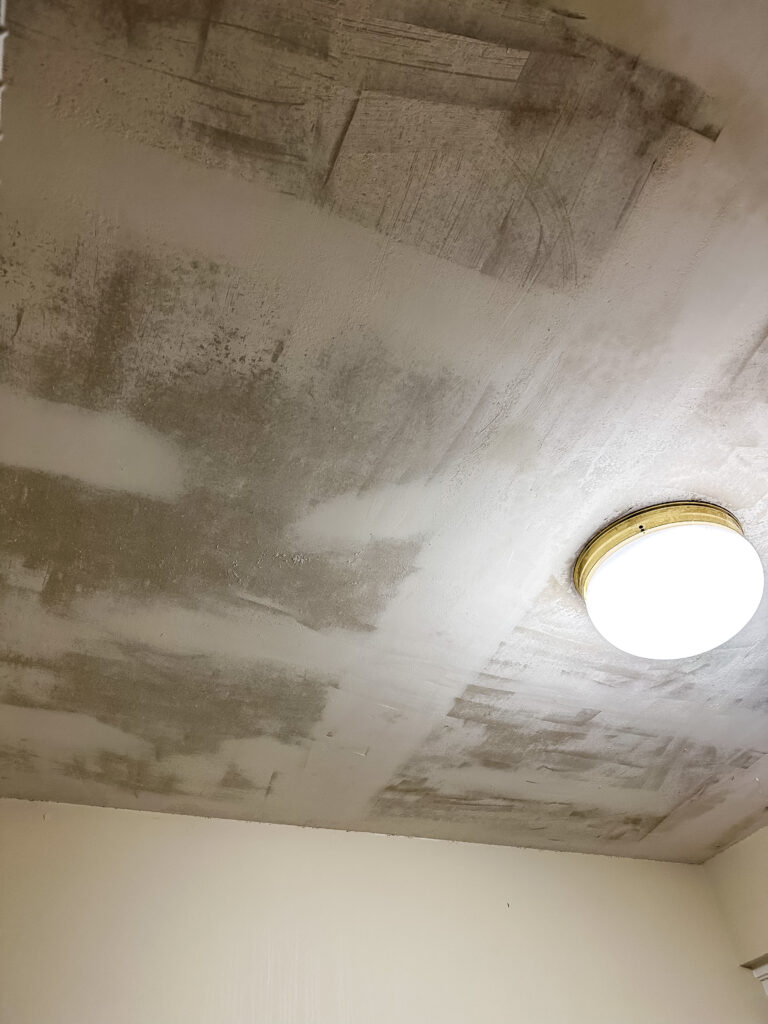
5. Scrape the texture: Once the ceiling is damp, use a wide putty knife to gently scrape away the texture. Hold the scraper at a shallow angle and apply even pressure to avoid damaging the ceiling. If your knife feels like it’s catching, you might be on a seam. Be gentle and go over this area multiple times rather than applying more pressure. If you feel like you need to, you can add a little bit more water to the area, wait and scrape again.
6. Repair any damage: During the scraping process, some areas may require additional attention. Patch any holes or gouges with drywall compound or joint compound. Sand the repaired areas once they are dry to create a smooth surface.
7. Clean up: This job is messy and there’s no way around it. To avoid cleaning multiple times, I like to work from the top down. Make sure you’ve sanded the ceiling where needed and wiped the tops of the walls where the ceiling and walls meet to loosen any popcorn that might have stuck. Wipe any cabinets / walls, then wipe off your ladder, allowing the residue to drop to the plastic. Slowly gather the plastic from the corners of the room, working inwards to keep the popcorn contained. Place in a trash bag. Remove drop cloths, tools, etc. Shop vac remaining debris.
8. Finishing touches: Depending on your desired result, you may need to apply a skim coat of joint compound to create a flat surface. Once the compound dries, sand it to achieve a smooth finish ready for painting.
After you’ve completed all of the above steps you’ll be ready to paint your new smooth ceiling!
Sometimes seeing someone just like you do the job you’re considering doing really goes a long ways. I’ve gone ahead and put together a video recapping the above instructions, which you can find here.
What Would A Professional Cost?
I know you’re probably wondering what the cost to pay for popcorn ceiling removal might be. Just like anything, it depends on where you live and how big your house is. There was one area of the house I couldn’t do myself which was the entry way. The space has 20 foot ceilings and I don’t own scaffolding, so I needed hire out. The cost to have a 100 square foot section removed was $1200 with another $400 on top for paint. That comes out to $16/square foot, which means my whole house would have cost over $51,000 for professional removal and finishing. I’ll leave you with that information, but I’ll also share that if I can do it, you can too.


