


There’s nothing quite like a gorgeous autumn flower arrangement. The colors are rich but not overpowering, and they blend into the background while still making a statement. If you’re like me, you’ve probably seen a stunning image of one of these autumn arrangements in a catalogue or on social media, and you’ve thought to yourself “that would be perfect for my house.” But then you realize that pretty little arrangement is going to set you back a few hundred bucks after you order the vase and the right number of stems to fill it. Speaking of which, how many stems do I even need?
This fall, I was determined to crack the code on how to style autumn flower arrangements without spending a small fortune, but while still achieving the designer look. After some trial and error, I can confidently say we nailed it. In this tutorial, I’ll walk you through the process of how I styled four different types of autumn flower arrangements. I’ll also go over how I determine the right stems for different types of vases, as well as tips for selecting flowers and vases.
Materials Needed:
Autumn Flowers (e.g., artificial flowers, branches, stems, leaves, or berries)
Vases (various sizes and styles)
Paper (for filling the vase)
Step 1: Your Vase + Selecting the Right Stems
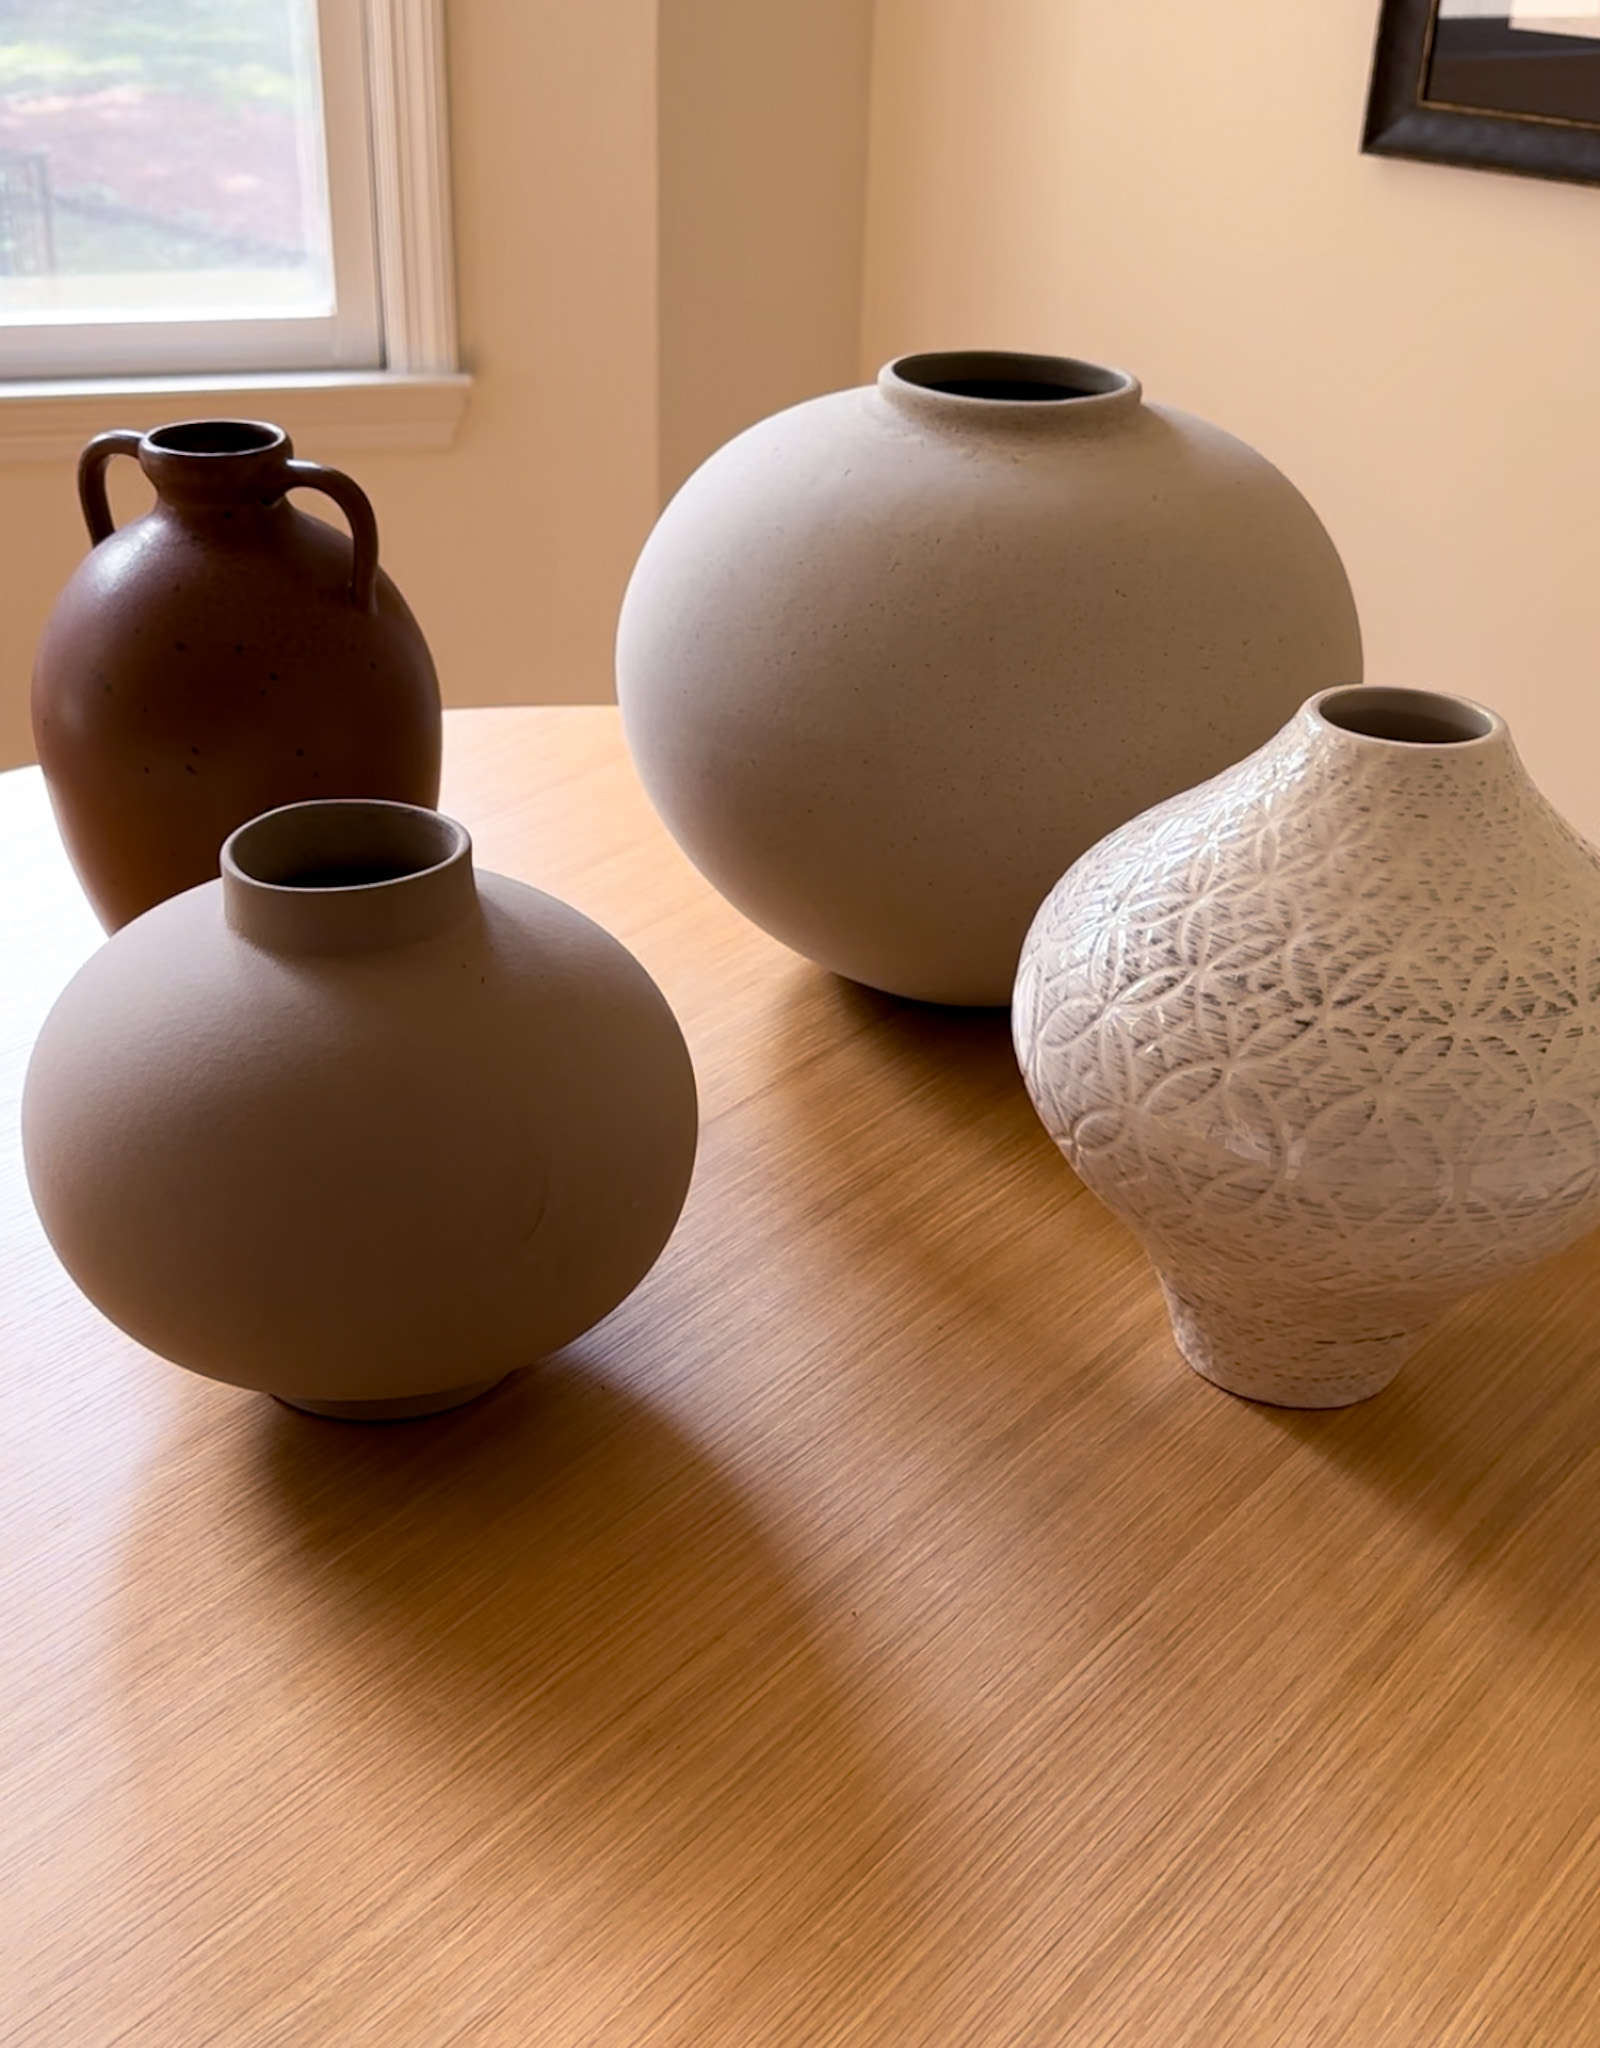
Before you begin, consider the type of vase you’re working with and the overall look you want to achieve. Here are some tips for selecting the right faux fall stems:
- Large Round Vase: Opt for stems with full foliage to create a dramatic and eye-catching centerpiece. Choose stems with long branches or flowers that spill over the sides for a lush and abundant look. You can choose to go monochromatic or incorporate a mix of textures, colors, and heights for added visual interest.
- Tall Vase: Look for long and slender stems that complement the height of the vase.
- Tall branches or grasses work well to fill the vertical space. Consider using a single type of stem for an elegant and streamlined appearance.
- Short Vase: Select shorter stems or cut longer stems to fit the height of the vase. Focus on small to medium-sized blooms or branches to ensure they don’t overwhelm the vase.
- Vase with a Small Opening: Choose stems with narrow profiles, such as thin branches or slender flowers. Trim stems to the appropriate length to fit through the opening without crowding.
Step 2: Determining the Quantity of Stems needed
Here are a few questions and considerations to help you determine how many stems you’ll need for your arrangement.
- Vase & Desired Shape: Which vase you’re using and what shape you’re desiring will help drive how many stems you’ll need. Do you want a full, rounded look or a more sparse and airy appearance?
- Foliage Density: Examine the foliage or blooms on your faux stems. Some stems have more leaves or flowers than others. Keep in mind that if your stems are particularly dense, you may need fewer of them to fill the vase adequately.
- Vase Opening: If your vase has a smaller opening, you’ll likely need fewer stems. On the contrary, if the vase has a larger opening, you’ll need more stems (or stems that are fuller) to properly fill the space.
- The Rule of Thirds: when in doubt, use the rule of thirds for a balanced look. Divide the height of your vase into thirds and aim to have your stems occupy the top third. This allows for a visually pleasing arrangement without overstuffing the vase.
Step 3: Preparing the Vase
Before arranging your faux fall stems, make sure your vase is clean and ready for use. If you have a large vase with a wide opening, you may want to add some packing paper to the bottom to help fill the space and additionally place floral foam on top of the paper in order to secure the stems in place.
Step 4: Assembling
Now, it’s time to arrange your faux fall stems in the vase. Here’s how I styled my four different arrangements.
How I Styled 4 Different Arrangements
a. Large Round Vase – total cost $65
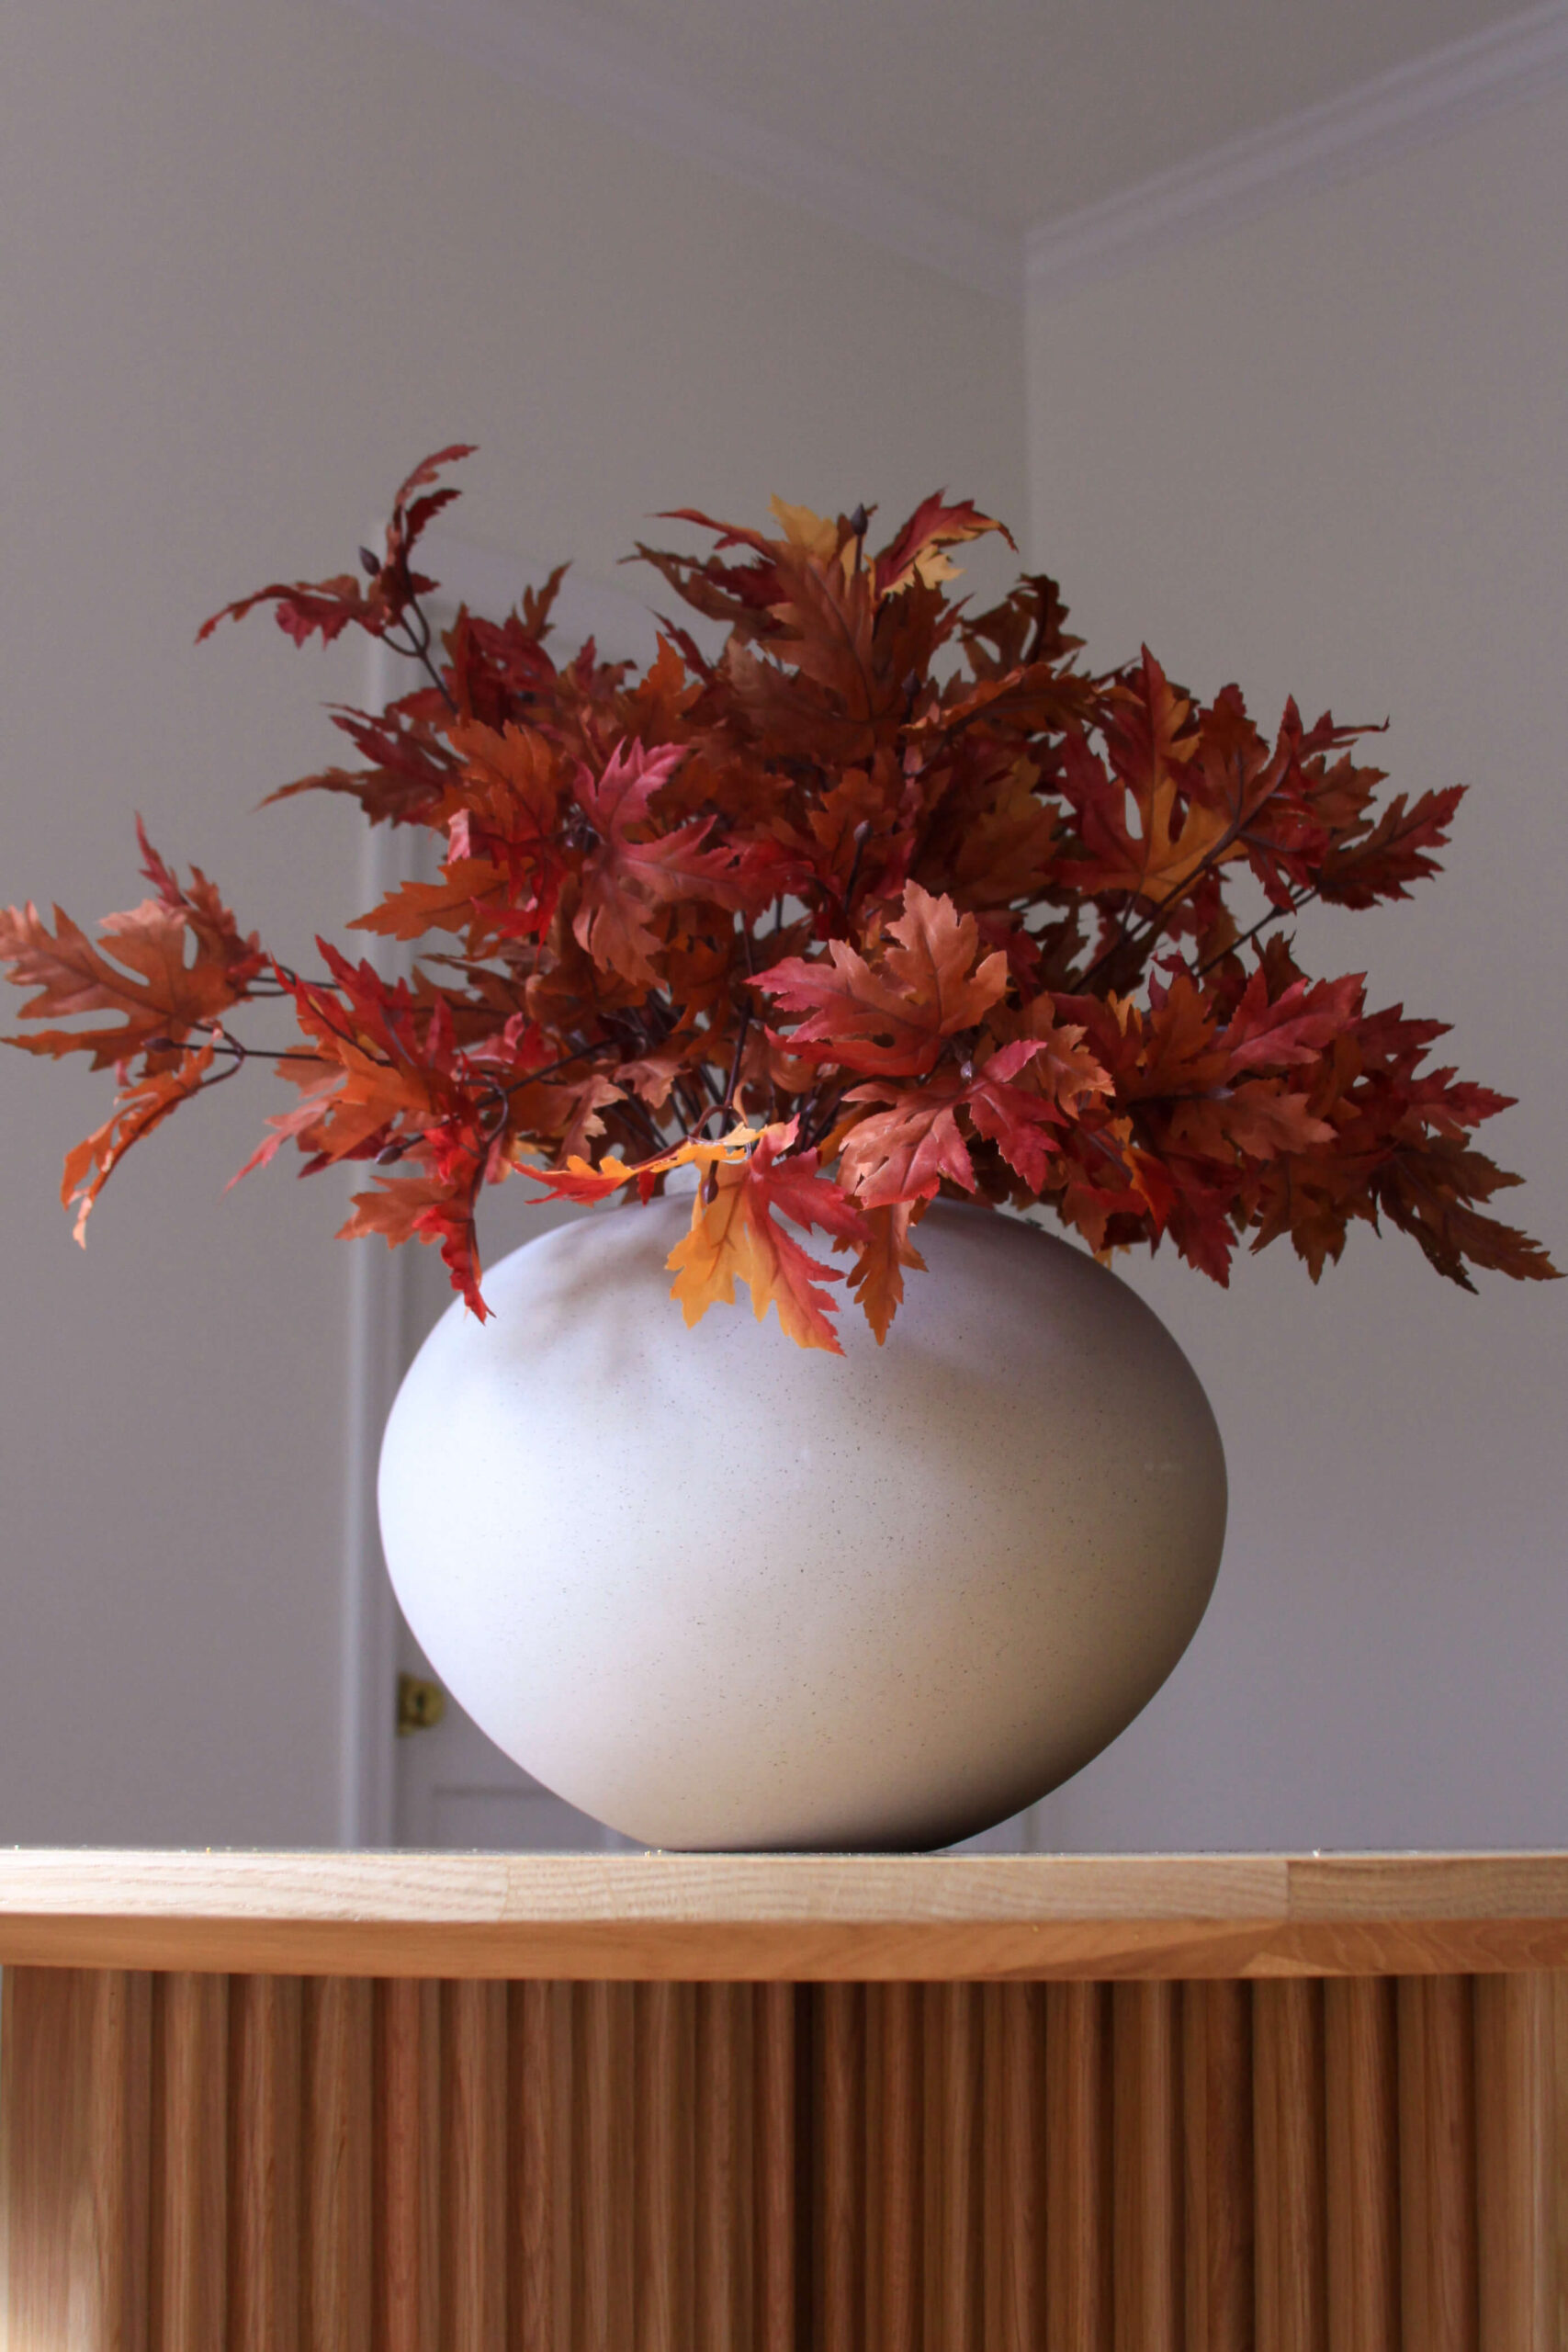
Since this vase is so large, I opted to stuff crumpled packing paper in the bottom to help fill the space. I cut floral foam to fit through the opening, making sure at least two of these pieces were the length of the vase. This arrangement will sit in the center of my kitchen table, so I wanted a full look all the way around.
I chose these large red maple leaf stems which I thought would pair nice with both the vase itself, as well as the setting I was planning on placing it in. Since the foliage is quite full after being properly fluffed, I only needed three stems for this arrangement. I kept one stem more upright and placed it in the center first, then placed the two remaining stems on the sides, bending them a bit to create a fuller and draping effect.
Sources: Crate & Barrel Jimena Round Vase (currently out of stock – similar vase here) | Brown & Burgundy Maple Leafe Bush ( 3 total)
b. Short Vase and Vase with a Small Opening – total cost $40
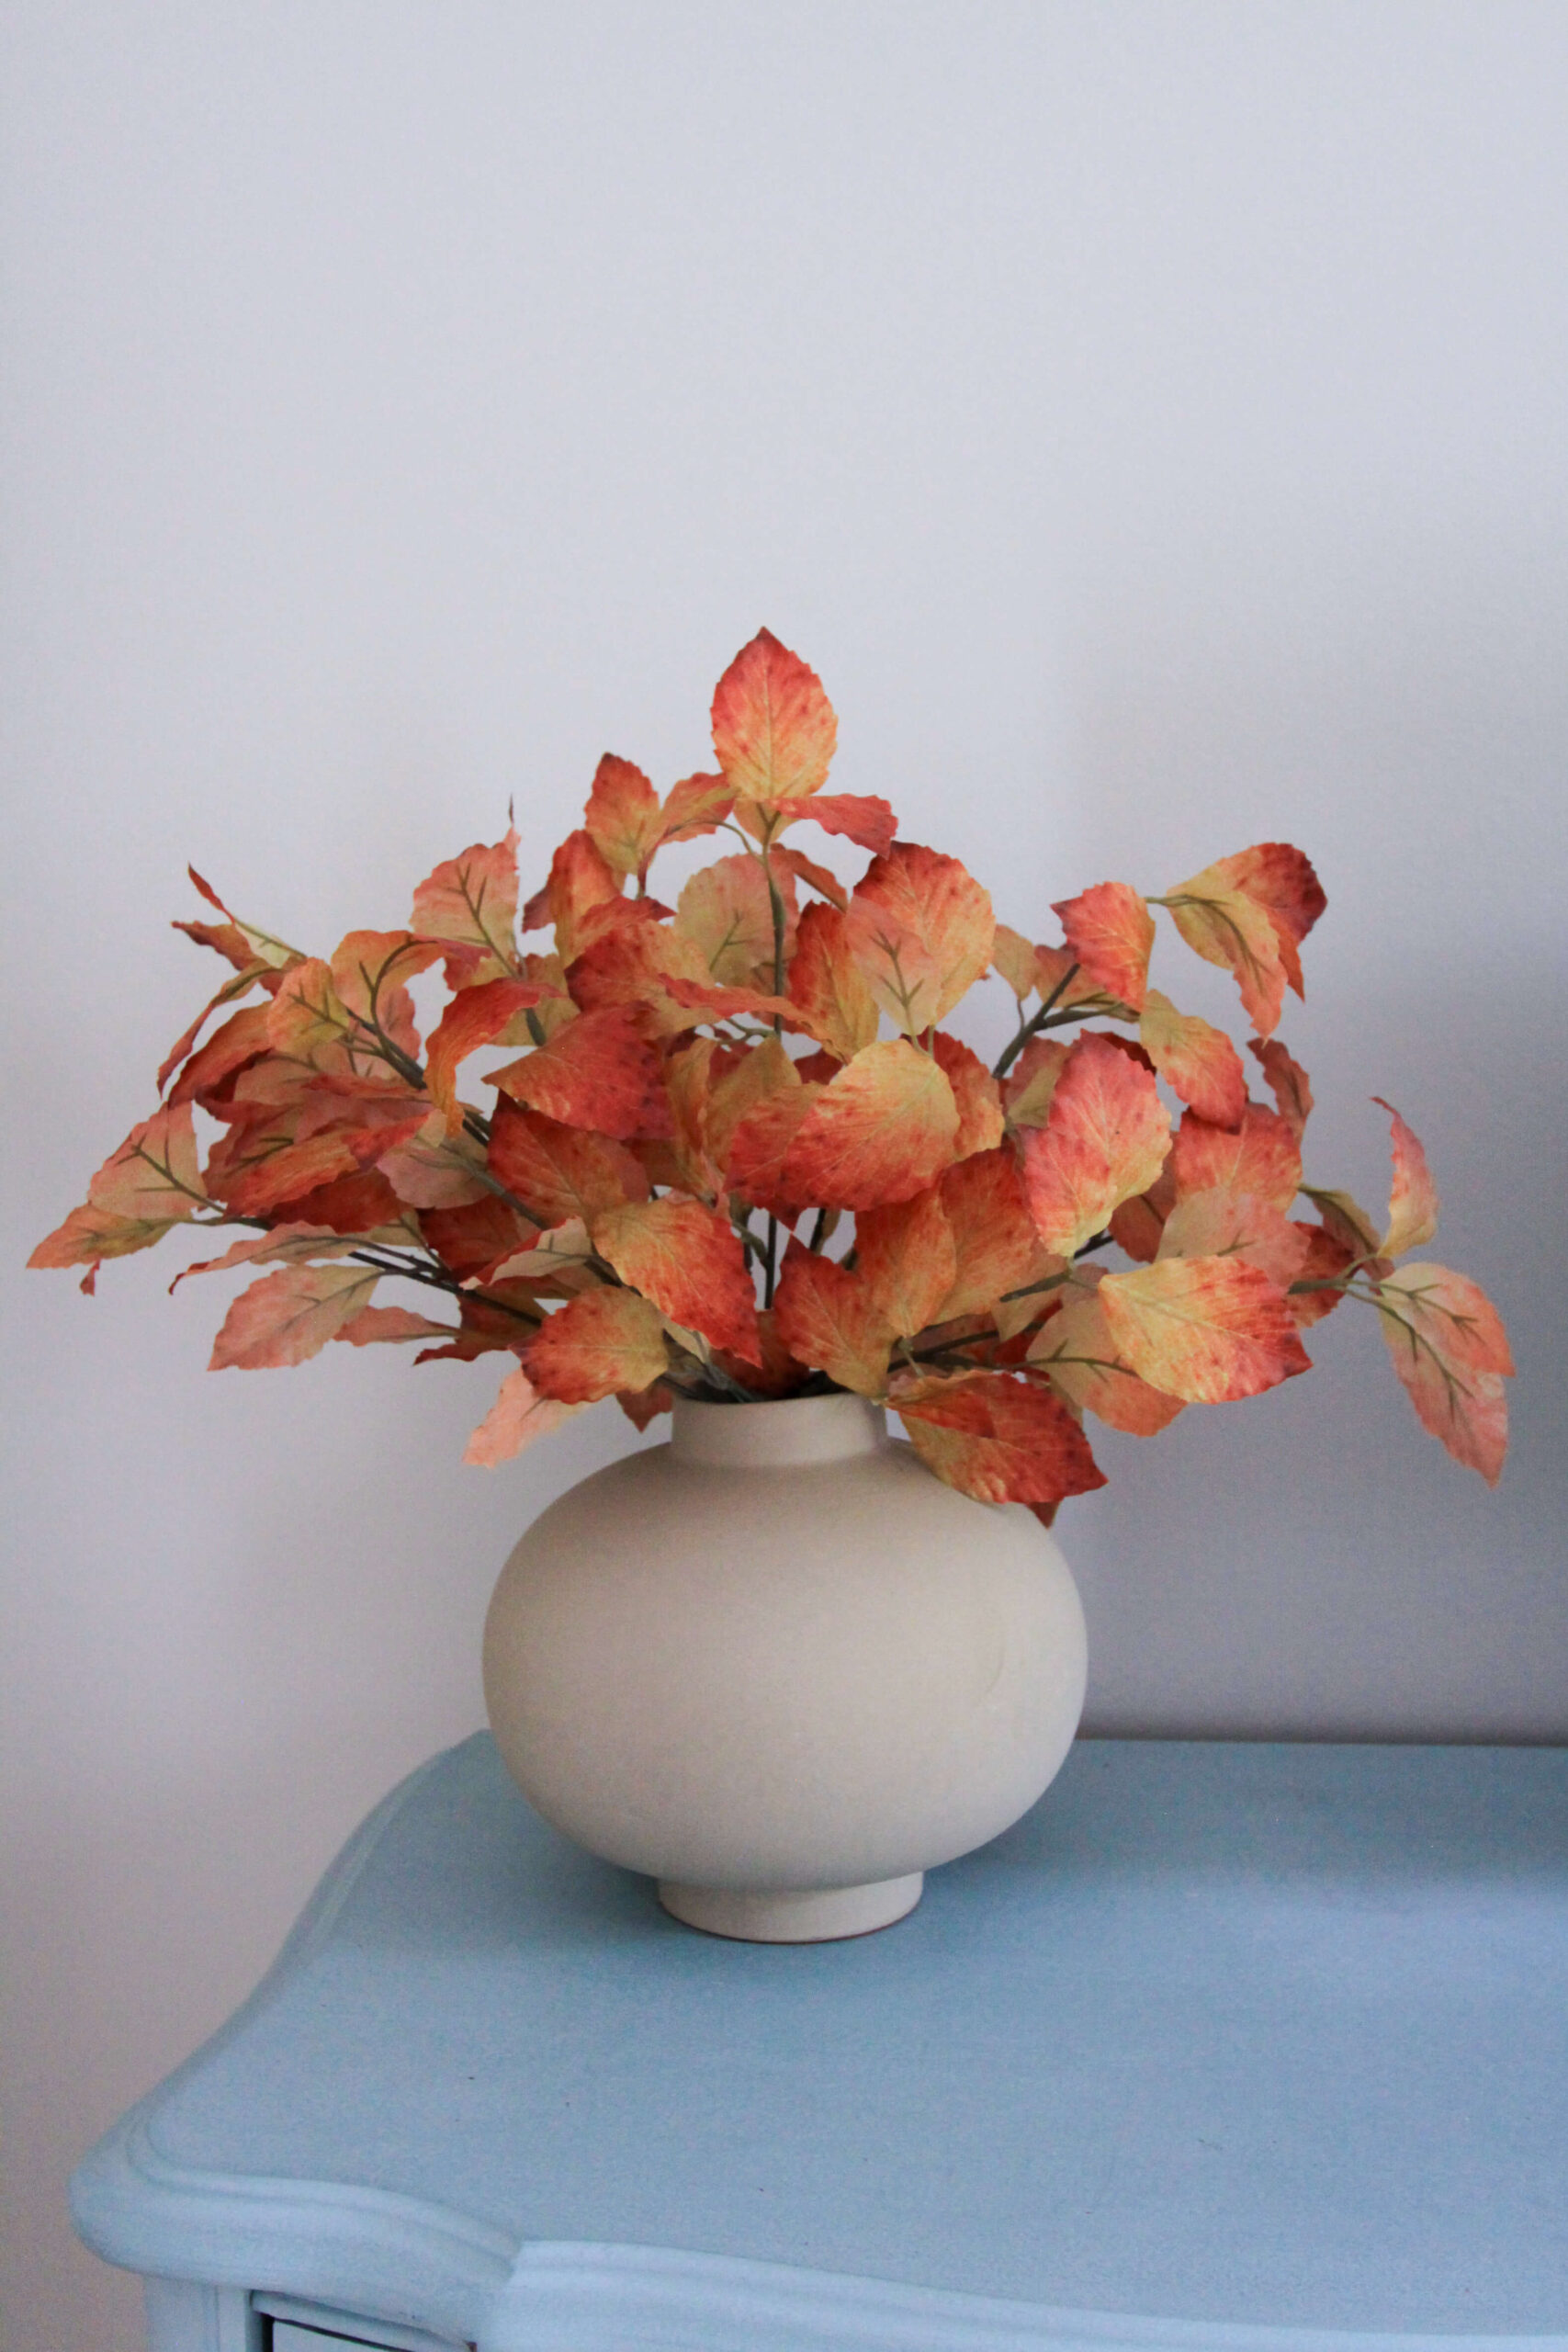
This arrangement is for my bedroom and I knew would be placed on a light blue dresser. I liked the idea of choosing these stems, as I felt the tones in the orange weren’t too aggressive and would compliment the color of the dresser as well as that of the vase. Additionally, the foliage was not too large for the scale of this vase. I chose two short stems and after properly fluffing them they were more than adequate for the size of this vase. I placed a couple pieces of flower foam in the bottom to help them stay secure. Couldn’t have been simpler!
Sources: Leann Ford Full Moon Clay Vase | Orange & Red Beech Faux Stems (similar) (2 total)
c. Medium Height Vase with Narrow Mouth – total cost $55
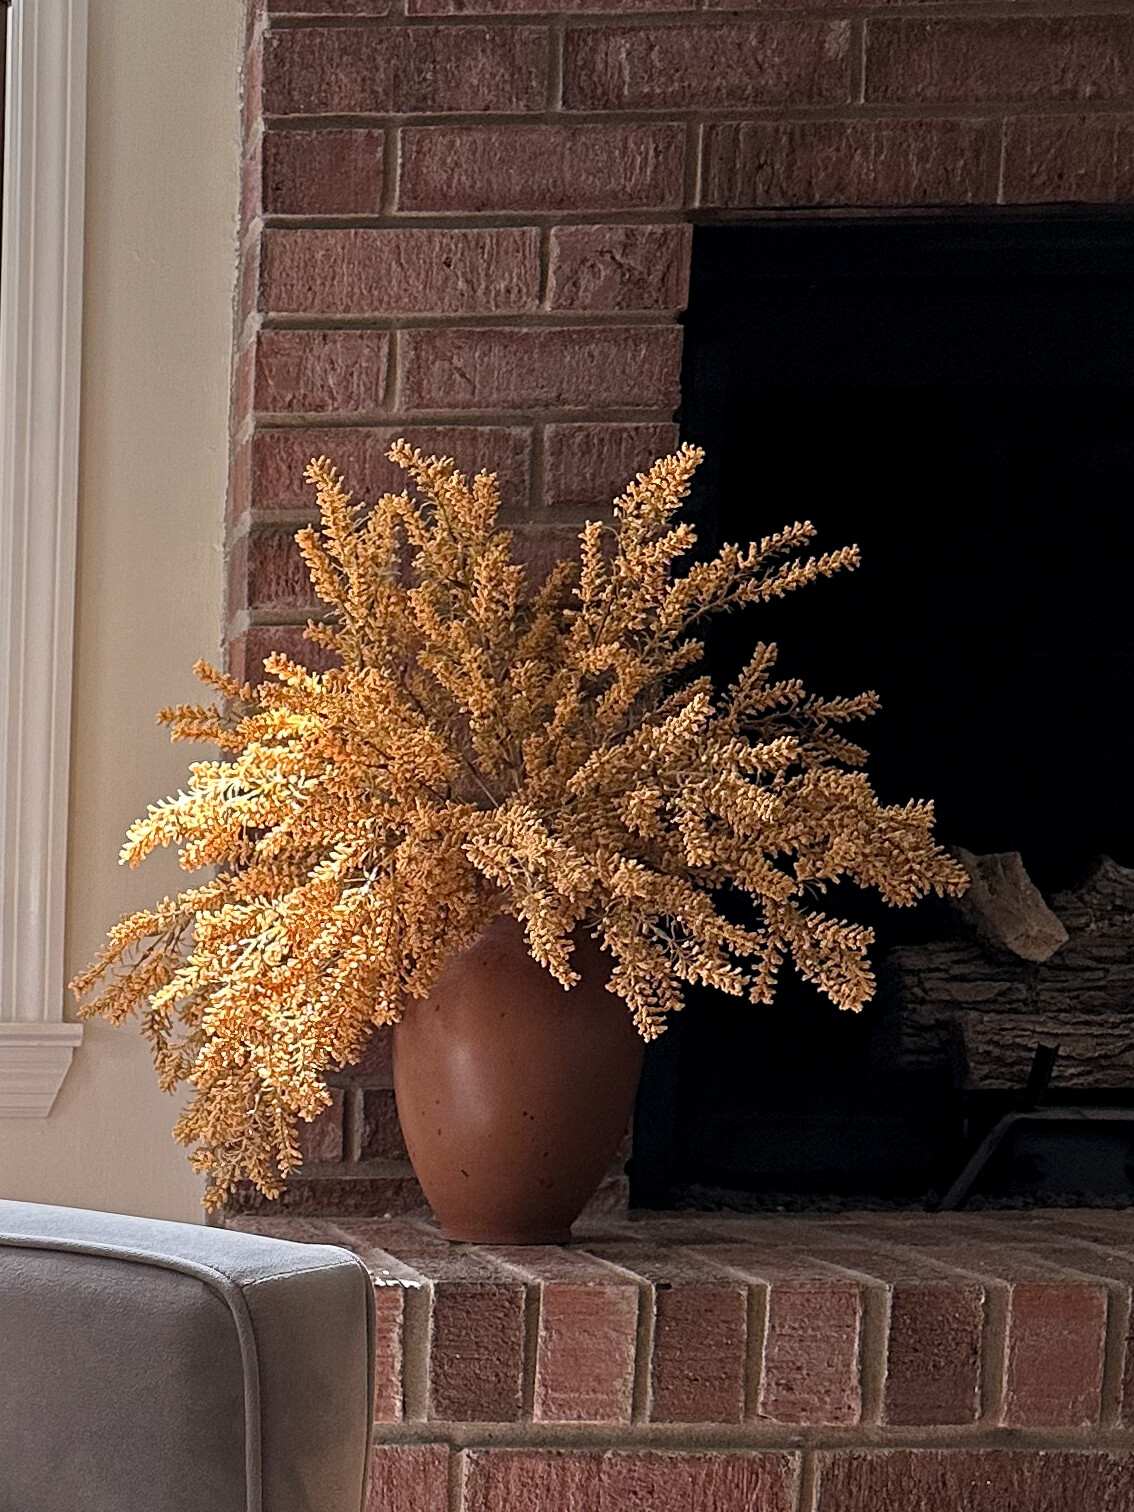
I found this vase at Target and felt the colors were so perfect for the fall season. I wanted to create a dramatic effect for this, and I felt this golden berry bundle would be perfect. The stems were easy to bend and really tend to drape in a natural looking fashion. Since this was going to go up against a wall, and not act as a centerpiece, I only used 3 stems as I wanted the backside to be a little closer to the wall. I’d suggest using 4 total if this were going to be in the center of a room.
Sources: Studio McGee Vase | Yellow Berry Bundle Stems (3 total)
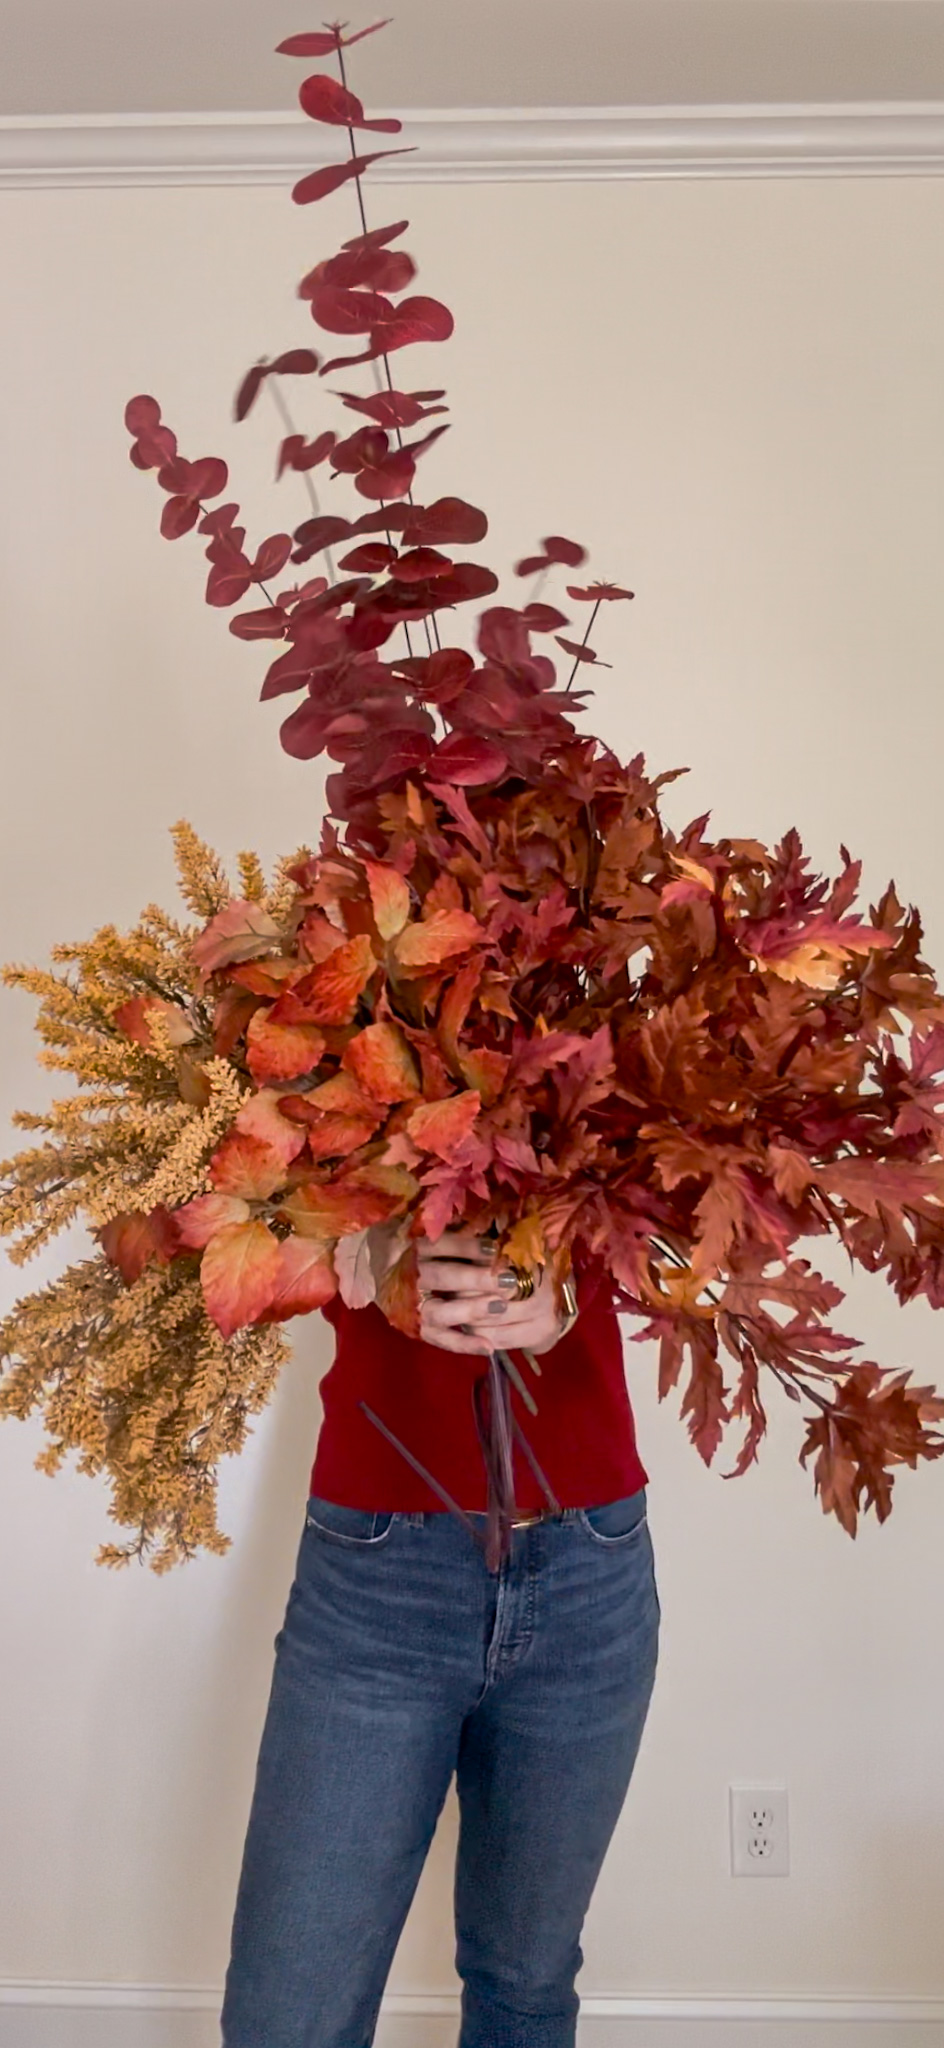
d. Tall Vase with Narrow Mouth – total cost $90
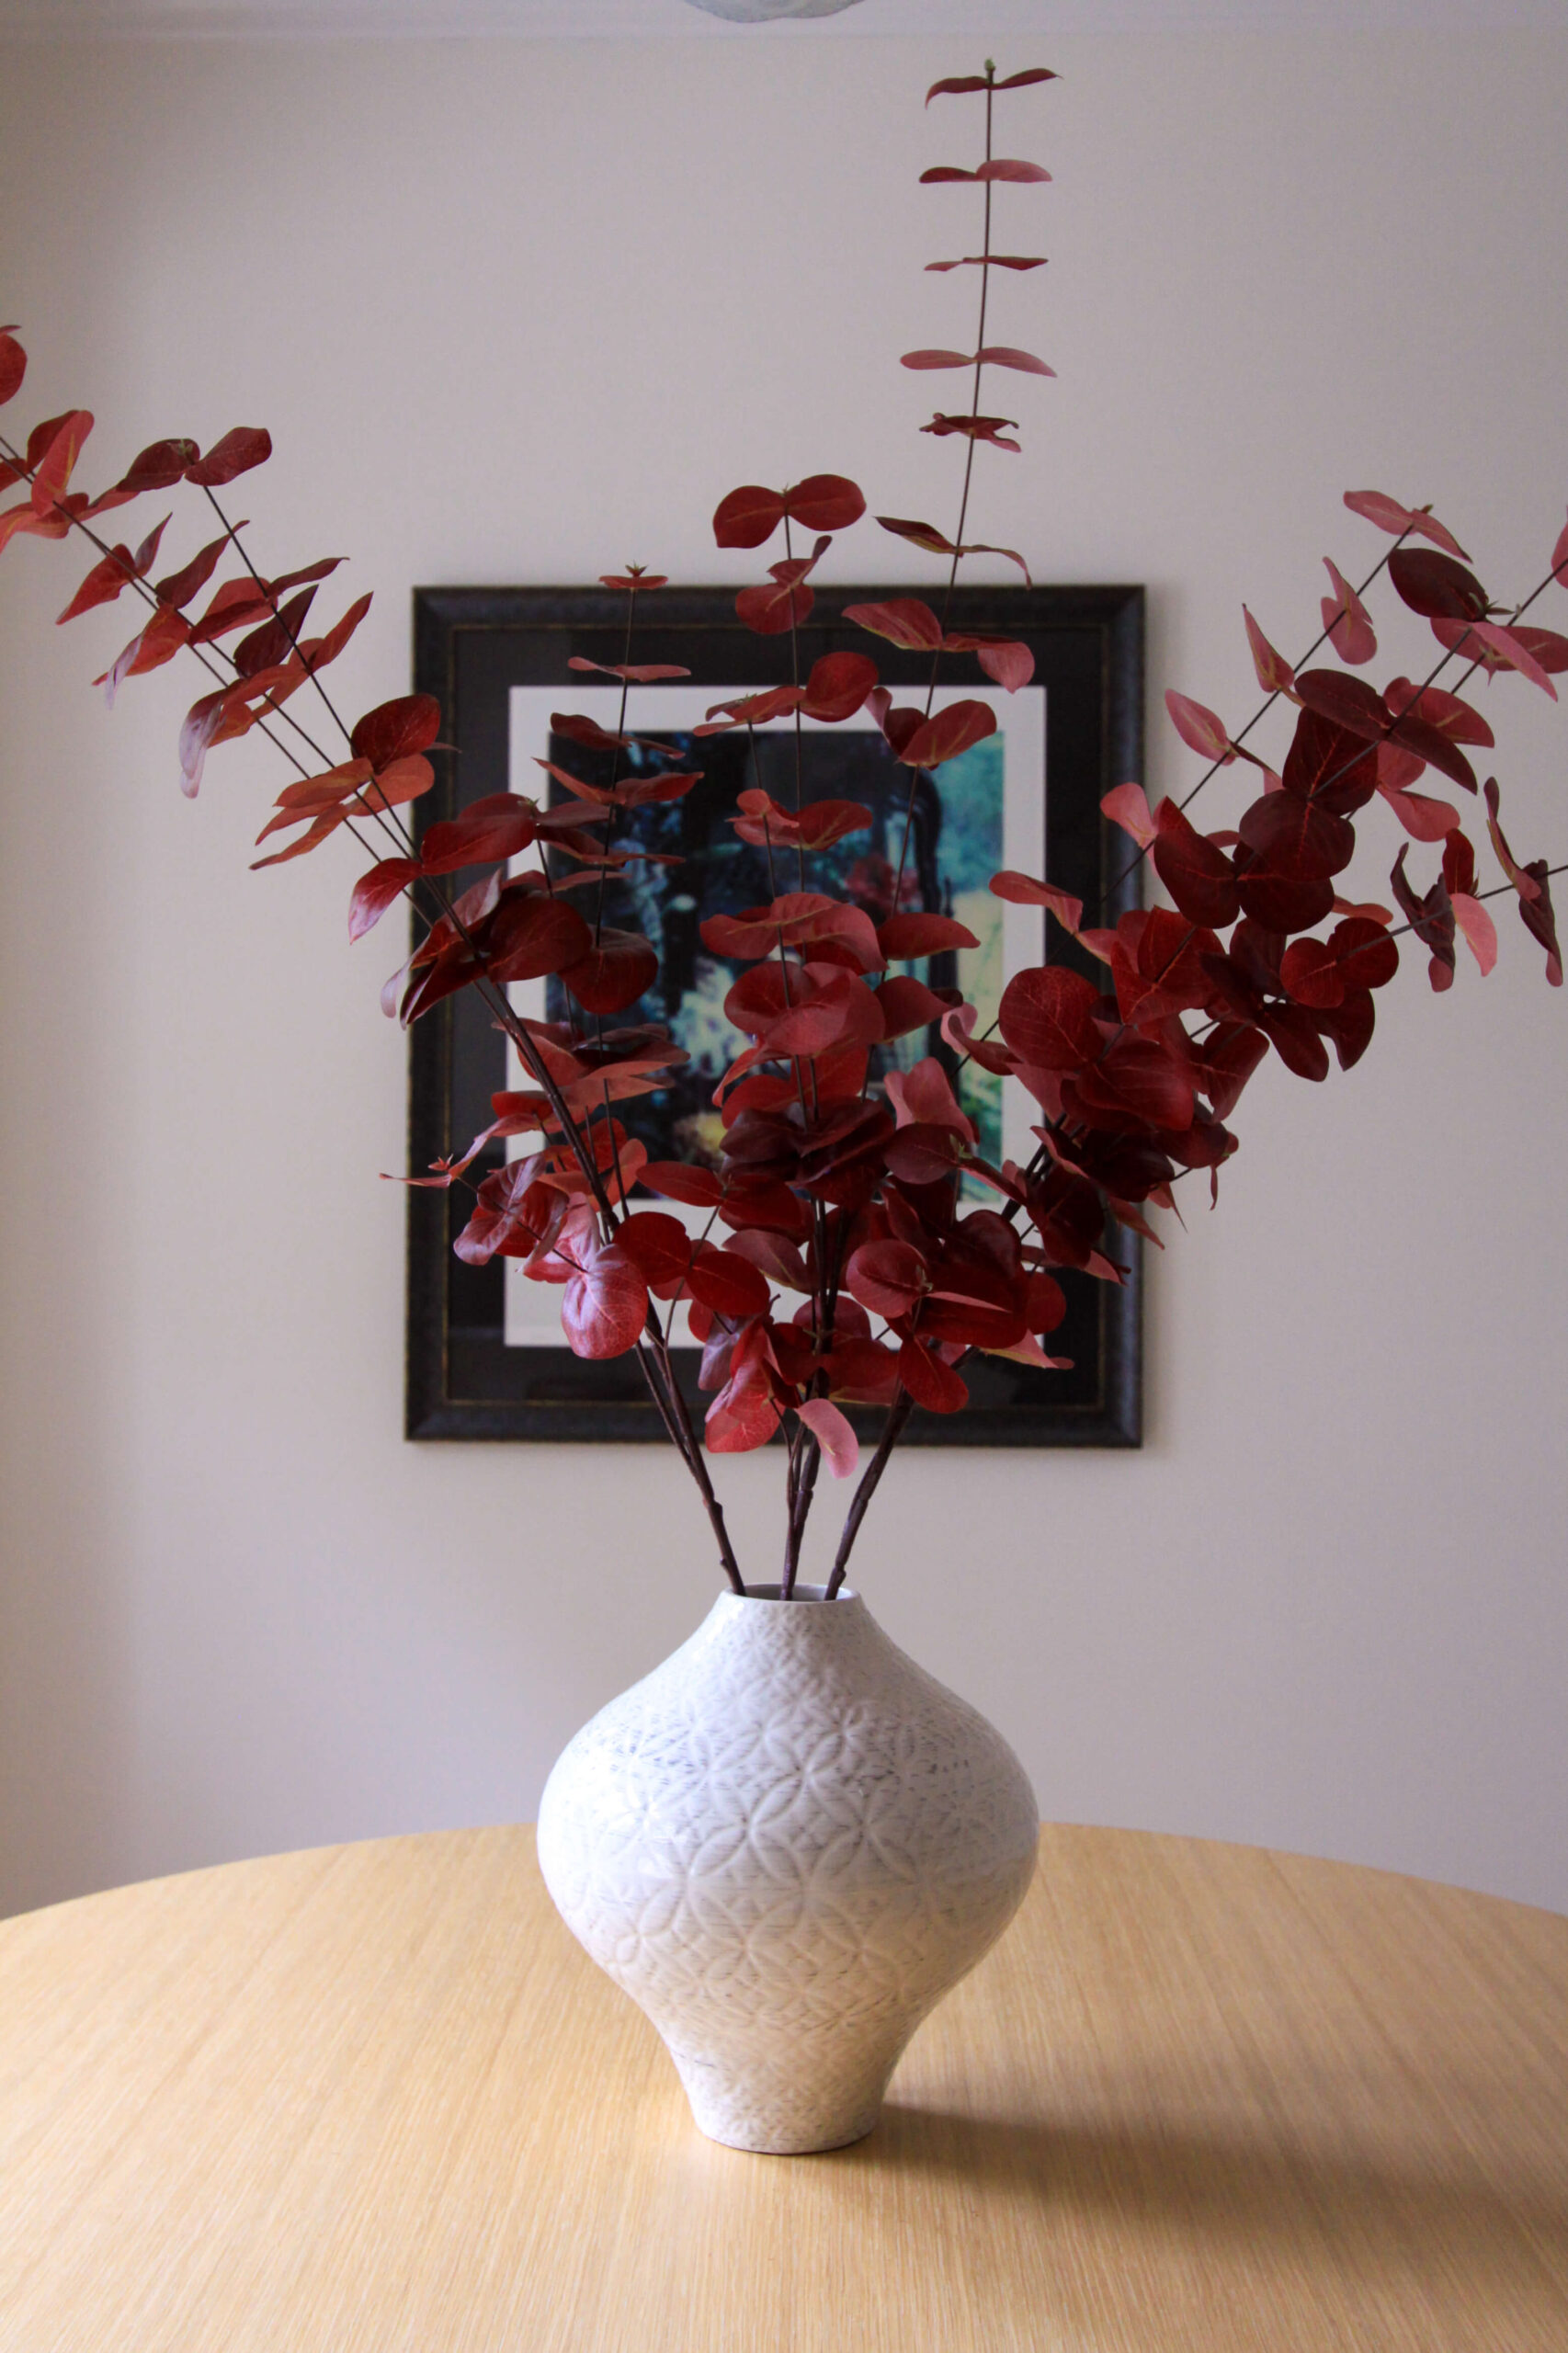
The last arrangement was the simplest. I had this tall narrow vase and decided I wanted to go large scale and create something dramatic to be placed in a corner. I chose three of these pretty burgundy eucalyptus stems in the longer length. I bent the bottom of each stem, and then placed one stem in the center of the vase and the other two on each side, making sure to lean them against the lip of the vase. It’s the most simple arrangement but also the most dramatic. A little more expensive, as longer stems tend to be double the price of the short ones.
Sources: Crate & Barrel Geo Vase | Tall Burgundy Eucalyptus Stem (similar) (3 total)
In Conclusion
Styling faux fall stems is a creative, enjoyable and simple way to bring the beauty of autumn into your home. Remember to select stems that match the vase’s size and shape, and don’t be afraid to mix and match different elements to achieve your desired look. For these examples I chose to go monochromatic but it’s also fun to mix and match for scale, color and texture. If you’d like a more visual step by step guide, feel free to check out my YouTube video below. I’ve also included some of the best faux fall stems I’ve found this season below to help get you started. Happy decorating!


I really like the Yellow Berry Bundle
Yes this one ended up being my favorite!
I like the yellow berry bundle and vase. They all turned out great!
This was the easiest to style and ended up being the most dramatic. I love how the colors compliment one another!