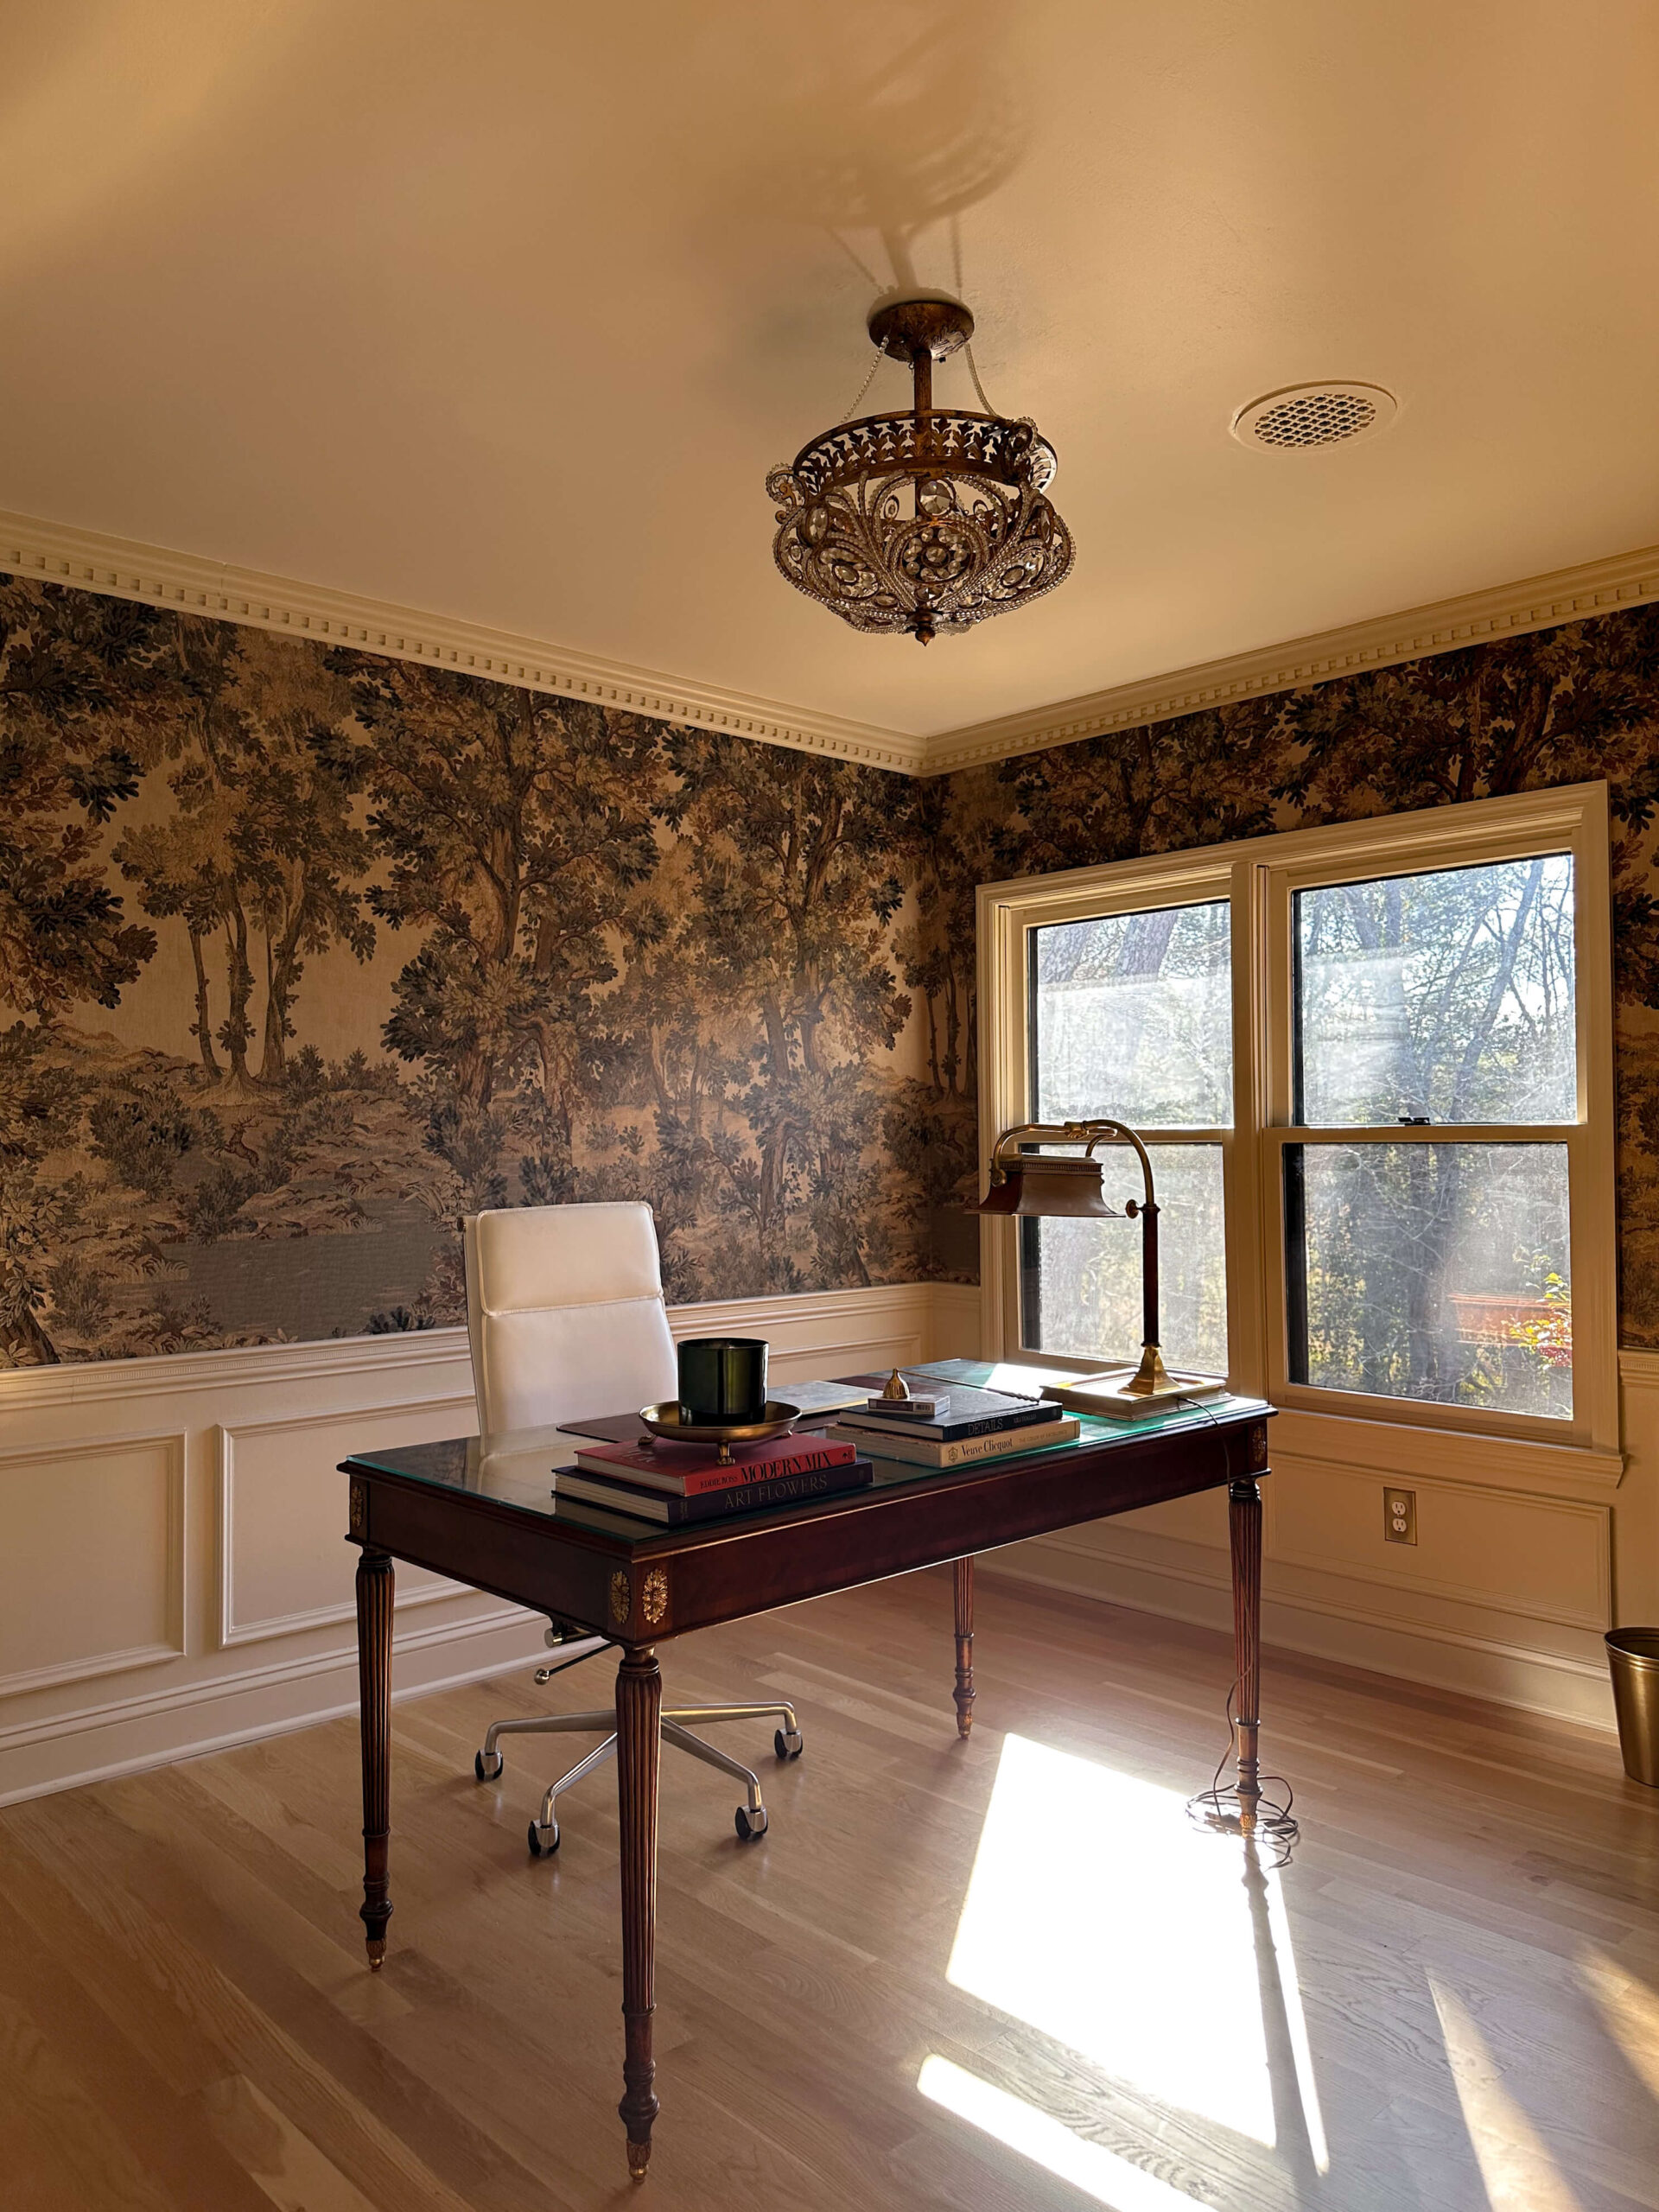
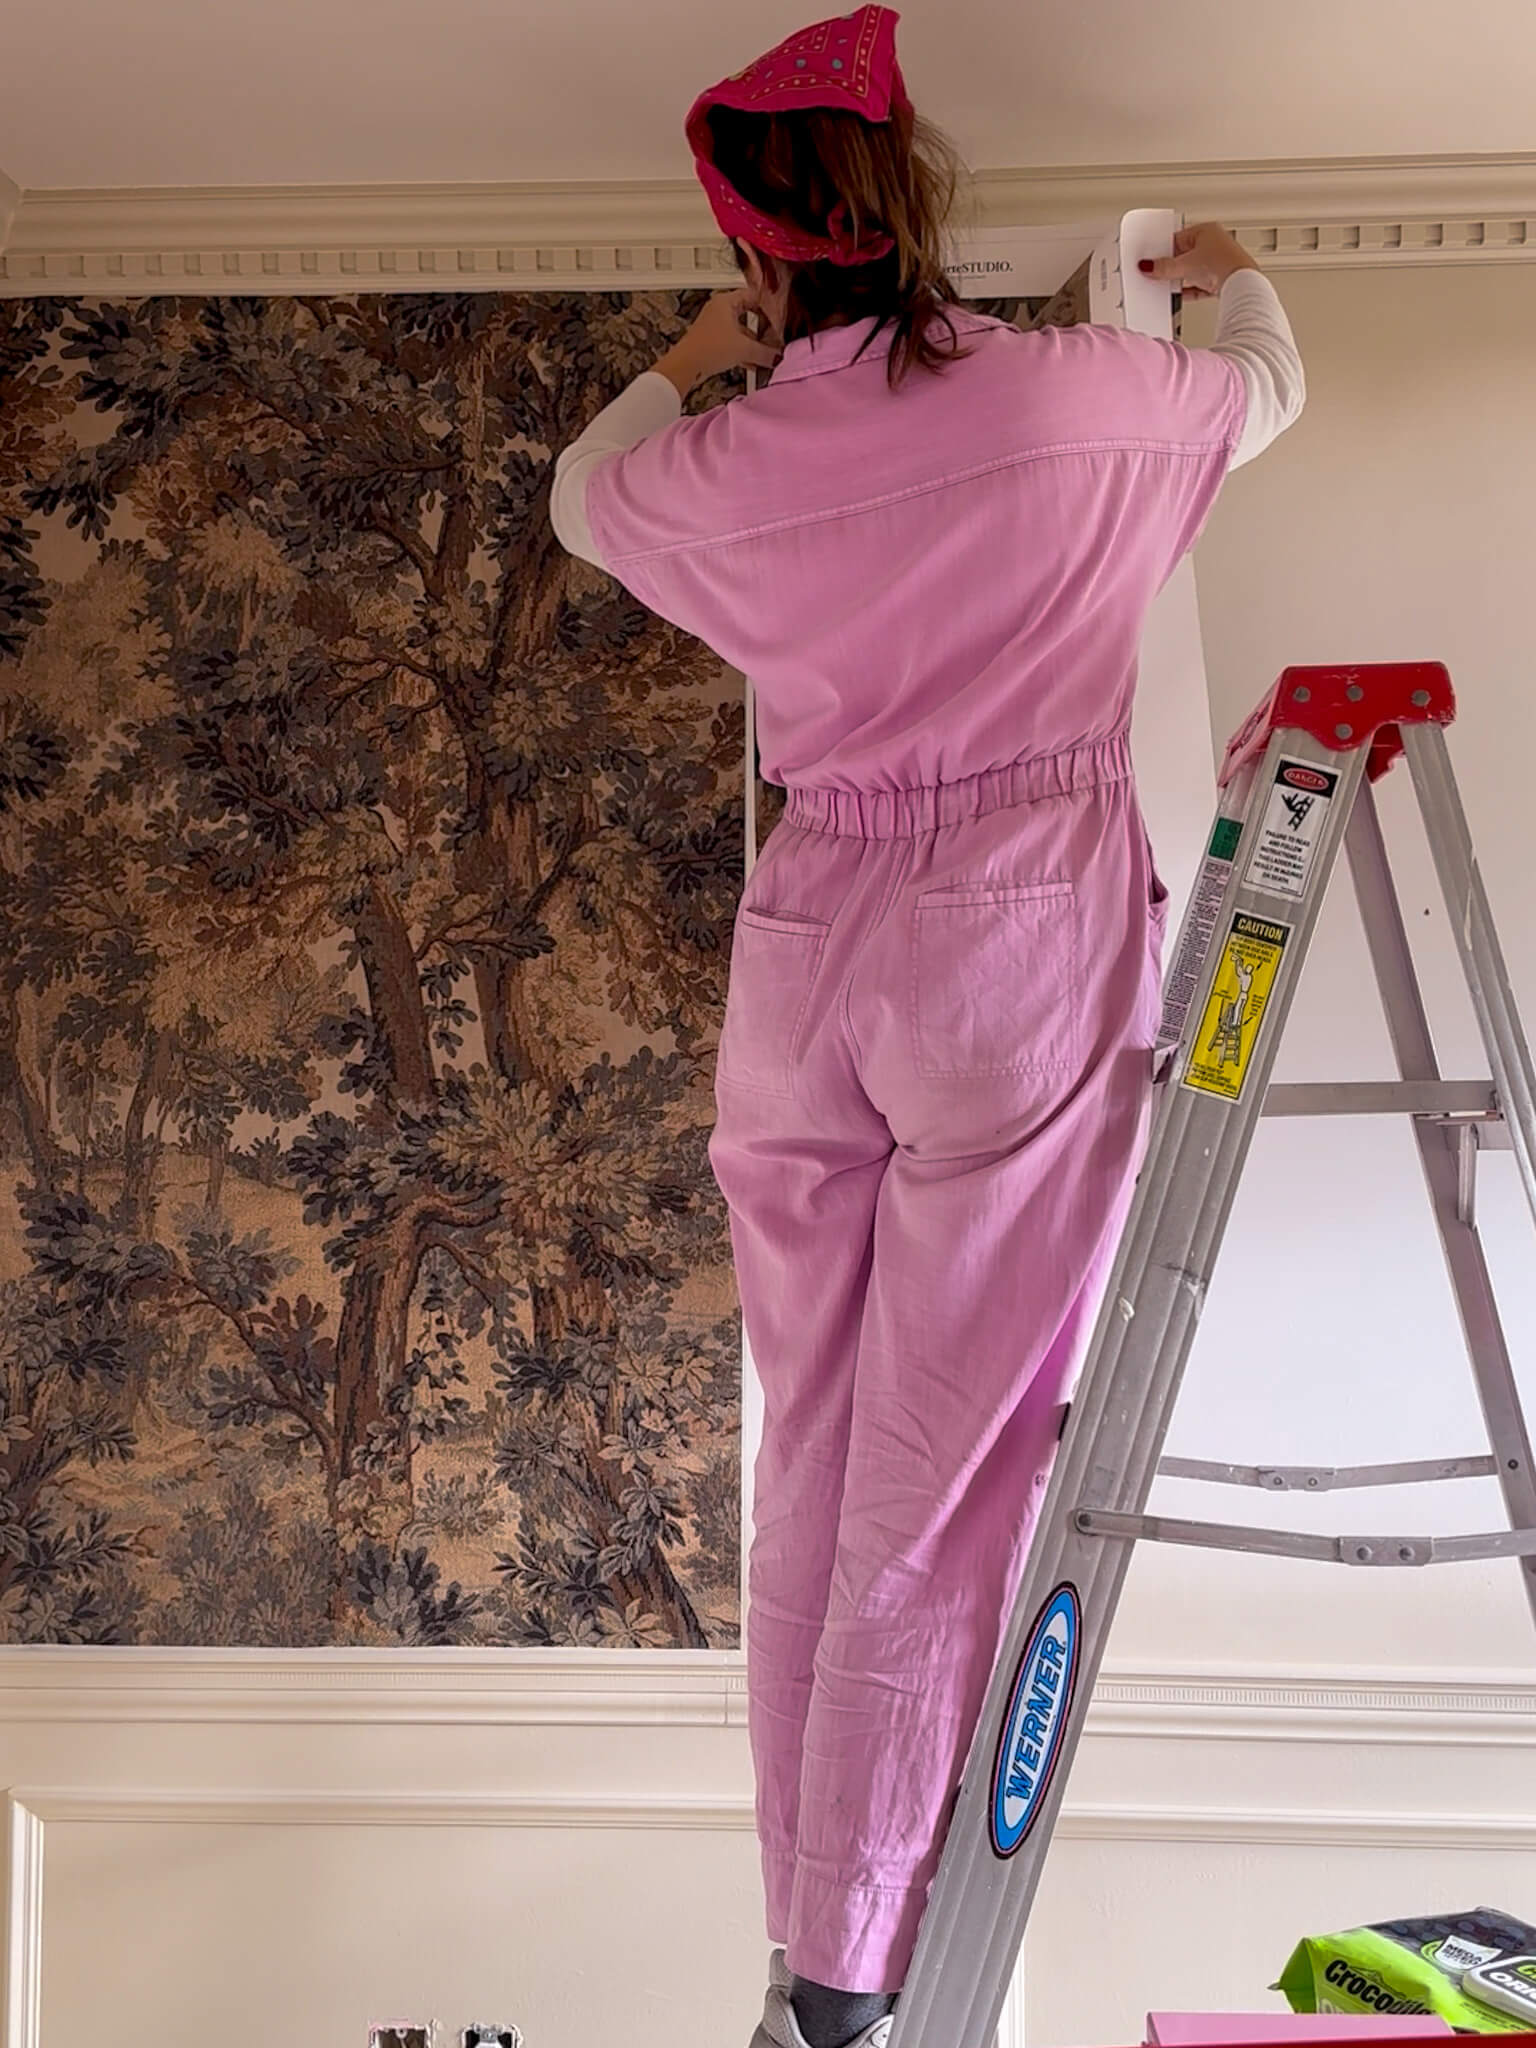
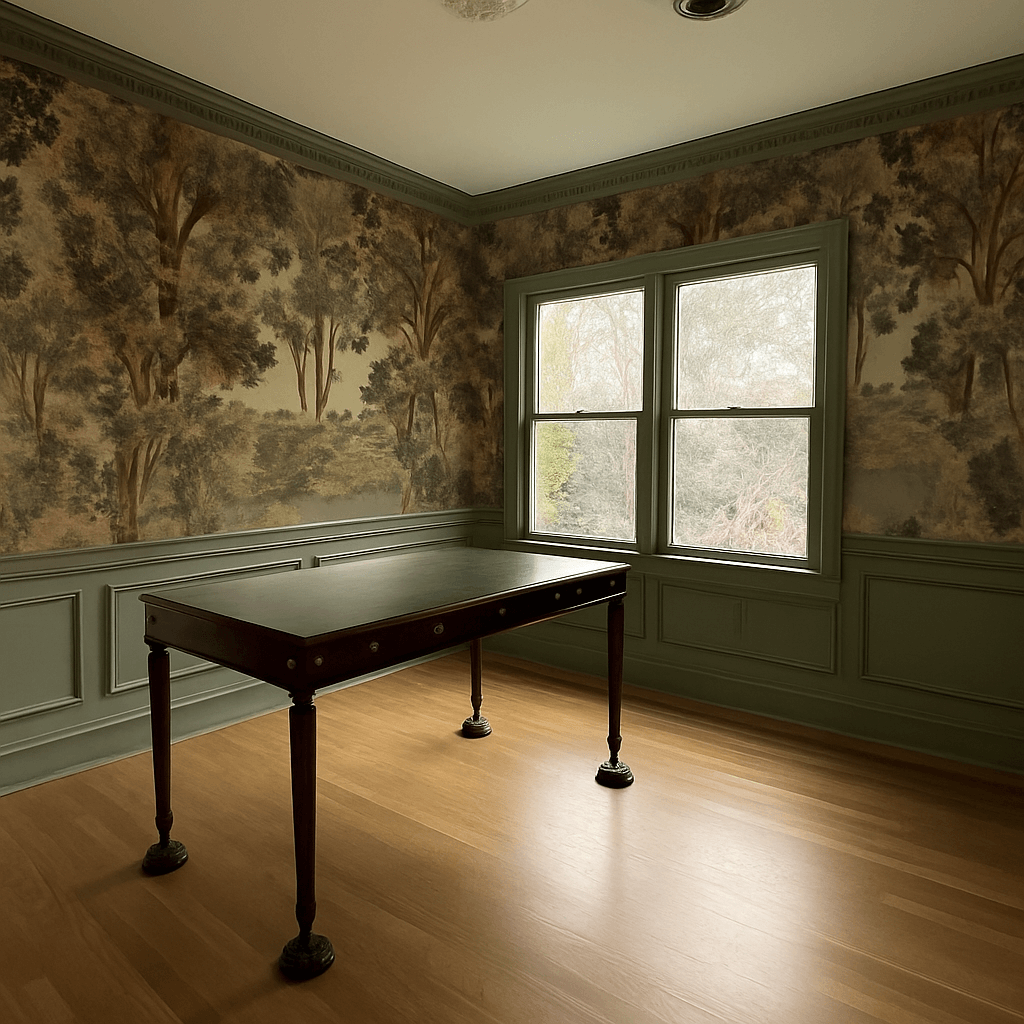
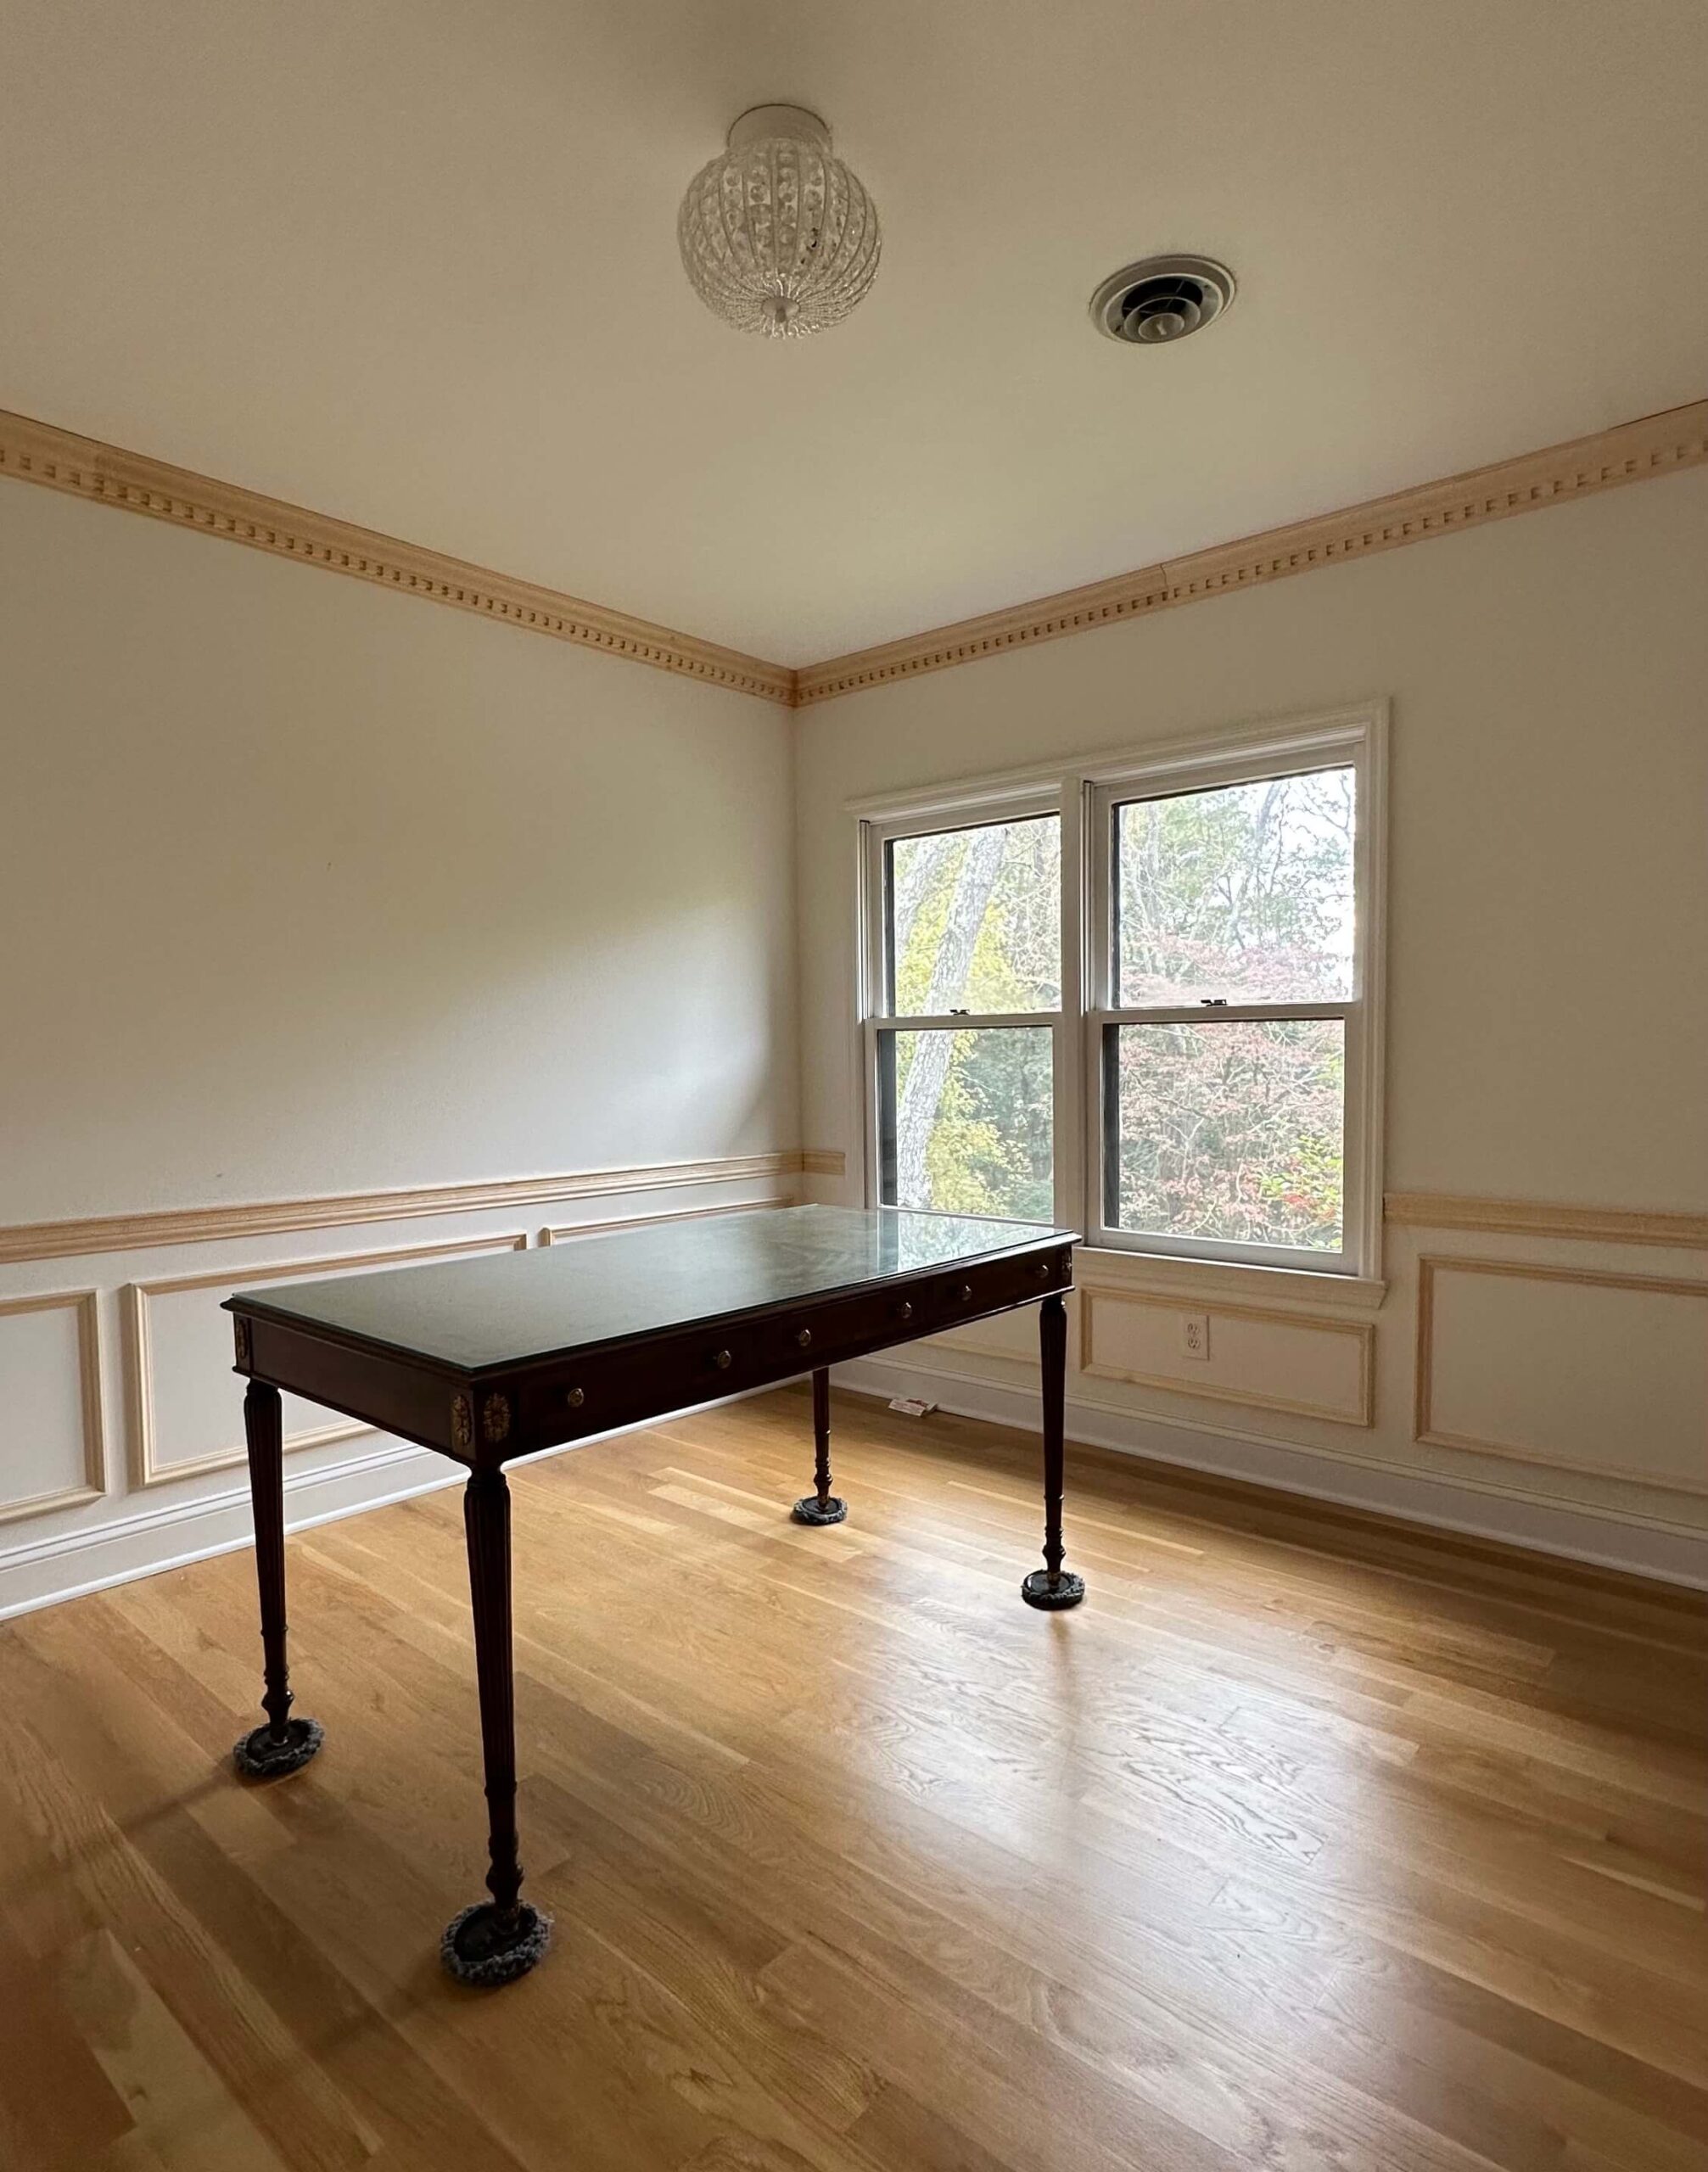
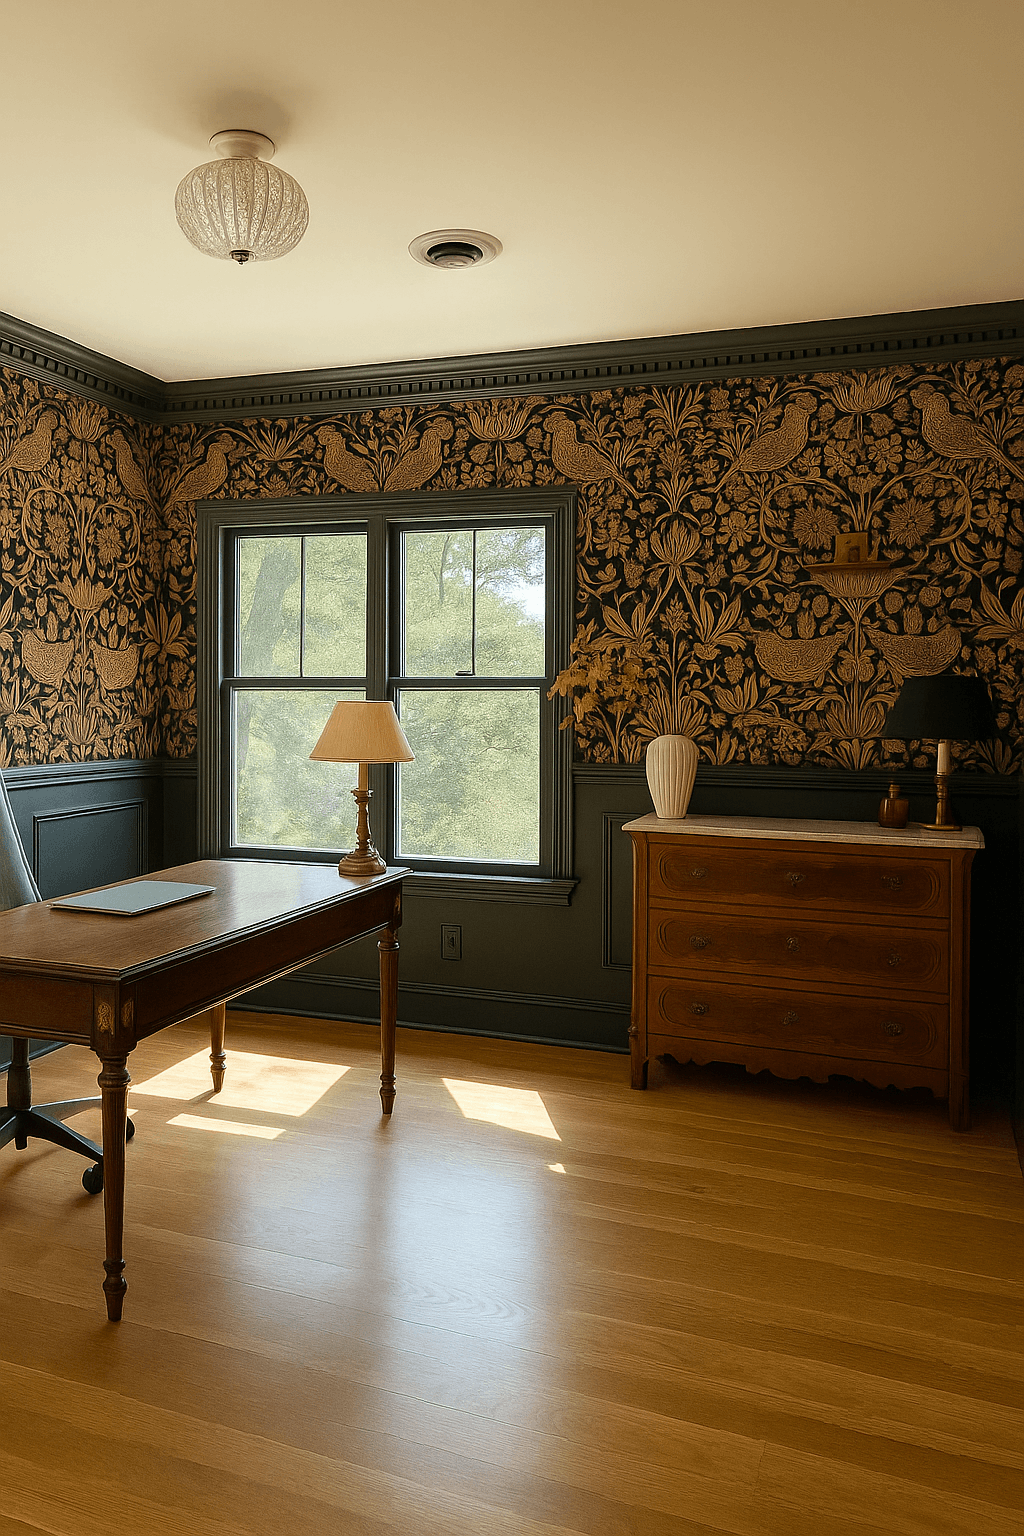
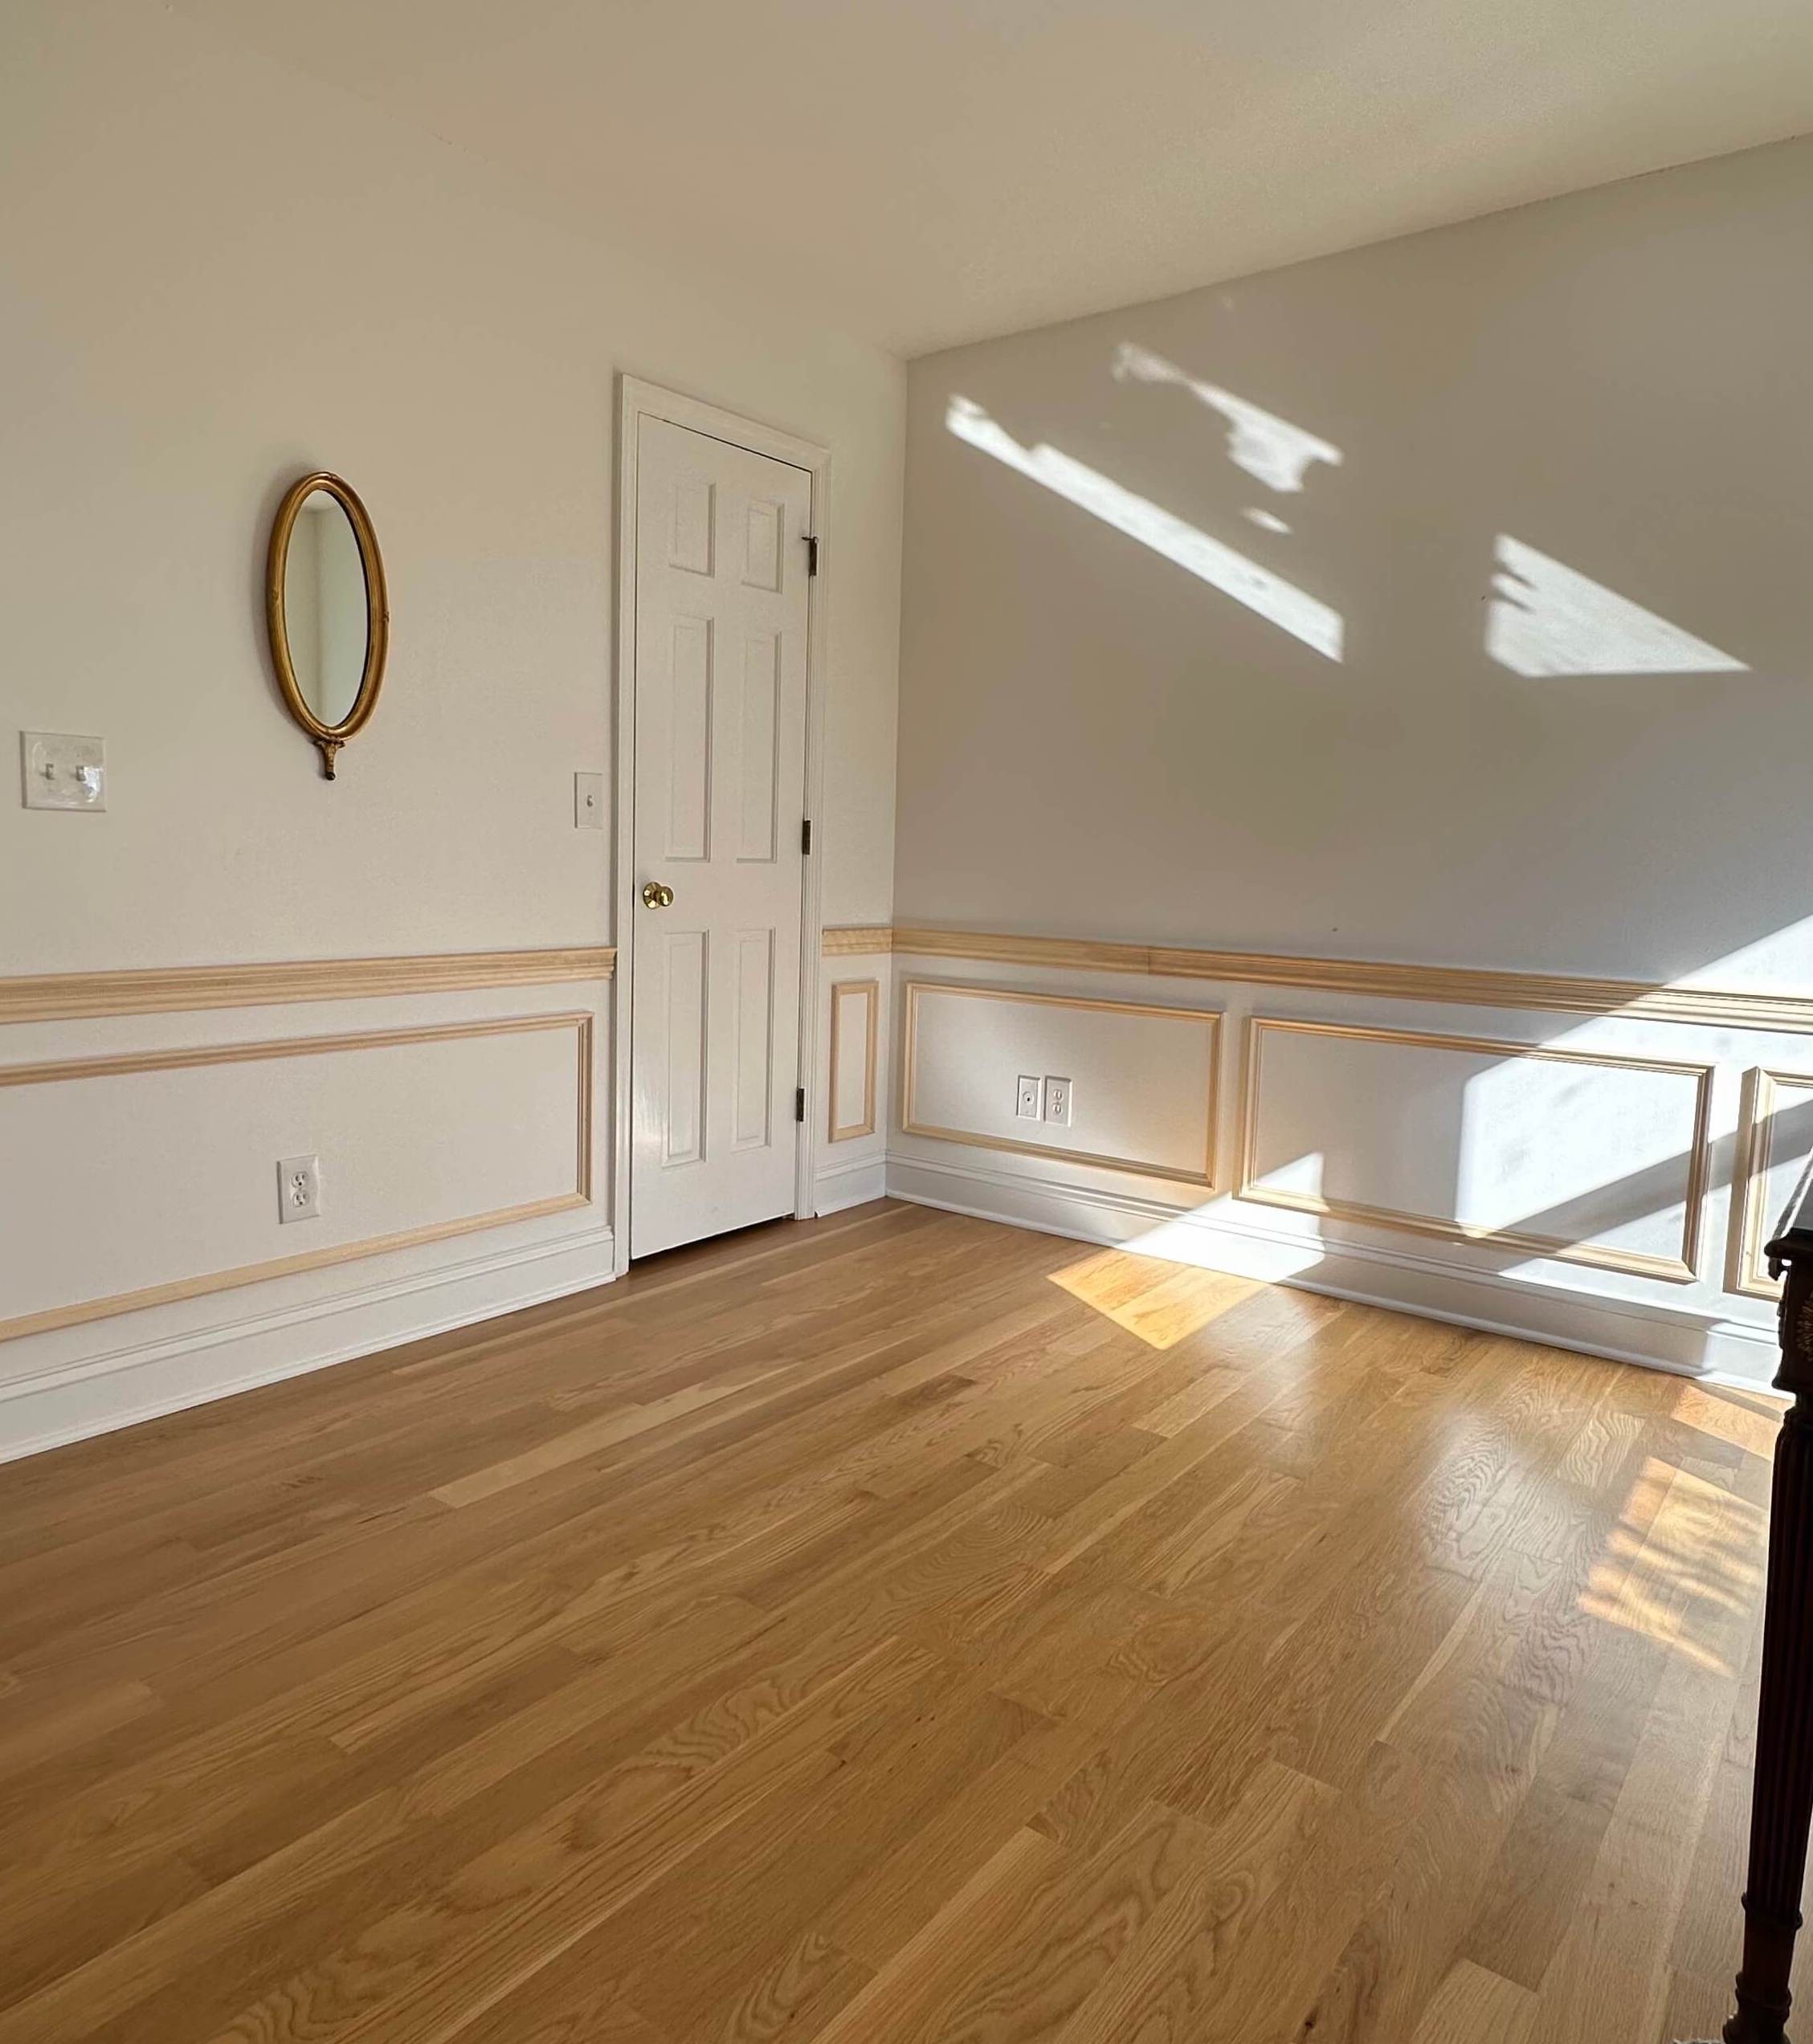
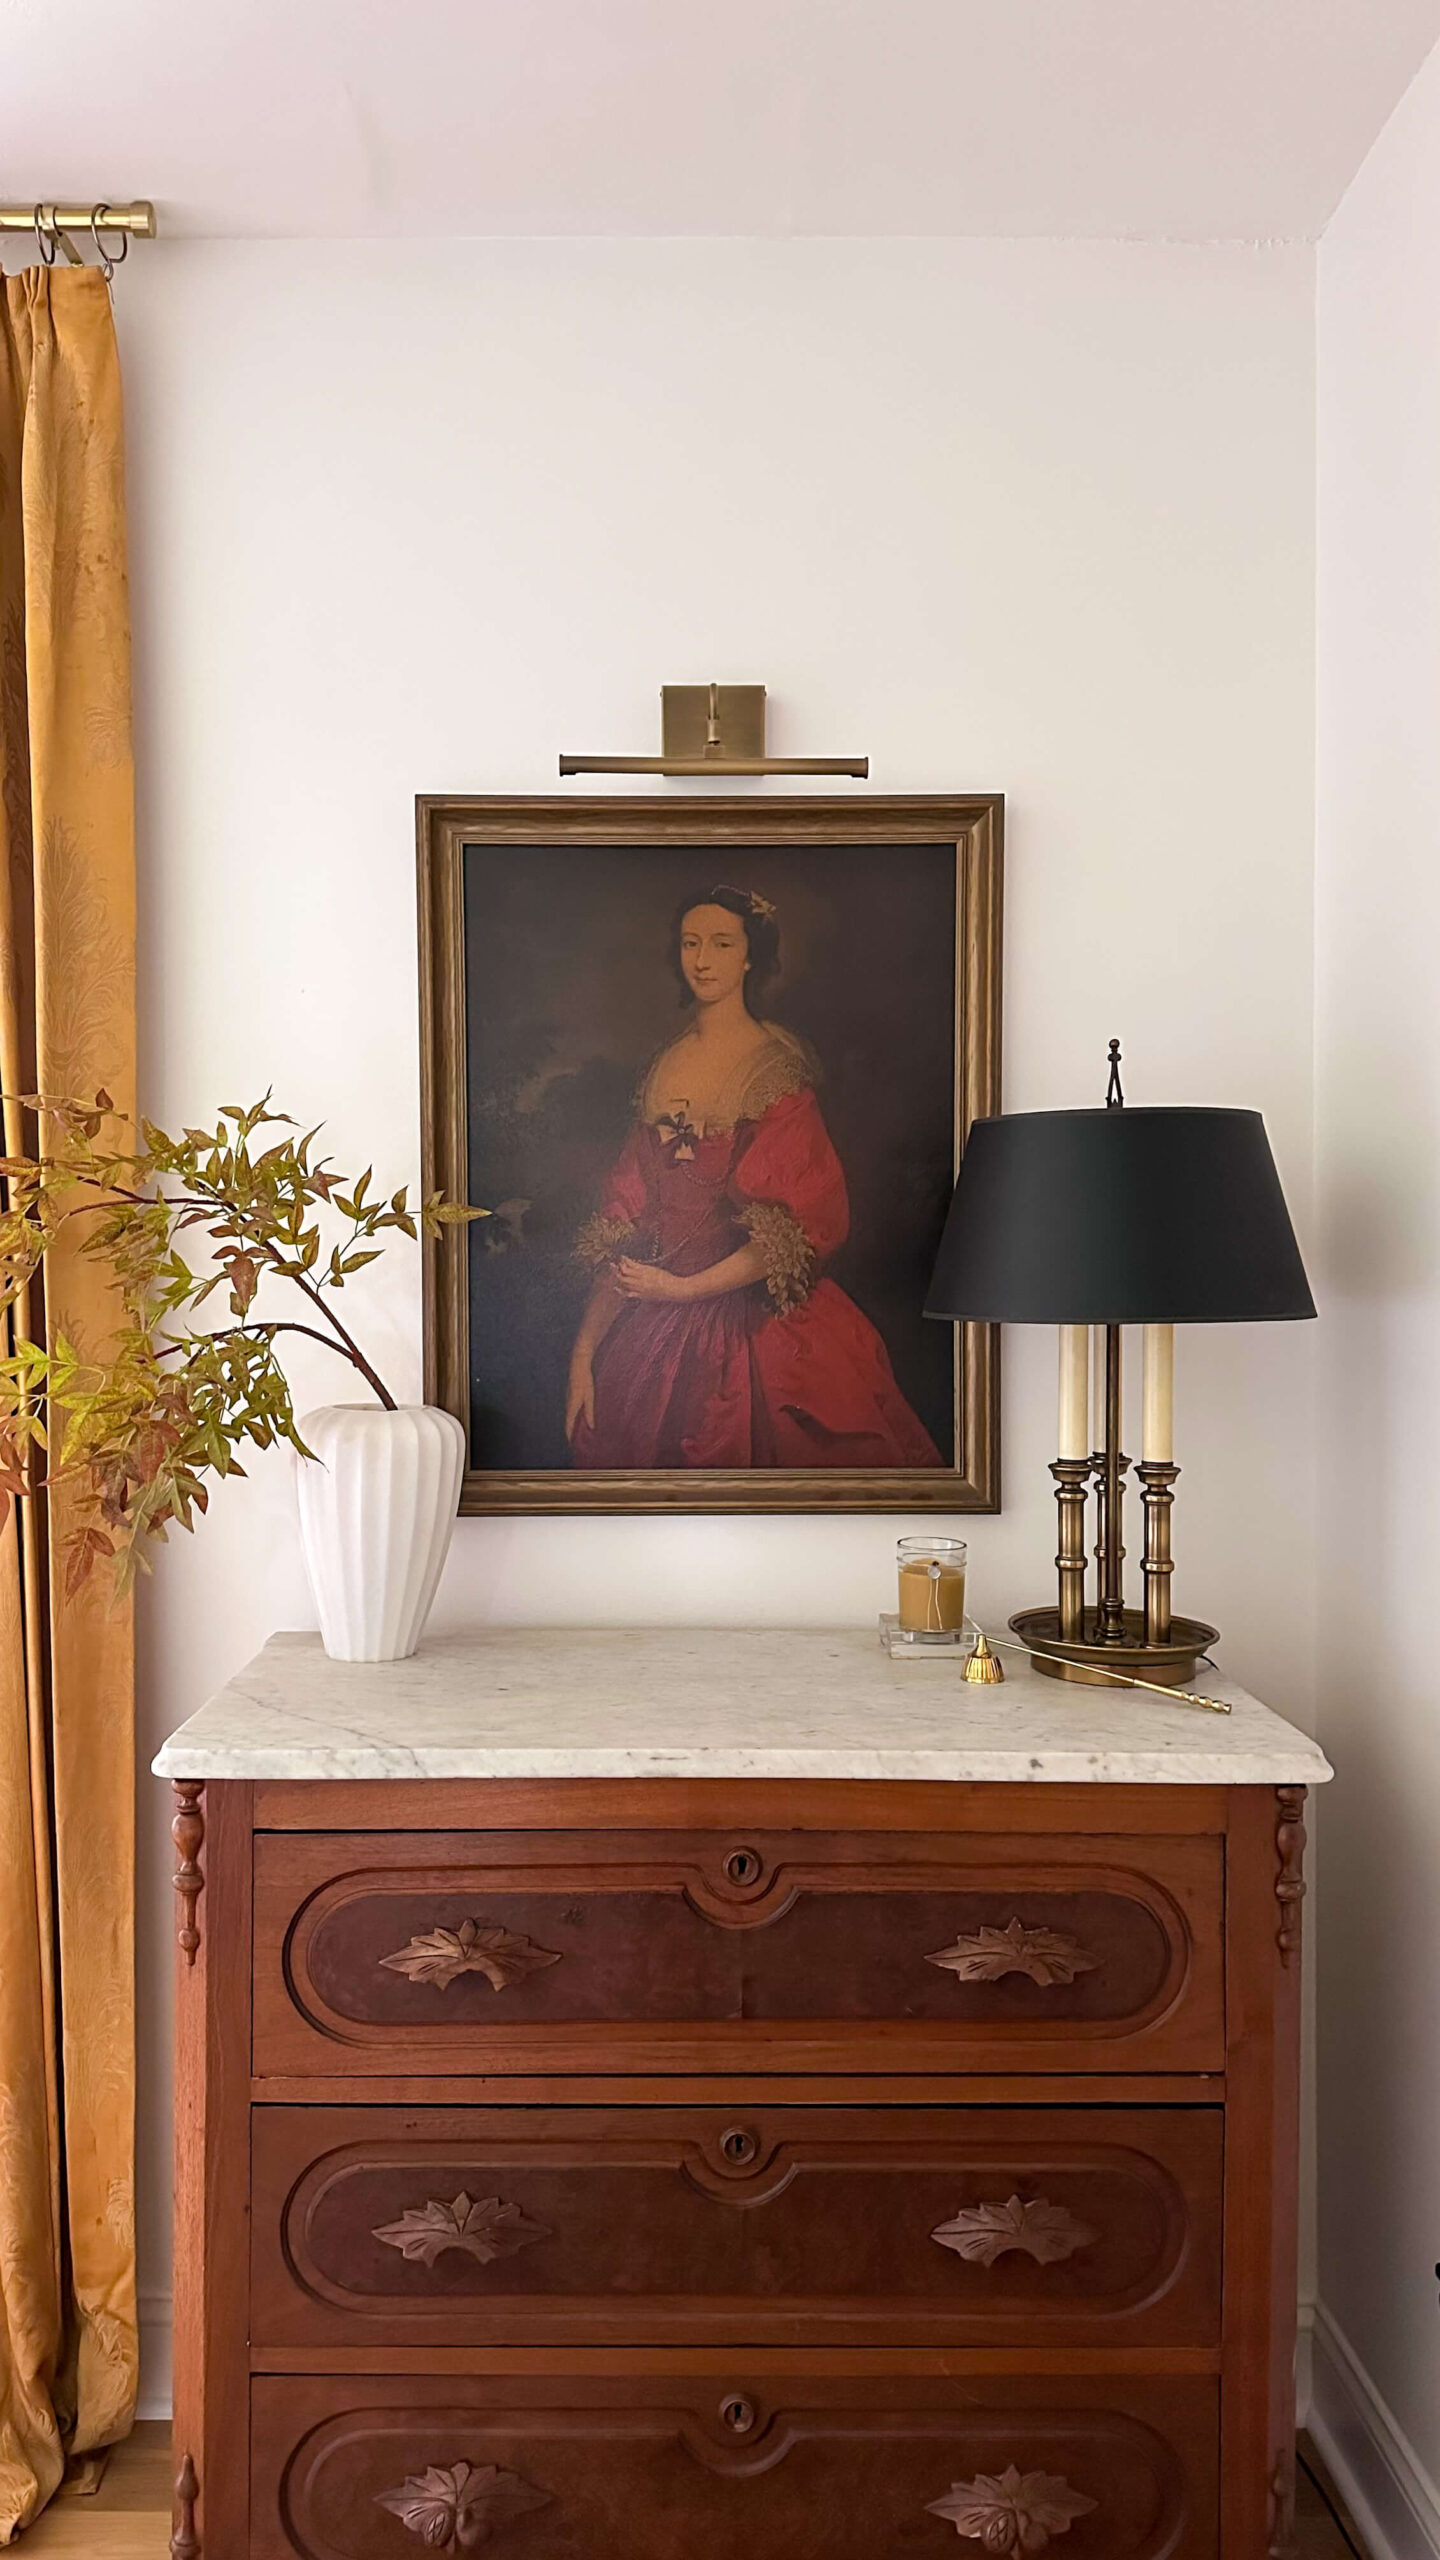
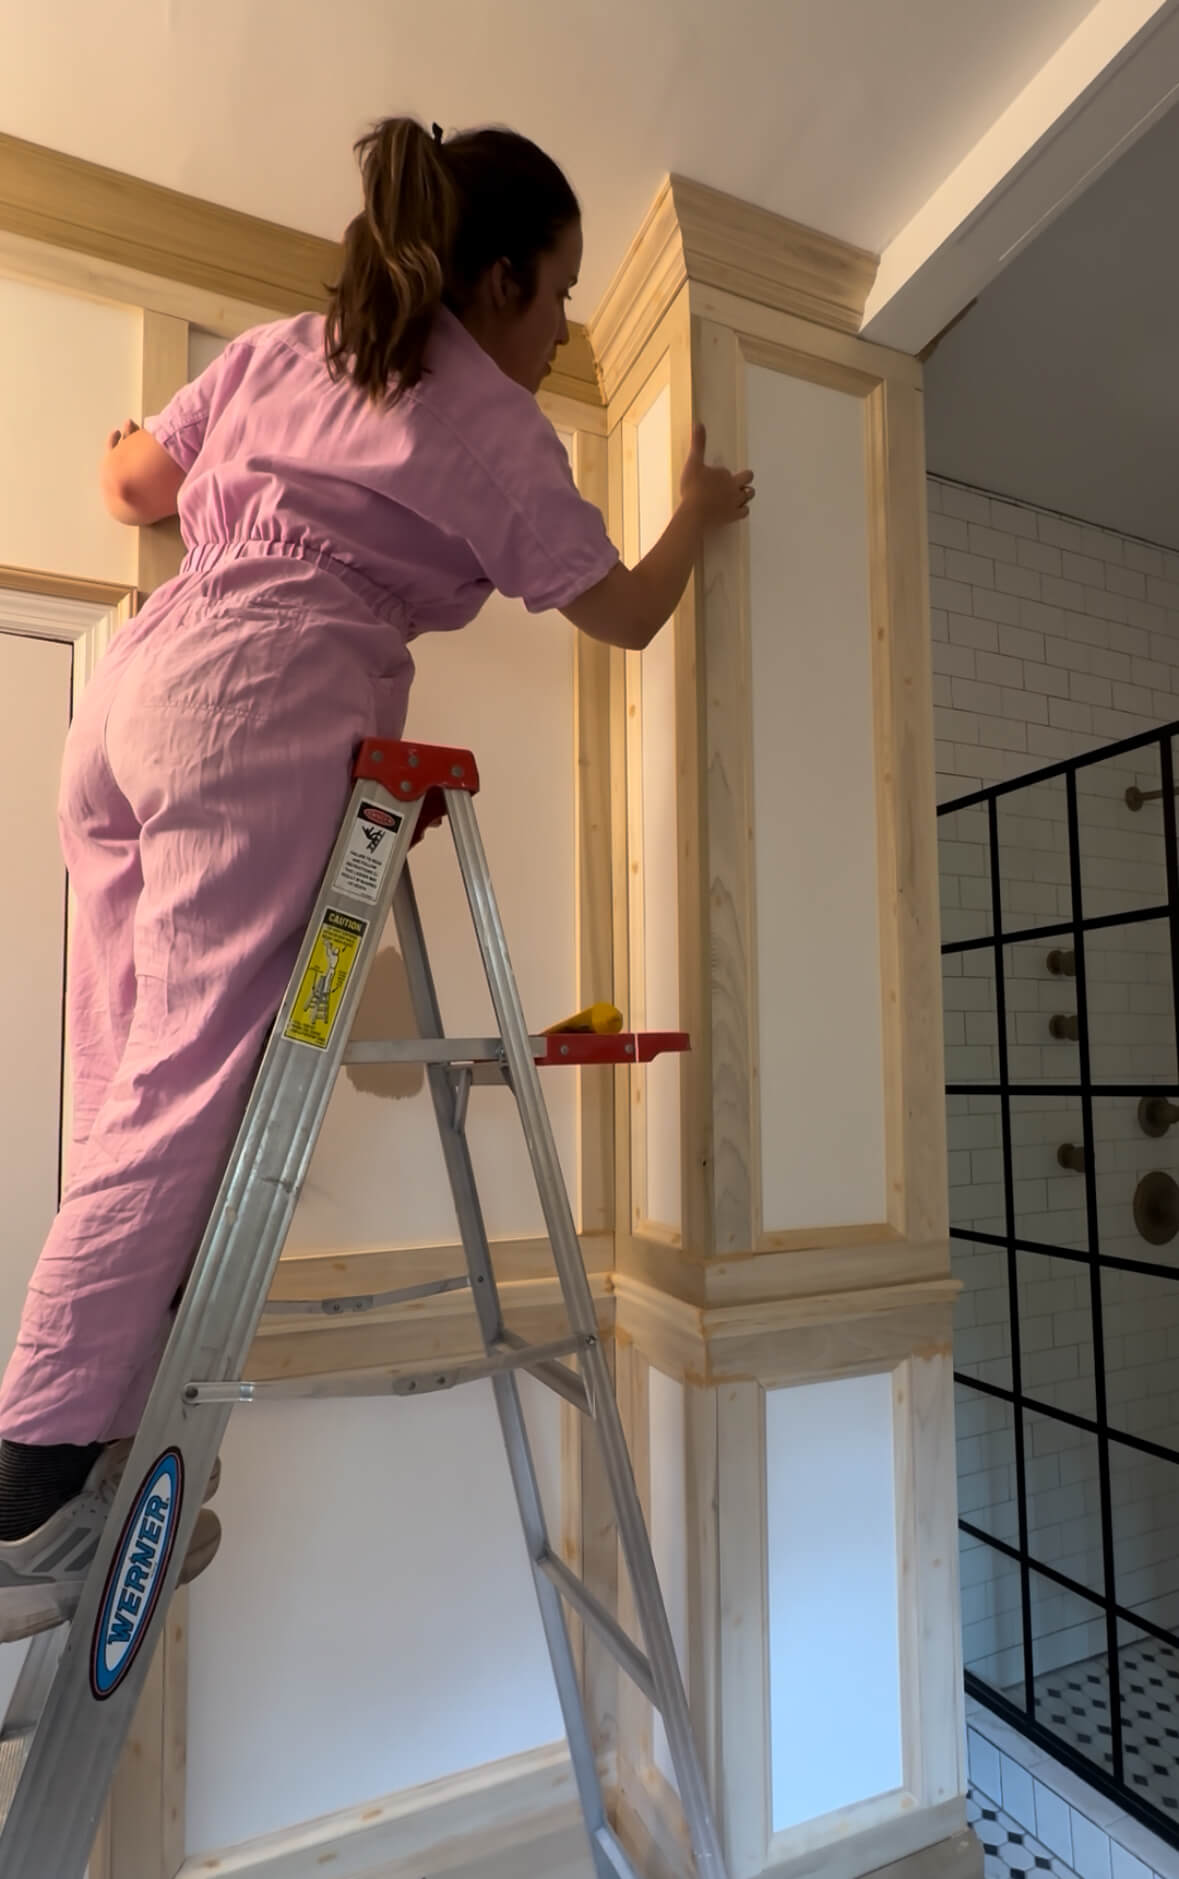
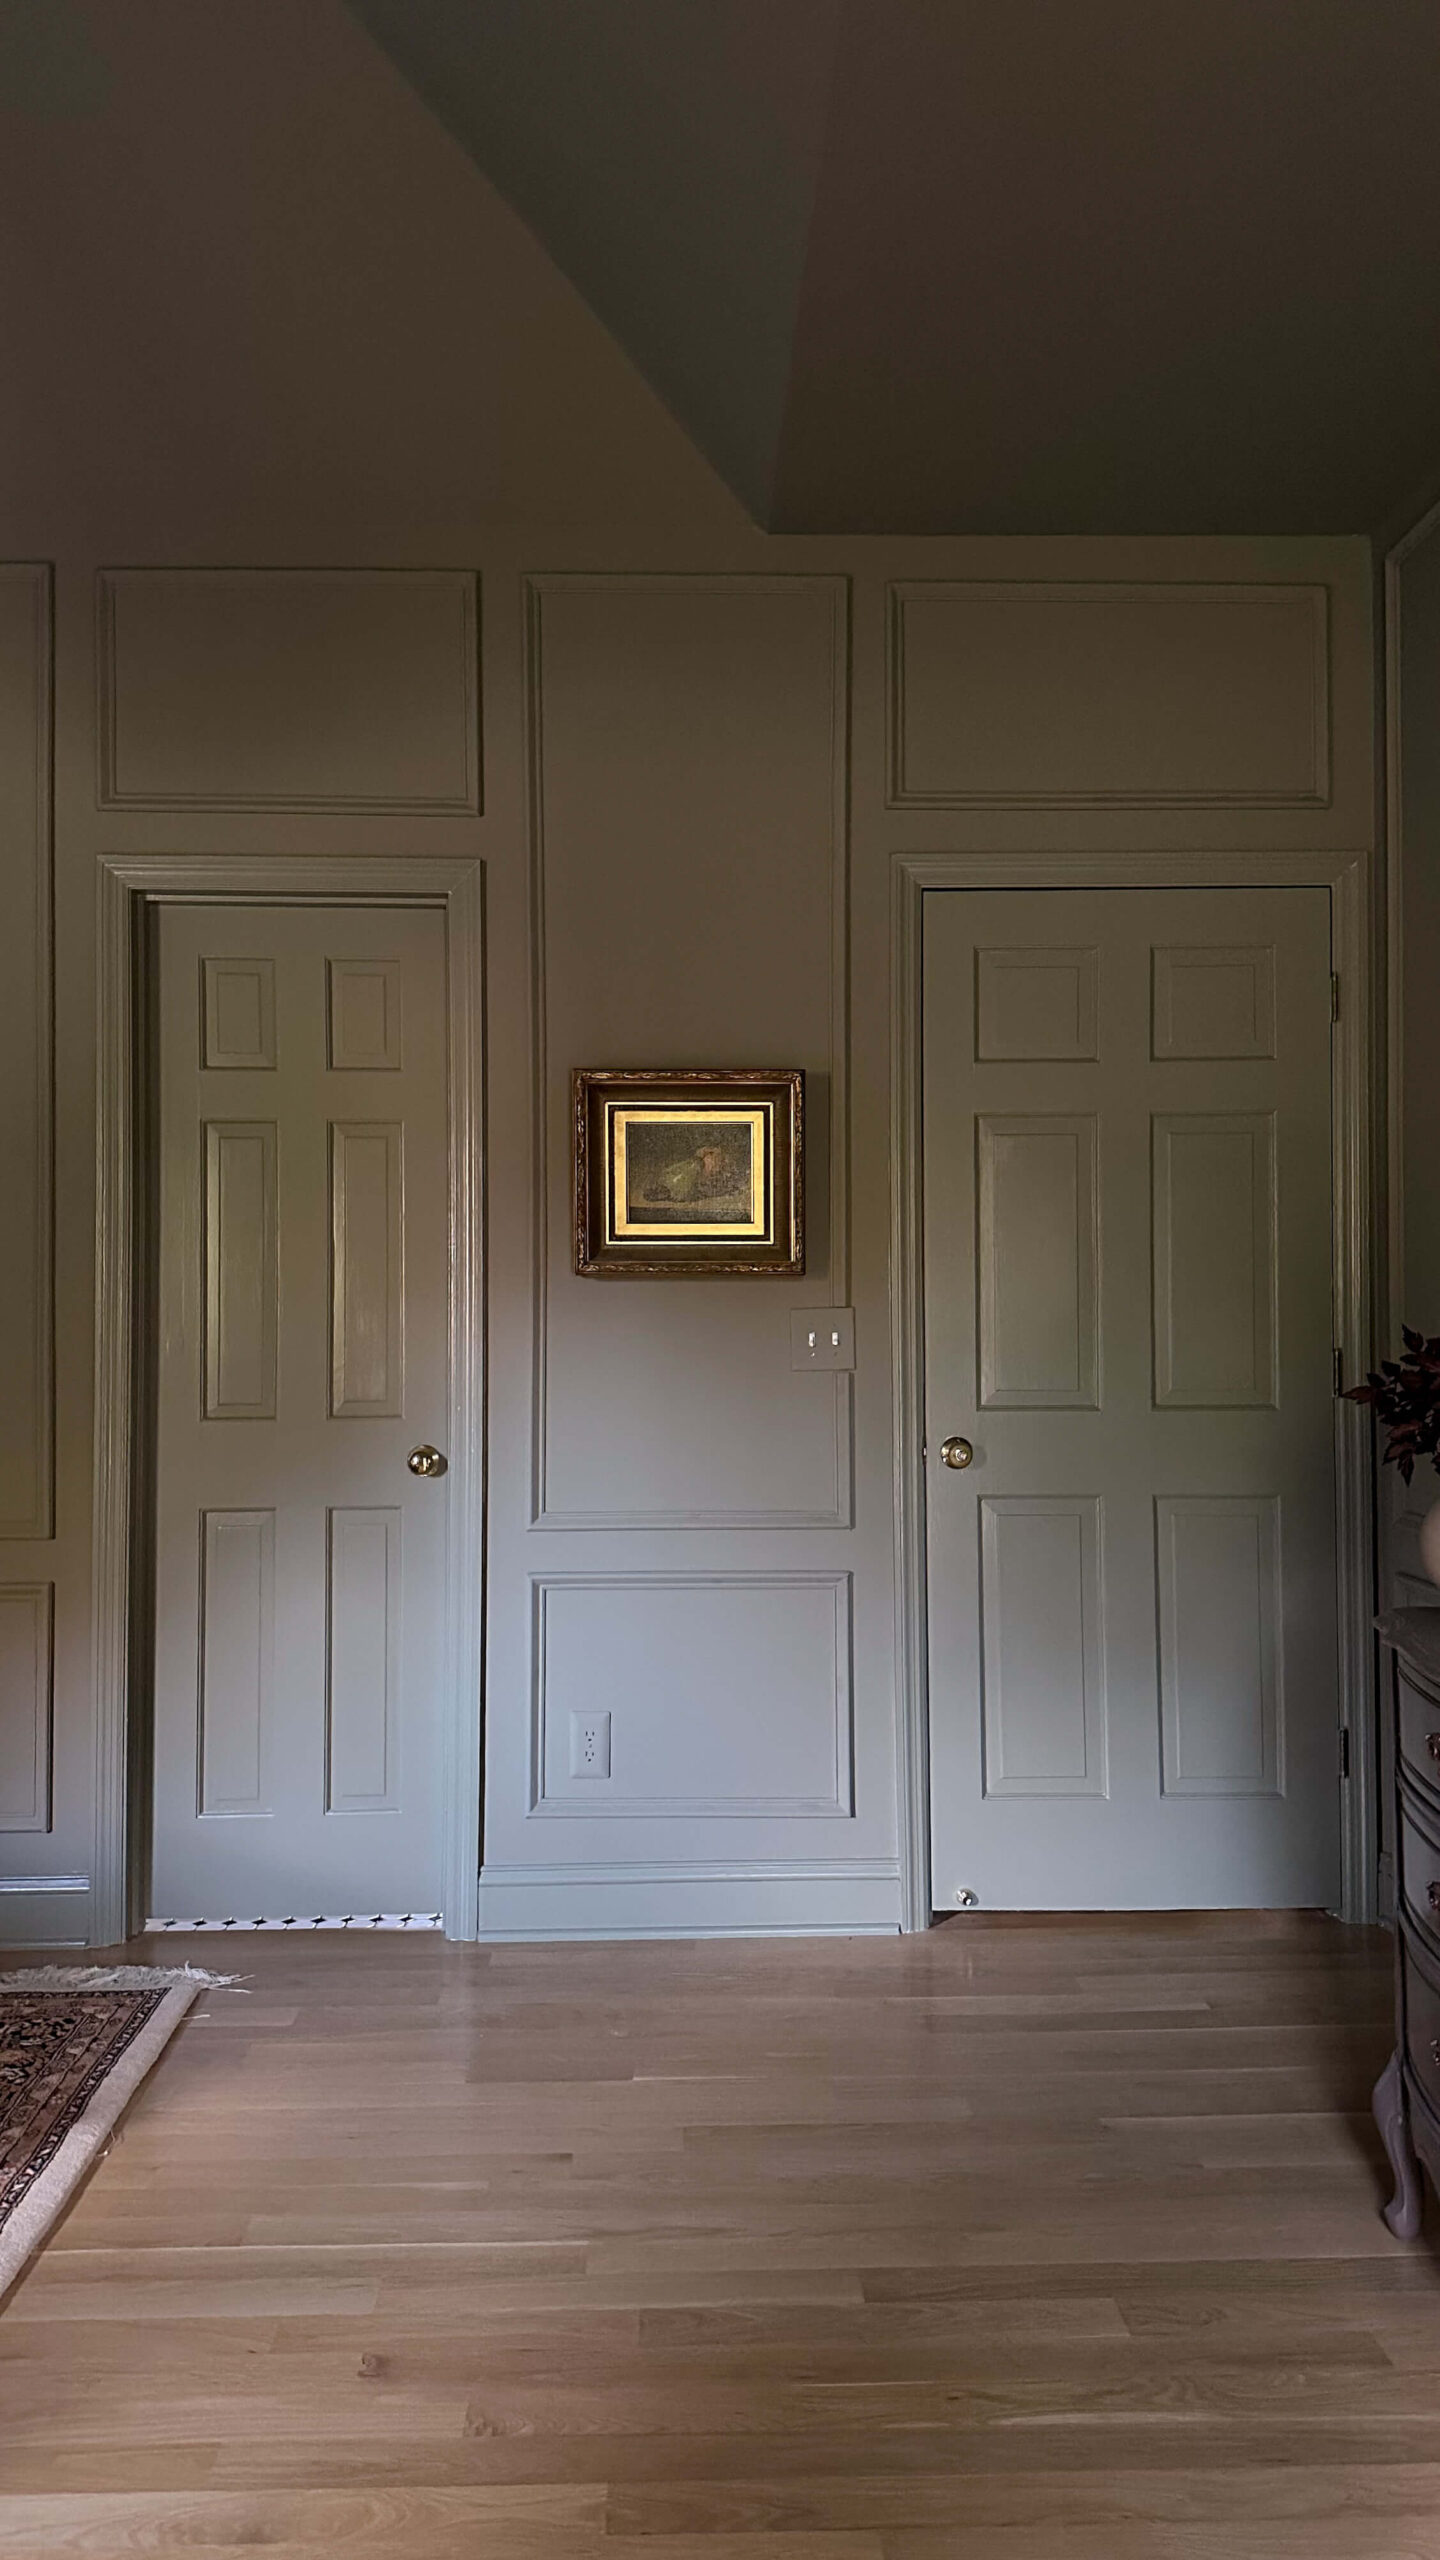
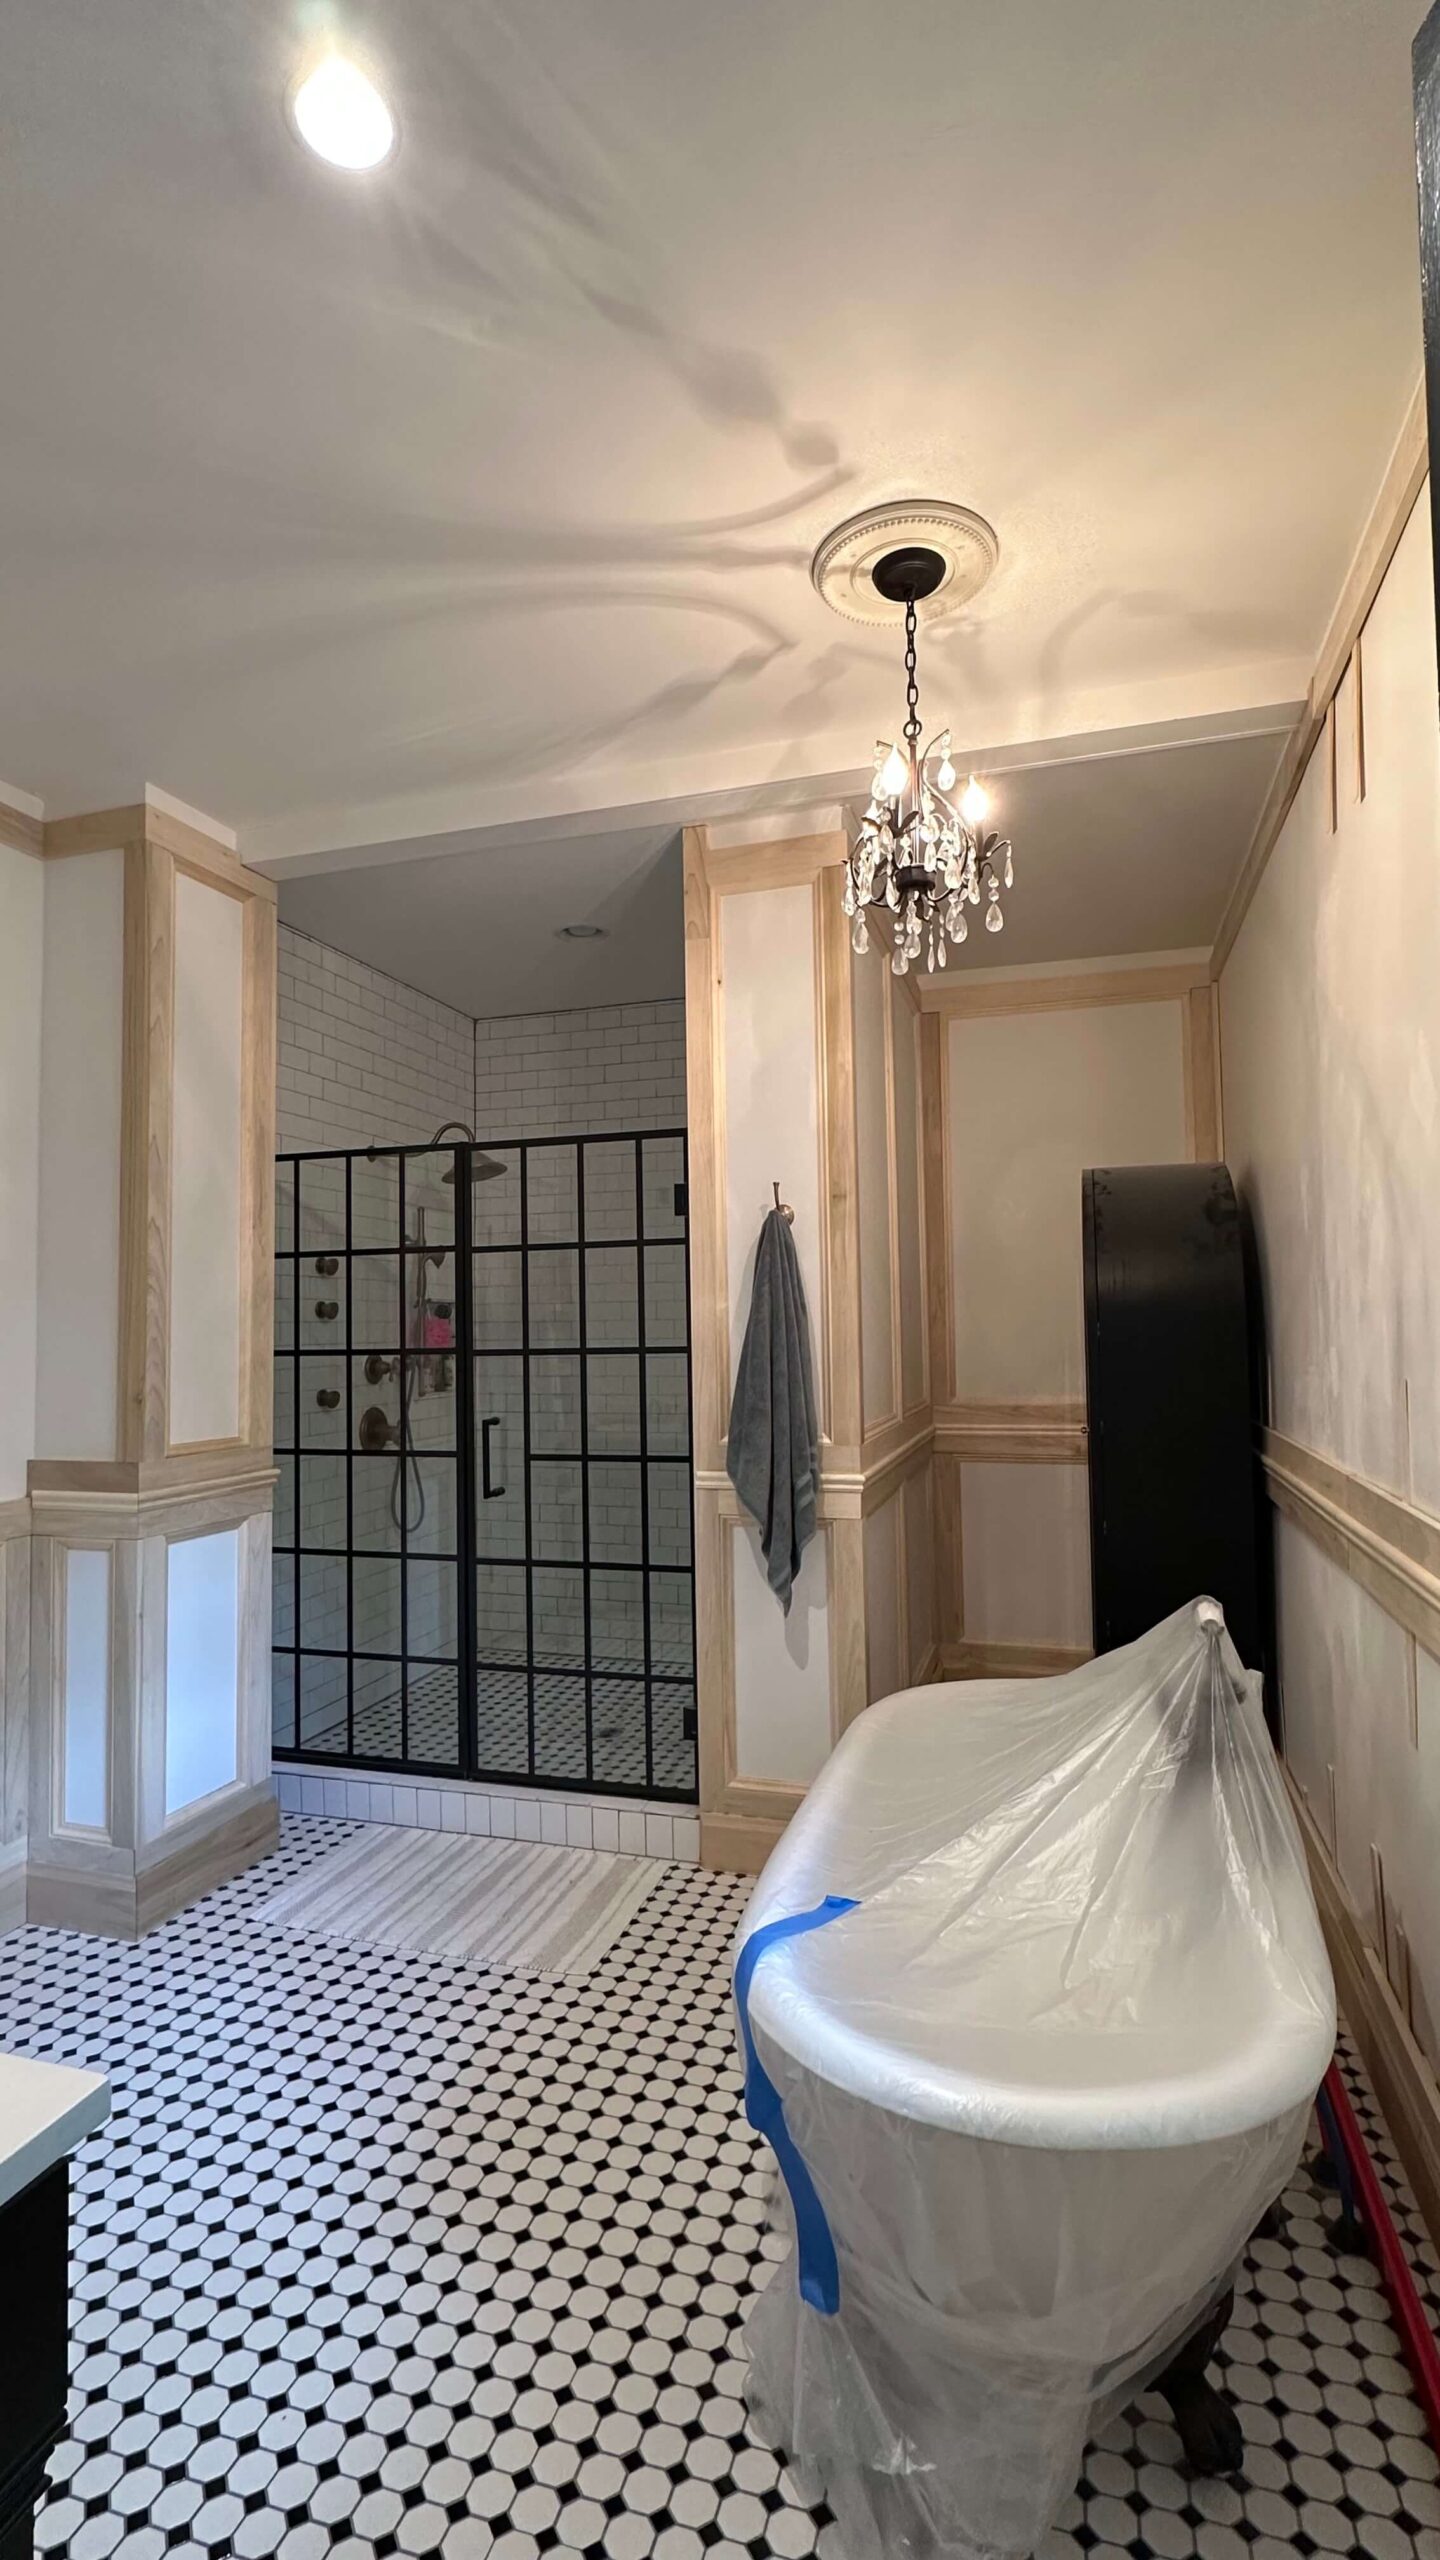
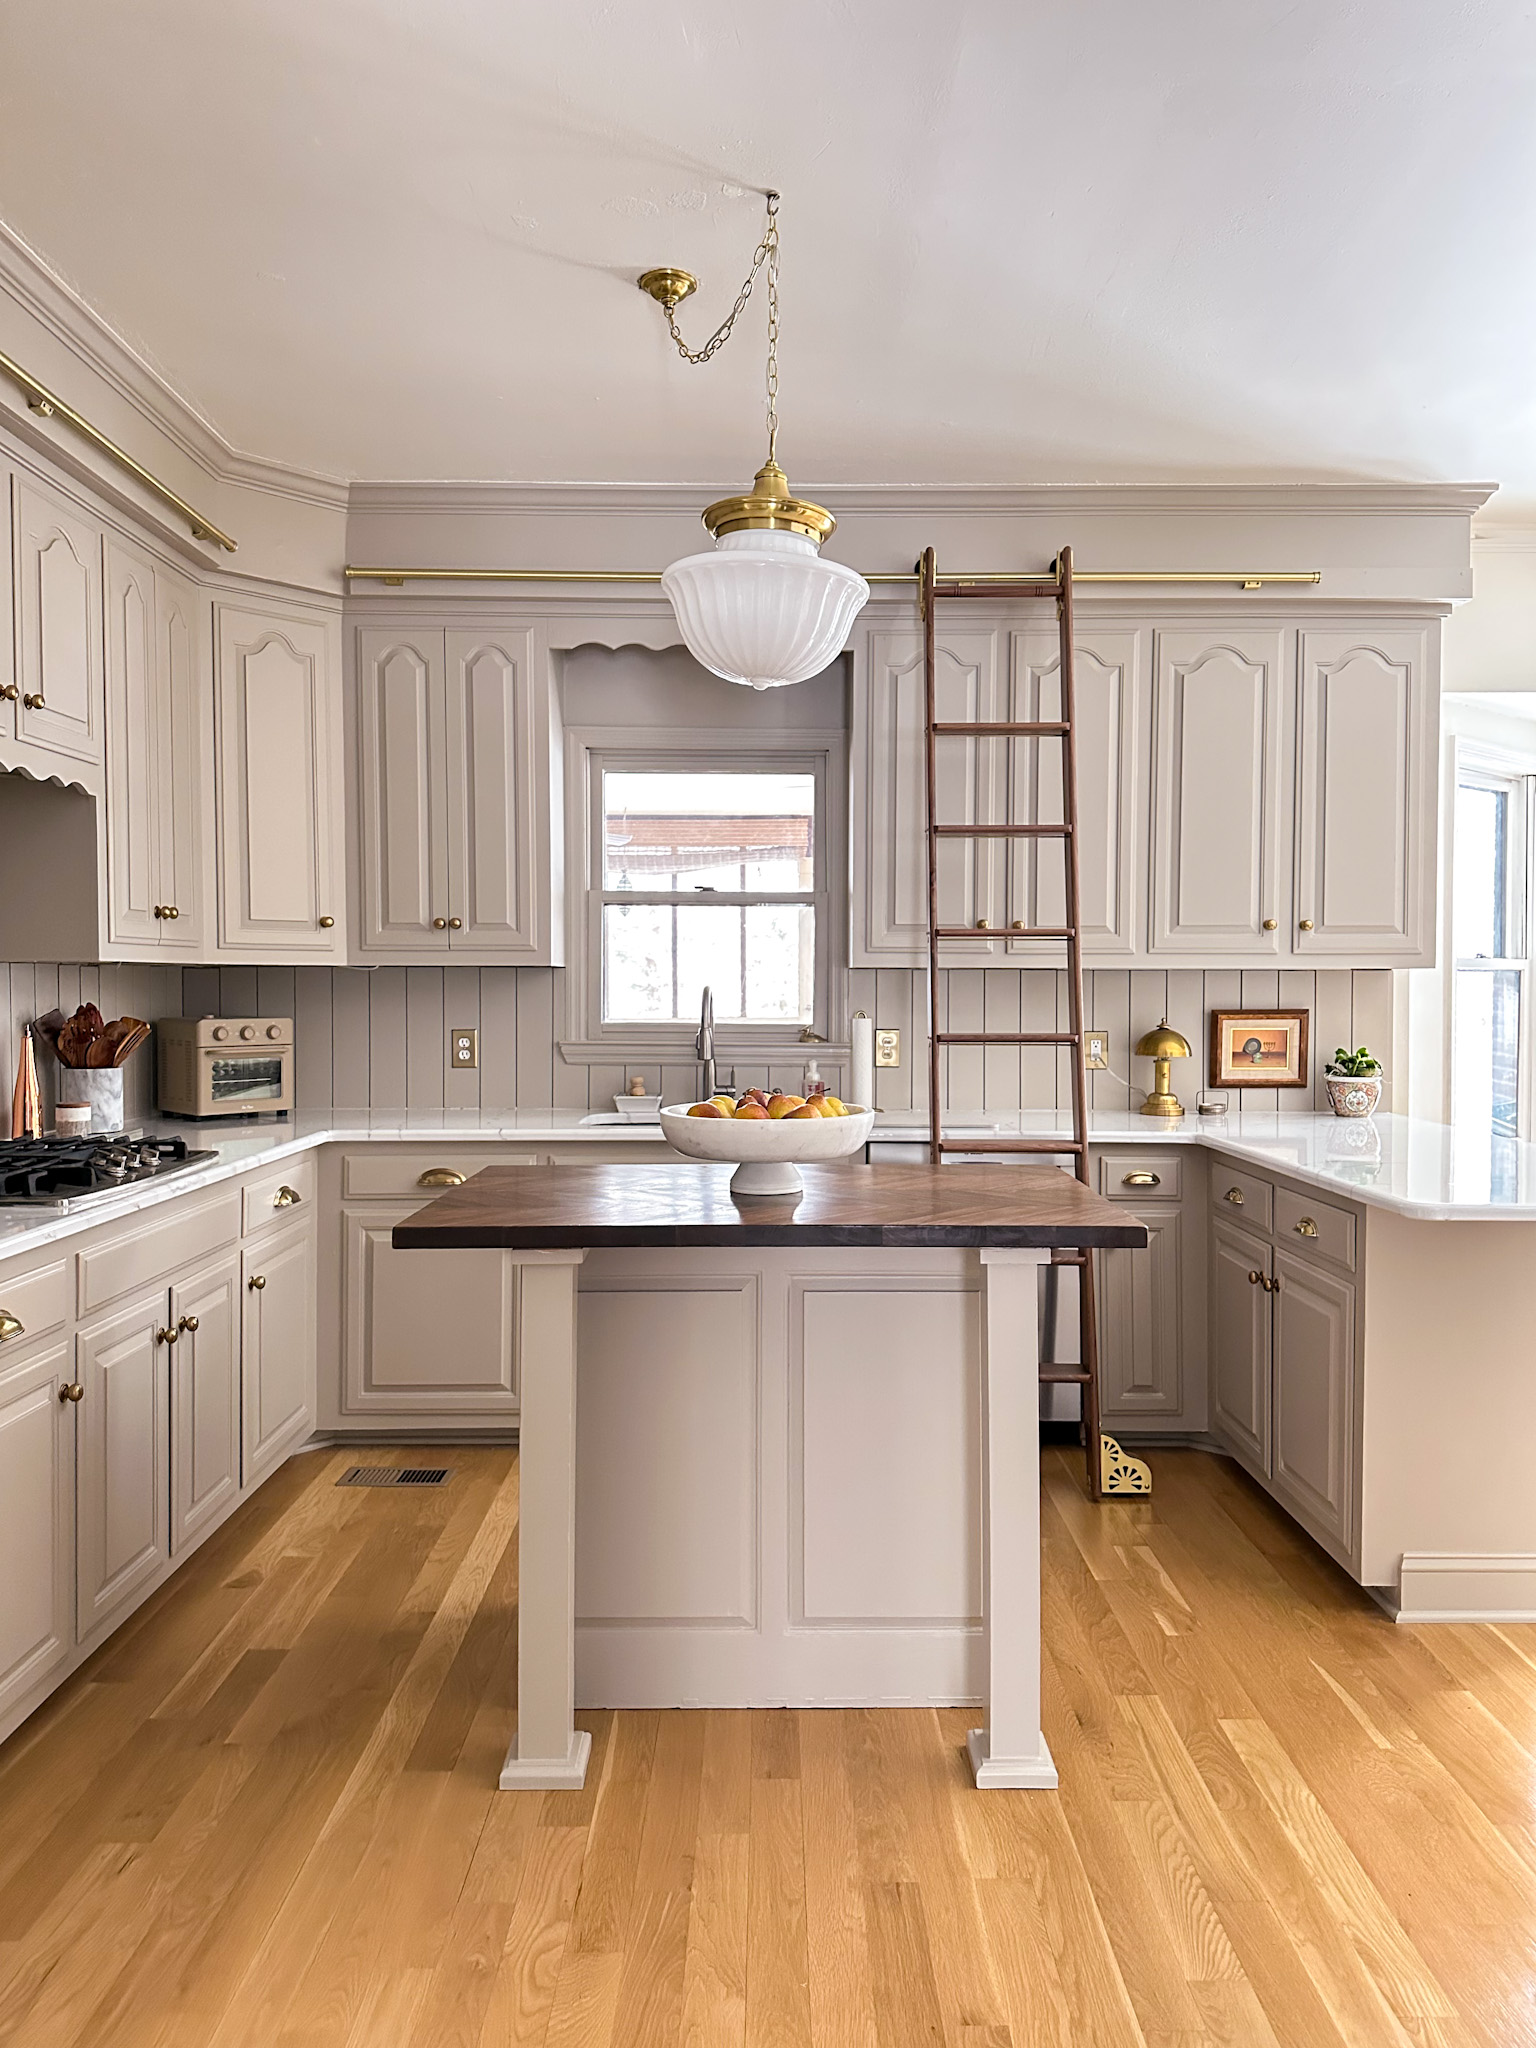
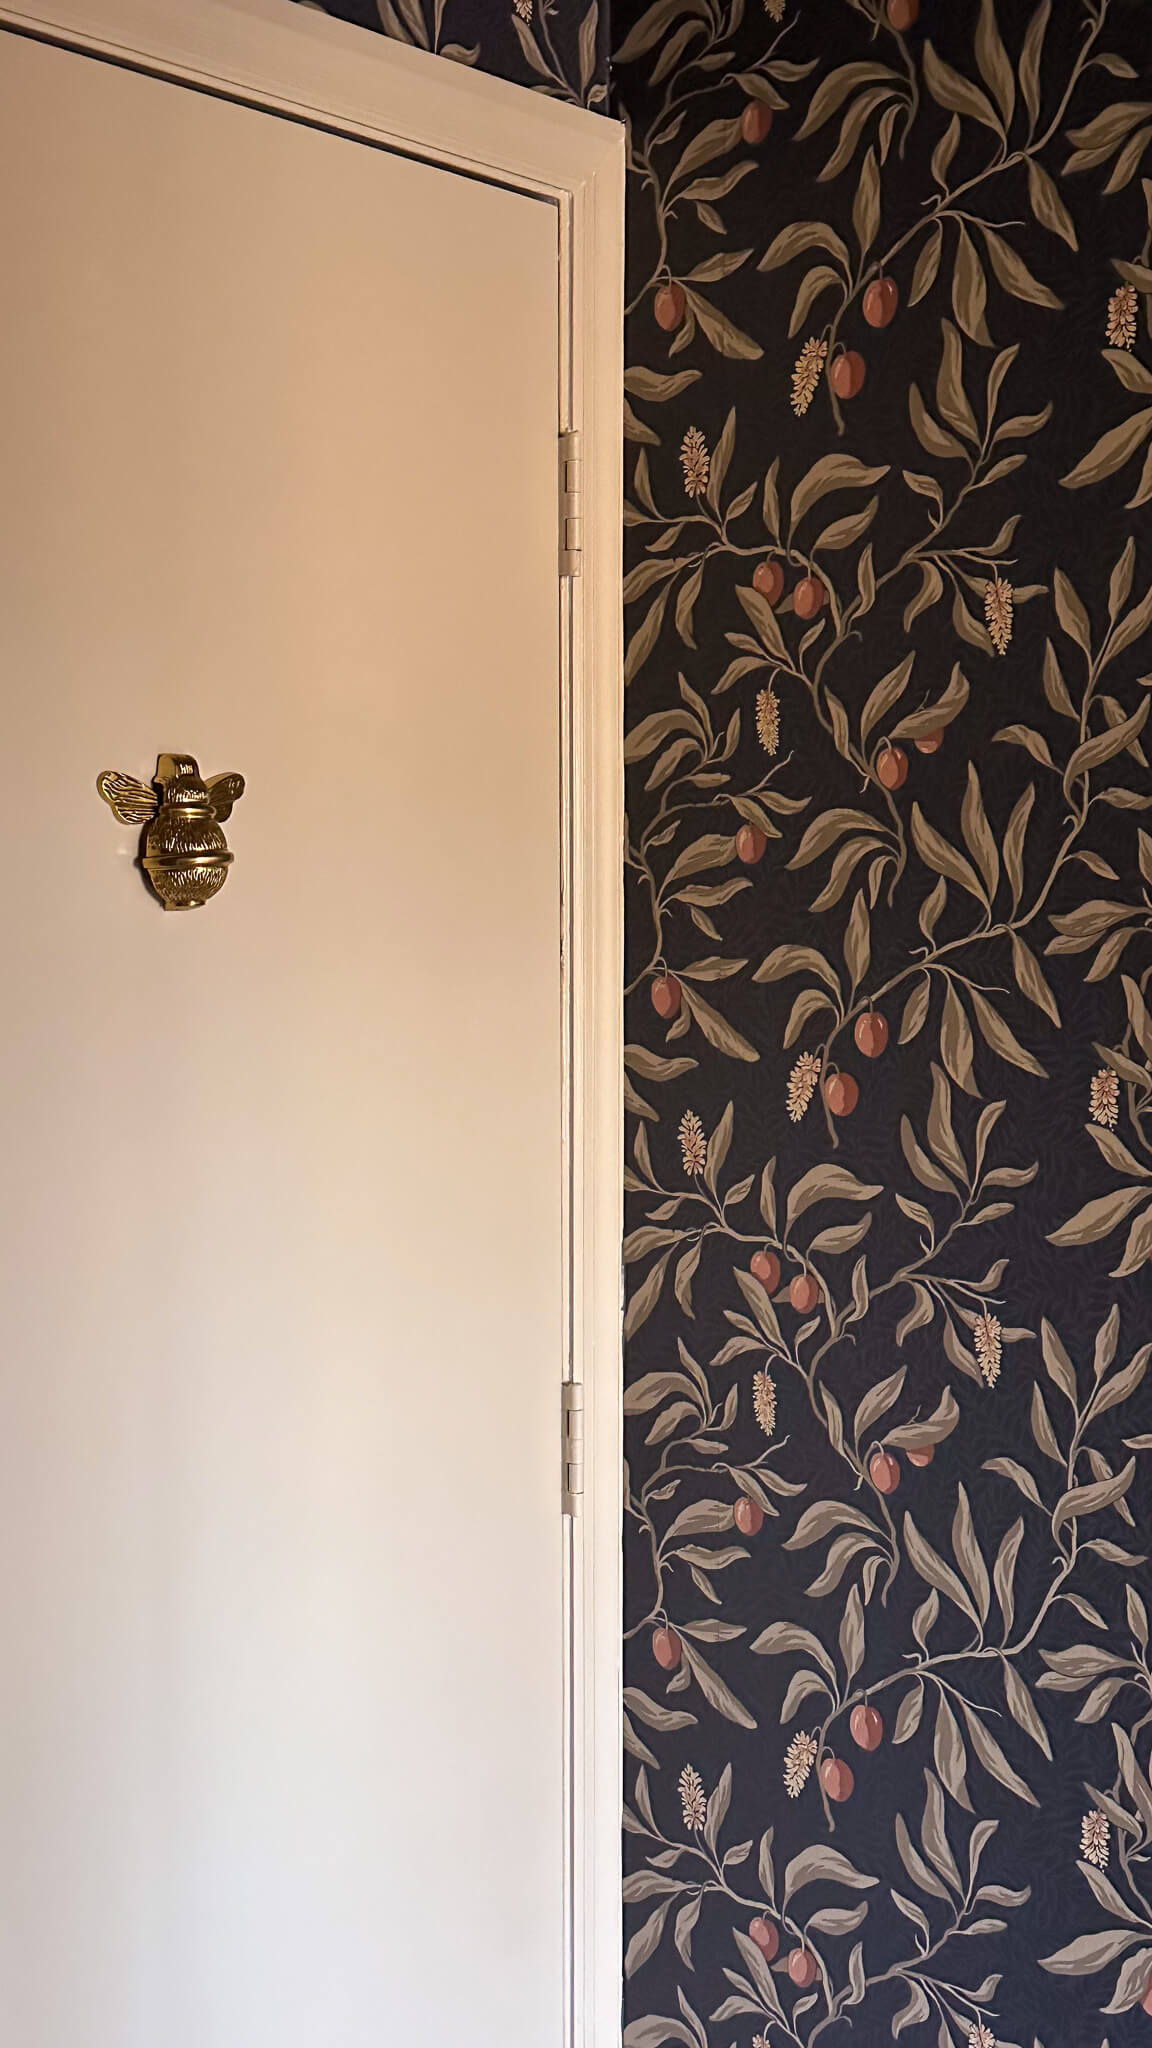
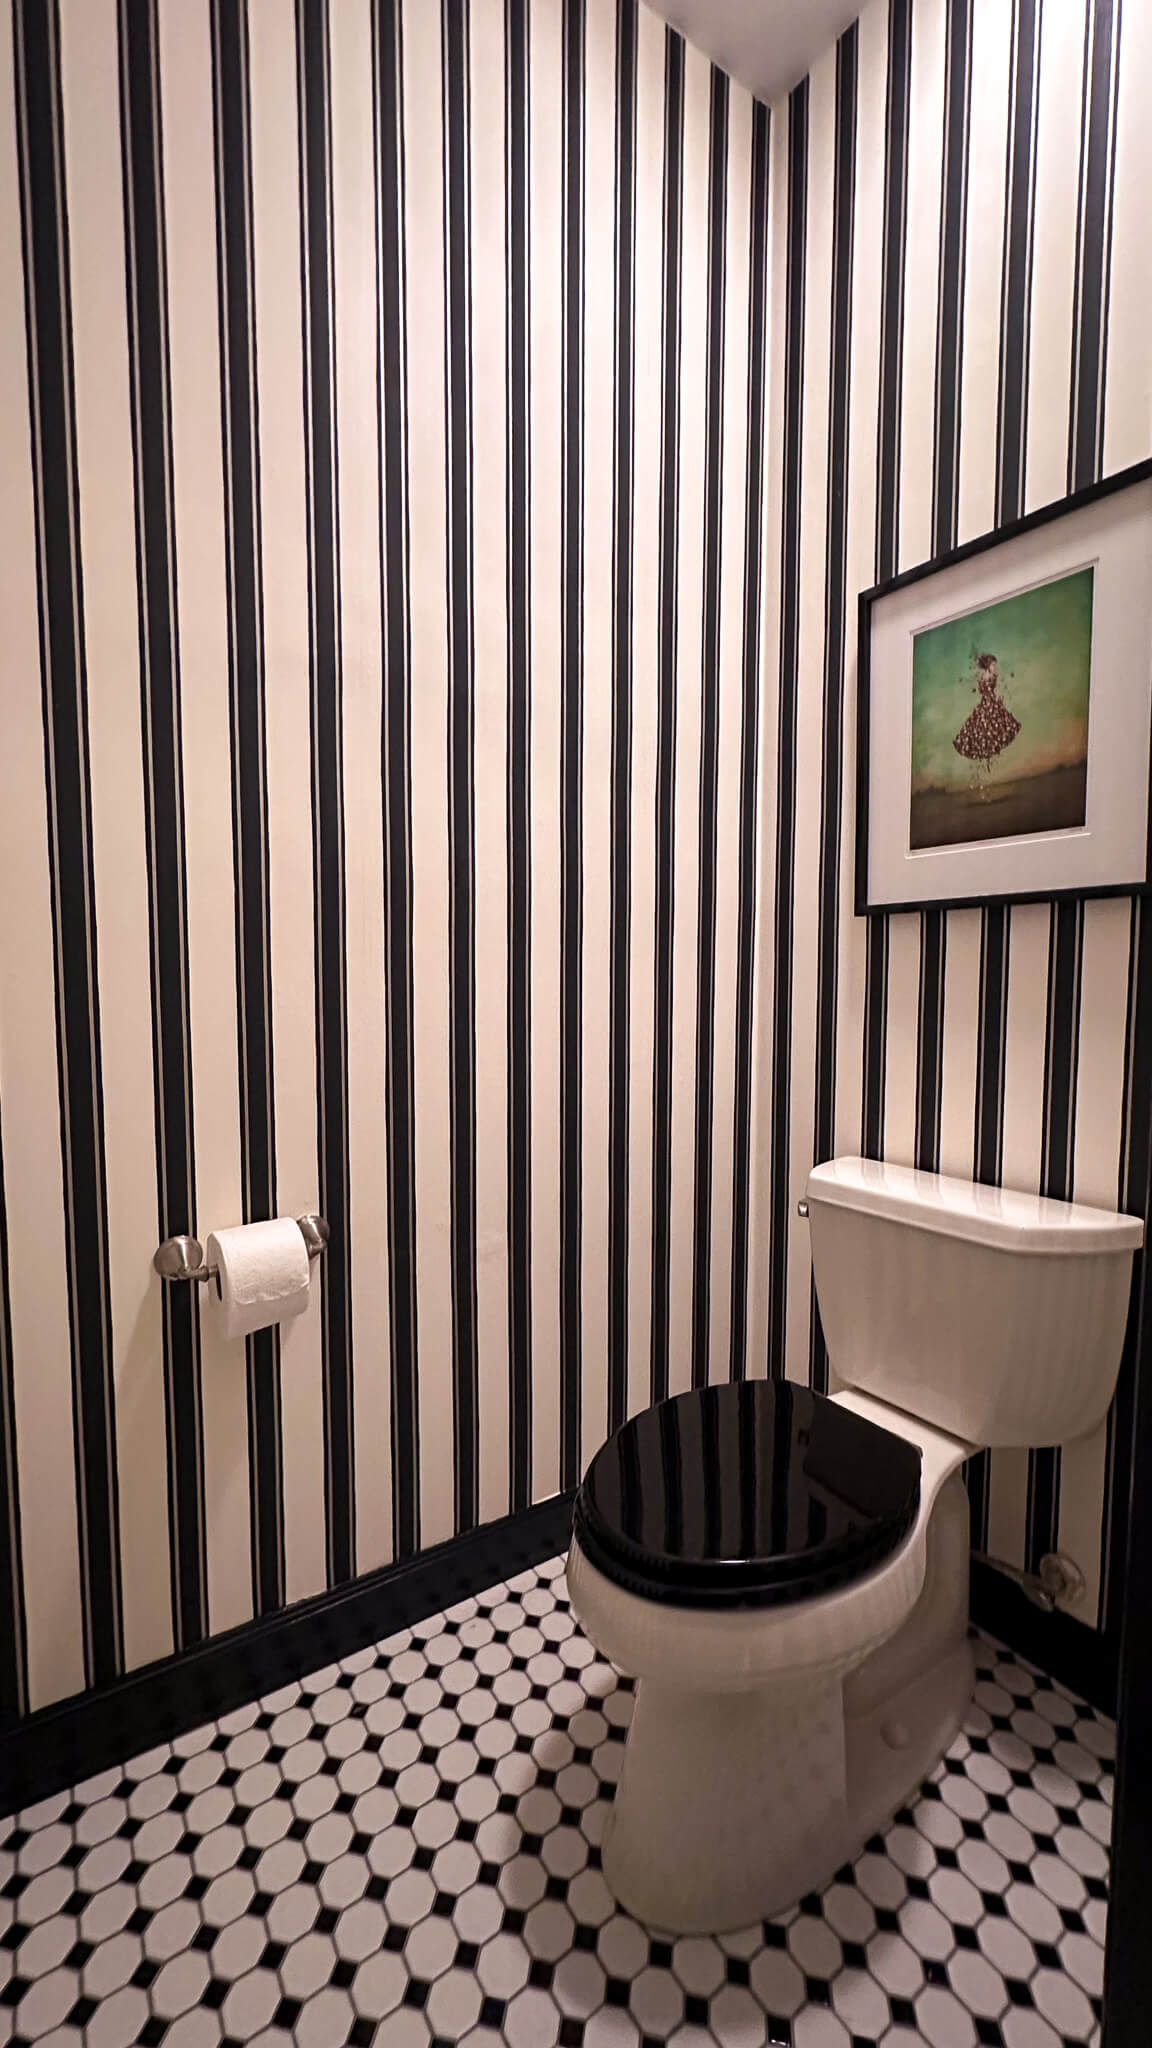
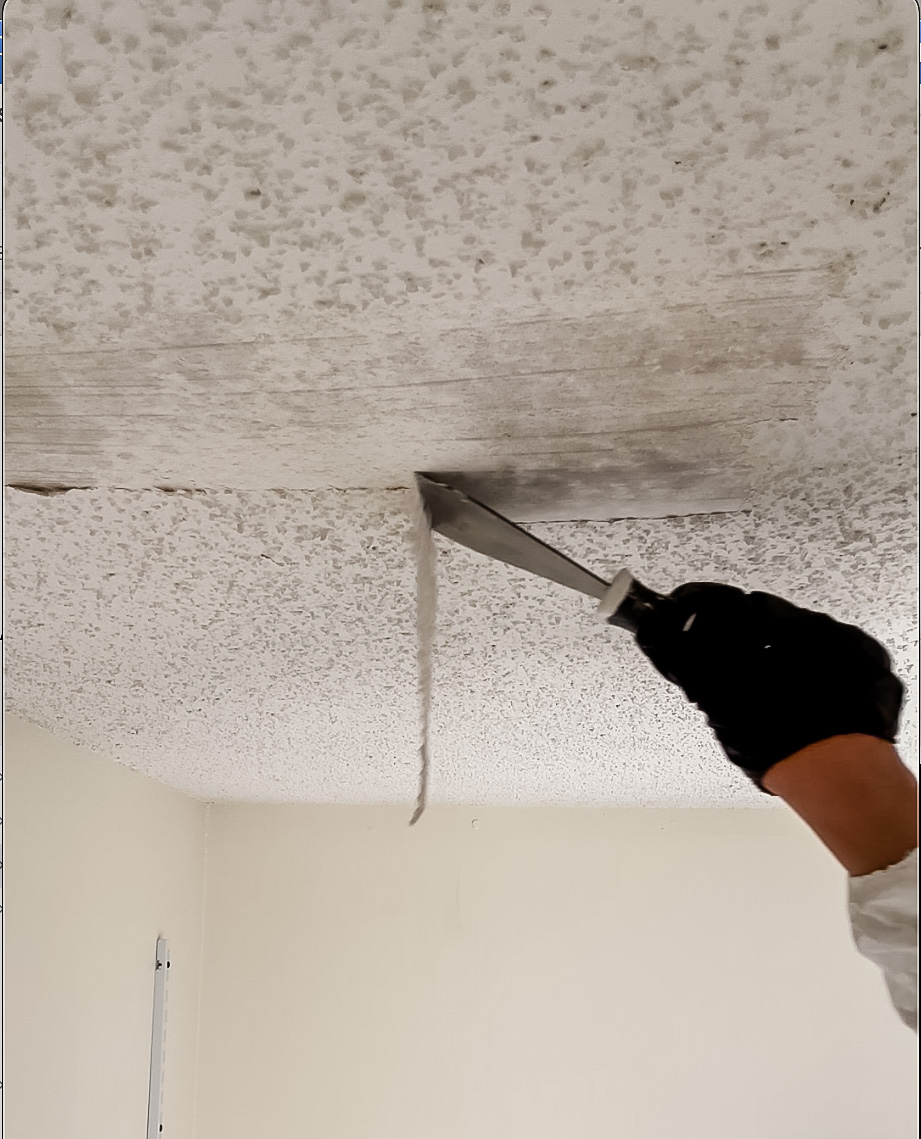
This one’s for my DIY enthusiasts! Today, we’re diving into a topic that often gets overlooked in the world of home renovation and design: ceiling painting. Sure, we all love a beautifully painted wall, but what about the fifth wall—the ceiling? Trust me, it’s a game-changer when done right. So, grab your paintbrushes and let’s turn that overlooked surface into a canvas of possibilities!
Step 1: Gather Your Supplies
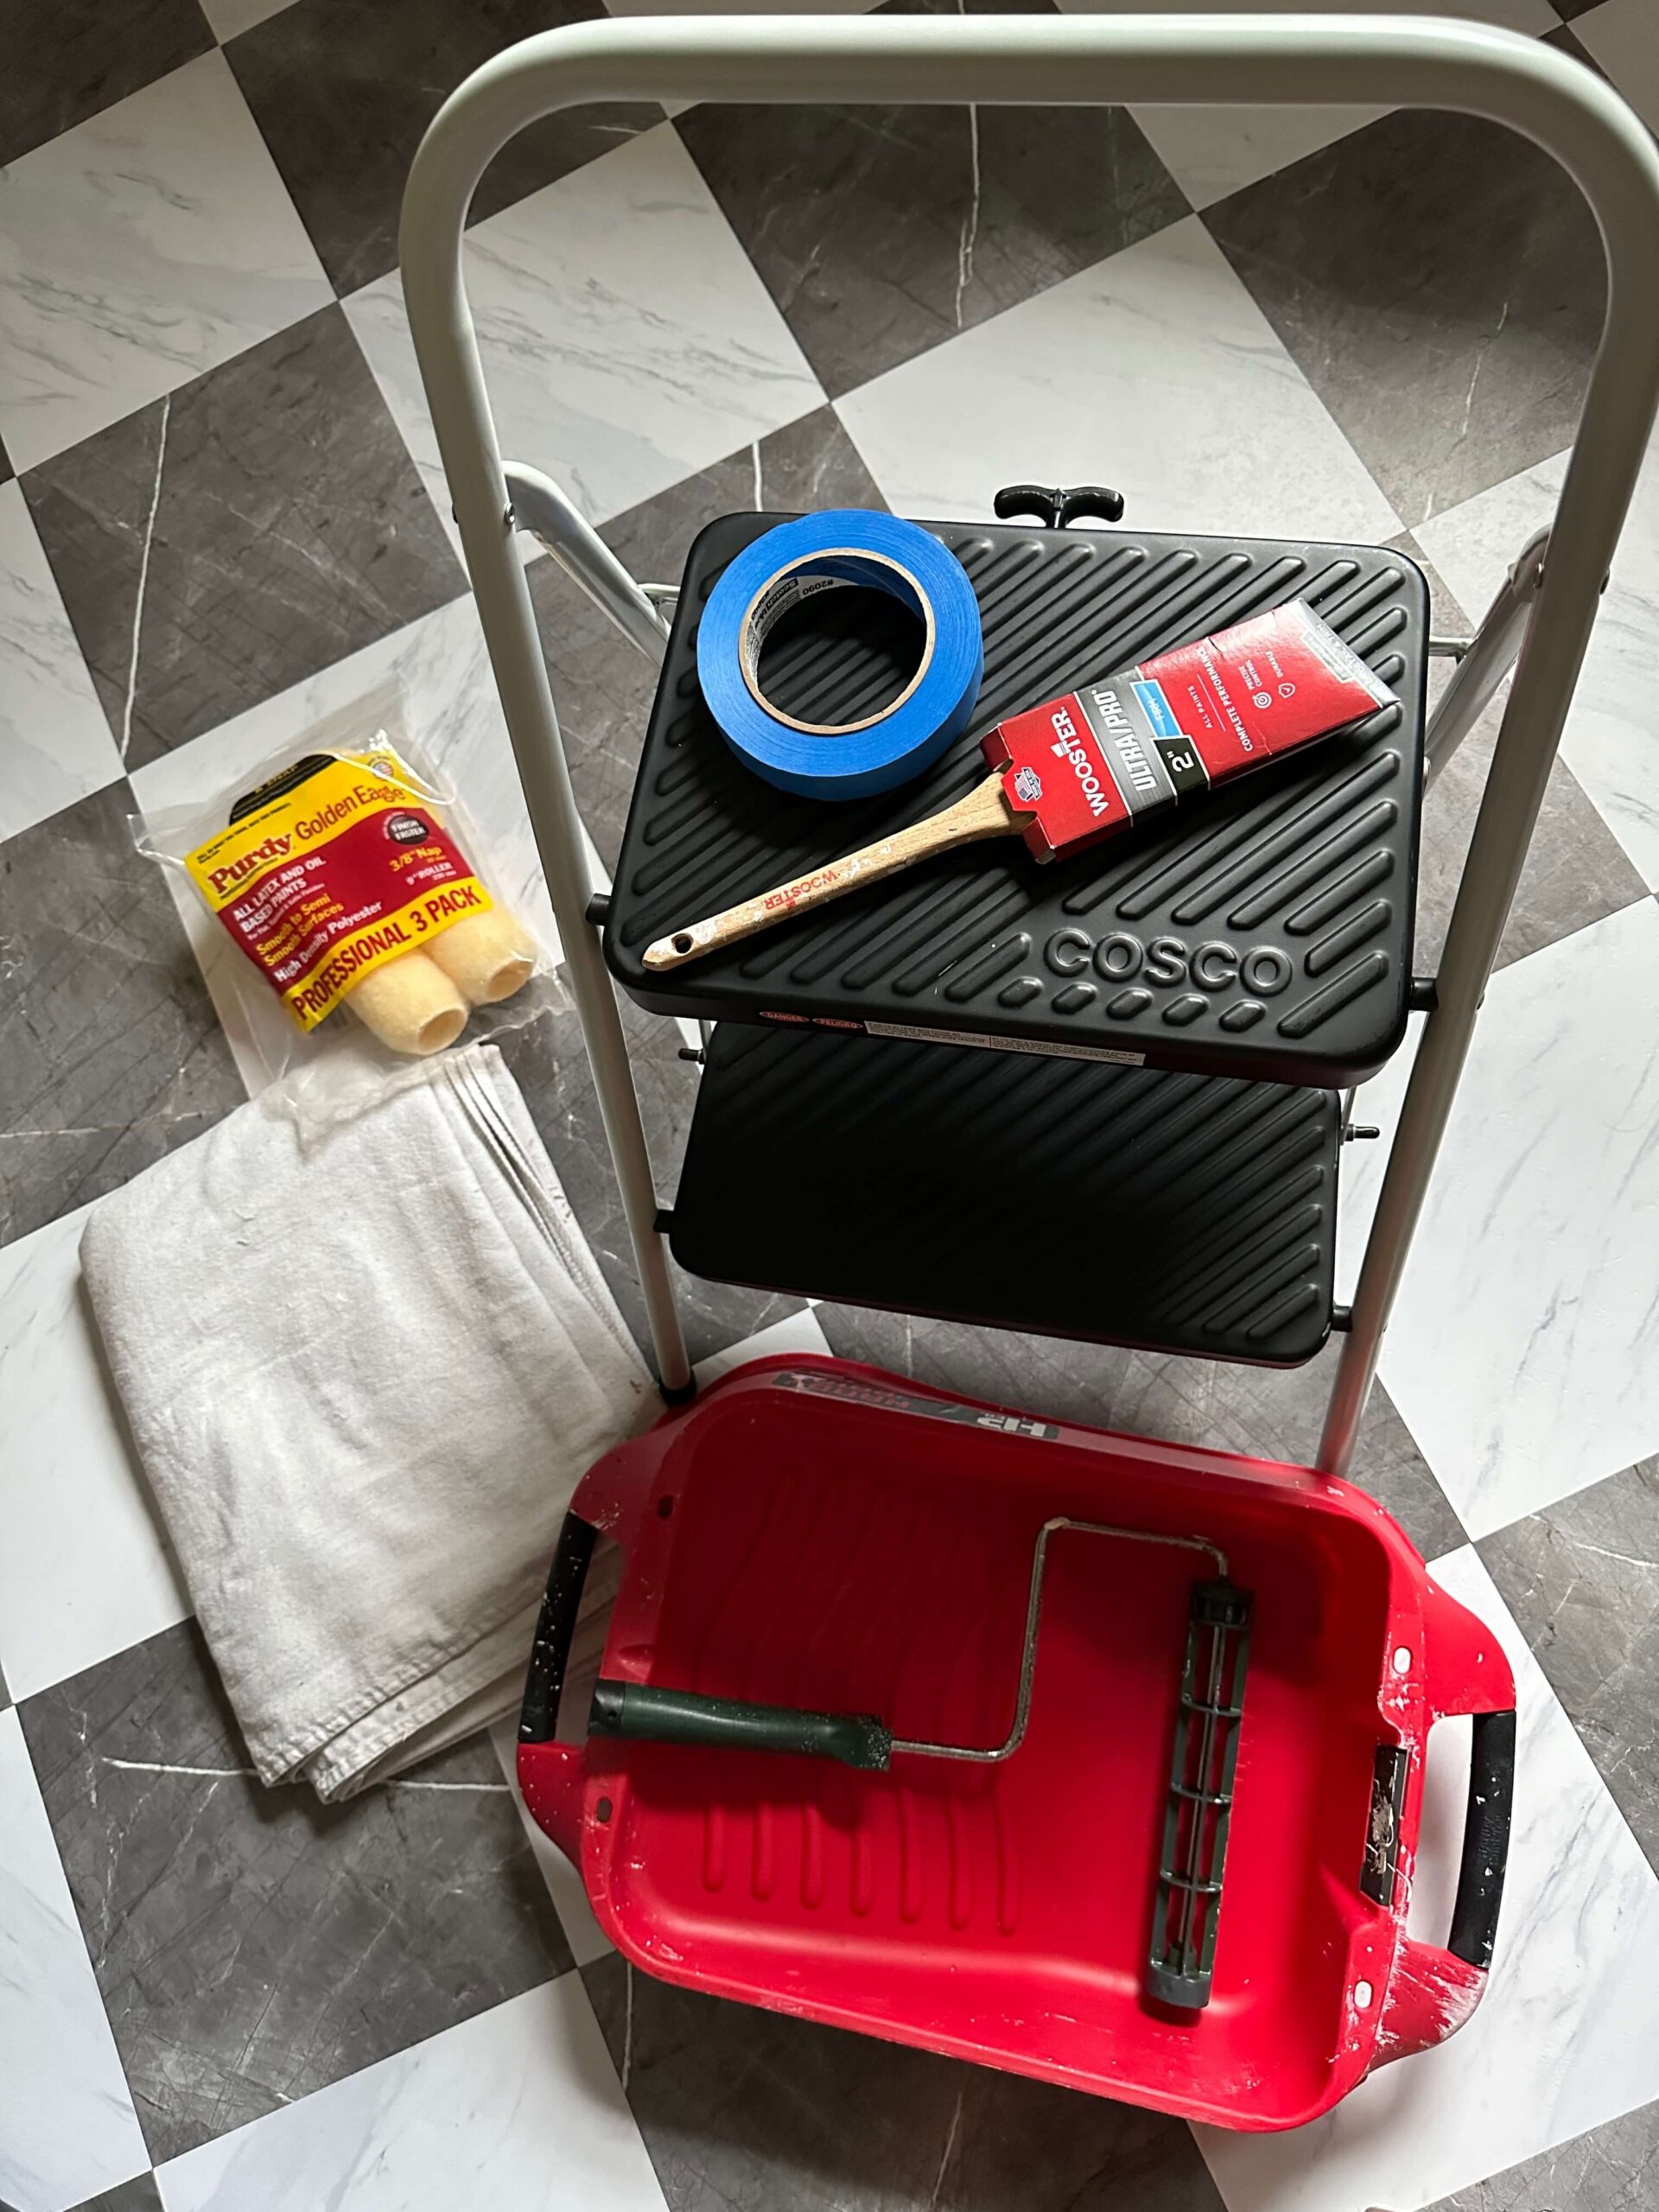
Before we begin, let’s make sure you have all the essentials in your DIY arsenal:
- Paint: Choose a high-quality paint that suits your space and style. Ceiling paint is typically flat or matte, but you can use other finishes for a unique look. Check out my tutorial on paint sheens if you want to explore other options, and the pro’s and con’s of each.
- Paint Roller: Opt for a roller with an extension pole to save your arms from fatigue. A skin with a 3/8” nap should be perfect.
- Drop Cloths: Protect your floors and furniture from paint splatters.
- Painter’s Tape: Use this to mask off edges and create clean lines.
- Ladder or Step Stool: Ensure you have safe access to the ceiling.
- Paint Tray and Liner: Makes dipping your roller easier.
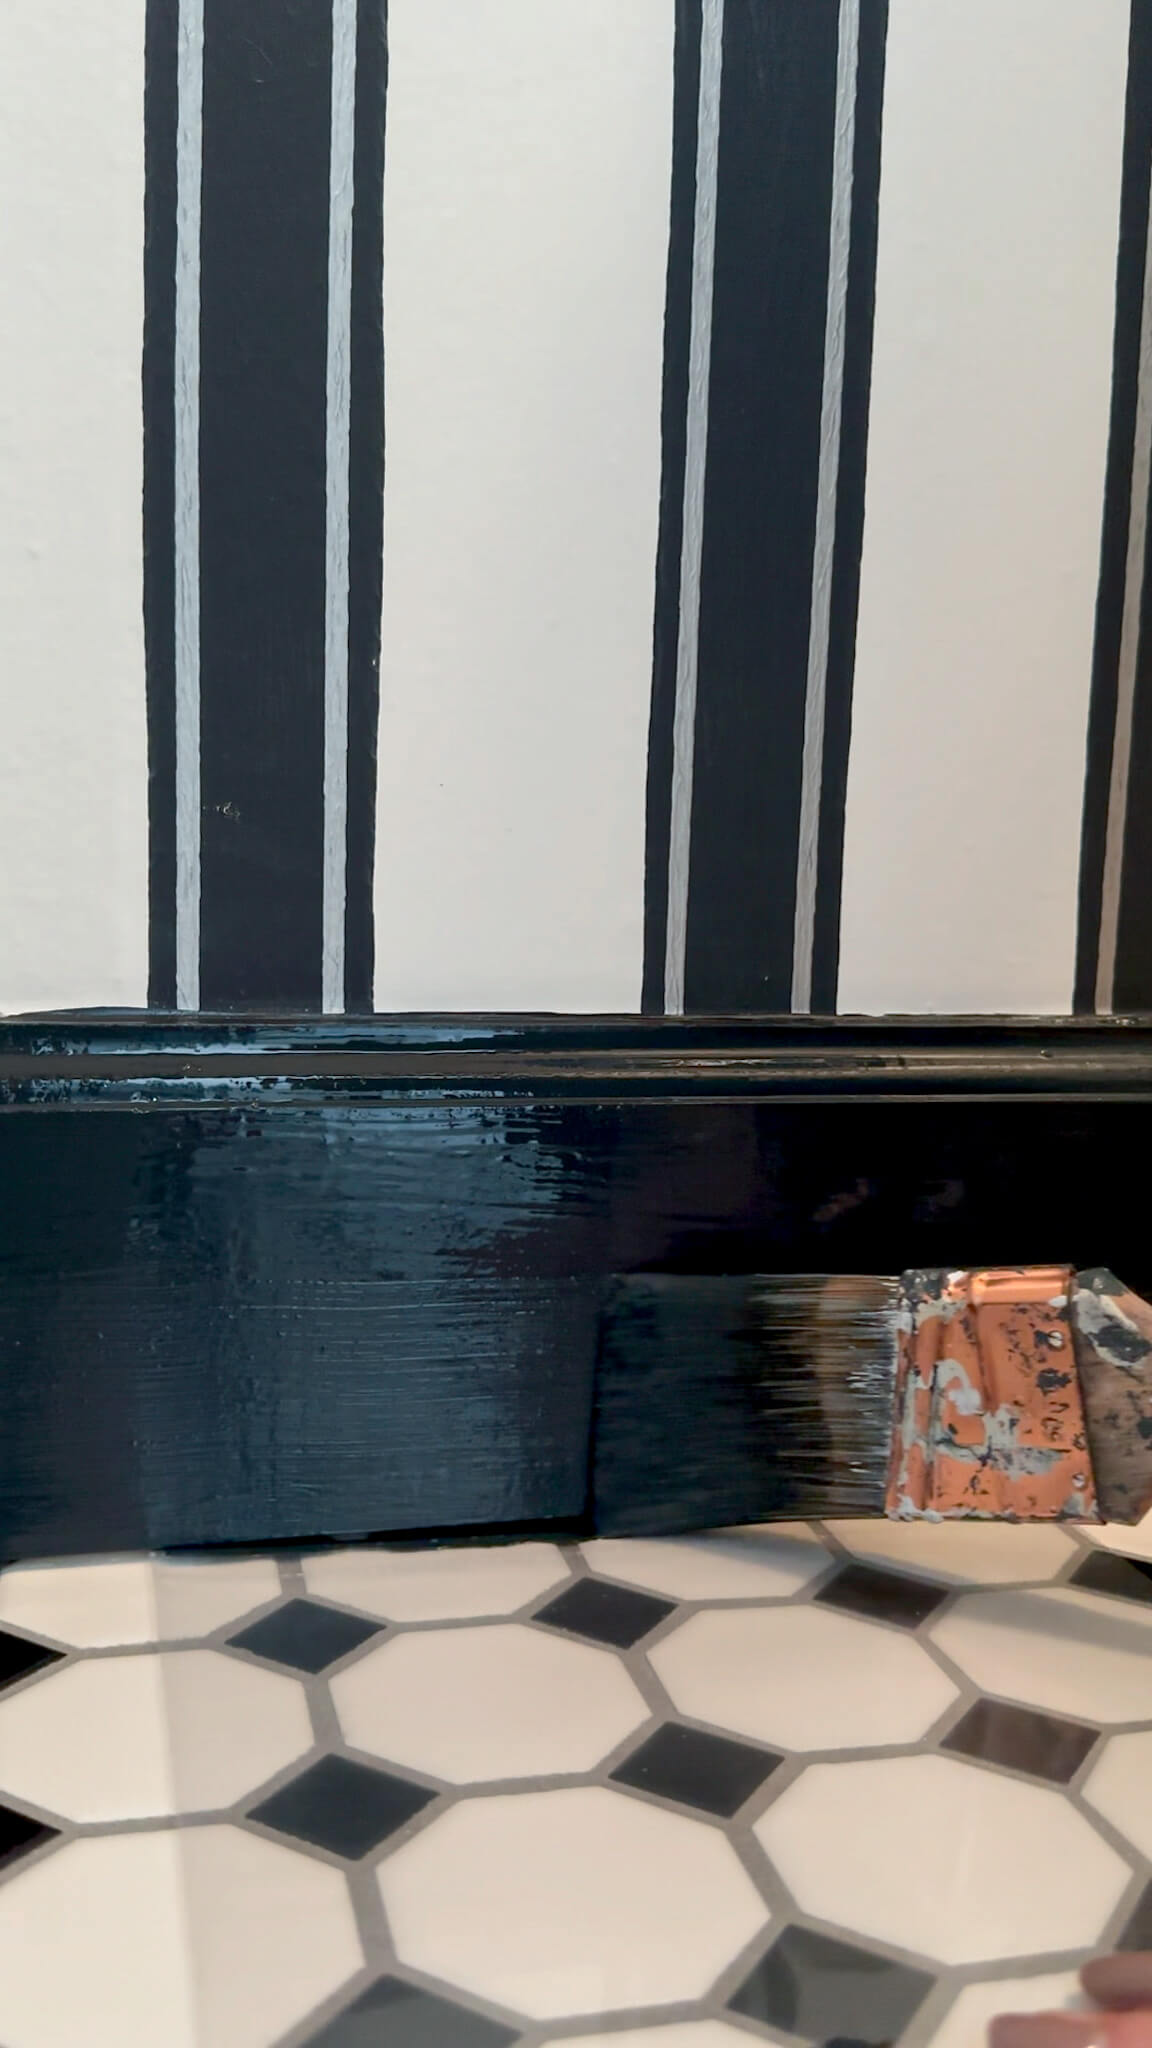
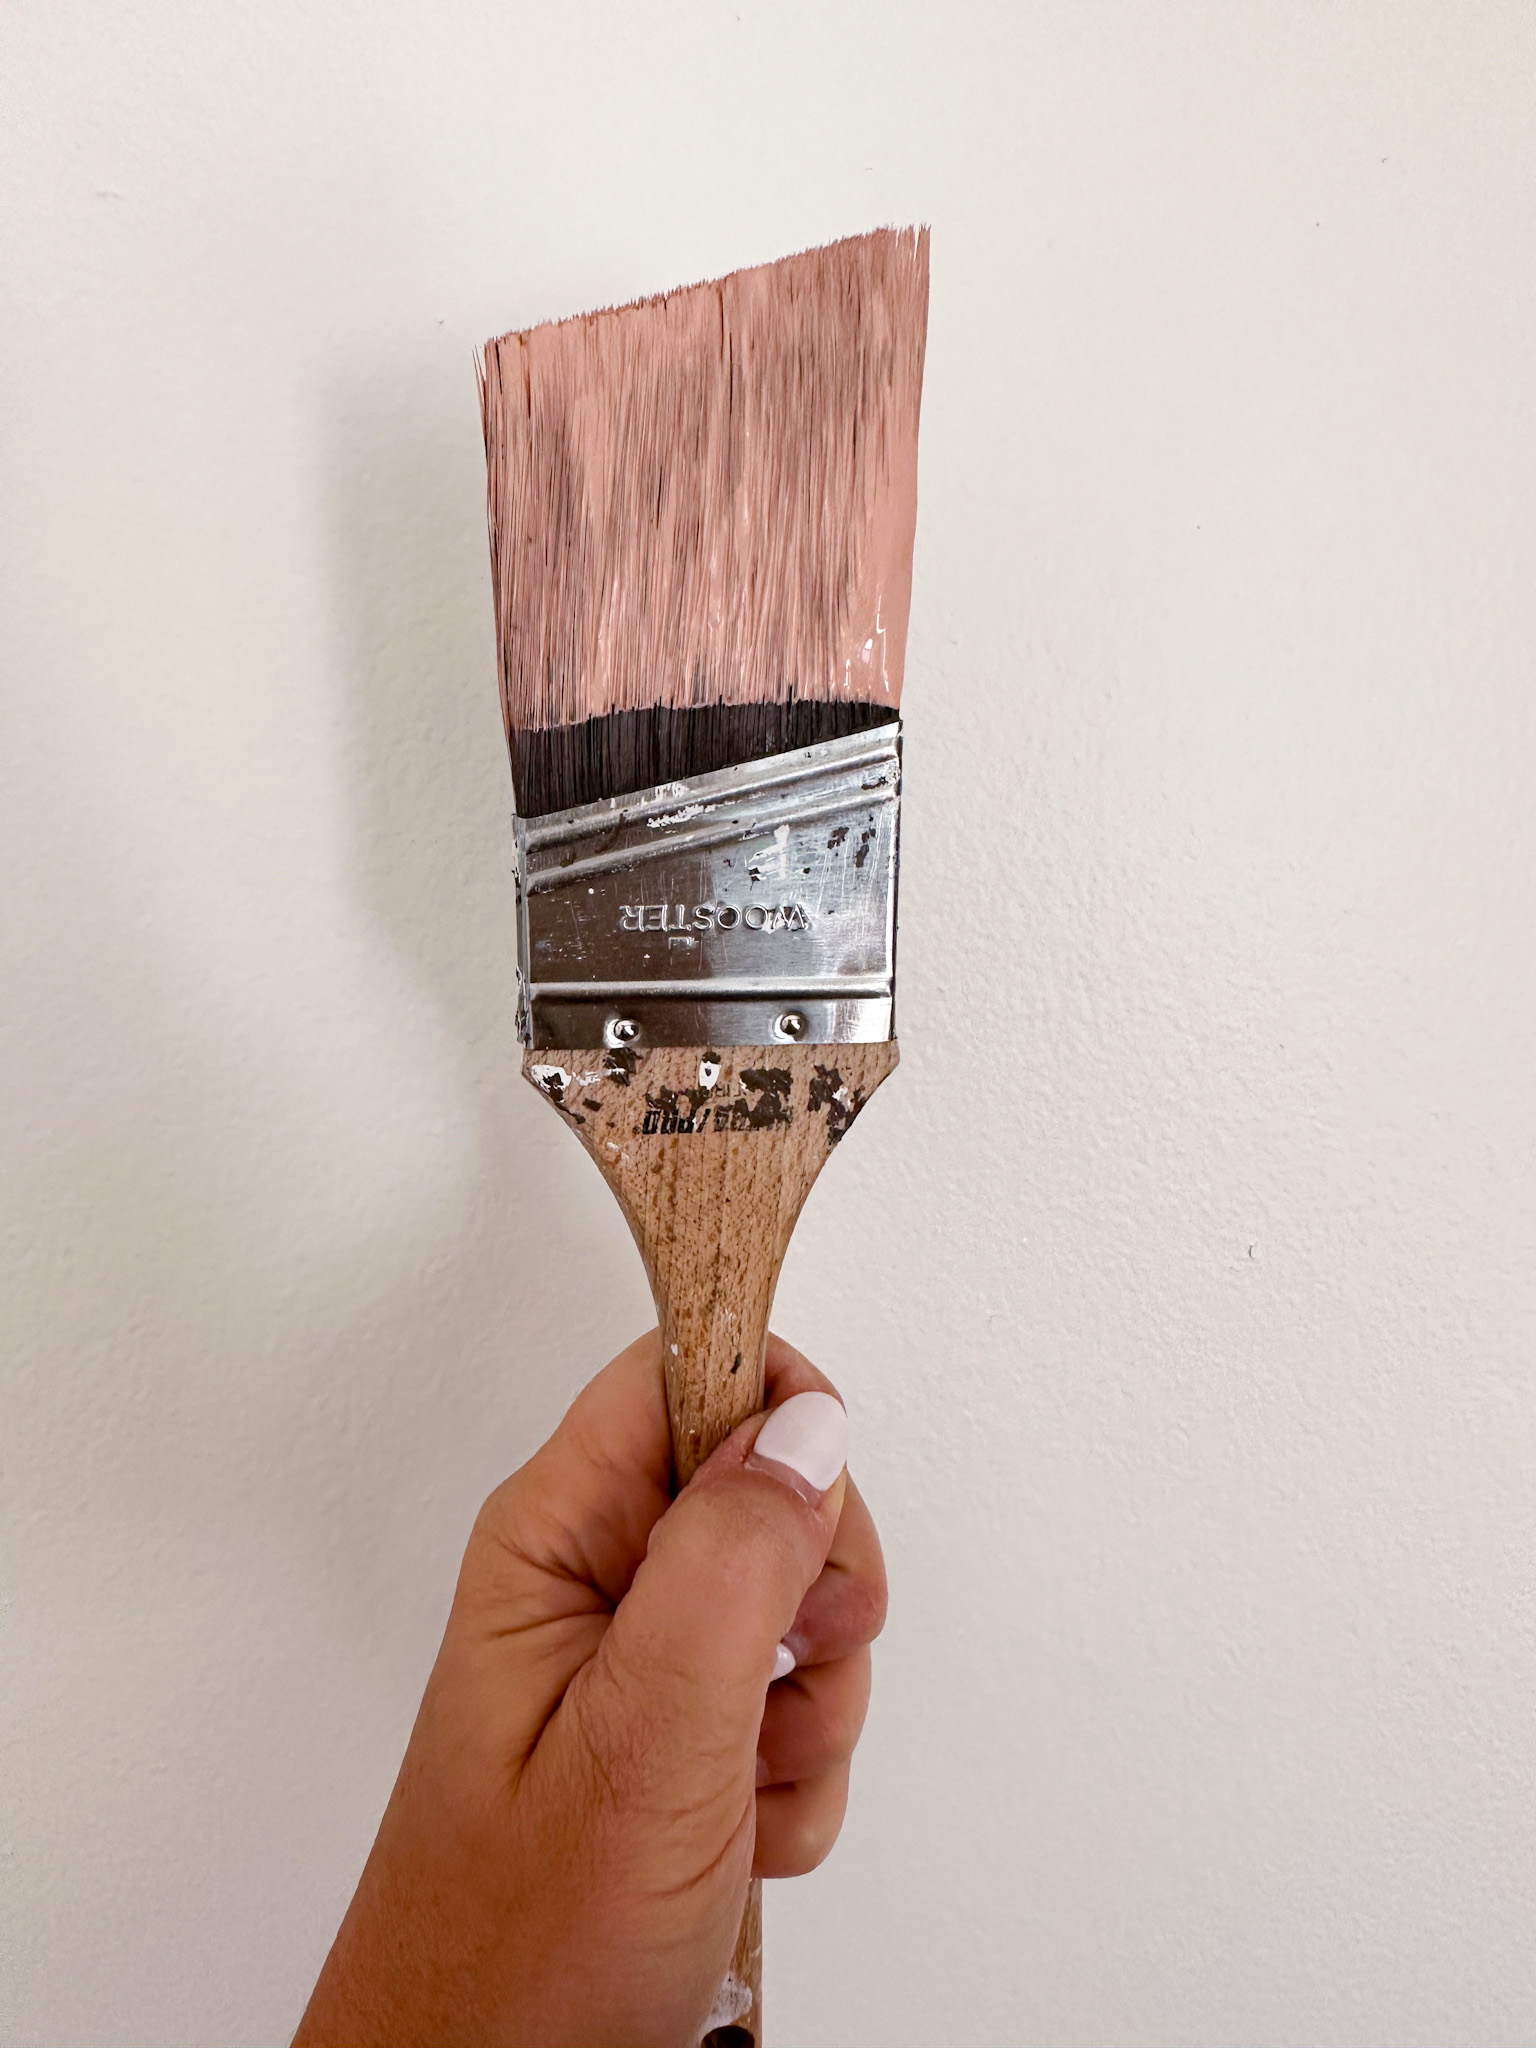
- Paintbrush: For cutting in around the edges. I prefer a 2.5” but no matter what size you choose, make sure your brush is angled for this project.
- Paint Edger: Optional but handy for achieving crisp lines.
Step 2: Prepare the Room
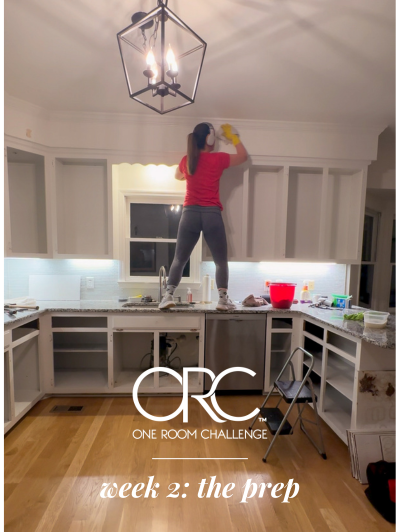
Clear the room of furniture or cover it with drop cloths. Remove light fixtures or ceiling fans if possible, or cover them securely with plastic wrap. Take the time to patch any holes or imperfections in the ceiling, and sand them smooth once the filler is dry. Lastly make sure your ceiling has been wiped down. You can use a Swiffer duster for this.
Step 3: Prime, Prime, Prime!
Never underestimate the power of a good primer. It helps paint adhere better and ensures a consistent finish. Apply a layer of primer to the entire ceiling, and let it dry according to the manufacturer’s instructions. Trust me; this extra step is worth it in the long run.
Step 4: Start Painting
Load up your roller with paint from the tray. Painting a ceiling is much like painting a wall. Begin at one corner of the room and work your way across the ceiling in small sections. Avoid overloading your roller to prevent drips and streaks, and try to paint with a little overlap in each section (this means starting the new rolling an inch into where you just rolled). Do not continuously roll over the same area, as this will creat what’s called “flashing.” Remember, slow and steady wins the race!
Step 5: Cut in the Edges
Use a paintbrush or a paint edger to carefully cut in along the edges of the ceiling, where the roller can’t reach. This step ensures a clean and polished look.
Step 6: Second Coat (If Necessary)
Depending on your chosen color and coverage, you may need a second coat. Allow the first coat to dry completely before applying the second. Drying time will be on your paint can, but if you can wait until the next day I always prefer to do so.
Step 7: Final Touches
Once your ceiling is dry, remove any painter’s tape and look for areas that my need some touch-ups. This is usually along the edge where the ceiling meets the trim/wall, especially if you’re using contrasting colors. Reattach light fixtures or ceiling fans, and move your furniture back in.
Tips for Success
- Work in sections: Don’t rush through it; divide the ceiling into manageable sections for a more even finish.
- Proper lighting: Use adequate lighting to spot any missed spots or imperfections.
- Ventilation: Keep the room well-ventilated to help the paint dry faster and reduce fumes.
Remember, painting your ceiling is a fantastic way to add character and dimension to your space. It’s an often-overlooked element of interior design that can truly transform a room. So, don’t be afraid to get creative and experiment with colors! Happy painting!
As always, stay tuned for more home renovation and design inspiration right here on AllisonSkiff.com Happy DIYing!

