


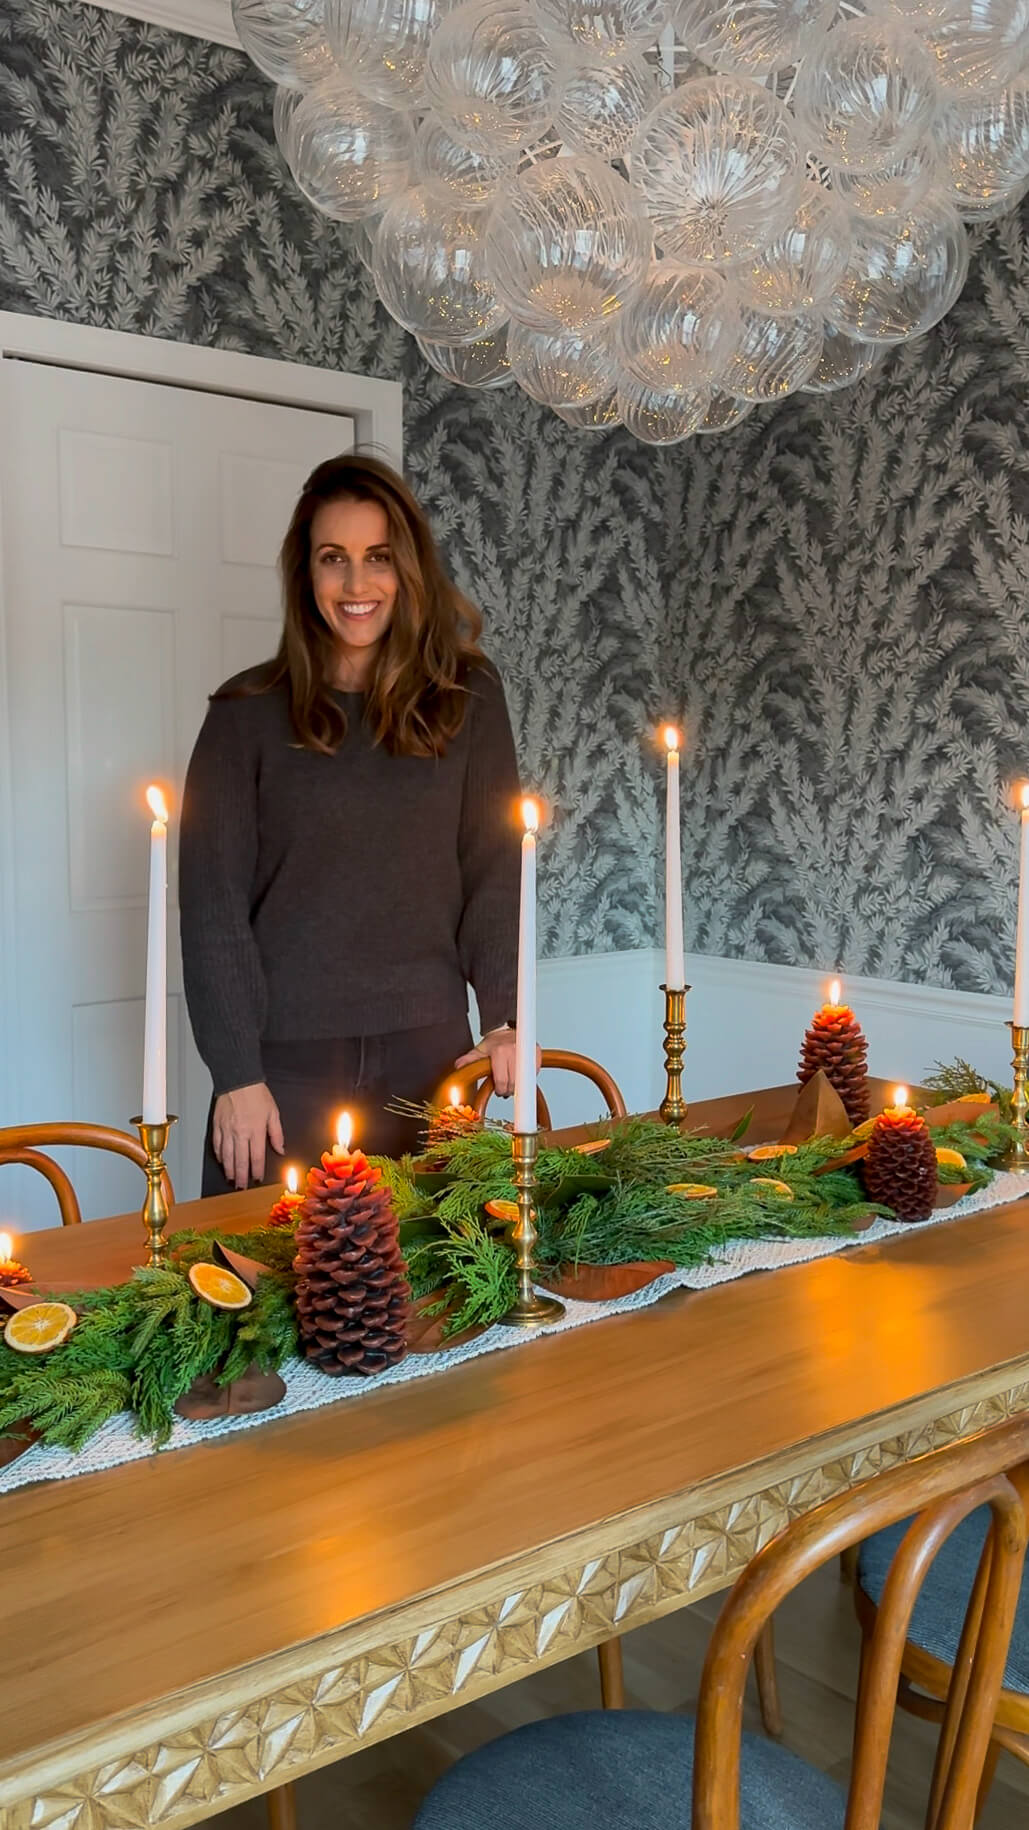
With all the updates to the house this year, especially the floors and staircase, I decided this would be the year I would splurge on some new holiday garland. Ever since last year, I have been eyeing the Norfolk Pine garland and I finally decided to “add to cart” this holiday. I’ll admit, it was a bit pricey. To stretch out the enjoyment from my investment, I decided to repurpose some of the garland and create a DIY autumn centerpiece for my Thanksgiving table.
My goal of this project was to keep it relatively low cost, so many of the items you’ll see in this tutorial have been scavenged one way or another! Ha! With that being said, I think you can easily substitute your own elements into this project to make it suit both your style and your budget.
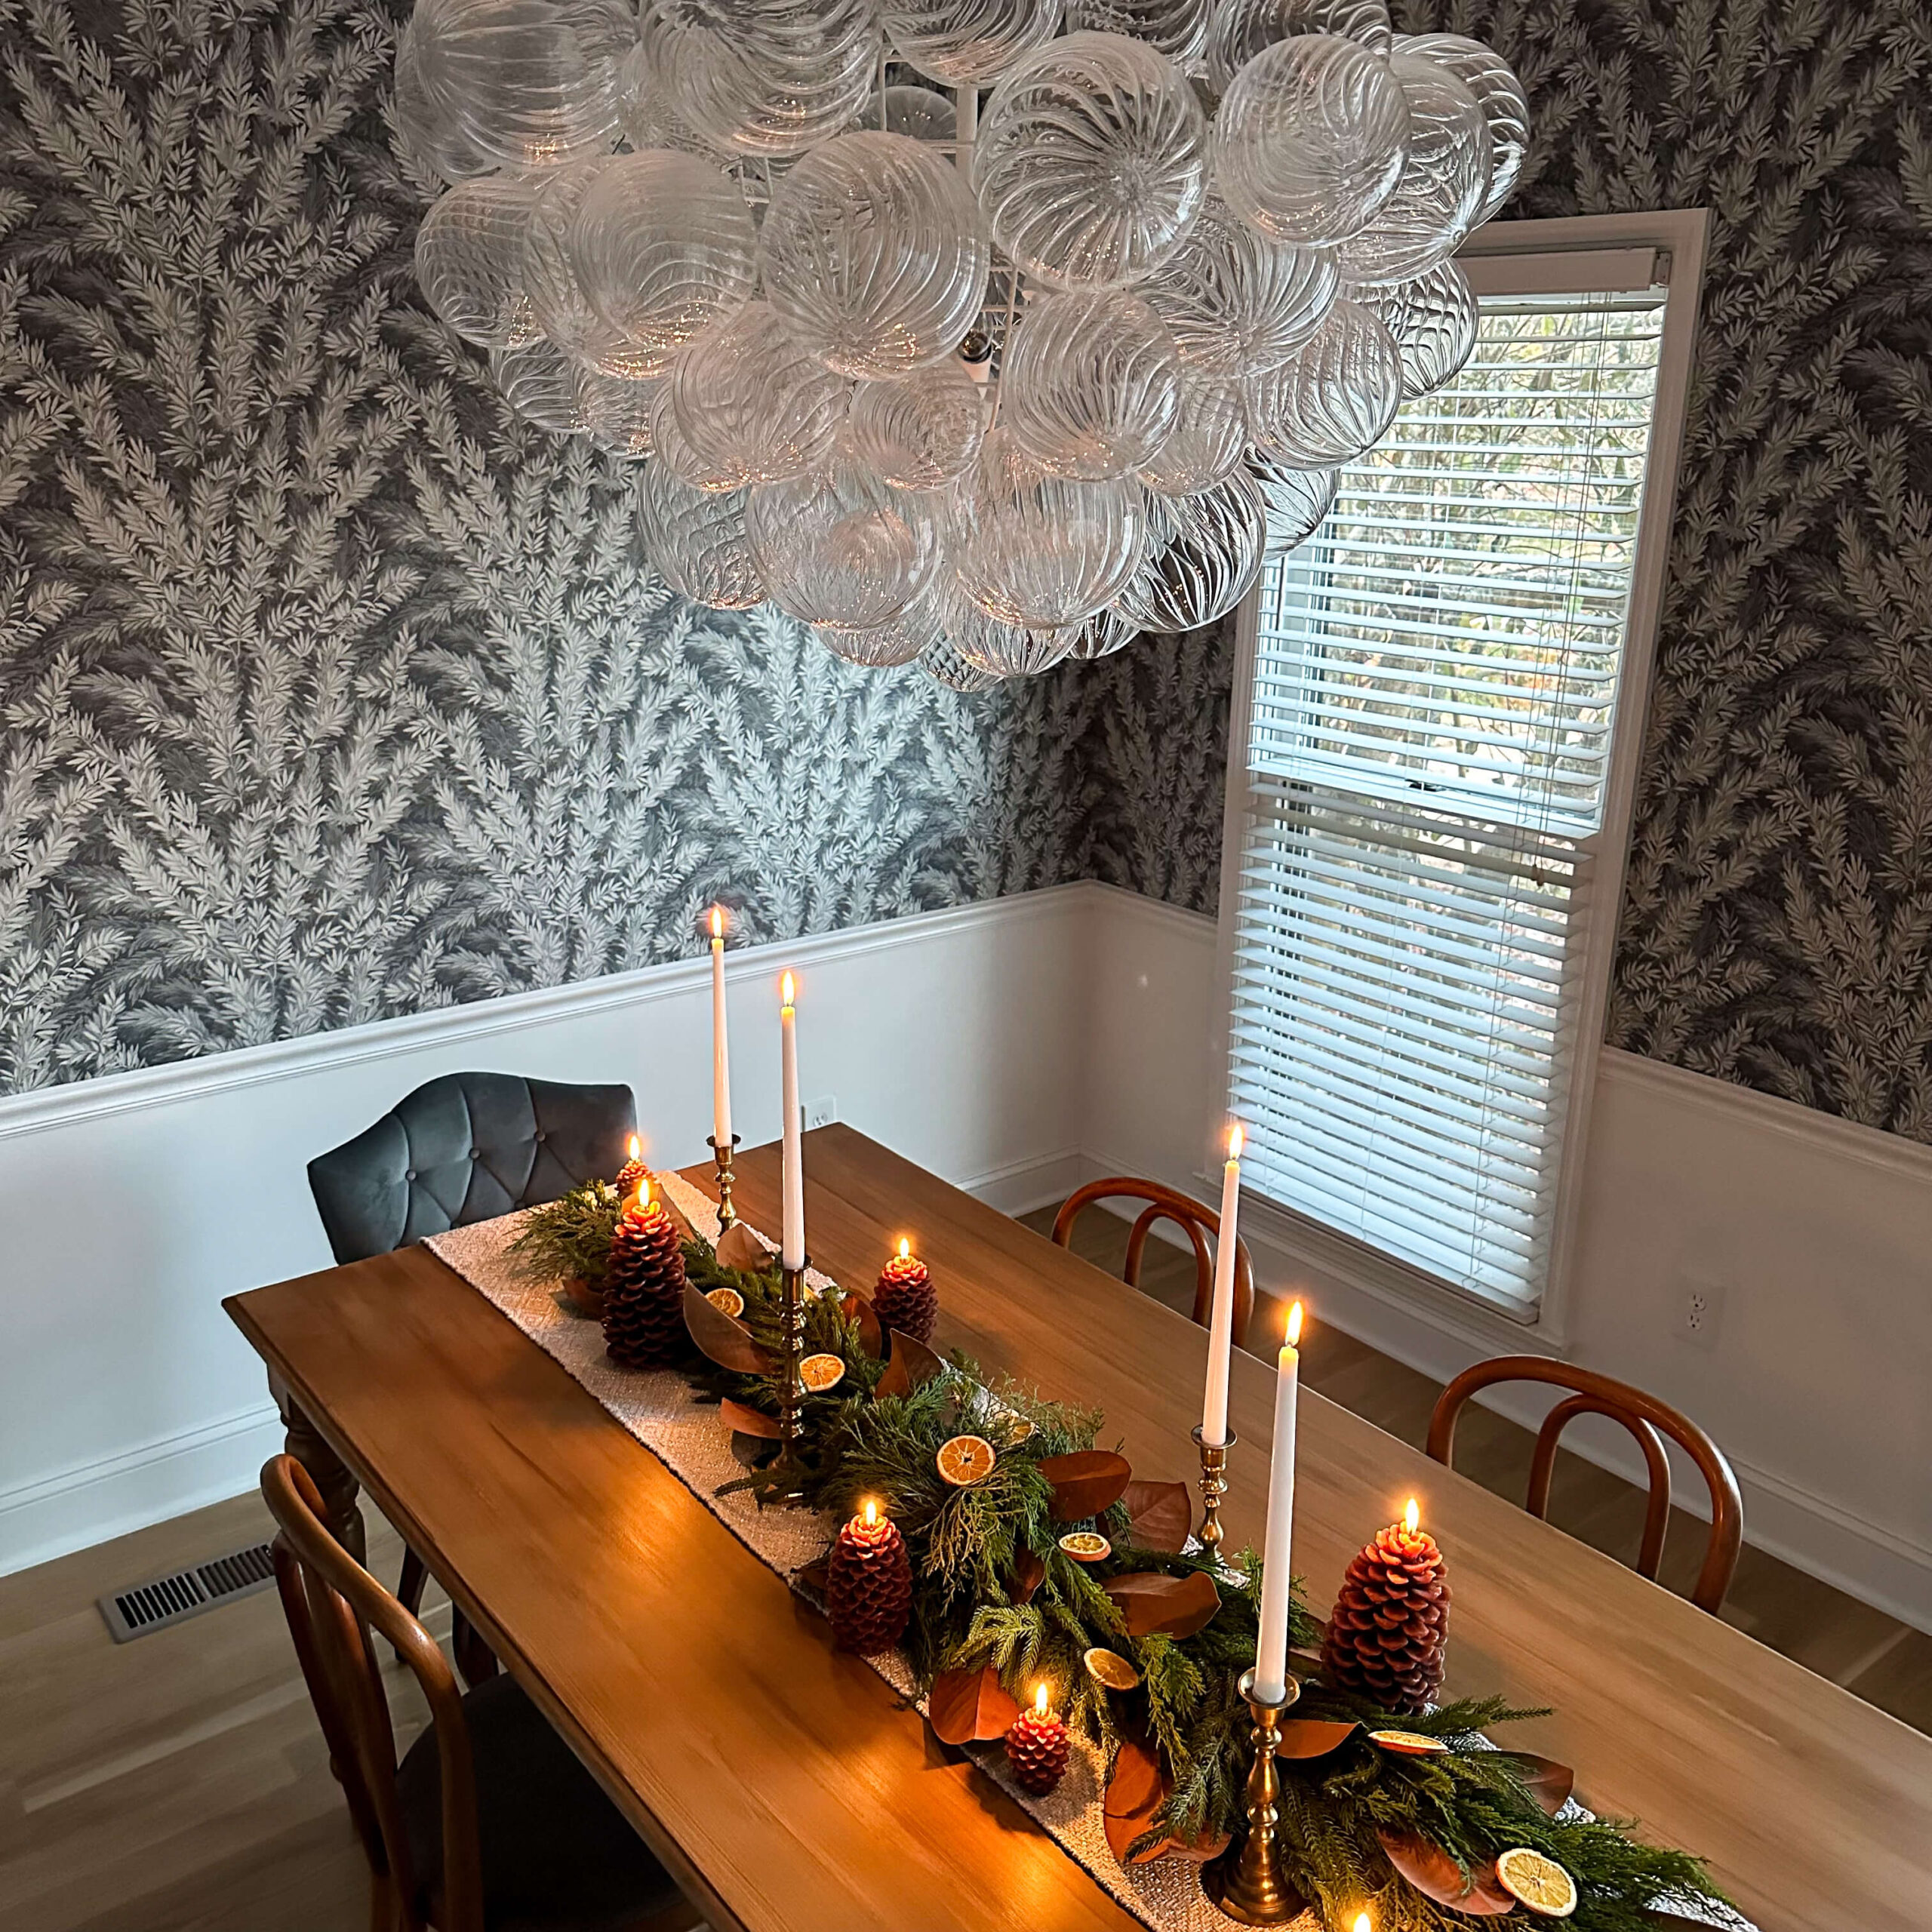
Here’s everything I used to create my DIY Autumn Centerpiece:
- Long strand of garland. I purchased the Norfolk pine garland and love the realistic look and texture of it. While it’s definitely an investment, I plan on using this for the rest of my life.
- Magnolia leaves. I was able to pluck some from a nearby tree for free!
- 2-3 oranges
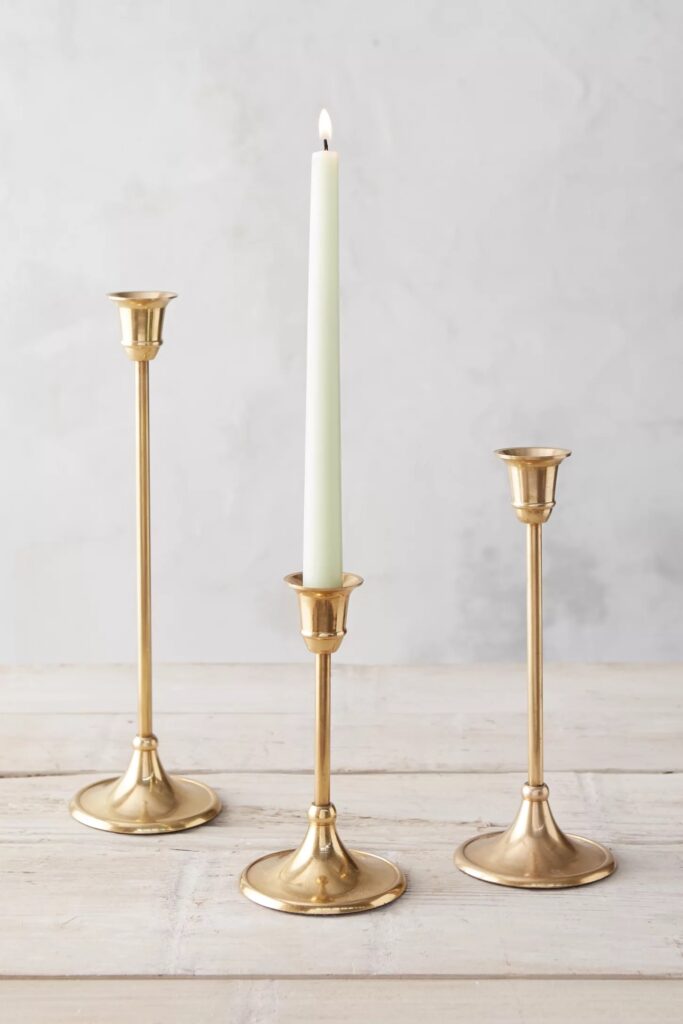
- Brass candlestick holders and taper candles. I picked up several vintage brass candlestick holders of varying heights at my local antique store.
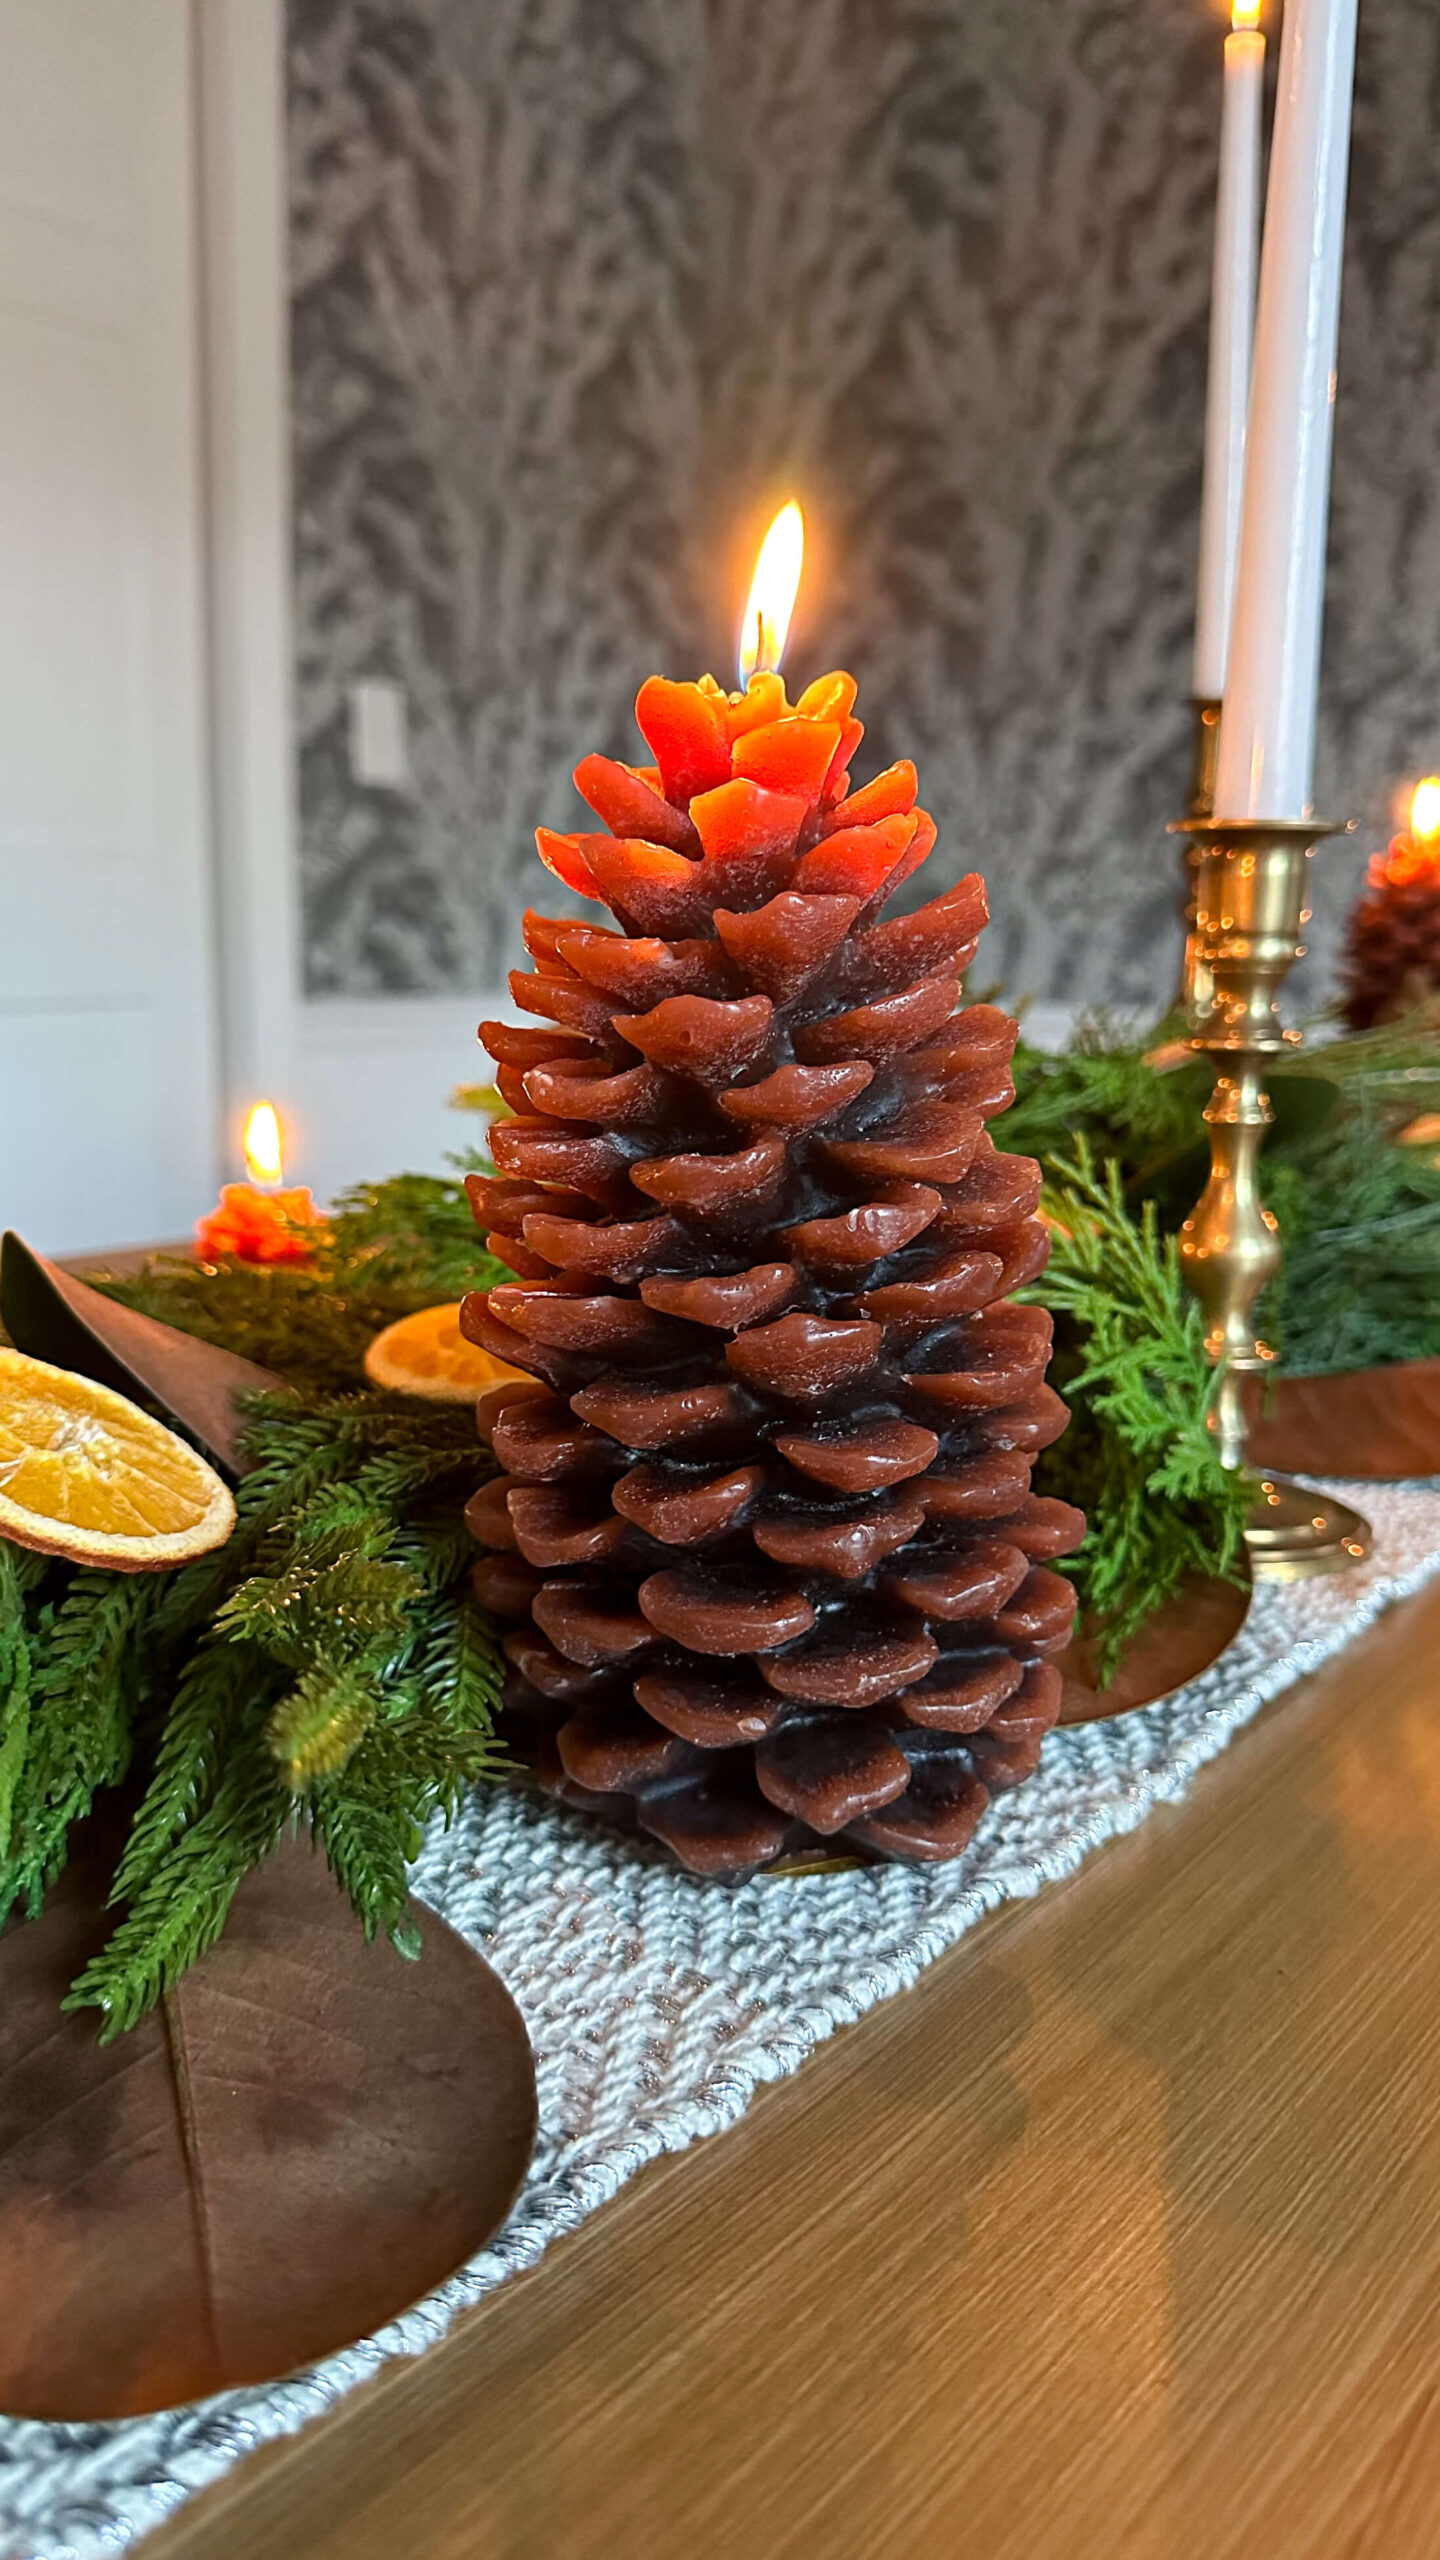
- Additional candles. To plus up the autumn theme, I layered in these pine cone candles from Crate & Barrel. There’s also a wonderful battery alternative on Amazon and they look like they have a hint of gold to them!
Again, feel free to mix and match different items that fit your style and scheme. Now that we have our supplies, lets get to work assembling the autumn centerpiece!
Prepare the Dried Oranges
We’re going to make the dried oranges via the oven. It’s a very simple process but you will need to be available to flip the orange slices every 30 minutes for several hours.
- Preheat oven to 200 degrees
- Thinly slice 2-3 oranges. I used 2 oranges for this piece.
- Place oranges on parchment paper on a baking sheet
- Bake for 2-3 hours, turning every 30 minutes. I ended up doing 3 hours, as my oranges were juicer than expected.
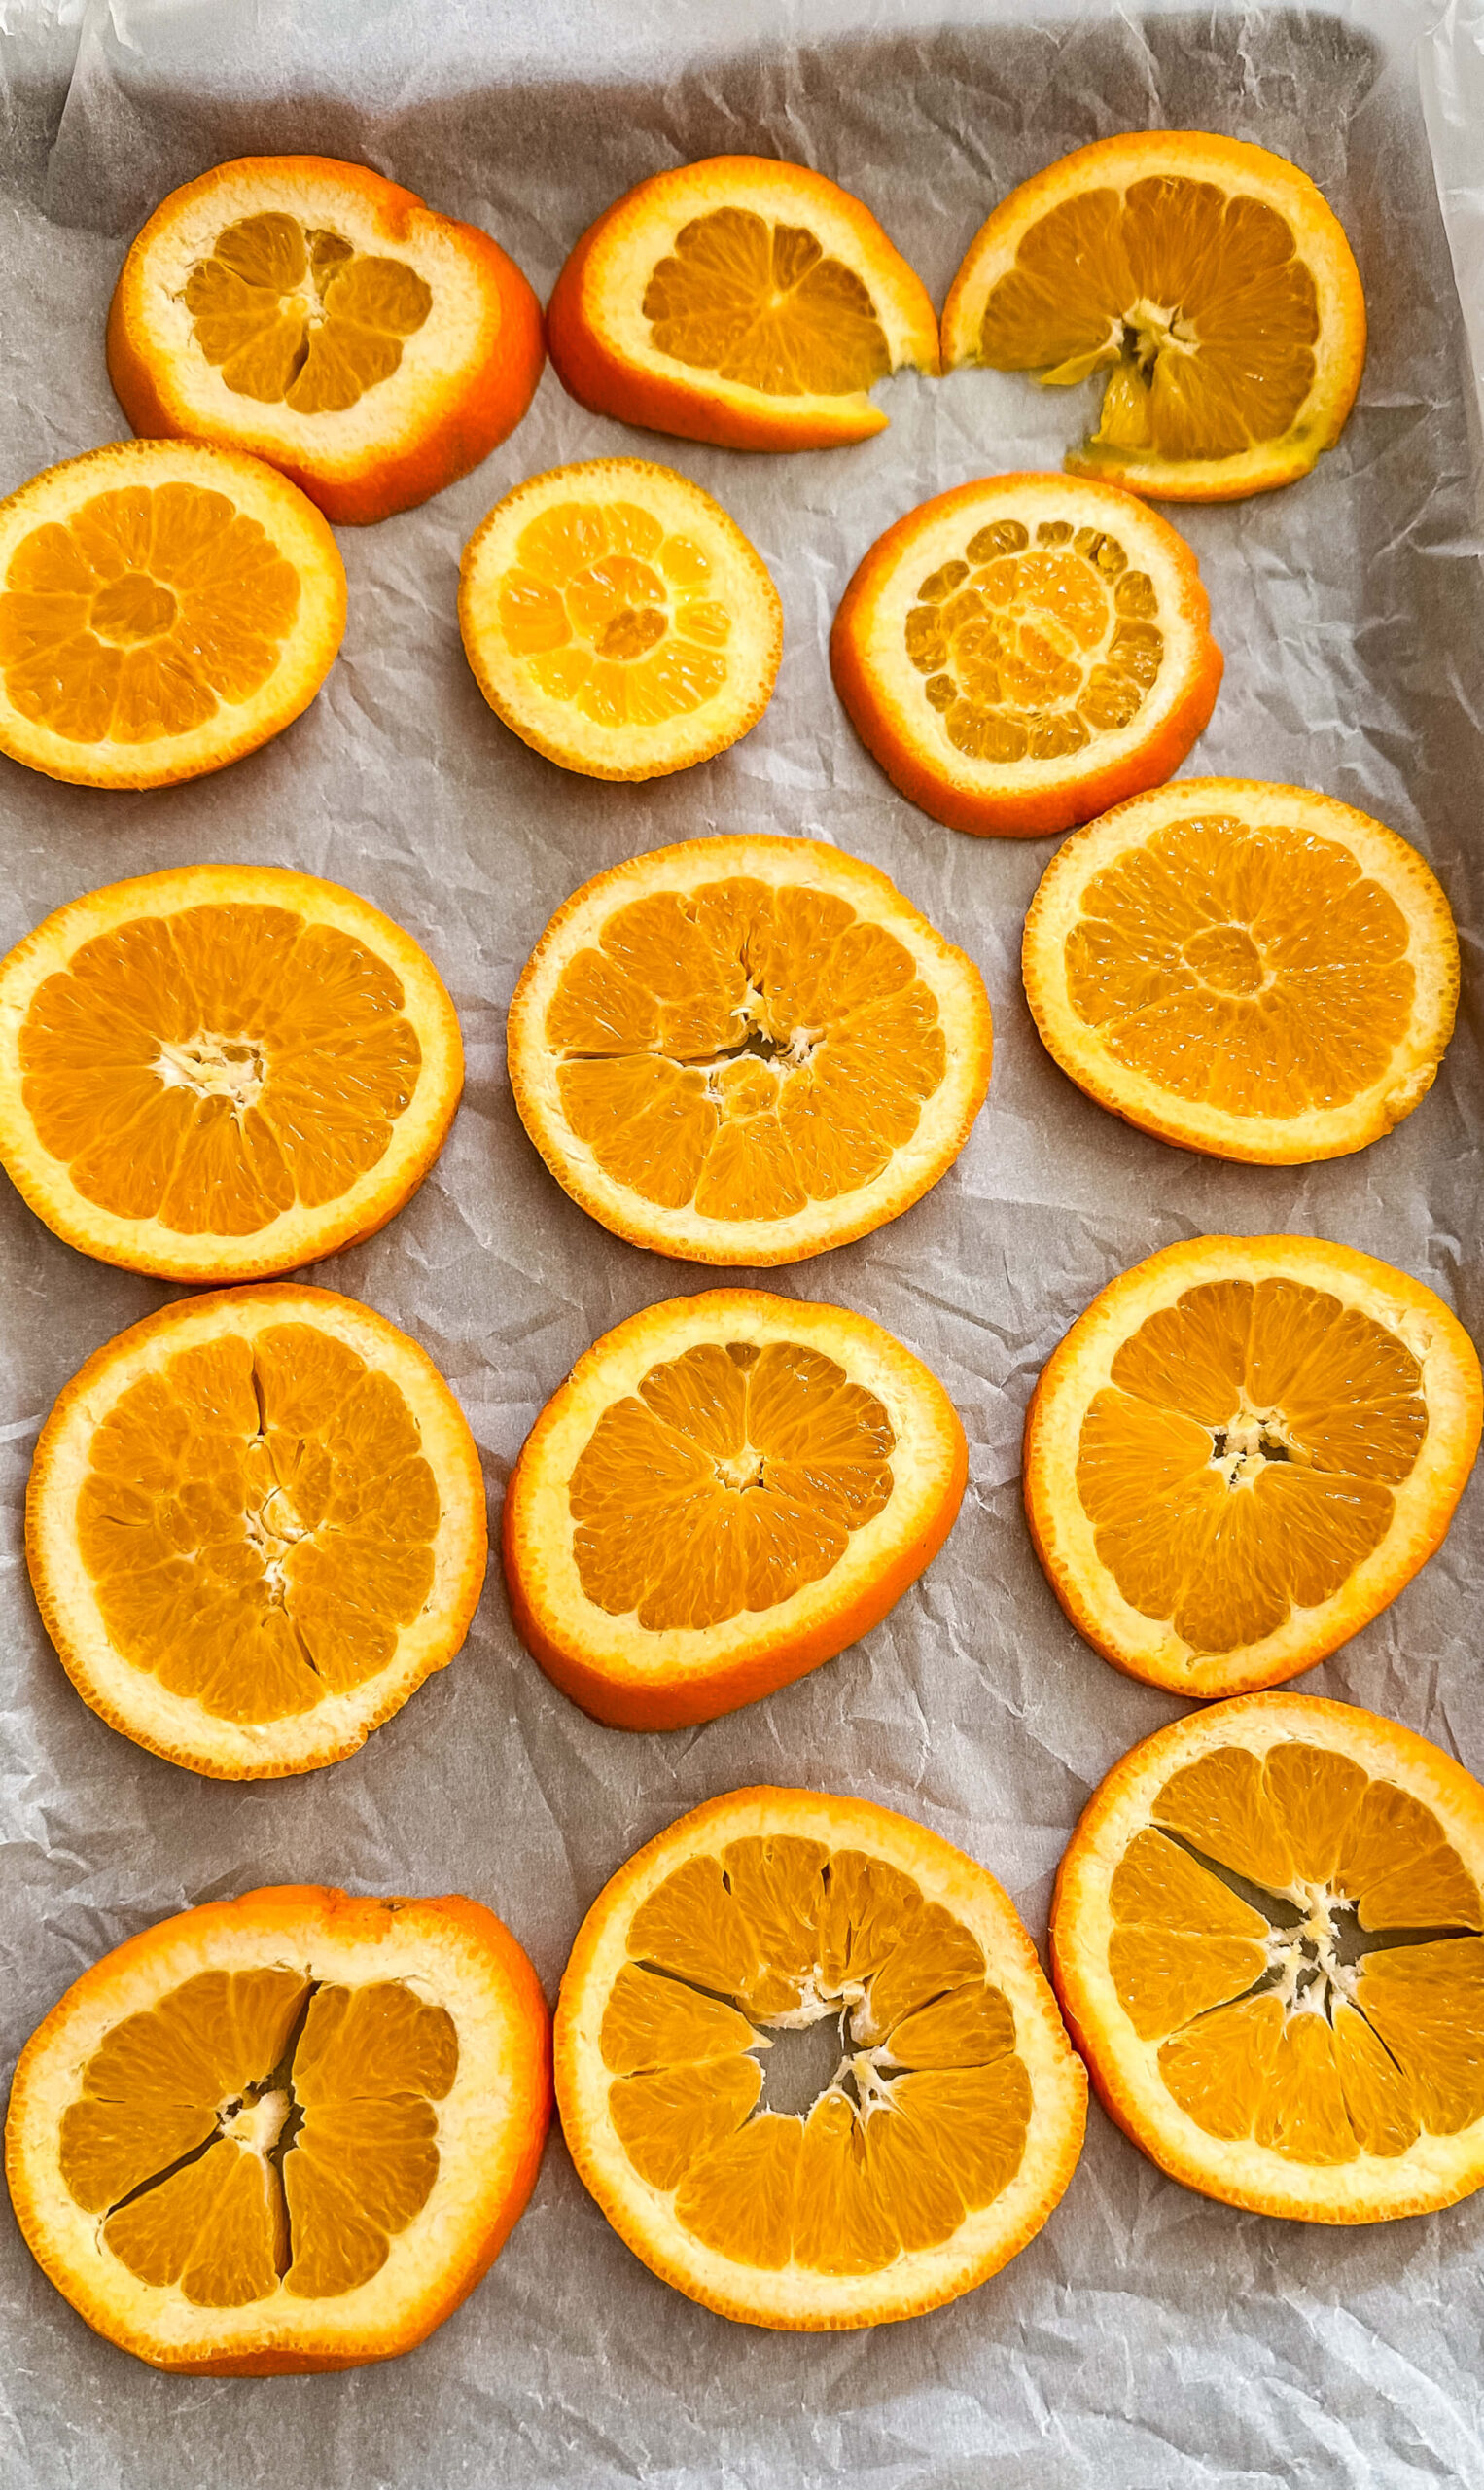
Your house will smell amazing! I personally think it smelled like butter!
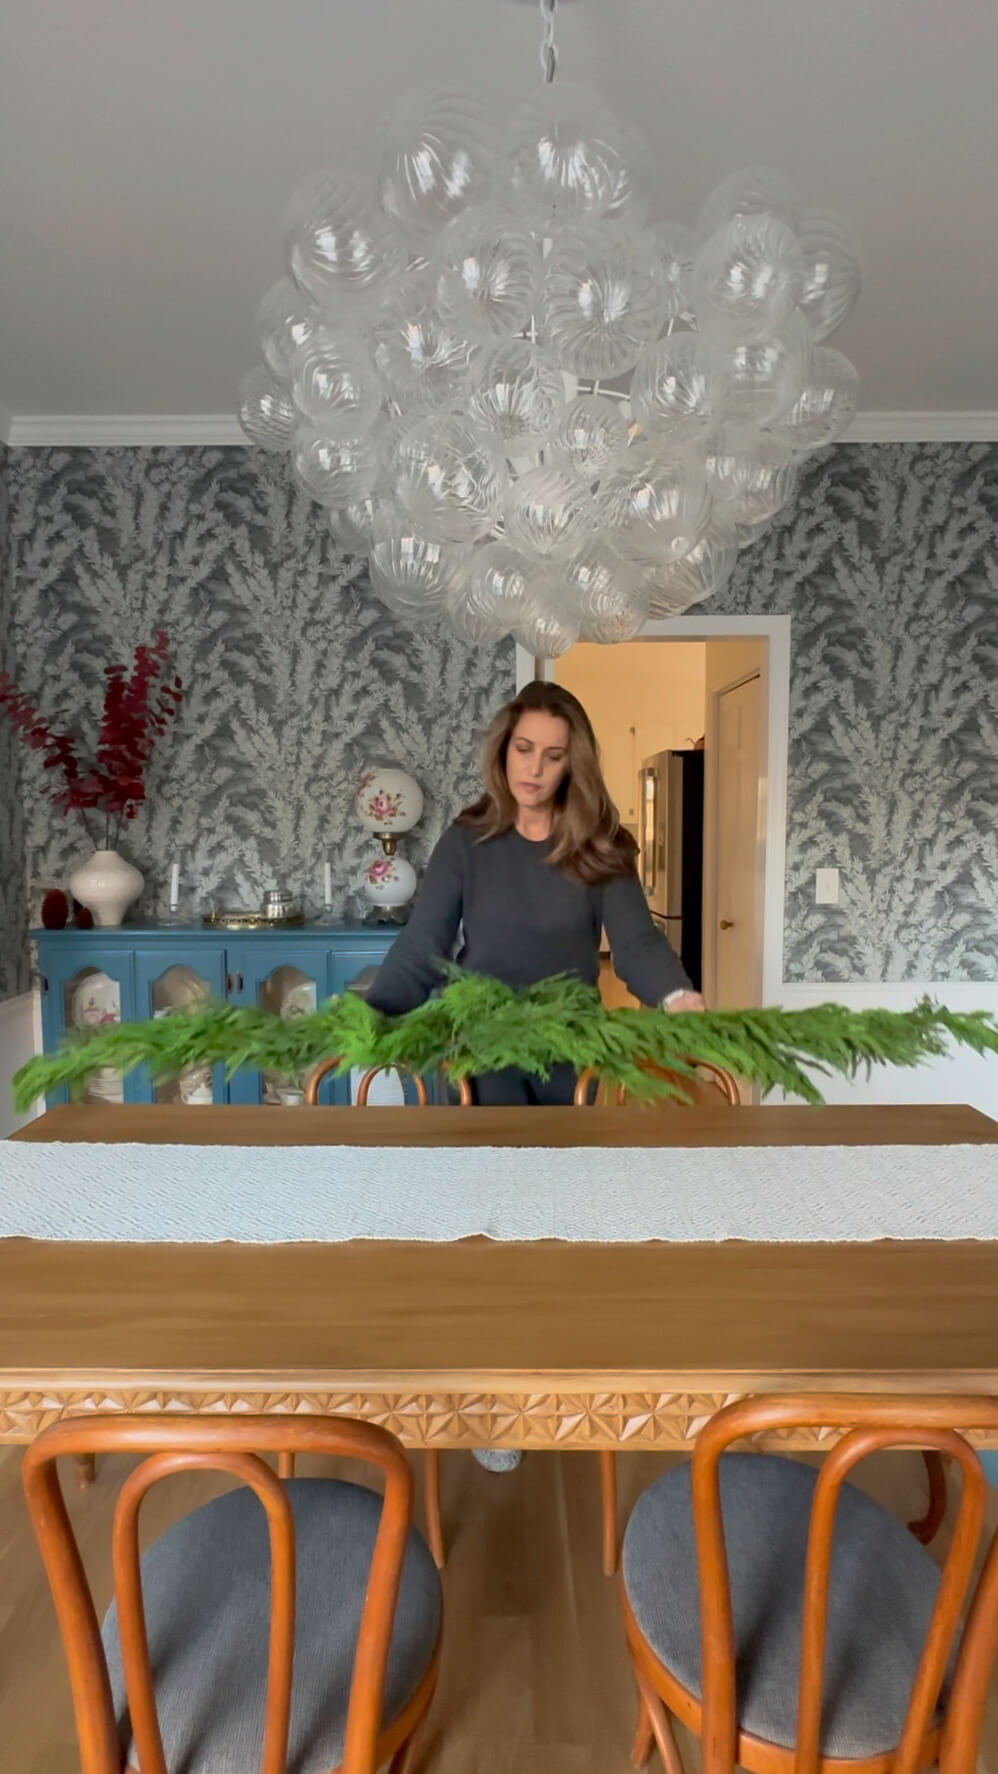
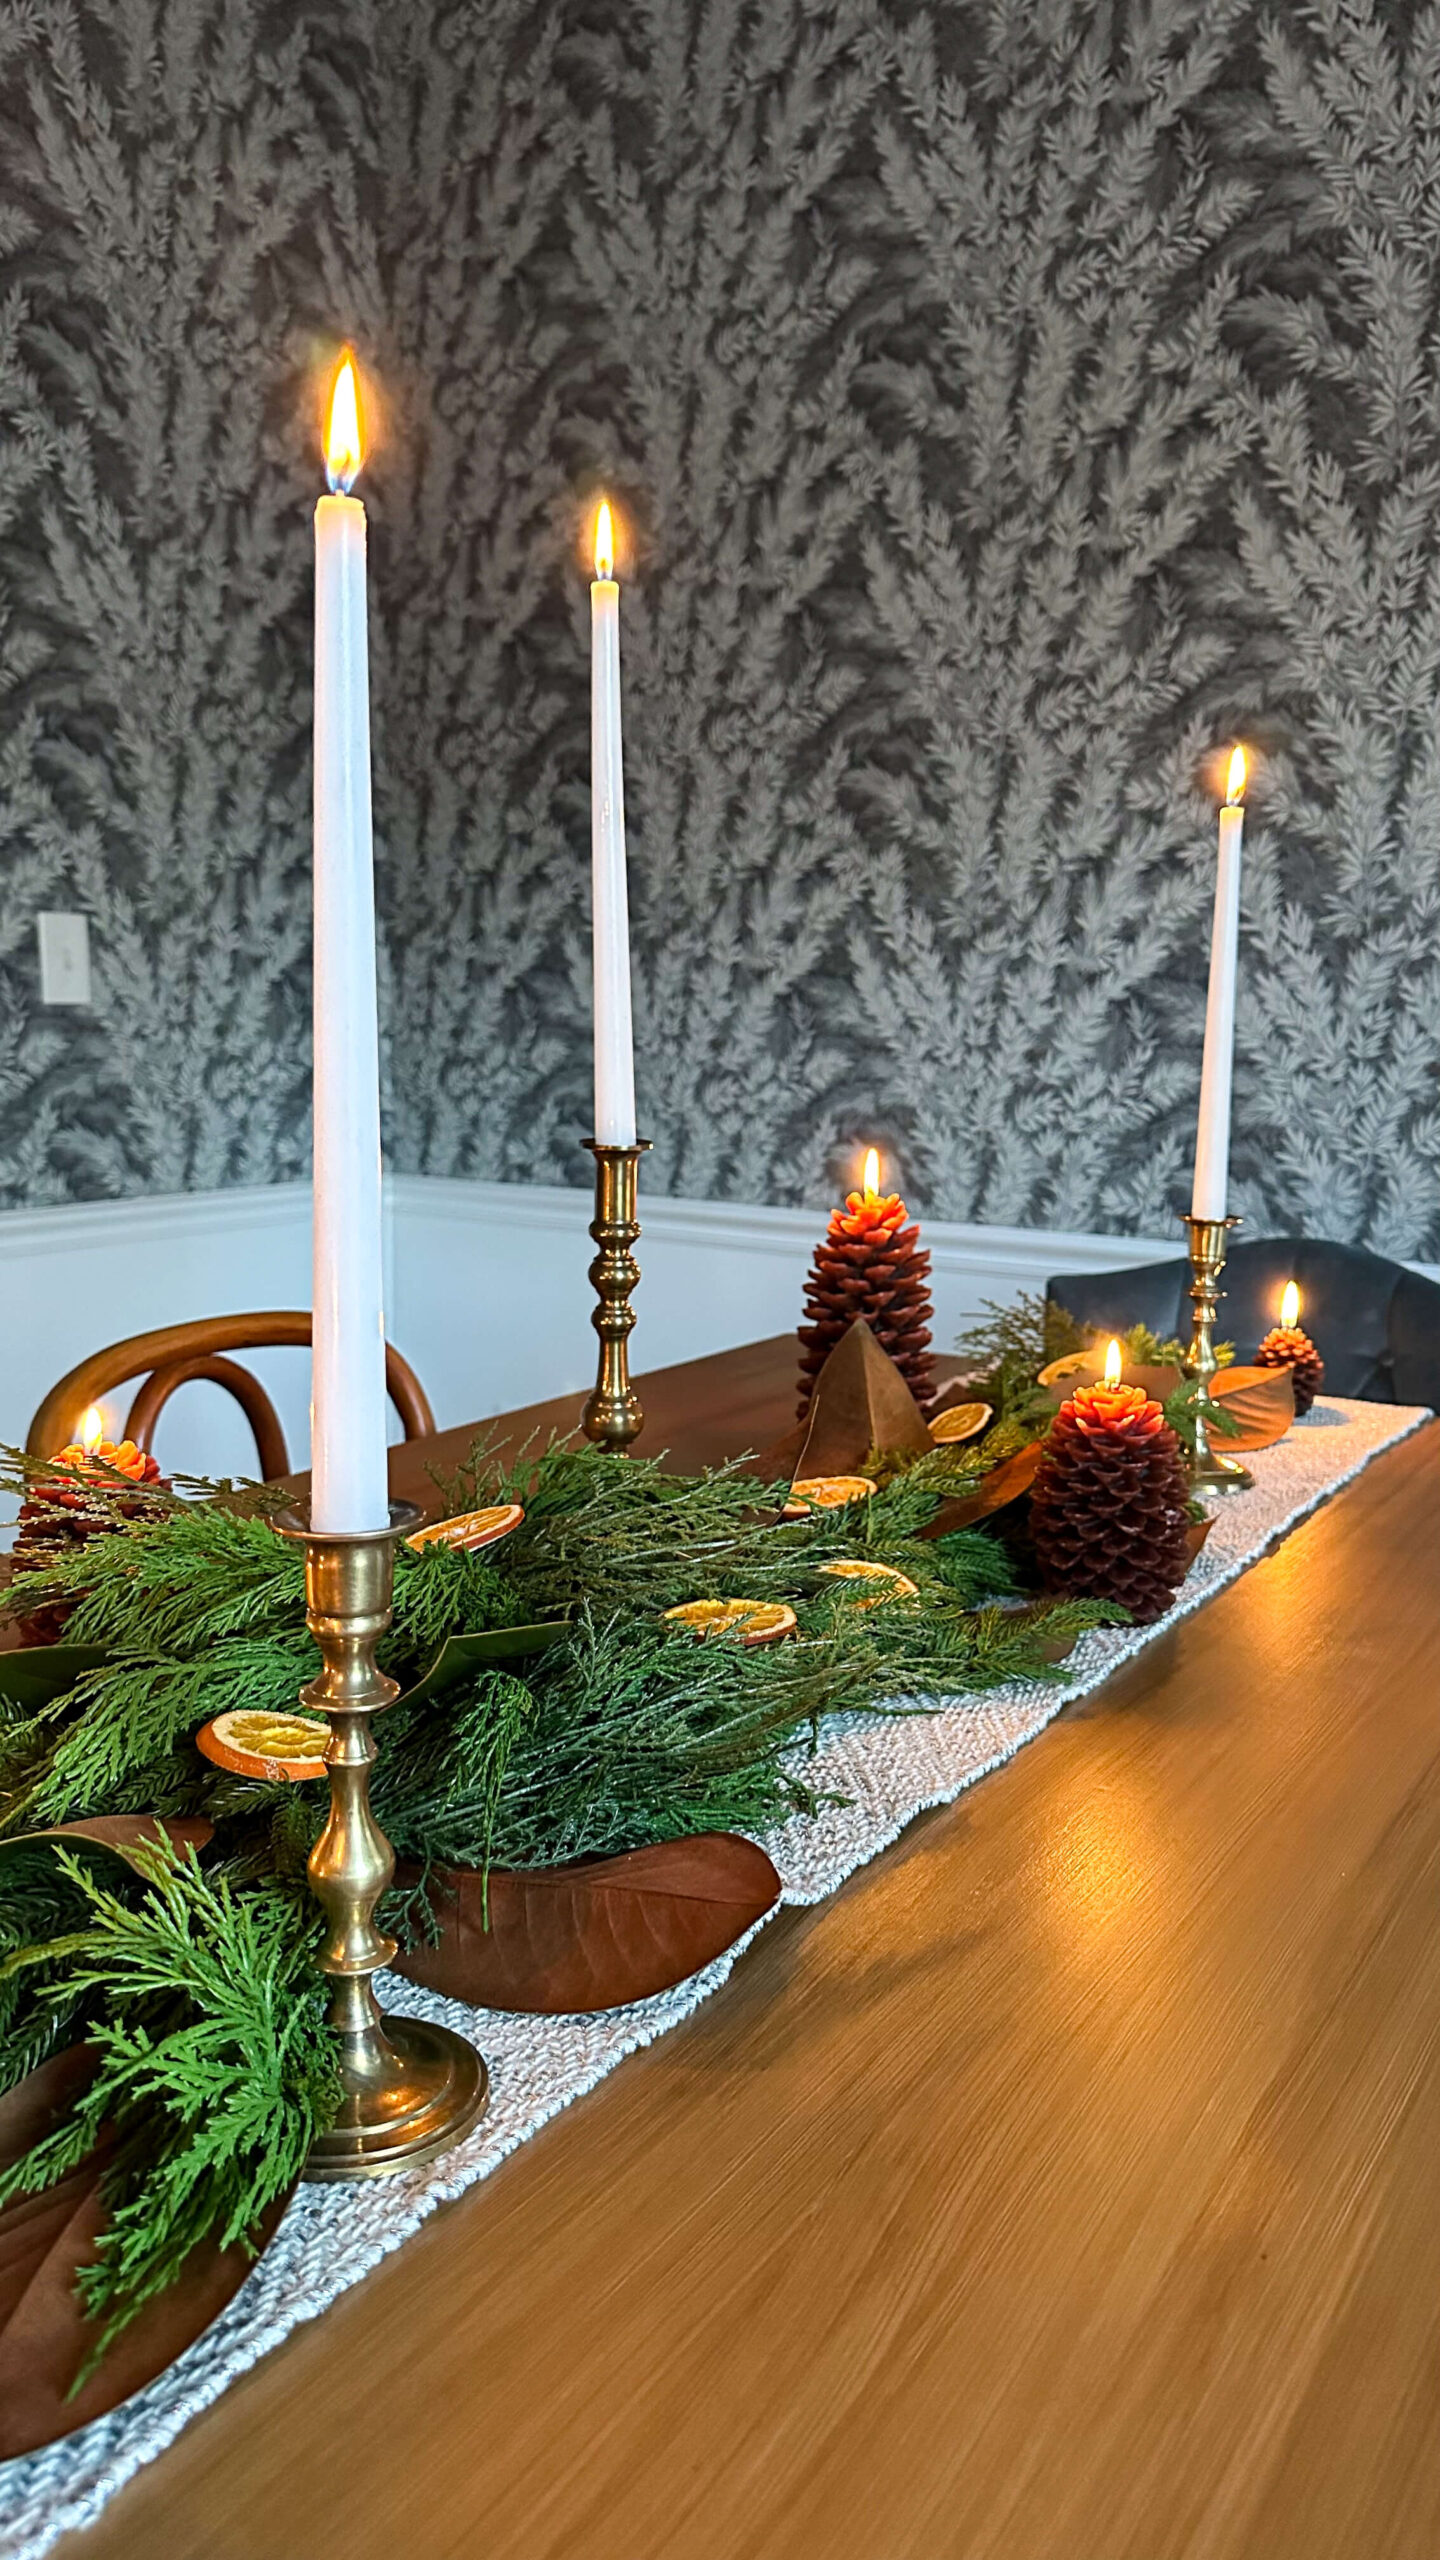
Place the garland
Add your garland to the center of the table. Mine was a fuller piece, so if you prefer this look, you may want to layer 2-3 pieces of garland to achieve this look. Play around with it and have fun! You can always start over, add or remove as you keep going.
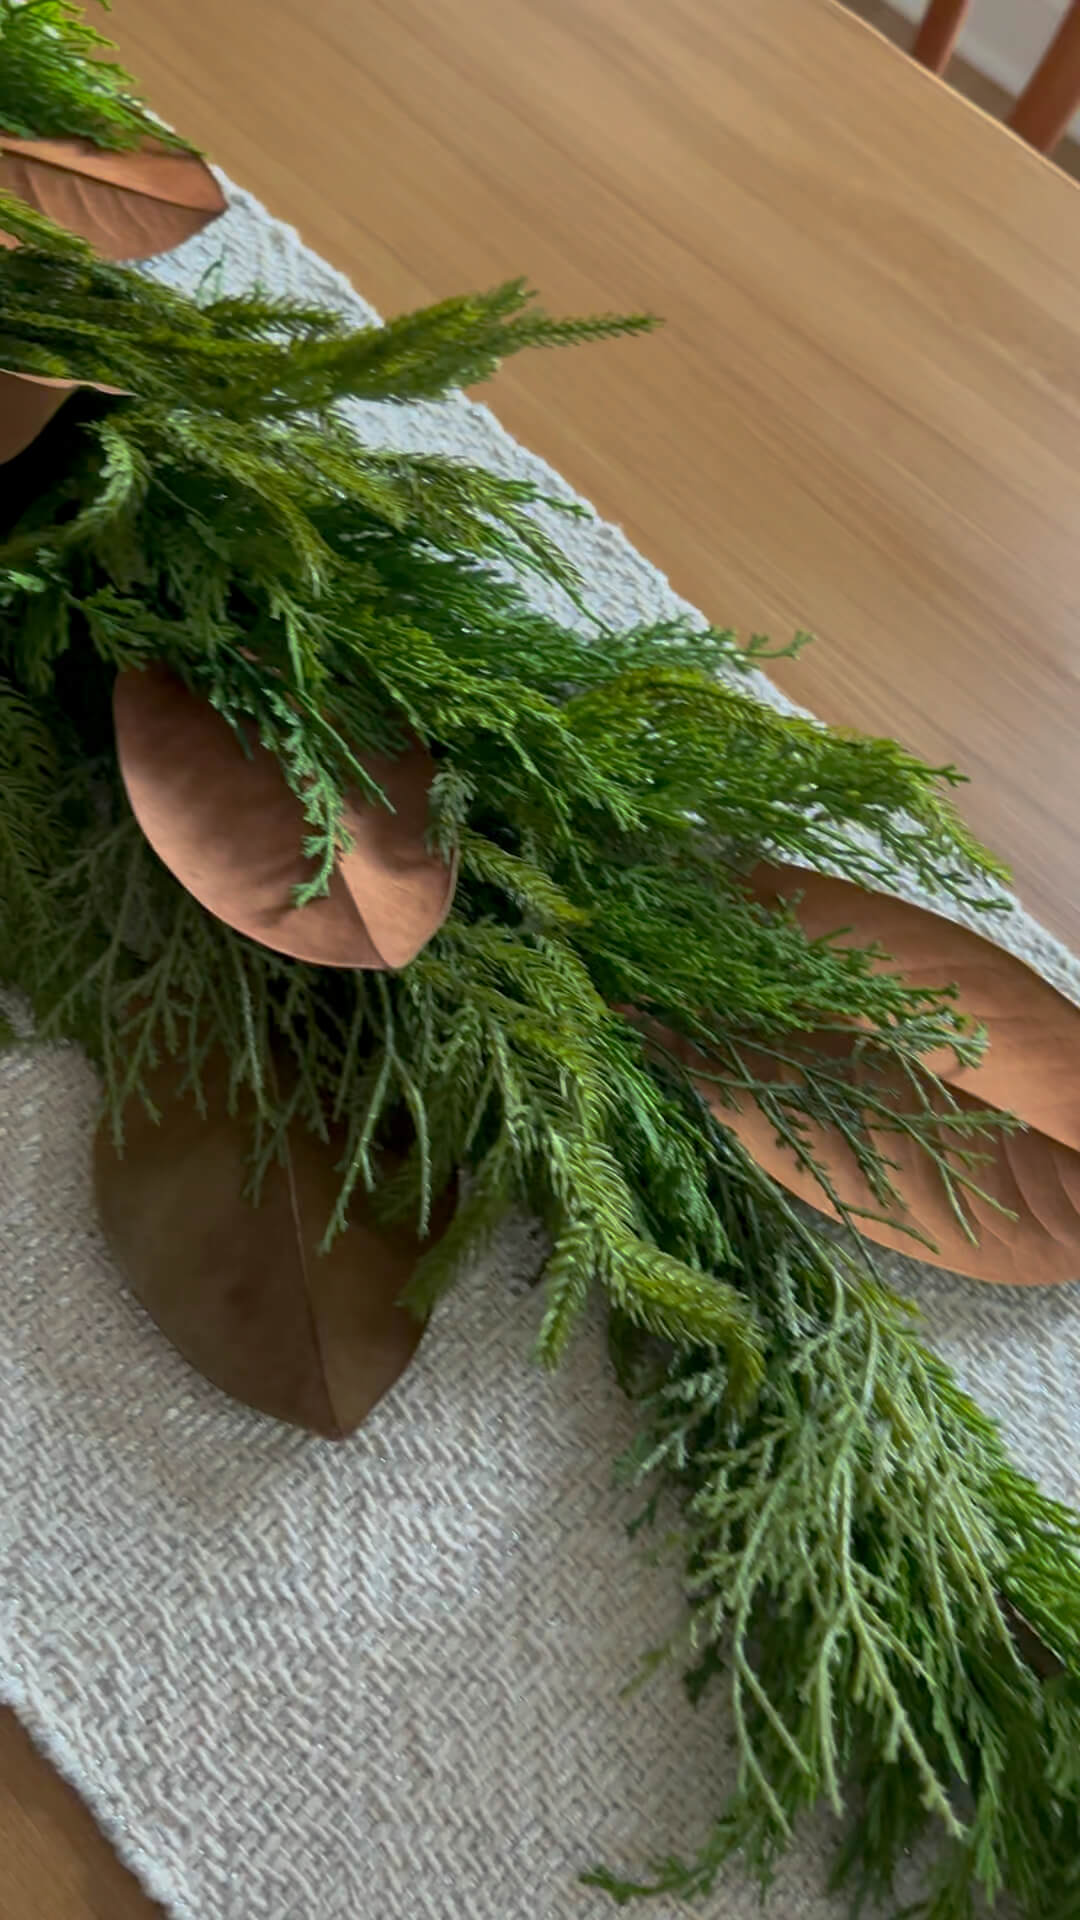
Layer the Magnolia leaves
Once you have your magnolia leaves, wipe them off or wash them to ensure you’re not bringing bugs or dirt into your home (and onto your table!). Weave them into the garland, placing them underneath, in between and on top. Alternate sides of the garland as you work your way from end to end. I chose to place my leaves brown side up, as I really like the contrast and I think it adds a nice autumn color palette to the table.
Bring on the brass!
As I mentioned above, I was able to find quite a haul of brass candlestick holders at my local antique store. This is a more cost effective alternative to buying new, if you don’t already own some. Look for varying heights and shapes, as it will add visual interest to your arrangement. When it came time to add the actual candles, I chose to keep it simple with long white taper candles.
Some brass candle stick ideas if you want to buy new:
Layer in additional candles
To further the autumn theme, I added in these cute pine cone candles throughout the centerpiece. These come in three sizes and are so cute! If you’d like a battery alternative, which will last you a lifetime, these are a great option!
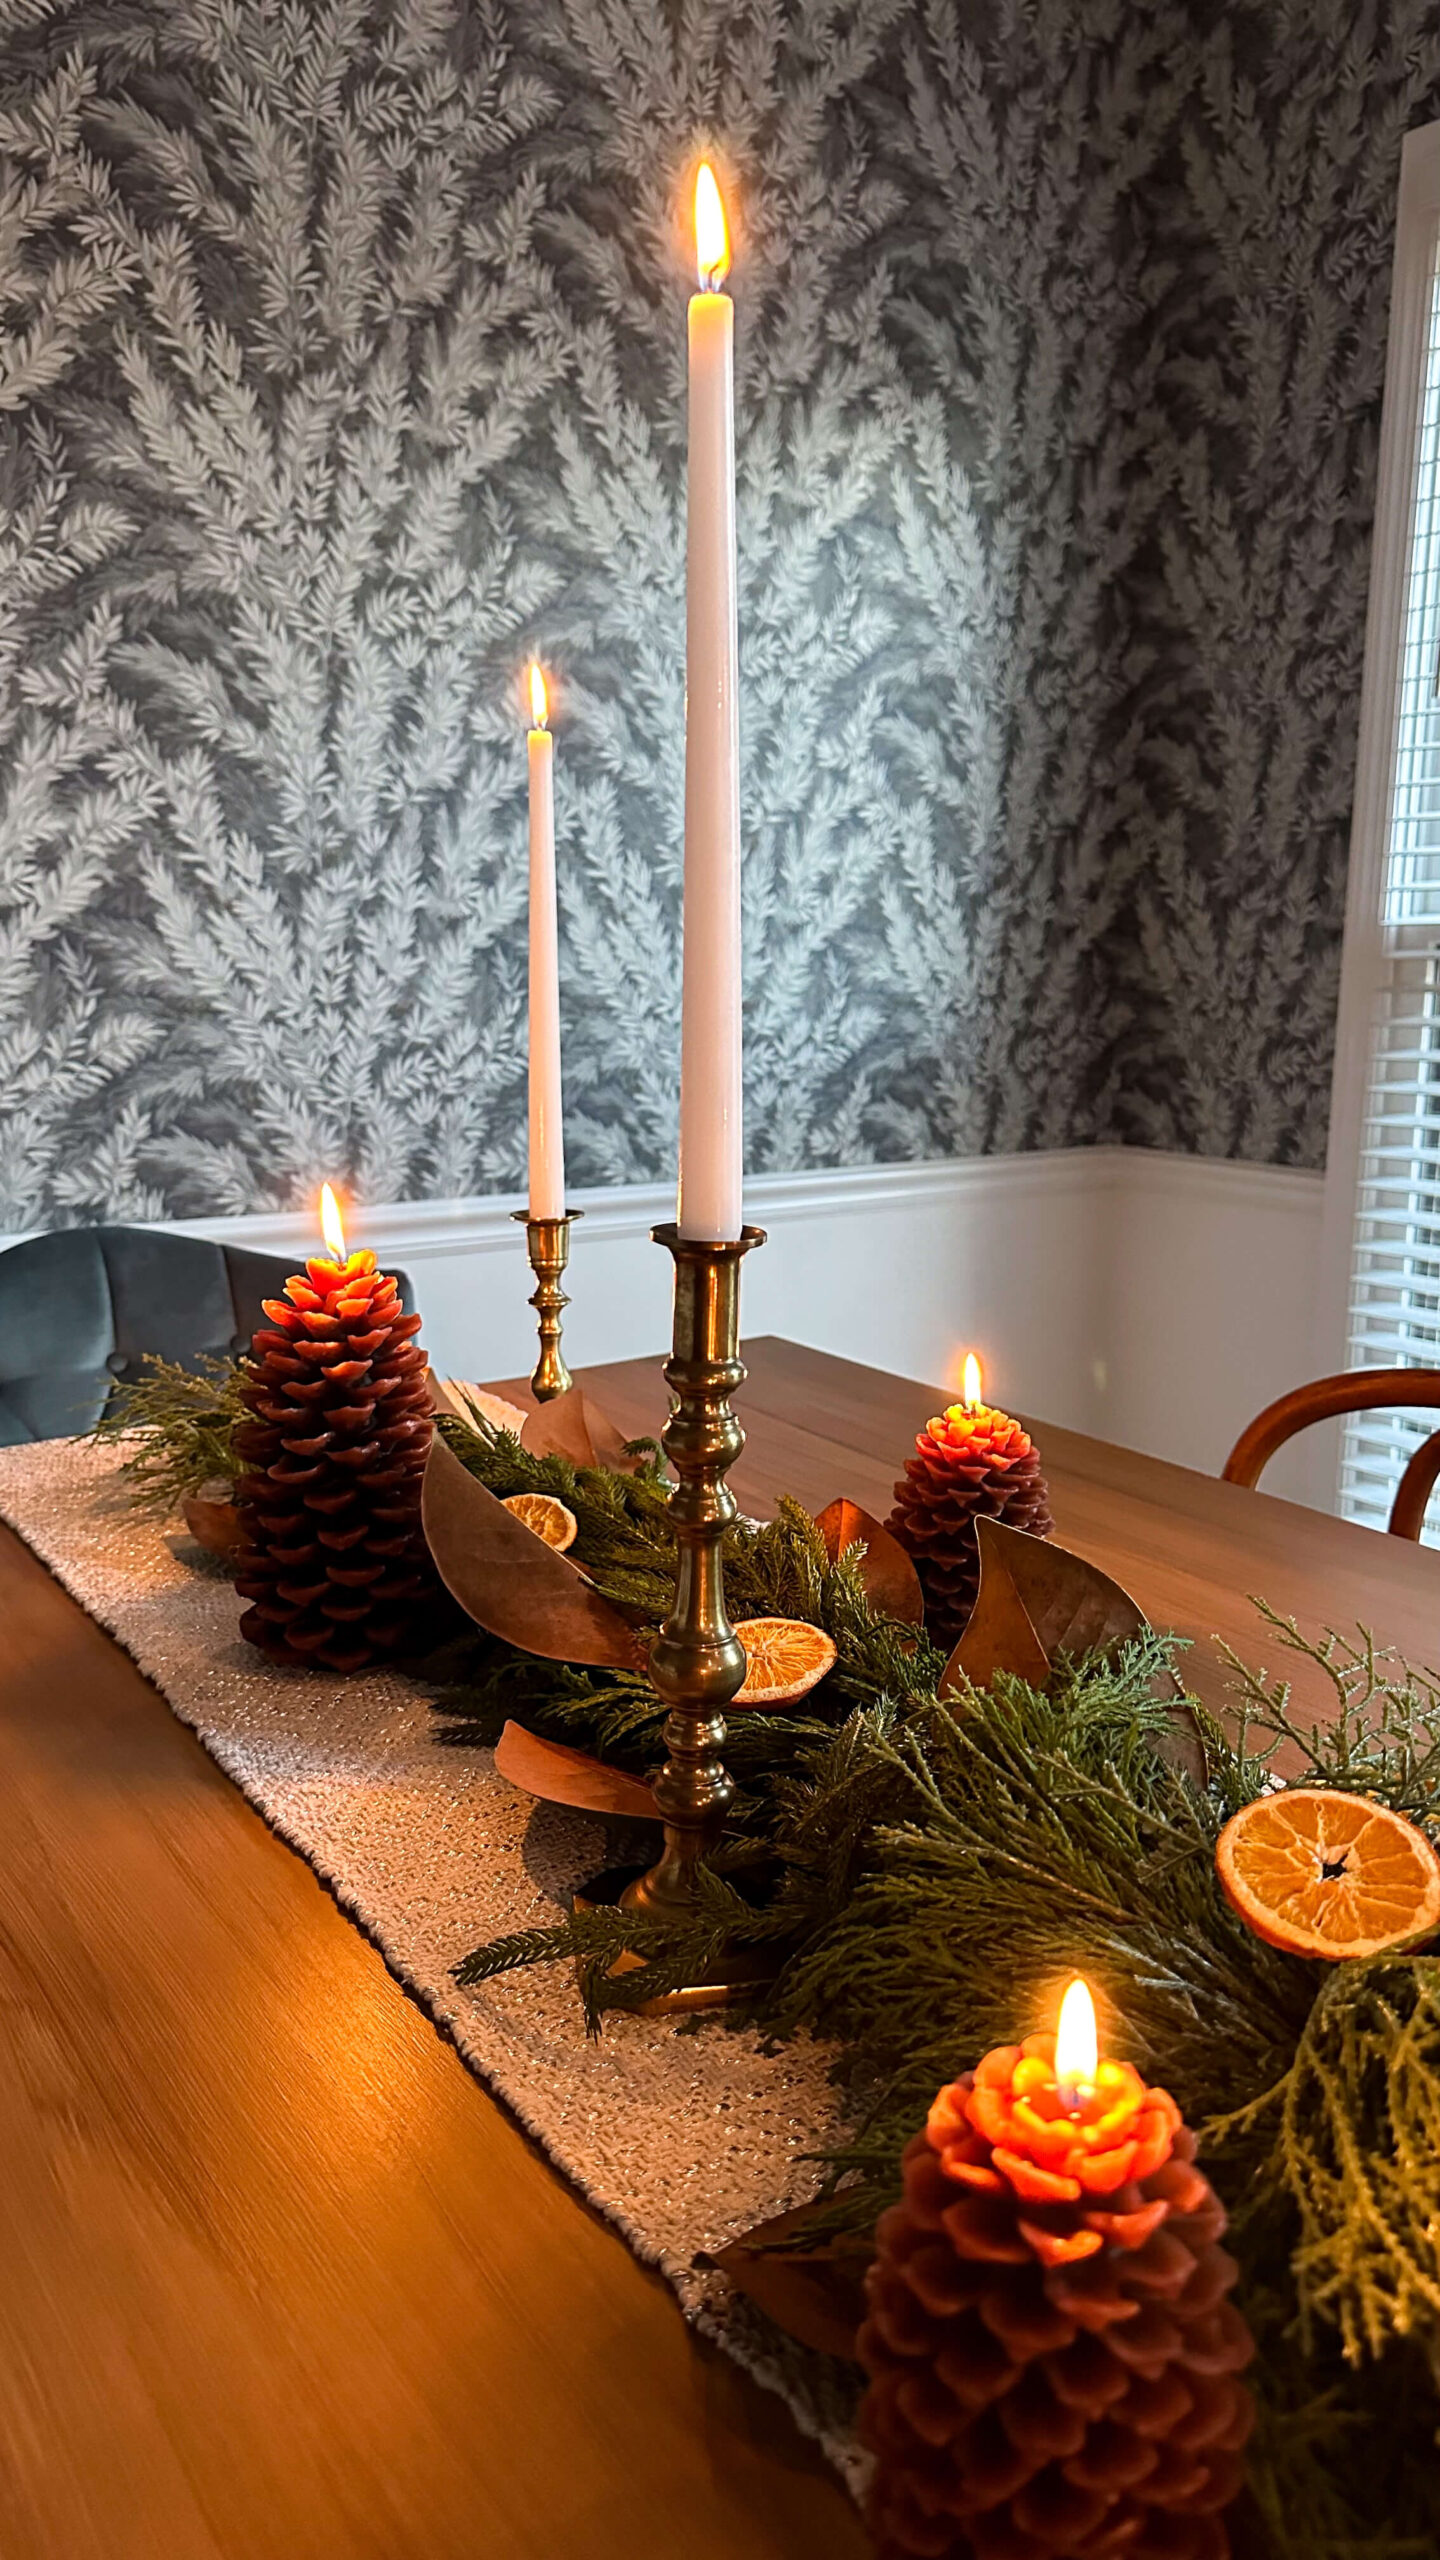
Place your Oranges
Once your orange slices are properly dried out and cooled, layer them throughout the garland. This does not need to be complicated. Simply place them down the table, alternating sides of the garland.

Closing Thoughts
I truly did not know what to expect with this project, but I’m so glad I gave this DIY autumn centerpiece a try! Being able to extend the enjoyment of my new holiday garland, makes me feel better about the investment I made. I love that I was able to transition it into an autumn theme at a relatively low cost, and will be able to enjoy it for years to come!

Tell me: what would you put in your DIY autumn centerpiece?
If you enjoyed this, please be sure to sign up for my monthly newsletter. I share personal anecdotes, monthly highlights and favorite things, exclusively from me to you. Thanks for visiting and following along!


