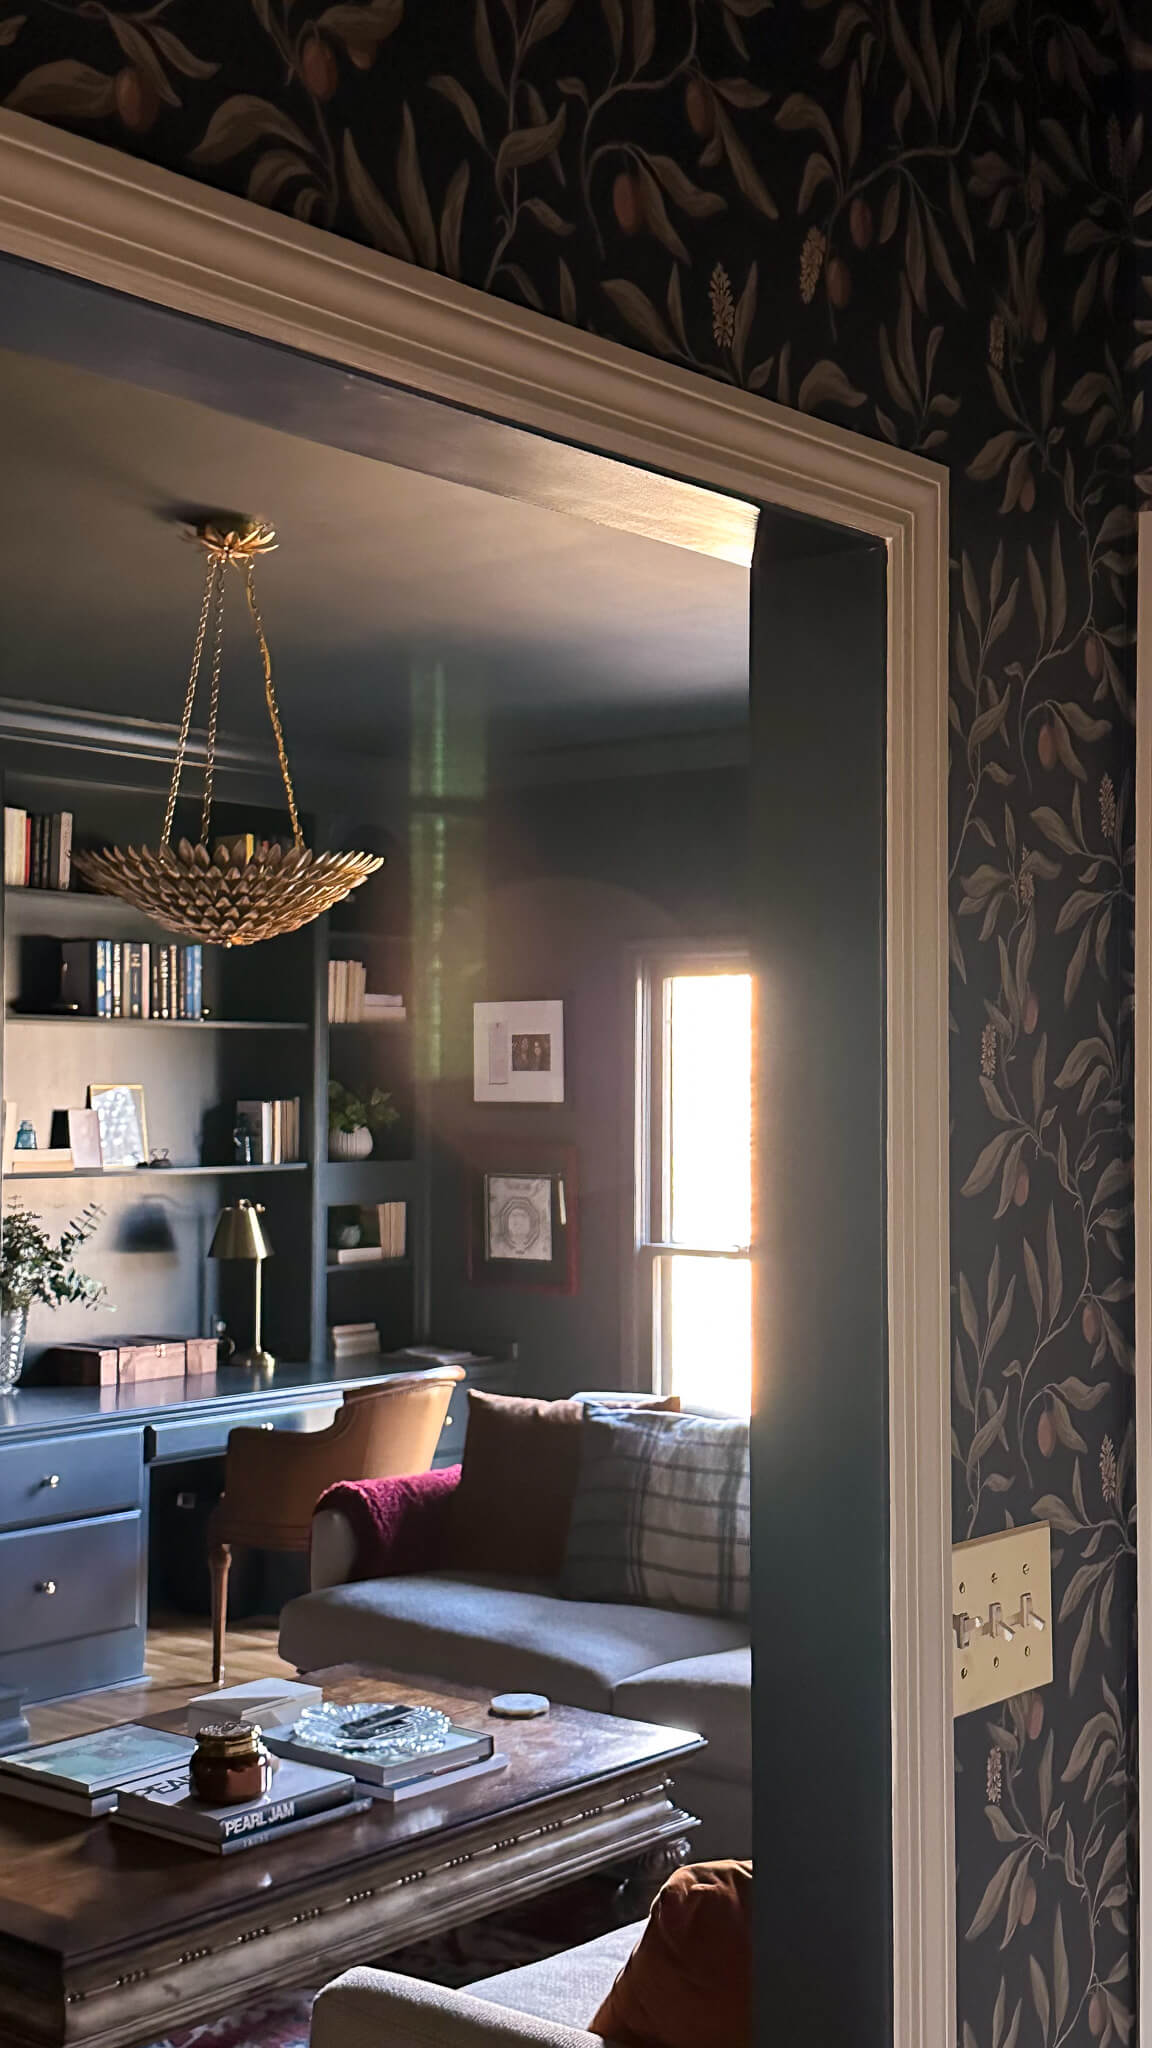
For me, the journey of transforming my house truly started with a paint brush. While I’ve been painting for decades at this point, it wasn’t until recently that I decided to paint the trim between the cozy room and back entry two different contrasting colors. With that decision, came learning how to get razor-sharp crisp paint lines. While I was a bit intimidated at first, I’m here to share it’s quite easy! I’m excited to share my tips with you today – let’s get to it.
Supplies You’ll Need
- Premium frog tape: Its enhanced adhesive forms an impenetrable barrier, ensuring zero paint bleed.
- Paint brushes: The exact type will depend on what you’re painting but you can’t go wrong with an angled brush. I like this one!
- Flawless roller: If you’re painting walls two different colors then you’ll need this. For trim you can disregard.
- High-quality paints: see my tips for choosing paint sheens in this post if you need help.
- Drop cloths
Step 1: Prep the Space
Before you do anything, you need to properly clean the area that’s going to be painted. If you don’t, your tape won’t adhere properly and you’ll have a mess on your hands. Use dish soap and warm water to wipe down the surface. Allow time to dry. Place your drop cloths around the work area.
Step 2: Mapping Out Perfection (Optional)
For stripes, intricate patterns, or unwavering straight lines, employ a level and pencil to lightly mark your desired design. Remember, these markings are temporary guides.
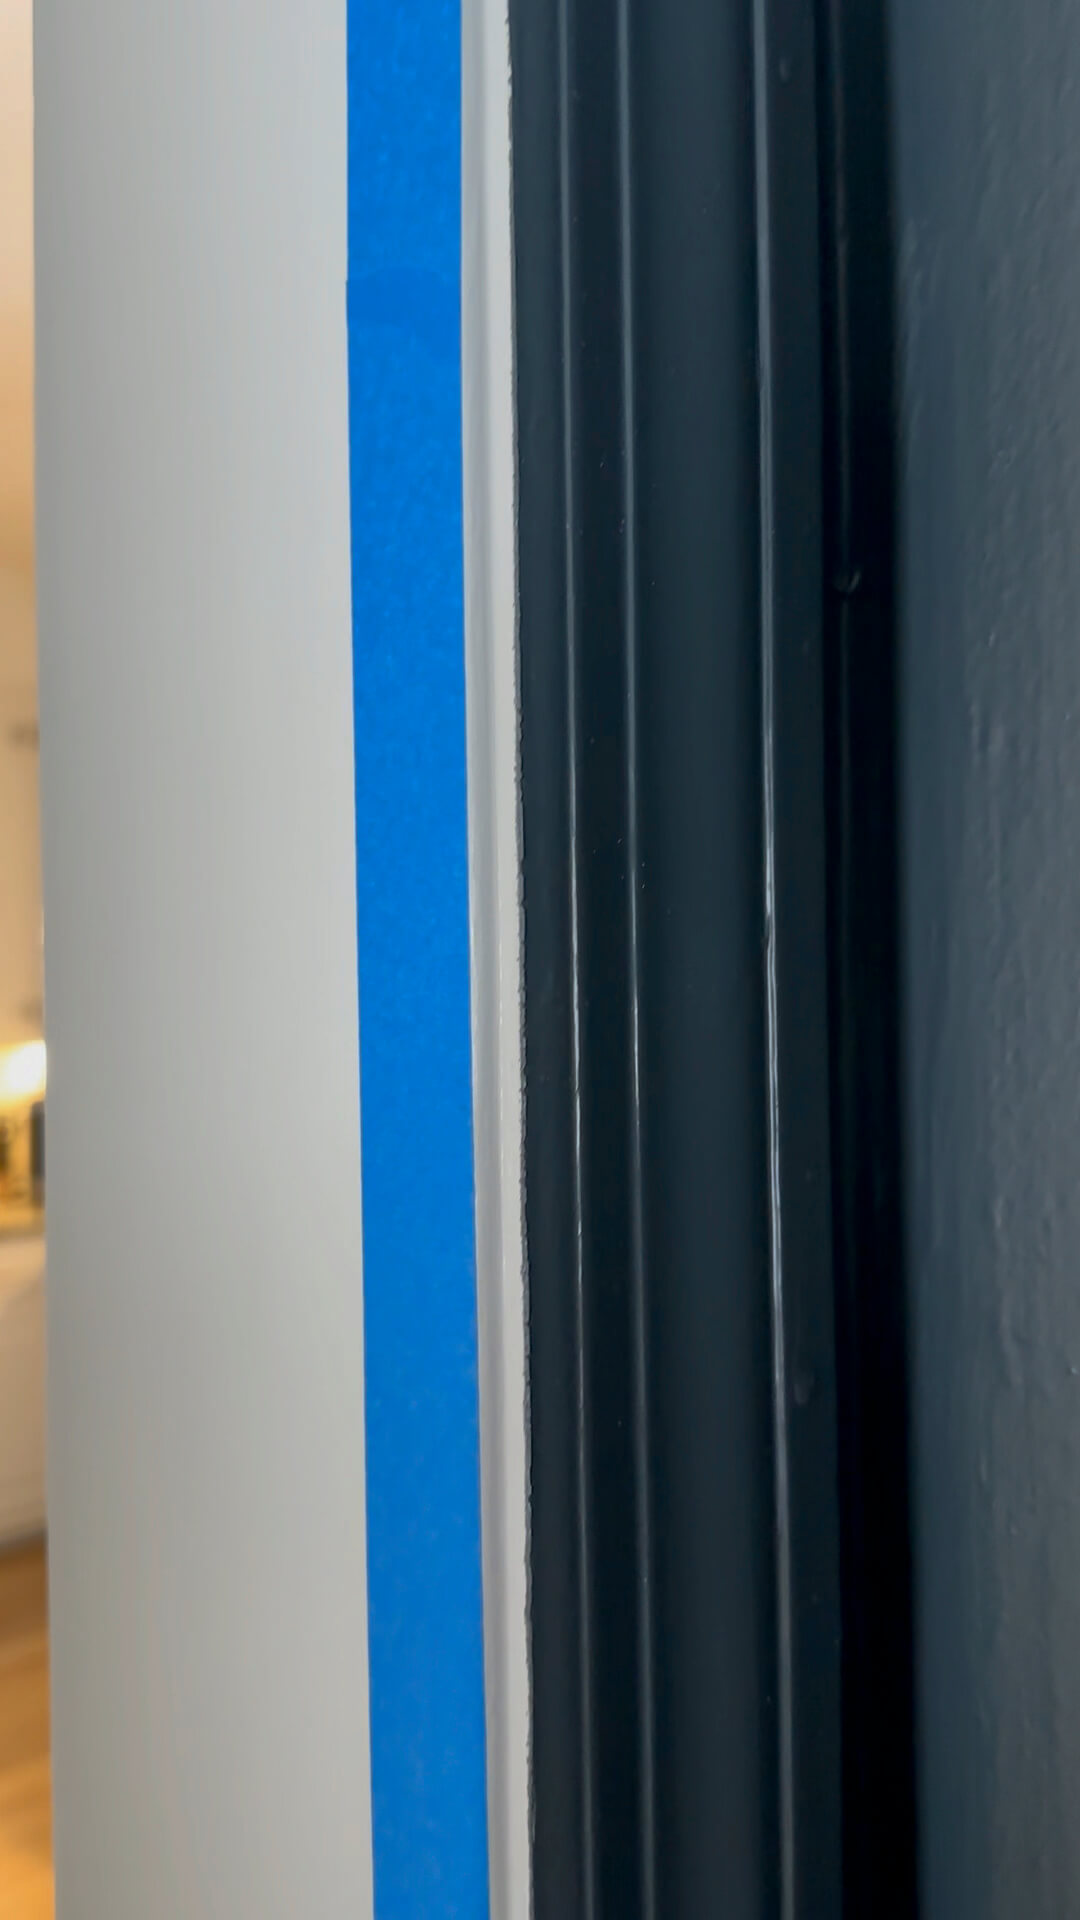
Step 3: Tape it Off
Apply your frog tape along your markings or directly on the surface. Press firmly, especially at edges and corners. In fact, I like to run a putty knife along the tape to ensure it’s sealed.
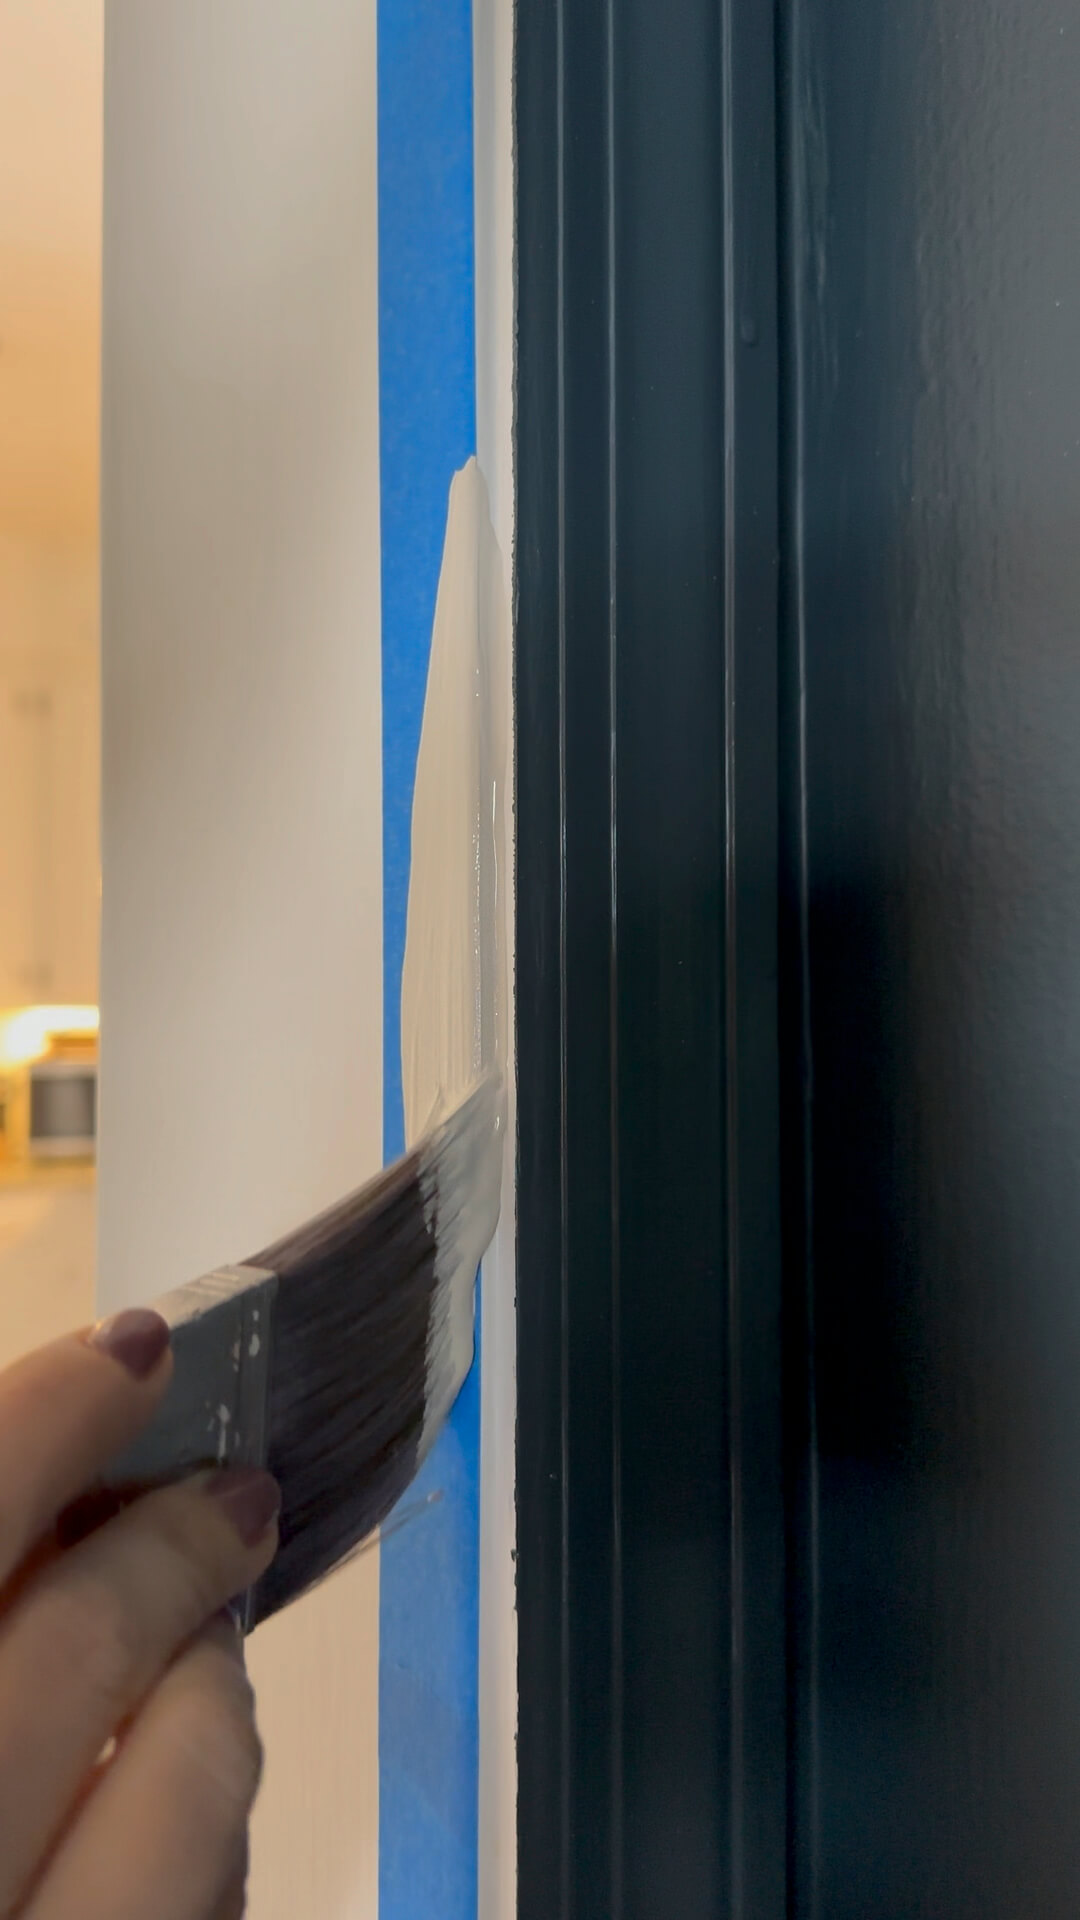
Step 4: Sealing the Deal
Here’s the Pro tip you’ve been waiting for. Before introducing the contrasting color, paint a thin layer of the basecoat over the exposed frog tape edge. This seals microscopic gaps and prevents paint migration. Allow for complete drying.
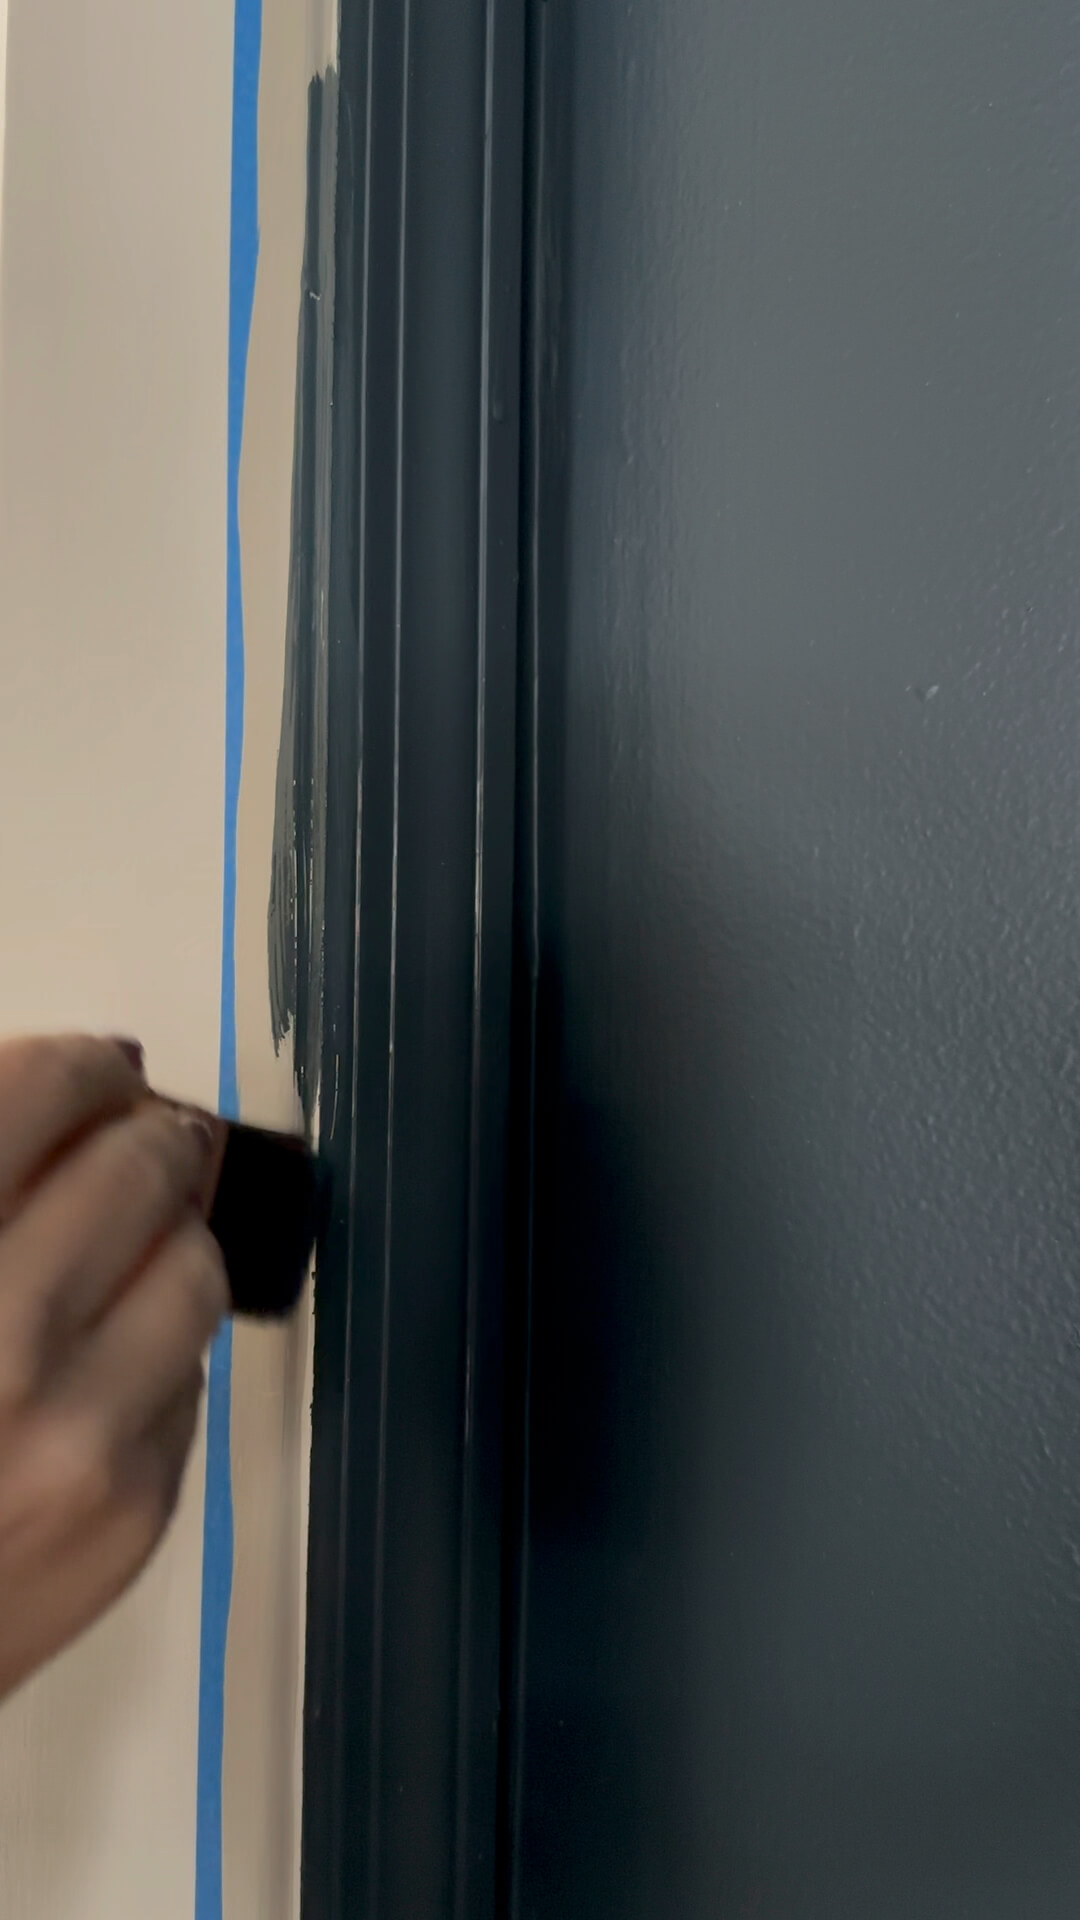
Step 5: Painting with Precision
Now, the moment you’ve awaited! Utilizing your brushes or roller, apply the contrasting color, ensuring it reaches and slightly overlaps the frog tape’s edge. Avoid overloading tools, as excess paint can lead to unwanted bleeding. Remember, thin coats applied in layers yield the most flawless finish.
Step 6: Unveiling Crisp Paint Lines
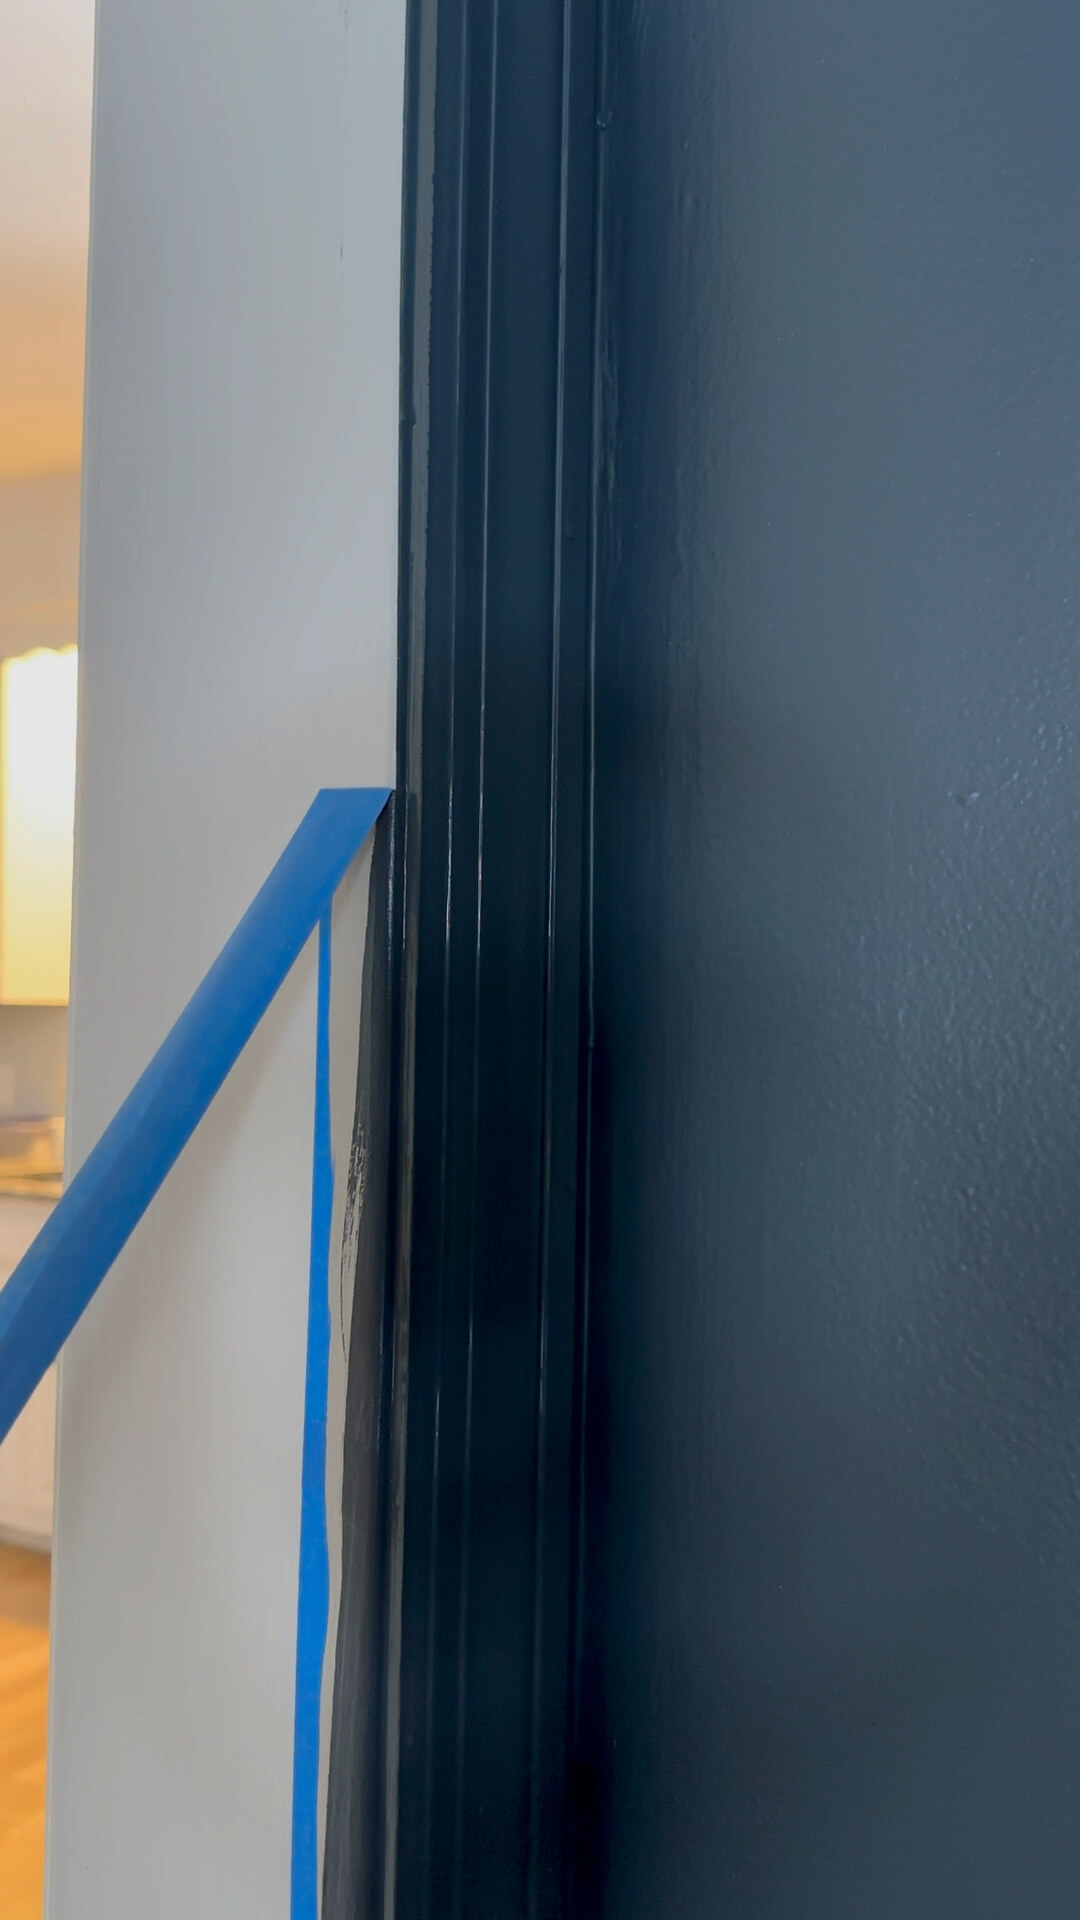
With wet paint, meticulously peel the frog tape back at a 45-degree angle. This maneuver guarantees a clean, crisp separation. It should be perfectly crisp! However should minor imperfections arise, employ a small brush dipped in the basecoat for wet-paint touch-ups.

Related:
Shop my favorite painting supplies!