


Wallpaper is a powerful design tool, capable of injecting personality and drama into any space. After wallpapering four different spaces in my house (the dining room, back entry, powder room and toilet room) I have one main takeaway to share. Meticulous wall preparation is crucial. When done correctly, it will make your installation a breeze as well as ensure your wallpaper is adhered properly. Let’s delve into the key steps on how to prepare walls for wallpaper installation.

How to Prepare Walls for Wallpaper Installation
Step 1: Assess Your Walls
- Strip the Drama: Remove existing wallpaper, light switch covers, and outlet plates. Eliminate any potential adhesion disruptors.
- Spot the Imperfections: Become a wall detective, searching for bumps, cracks, and nail holes. Spackle and sand these imperfections for a smooth, even surface.
- Cleanliness is Paramount: Grab a large sponge and a mild cleaning solution (detergent or vinegar work well) to banish dust, dirt, and grime – anything that could jeopardize adhesion. Remember, if your walls are dirty, the paste won’t properly adhere.
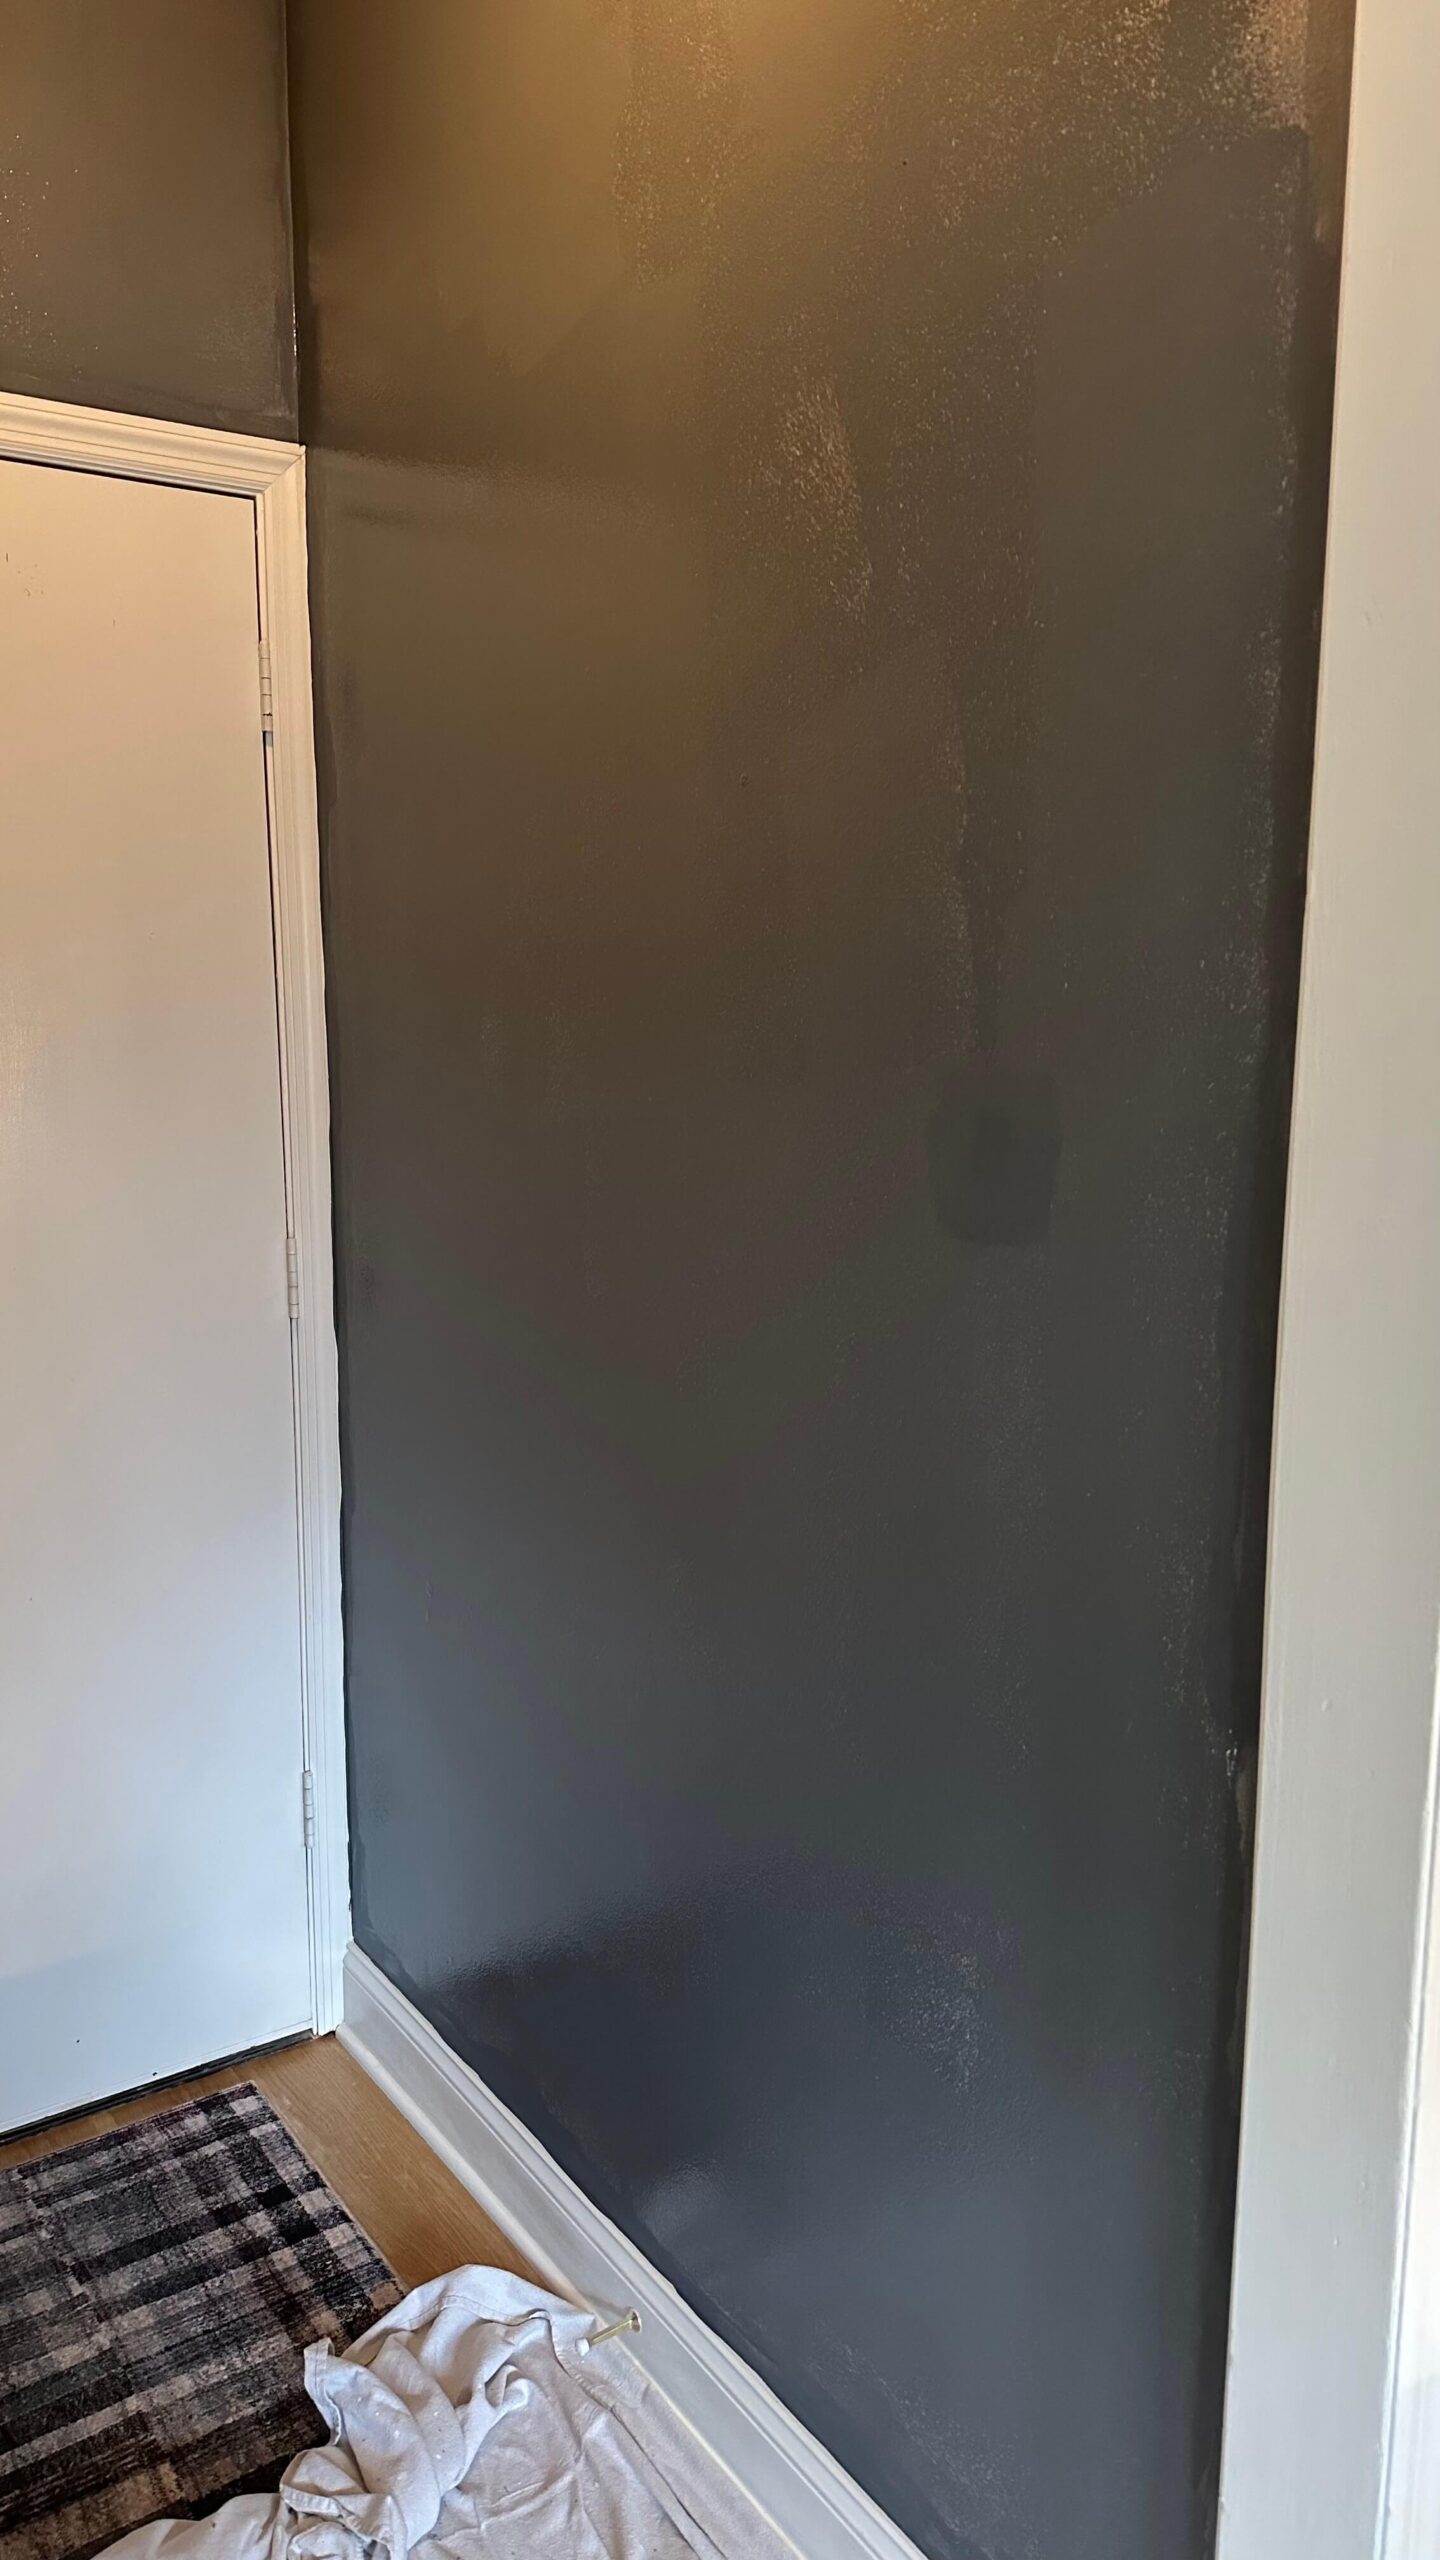
Step 2: Paint & Prime – The Essential Duo
- Painting Assessment: Evaluate your existing paint as well as your wallpaper of choice. Peel and stick wallpaper generally adheres best to eggshell, satin or semi-gloss paint. Traditional pasted wallpaper does best with an eggshell sheen. If it’s sound, and the right sheen, you might be able to skip this step. However, old, peeling, or glossy paint will not work. Skip to the next bullet if this is you.
- Prime Time: This is your secret weapon! Primer seals the surface, prevents stains, and creates a uniform base for the wallpaper.
- Even more importantly, consider the color of your chosen wallpaper. If it’s a darker pattern, you can get your primer tinted. This will help you avoid any visible break in the seams.
- Drying with Patience: Remember, haste makes waste. Follow the drying times for both paint and primer before applying wallpaper. For primer, you can begin installation after 24 hours. Any type of paint needs at least 30 days to cure. Another reason to consider the primer option!
Step 3: The Final Inspection Before Wallpaper Installation
- Texture Talk: Slight texture might not be a dealbreaker, but for a truly flawless look, consider using joint compound to smooth out unevenness. Sand lightly after application to achieve a baby-smooth finish.
- Patching Up: Stubborn cracks or holes? No worries! Apply spackling compound, let it dry, and sand smooth. Repeat if necessary until you achieve a flawless surface.
Wallpaper Prep Supply Checklist:
- Spackling compound
- putty knife
- Sandpaper (various grits)
- Cleaning solution
- Sponge
- Drop cloths
- Painter’s tape
- Paint & brushes/rollers
- Wallpaper-specific primer & roller
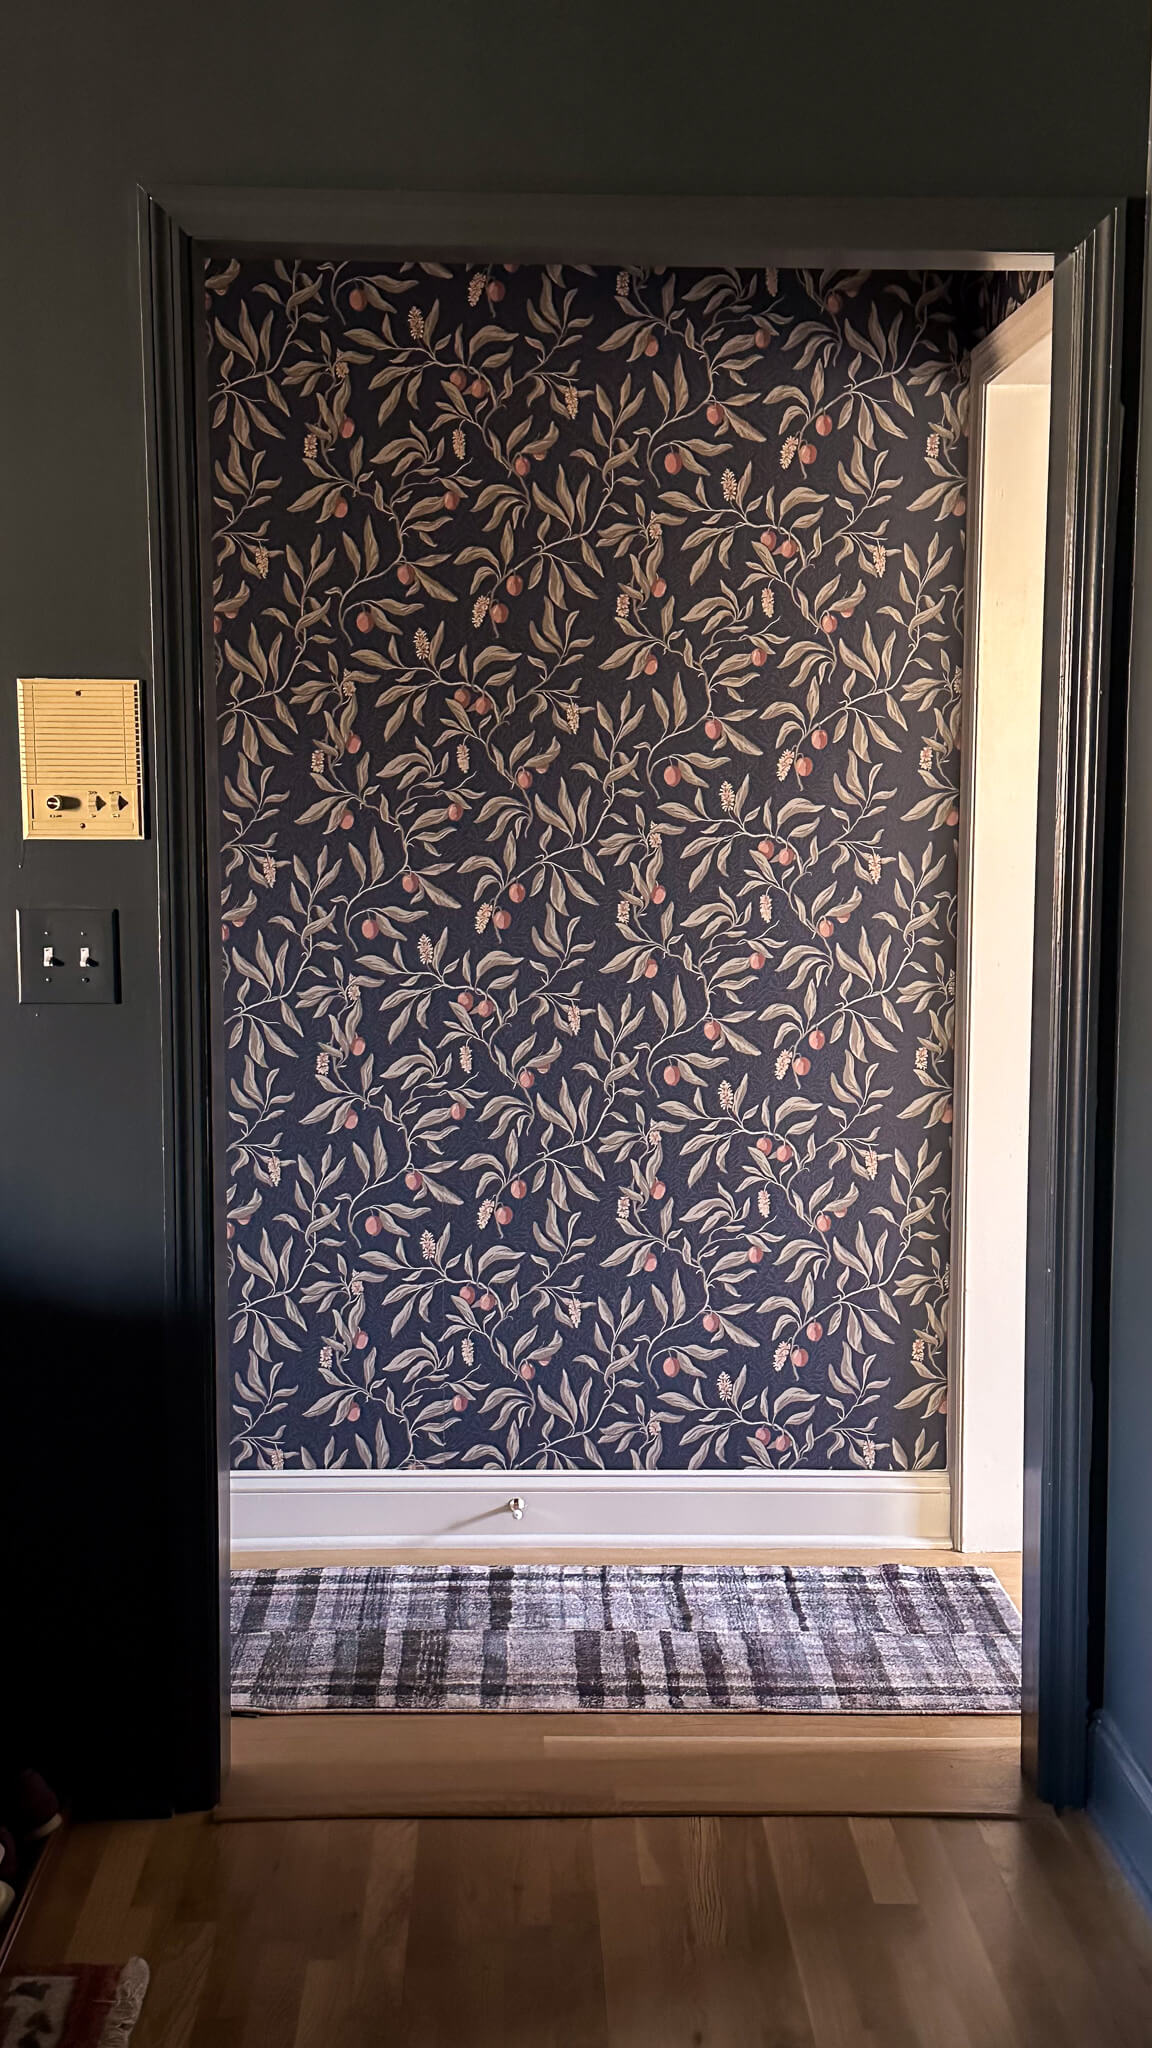
Remember, how to prepare walls for wallpaper can be a bit different for everyone as every wall is unique. Adapt these guidelines based on your chosen wallpaper’s specific instructions. With meticulous preparation and these expert tips, you’ll create the perfect foundation for a flawless wallpaper masterpiece. Happy decorating!


