


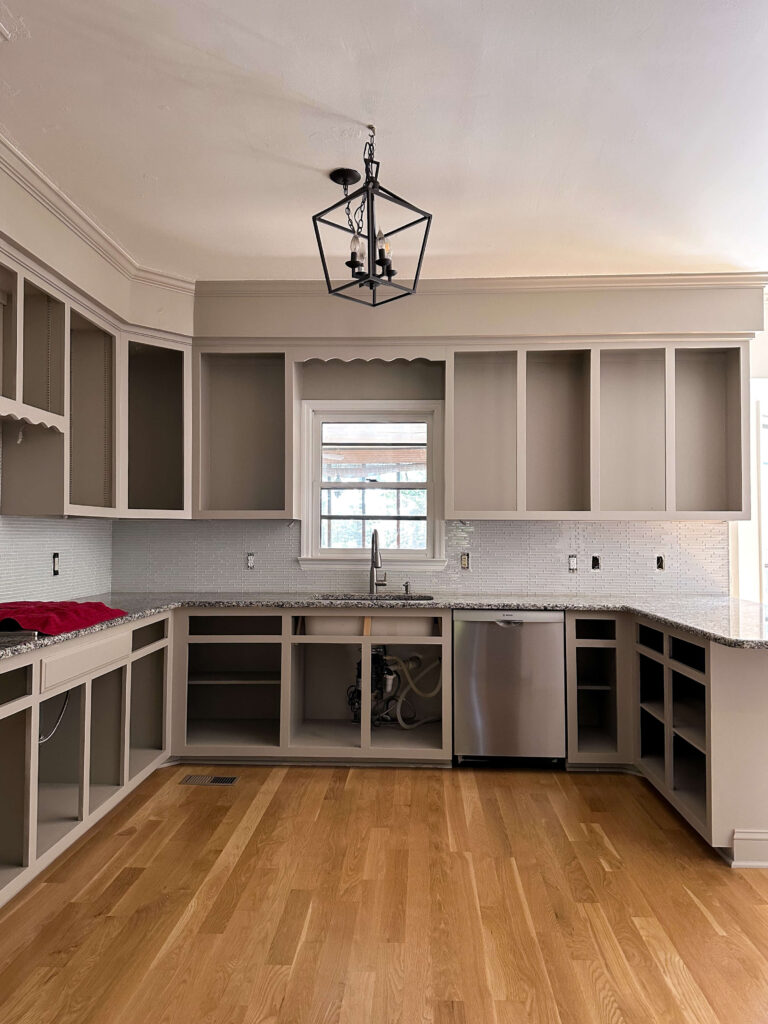
We are two full weeks into the 2024 Fall One Room Challenge and this is the week where I finally felt I could see my vision taking shape. That’s the power of paint after all – it’s transformative! (did you see my exterior reveal? Say less.) But before we could get into the fun part, there was still a little bit of prep left to do. I know you thought we probably covered that last week, but there was a little bit more to ensure the paint really sticks.
Kitchen Renovation – Prepping the Space
Sanding the Cabinets
After cleaning and wood filling all holes / dents, it was time to sand everything smooth. If you’re wondering why we do this, it’s to give the new paint something to really grip to. It’s tedious, but there is nothing worse than bumping into a freshly painted surface and seeing a chunk of paint chip off. Trust me, I’ve done it. And guess what? I didn’t sand first.
Since there is so much area to cover (don’t forget we still have shelves, cabinet doors and drawer fronts!), I decided now was the time to invest my first sander. After quite a bit of research I landed on the DeWalt random orbital sander with varying speeds. I liked that I had the option to adjust the speed for not only this project but projects in the future. It also came with a little dust bag that clipped on, which I appreciated!
DeWalt Random Orbital Sander | 120 Grit Sandpaper | 220 Grit Sandpaper | Tack Cloth
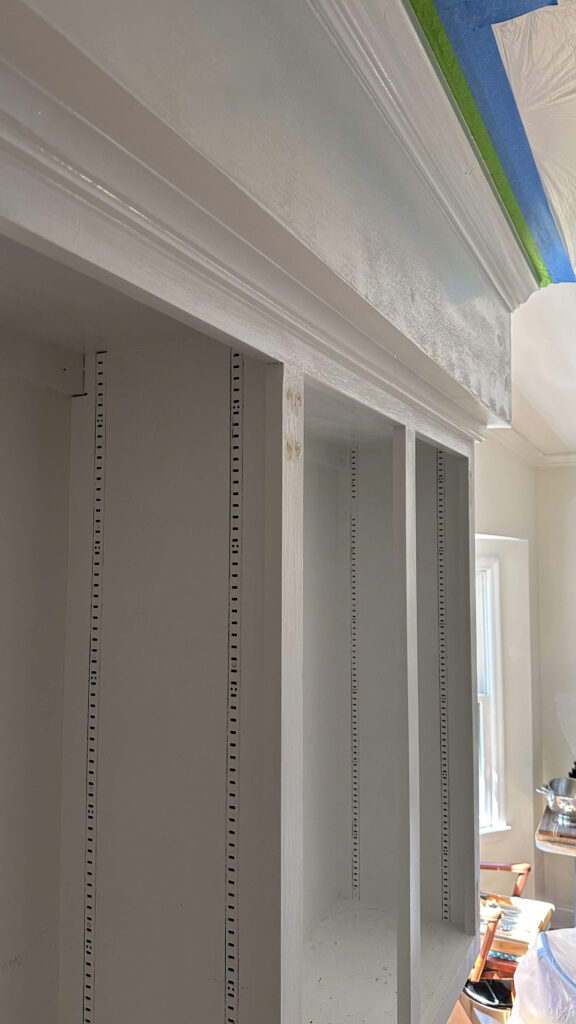
Anything the sander was too big for (the crown molding, the detail at the bottom of the soffits, etc) I ran over by hand with a 120 grit sand paper. After all the sanding was done, I ran a shop vac over all the surfaces followed by a tack cloth to pick up any loose particles. I also vacuumed the floors and counters thoroughly. We don’t want specs of dirt flying into our freshly painted cabinets!
The Paint Color!
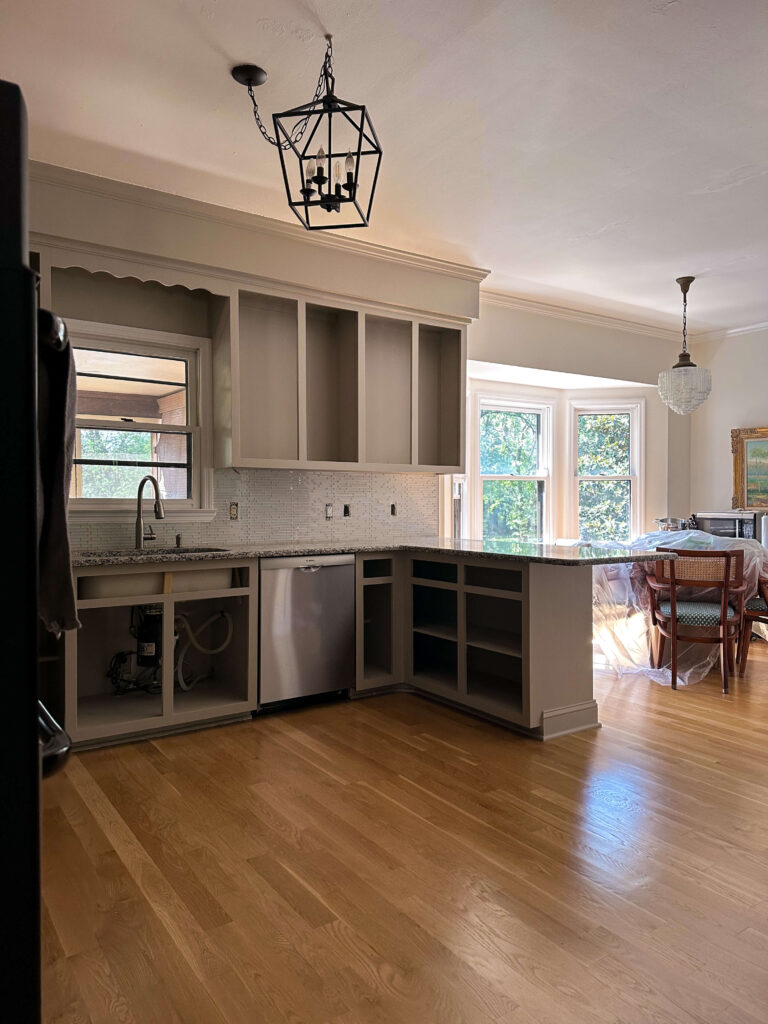
To keep myself motivated in between the never ending prep work, I took a trip to the paint store to grab a sample of paint. I still can’t believe this, but I nailed it on the first try! My initial mood board hinted at a warm taupe, and I found just that in Stone Hearth by Benjamin Moore. It’s dark enough to add warmth but not too dark to end up feeling dated. I painted a small area and then got a bit braver with a shelf just to make sure. It was love at first sight!
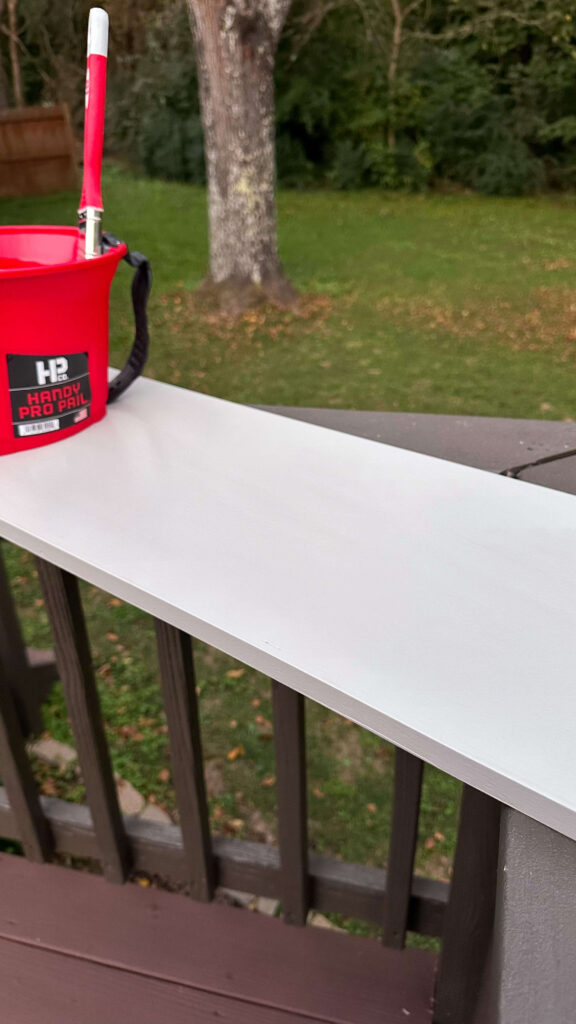
Supplies: Handy Paint Pail
Sealing the Space
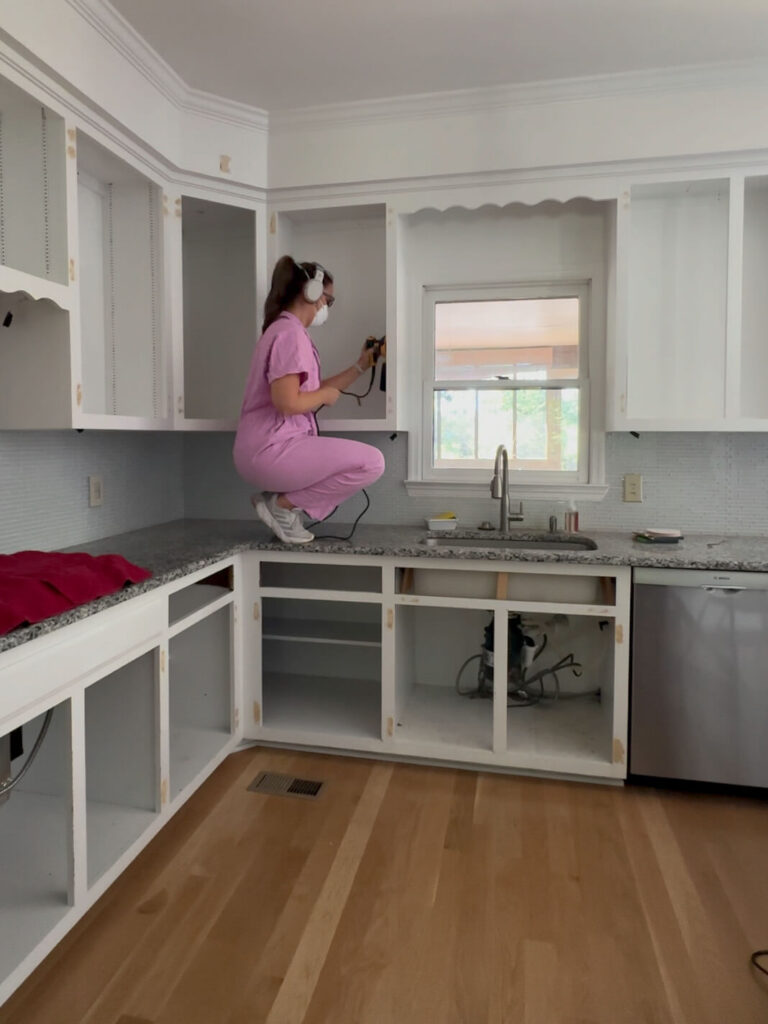
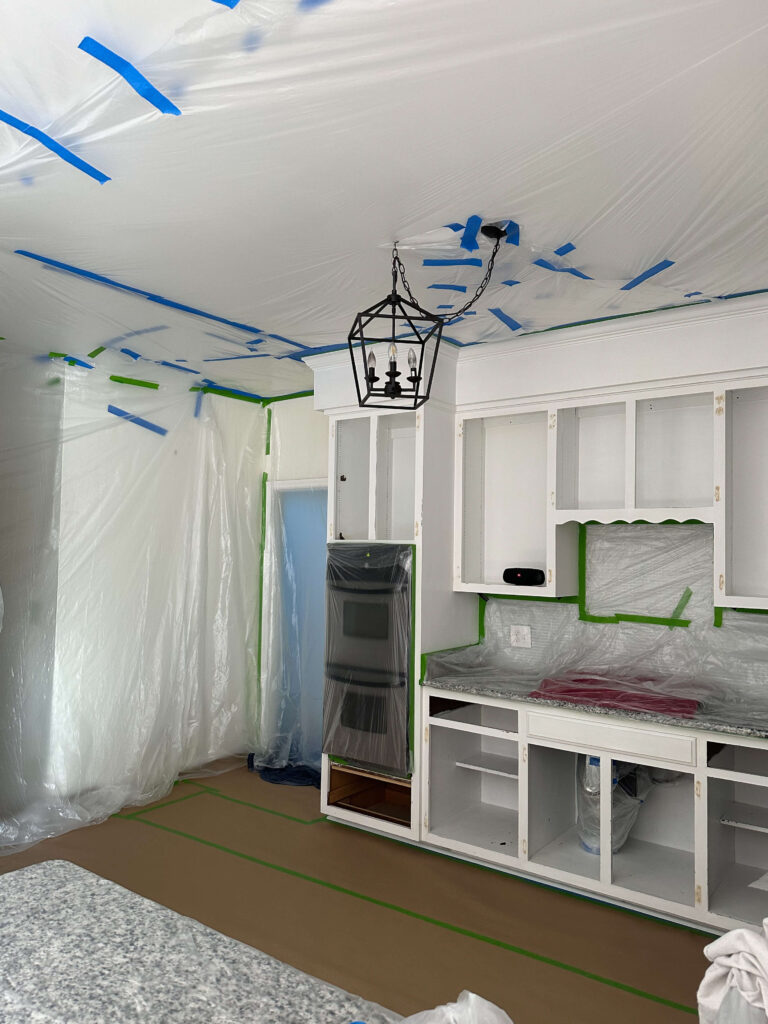
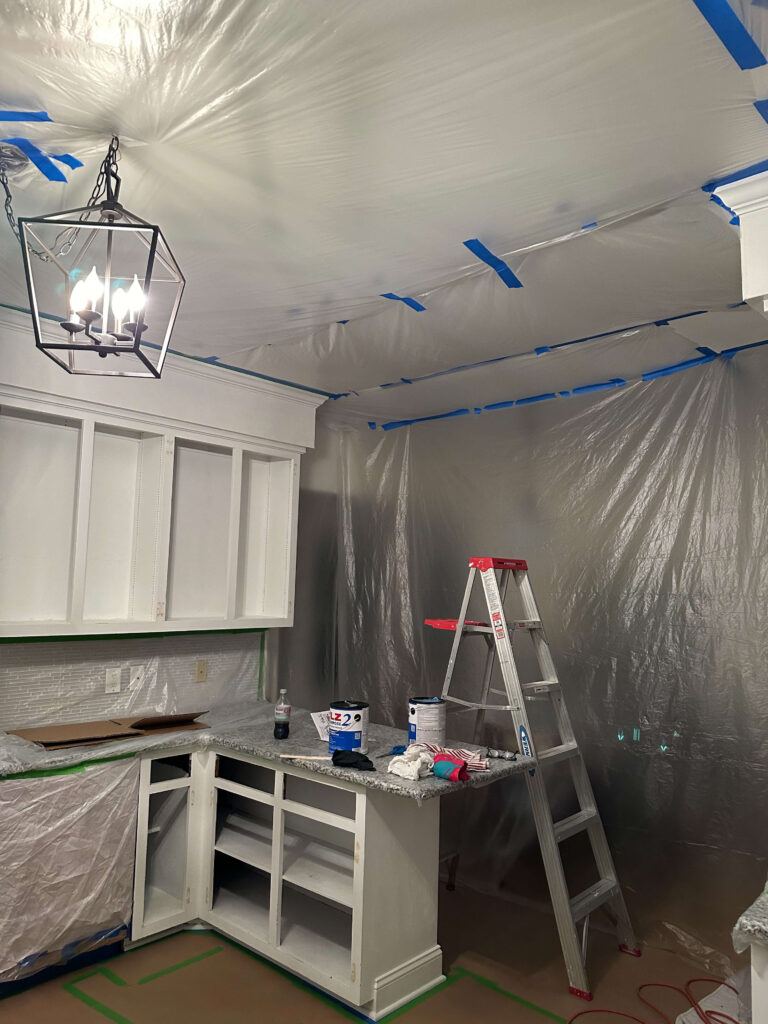
As I was cleaning every square inch of these cabinets, I decided this would be the time to learn how to use a paint sprayer. There’s just too much surface to do by hand and I want a smooth factory finish to make these cabinets look like new. With that decision came the obligation to really mask off anything in the kitchen that wasn’t getting painted.
I hung plastic across the ceiling, covered the appliances, taped and covered the plumbing under the sink, the piping under the stove and finally made walls by suspending plastic sheets from the ceiling. From there, I used painter’s paper to roll across the floor and thoroughly taped then down with painter’s tape. And lastly I extended some drop cloths into neighboring rooms just to be safe. I read that 30% of your paint from a sprayer will travel so I was a touch paranoid to say the least! This took 12 hours which was much longer than I expected.
Kitchen Renovation – Painting the Cabinets
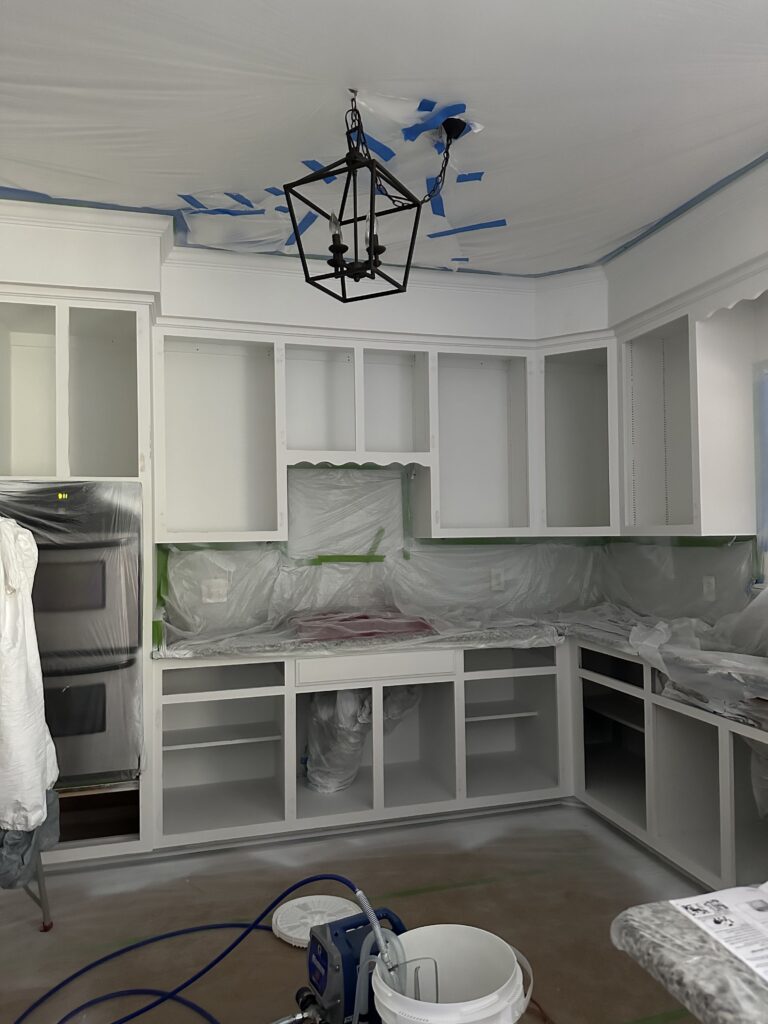
Prime Time!
Before it was time for color, it was time for primer. It’s an extra step but again, think of it as laying the canvas for your masterpiece. This will ensure your paint looks the same on every single surface, and will give it a little something extra to grip onto. I always use Killz primer, which is inexpensive and is ready to paint over in about 3 hours.
Killz Primer | Graco X5 Magnum Airless Sprayer | Painter’s Tape | Painters Paper | Plastic
This also gave me an opportunity to get familiar with my new paint sprayer, the Graco Magnum X5 Airless Paint Sprayer. The sprayer was relatively easy to set up, and once I got the hang of it, it was so fun to use! I have never used a paint sprayer before and it took me less than hour to spray the crown molding, soffits, insides and outsides of the cabinets and drawers. If I had been doing this by hand it would have taken me a full day!
Using the Paint Sprayer
Finally the moment I’ve been waiting for – the paint! I shared above I went with Stone Hearth by Benjamin Moore, but I didn’t share what type of paint. At the recommendation of a friend I decided to try the COMMAND Corotech which is a waterborne acrylic urethane. The selling point of this stuff is that it dries within 15 minutes, is ready to recoat in an hour and you can allegedly drive a forklift on it within a day. (I’m not driving a forklift on my cabinets!)
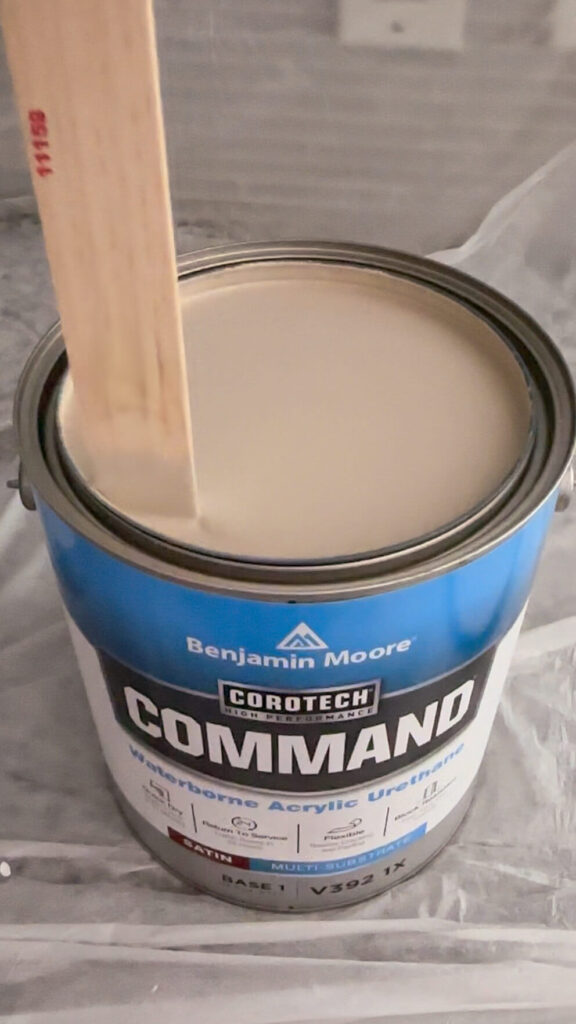
Here are my candid thoughts on the product:
Pro’s: The paint does dry very quickly but my cabinets were not ready to recoat within an hour. I waited 6 hours just to be safe and that still felt better than needing to wait a full day which is what I normally do. The finish came out buttery smooth and the satin finish is the perfect amount of shine for the space.
Con’s: This type of paint is “self leveling” which means exactly how it sounds. With that, you cannot go heavy on vertical surfaces. Unfortunately, being a newbie sprayer, I didn’t know this and should’ve dialed my spray back a bit. I have some runs from the first coat, and most of them I was able to catch in time with a brush to avoid sagging. A couple of them got past me and I’ll need to go back and fix them. The fumes from this paint are INTENSE. Plan to open a window if possible because it’s a lot to handle.

Graco X5 Magnum Airless Sprayer | Painter’s Paper | Painter’s Tape | Plastic
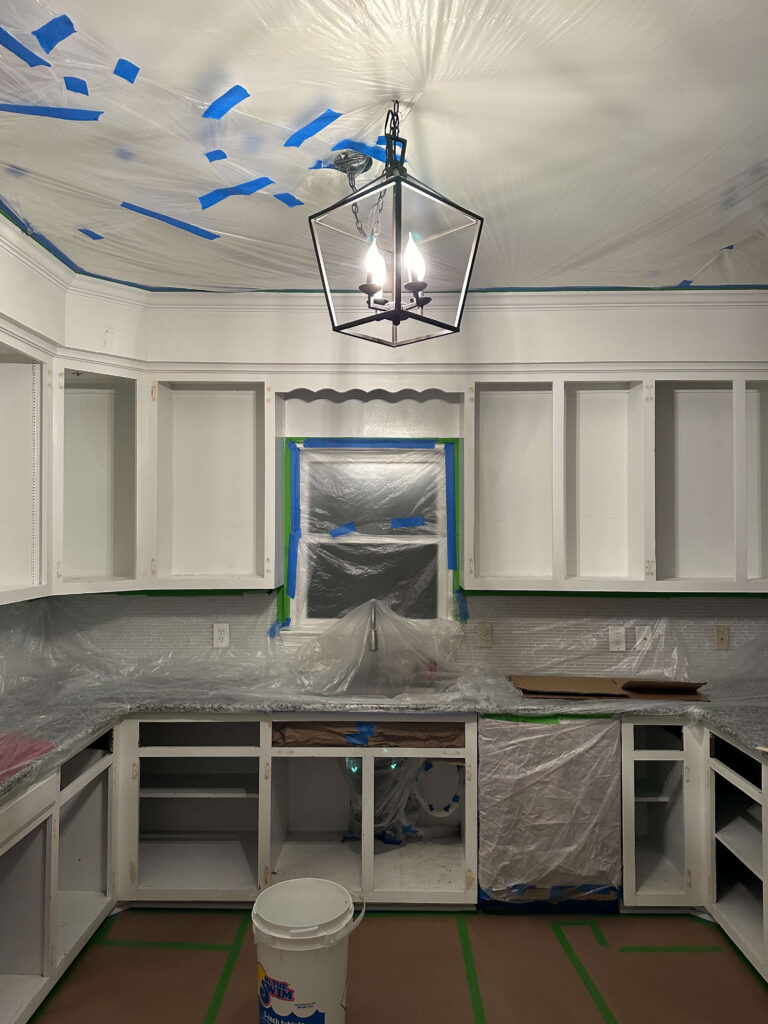
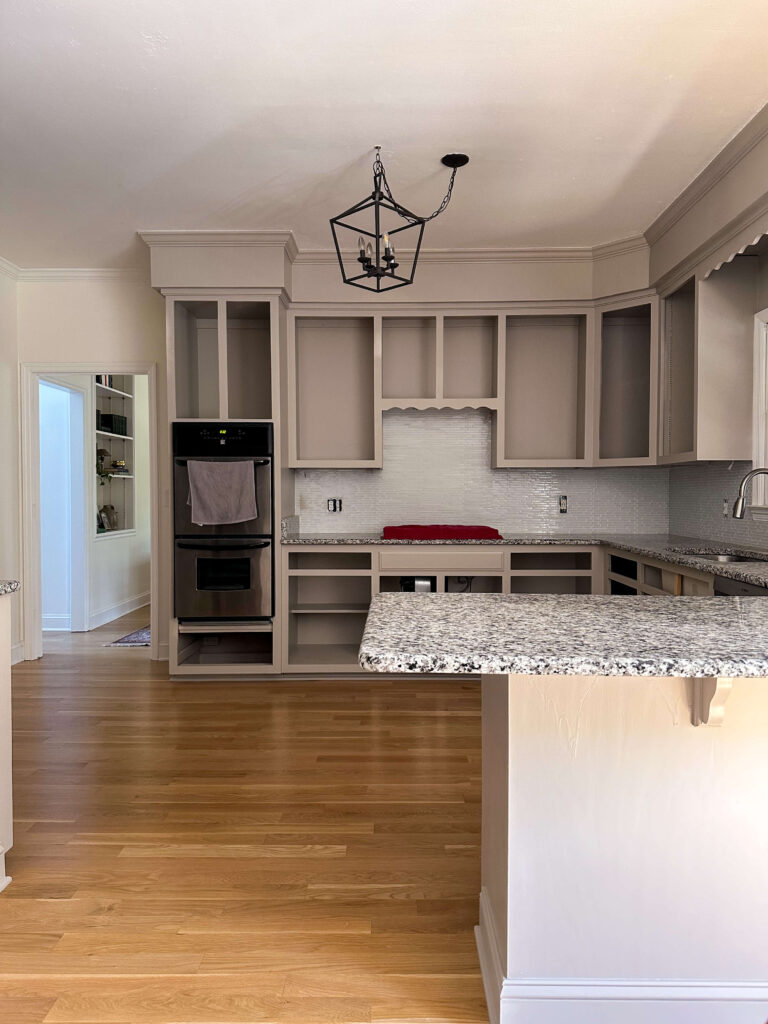
The Moment of Truth
After the paint was dry, I started to remove the plastic and paper. Unfortunately some of my ceiling paint came off with the tape, so I’m working on fixing those patches. I have a few areas to touch up (both wall paint and cabinet paint) but for the most part, my prep work paid off and there was no damage to the floors or surrounding rooms!
Budget Friendly Kitchen Renovation – What’s next?
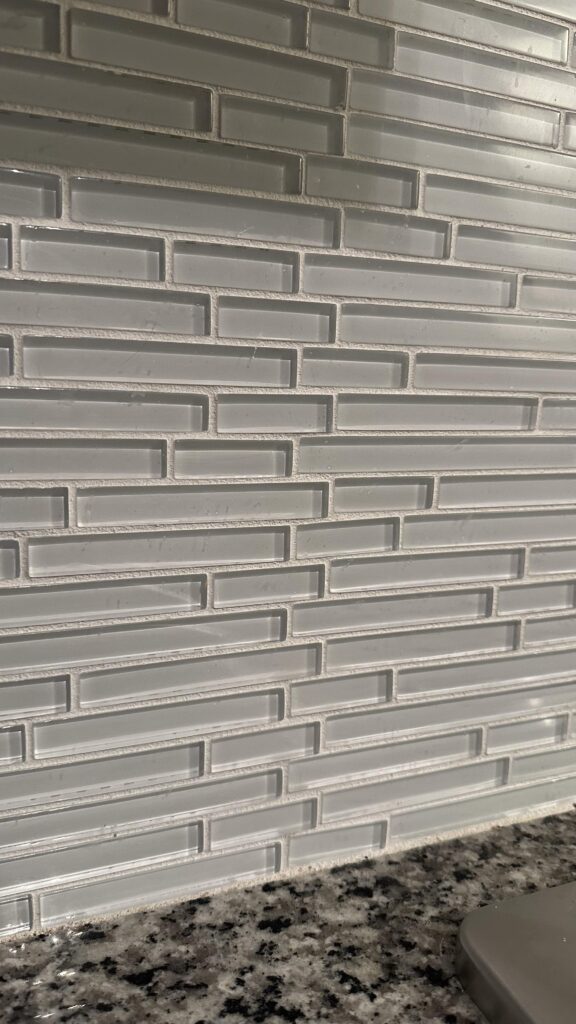
We’re about to turn up the dial on the transformation and next up will be the backsplash. I’ll be removing the existing glass tile backsplash and installing this pretty wood paneling I found at Lowe’s. The paneling will be painted the same color as the cabinets to create a seamless look.
I also still have all the cabinet shelves, drawer faces and cabinet doors to clean, sand and paint. I anticipate doing this in waves while doing other pieces of the renovation so I can stay on target. I’ll see how easy or difficult the backsplash is this week and we’ll play it by ear from there.
Make sure you’re following along on my instagram account to see all the behind the scenes in stories, and weekly recaps in feed. To see and cheer on other designers, you can follow the One Room Challenge weekly progress reports here!
Catch Up on the Budget Friendly Kitchen Renovation:
One Room Challenge Kitchen Renovation – Week 1
One Room Challenge Kitchen Renovation – Week 2
One Room Challenge Kitchen Renovation – Week 3
One Room Challenge Kitchen Renovation – Week 4
One Room Challenge Kitchen Renovation – Week 5
One Room Challenge Kitchen Renovation – Week 6
One Room Challenge Kitchen Renovation – Week 7
One Room Challenge Kitchen Renovation – Reveal


It’s looking great Allison! You’ve worked so hard in a short period of time. Prepping is tedious but necessary to avoid “fixing” mistakes. Forge ahead! I’m so proud of you and your ability to tackle hard projects!!
Thank you so much! I’ve learned from the best! 🙂