


I think there are two types of people when it comes to design: those that have a design in their head and those that need to sketch everything out in advance. I’m of the former type, not the latter. In fact the main reason I create mood boards is to showcase my vision to all of you! With all that said, there is always part of me that’s a little nervous about tackling a new room and then there’s a moment of relief when I see it start to take shape in real life. It’s this moment where I think “okay the reality is matching the vision.” That moment for the primary bathroom renovation was these past two weeks, because I finally started to create the boxes on my custom wainscoting project. Plus my new marble countertop was installed!
Building the Actual Boxes For My Custom Wainscoting
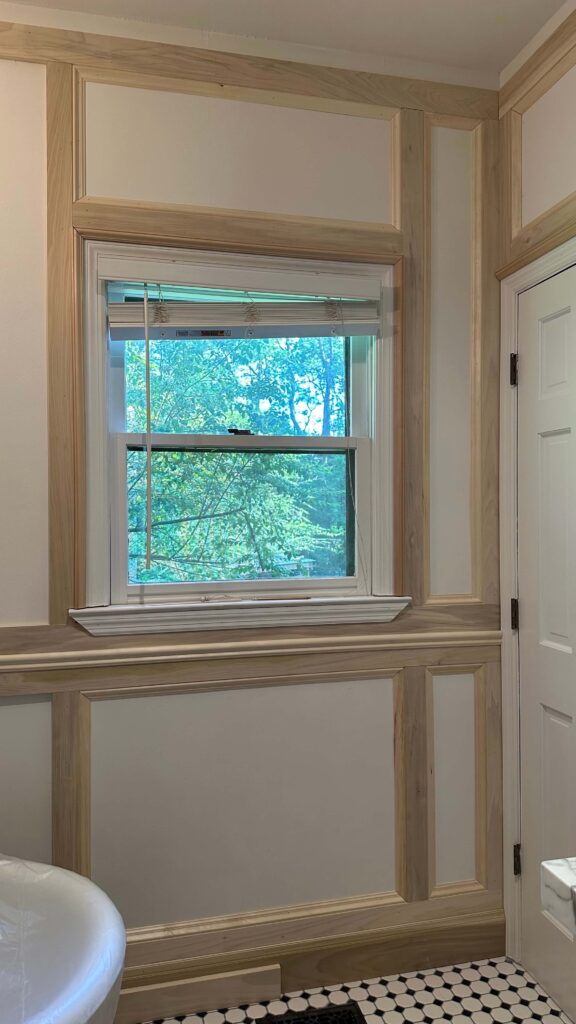
I plan to create a dedicated blog post with the measurements, plans and materials for my wainscoting design in the future, but for now, I want to go ahead and share the progress. Last week I started to place the 3.5″ horizontal boards, which means this week it was time to install the 2.5″ vertical boards (and make the actual boxes!).
Since there was plenty of math already happening with the horizontal board placement, I decided to keep things simple for myself and start my vertical boards on walls where I didn’t need to make any decisions about the number of boxes. A small space = one box. This gave me a little bit of momentum, because I was able to see the boxes come to life and I was eager to keep going.
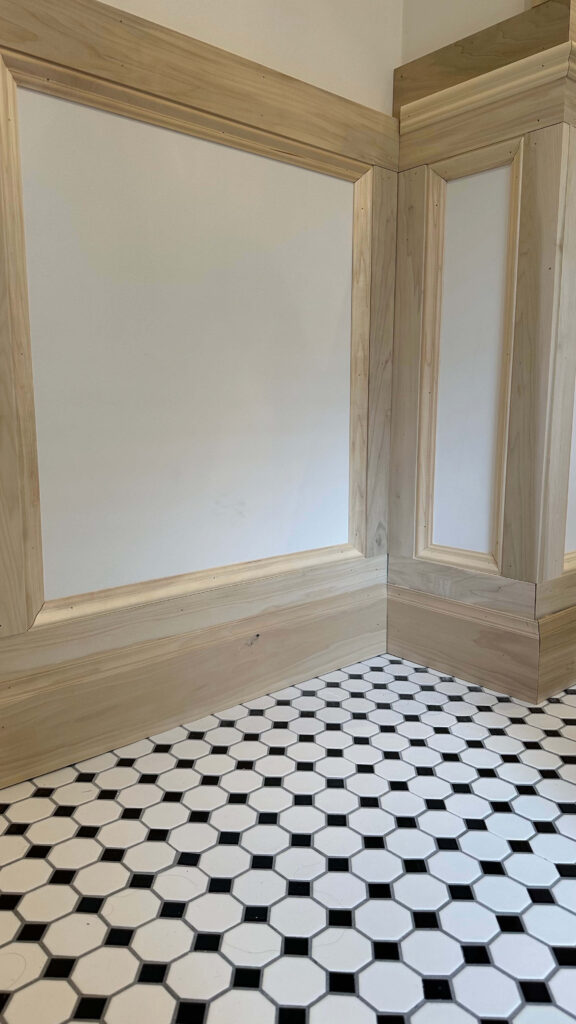
The tricky part was when I got to the corners of my walls. Ideally you’d bevel your boards (just like you do for baseboards, crown molding, chair rail, etc) but I don’t have a table saw and I also don’t have the budget to buy one right now. So instead, I chose to butt my boards up against one another. For inside corners I extended each board about 0.75” from the corner until they were just barely touching. For outside corners I extended one of the boards 0.75” so it was flush with the adjacent board. It’s hard to explain but hopefully these pictures help a little. I’ll caulk the seams and you’ll never know the difference!
After I had some boxes, I installed picture frame molding on the inside of each box. This is now my third time working with picture frame molding, so I felt confident with this part of the job and really hummed along!
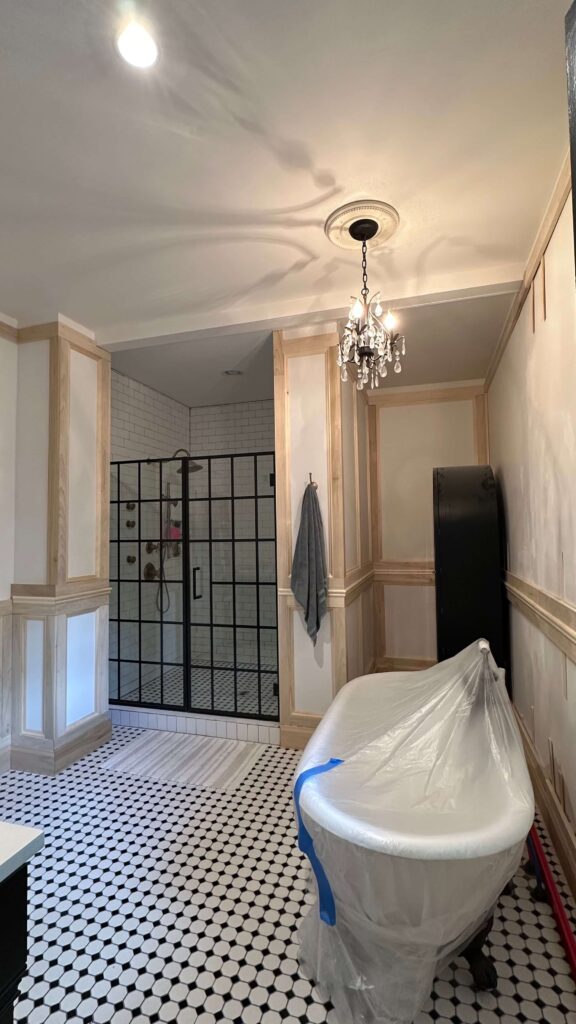
Another big decision was the wall next to the shower. I had to decide if I wanted to keep the tile border, or if I wanted to risk removing it (and finding a surprise!) in hopes of making a cohesive look. I’ll always roll the dice when good design is on the line, so I got to chiseling and luckily there were no surprises. The finished look is to die for!
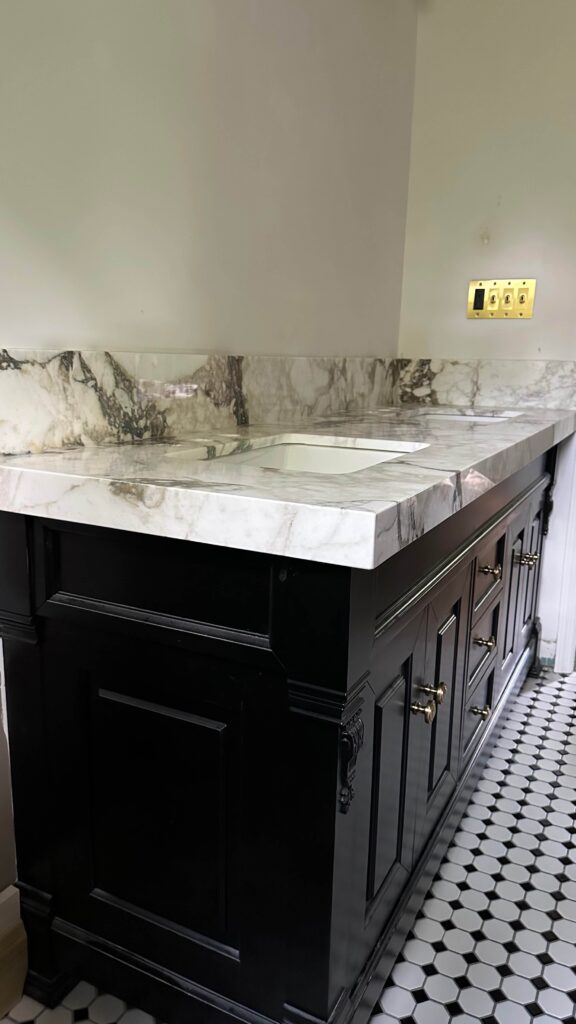
The New Marble Countertops
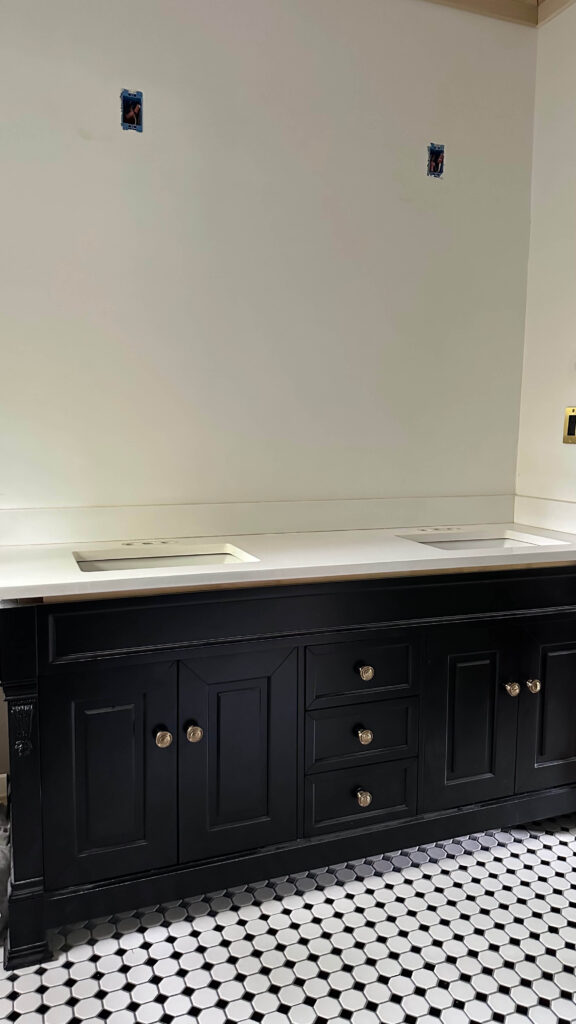
The most exciting update to share is the installation of my new Calacatta Fiorto marble countertops. I’m in love with the veining, the colors and how much personality it’s bringing to the room already.
I was waiting for the countertop to be installed before doing any custom trim on the walls near the vanity, so now that we’re past that, I’ll get to work designing, cutting and installing.
The Vanity + Original Quartz Countertop

Still to Come
Don’t worry, there is plenty more in store for this bathroom makeover. I’ll be installing the crown molding which will really finish off the custom trim. I also need to figure out how many boxes to make on the wall behind the bathtub. Either 3 or 4, I’m not sure yet.

Something I’m dying to figure out is the paint color for the room. While my initial choice was Mouse’s Back by Farrow & Ball, I’m a little worried it will end up being too dark. I’ve ordered several more samples from Samplize (including some F&B archive colors!) and can’t wait to add them into the mix. If you’ve never heard of Samplize before they’re giant paint swatches made with real paint, and stick right to the wall so you can envision the paint in different light (without painting!). Check them out here (ps – ALLISON10 gets you 10% off!)
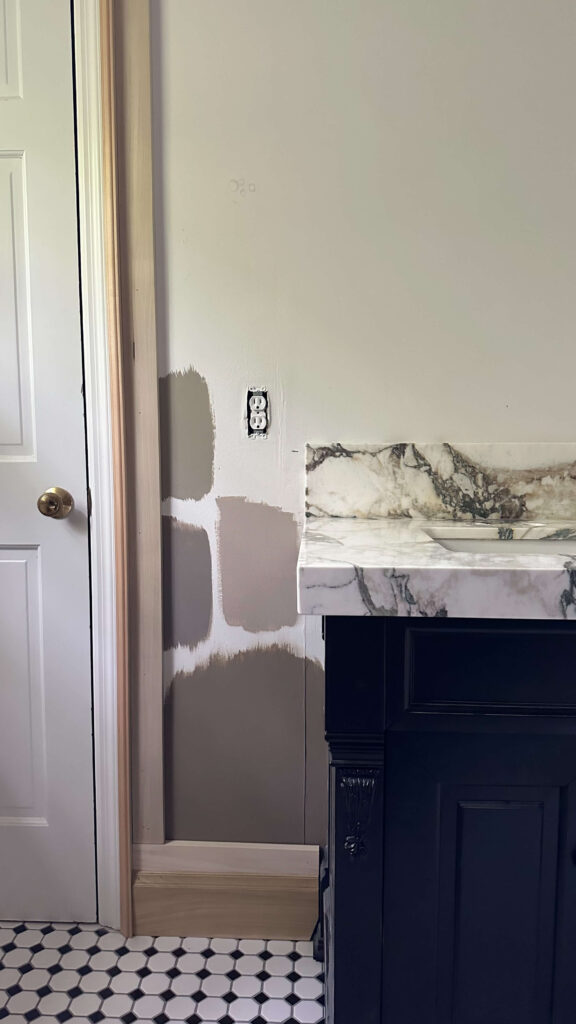
Still mulling over these 4 paint samples…but maybe the “one” isn’t one of these?
Lastly I need to pick a faucet out. I’ve never mixed metals before but am ready to take the plunge for this design. I already have some brass incorporated throughout the design (the light fixtures, the knobs and the toggle light switches) so I feel like a polished nickel would look best. Again, I may wait until the counters are here before I click add to cart, but so far, these are my contenders.

Visit the One Room Challenge page to follow along with our DIY and designer community! You’ll find everything from small to large projects, at all skill levels.
Catch Up On the Spring One Room Challenge:
Spring 2025 One Room Challenge Week 1
Spring 2025 One Room Challenge Week 2
Spring 2025 One Room Challenge Week 3
Spring 2025 One Room Challenge Week 4
Spring 2025 One Room Challenge Week 5


