The home office renovation is officially humming along, and I’m thrilled with how the transformation is taking shape. The first half of this project focused on dialing in the architectural design, installing custom trim work, and prepping the room for a full spray-painted finish. In this back half of the project we’ll start to see the transformation take shape with paint, wallpaper and decor!
Lets quickly recap the journey to date and I’ll share some important progress updates and lessons from painting.
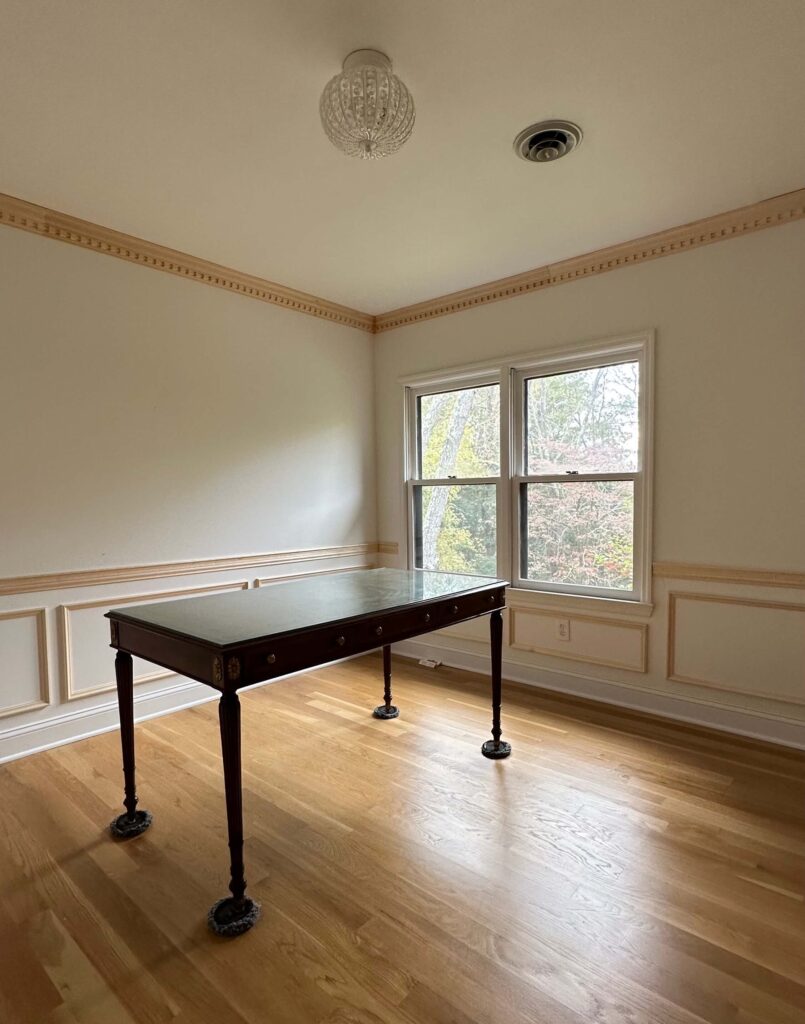
Designing Custom Trim for Home Office Renovation
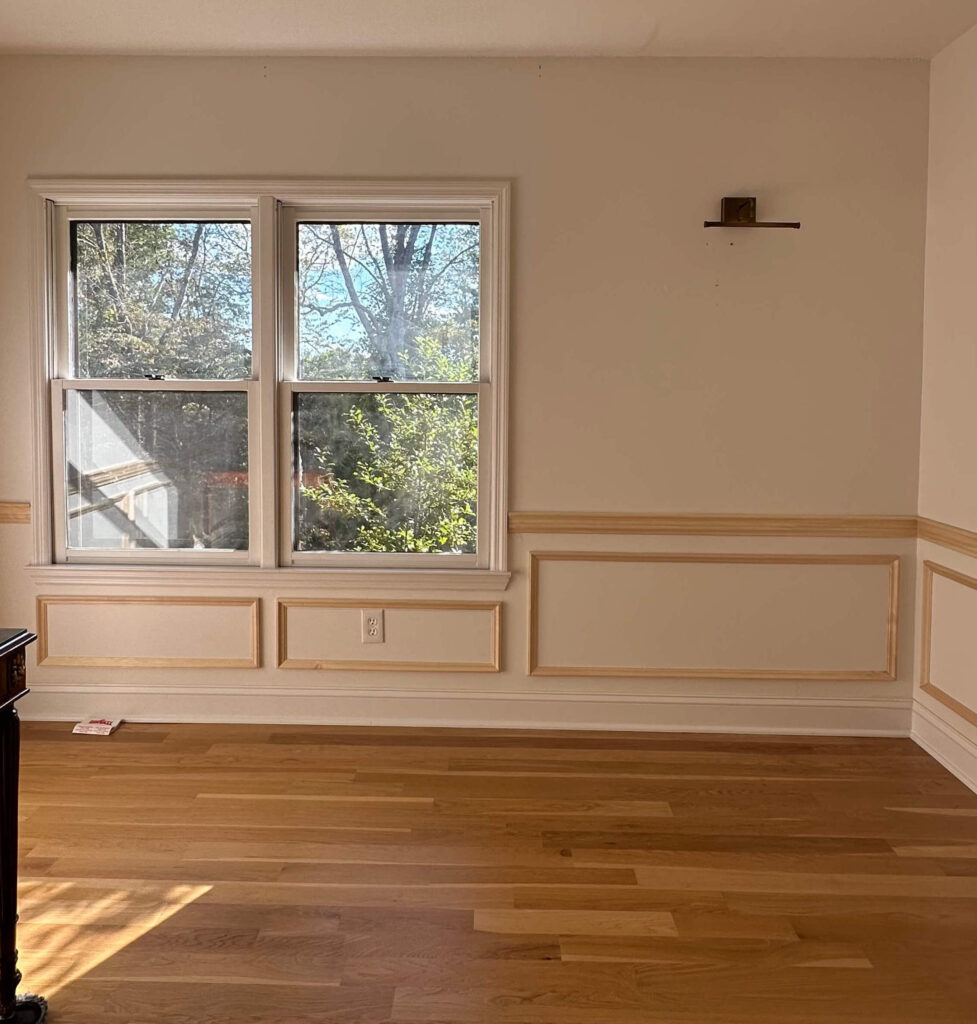
I began the home office renovation by installing a chair rail one-third up the wall and sketching out the picture frame molding boxes. I always design molding based on the proportions of the room itself, and if you need help planning your layout, I have a full tutorial linked for you that breaks down measurements, spacing, and installation techniques.
Once the lower molding was complete, it was time to shift upward to the crown.
My Tips for Designing Trimwork
Adding Crown Molding to Boost Home Office Design
Even though this was my second time installing crown molding, it was my first time working with dentil molding. The general process felt familiar from my primary bathroom renovation, but dentil molding added a new layer of precision — especially making sure the decorative “teeth” aligned perfectly in the corners. It’s a small detail that significantly elevates the space and overall finish.
How to install crown molding
Don’t Skip the Finishing Work
Once all the trim was installed, I moved into the most meticulous phase: finishing work. This is the step that transforms a project from “DIY” to “professional.”
Here’s what that looked like:
- Filling all brad nail holes with wood filler (I like this kind)
- Filling joints in the picture frame molding with wood filler
- Caulking every seam along the inside and outside edges (this caulk + this tool = magic)
- Caulking the crown molding where it meets the wall and ceiling
- Sanding everything smooth and wiping clean with a crocodile wipe
It’s time-consuming, but it’s essential and it’s where any renovation starts to take on a polished, intentional look.
Spray Painting: A Major Leap in Home Office Renovation Progress
Because the trim details were so intricate, I opted to spray paint the office for the most even and elevated finish. Prep work took the entire day — taping the floors, laying brown paper, wrapping the windows in plastic, and sealing behind each door. If you’ve never used a sprayer, trust me: overspray is real, and prep is everything.
When I started spraying primer with my Graco Magnum X5, I quickly realized my nozzle was installed backwards, causing the primer to shoot out in a stream instead of a fine mist. This slowed down the home office renovation progress briefly, and I ended up hand-painting the dentil molding in one section to fix drips. It was an hours-long task I won’t forget anytime soon.
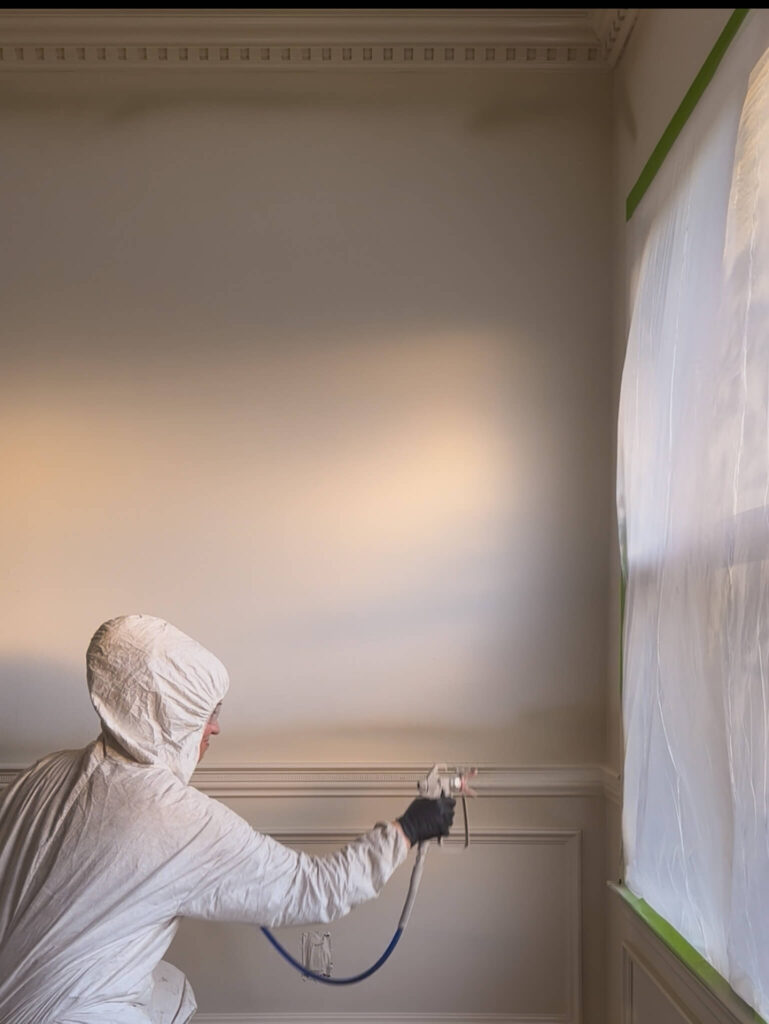
Spraying the walls and trim with my Graco Magnum X5 paint sprayer
After I corrected this mistake, spraying became effortless. I started with the crown molding to avoid scratching the walls with the hose and worked my way down to the chair rail and baseboards.
Choosing the Perfect Paint for Home Office
After considering multiple design options, I landed confidently on Joa’s White by Farrow & Ball in Flat Eggshell. It’s the perfect warm, creamy tone for the space.
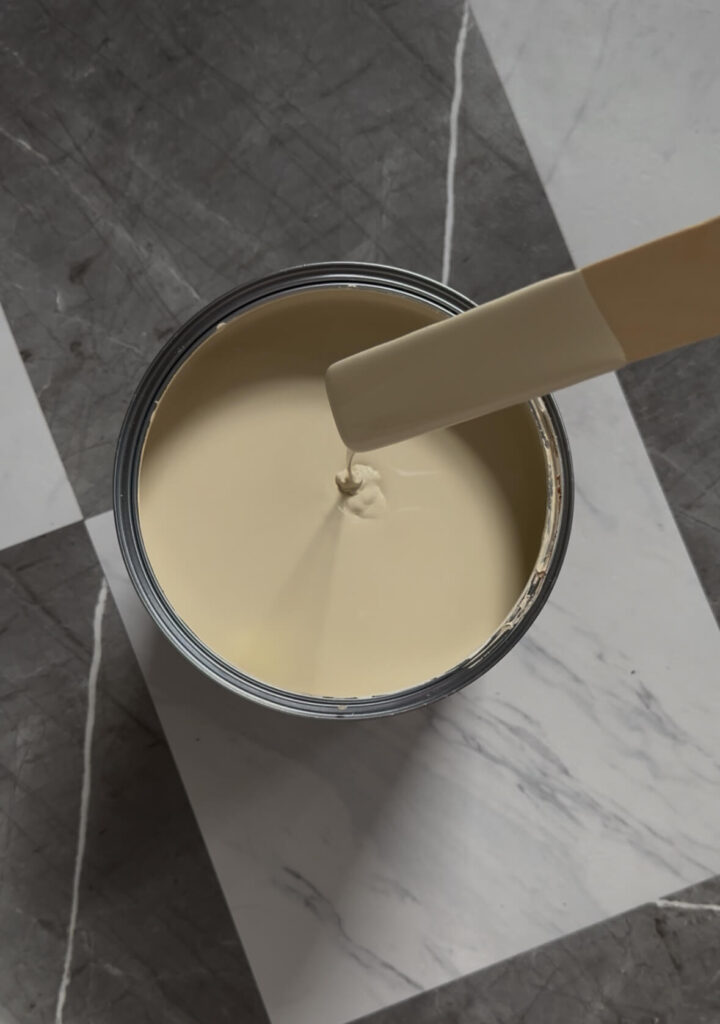
Joa’s White by Farrow & Ball: the perfect warm saturated cream
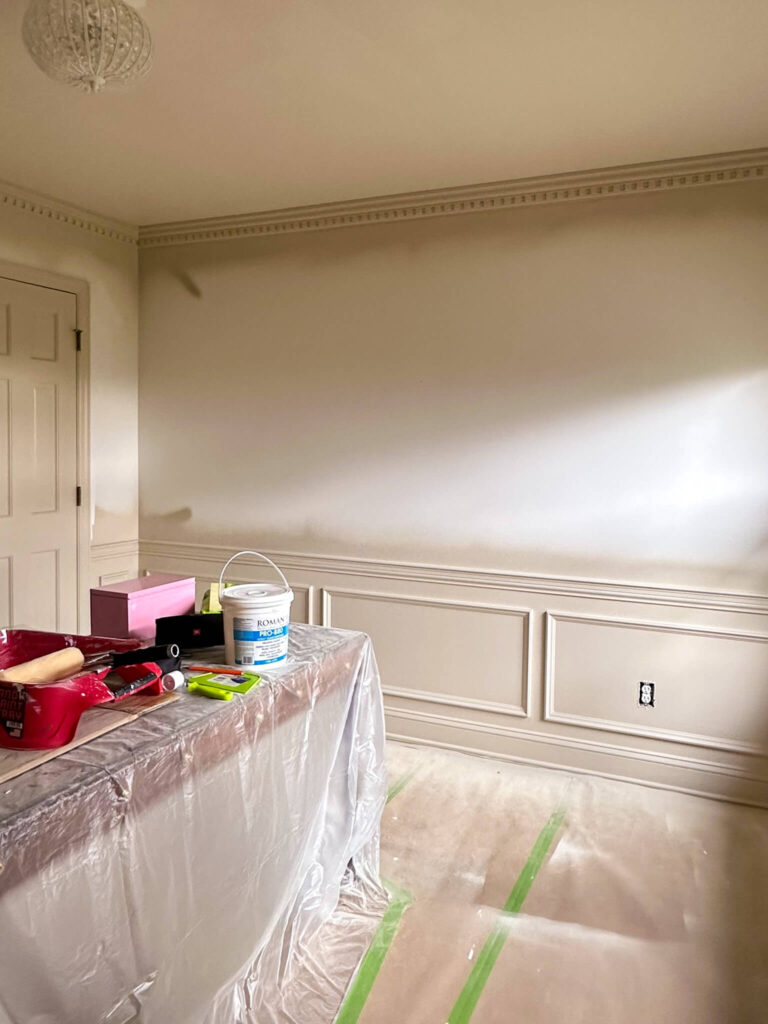
I sprayed one coat of mid-tones primer, followed by two coats of Joa’s White in Flat Eggshell. Flat Eggshell is my ideal finish for trim-heavy spaces because it offers the durability of matte with just a subtle hint of sheen. The moment the color went up, I knew it was the perfect match and a huge step forward in the home office renovation progress.
Hand Painting Details to Finalize Home Office Renovation Progress
After putting the sprayer away, I transitioned into detailed hand painting. The window panes got taped off with Jasco and I painted both the casing and the windows themselves. I also painted the outside of the office door and the surrounding trim. I figured it would be open into the space most of the time, so I wanted it to match the rest of the room. It was definitely the right call!
Painting the Ceiling
For the ceiling, I applied one coat of Farrow & Ball’s White & Light Primer, and two coats of Farrow & Ball’s Dimity in Dead Flat. Rather than color-drenching the space or painting the ceiling white, I chose a tone one shade lighter than the walls. This creates a soft, subtle contrast that I love (a design choice I also used in my primary bathroom). The Dead Flat finish hides imperfections beautifully, especially helpful in a home that once had popcorn ceilings throughout.
Trim color: Joa’s White in Flat Eggshell | Ceiling Color: Dimity in Dead Flat
This tonal ceiling shift is one of my favorite outcomes in the entire home office renovation, and I can already see myself using this approach in every room of the house.
Also one callout I’ll note: if you find yourself painting a few different items all at once (maybe different colors like me, or even different finishes), do yourself a favor and invest in a couple painting tools from Handy Paint Pail. Since I’ve upgraded to the handy paint pail with both a liner AND a lid, it’s made both clean-up and jumping back into projects so much easier.
What’s Next in My Home Office Renovation Progress
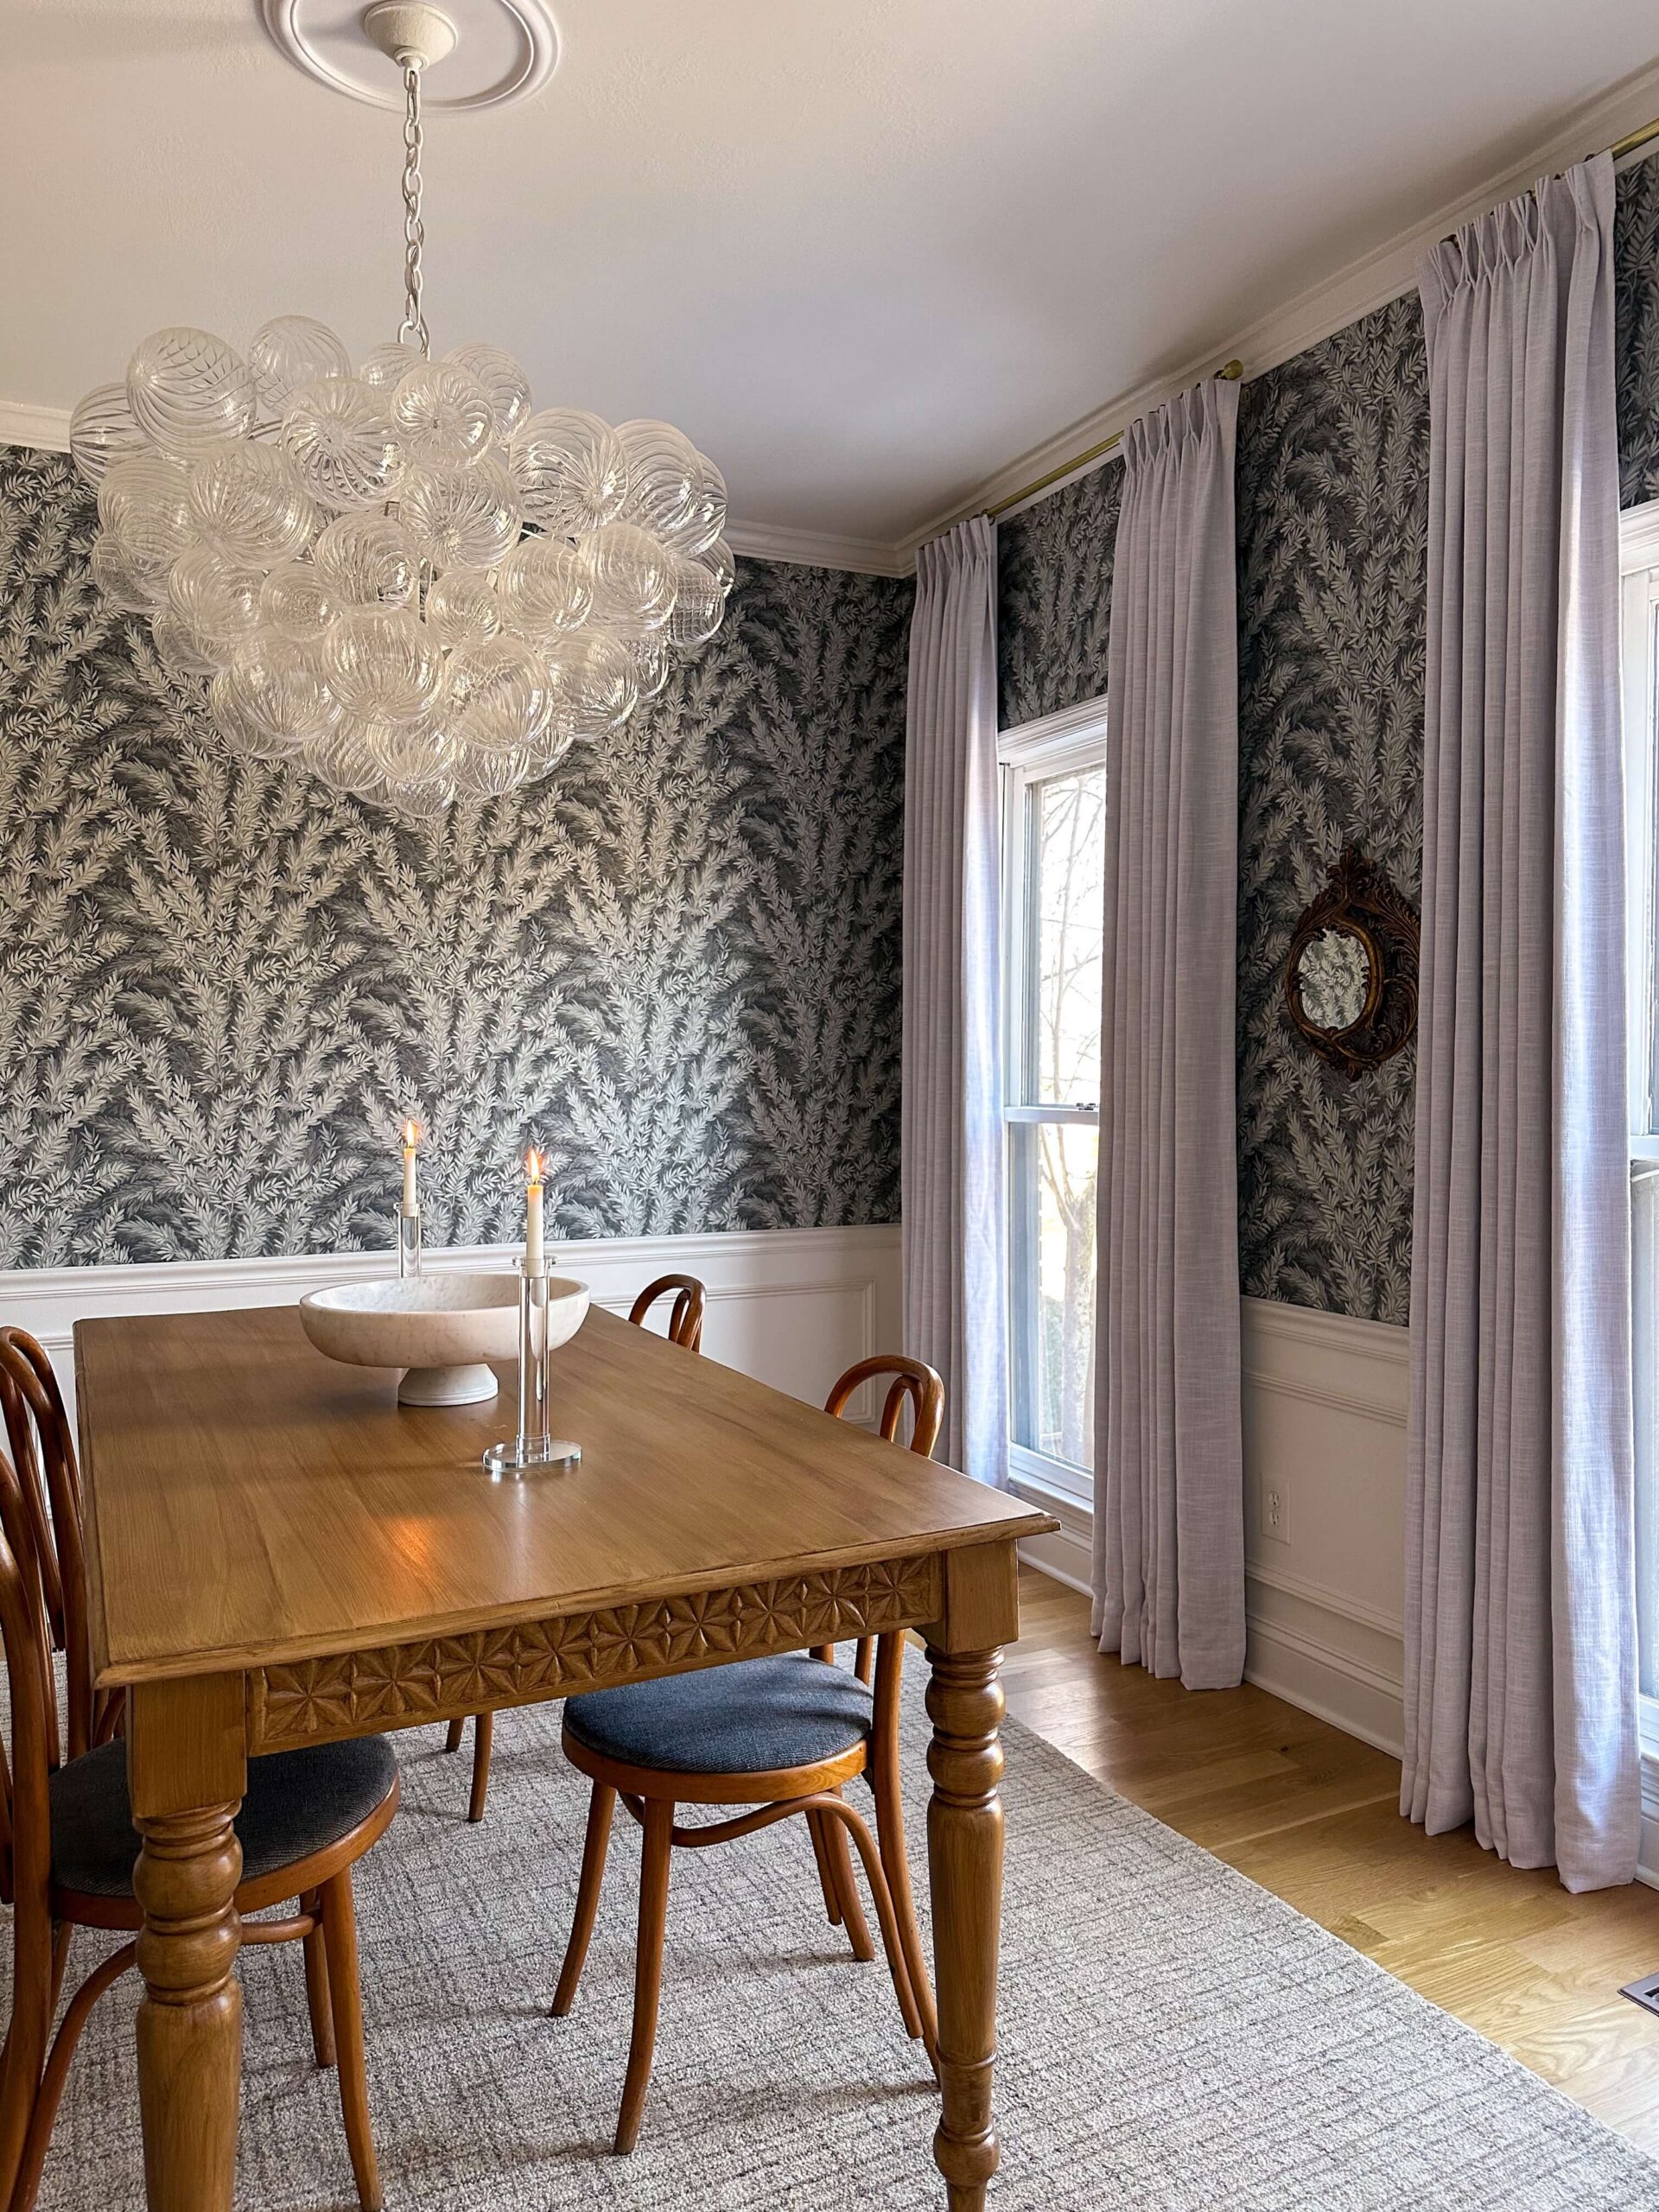
With the painting complete, it’s officially wallpaper time! I’m installing the Vintage Tapestry Mural in Beige by Belarte Studio, and immediately after I hung the first panel I knew I had made the right decision. It’s already adding the most magical layer of warmth, texture, and character to the room.
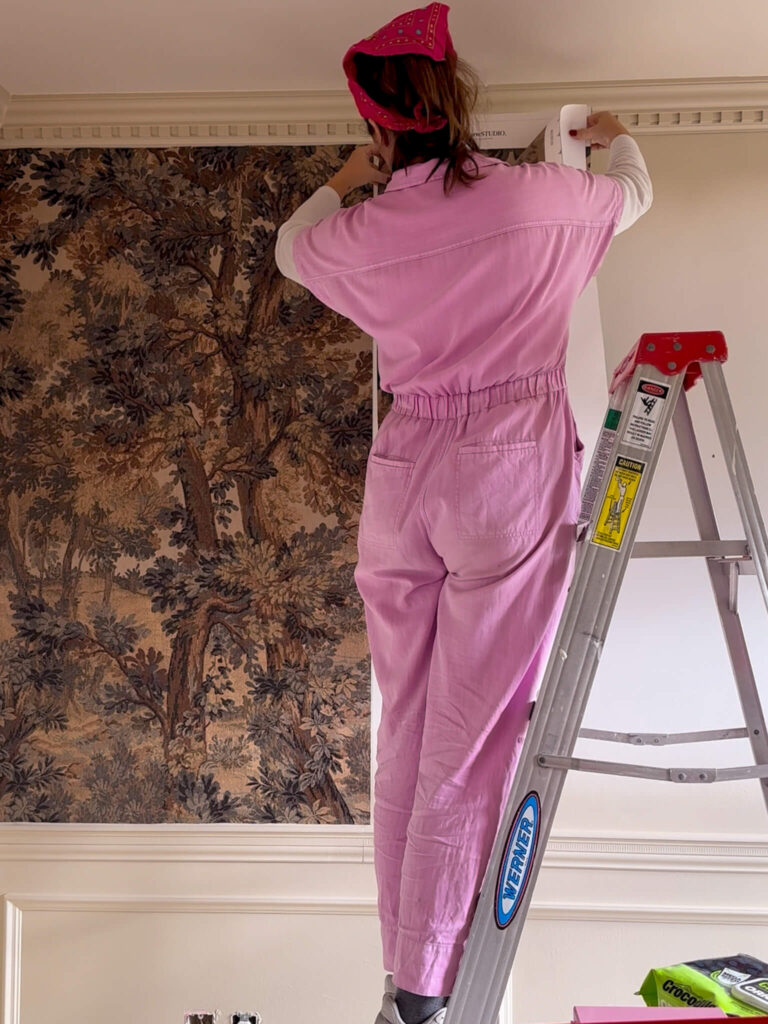
The beginning stages of the wallpaper mural installation!
This is a traditional paste the wall paper (which I prefer) so it’s as simple as rolling paste on the wall with a paint roller (this is the only brand I’ll use) and then lining up the paper. Following this project I’ll make a more detailed post on the wallpaper installation process, but for now I’m focused on finishing the job. Stay tuned…the reveal is right around the corner!
Catch Up on the Home Office Renovation:
Picking a Paint Color for the Home Office
How to Measure, Cut & Install Crown Molding