If you’ve been putting off a garage or basement project because you’re not sure how to drill into concrete block to hang things, I completely get it. I avoided doing this in my own garage for years because it felt intimidating.
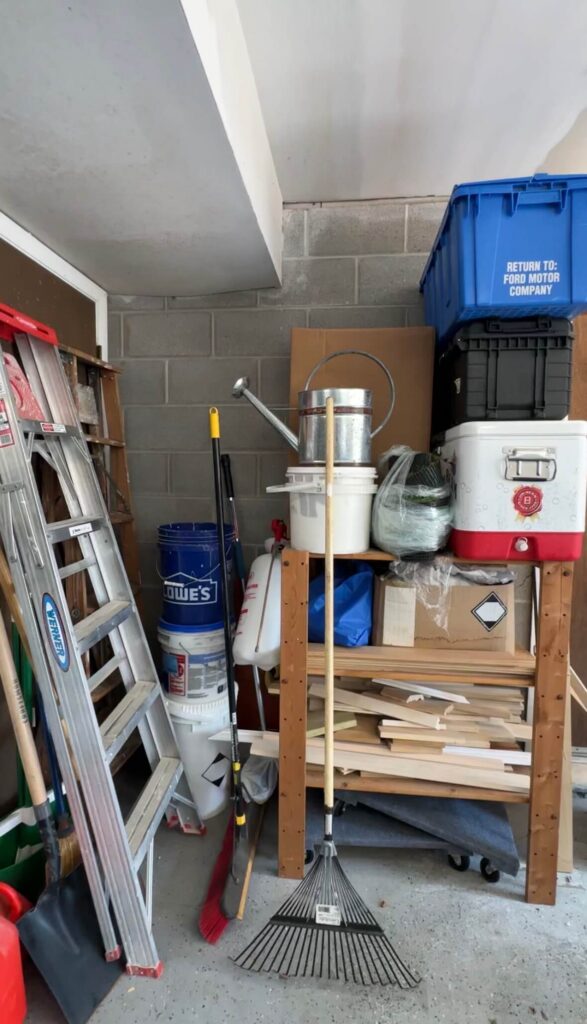
I had a corner where everything just piled up: shovels, rakes, brooms leaning against the wall with no real system. I knew hanging them would fix everything, but drilling into concrete block felt like a project I wasn’t ready for.

I’m so embarassed to share this but it was the reality!
Turns out, once you understand how to drill into concrete block to hang things, it’s actually a very straightforward DIY. And the payoff? Immediate.
Why Drilling Into Concrete Block Feels So Intimidating
Most of the hesitation comes from not knowing what’s actually required. It’s easy to assume you need special skills — or that you might crack or damage the wall if you do something wrong.
I thought the same thing.
But the real difference comes down to using the right tools and anchors designed specifically for masonry. Once you have those, the process becomes simple, repeatable, and honestly pretty satisfying.
What You Need to Drill Into Concrete Block to Hang Things
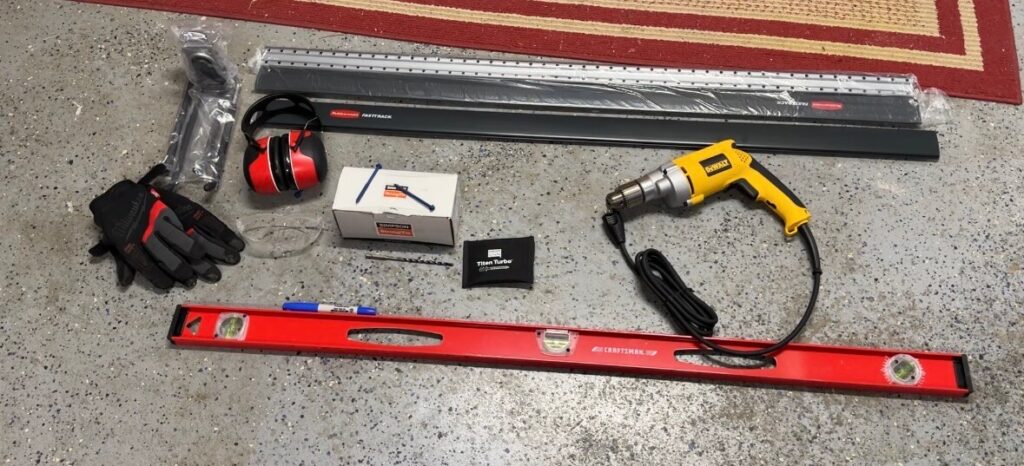
Before you start, having the right tools makes everything feel more controlled — and way less stressful.
Here’s what I used for this project:
Wall-mounted tool organizer (or whatever you’re hanging) – This method works for shelves, hooks, storage rails, pegboard systems — you name it.
Hammer drill – This is non-negotiable. A regular drill won’t cut it on concrete block. The hammer drill’s percussion action is what actually gets you through the material without a fight.
Masonry drill bit – Paired with the hammer drill, this bit is designed specifically for concrete and masonry. The bit you use will depend on the size of masonry screws you’re using.
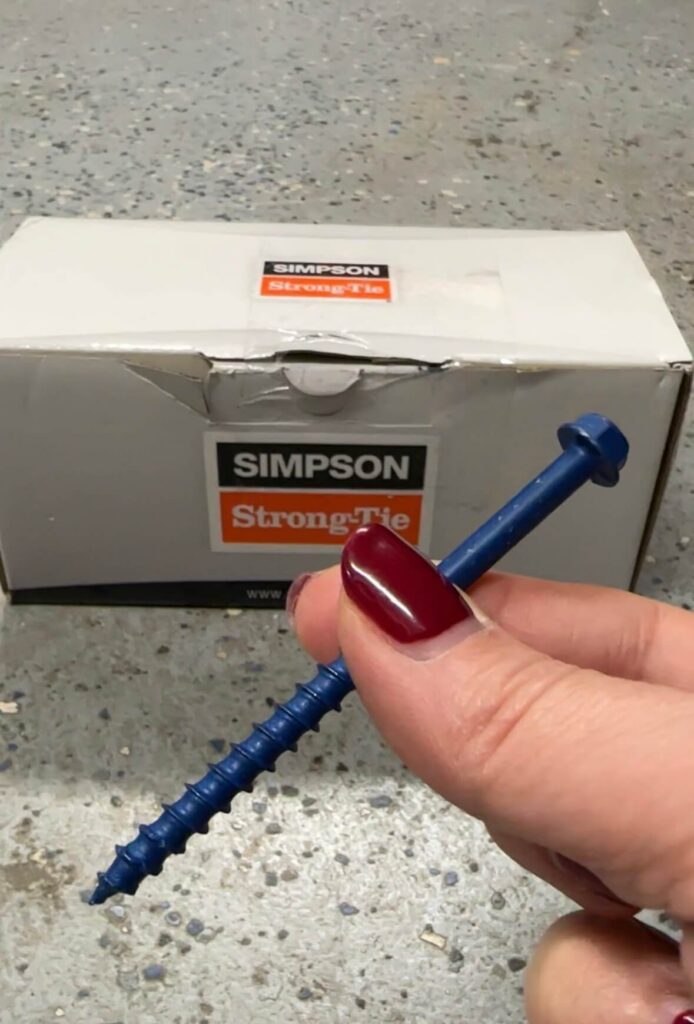
Simpson Strong-Tie Titen Turbo masonry screws – These are the anchors I used, and I can’t recommend them enough. The Simpson Strong-Tie Titen Turbo screws are engineered specifically for concrete and masonry and create an incredibly strong, reliable hold. They drive directly into the hole — no separate anchor sleeve required.
Impact driver or drill – Used to drive the Simpson Strong-Tie Titen Turbo screws into place once your holes are drilled.
Tape measure and level – Essential for keeping everything straight and properly spaced.
Pencil – For marking your drill points clearly before you start.
Safety glasses and ear protection – Always. Drilling concrete creates fine dust and noise, so protect yourself.
Your organizing system will be unique to your project. Otherwise it’s a short list of tools needed for this project.
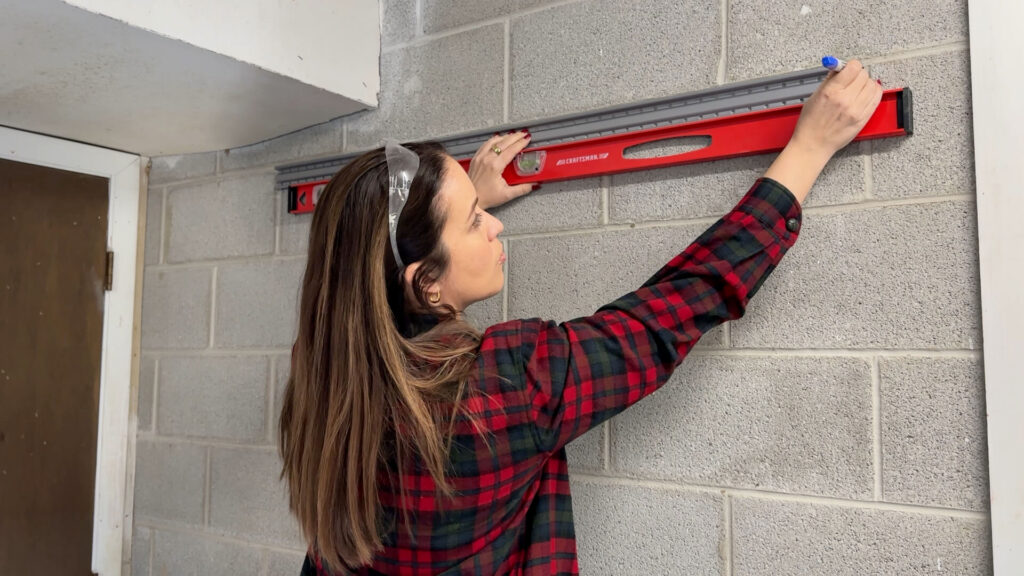
Step 1: Plan Your Layout Before You Drill
The first step in how to drill into concrete block to hang things is knowing exactly where everything will go before you pick up the drill.
Hold your organizer, shelf, or bracket up against the wall. Use a level to get it perfectly straight, then mark where each anchor point needs to go. Taking an extra minute here pays off big — this is what keeps the final install looking clean and intentional rather than slightly crooked.
Step 2: Drill Pilot Holes Into the Concrete Block
This is usually the part people overthink the most, but it’s actually where things start to feel really satisfying.
When learning how to drill into concrete block to hang things, the key is to let the hammer drill do the work. Line your masonry bit up with your pencil mark, hold the drill steady and perpendicular to the wall, and start slowly before applying steady, even pressure.
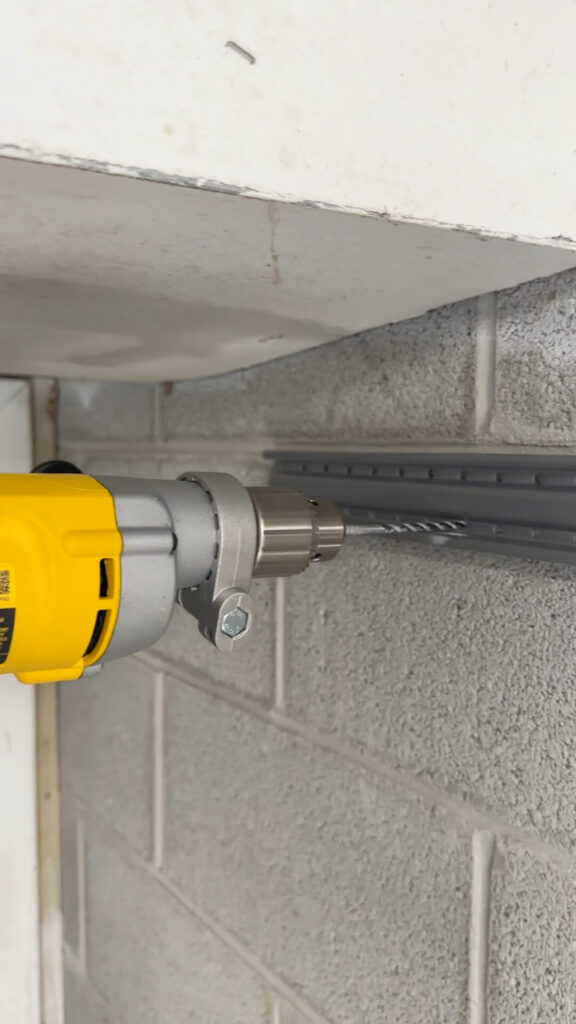
You’ll see some fine dust as you drill — that’s completely normal. Just keep your depth consistent with what your anchors require. For Simpson Strong-Tie Titen Turbo screws, check the packaging for the recommended hole diameter and depth for your screw size.
Step 3: Drive In the Simpson Strong-Tie Titen Turbo Masonry Screws
Once your holes are drilled, it’s time to anchor everything in.
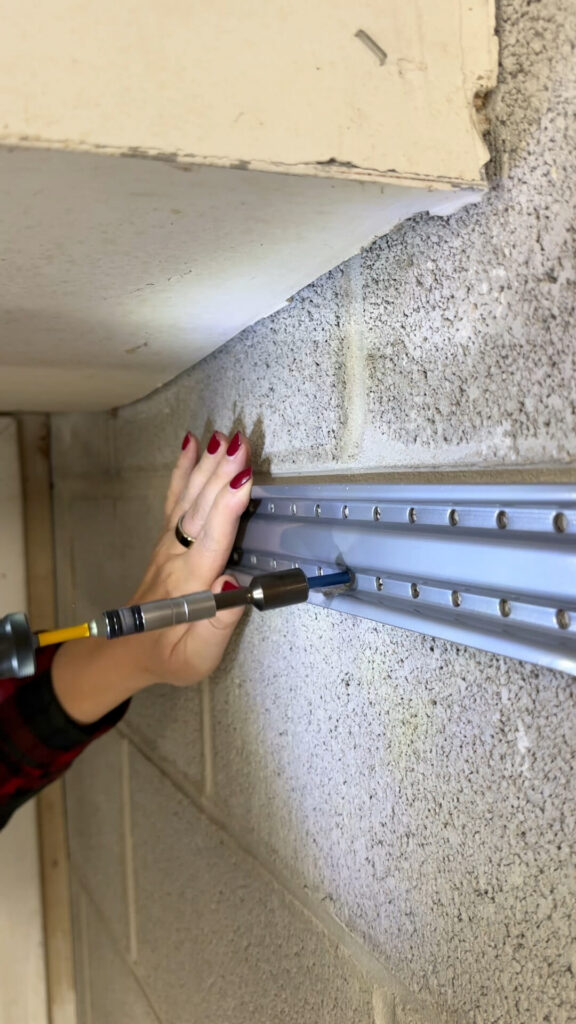
This is where the Simpson Strong-Tie Titen Turbo screws really shine. Unlike traditional anchor systems that require a separate sleeve or insert, the Titen Turbo drives directly into the concrete block hole with your impact driver or drill. Insert the screw, line it up, and drive it in.
The key here is to keep it straight and stop once the head sits flush with the wall. There’s no need to over-drive — once a Simpson Strong-Tie Titen Turbo screw is seated, it’s not going anywhere. You’ll feel the difference in how solid everything becomes right at this moment.
Step 4: Mount Your Item to the Wall
Now you’re ready to hang whatever you planned for.
In my case, it was a wall-mounted tool rail, but this exact process works for floating shelves, storage systems, utility hooks, or pegboard backings. Once you align your item with the driven Titen Turbo screws and secure it in place, the structure should feel rock solid immediately.
Step 5: Hang Your Things and Enjoy the Difference
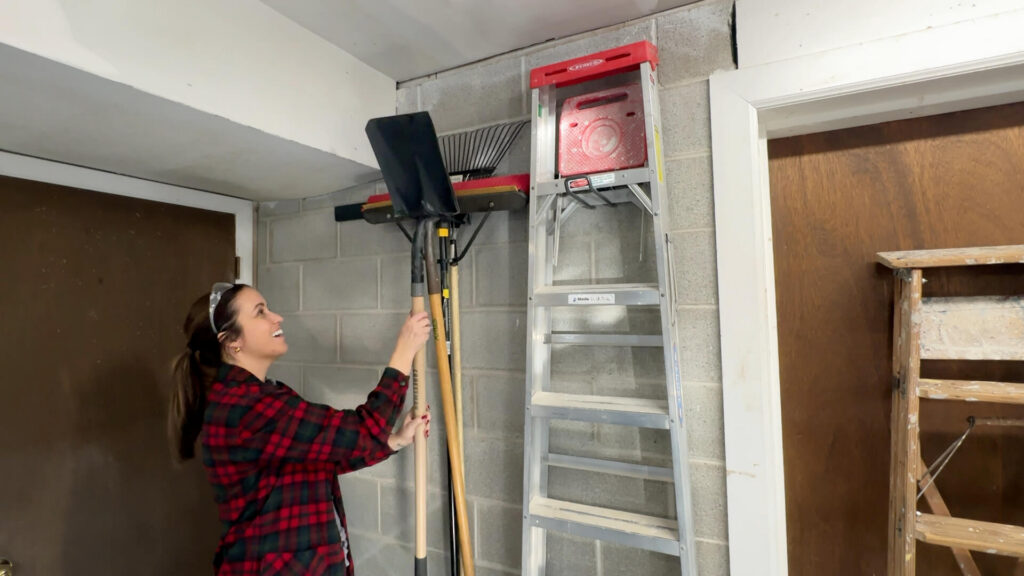
This is the most satisfying part of the whole project.
I finally got all my tools up off the floor and onto the wall, and the space transformed instantly. It went from a cluttered corner to an organized, functional area I actually want to use. One of those projects where the before-and-after is almost hard to believe.
Just keep in mind that load capacity can vary based on your specific wall and installation, so always follow the load guidelines listed for your Simpson Strong-Tie Titen Turbo screw size and the item you’re mounting.
The Before and After
Before I figured out how to drill into concrete block to hang things, that corner of my garage felt like a lost cause.
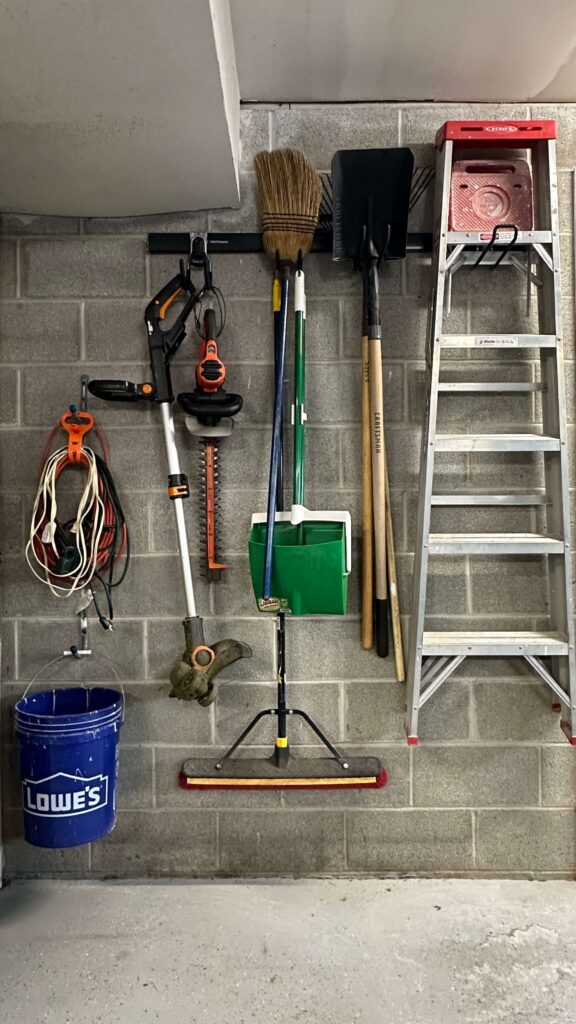
Now every tool has a place, the floor is clear, and it actually looks like a real workspace. And the biggest surprise? Realizing this wasn’t nearly as hard as I’d been making it out to be in my head.
Final Thoughts on How to Drill Into Concrete Block to Hang Things
If you’ve been avoiding this kind of project, you’re not alone. But you also don’t need to keep putting it off.
How to drill into concrete block to hang things really comes down to three things: the right drill, the right bit, and the right anchors. With a hammer drill, a masonry bit, and Simpson Strong-Tie Titen Turbo screws, the process is straightforward enough for a first-time DIYer and repeatable anywhere in your home.
Garages, basements, laundry rooms, workshops…once you know this technique, you’ll start seeing possibilities everywhere.
And more than anything, it builds confidence. This is exactly the kind of project that reminds you that you can handle more than you think.
Tools Used in This Project
- Hammer drill
- Masonry drill bit
- Simpson Strong-Tie Titen Turbo Screw Anchors
- Impact driver
- Tape measure
- Level
- Safety glasses
- Ear protection
- Wall-mounted tool organizer
Related DIY Posts:
How to Install DIY Pavers & Artificial Turf
How To Remove Glass Tile Backsplash (without removing the drywall)
How to Design & Install Wainscoting