If you’ve been Googling Retique It Liquid Wood FAQ before committing to a project, you’ve landed in the right place. I’ve used this product twice — once to take my dining table from black to a warm pecan finish, and again to transform my bathroom vanity from black to walnut. Here are honest answers to every question I had along the way.
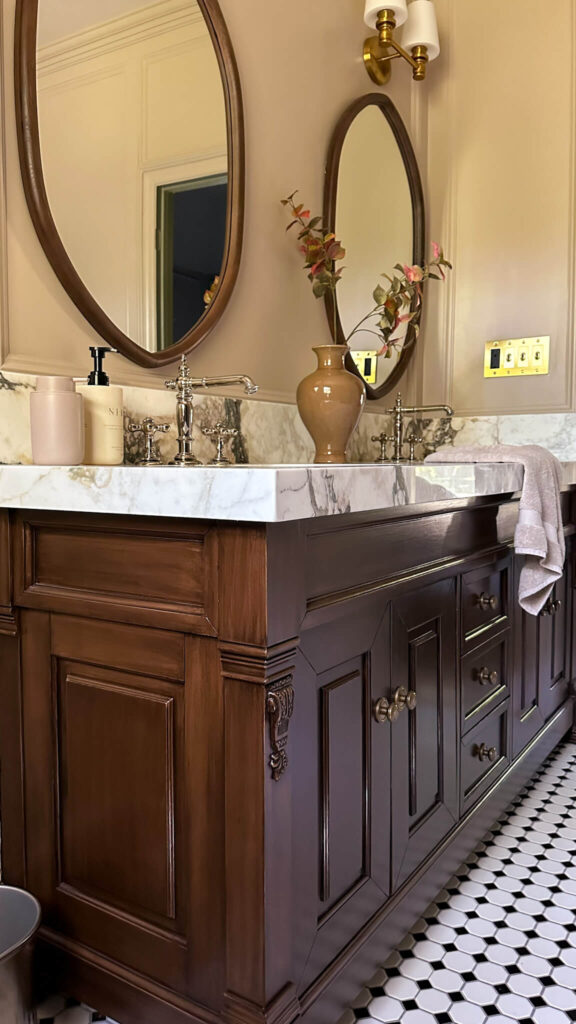
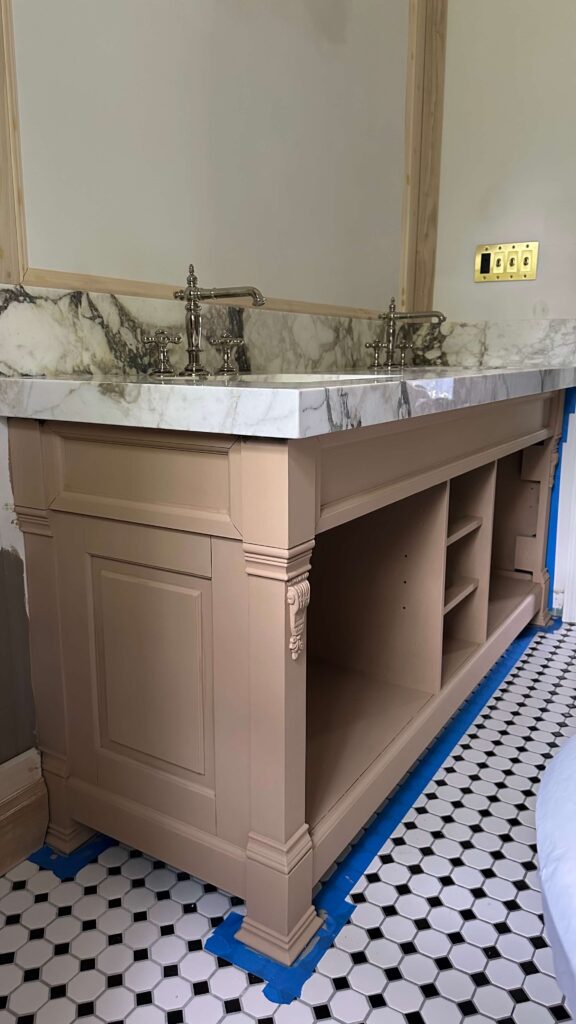
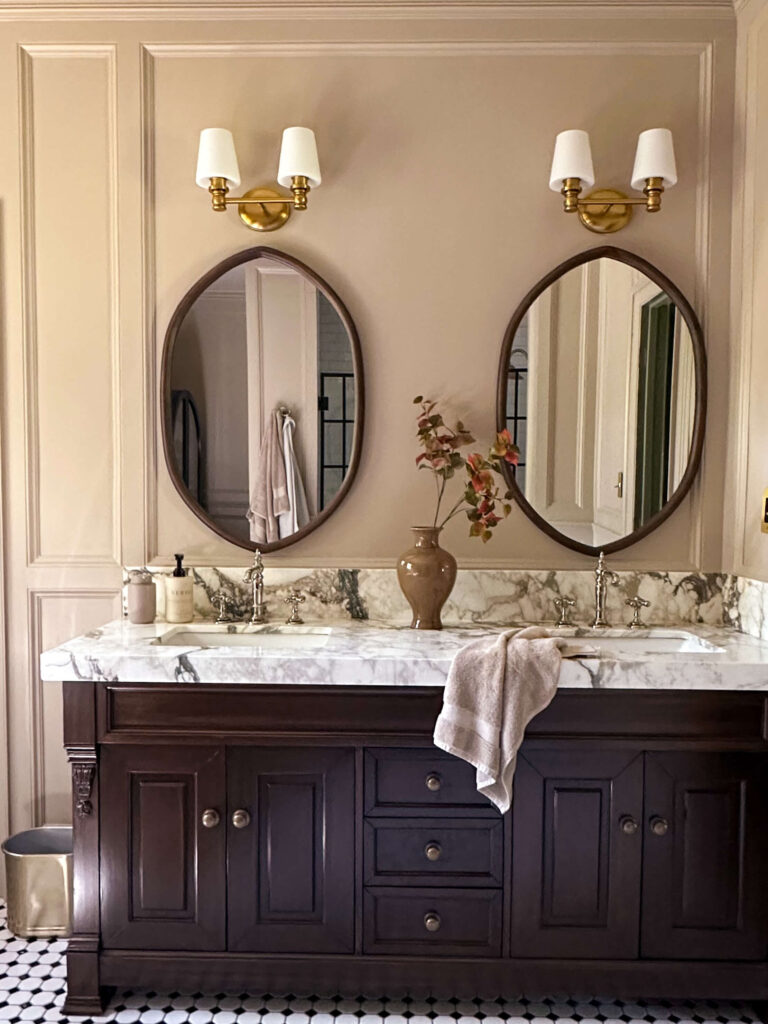
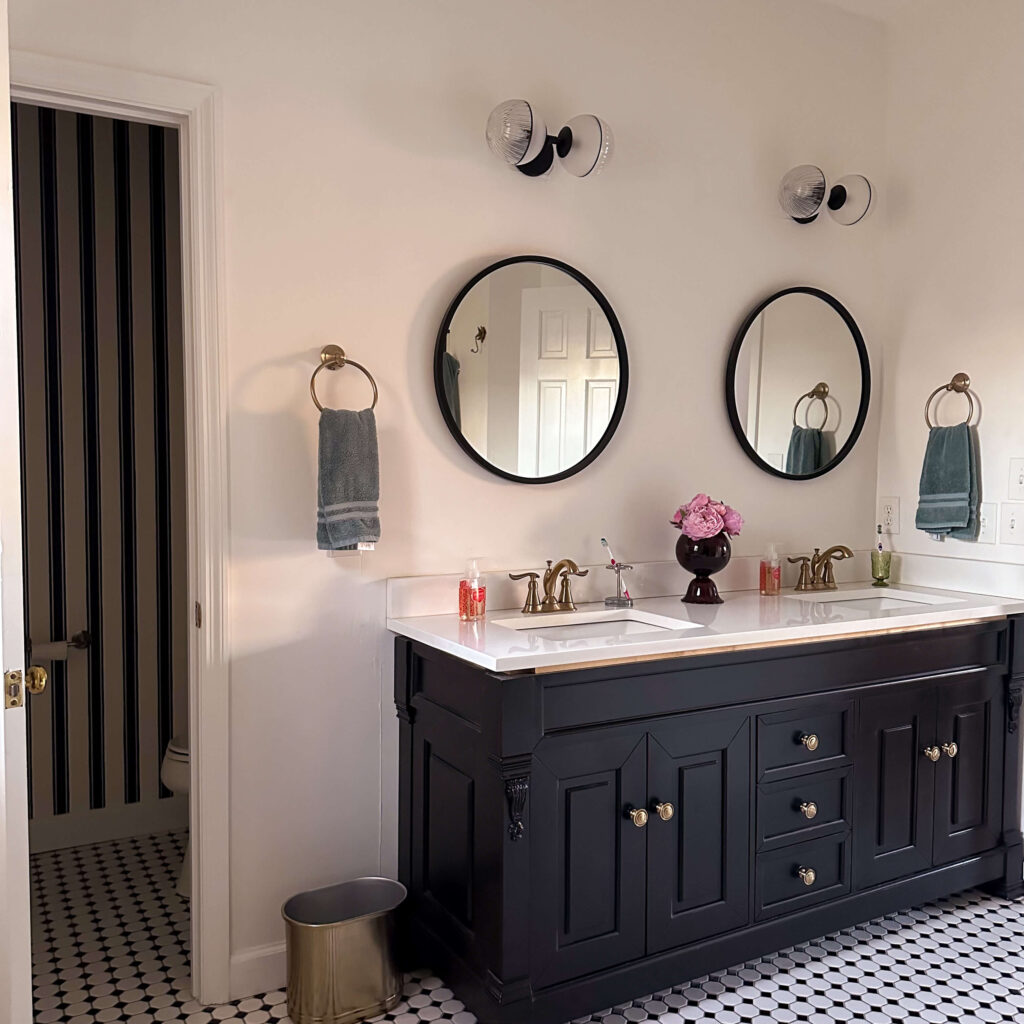
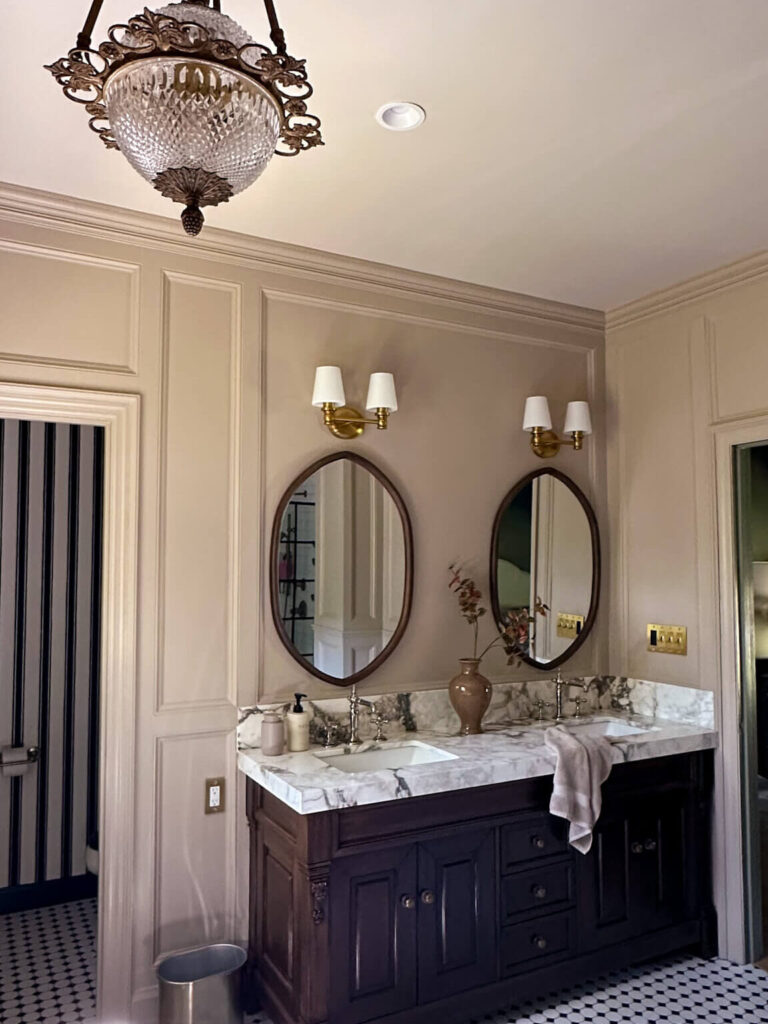
My primary bathroom vanity before and after using Liquid Wood
What is Retique It Liquid Wood and how does it work?
This is the most common question in any Retique It Liquid Wood FAQ, and it’s a fair one because the product does something that sounds a little too good to be true. Liquid Wood contains real wood particles suspended in a paint-like formula. You apply it over your existing furniture surface in several coats, and once it dries, the surface can be stained just like actual bare wood.
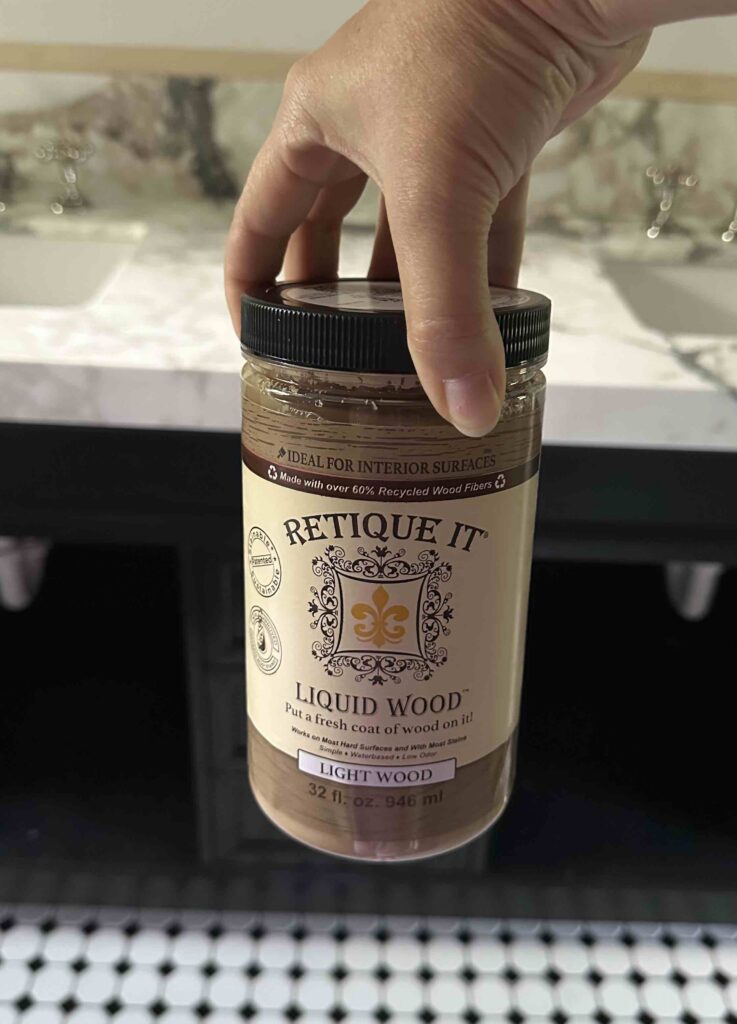
I used the light wood liquid wood for both of my projects and love it!
That means you skip the stripping, the sanding down to raw wood, and the mess that comes with traditional refinishing. You’re essentially building a new wood surface right on top of what’s already there.
Does Retique It Liquid Wood actually look like real wood?
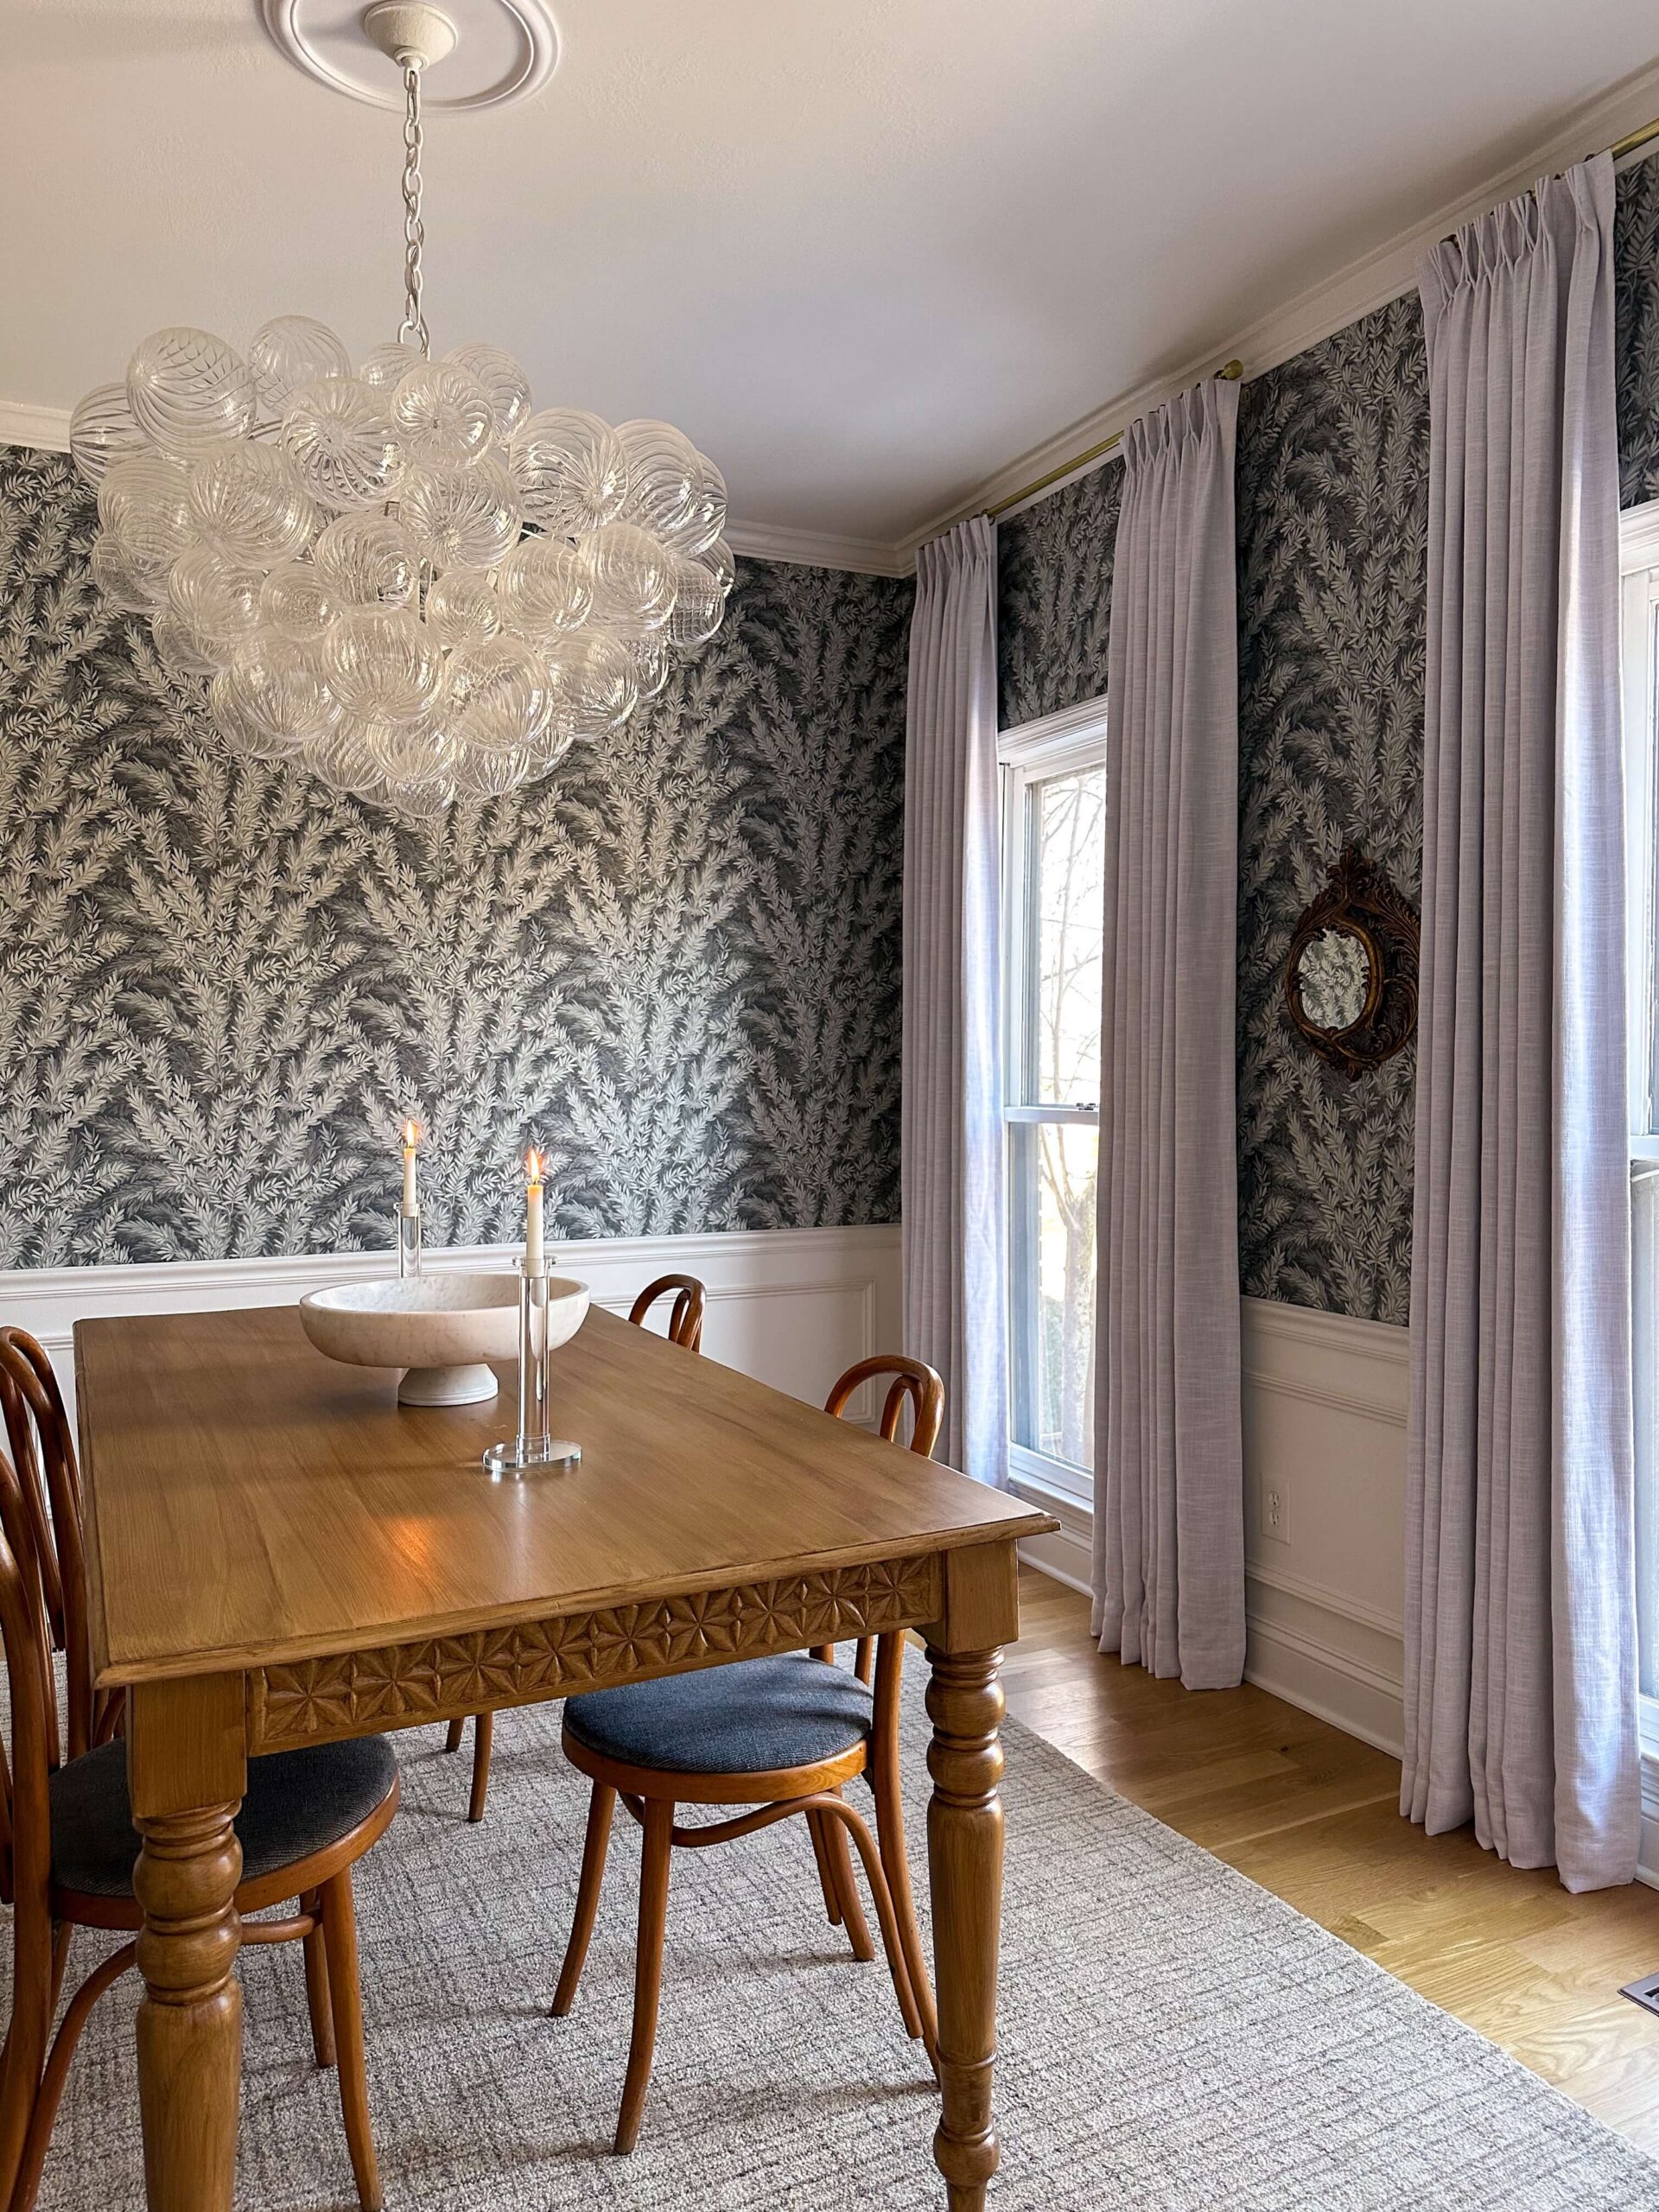
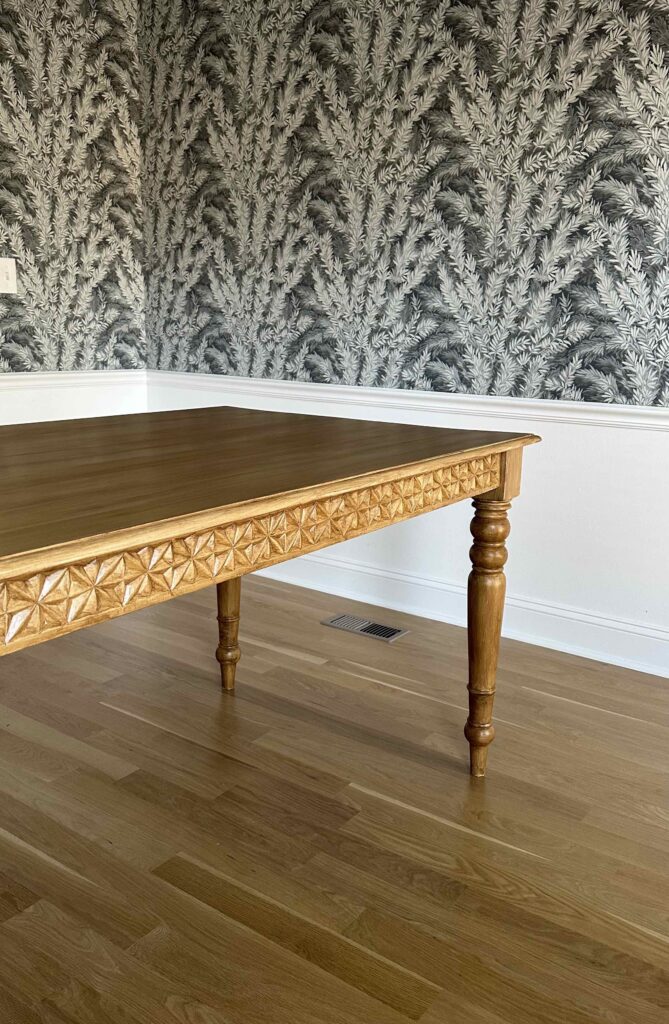
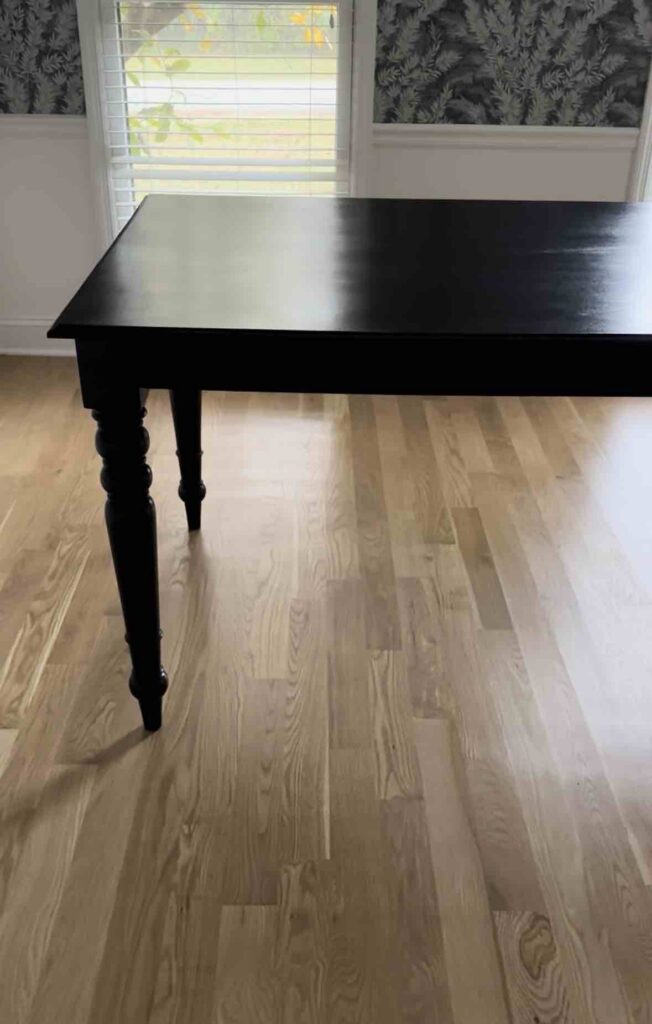
Yes — and this is the part that still surprises me every time I walk past my dining table. Once the stain goes on, the result is genuinely convincing. My dining table now has a beautiful pecan finish, and my vanity has a rich walnut tone.
The grain pattern comes from how you apply the stain, which I’ll cover below. With a little practice on a scrap piece, you can get results that are hard to distinguish from the real thing.
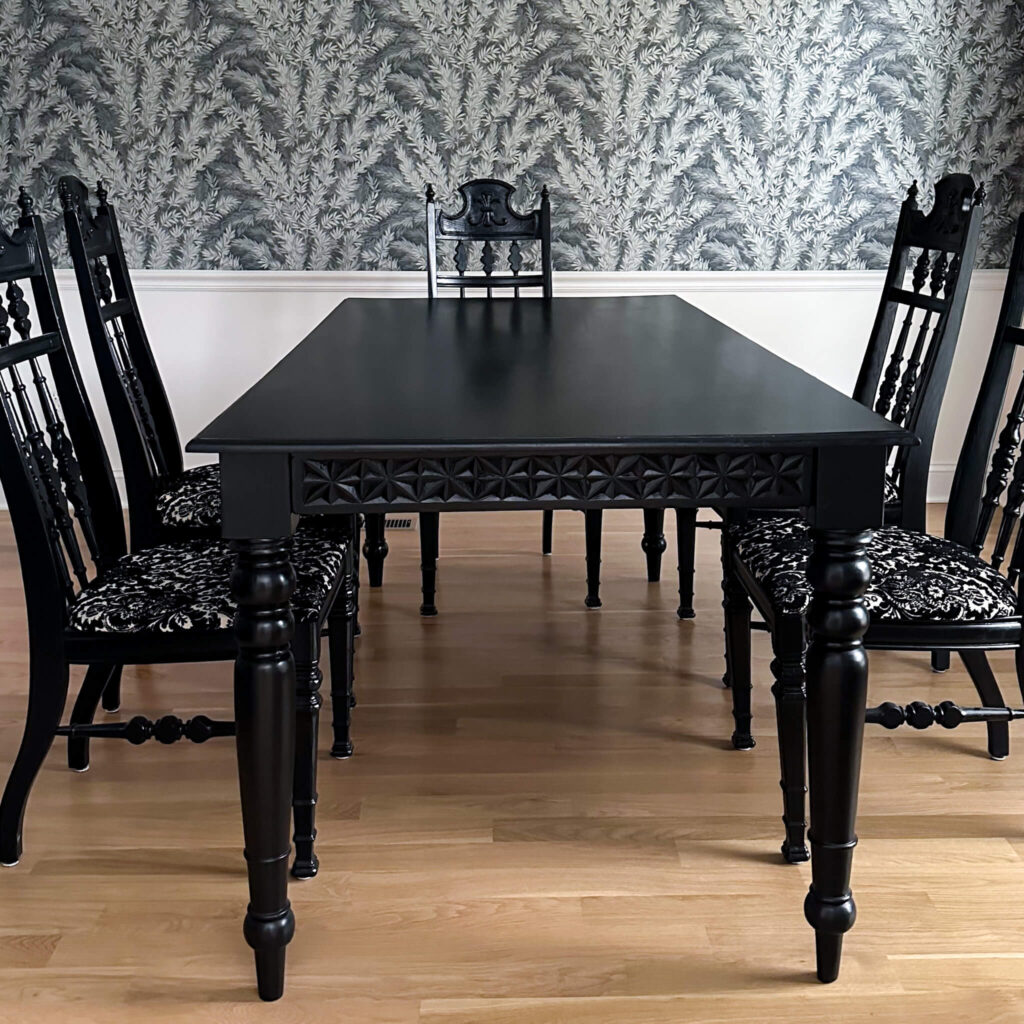
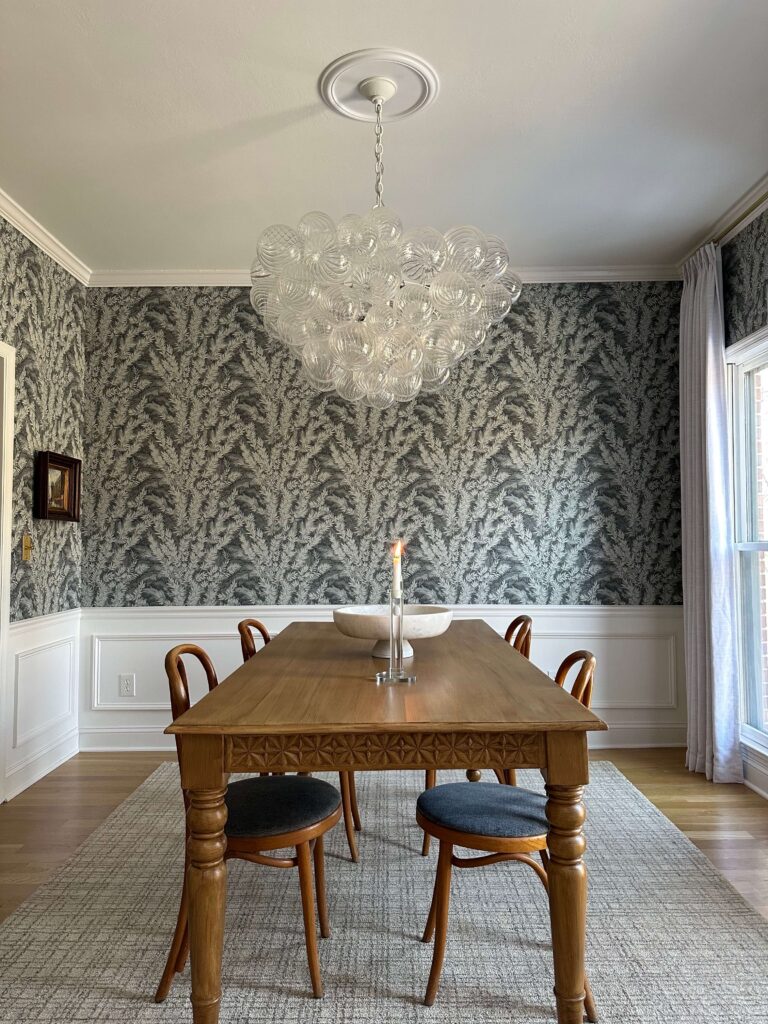
My dining room table before and after. I love that I could repurpose this table from my previous home with this easy DIY project!
Pro tip
Take “before” photos before you start. Once the transformation is complete, it’s honestly hard to believe it’s the same piece — and you’ll want the proof.
Do you have to sand before using Retique It Liquid Wood?
Not in the traditional sense. For both my projects, I cleaned the surface thoroughly and did a light scuff to help the product adhere. That’s really it. You’re not trying to get down to bare wood — you’re just giving the liquid wood something to grip.
Wipe away any dust afterward and you’re ready to start applying. This step is quick, low effort, and nothing like the labor-intensive sanding required by traditional refinishing methods.
How many coats of Retique It Liquid Wood do you need?
For both of my projects, I applied four to five coats. Because both pieces started out black, I wanted full, solid coverage before moving on to the stain. The darker your starting color, the more coats you’ll want to build up.
Don’t rush this part. Taking the time to build a solid base makes a noticeable difference in how evenly the stain absorbs and how convincing the final wood look is.
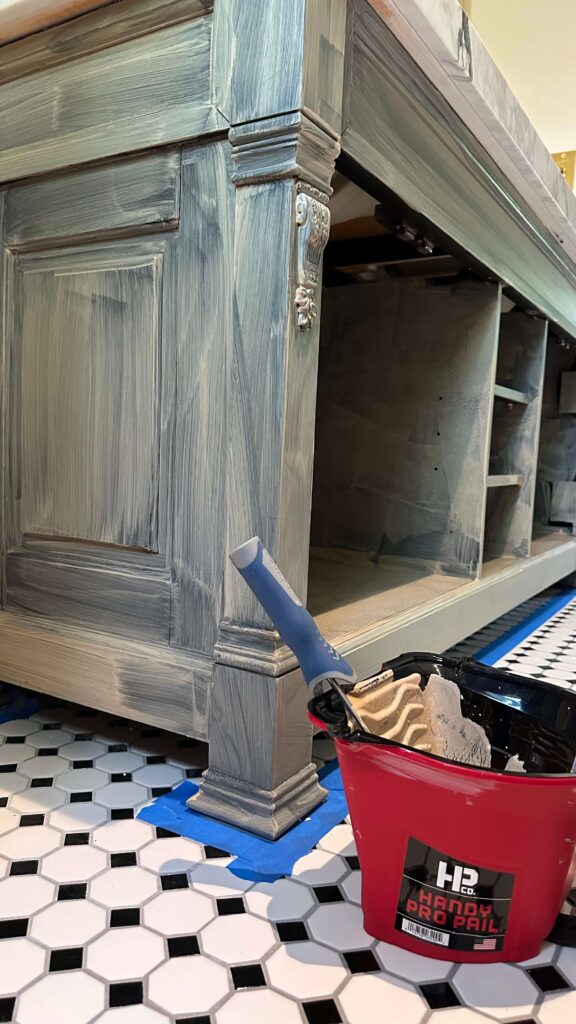
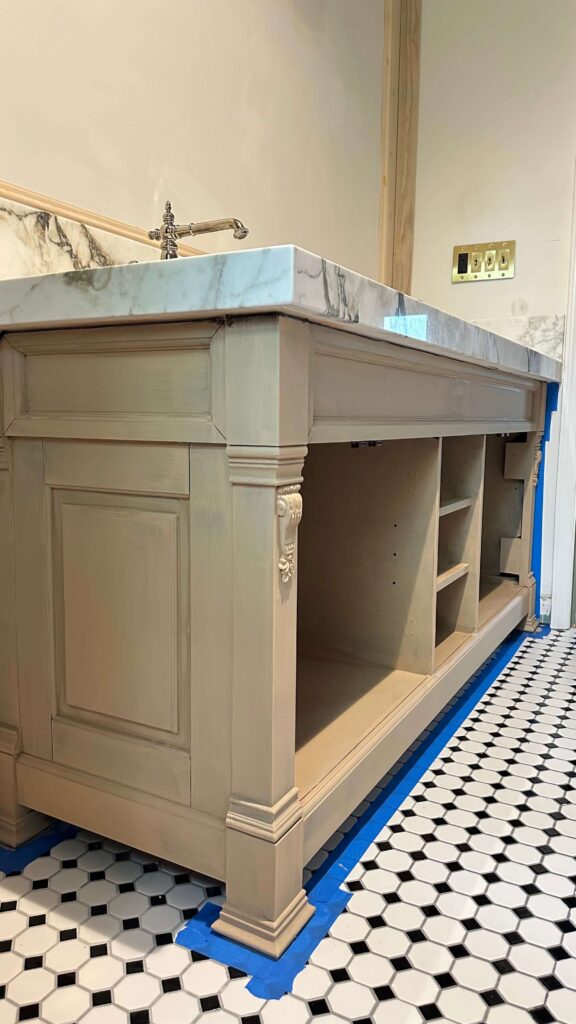
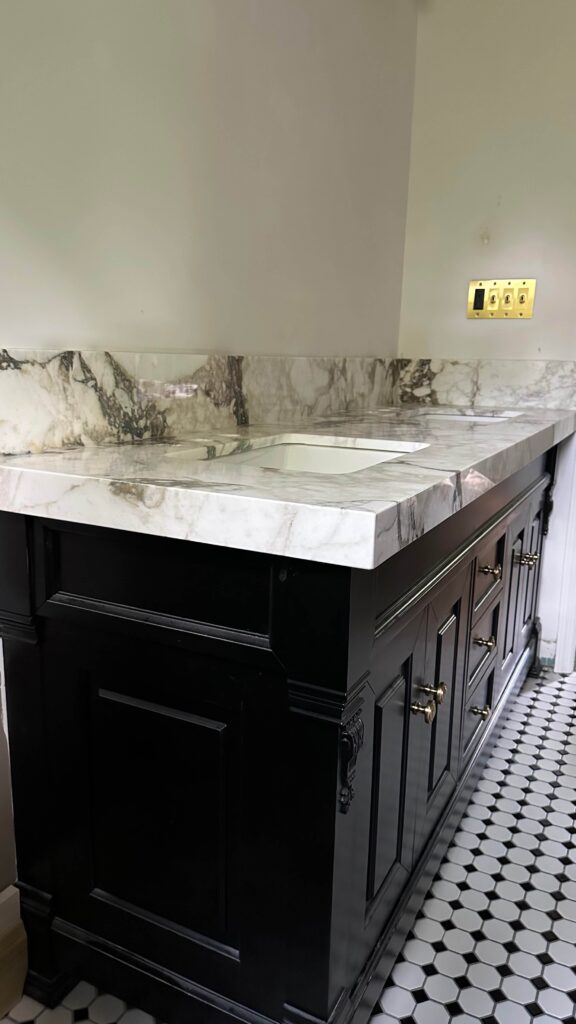
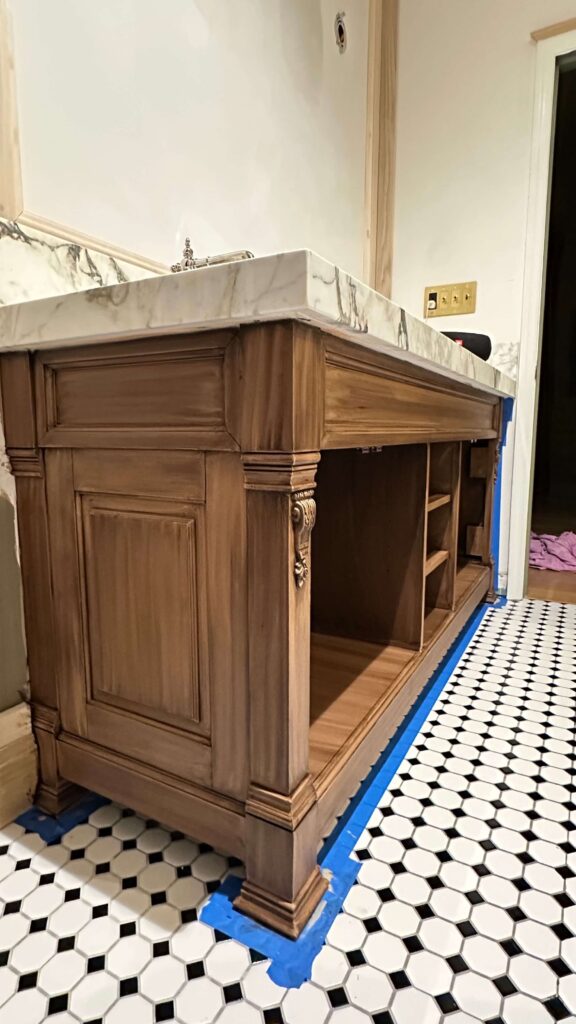
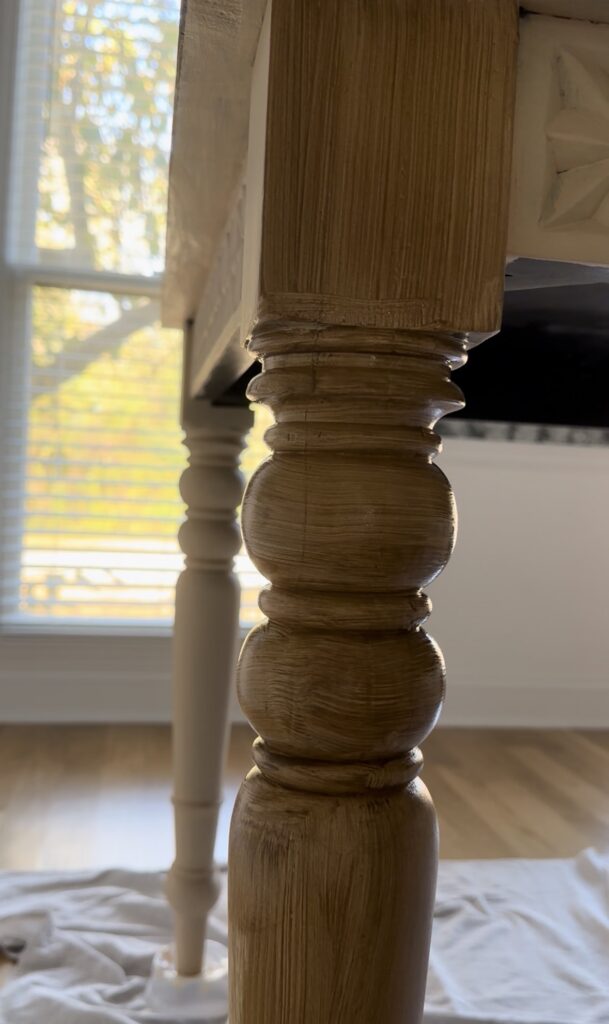
The progression of the bathroom vanity with liquid wood only
How do you choose a stain color and how does application affect the grain?
This is one of the most fun parts of the process. For my dining table I chose a pecan stain, which gave it a warm, lighter wood tone. This was actually a complete Retique It kit that I purchased. For the bathroom vanity I opted with the Retquite It Liquid Wood base coat, but went with a separate dark walnut gel stain on top. It reads darker and richer, and is perfect for that space.

The bathroom vanity with one coat of stain, then two coats of dark walnut gel stain
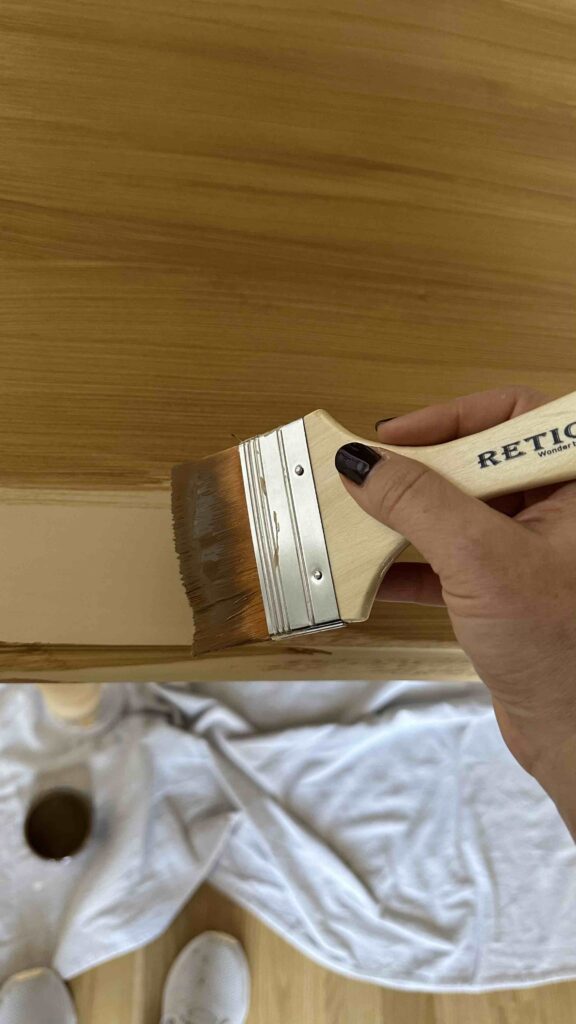
The dining room table stain was part of a tabletop kit and is the pecan color. Here’s a photo of the first coat being applied on top of the liquid wood.
The direction and pressure of your stain application creates the grain pattern. Applying in long, smooth strokes mimics natural wood grain. For curved surfaces like table legs, practice the motion on a scrap piece first — it makes a real difference.
- Apply liquid wood in thin, even coats and let each one dry fully before the next
- Once coverage is complete, apply gel stain using a brush or cloth in long, consistent strokes
- For darker stains, wipe away excess stain before it fully dries to control the depth of color
- Seal everything with a poly top coat — this step is non-negotiable
Is Retique It Liquid Wood beginner friendly?
Honestly, yes and this surprised me. Before my dining table project I read every Retique It Liquid Wood FAQ I could find because I was nervous about messing up a piece I loved. The actual process turned out to be much more forgiving than I expected.
The biggest learning curve is the stain application on curved or detailed surfaces, like legs or raised panel doors. But even that becomes easy once you’ve practiced a few strokes. If you’re new to furniture refinishing, this is one of the best products to start with.
Flat surfaces are easier than detailed areas or legs. You’ll want to practice first!
Heads up
There’s a moment mid-project where the piece looks a little rough, as the liquid wood coats don’t look like much on their own. Trust the process. Once you get several coats of the liquid wood on, and the stain goes on, everything comes together quickly.
Do you need a top coat over Retique It Liquid Wood?
Yes. Full stop. The poly top coat is what protects the entire finish and makes it durable enough for daily use. Skipping it would leave the stained surface vulnerable to scratches, moisture, and wear.
For both my dining table and my bathroom vanity, the top coat is completely non-negotiable. Think of the liquid wood and stain as the look, and the top coat as the thing that keeps that look intact long term. I used a warm satin on my bathroom vanity and absolutely love the look of it – you can find it here.
How durable is Retique It Liquid Wood?
So far, both of my finished pieces have held up perfectly. The dining table is nearly three years in and shows zero signs of wear. The bathroom vanity is less than a year in, but takes a harder daily beating with dings from the hair dryer, kicks, water, etc and hasn’t had a single issue.
As long as you apply the top coat properly, the finish is genuinely durable for everyday furniture. This was one of my biggest concerns before starting, and I’m happy to report it hasn’t been a problem at all.
DIY Vanity Flipping Supplies | All Other Bathroom Sources
Retique It Liquid Wood FAQ: pros and cons
After two complete projects, here’s my honest breakdown.
Pros
- Results look like real wood — guests won’t know the difference
- Beginner friendly and very forgiving
- No stripping required — works over existing finishes
- Lets you keep furniture you already love
- Durable with proper top coat
Cons
- Looks worse before it looks better — trust the process
- Curved and detailed surfaces take practice
- Multiple coats required — not a one-day project
- Top coat is essential and can’t be skipped
Would I use Retique It Liquid Wood again?
Absolutely. After using it on a dining table (black to pecan) and a bathroom vanity (black to walnut), I’d reach for this product again without hesitation. I keep looking around my house for the next piece to try it on.
Hopefully this Retique It Liquid Wood FAQ answered everything you were wondering before starting your own project. If you want the full step-by-step breakdown, check out my dining table makeover post and my bathroom vanity makeover post below for photos of the full process from start to finish.

Related Posts:
How to Update Your Bathroom Vanity on a Budget
Retique It Tutorial (Flipping my Black Dining Room Table to a Pecan Finish)
Rub ‘n’ Buff Gold Guide (touching up and refinishing hardware, picture frames & more)