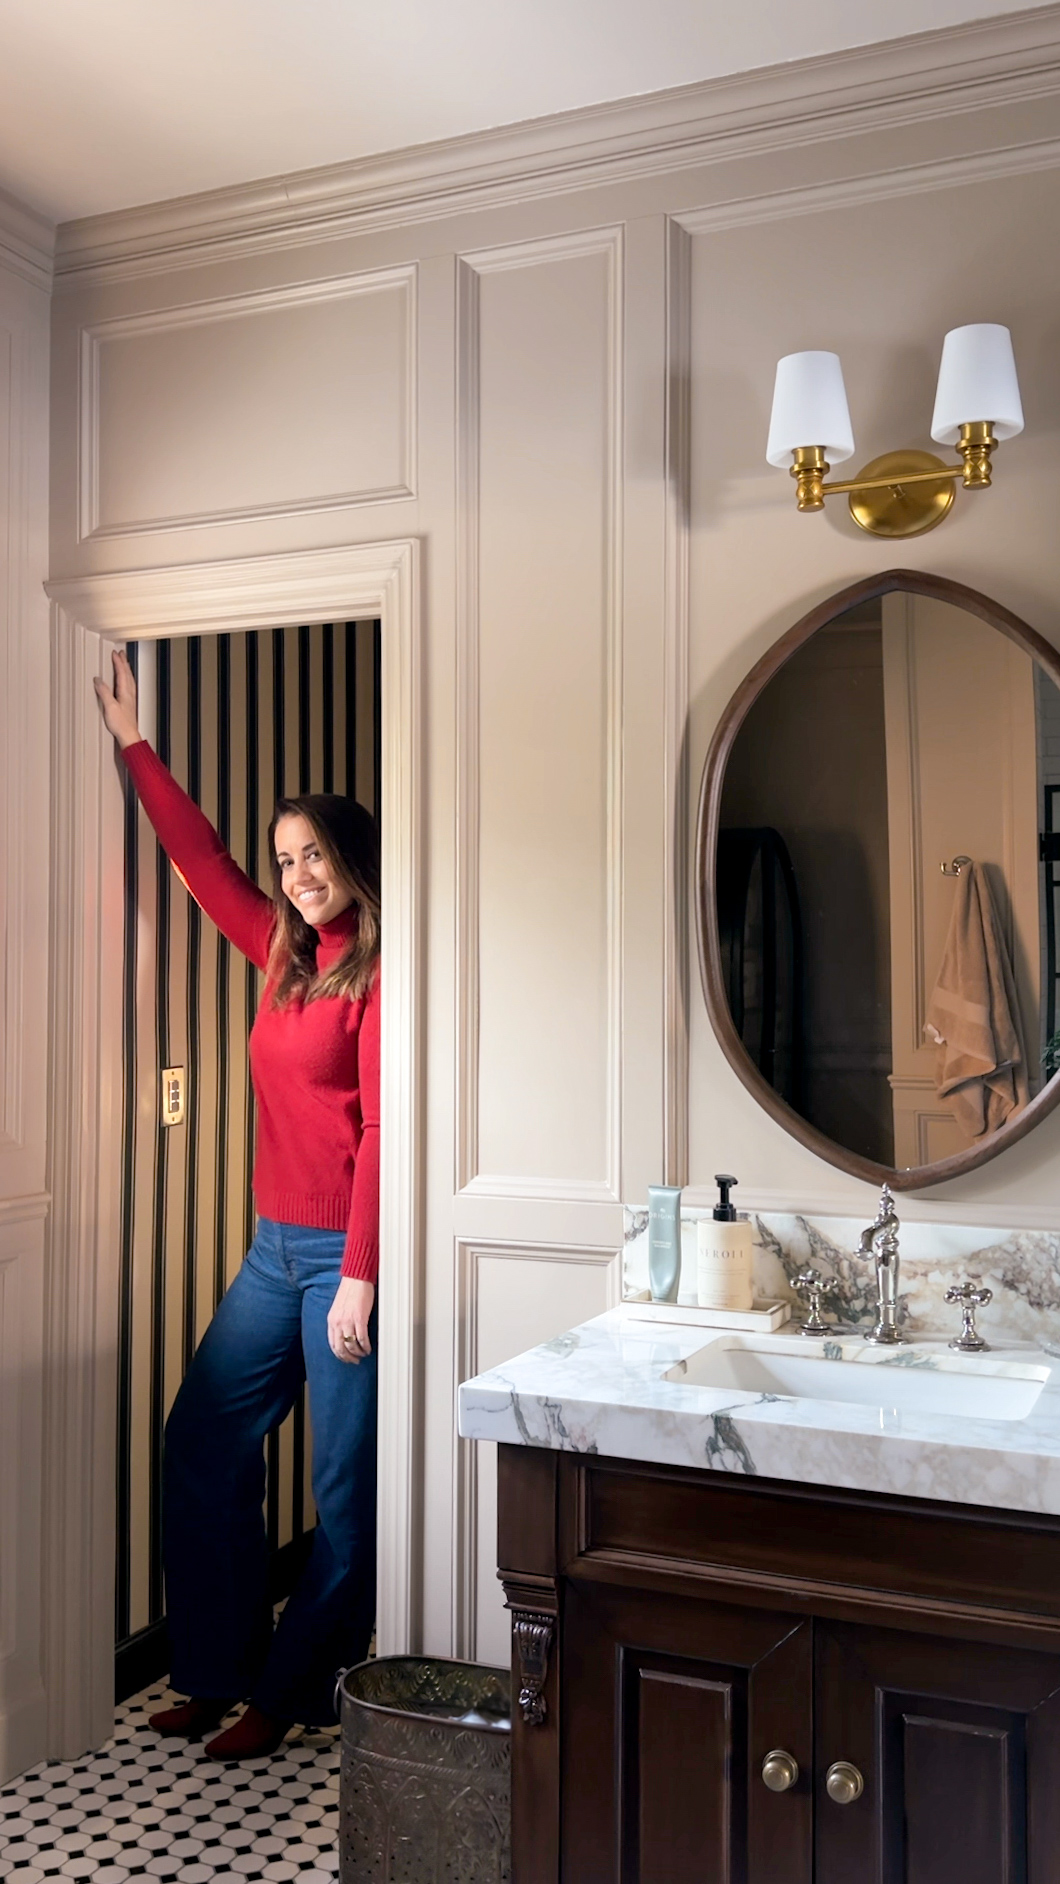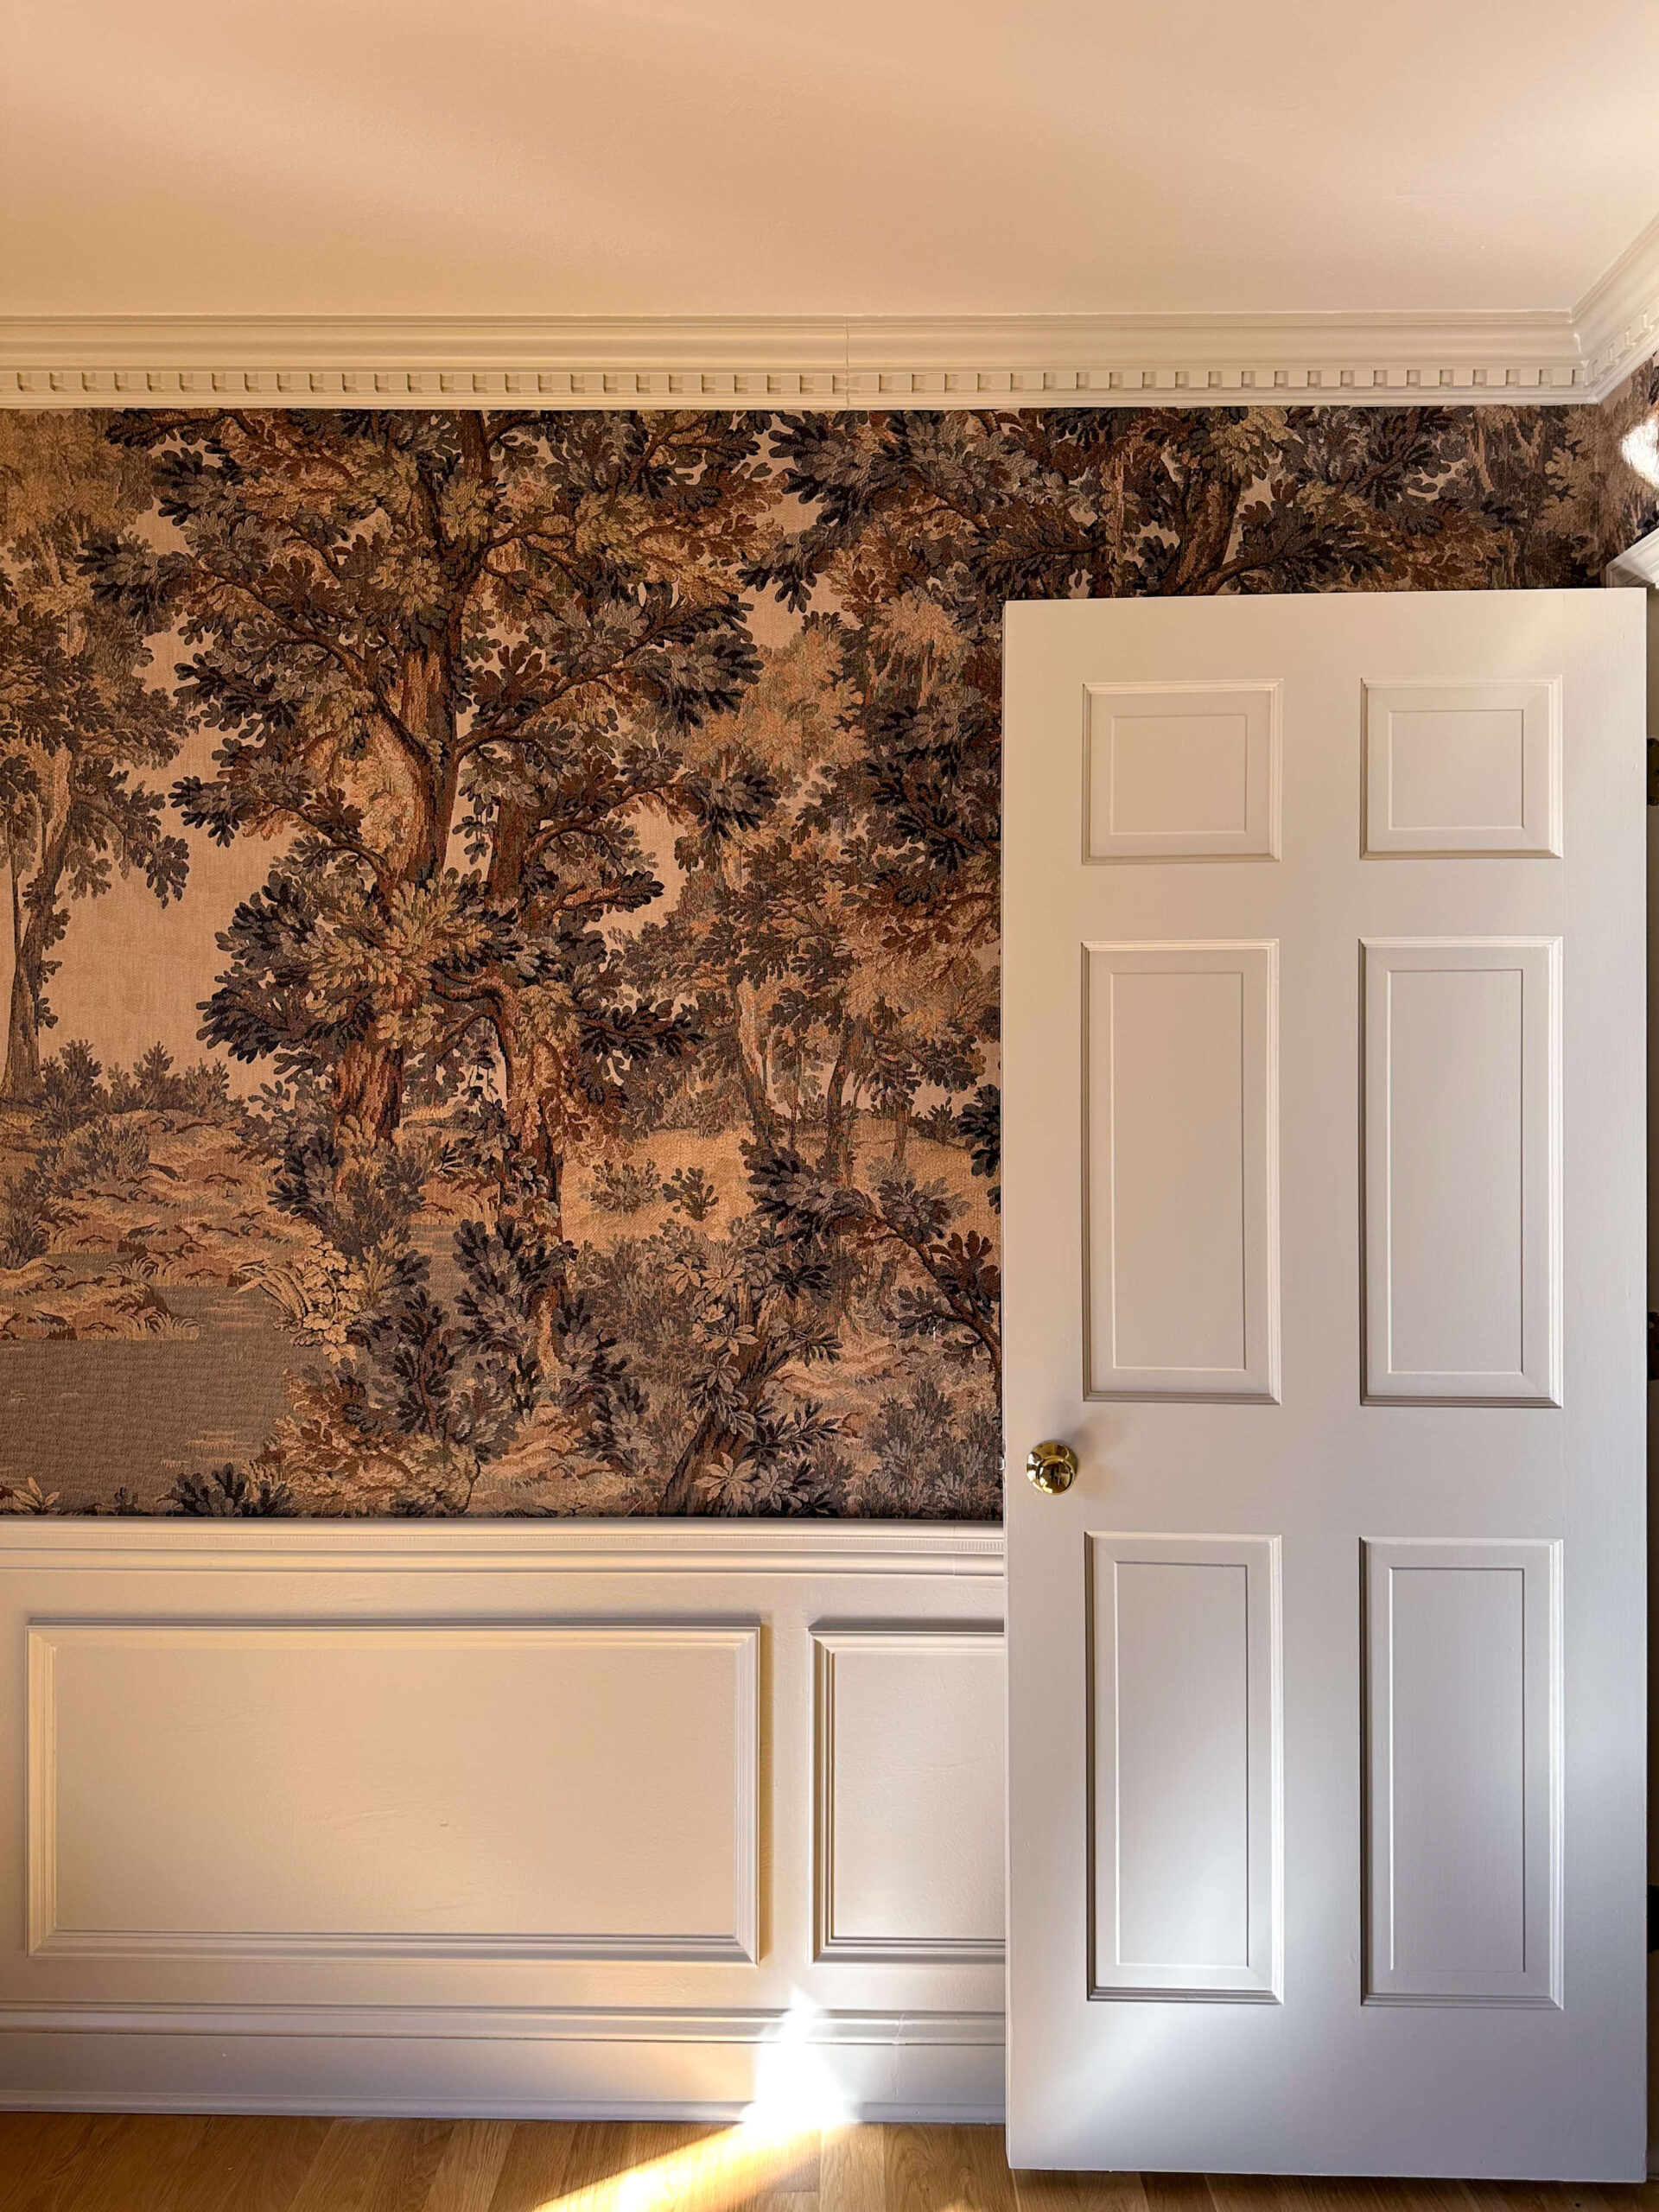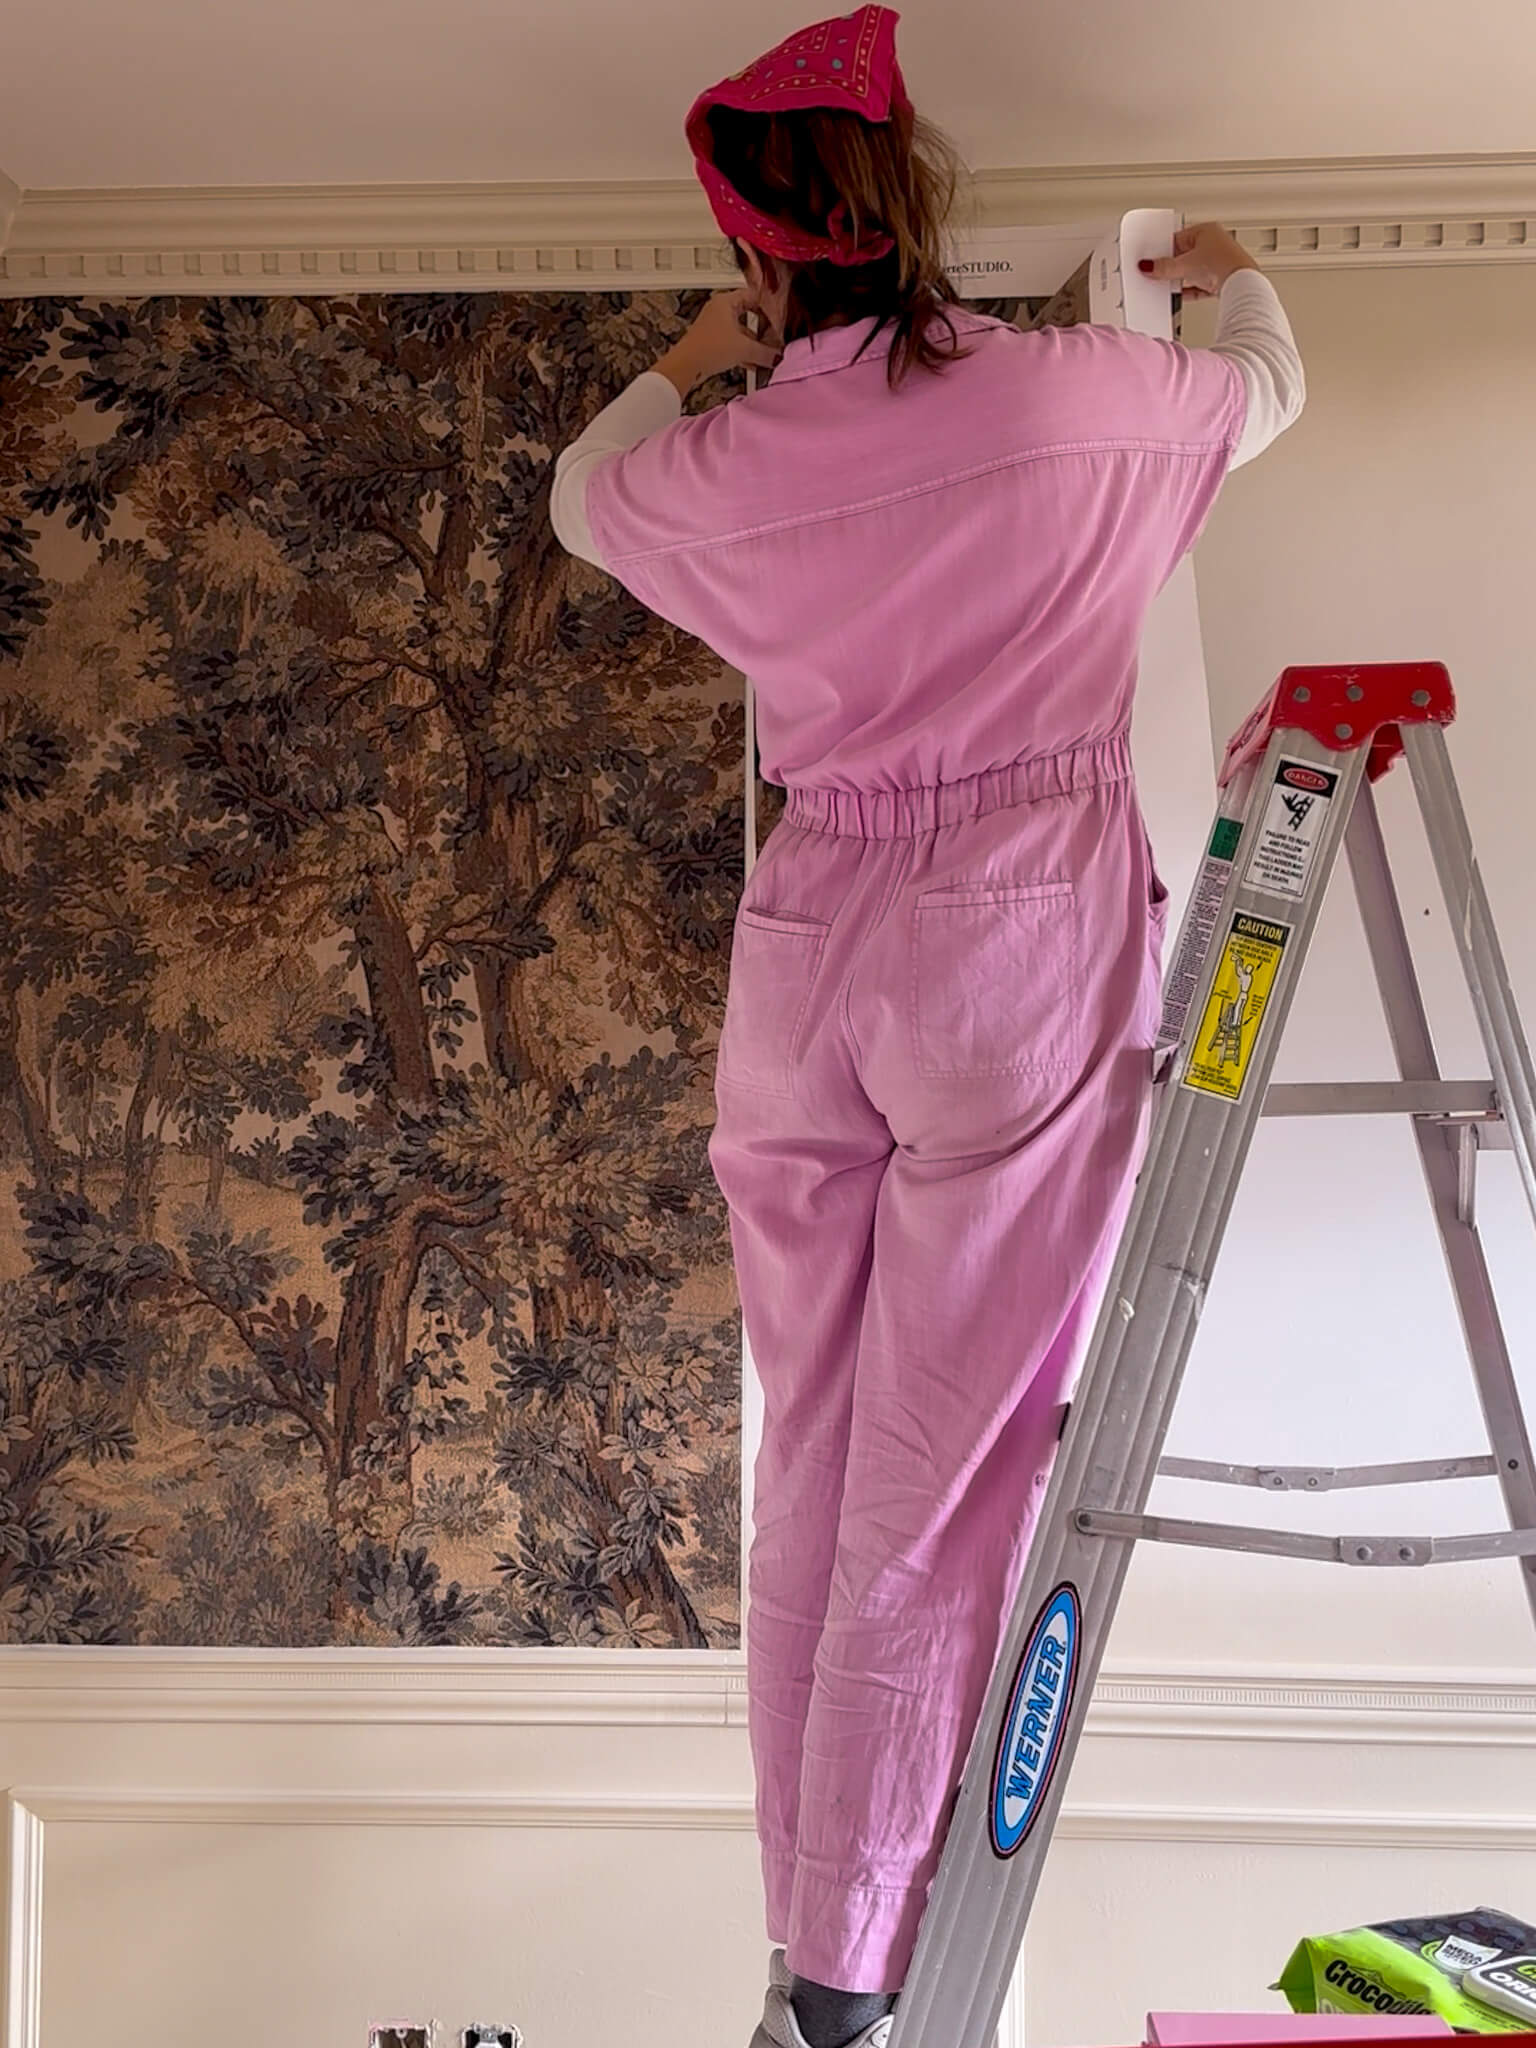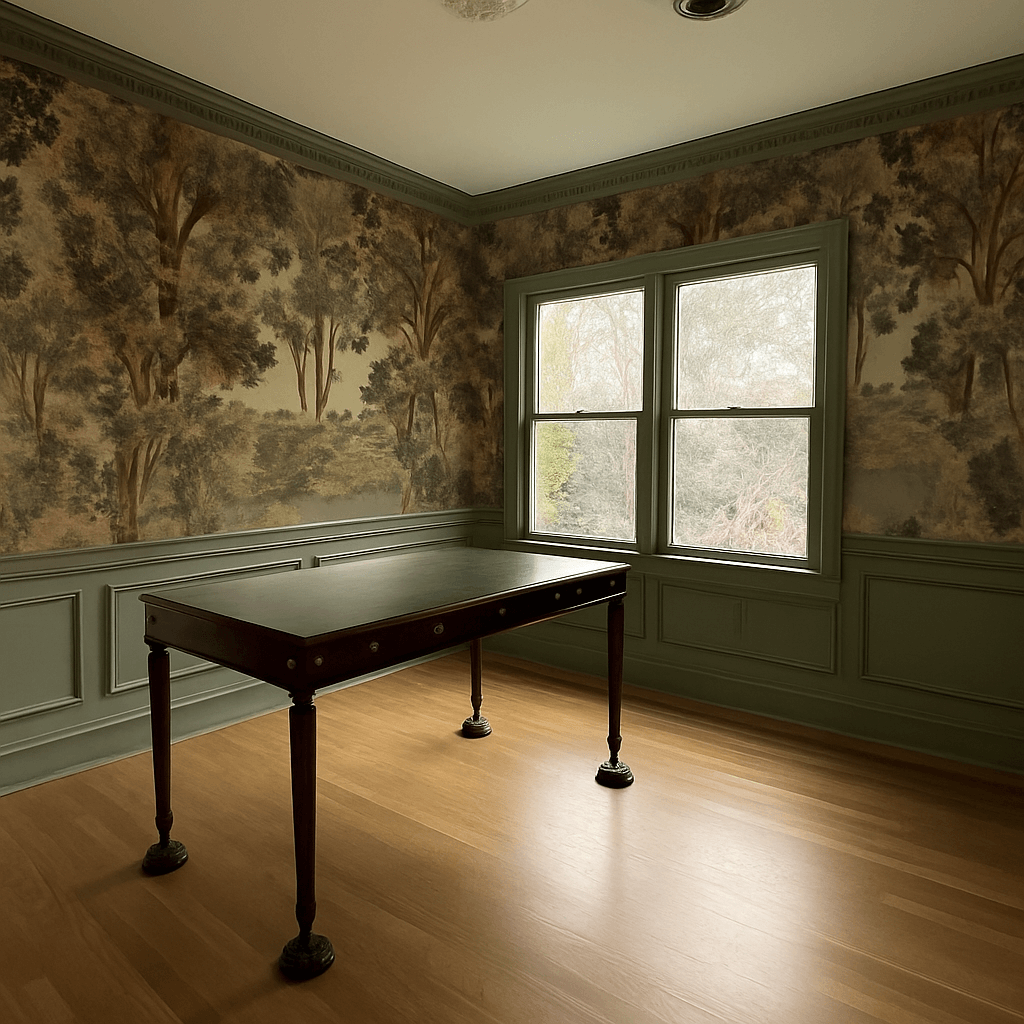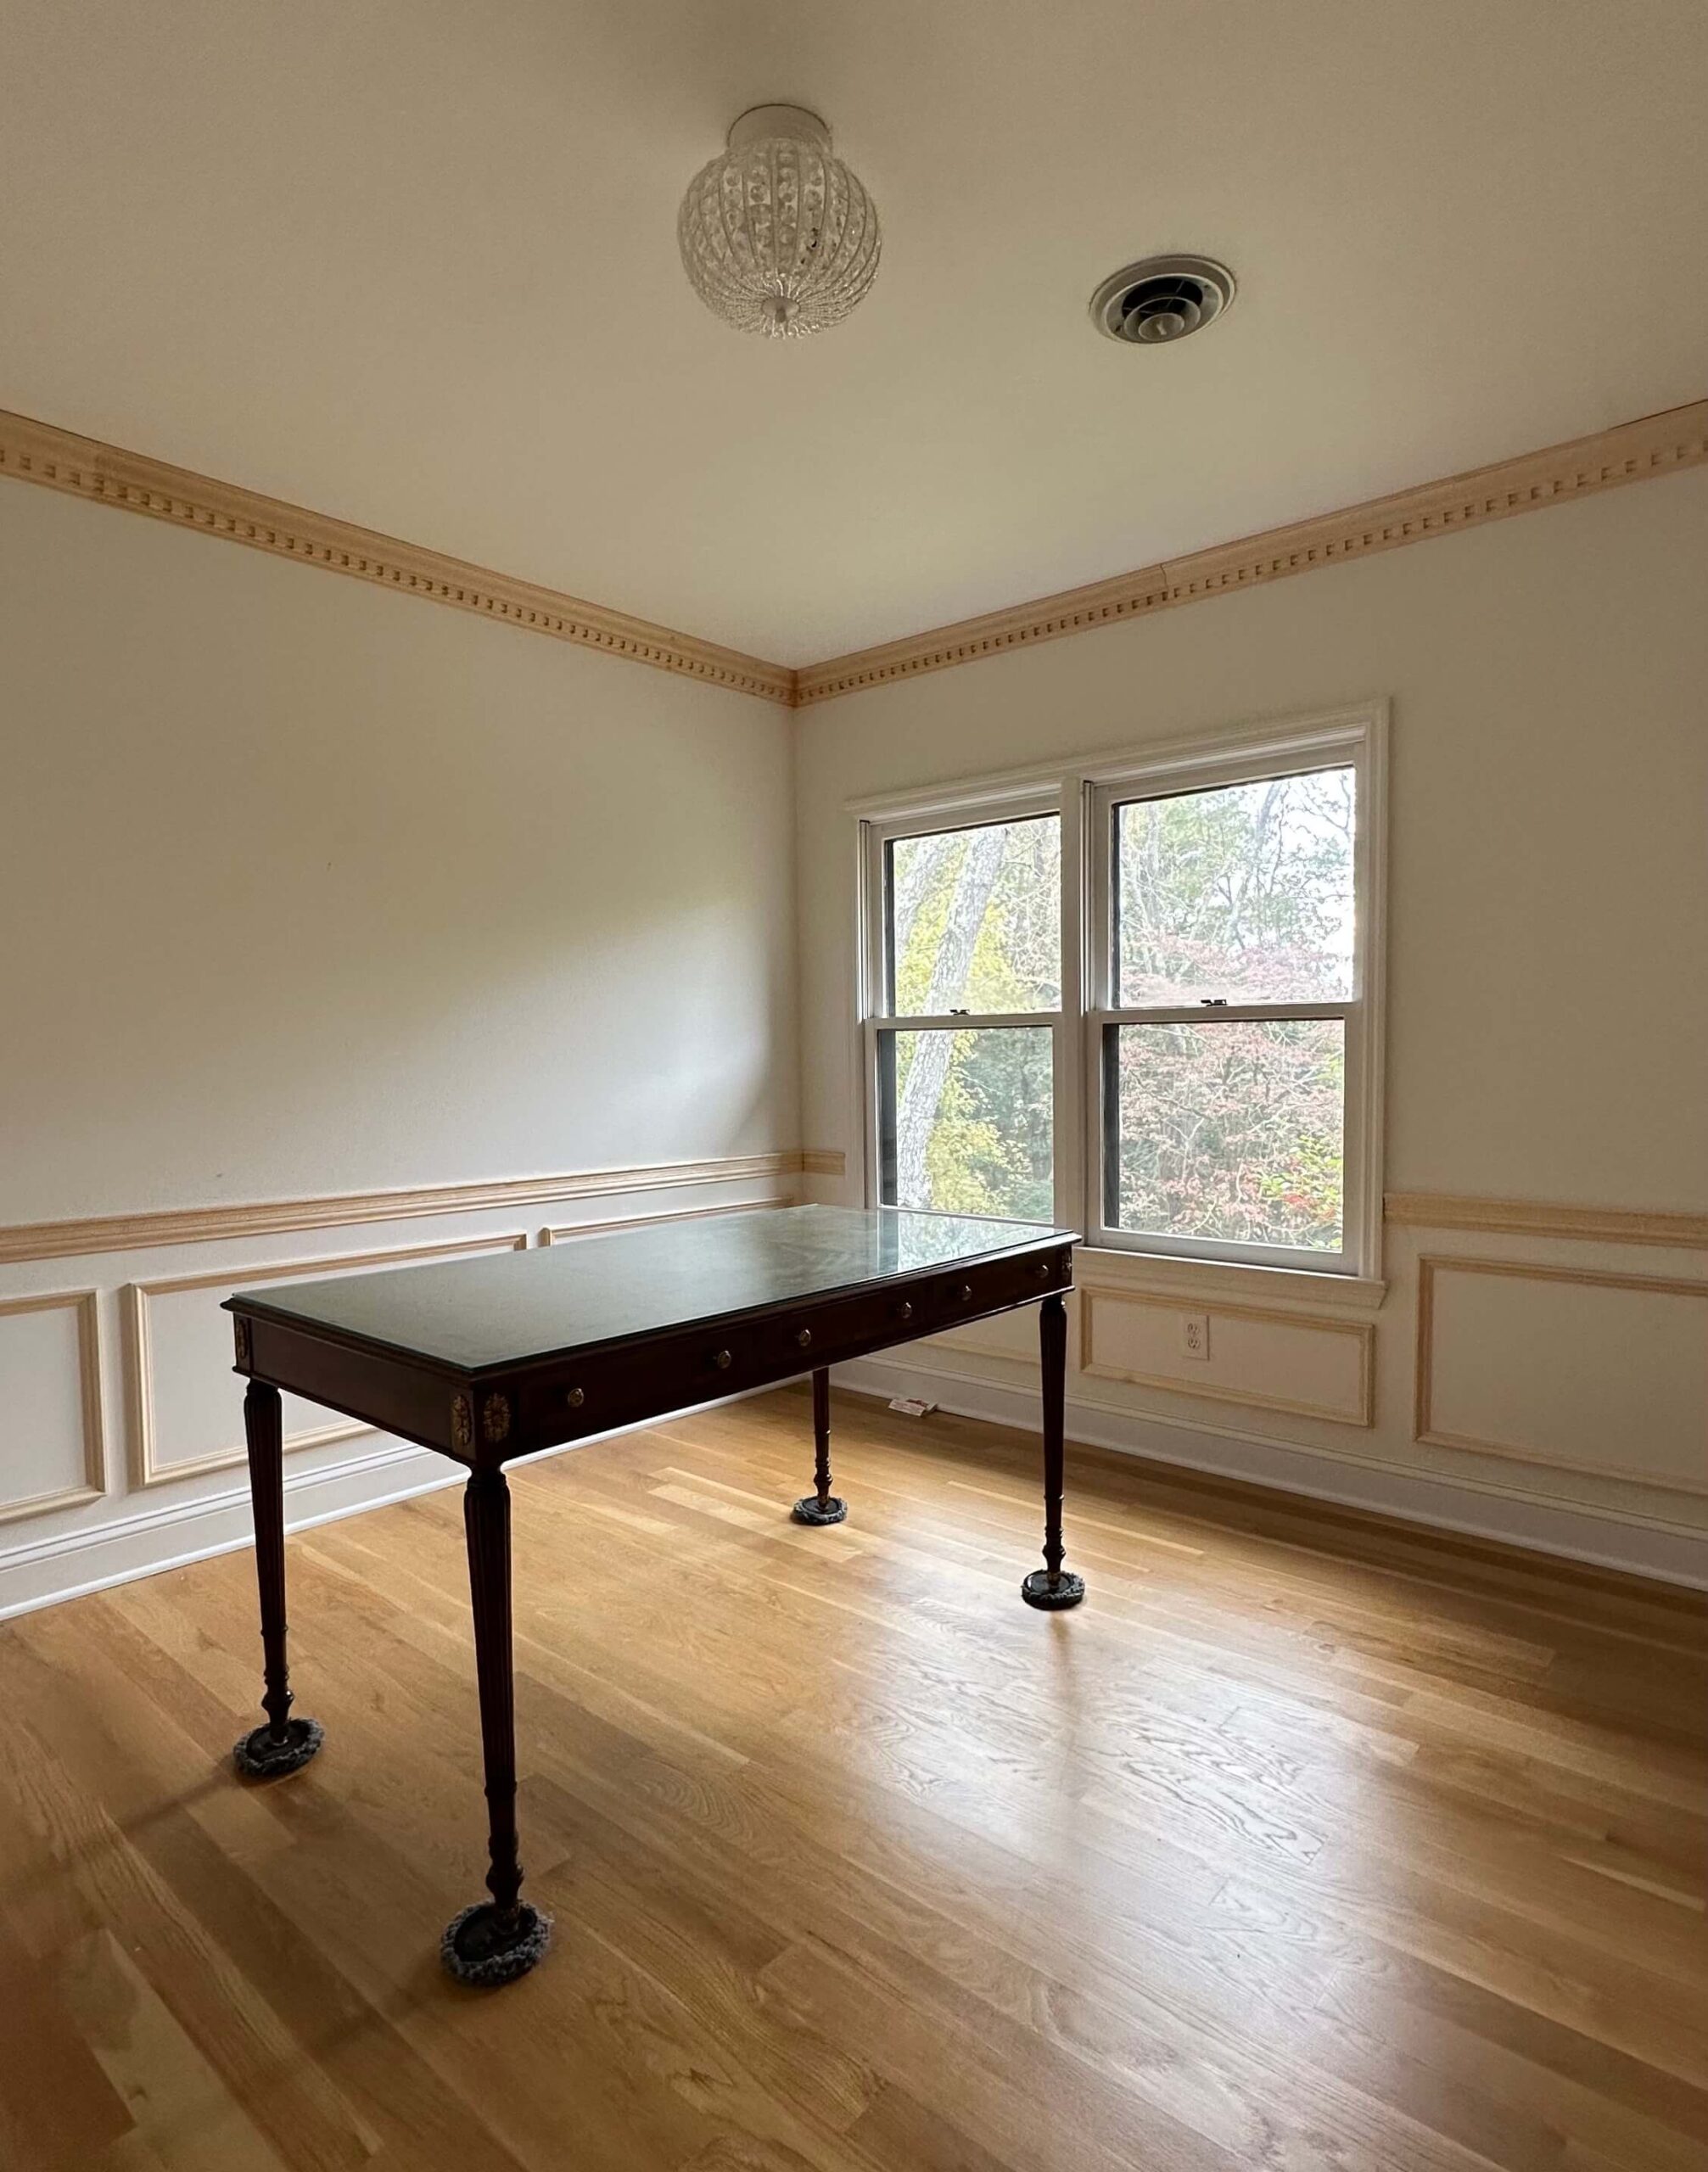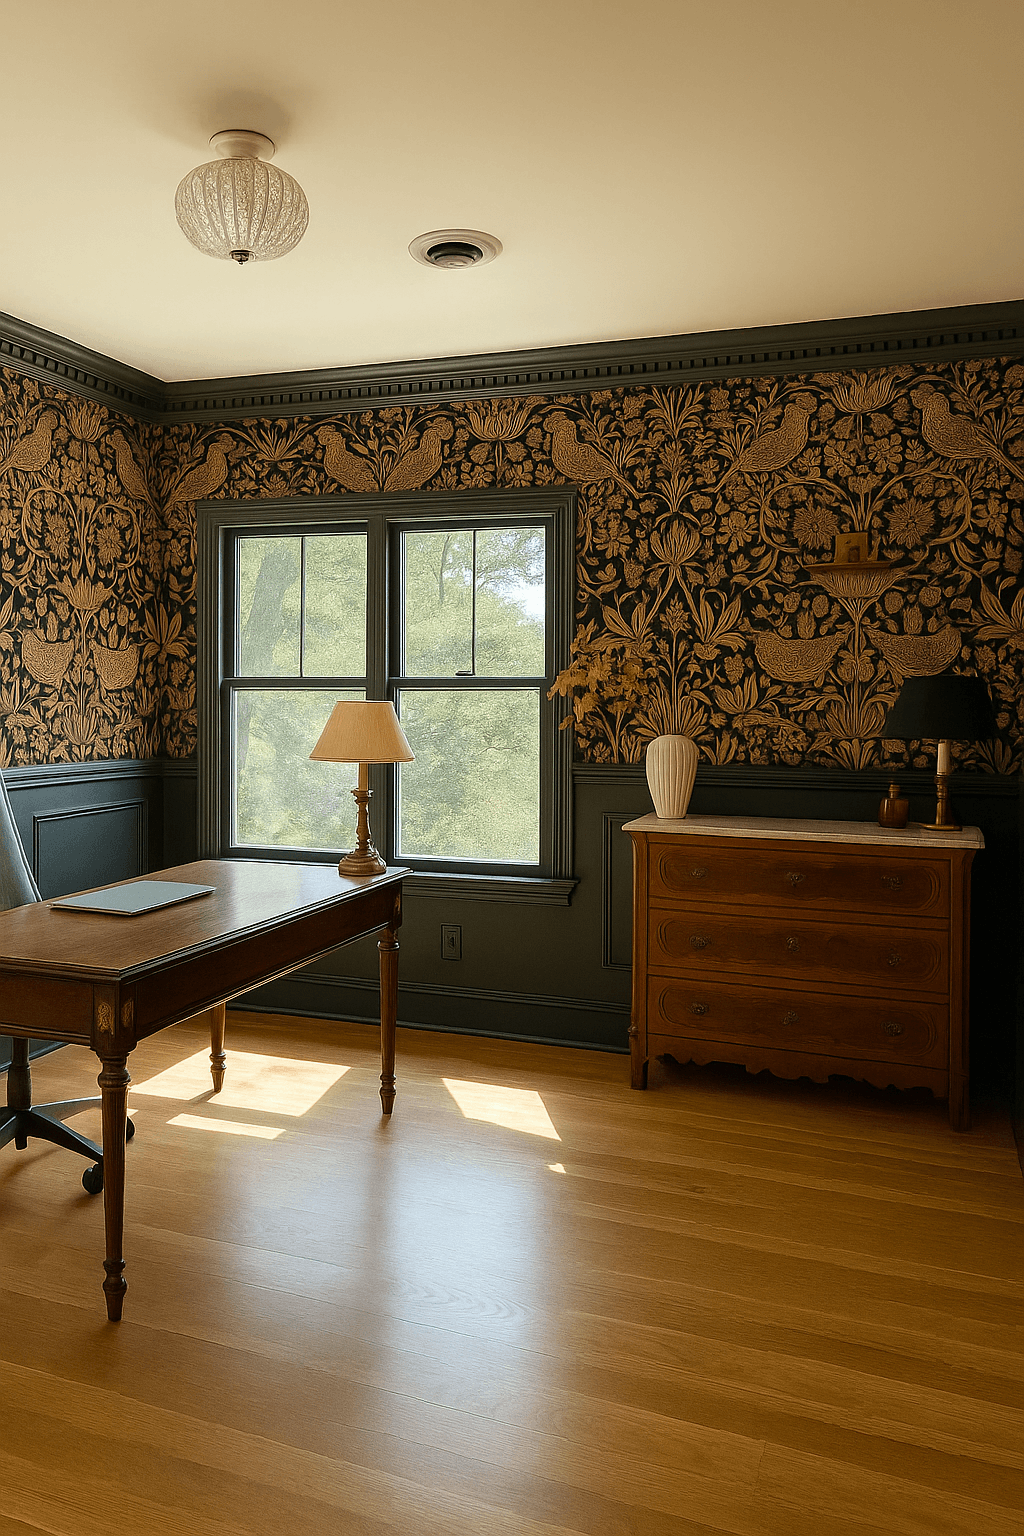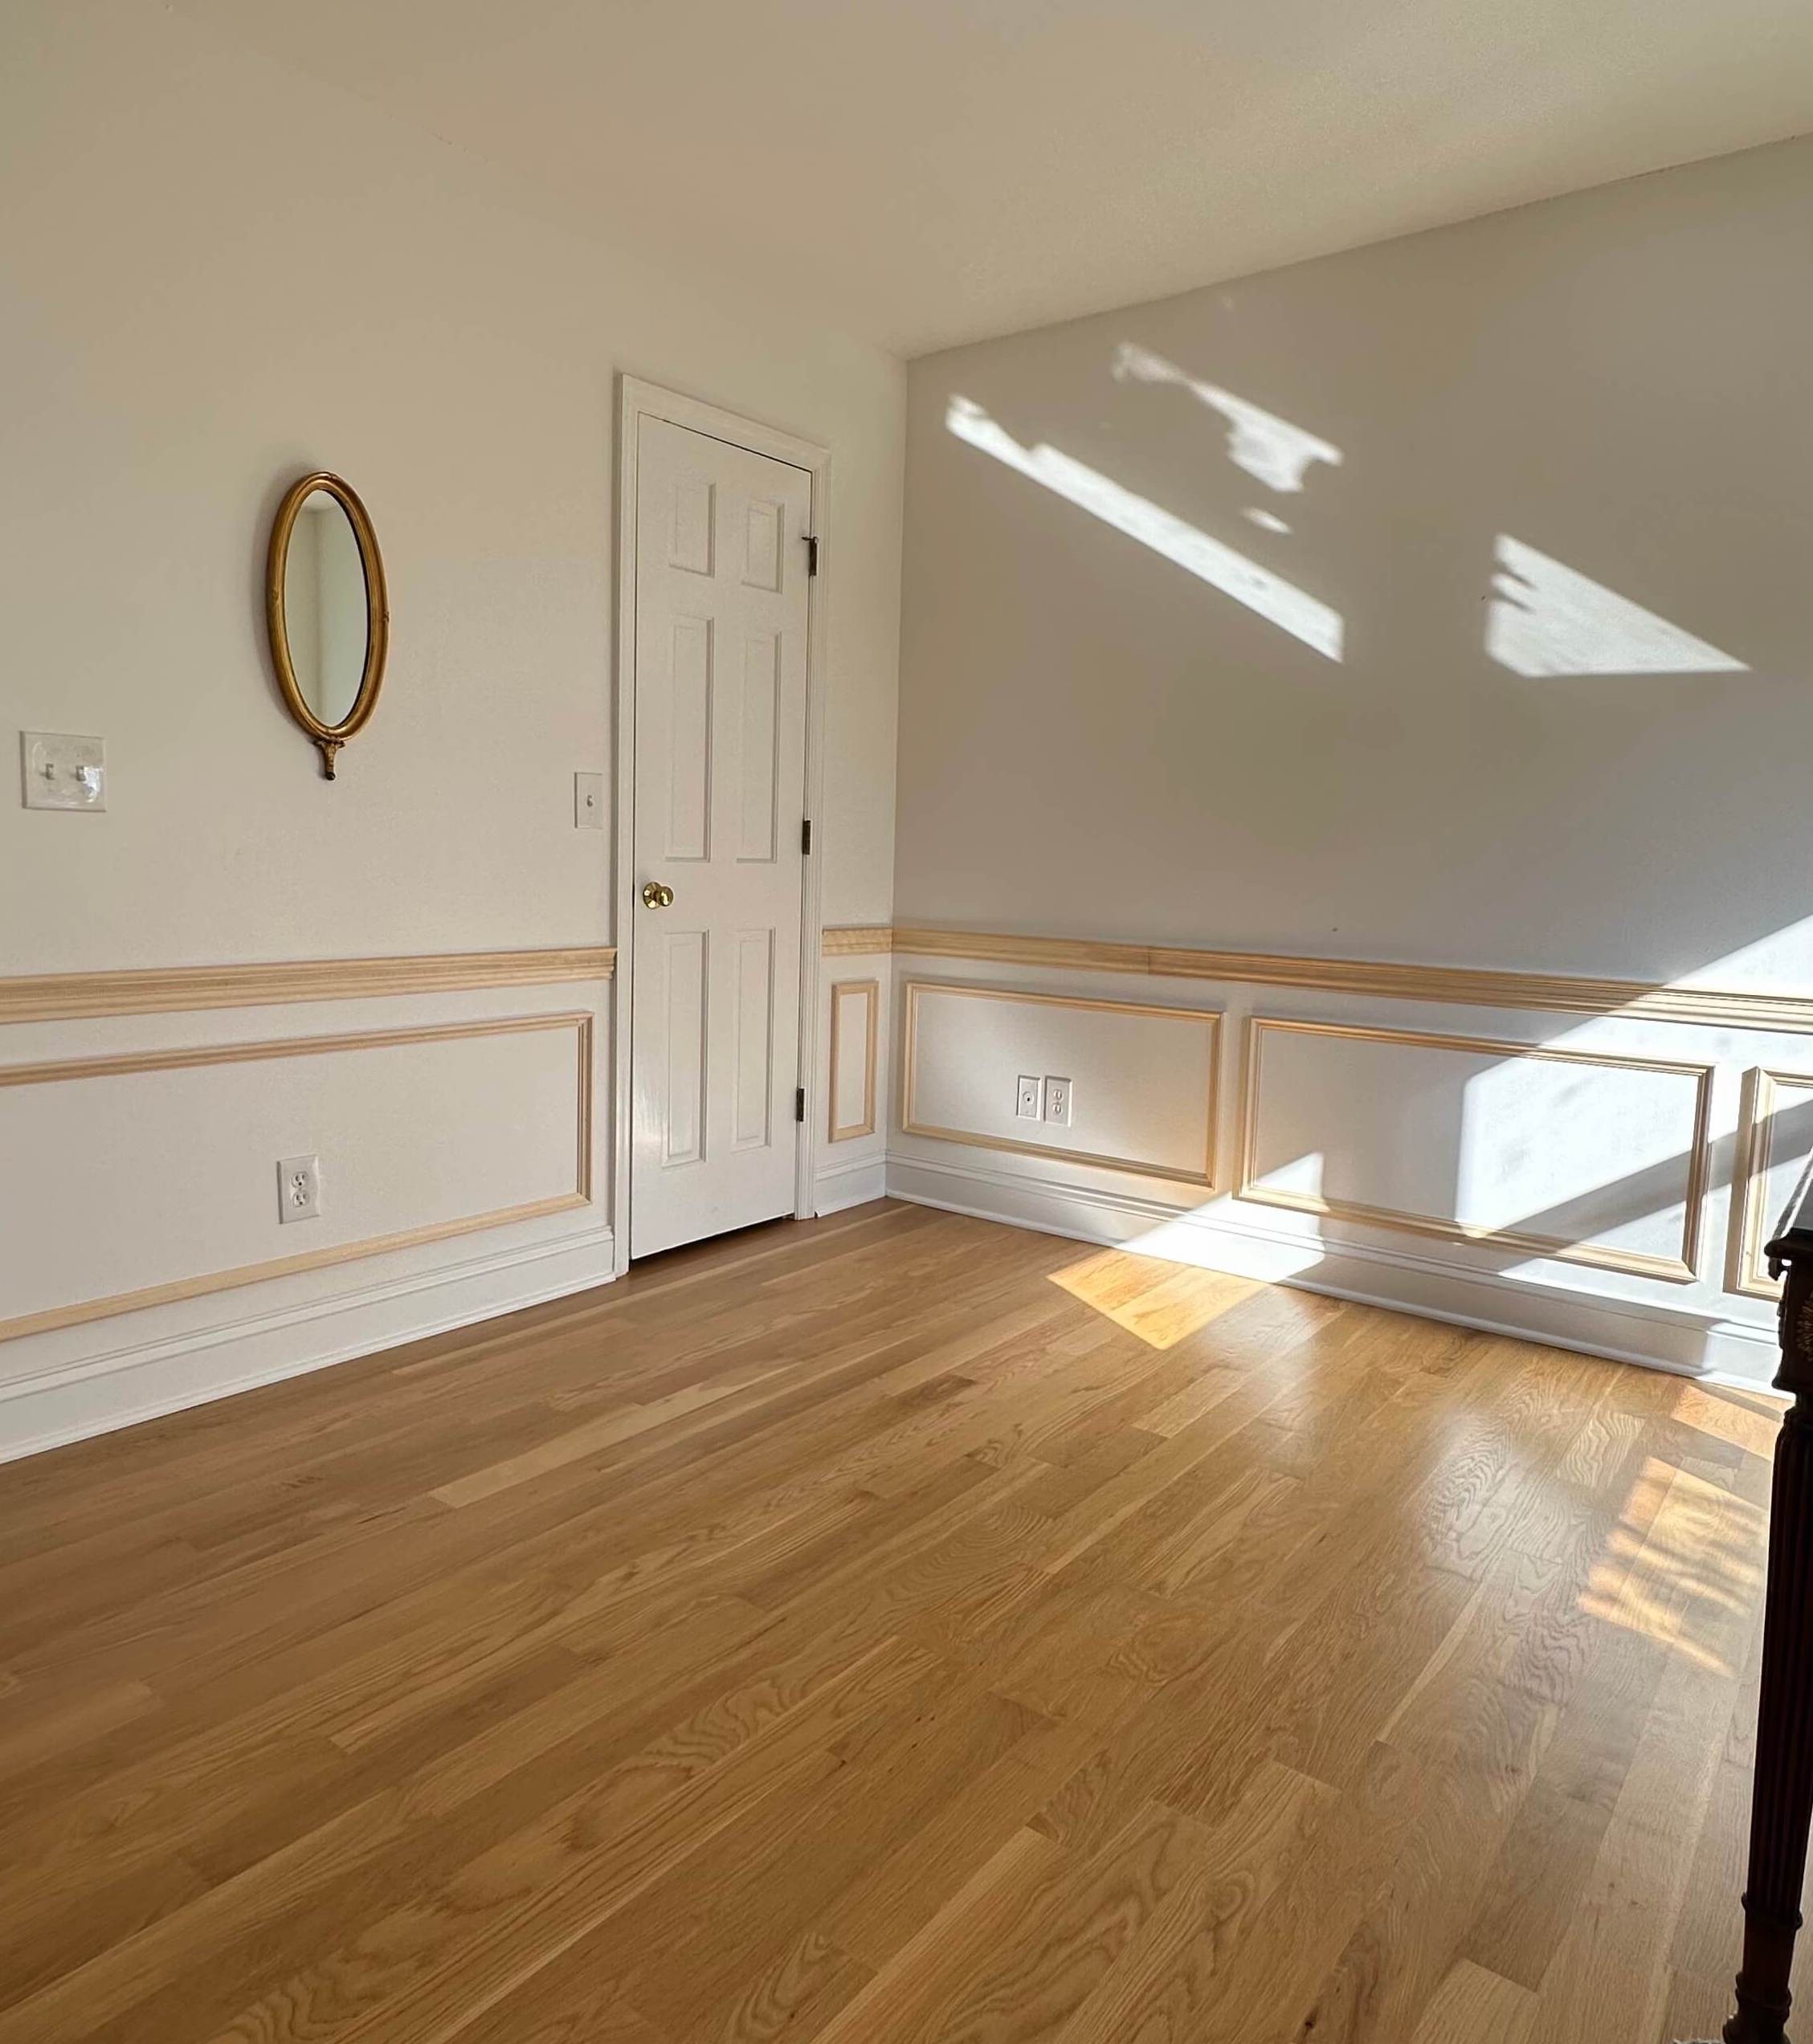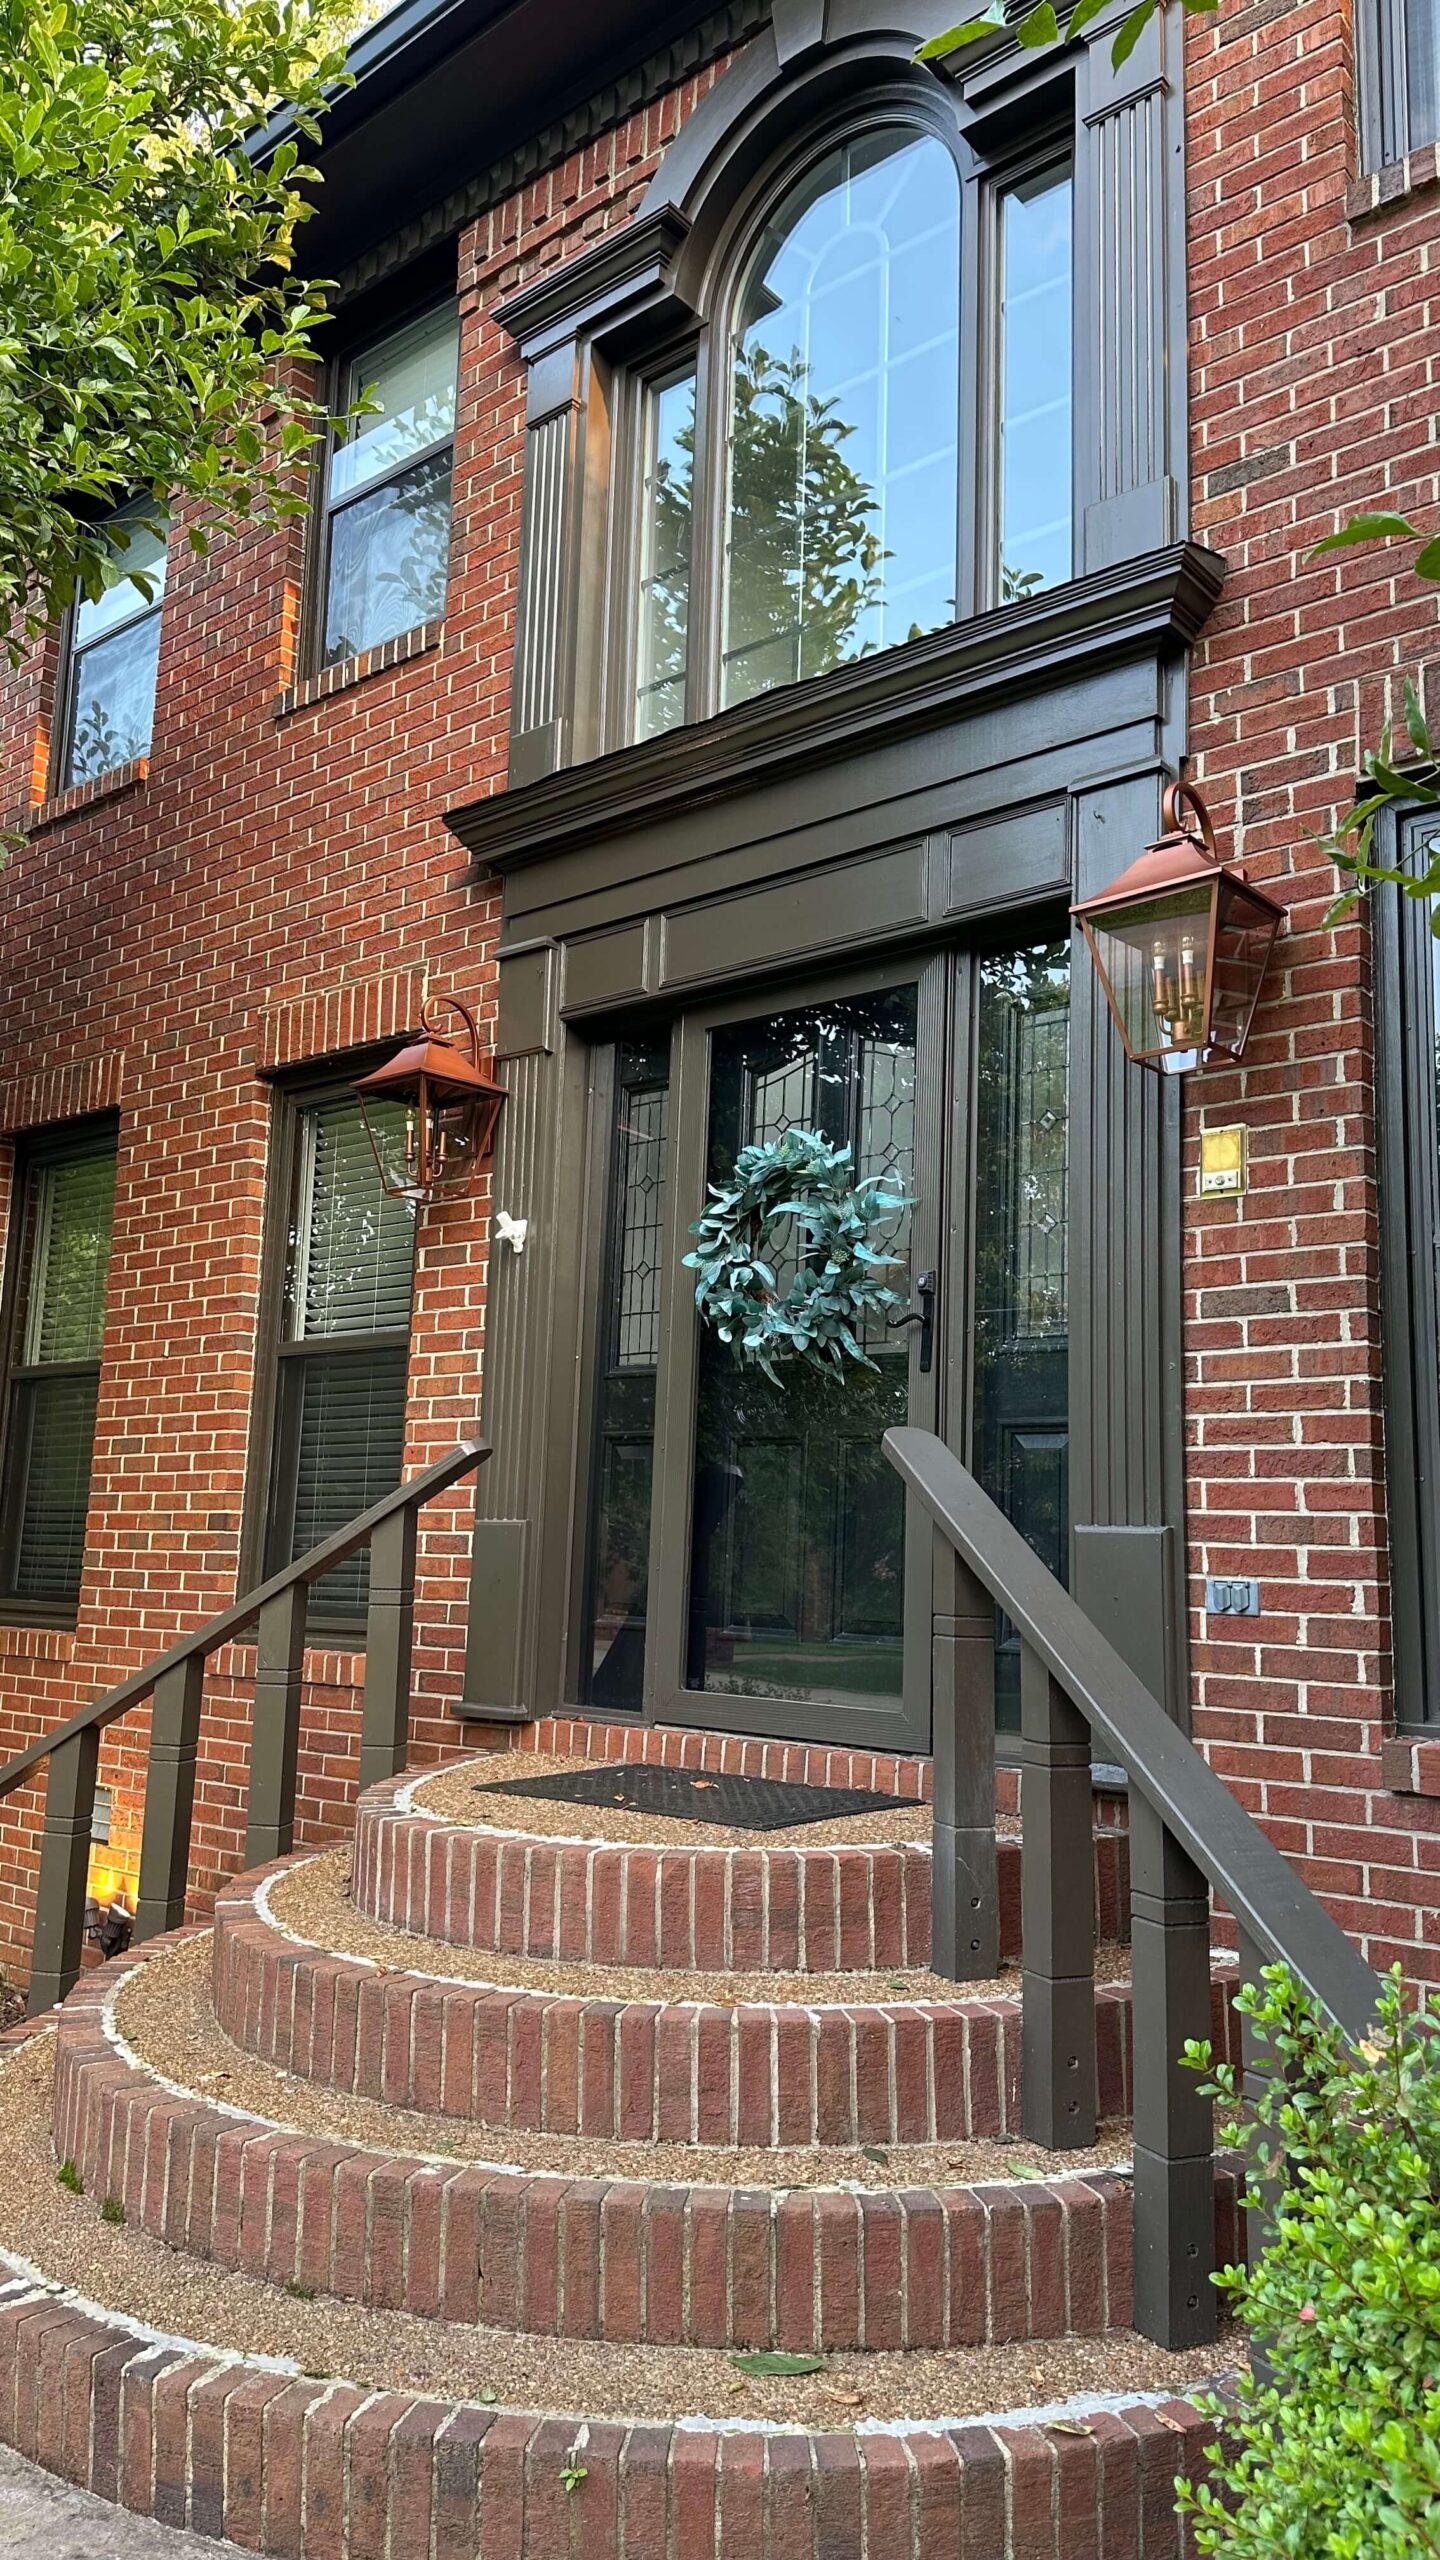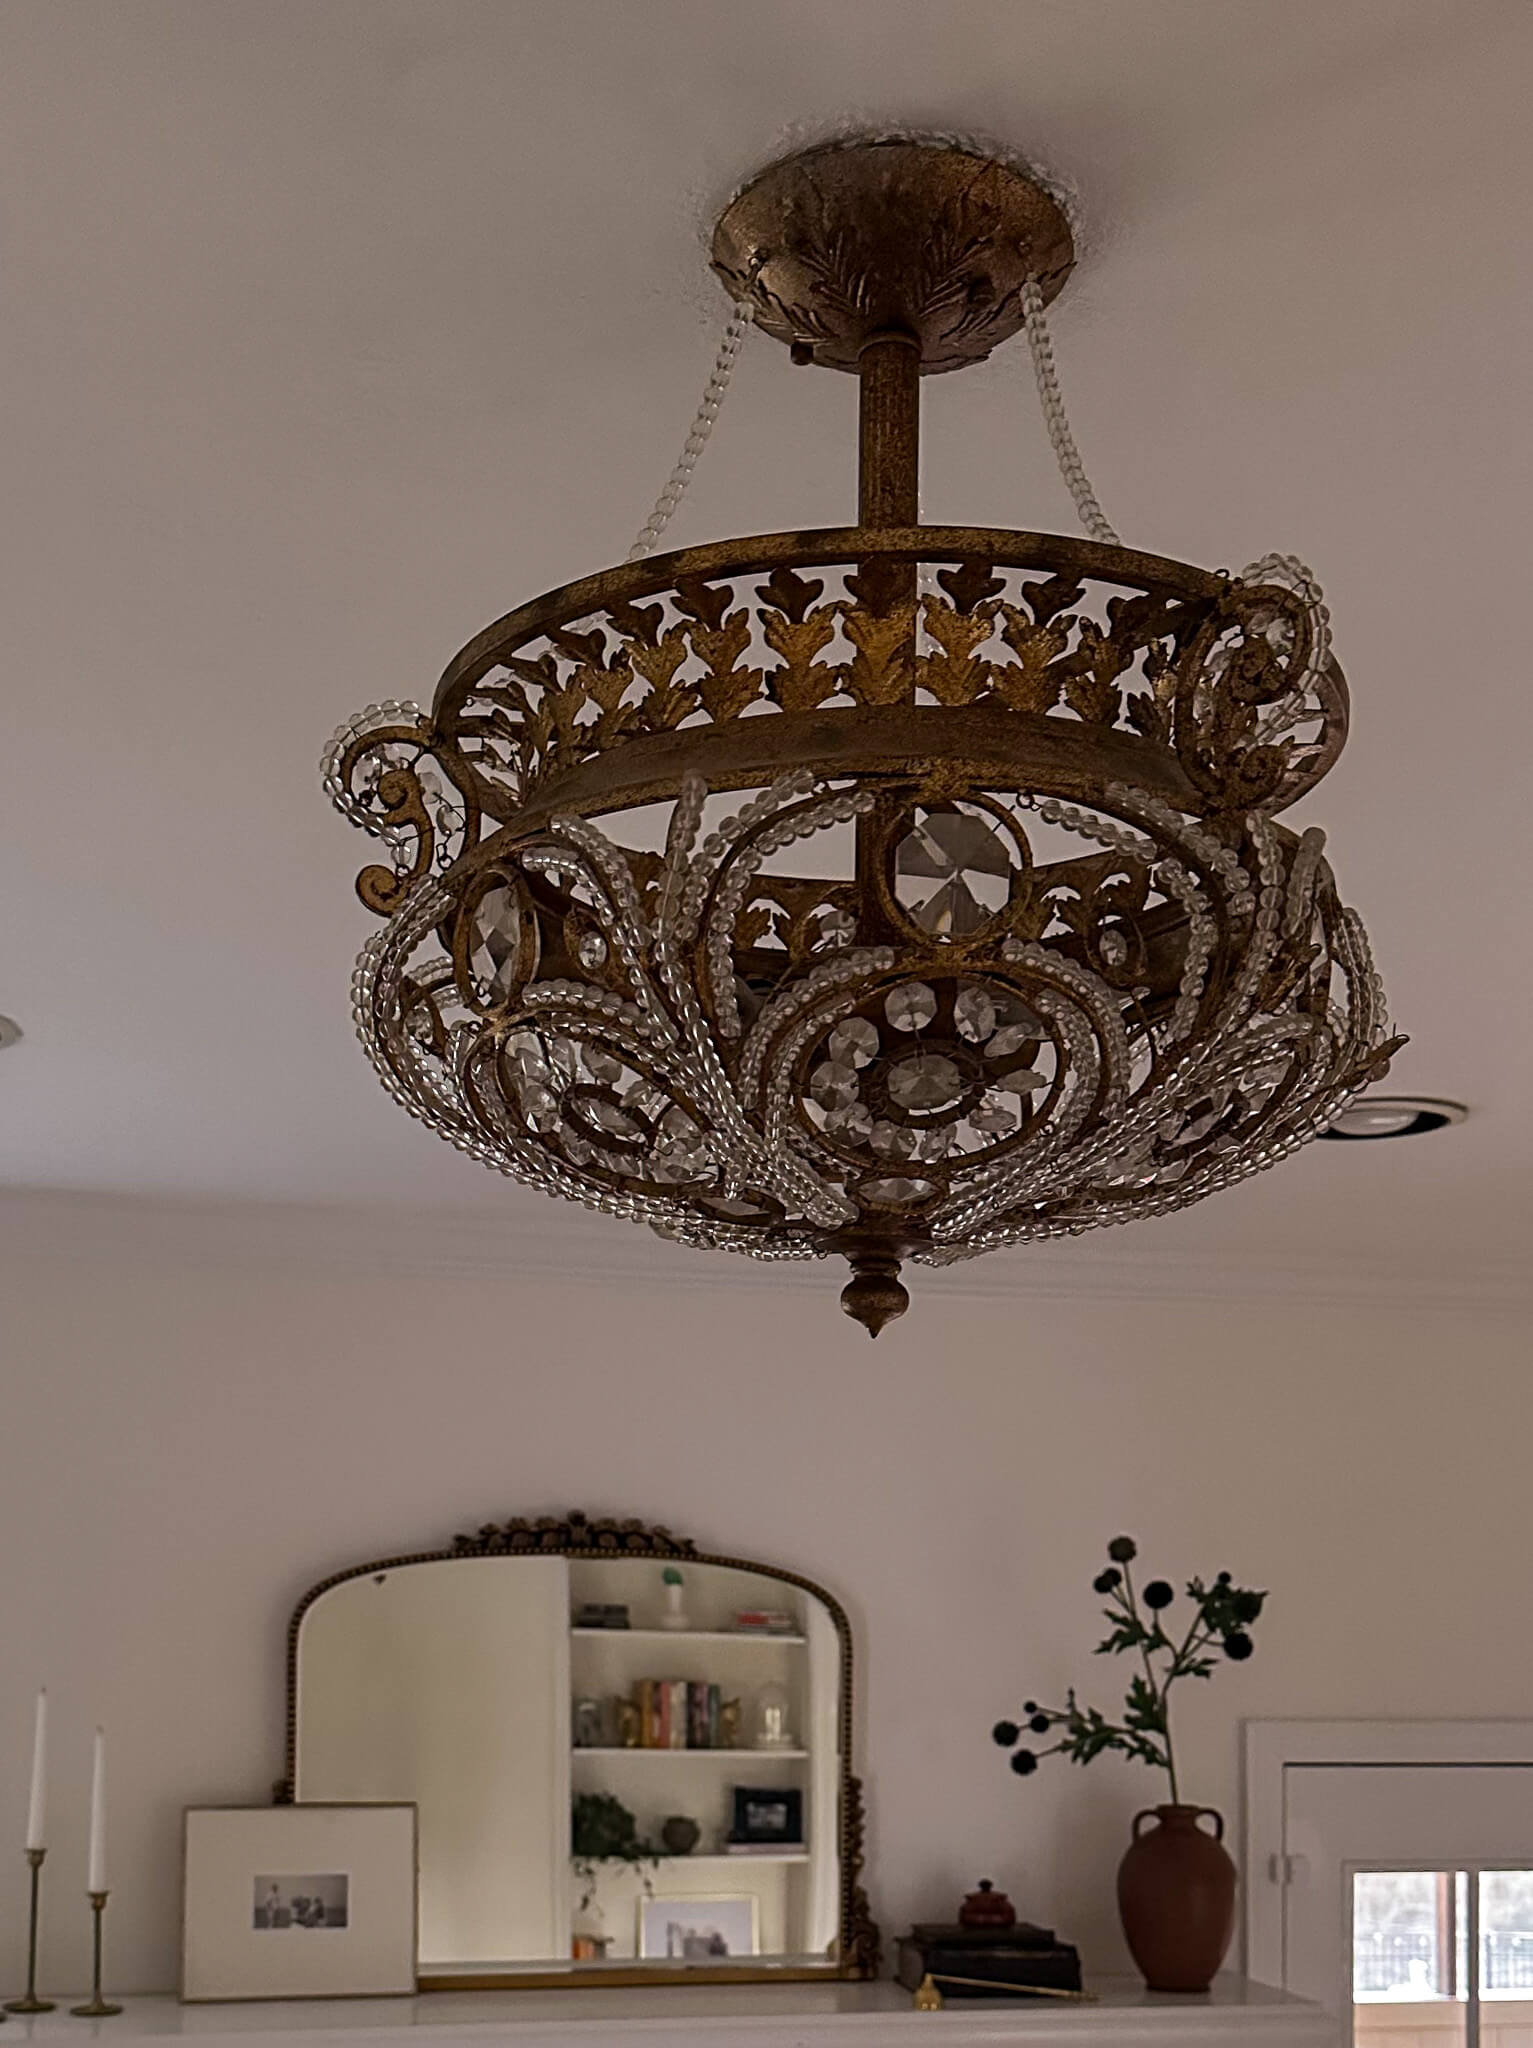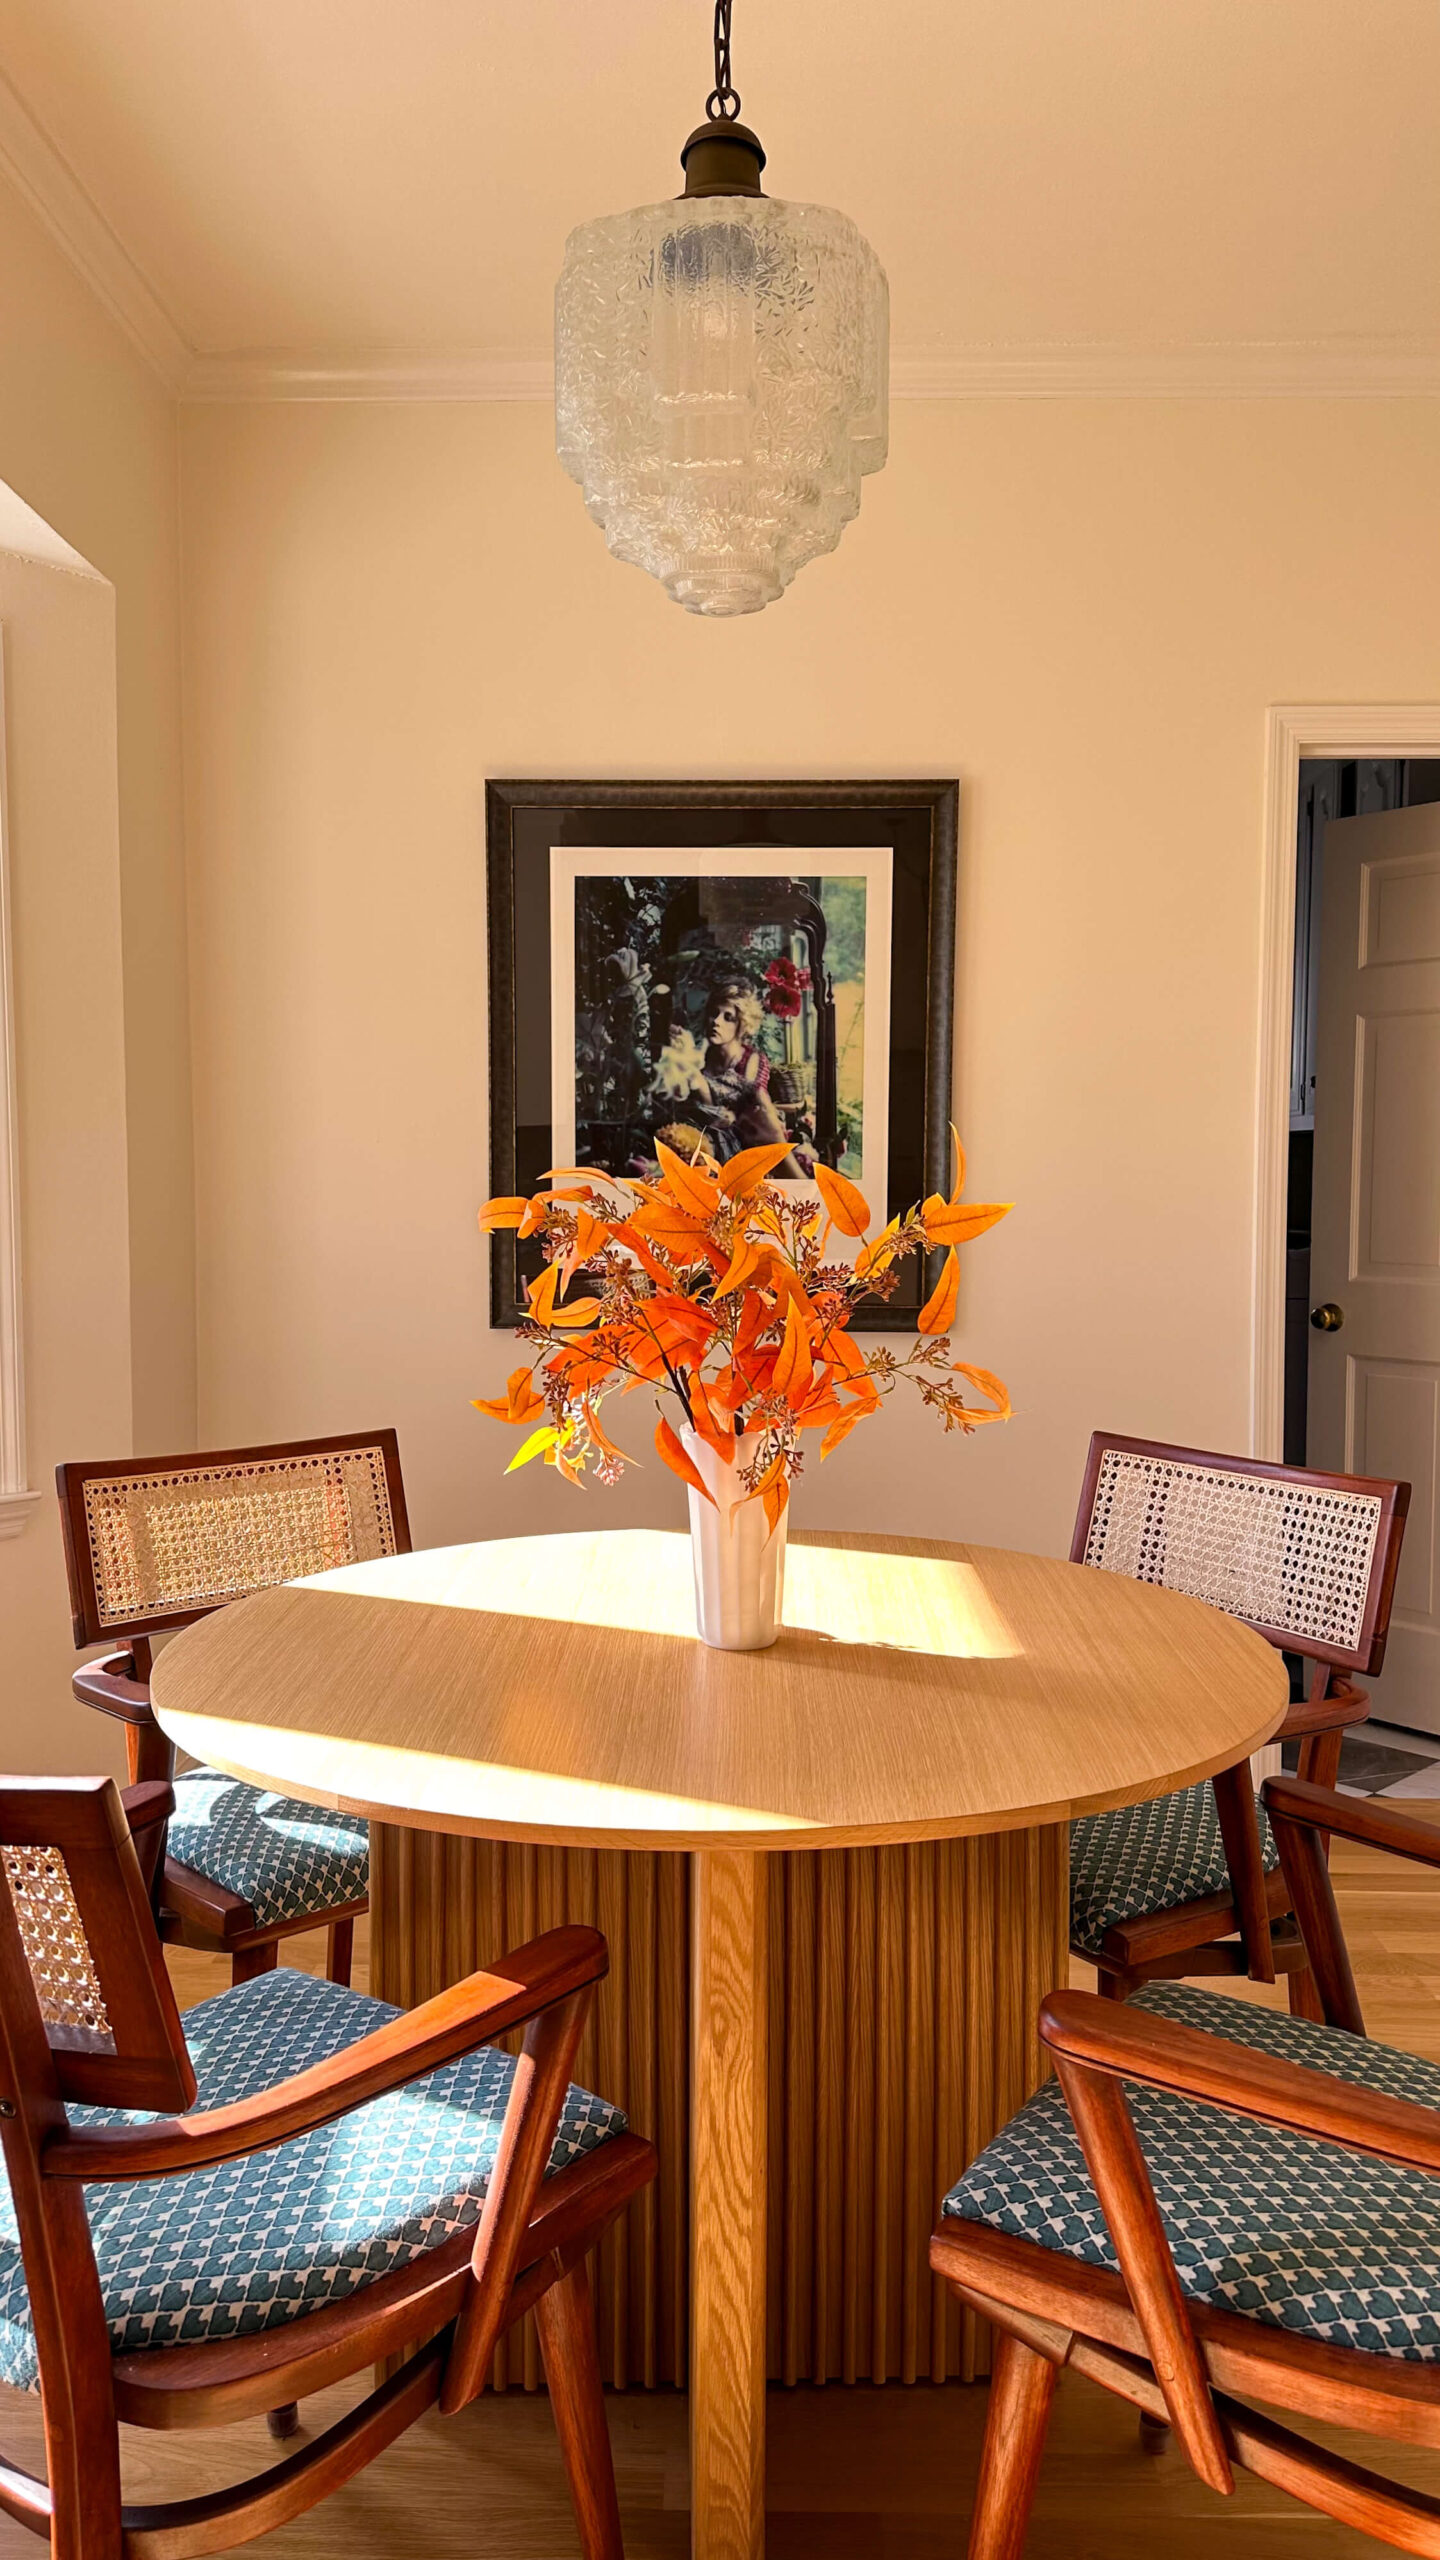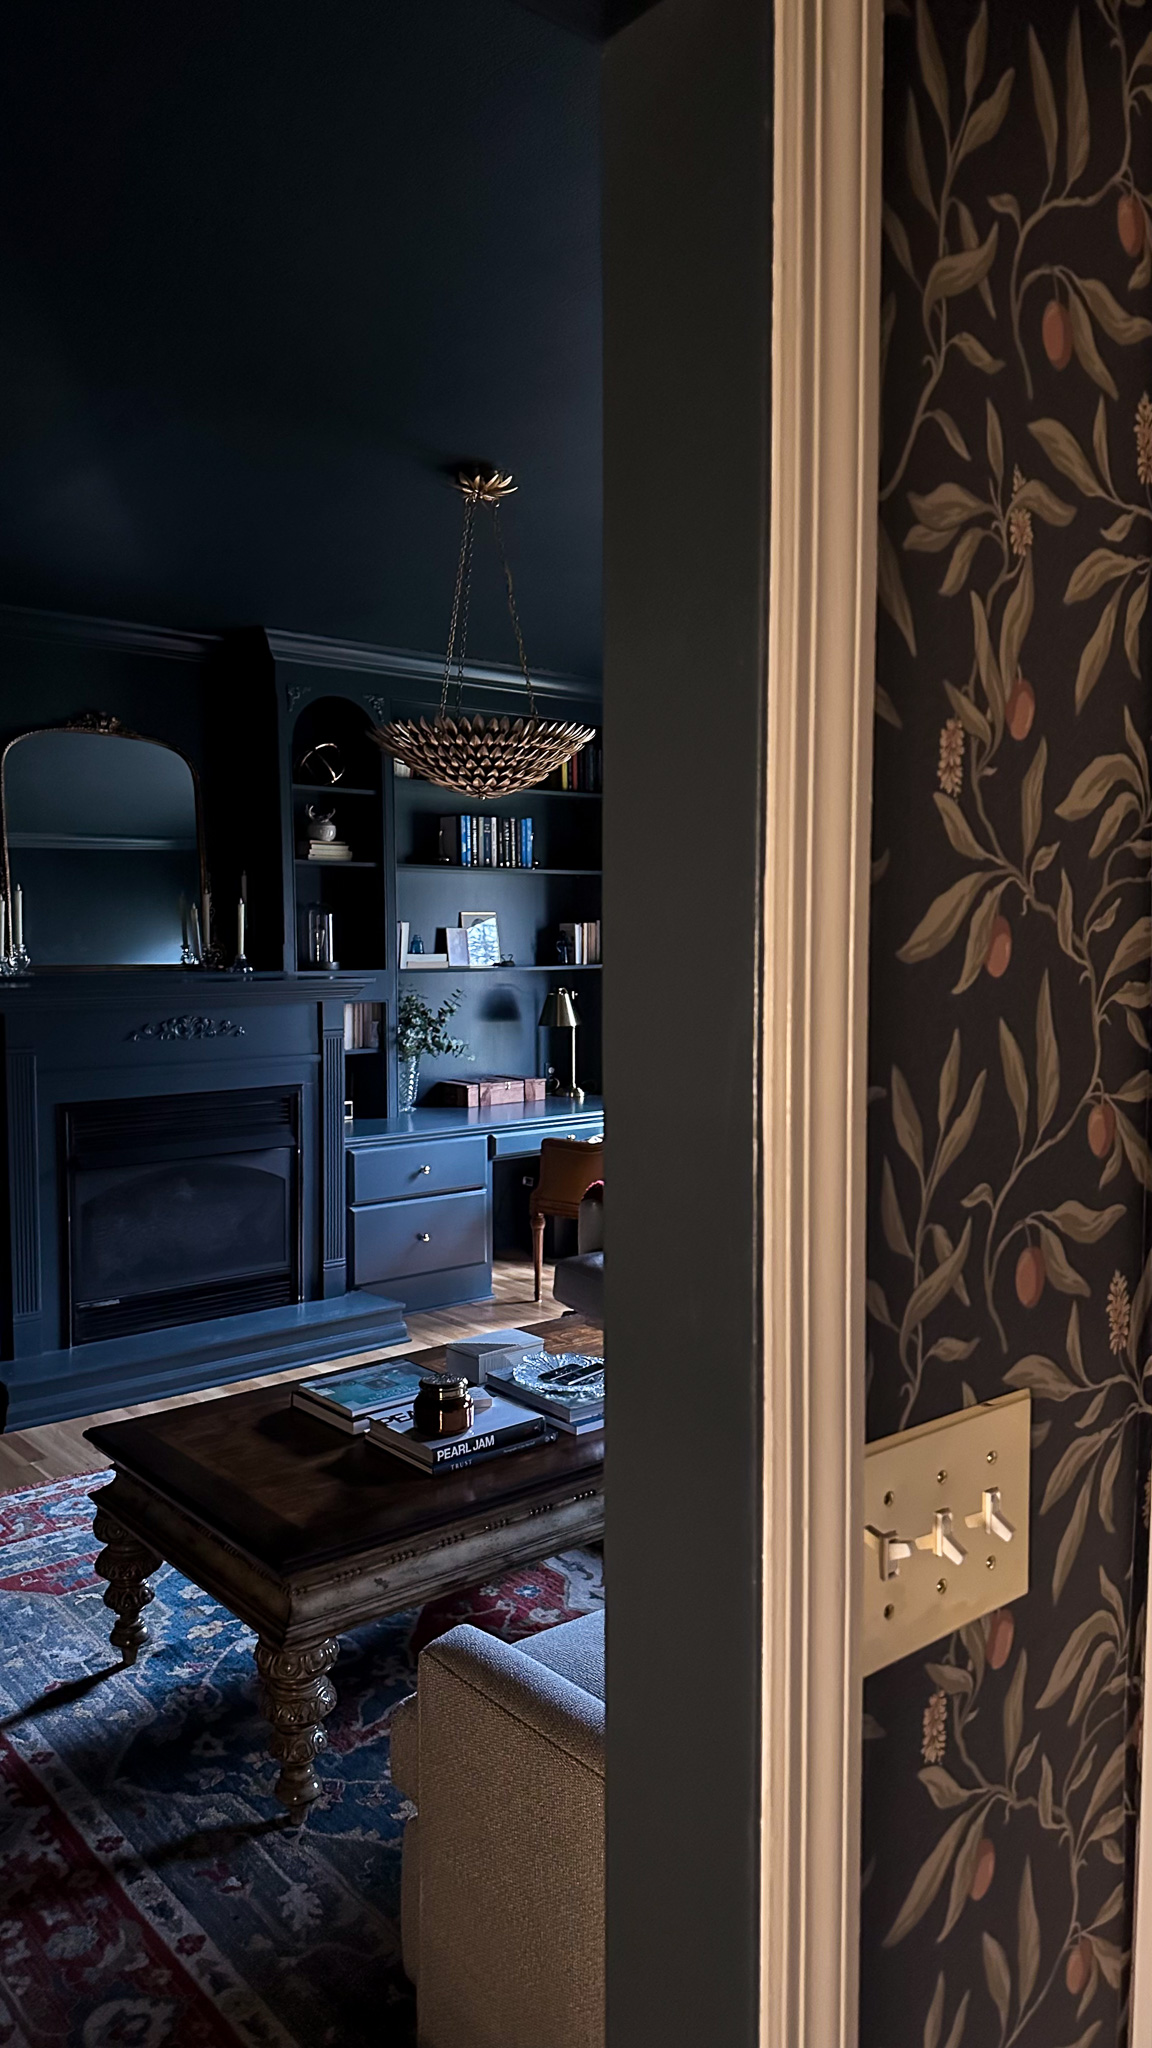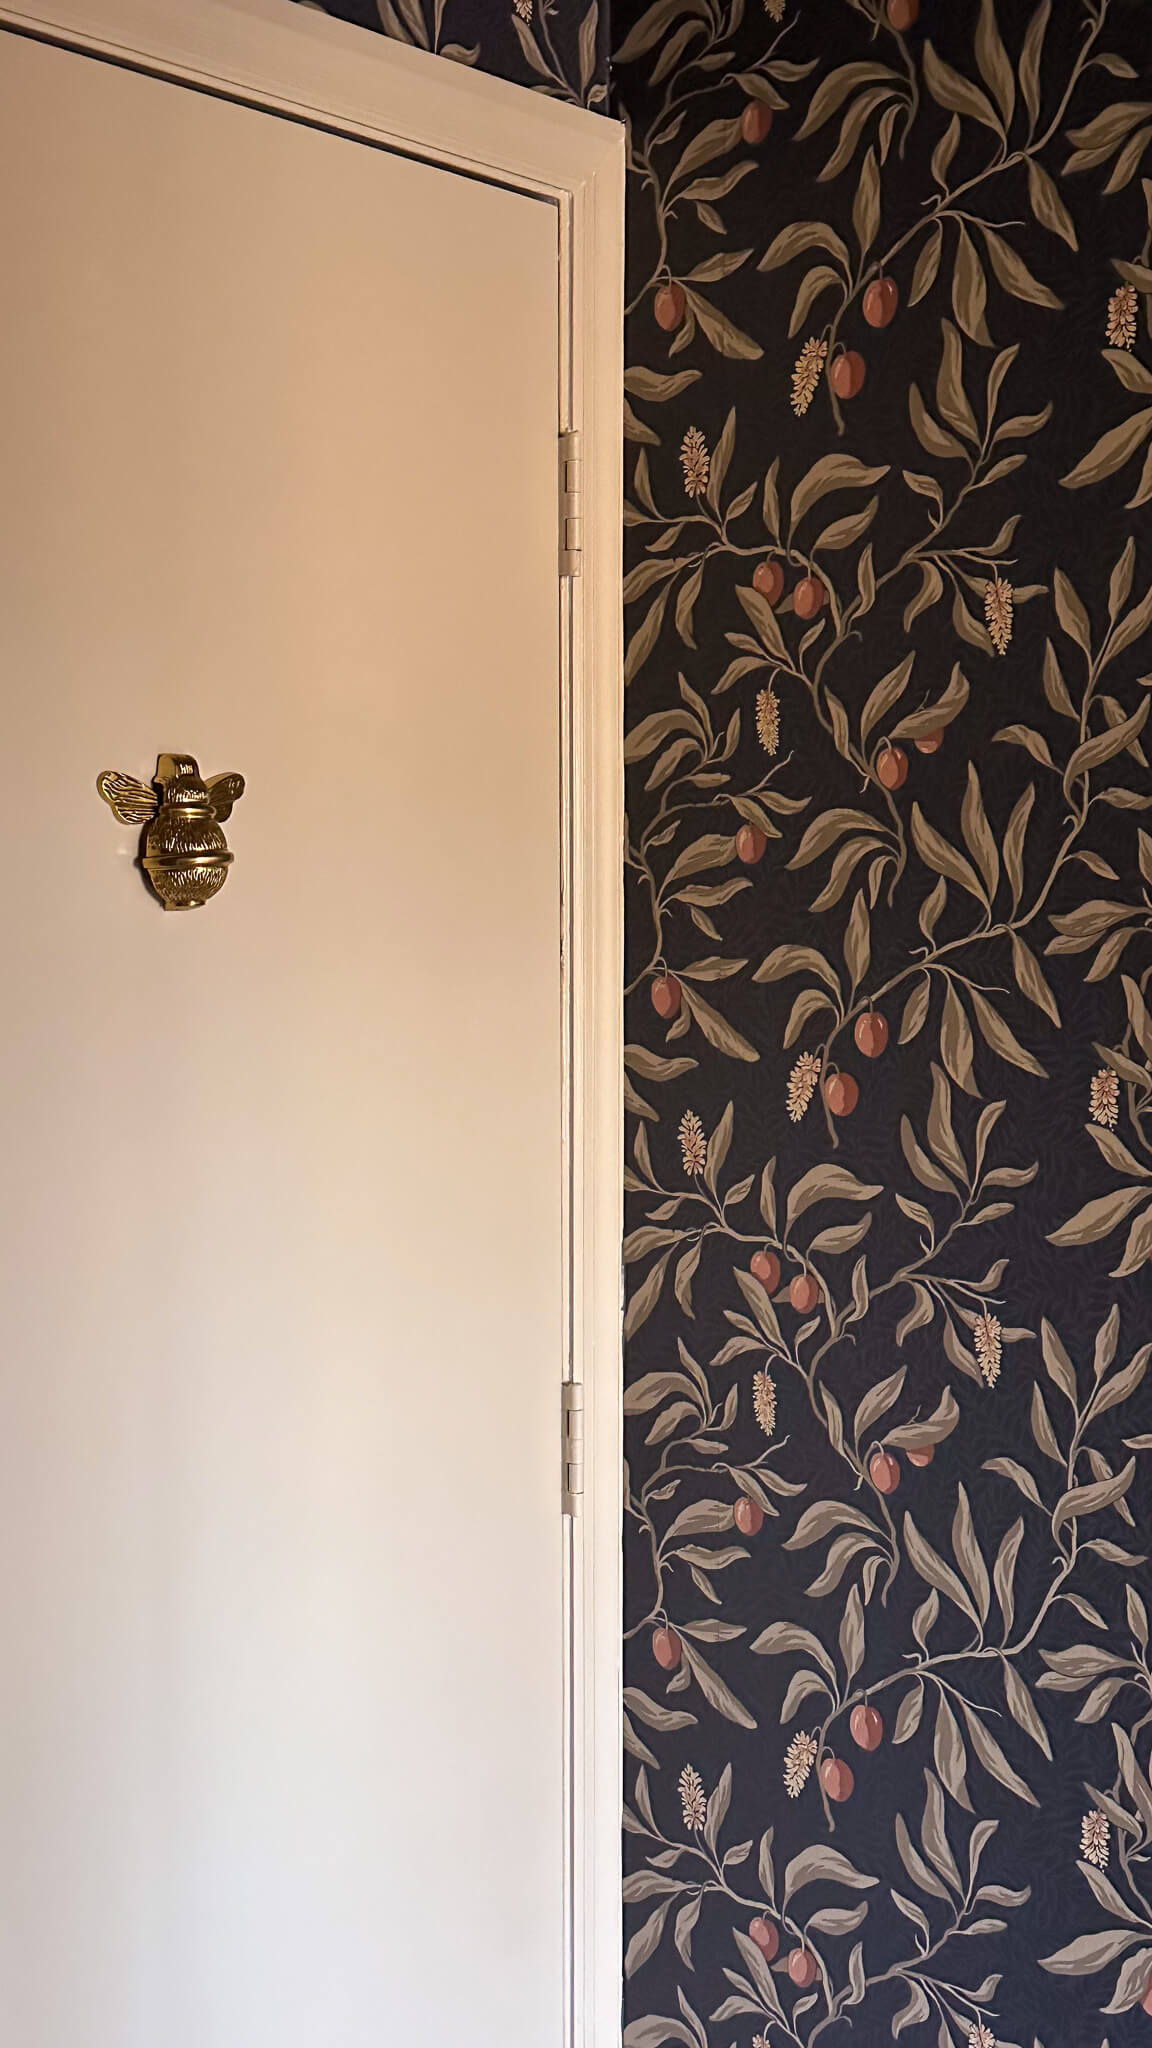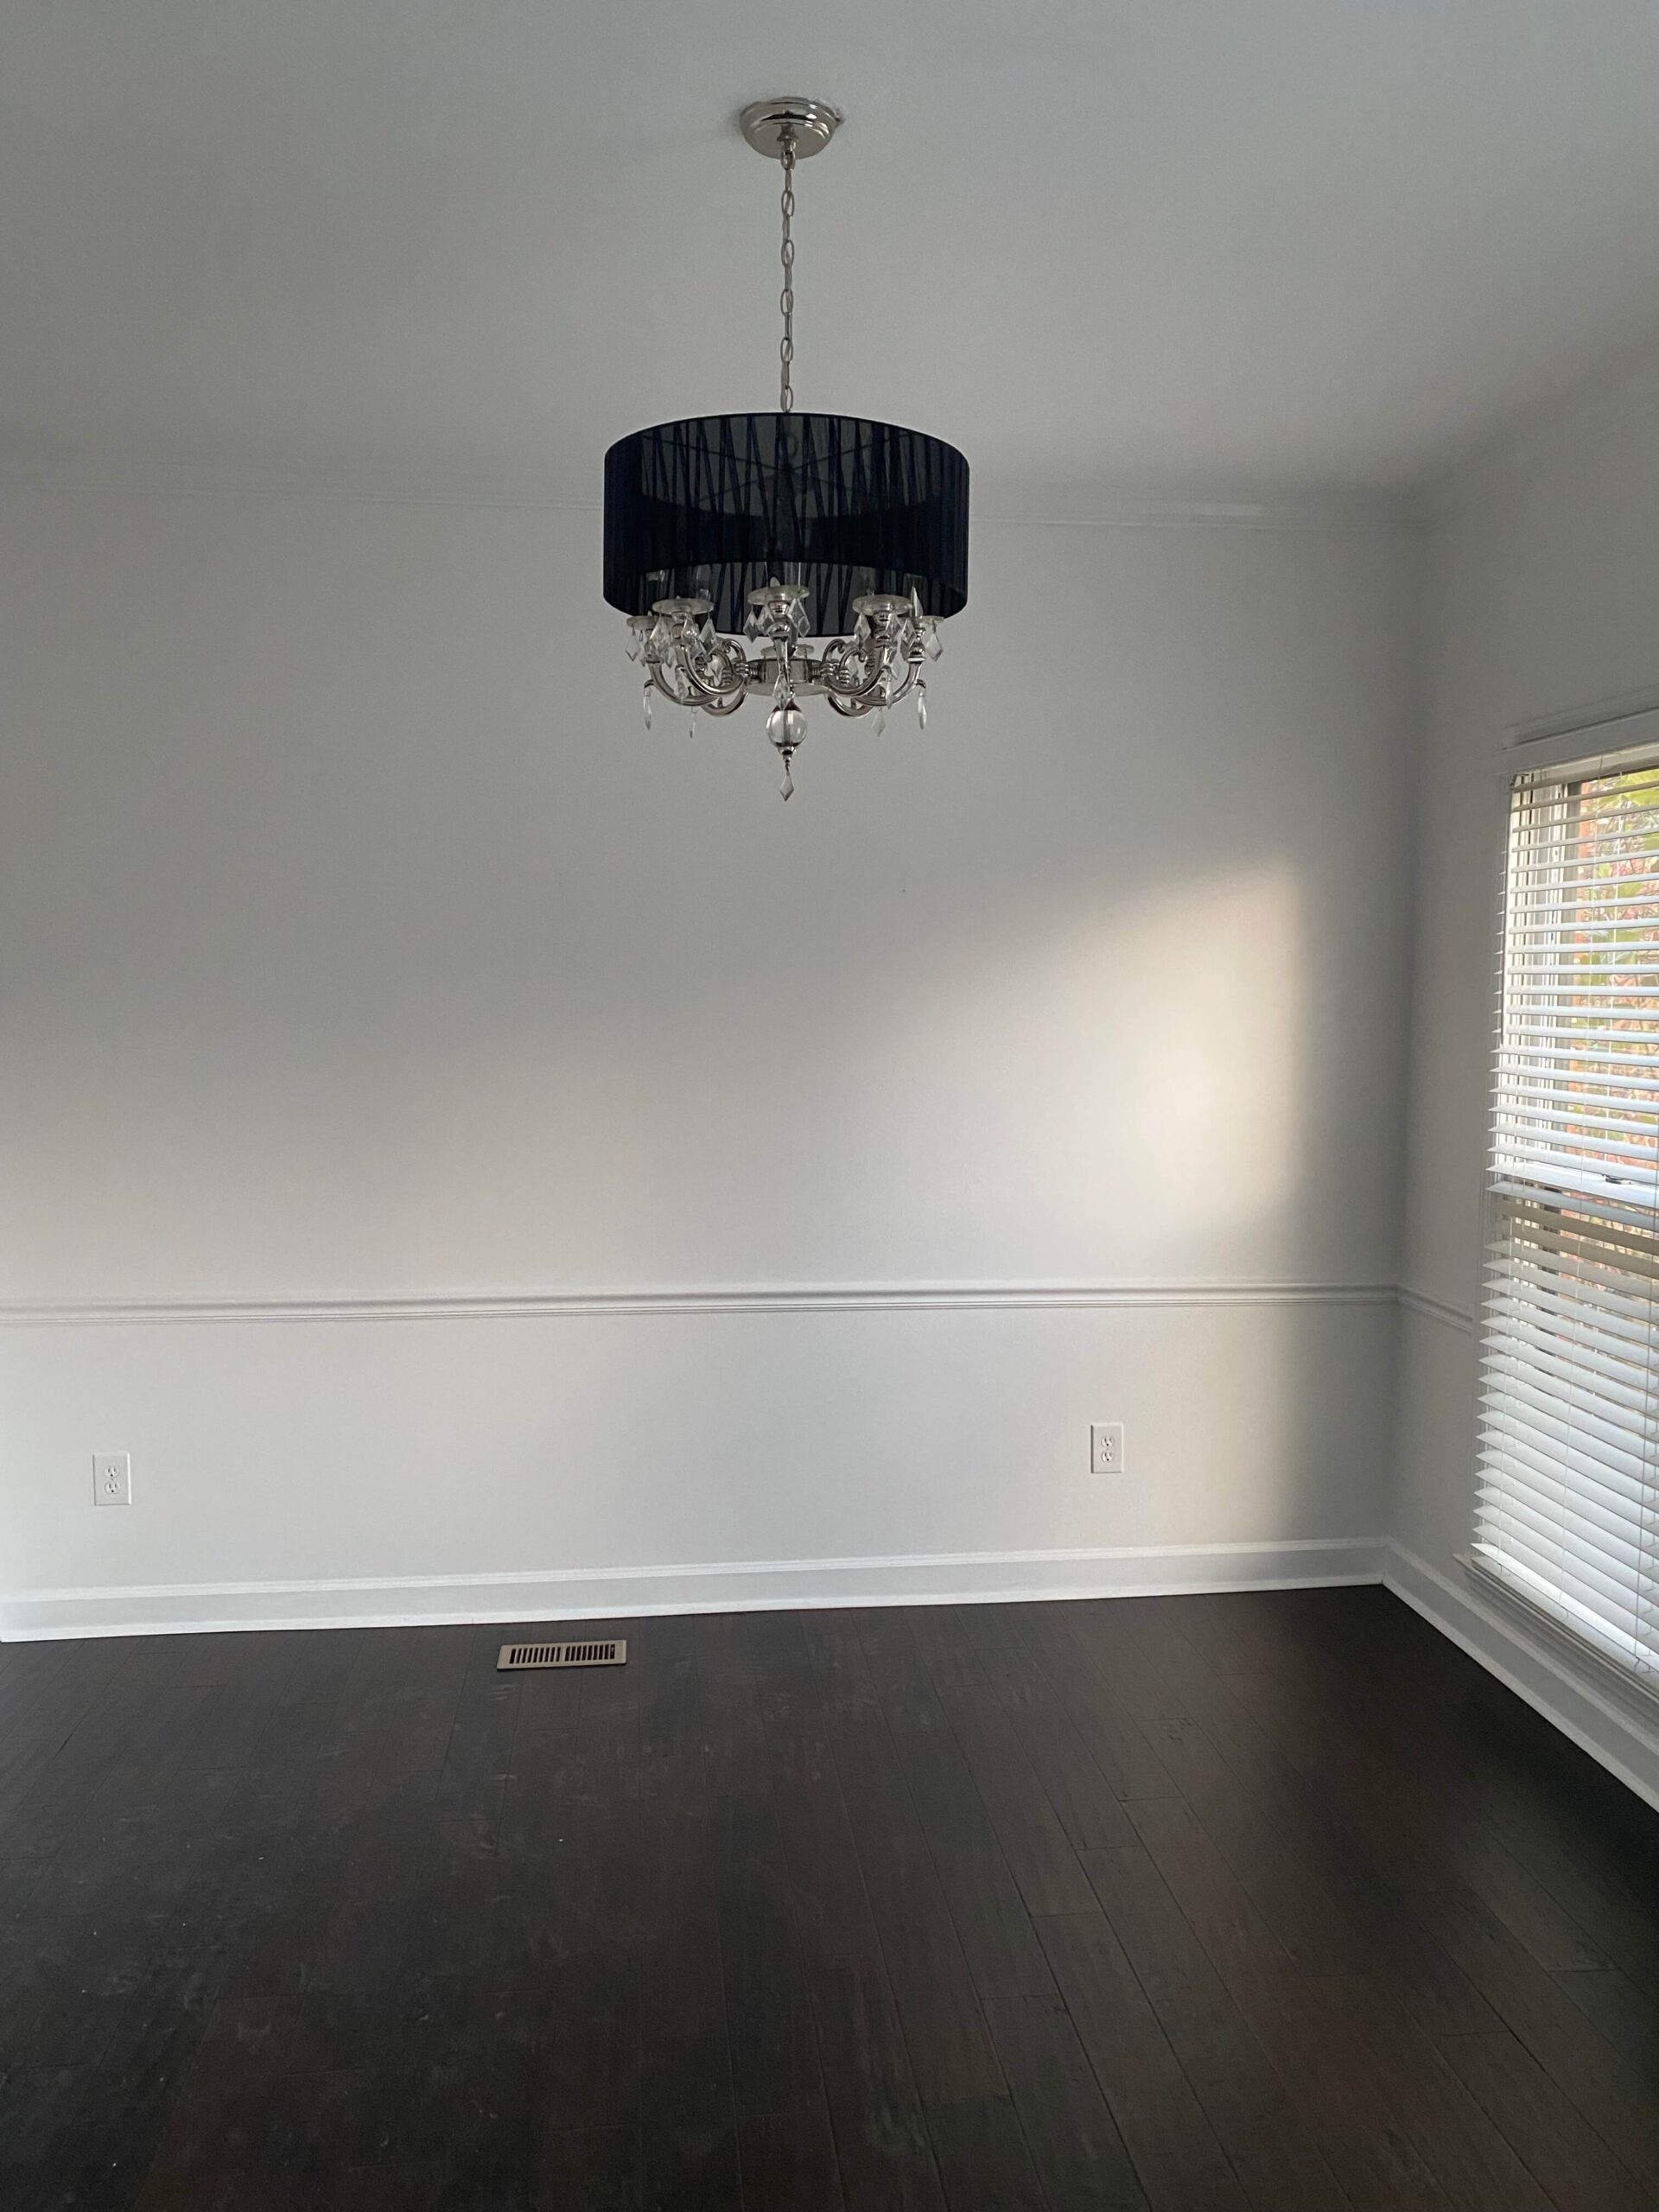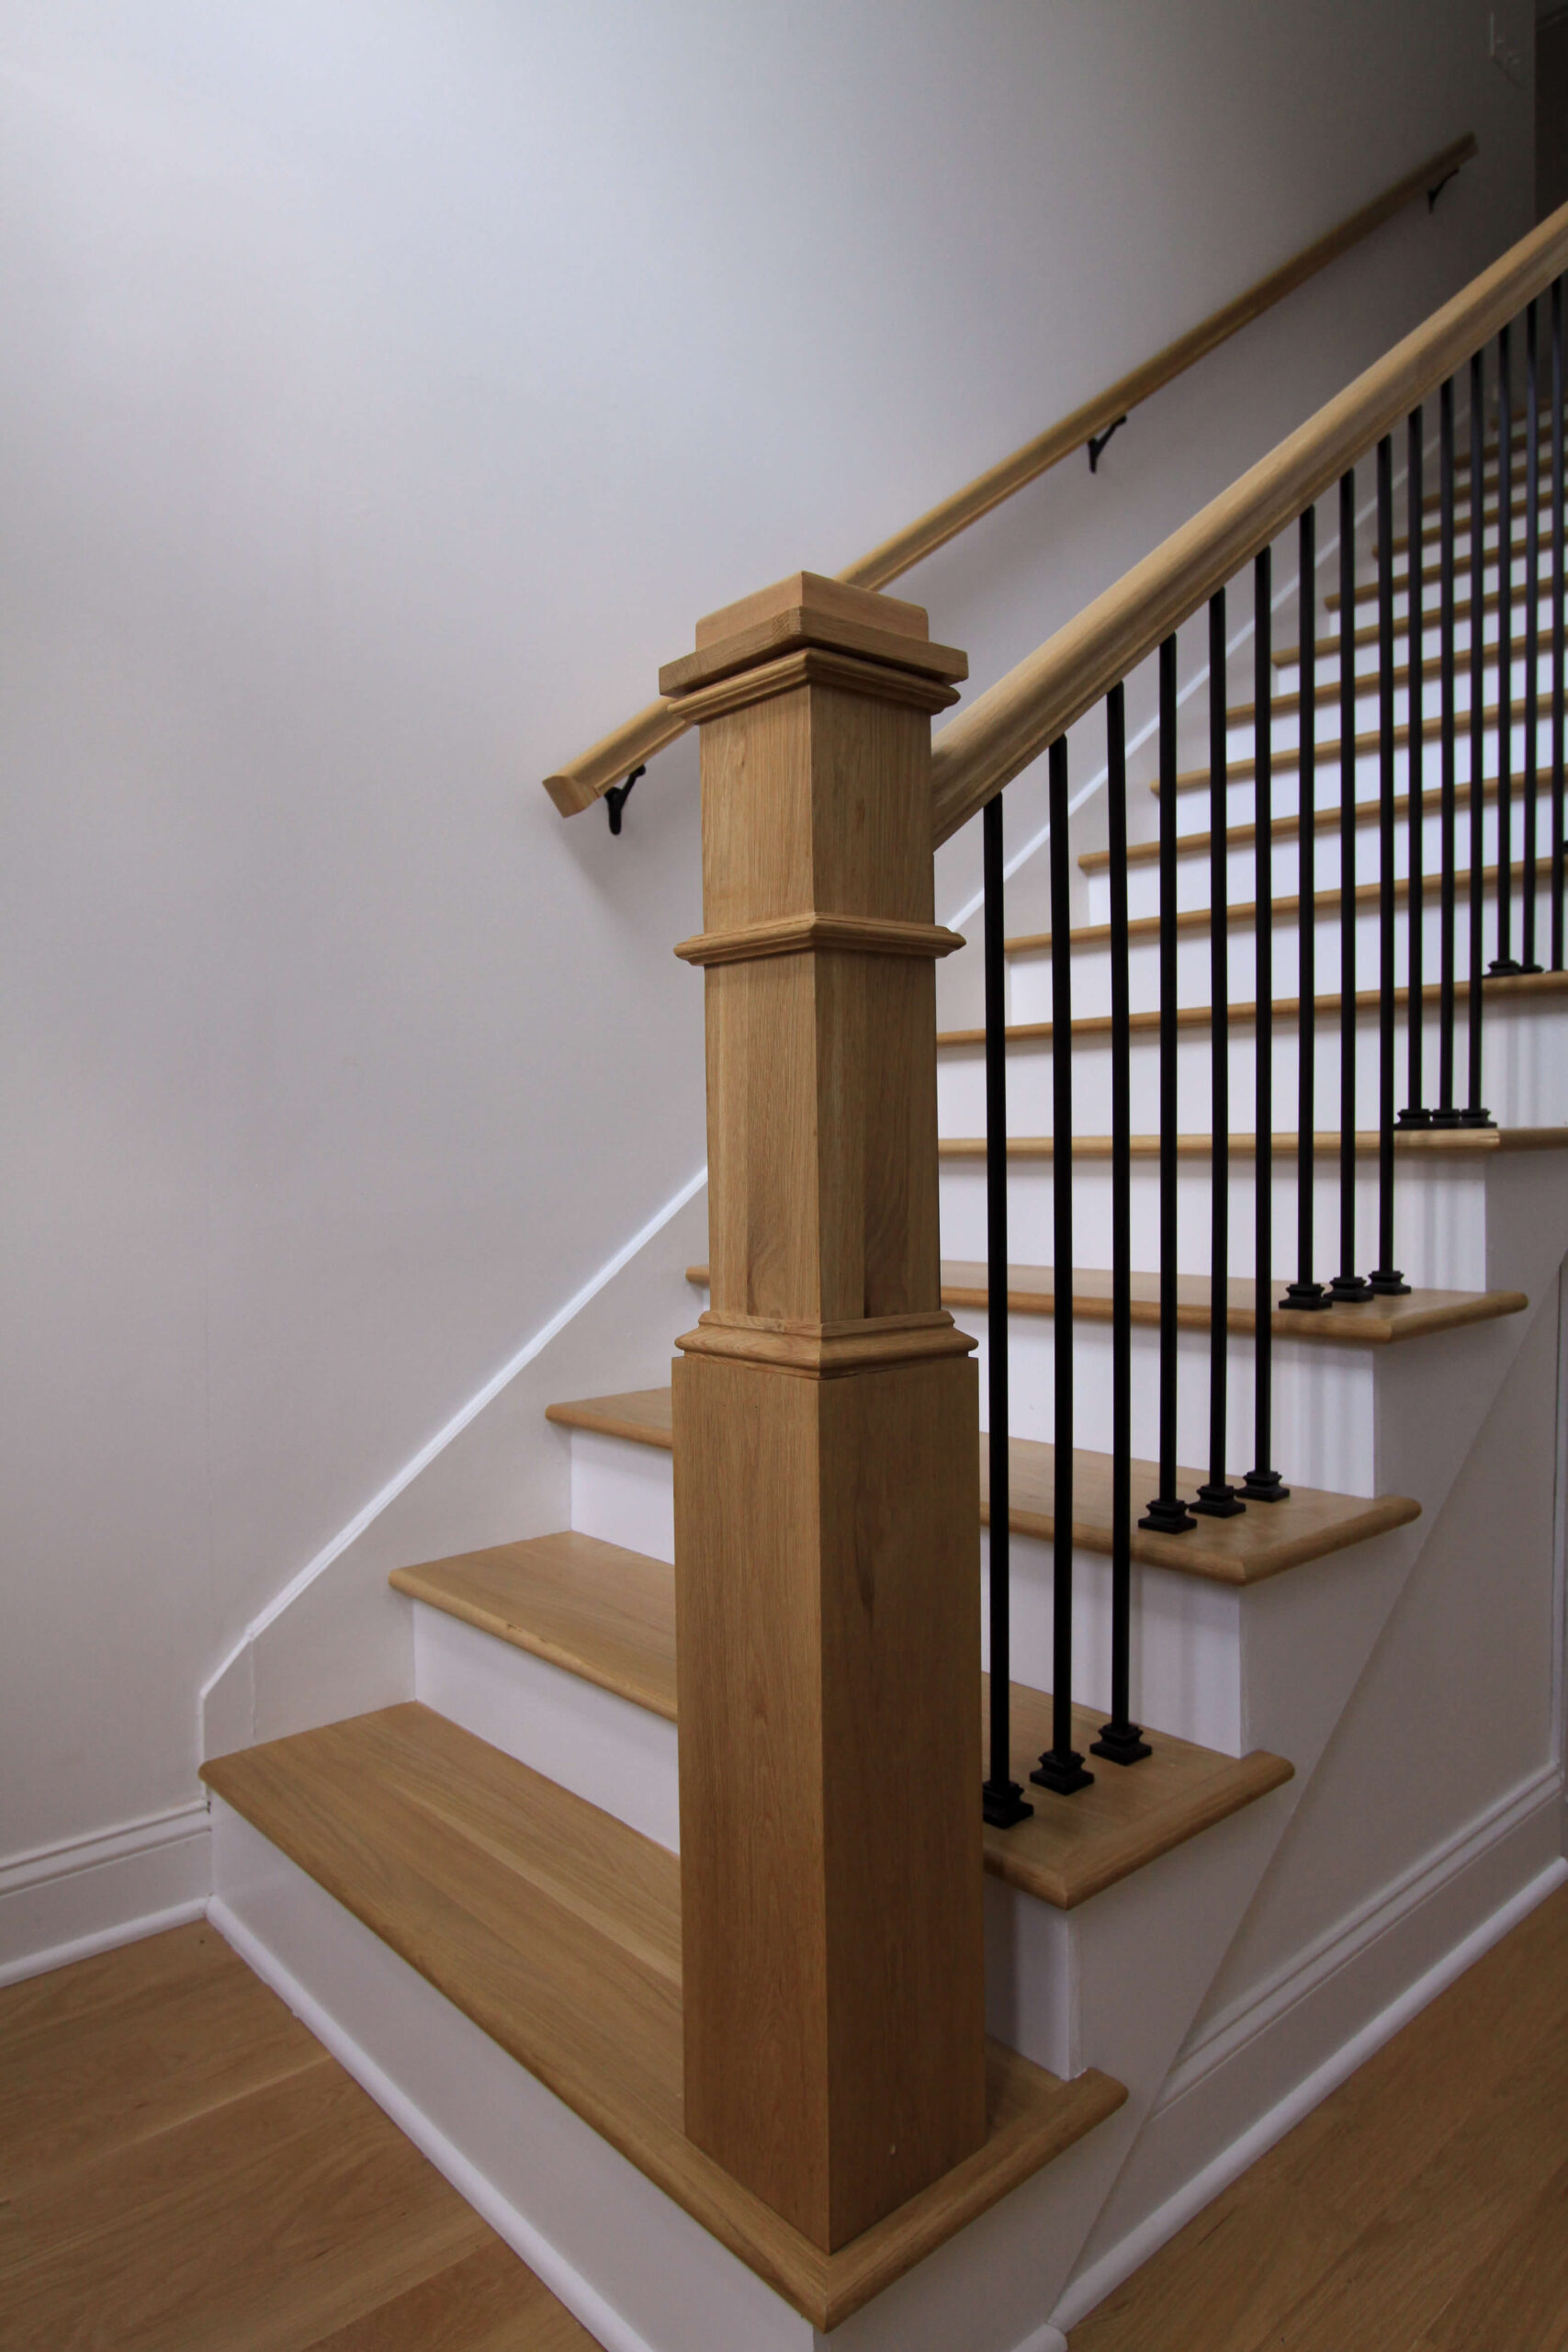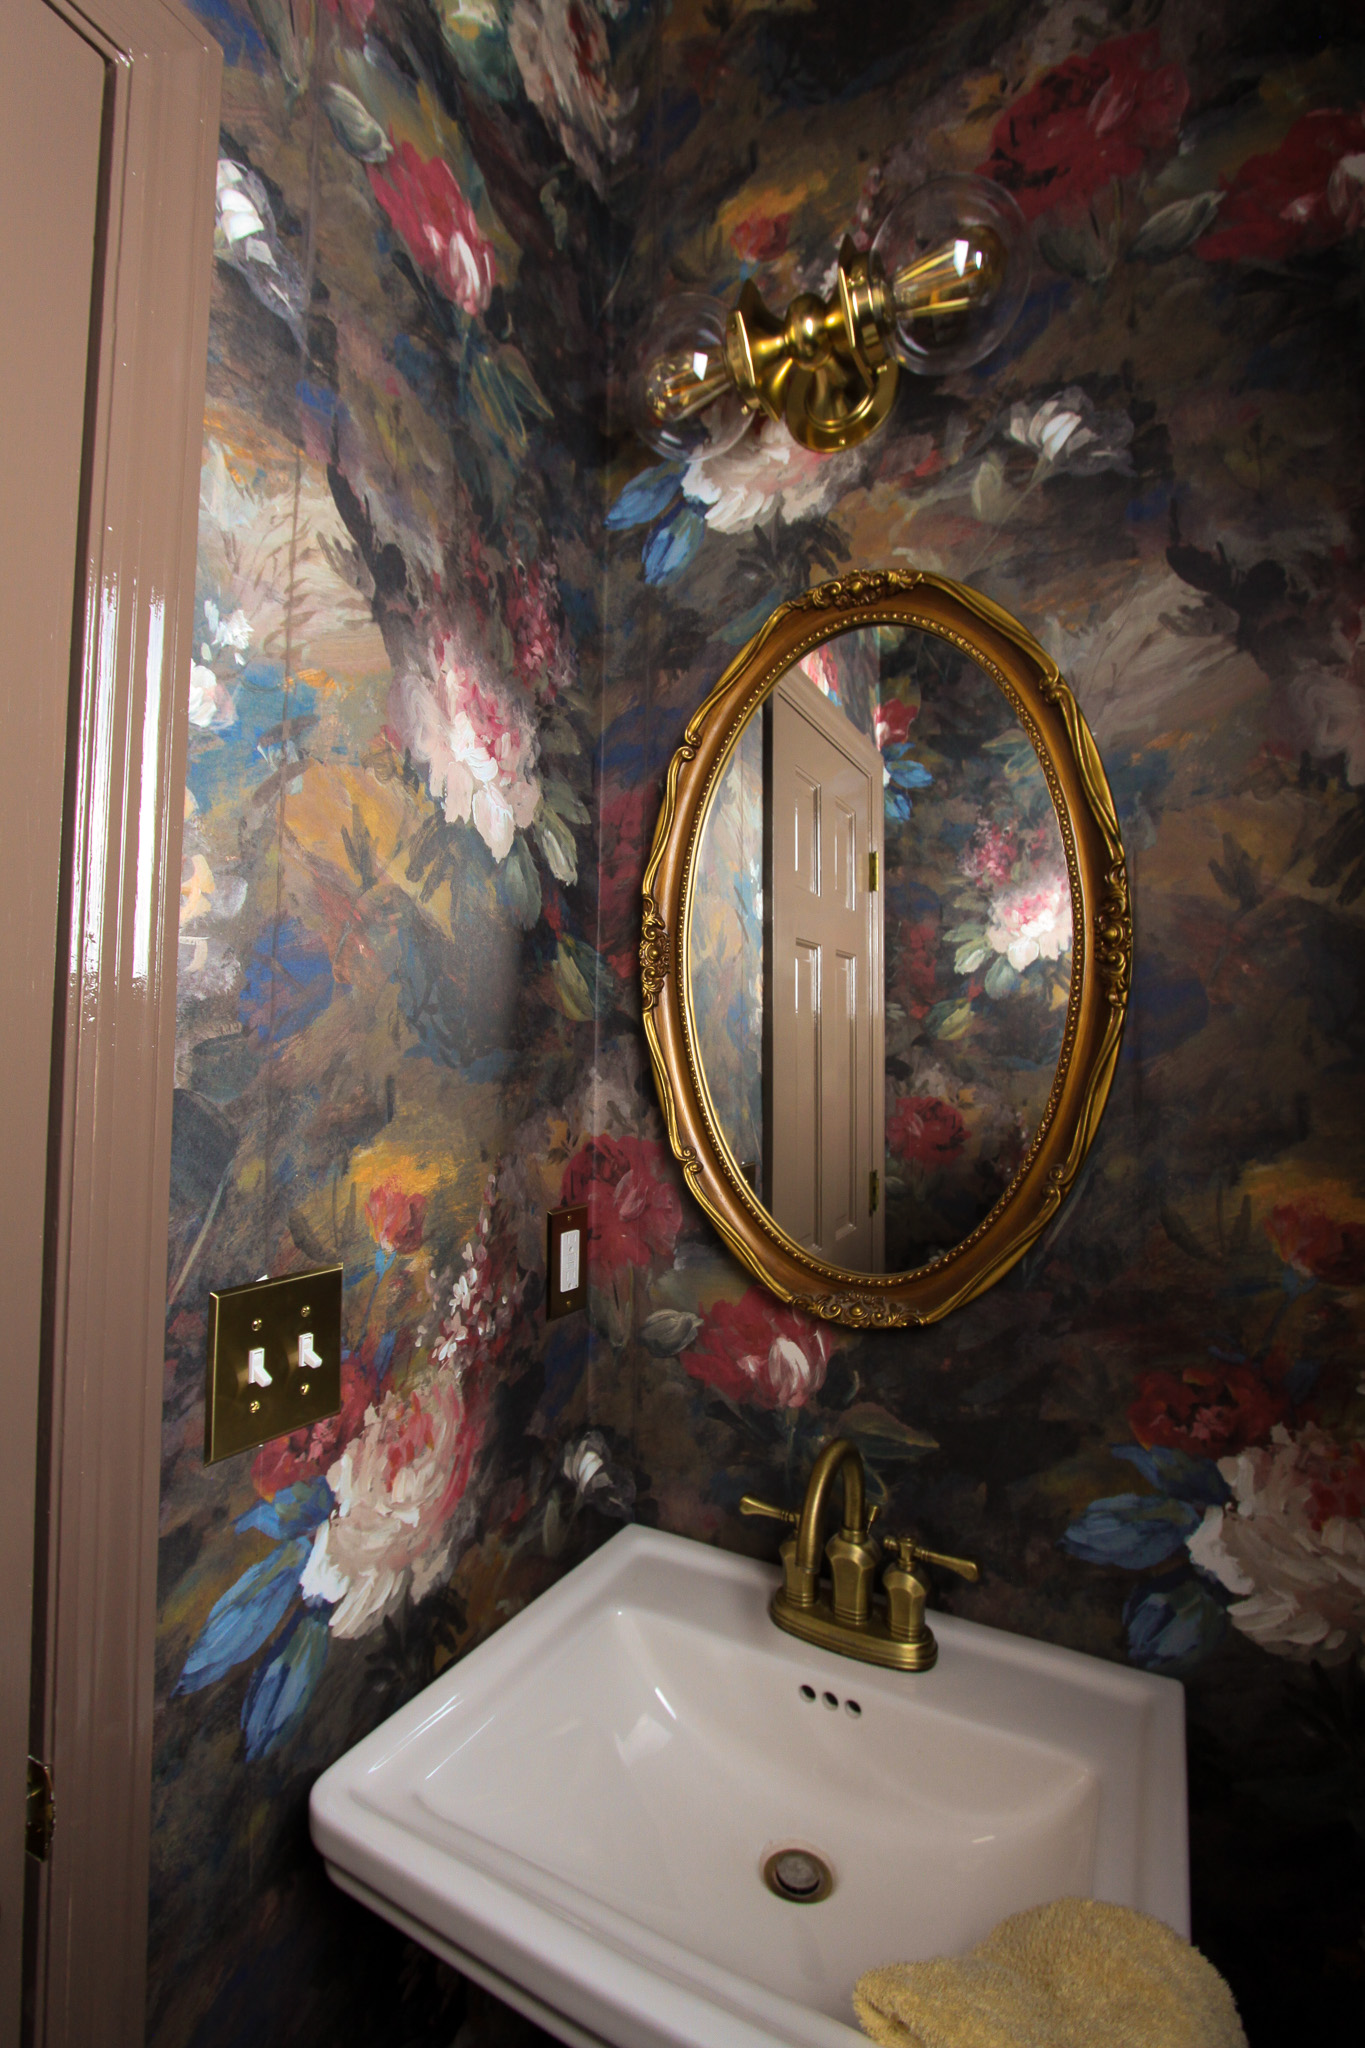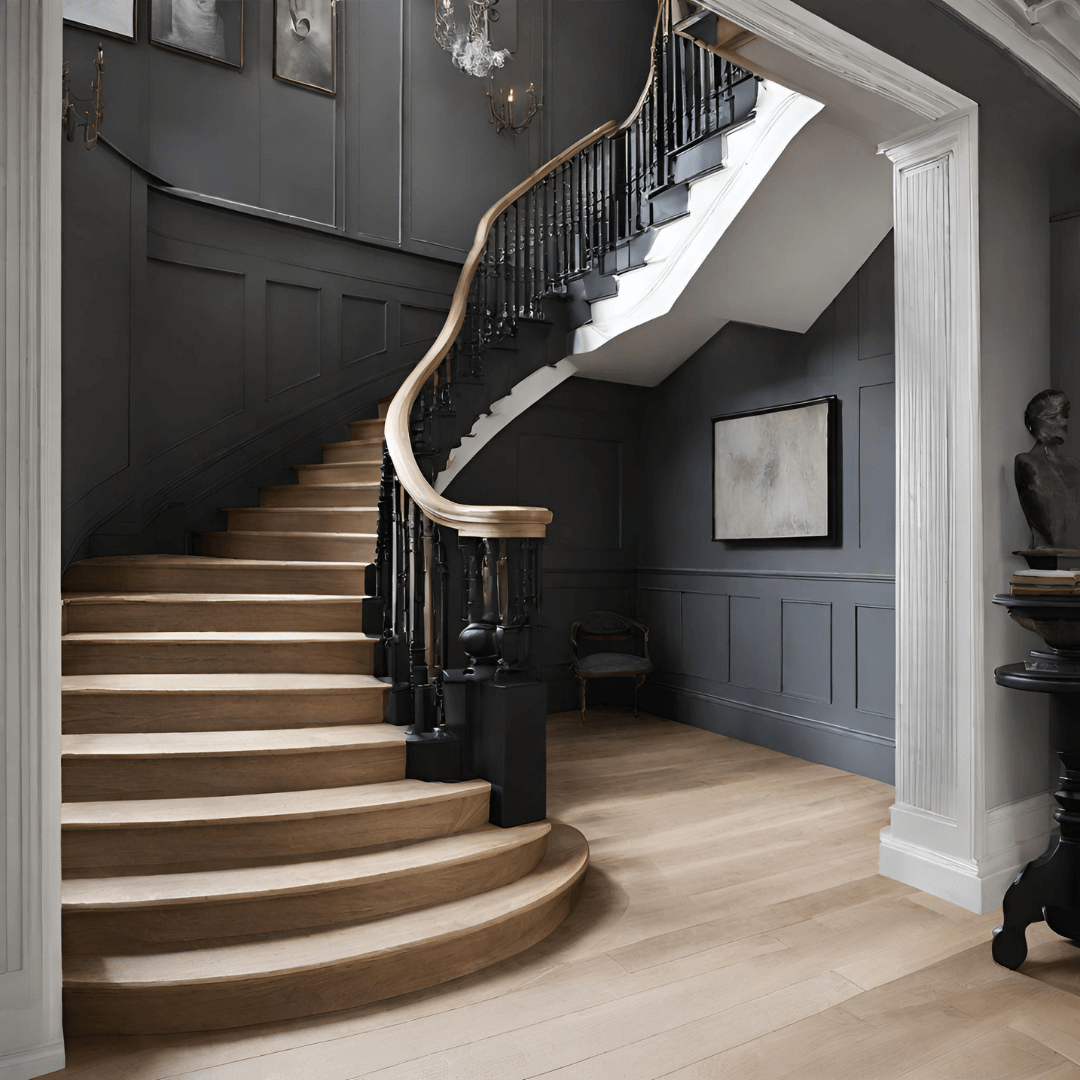




People ask me about this more than almost anything else I post: how do you actually design picture frame molding before you cut a single piece of wood? Not how do you install it, how do you design it. Where do the boxes go, how many do you need, what happens when a window is sitting right in the middle of your wall. Nobody shows you that part, and it’s the part that decides whether the finished wall looks custom or looks like you were winging it with a miter saw. This post is my full answer to how to design picture frame molding, start to finish.
I’ve installed picture frame molding in three rooms of my own house now, and every single time, I spent more time planning the layout in Canva than I spent actually nailing boards to the wall. That ratio is on purpose. This post is the full breakdown of how I design a layout for any wall, any room, before I ever touch the trim. If you came here from Instagram looking for the supply list, it’s right below. If you’re settling in to read the whole thing, keep going, because the design process is where the real difference between a good wall and a great one gets decided.
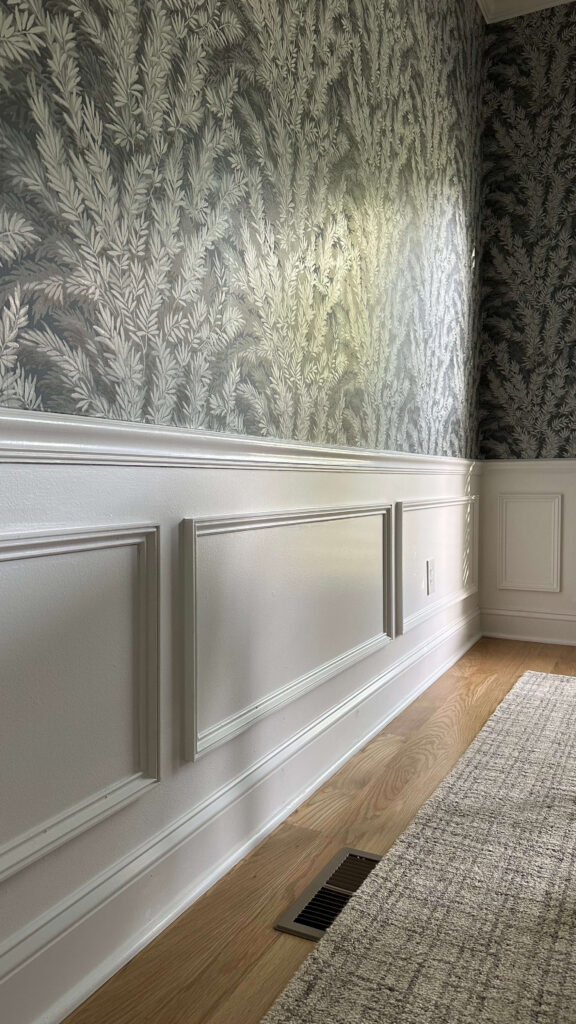
Shop: Wallpaper | Wall Trim | Paint Color
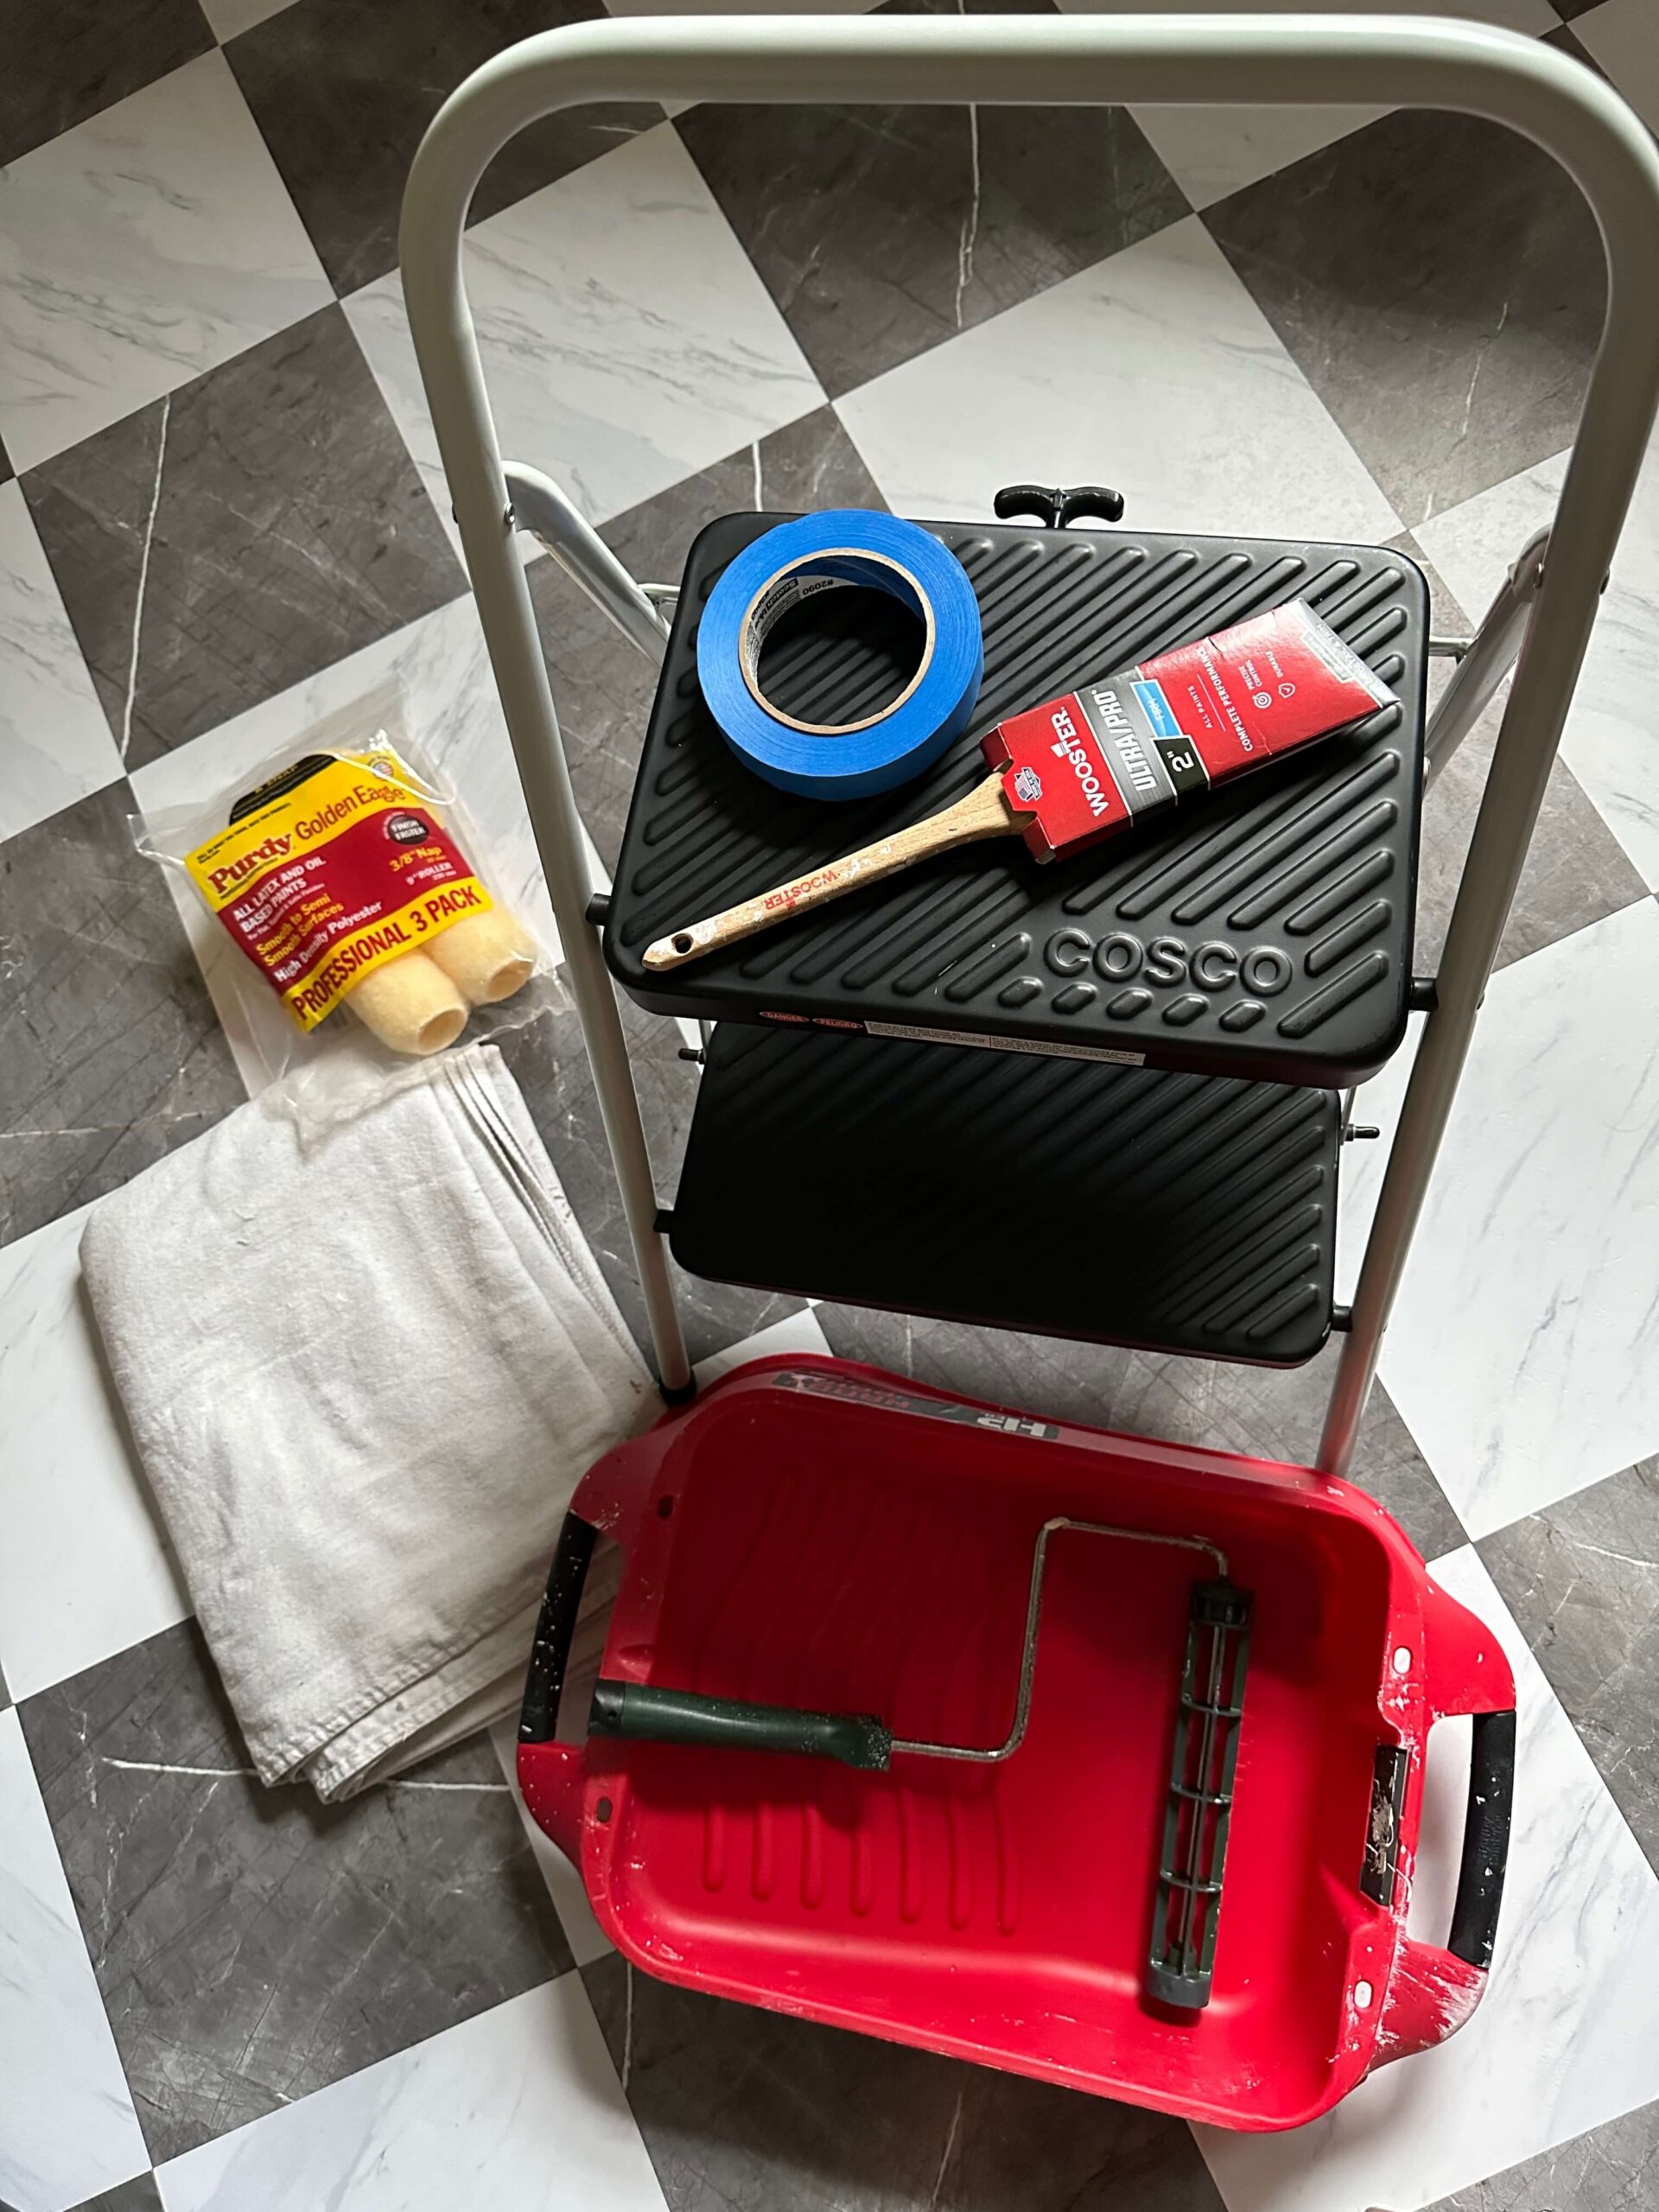
Supplies You’ll Need
Here’s everything I really can’t live without when I’m doing any kind of wall treatment project. I’ve linked the exact items I personally use and have been happy with, so you don’t have to spend time guessing.
- Miter saw
- Brad nailer and brad nails
- Wood filler and sand paper
- Nail punch set (link)
- Paintable caulk and a caulk gun
- Tape measure and a level
- Pencil and painter’s tape for marking your layout on the wall
- Your trim. Here are mine by project: dining room, primary bedroom, home office (also used in my primary bathroom)
- Primer
- Paint
- Safety glasses
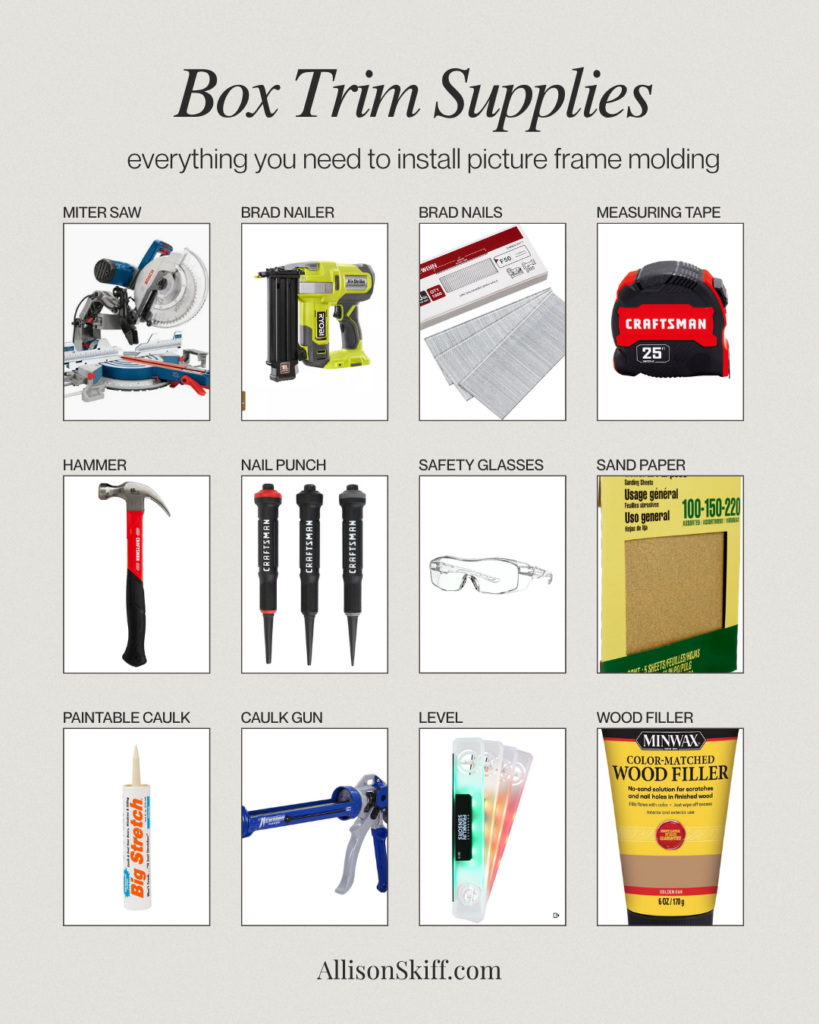
You don’t need every tool on this list to be professional-grade. A basic miter saw and a decent brad nailer will get you through your first wall. Upgrade as you go.
What Is Picture Frame Molding, and Why Design Comes Before You Cut Anything
Picture frame molding is exactly what it sounds like: rectangular boxes of trim applied to a wall to create the look of built-in architecture, almost like the wall is wearing a frame. It’s one of the fastest ways for a beginner to add real architectural interest to a plain wall without touching drywall or hiring anyone.
Almost nobody tells you this when they show you the finished result: the install is the easy part. Anyone can learn to run a miter saw and load a brad nailer over a weekend. What separates a wall that looks intentional from one that looks like a trim kit got dumped on it is the design decision that happens before any of that: how many boxes, how wide, how tall, how much space between them, and how the whole thing responds to the specific wall you’re working with. That’s what I want to walk you through, because it took me so much brain energy the first time I did this.
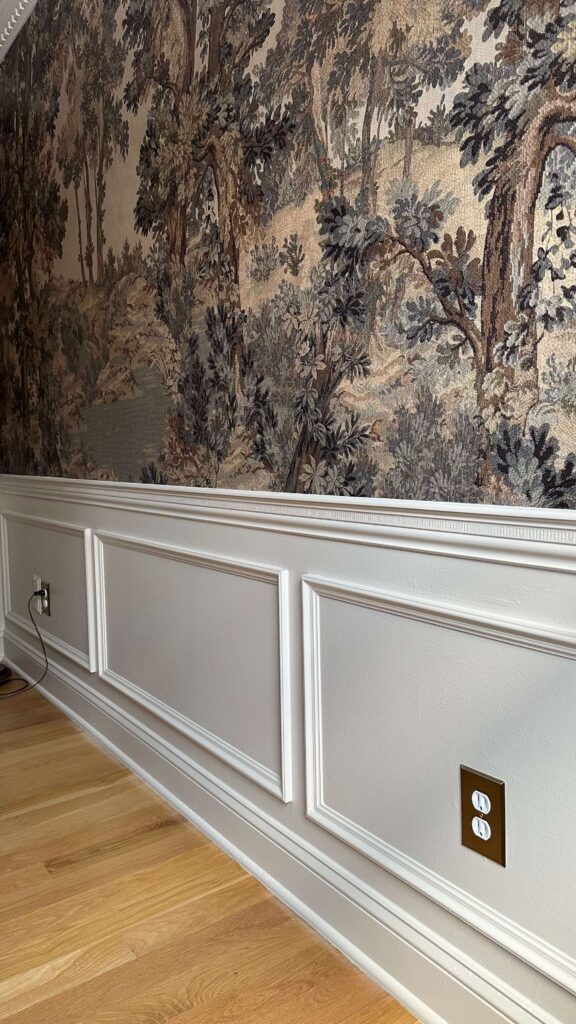
Shop: Wall Trim | Chair Rail | Baseboards | Wallpaper | Paint Color | Brass Outlet Cover
The Two Rules I Never Break
Every layout I’ve ever designed comes back to two rules. If you only remember two things from this entire post, remember these.
Rule One: Keep Your Spacing Consistent
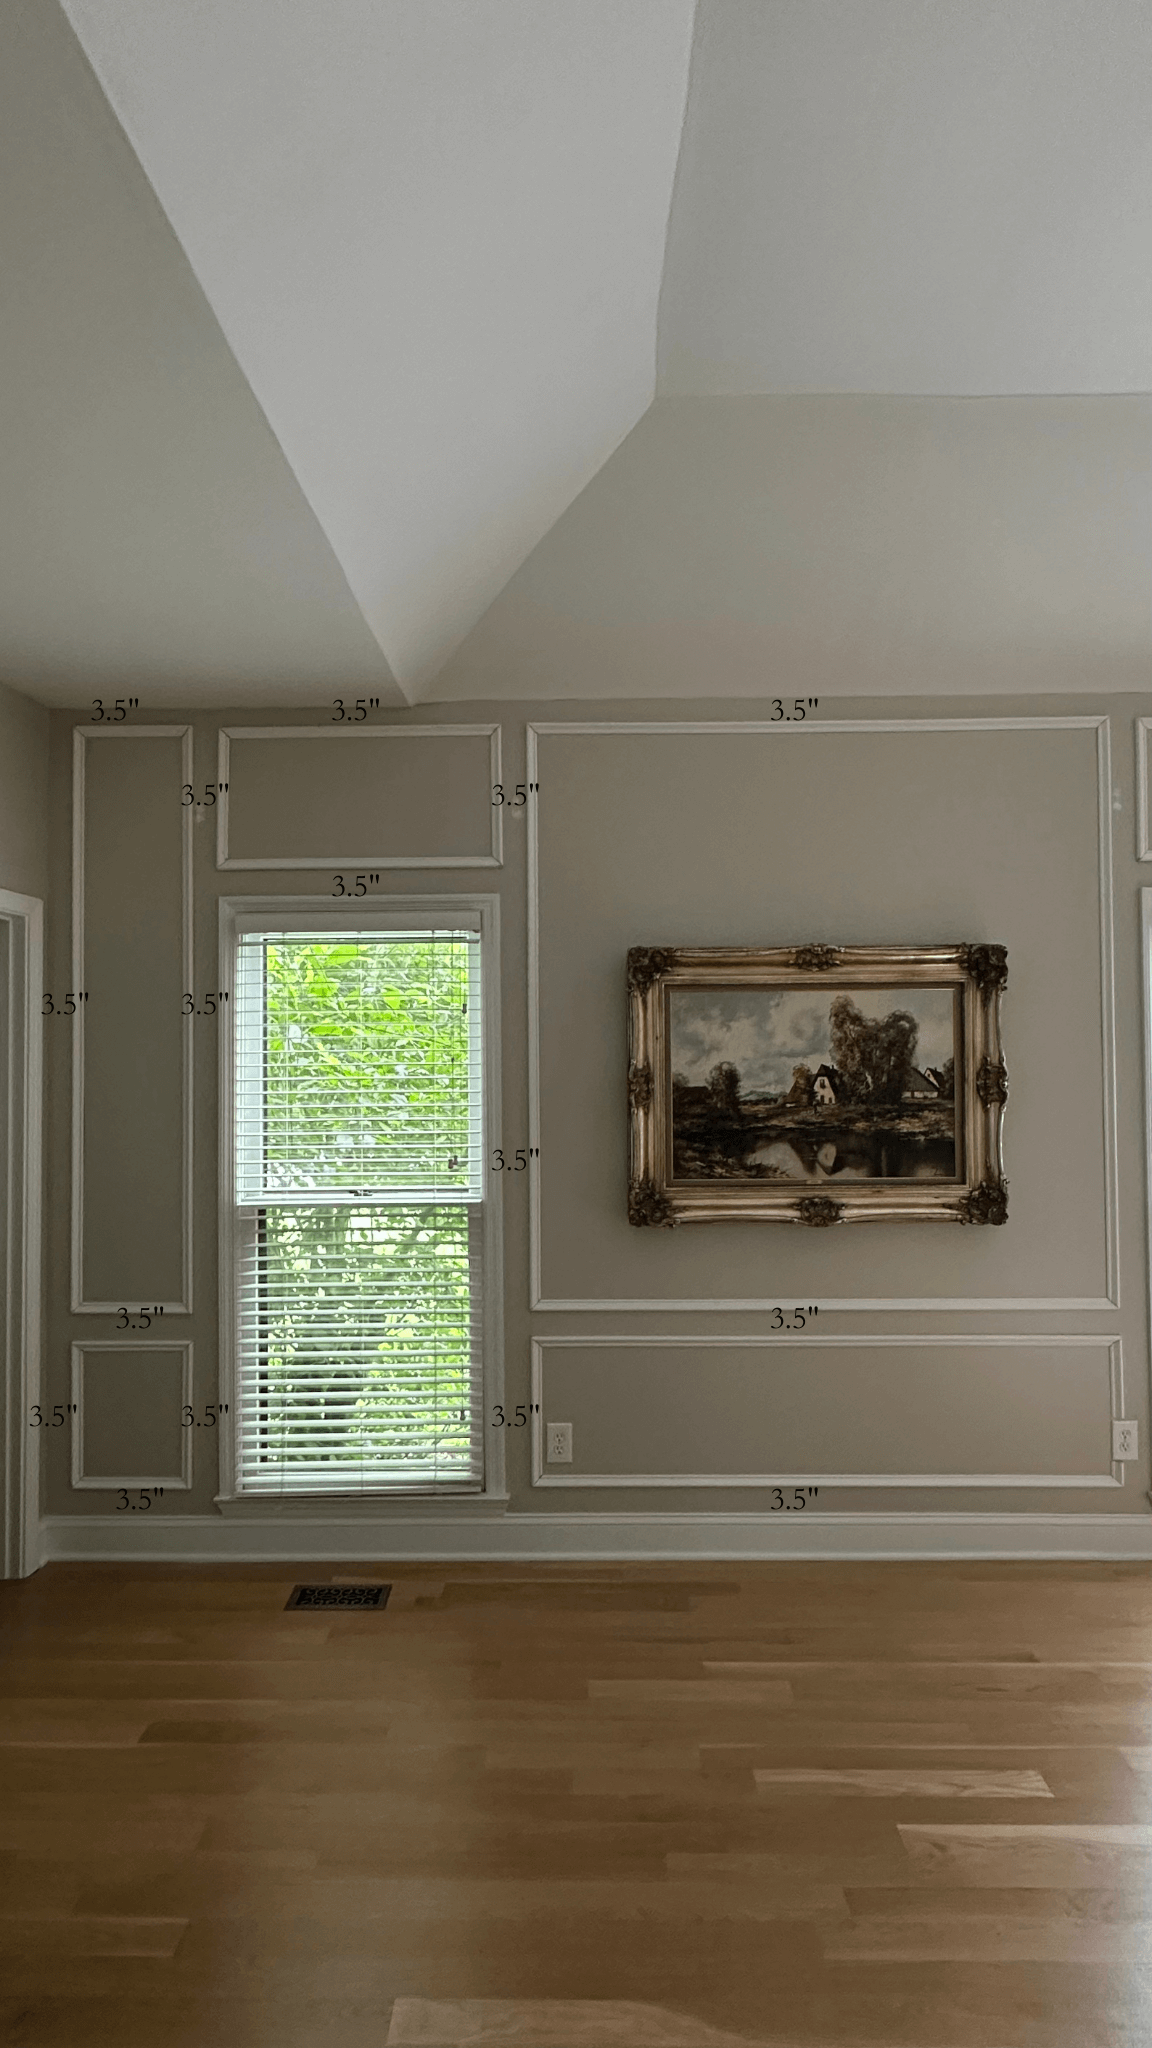
Whatever gap you choose between your boxes and between your boxes and the ceiling, floor, and neighboring walls, that gap needs to repeat. If your top box sits 3.5 inches from the ceiling, every top box in that room sits 3.5 inches from the ceiling. If the space between two boxes is 2.5 inches, that number doesn’t change halfway across the wall because it would look better with the outlet. Your eye catches inconsistent spacing even when you can’t articulate why the wall feels off, so pick your numbers early and hold the line.
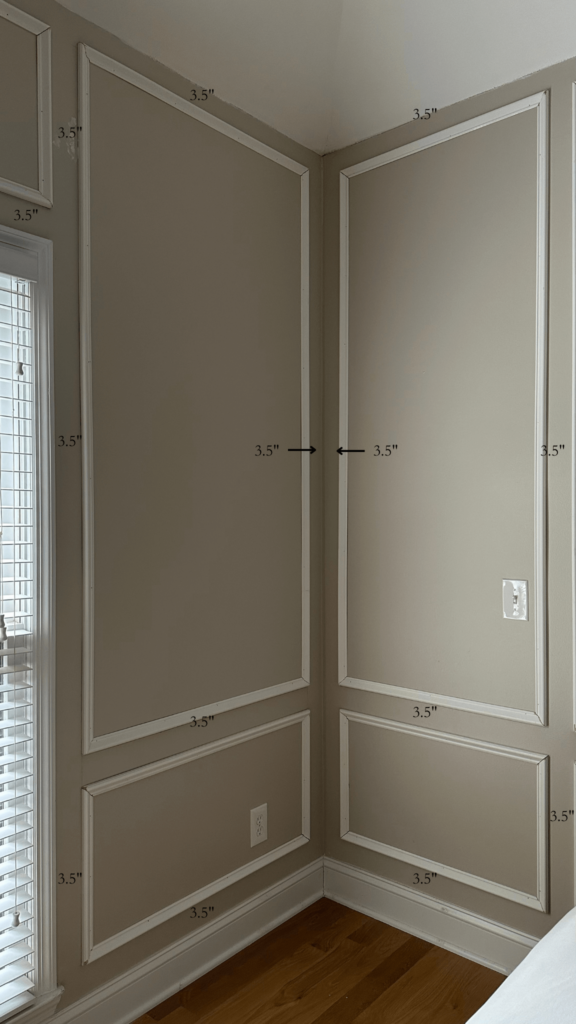
For corners remember you need the spacer width on both walls leading into the corner
Rule Two: Design Each Wall, Not the Whole Room
This is the one that isn’t in most tutorials, and it’s the difference that actually matters. You are not designing a room. You are designing a wall, and then designing the next wall, and the next one, each on its own terms. A wall with a window needs a different box count than a solid wall next to it. A wall with a door centered in it needs different math than a wall with a door pushed to one side. If you try to force one uniform box pattern across every wall in the room regardless of what’s actually on that wall, you end up fighting the architecture instead of working with it, and it shows.
I know that feels counterintuitive if you’re picturing a perfectly matched room in your head. But rooms that actually read as custom almost never have identical walls. They have walls that were each designed for what’s really there.
How I Design My Layout Before Touching a Wall
Everything starts in Canva, not on the wall. I upload photos of each wall and then use the rectangle tool to draw my boxes. Measurements come later, this is just to play with proportions and scale. This is where I test ideas without wasting a single piece of wood.
A few things I’m looking at while I do this: I want my boxes to feel proportional to the wall, not stretched thin or stacked too tight. I’m thinking about sightlines, meaning what you see first when you walk into the room, because that’s usually the wall that deserves the most detail. And I’m accounting for anything permanent on the wall, windows, doors, a bathroom vanity, etc. before I ever pick a box width.
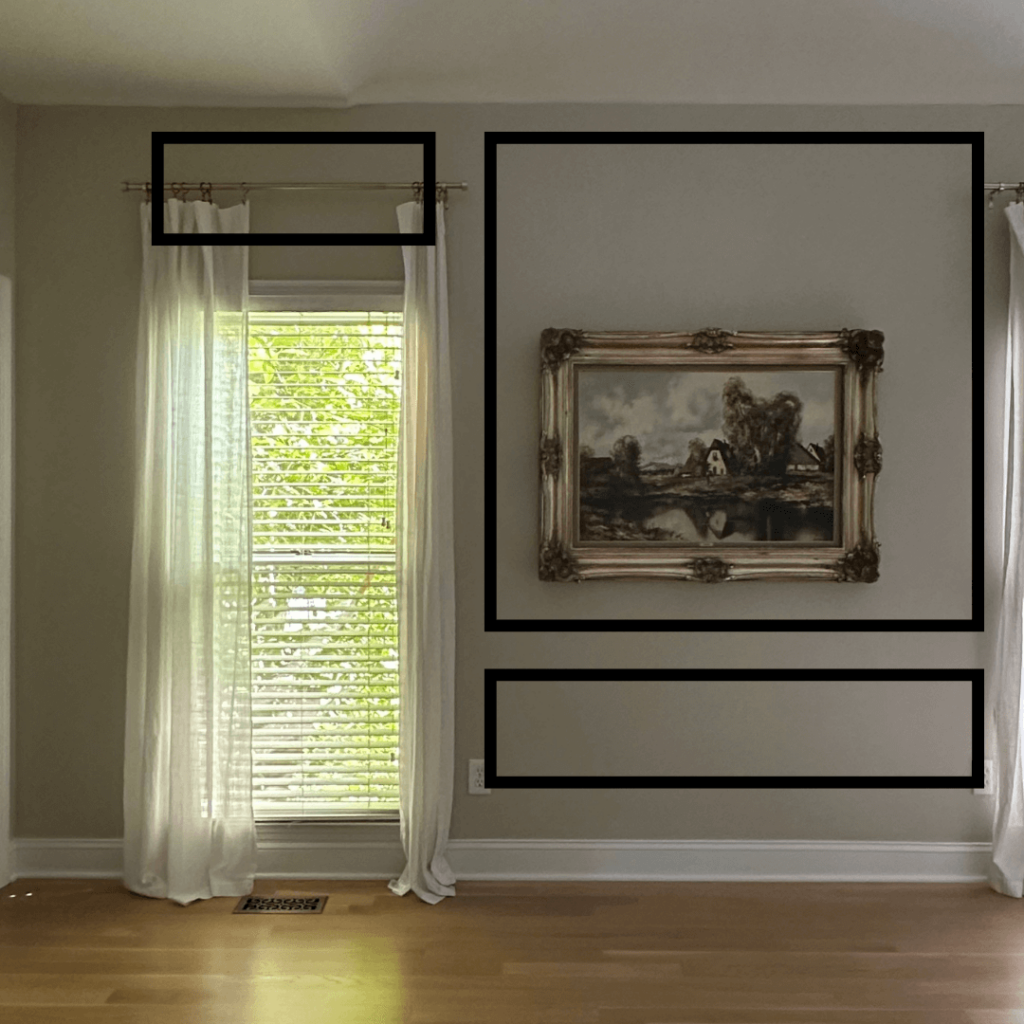
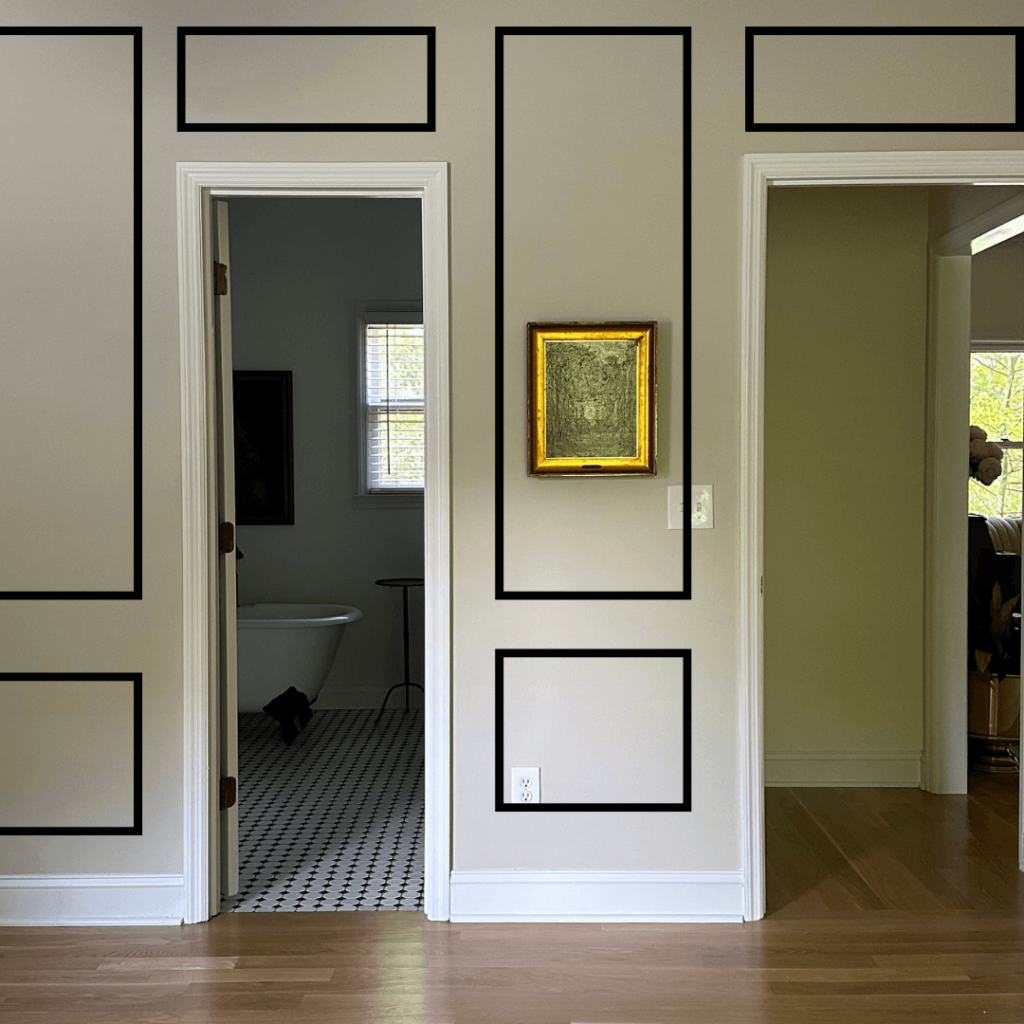
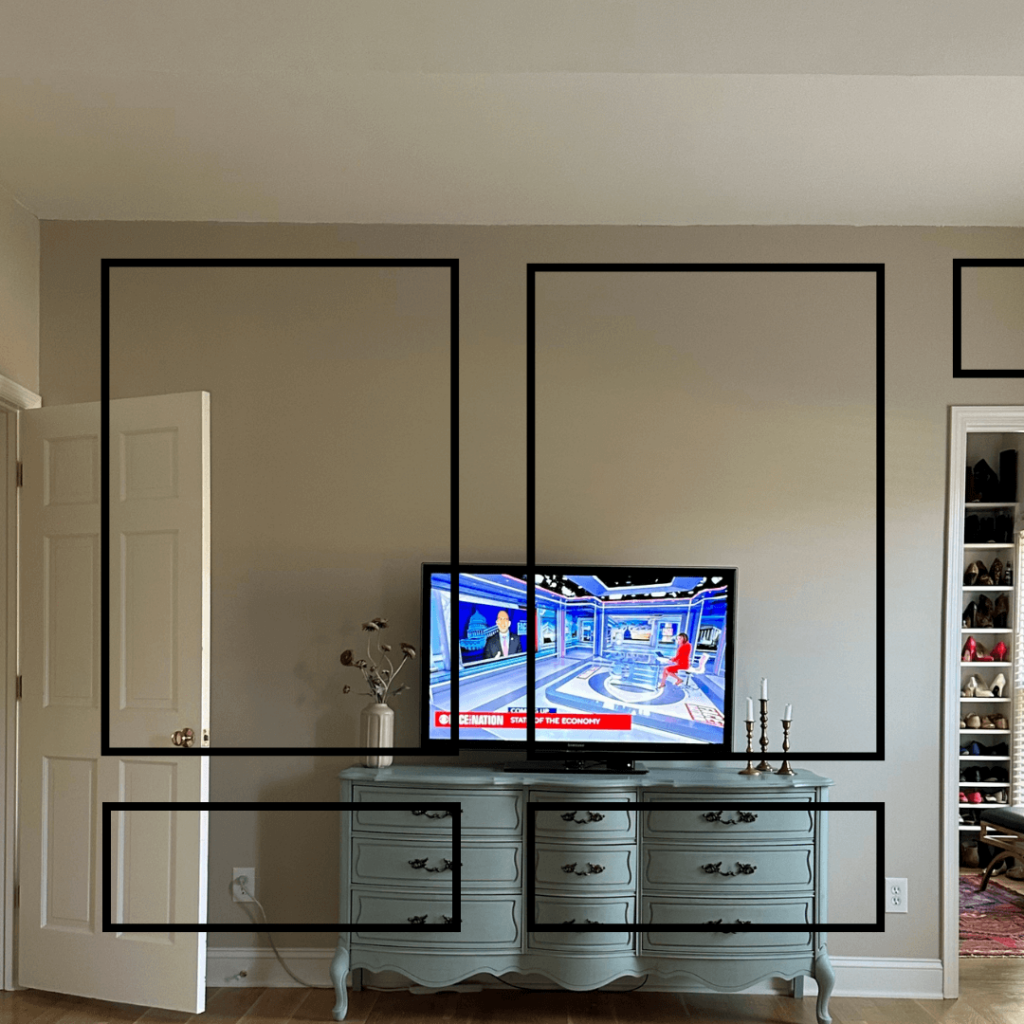
My canva mock-ups for my primary bedroom trim project. Just play around and see what feels right.
I don’t move to measuring the actual wall until the Canva layout feels finished. That might mean five versions of the same wall before I land on the one I build. That’s normal, and it’s a lot cheaper than five versions of a wall built out of real trim.
How Many Boxes You Actually Need Per Wall
This is the question I get asked more than any other about picture frame molding, and the honest answer is that it depends on your wall’s width and what you want it to feel like. A narrow wall, something in the four to six foot range, usually only needs one or two boxes before it starts to feel busy. A wide, open wall, especially one that’s a focal point in the room, can handle three or more without feeling crowded, as long as your spacing stays consistent between every one of them.
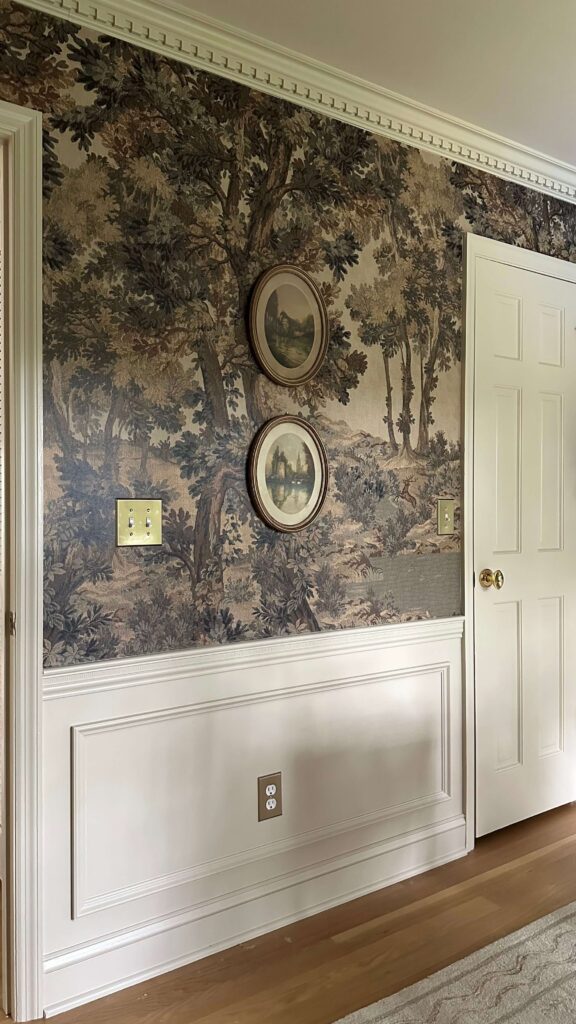
One box was best on this wall because of the outlet
Height works the same way. Stacked boxes, meaning two boxes on top of each other (like I did in my primary bedroom), work great in a room with higher ceilings.
It’s personal preference, but I tend to like longer more rectangular boxes and I always try to aim for odd numbers (3’s) if the wall allows for it. Sometimes it doesn’t and that’s ok!
Working Around Doors, Windows, and Furniture
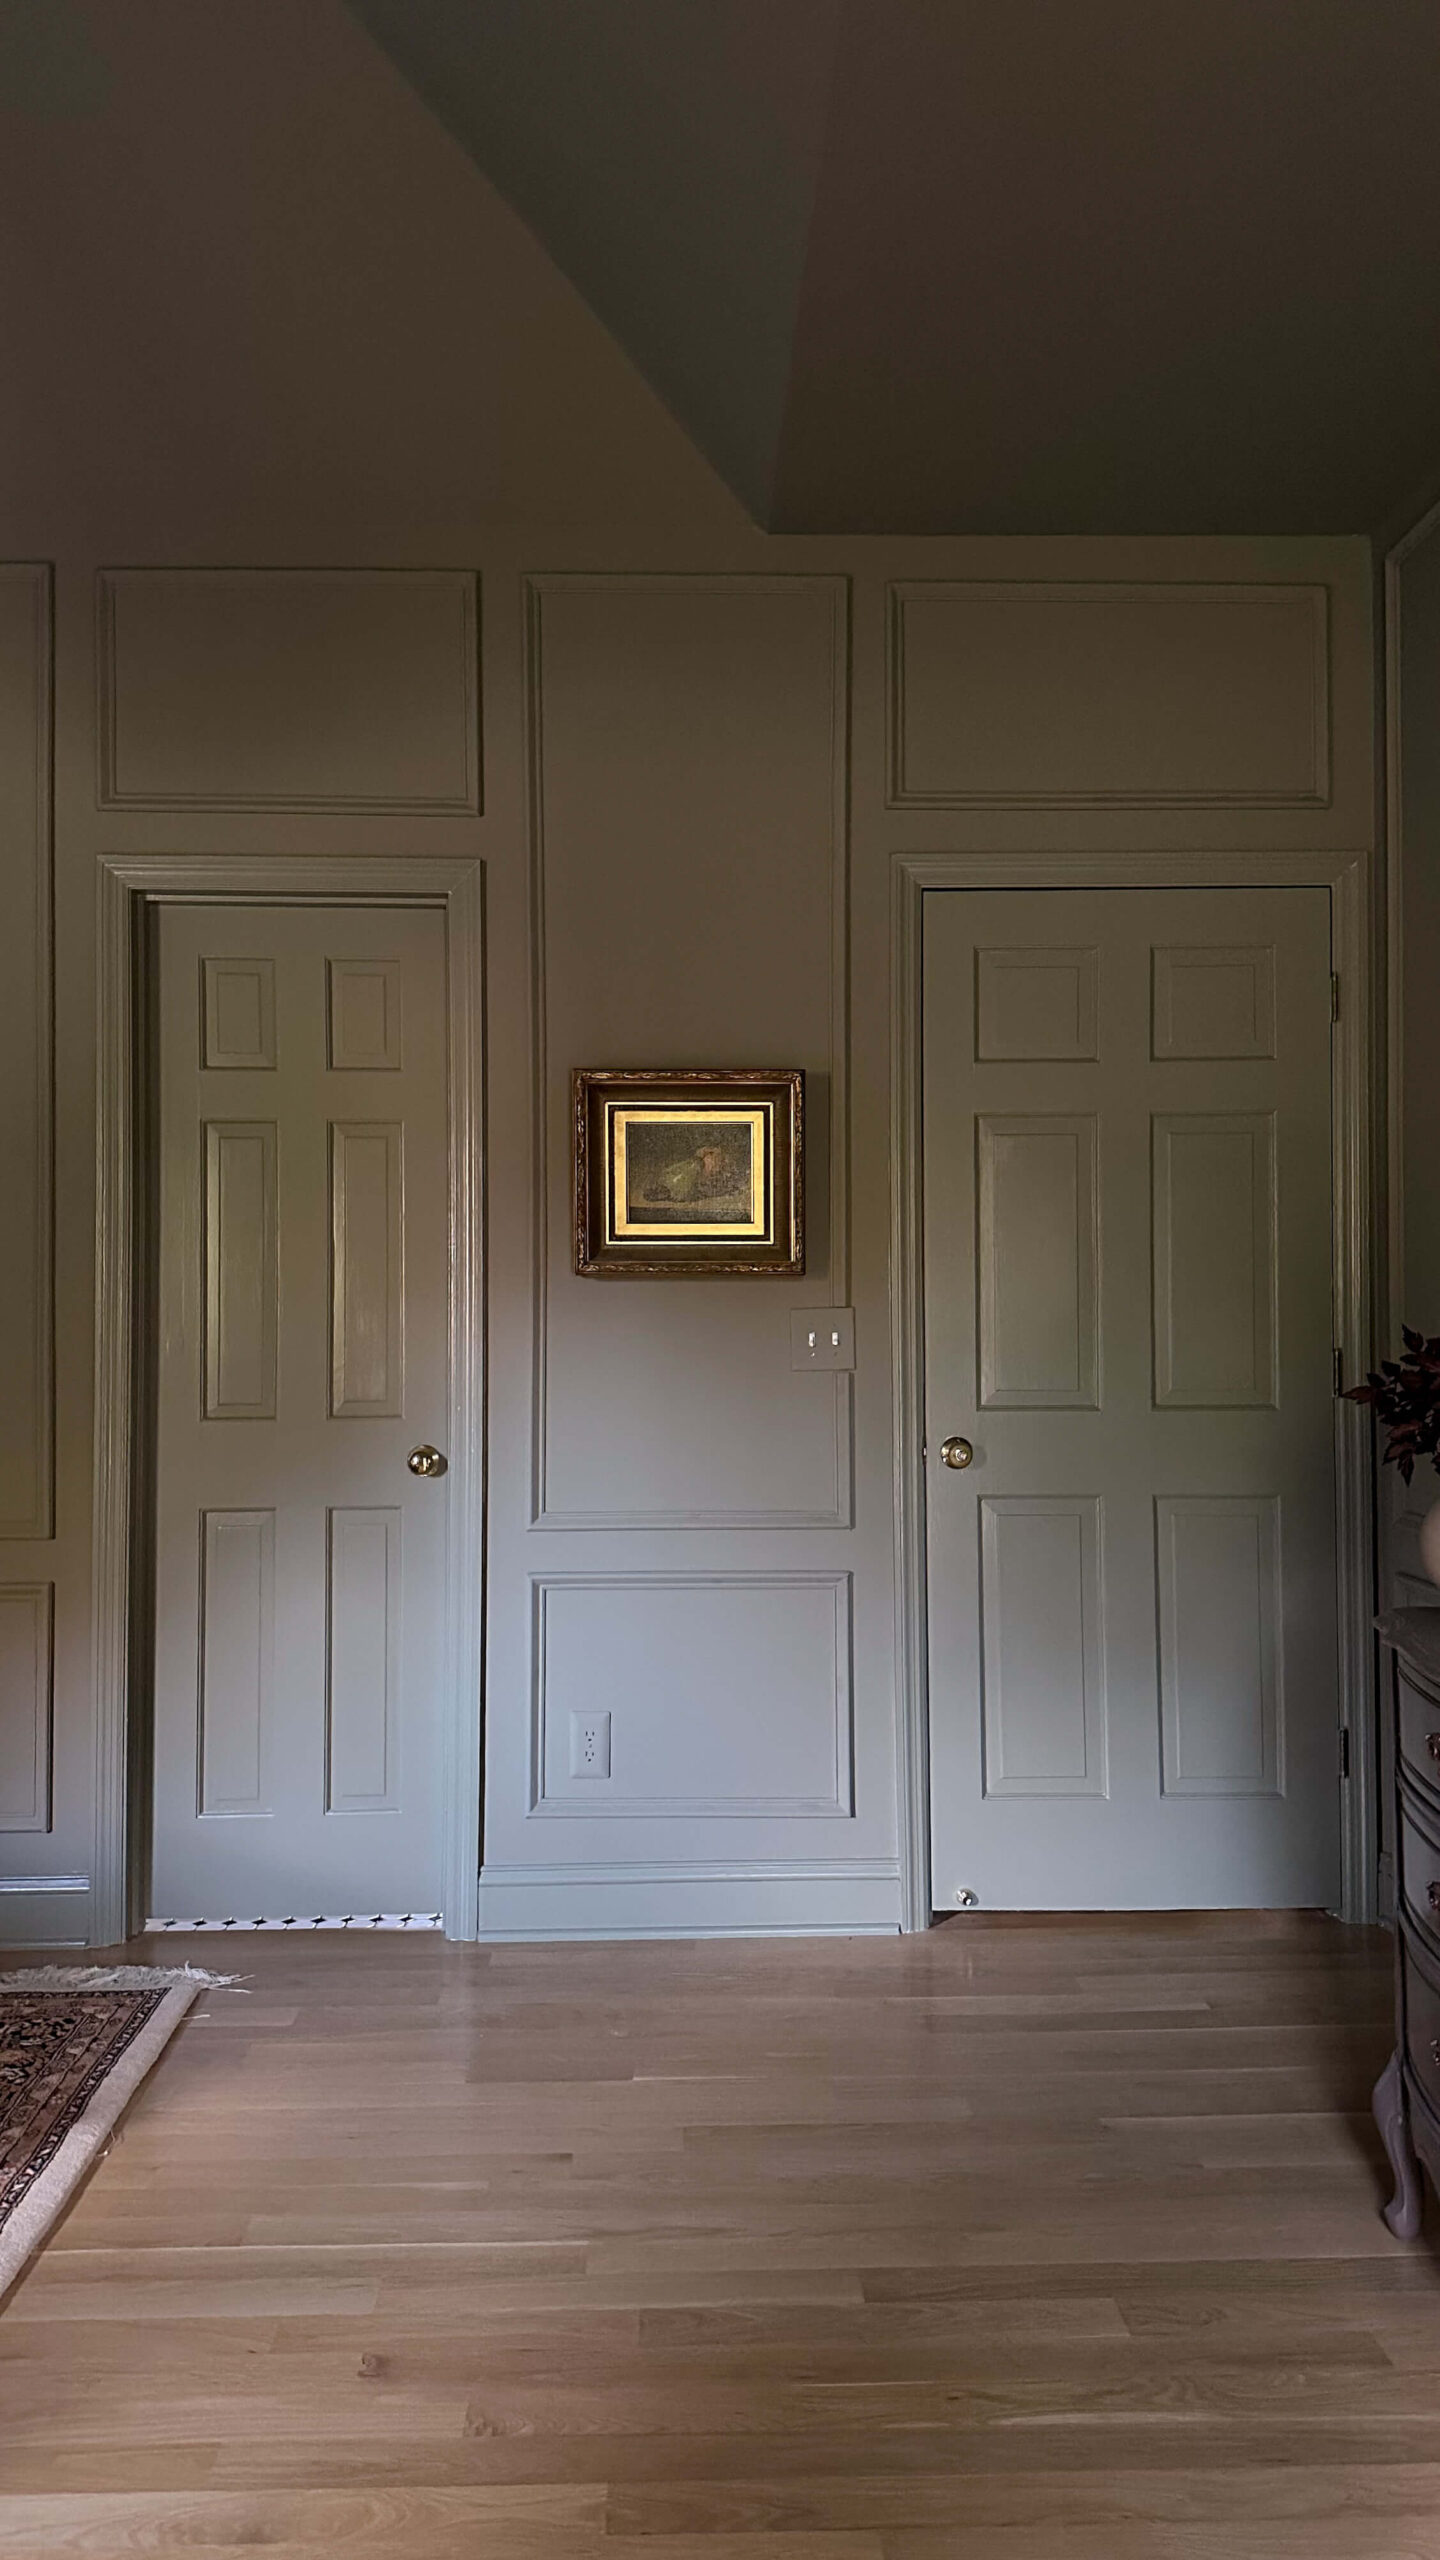
This is where the “design each wall separately” rule earns its keep. A wall with a door isn’t a solid canvas, it’s two smaller sections on either side of that door, and each of those sections gets designed on its own, ideally mirroring each other so the wall still feels balanced.
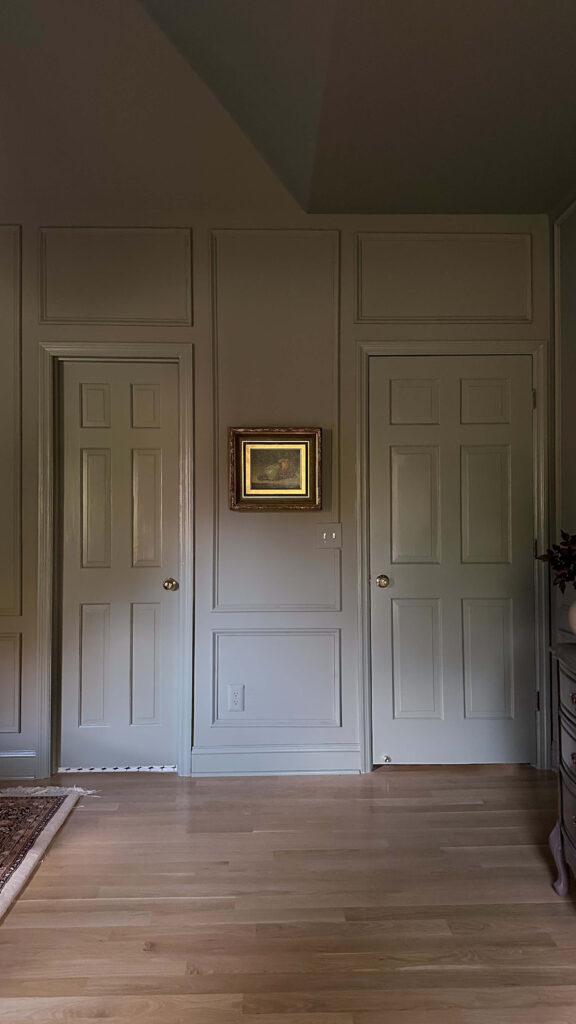
Windows work similarly, but with one extra consideration: I usually want my box lines to align with the window trim itself, either matching the top of the window casing or running level with the sill, so the picture frame molding reads like it was designed with the window in mind rather than around it as an obstacle.
Furniture is a little different because it can move, but I still plan around anything that’s staying put long-term, a bed frame, a built-in, a dresser that lives on that wall. There’s no point centering a beautiful box behind a headboard that’s going to hide two-thirds of it. For example, when I was designing my primary bedroom trim I knew I would always have a king sized bed on the back wall. I designed the middle box to be wider than my bed for this exact reason. After those dimensions were drawn, the other two boxes on either side were pretty much decided for me. Same can go for a wall with a tv, a bathroom vanity, etc.
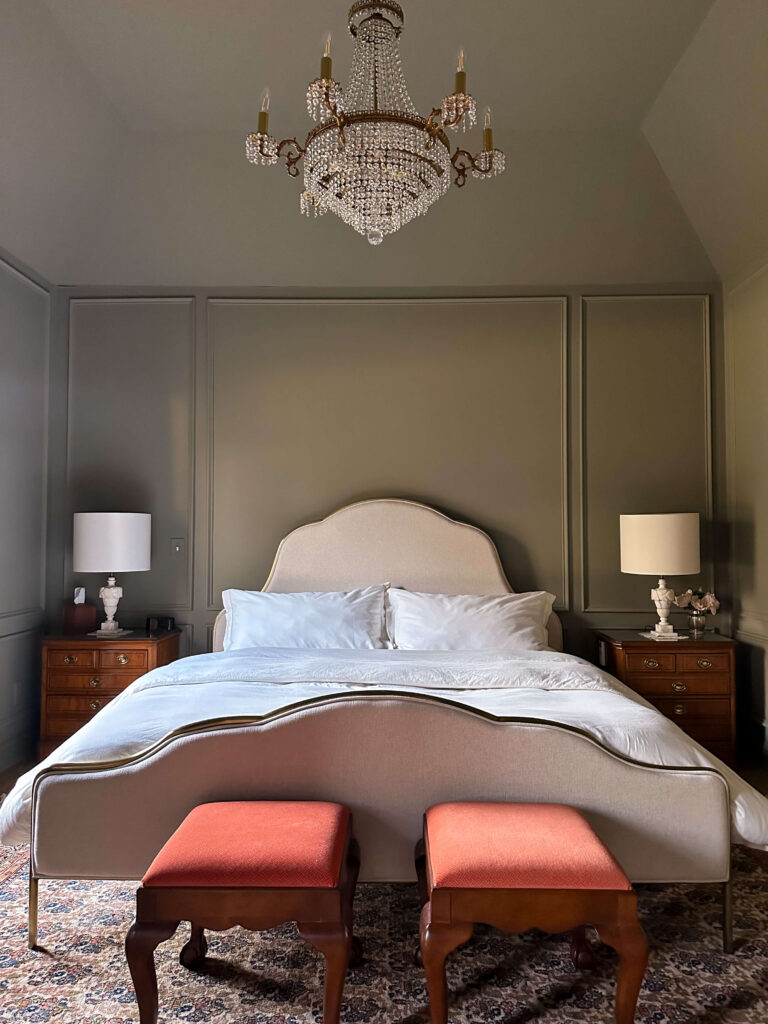
Notice how the large box extends past the bed
How to Install Picture Frame Molding, Step by Step
Once you’ve locked in your layout in Canva and you’re ready to bring your vision to life!
Determine your measurements
Take your spacer width into account, the number of boxes you’ve landed on, and the length of your wall, and from there start writing down your measurements for each box. You can do this so it looks professional, either in a sketching software or on a piece of lined paper. Or you can be like me and draw a relatively sloppy sketch on a piece of notebook paper and label everything carefully. It just needs to make sense for you!
Optional for First Timers: Mark Your Layout on the Wall
If you’re feeling nervous, you can use painter’s tape to visualize your boxes on your wall before making any cuts. Use your tape measure, level, and painter’s tape to map out every box exactly where your Canva design placed it. Double-check every measurement before you cut anything, since this is the step that catches mistakes while they’re still free to fix.
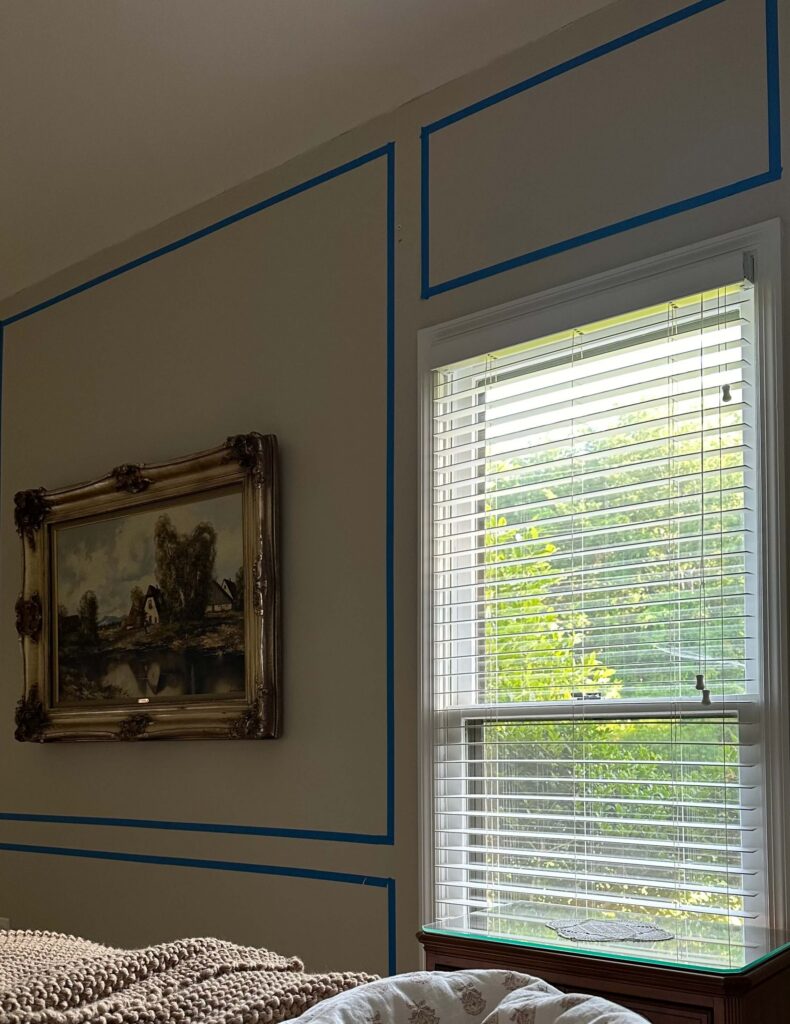
I literally had to sleep on the design for the bedroom before committing. Tape was a great way to feel confident about my layout.
Cut Your Miters
Cut your top and bottom horizontal pieces first, then your vertical sides, mitering the corners at 45 degrees so they meet cleanly. Depending on what kind of trim you’re using, you’ll either use a miter saw (this is preferred), a box saw, or miter shears will work in some cases. I realize power tools can be scary at first, but I highly encourage you to learn how to use a miter saw. The precision and time saving is worth it!
Dry Fit Before You Nail Anything
If it’s your first time, especially if it’s your first cut, you’ll want to try to dry fit your pieces first. You can do this on the floor, or you can do it on the wall. This was probably overkill, but I was very nervous during my first trim project so I taped everything to the wall first! It gave me peace of mind before using a brad nailer for the first time.

Attach with a Brad Nailer
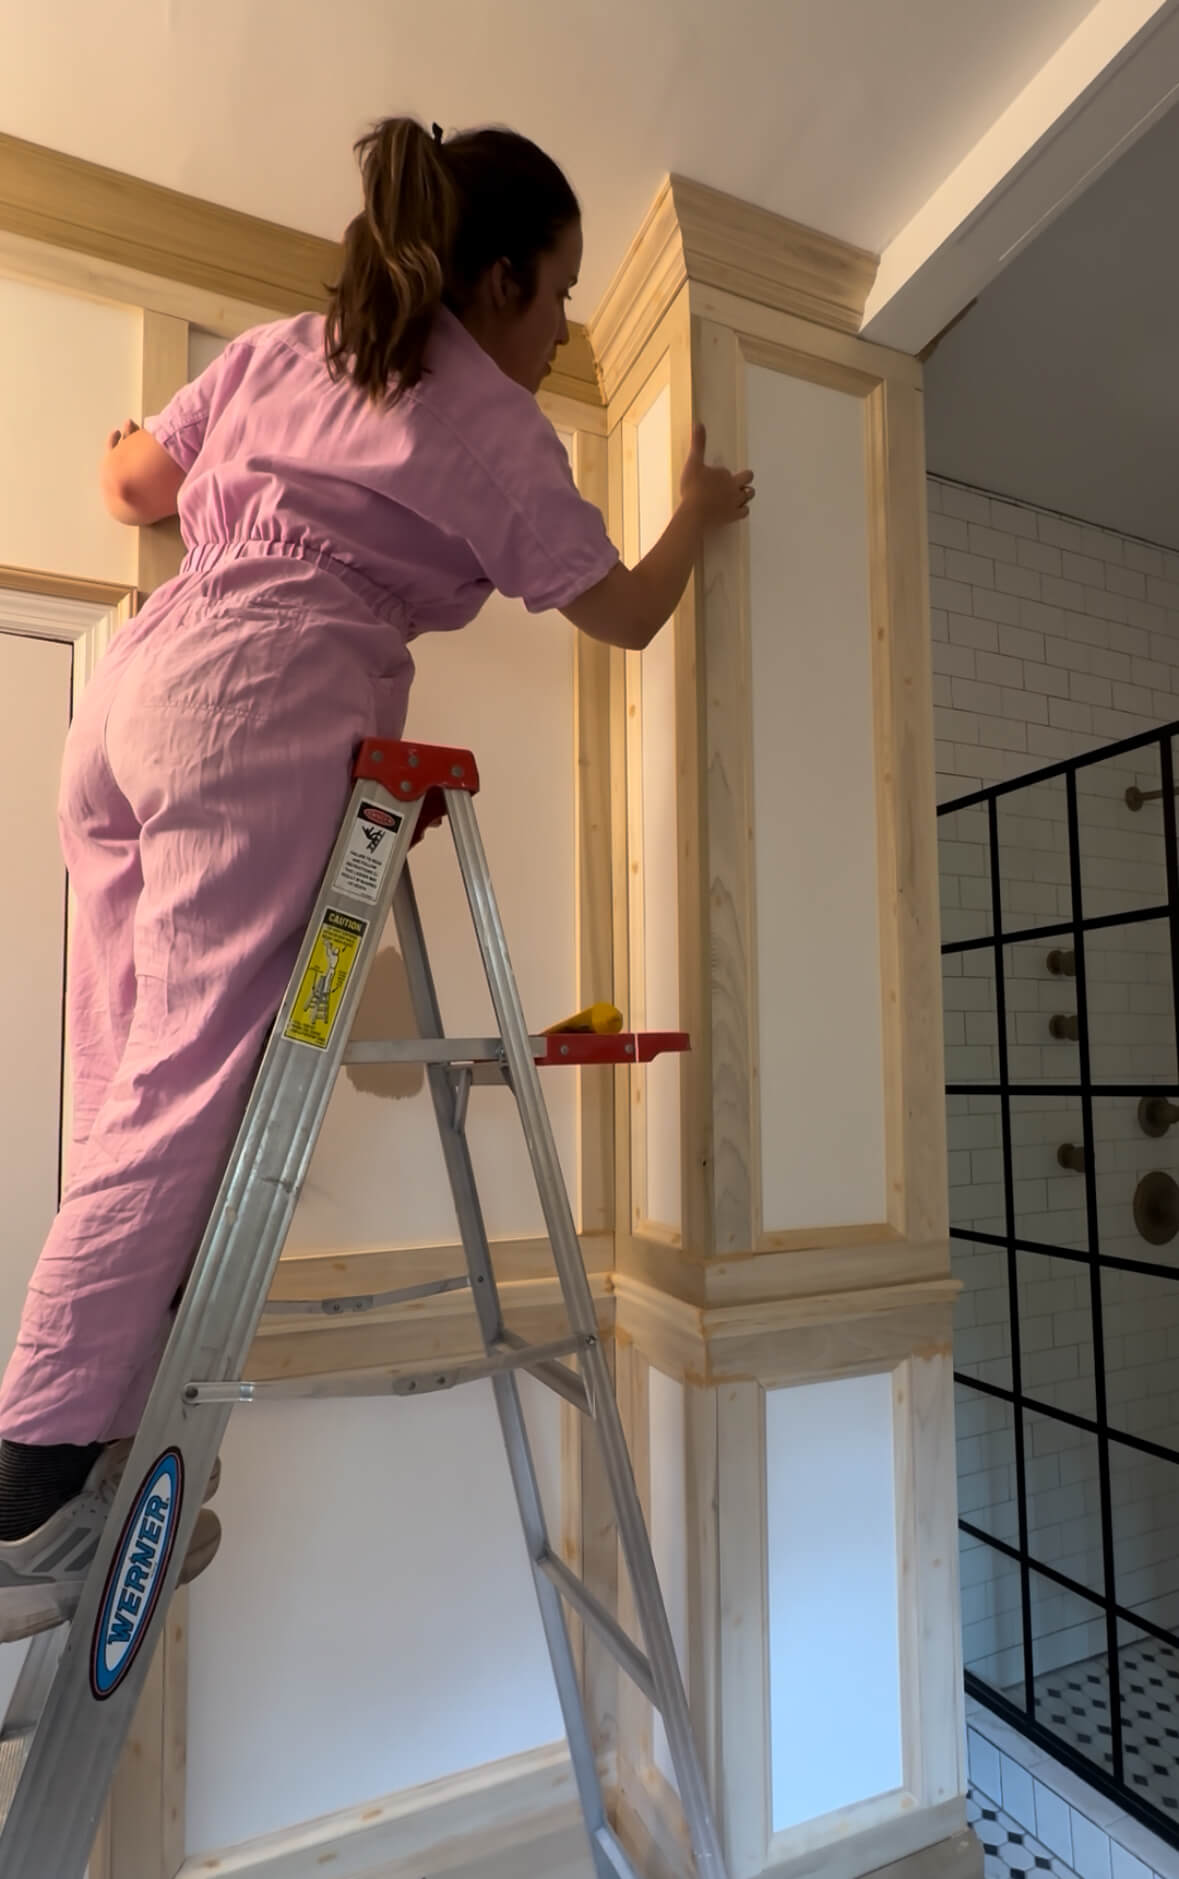
Next, secure your trim to the wall with your brad nailer and 1.5″ brad nails. I like to place my piece of spacer wood against the wall during this part and draw lines with a pencil first. From there, I line up the outside of my trim with my lines and nail in place.
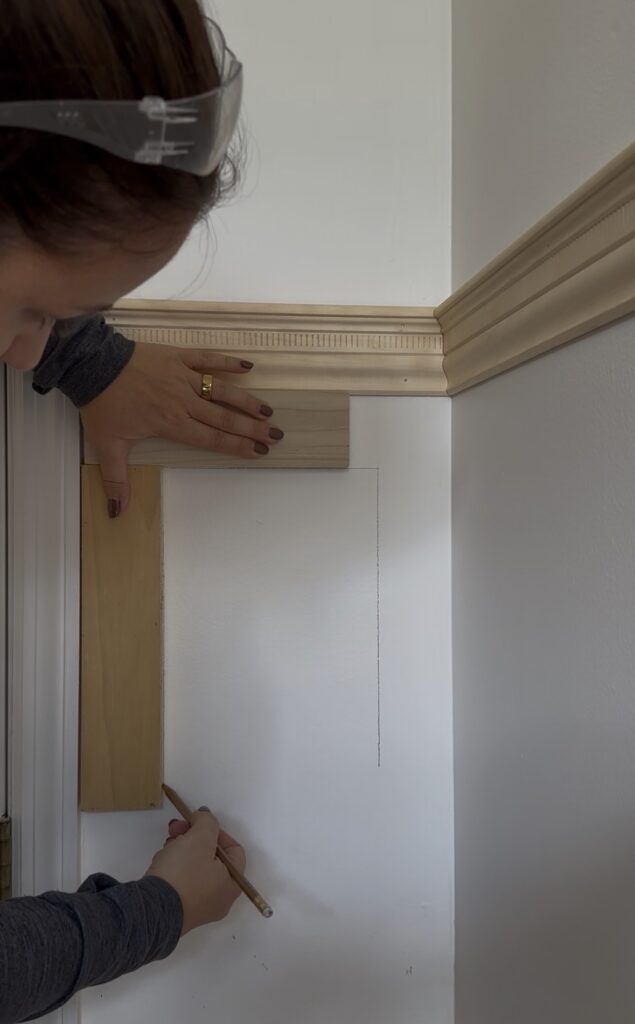
Some people will run a bead of construction adhesive along the back of each piece before nailing. Personally I did not do this and everything has held up perfectly fine in all of my rooms.
Addressing the Nail Holes
Once your boxes are all installed, run a quick inspection check and identify any nails that didn’t go all the way in. This happens occassionally, but you’ll want to use a nail punch set to sink any brad nails below the surface. From there fill your nail holes with wood filler, sand it smooth and wipe with a tack cloth.
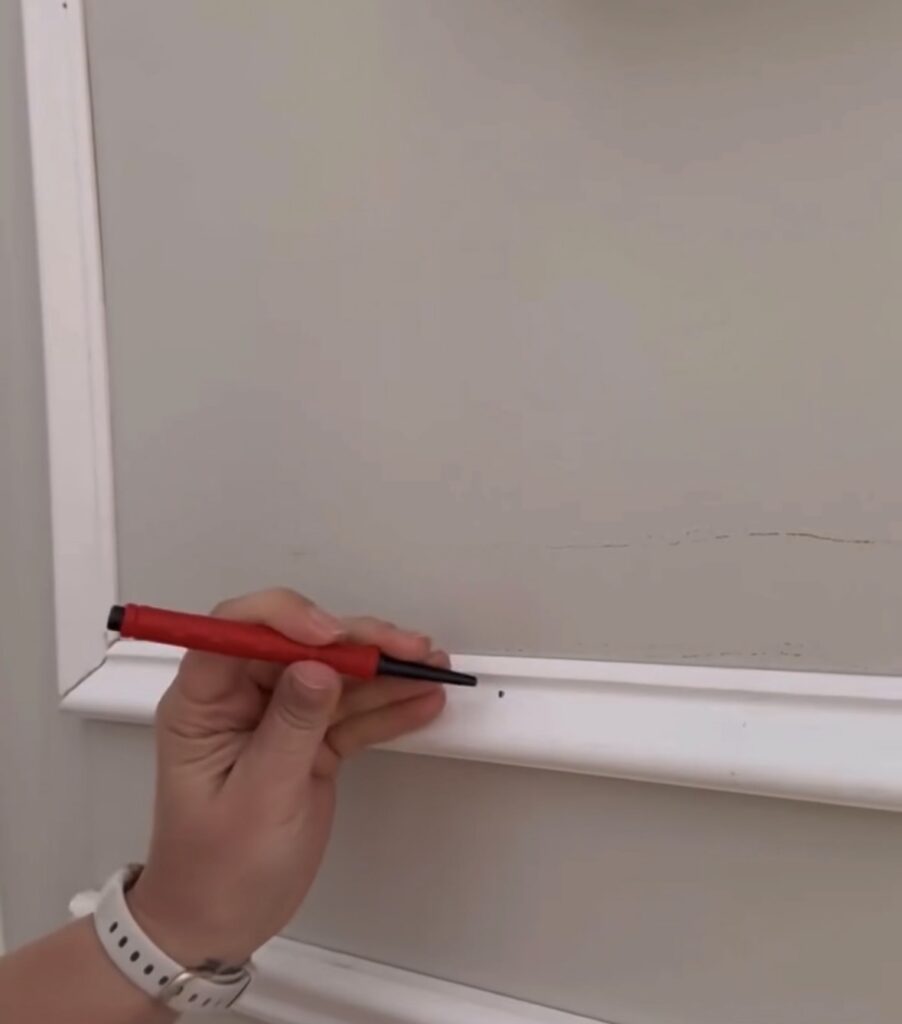
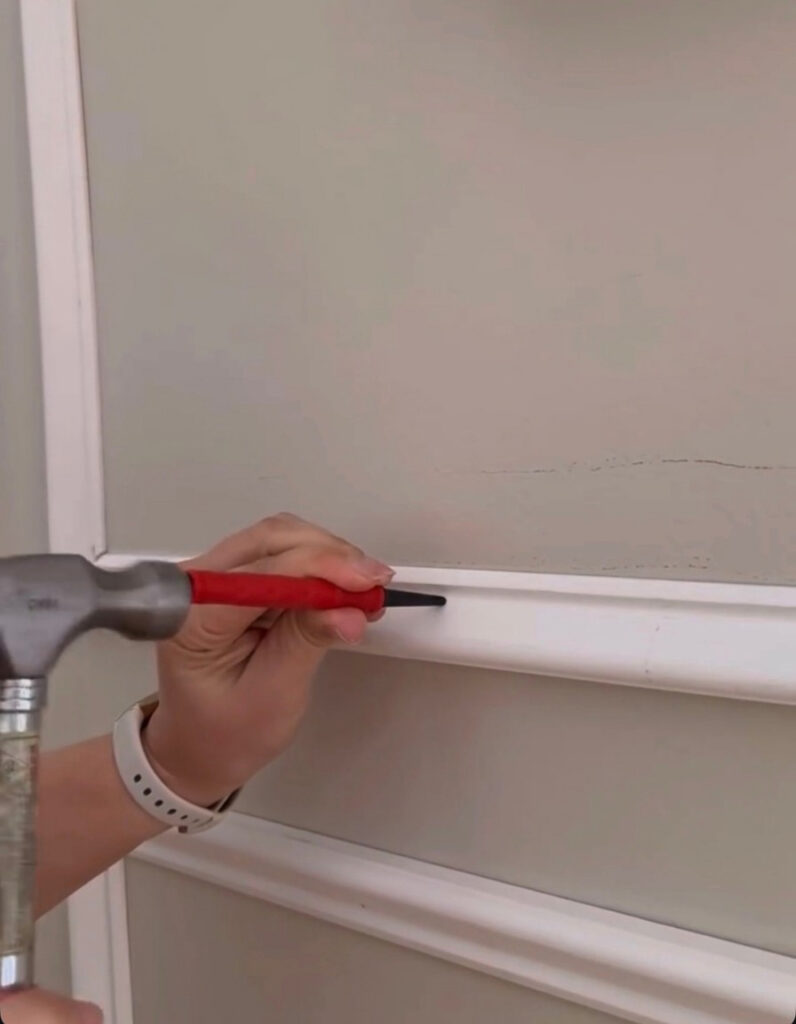
This is called a nail punch. Since the brad nail heads are so small, this helps you punch the nail in without damaging your trim.
Finishing It Off: Filler, Caulk, Priming, and Paint
This step is the difference between a wall that looks handmade in the wrong way and one that looks custom. Caulk every seam, meaning every spot where your trim meets the wall and every mitered corner, with a paintable caulk. Run your finger or a crocodile cloth along each caulk line to smooth it into the wall so there’s no visible ridge once it’s painted.
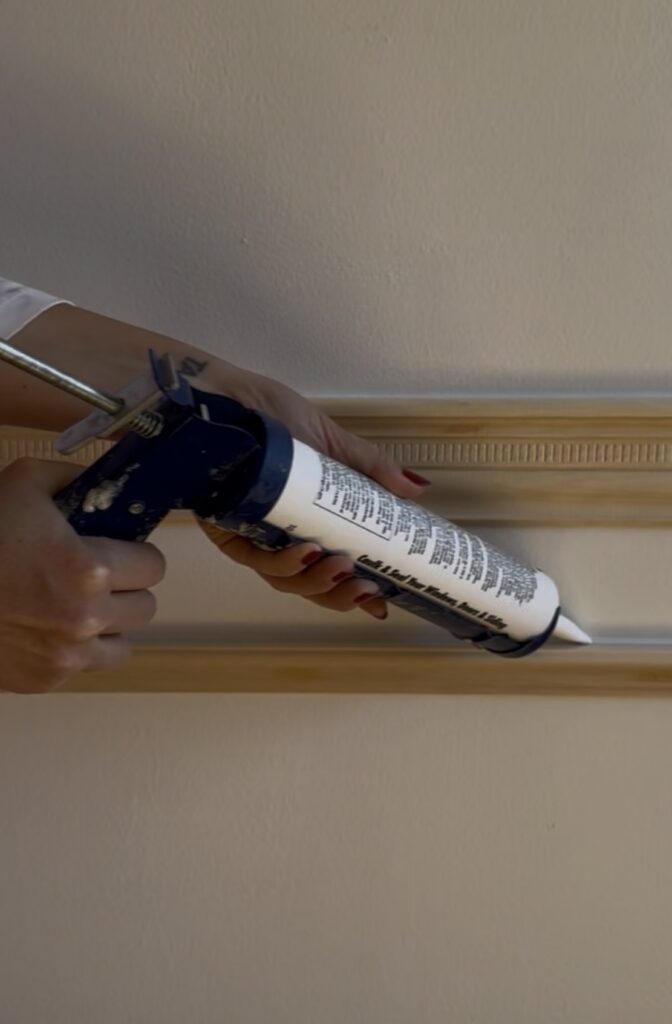
Make sure you caulk on both sides of the trim (above and below)
Prime everything, the trim and the wall inside each box, especially if you’re using MDF, which soaks up paint unevenly without a primer coat first. Then add your topcoat. I almost always paint the boxes and the surrounding wall the same color, because that’s what makes the molding read as architecture instead of an applied decoration sitting on top of the wall.
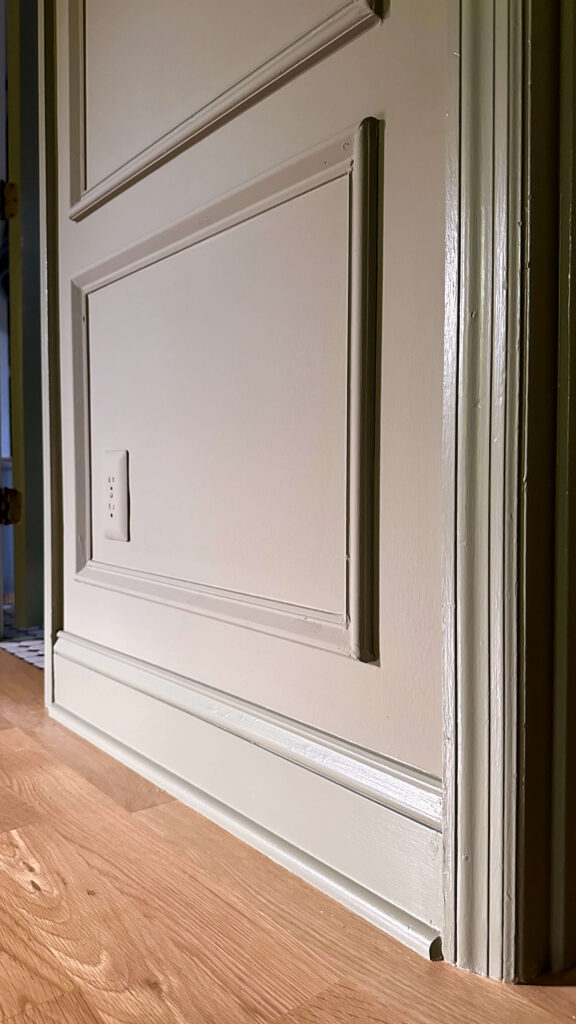
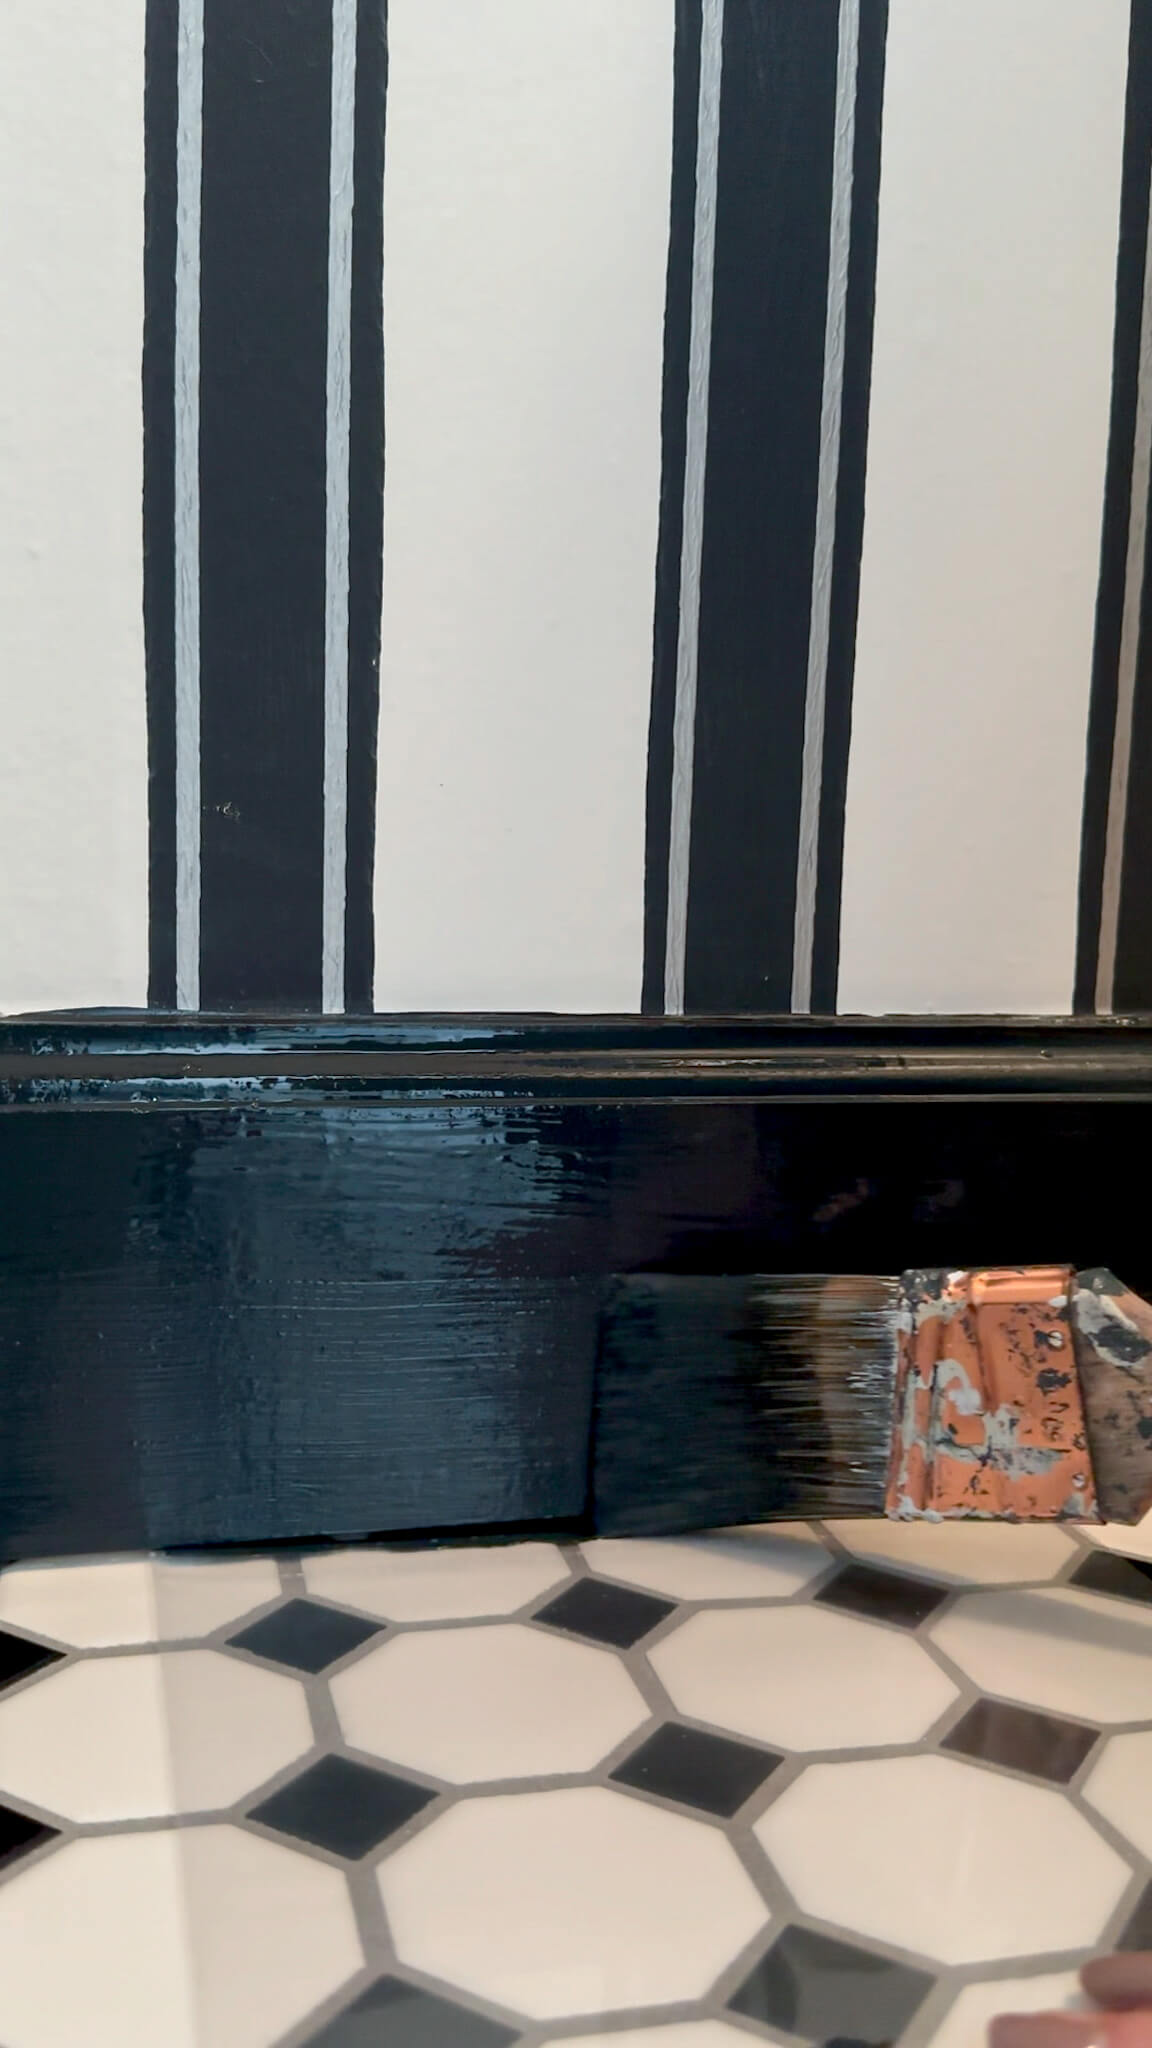
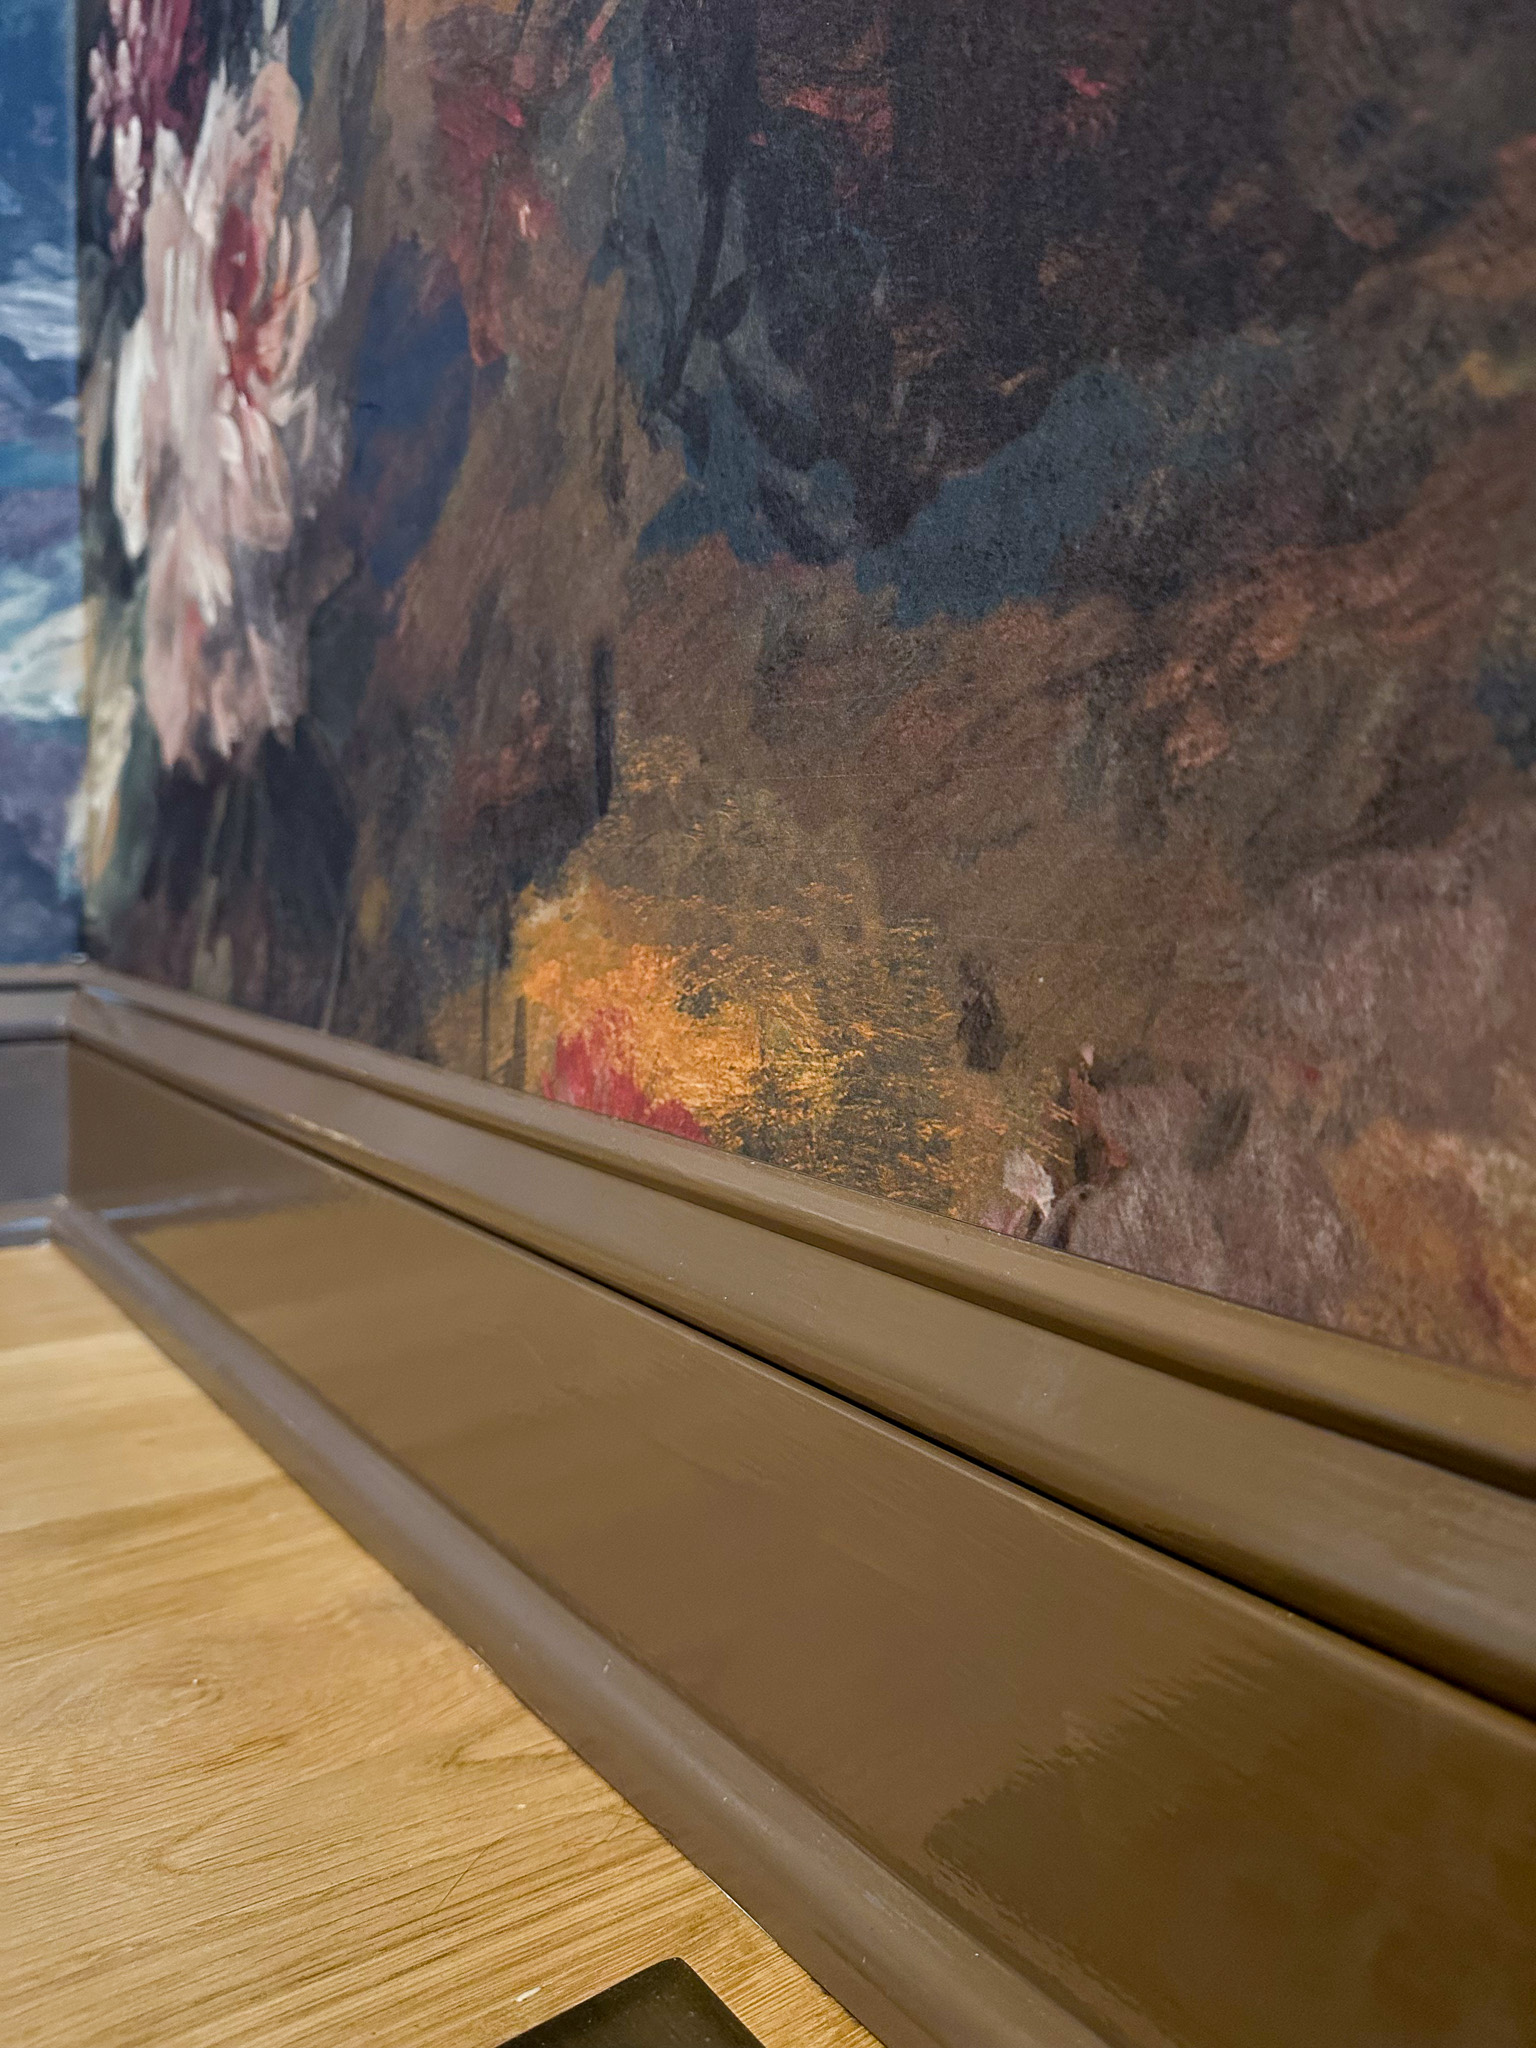
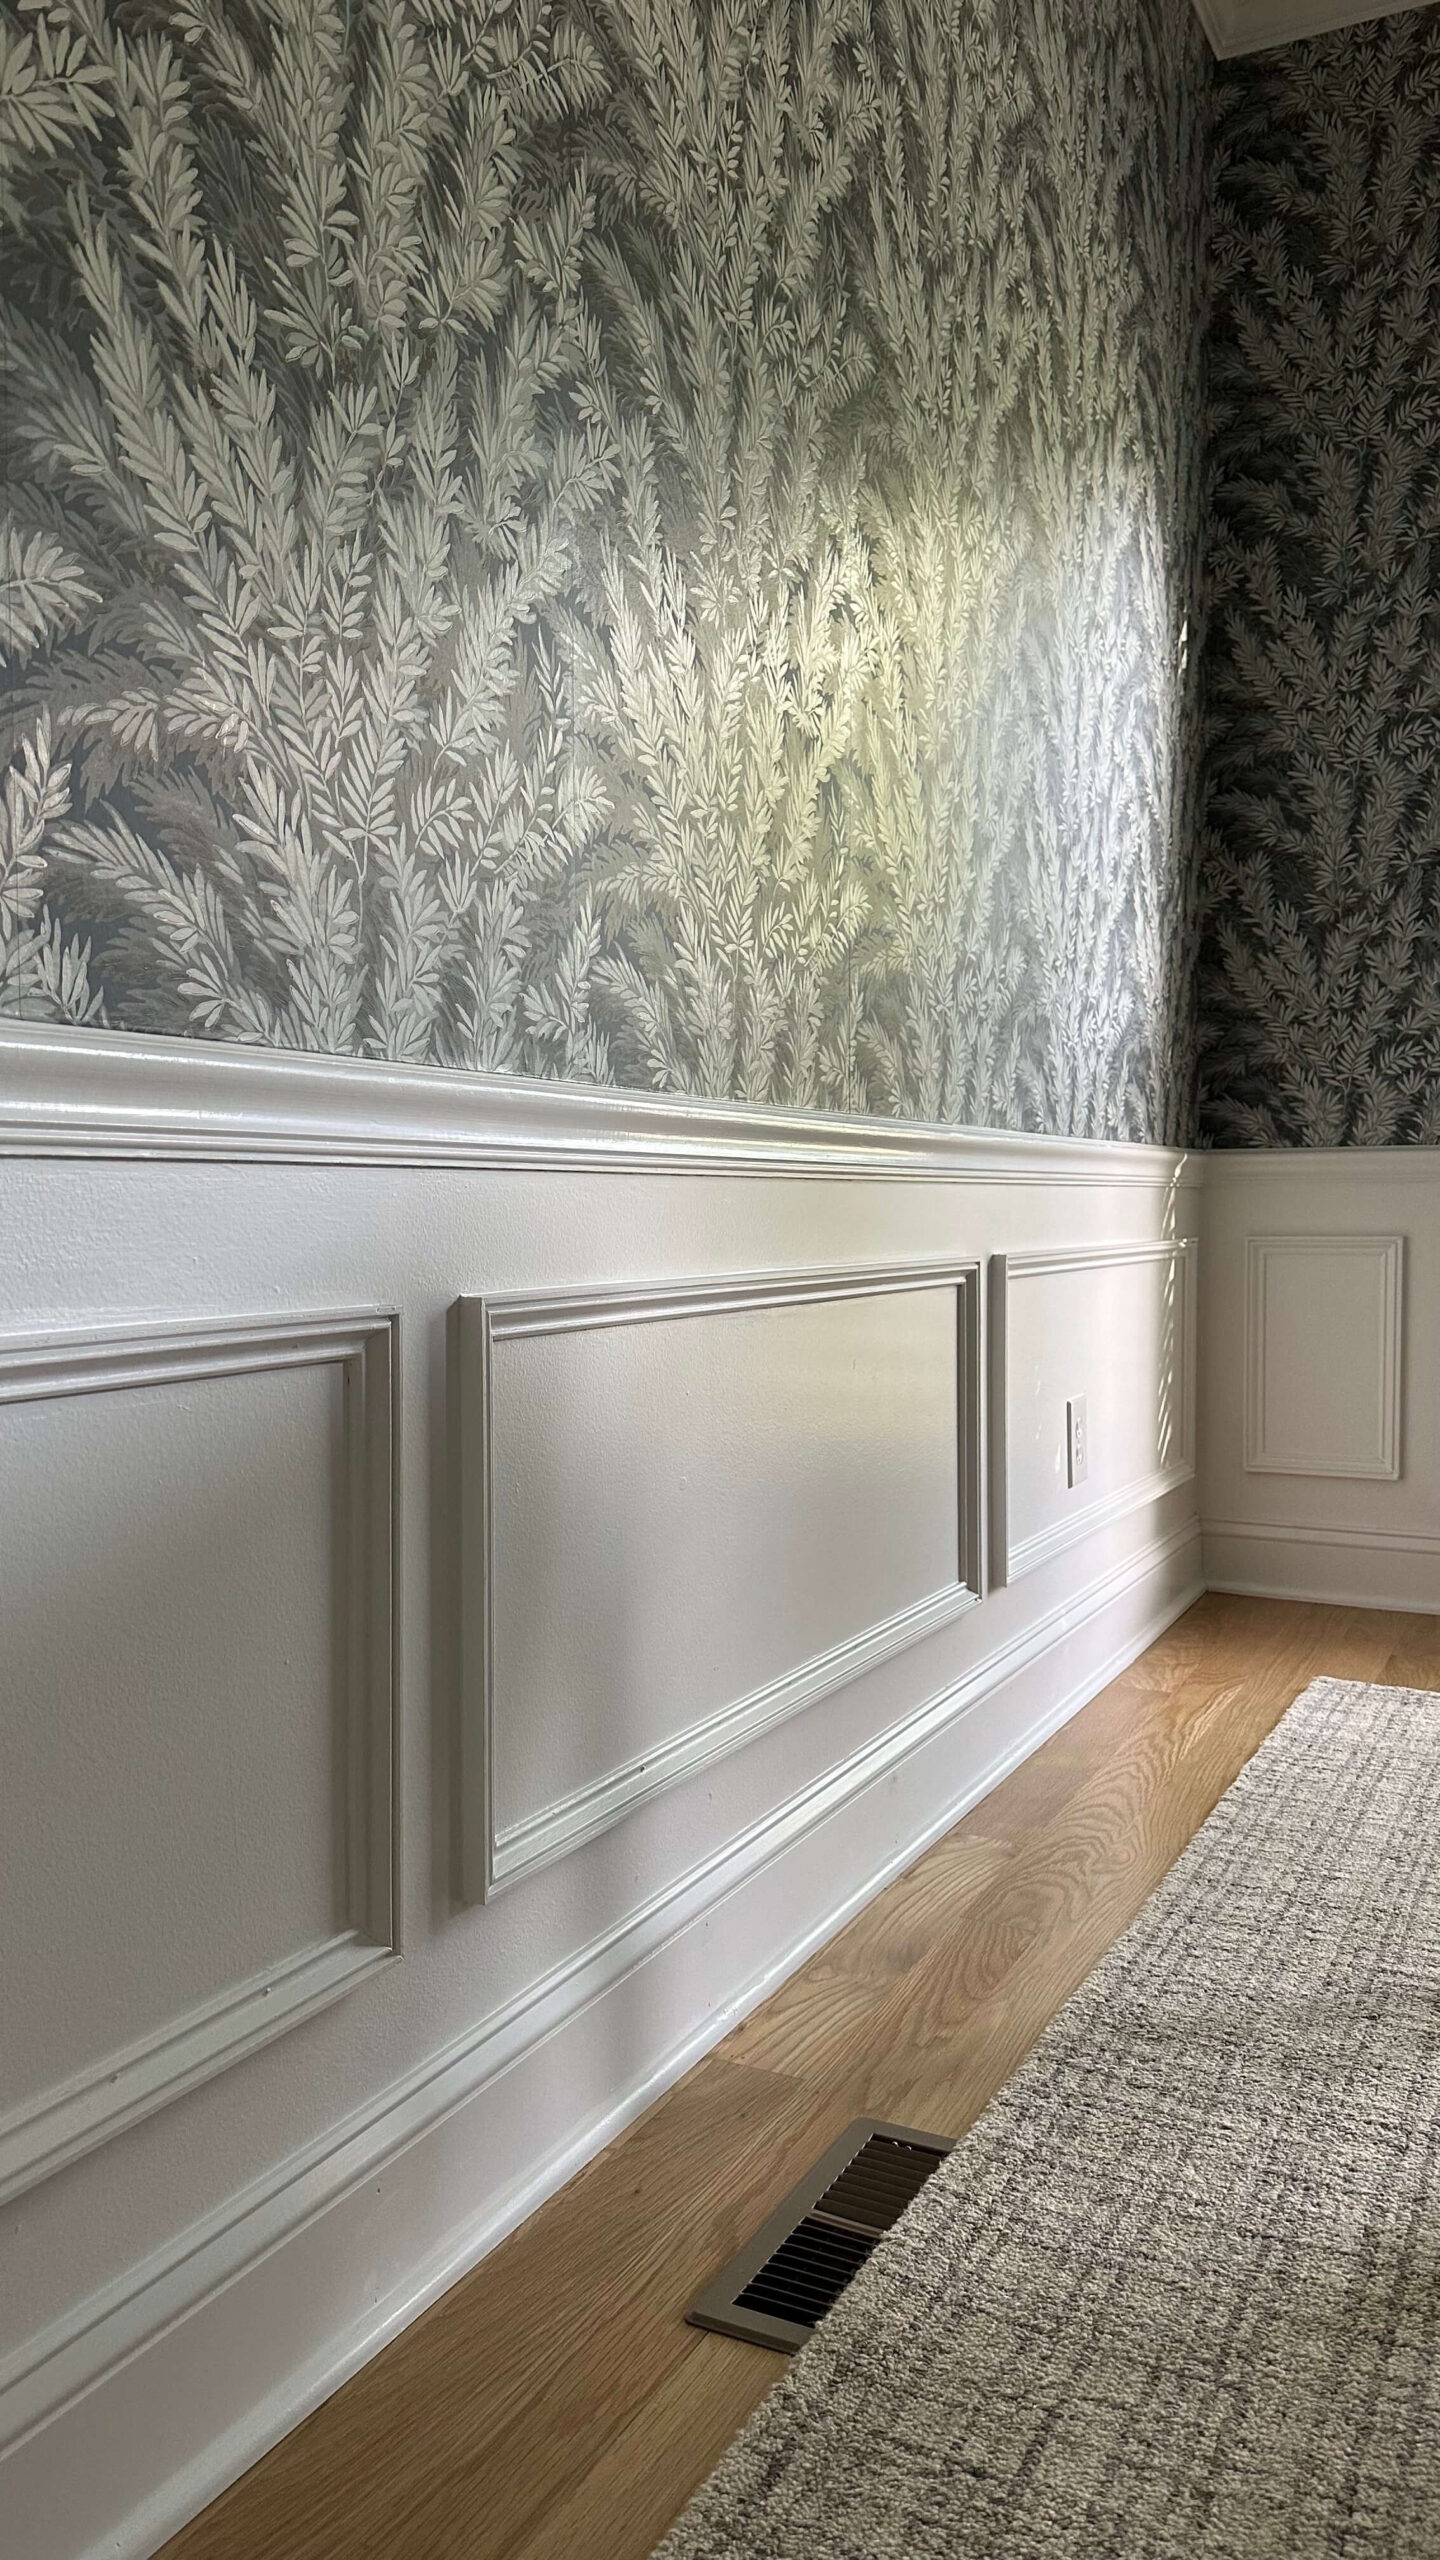
I painted the door casing and baseboards a higher sheen than the wall and box trim in this room.
See It in Real Rooms
Reading through the process is one thing, seeing how it actually plays out on three completely different walls is another. I’ve used this exact design approach in four rooms of my house so far, and each one solved a different layout problem.
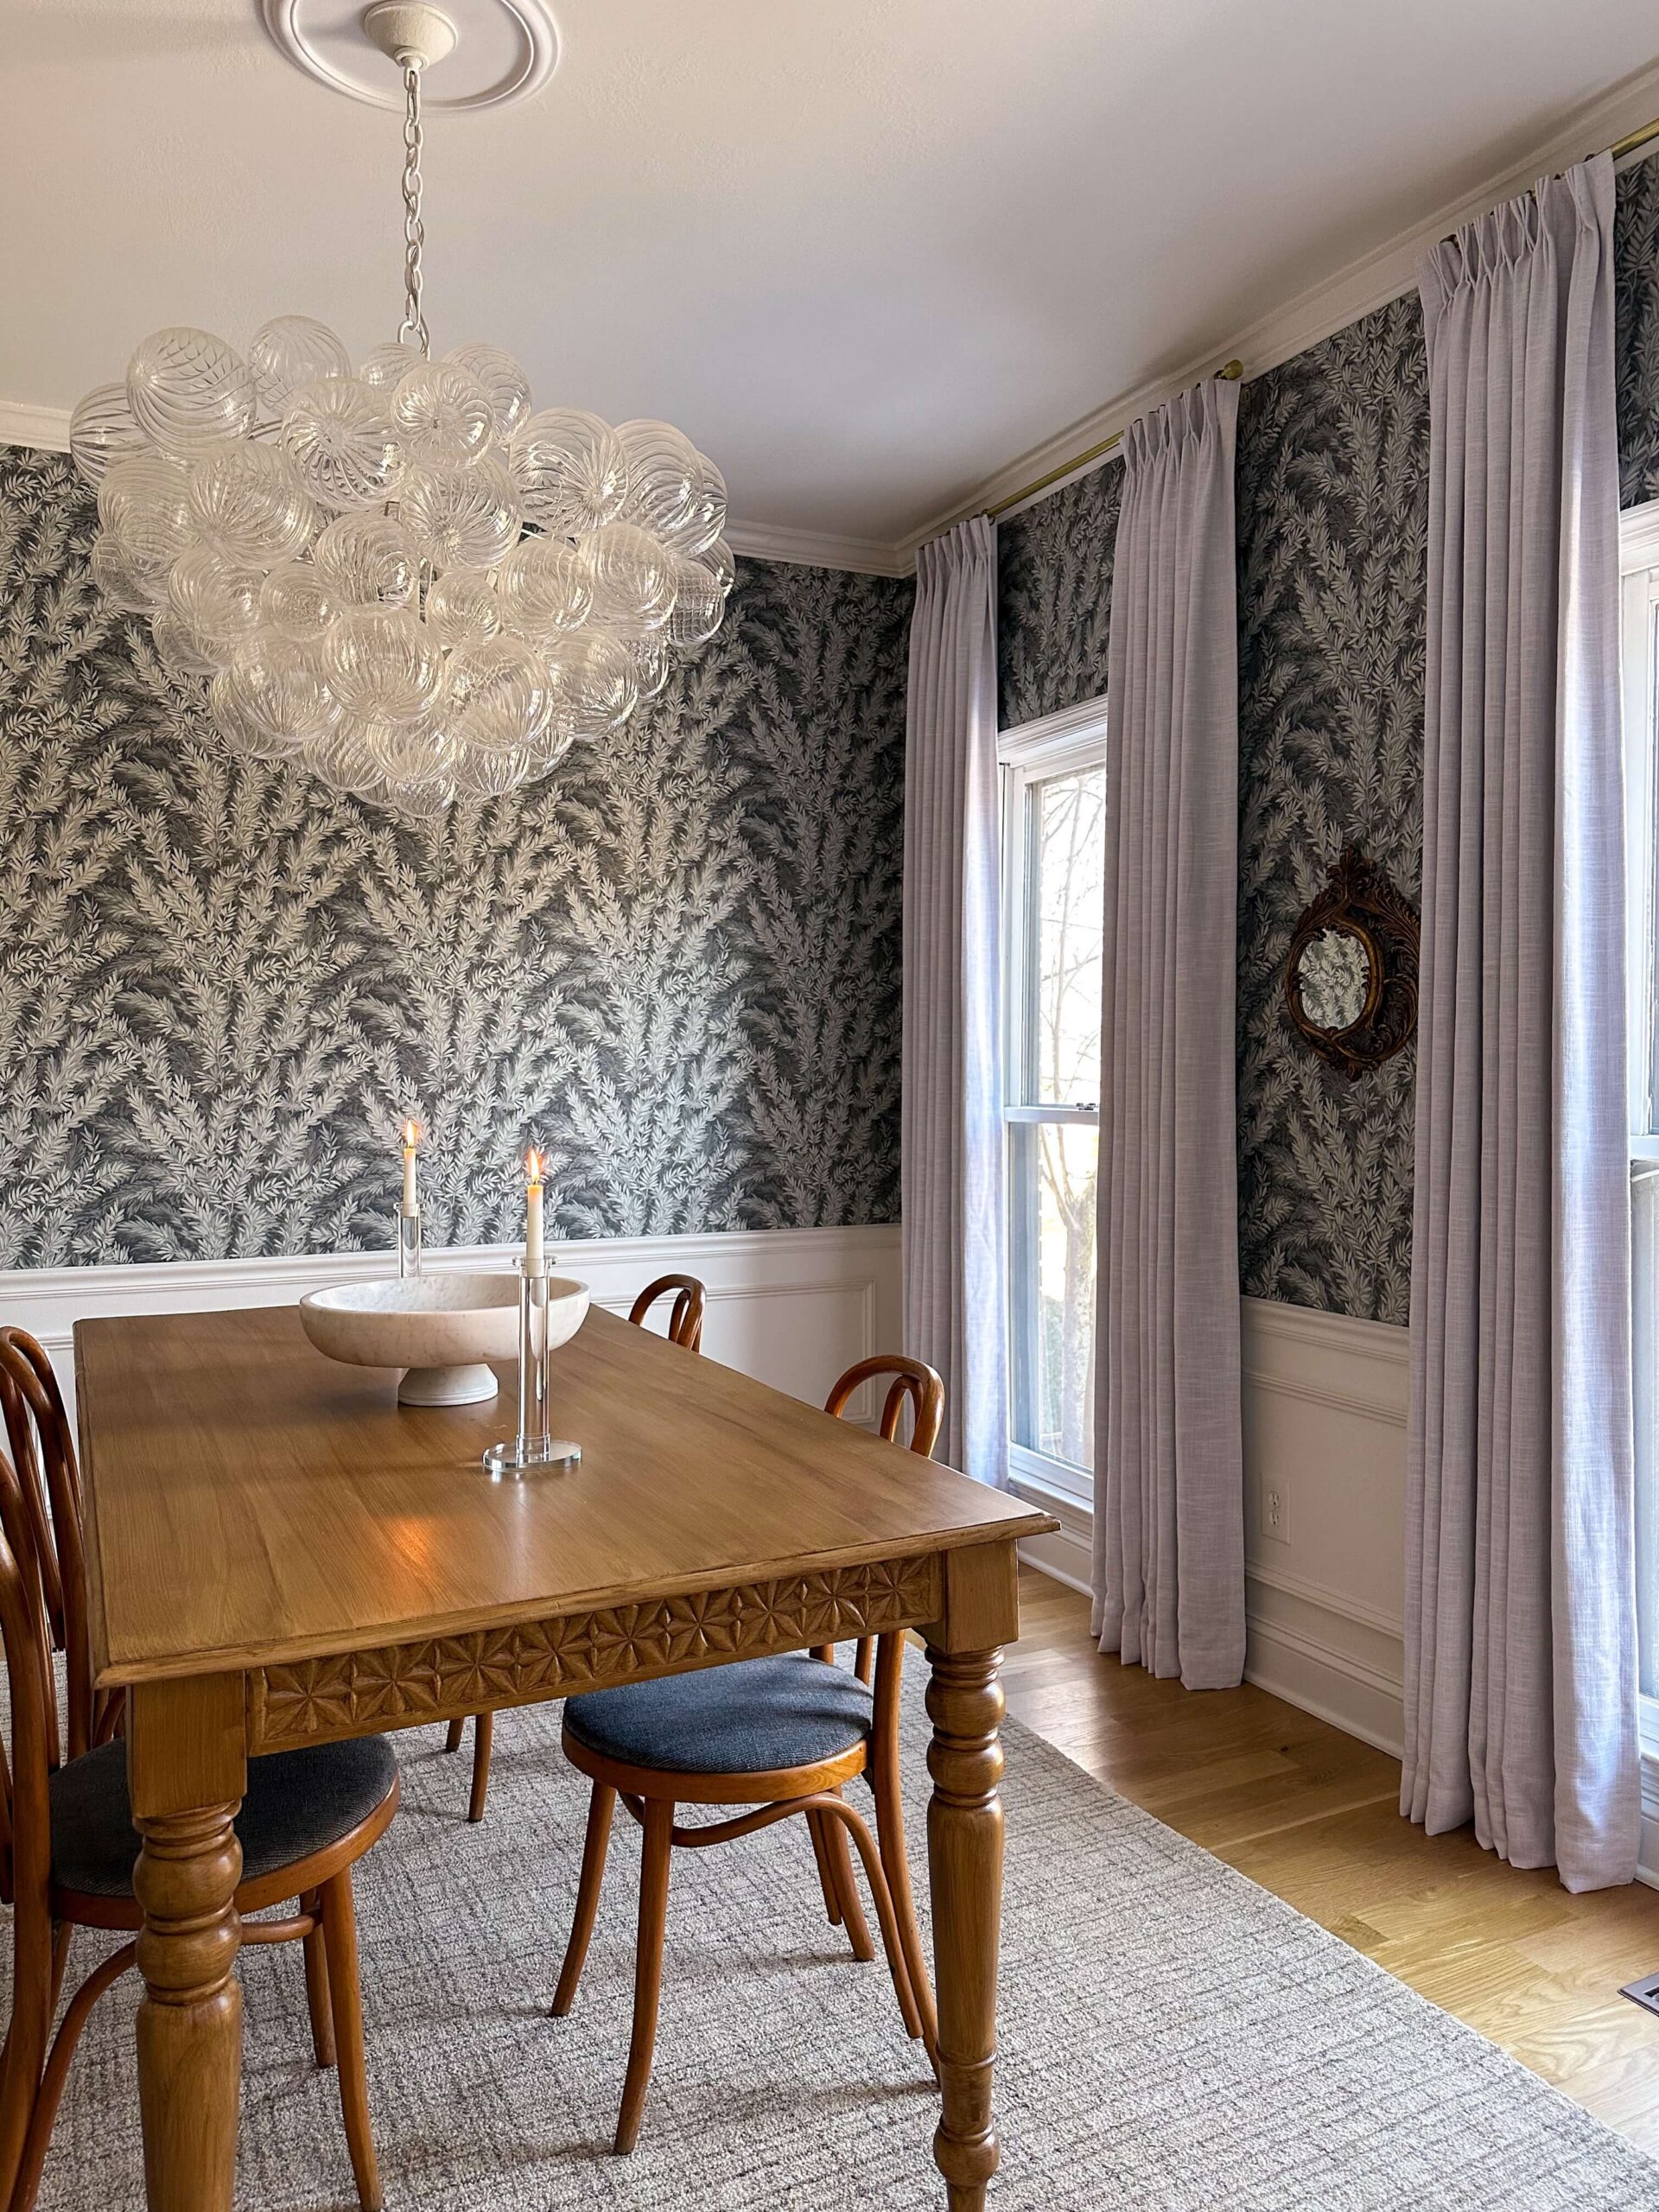
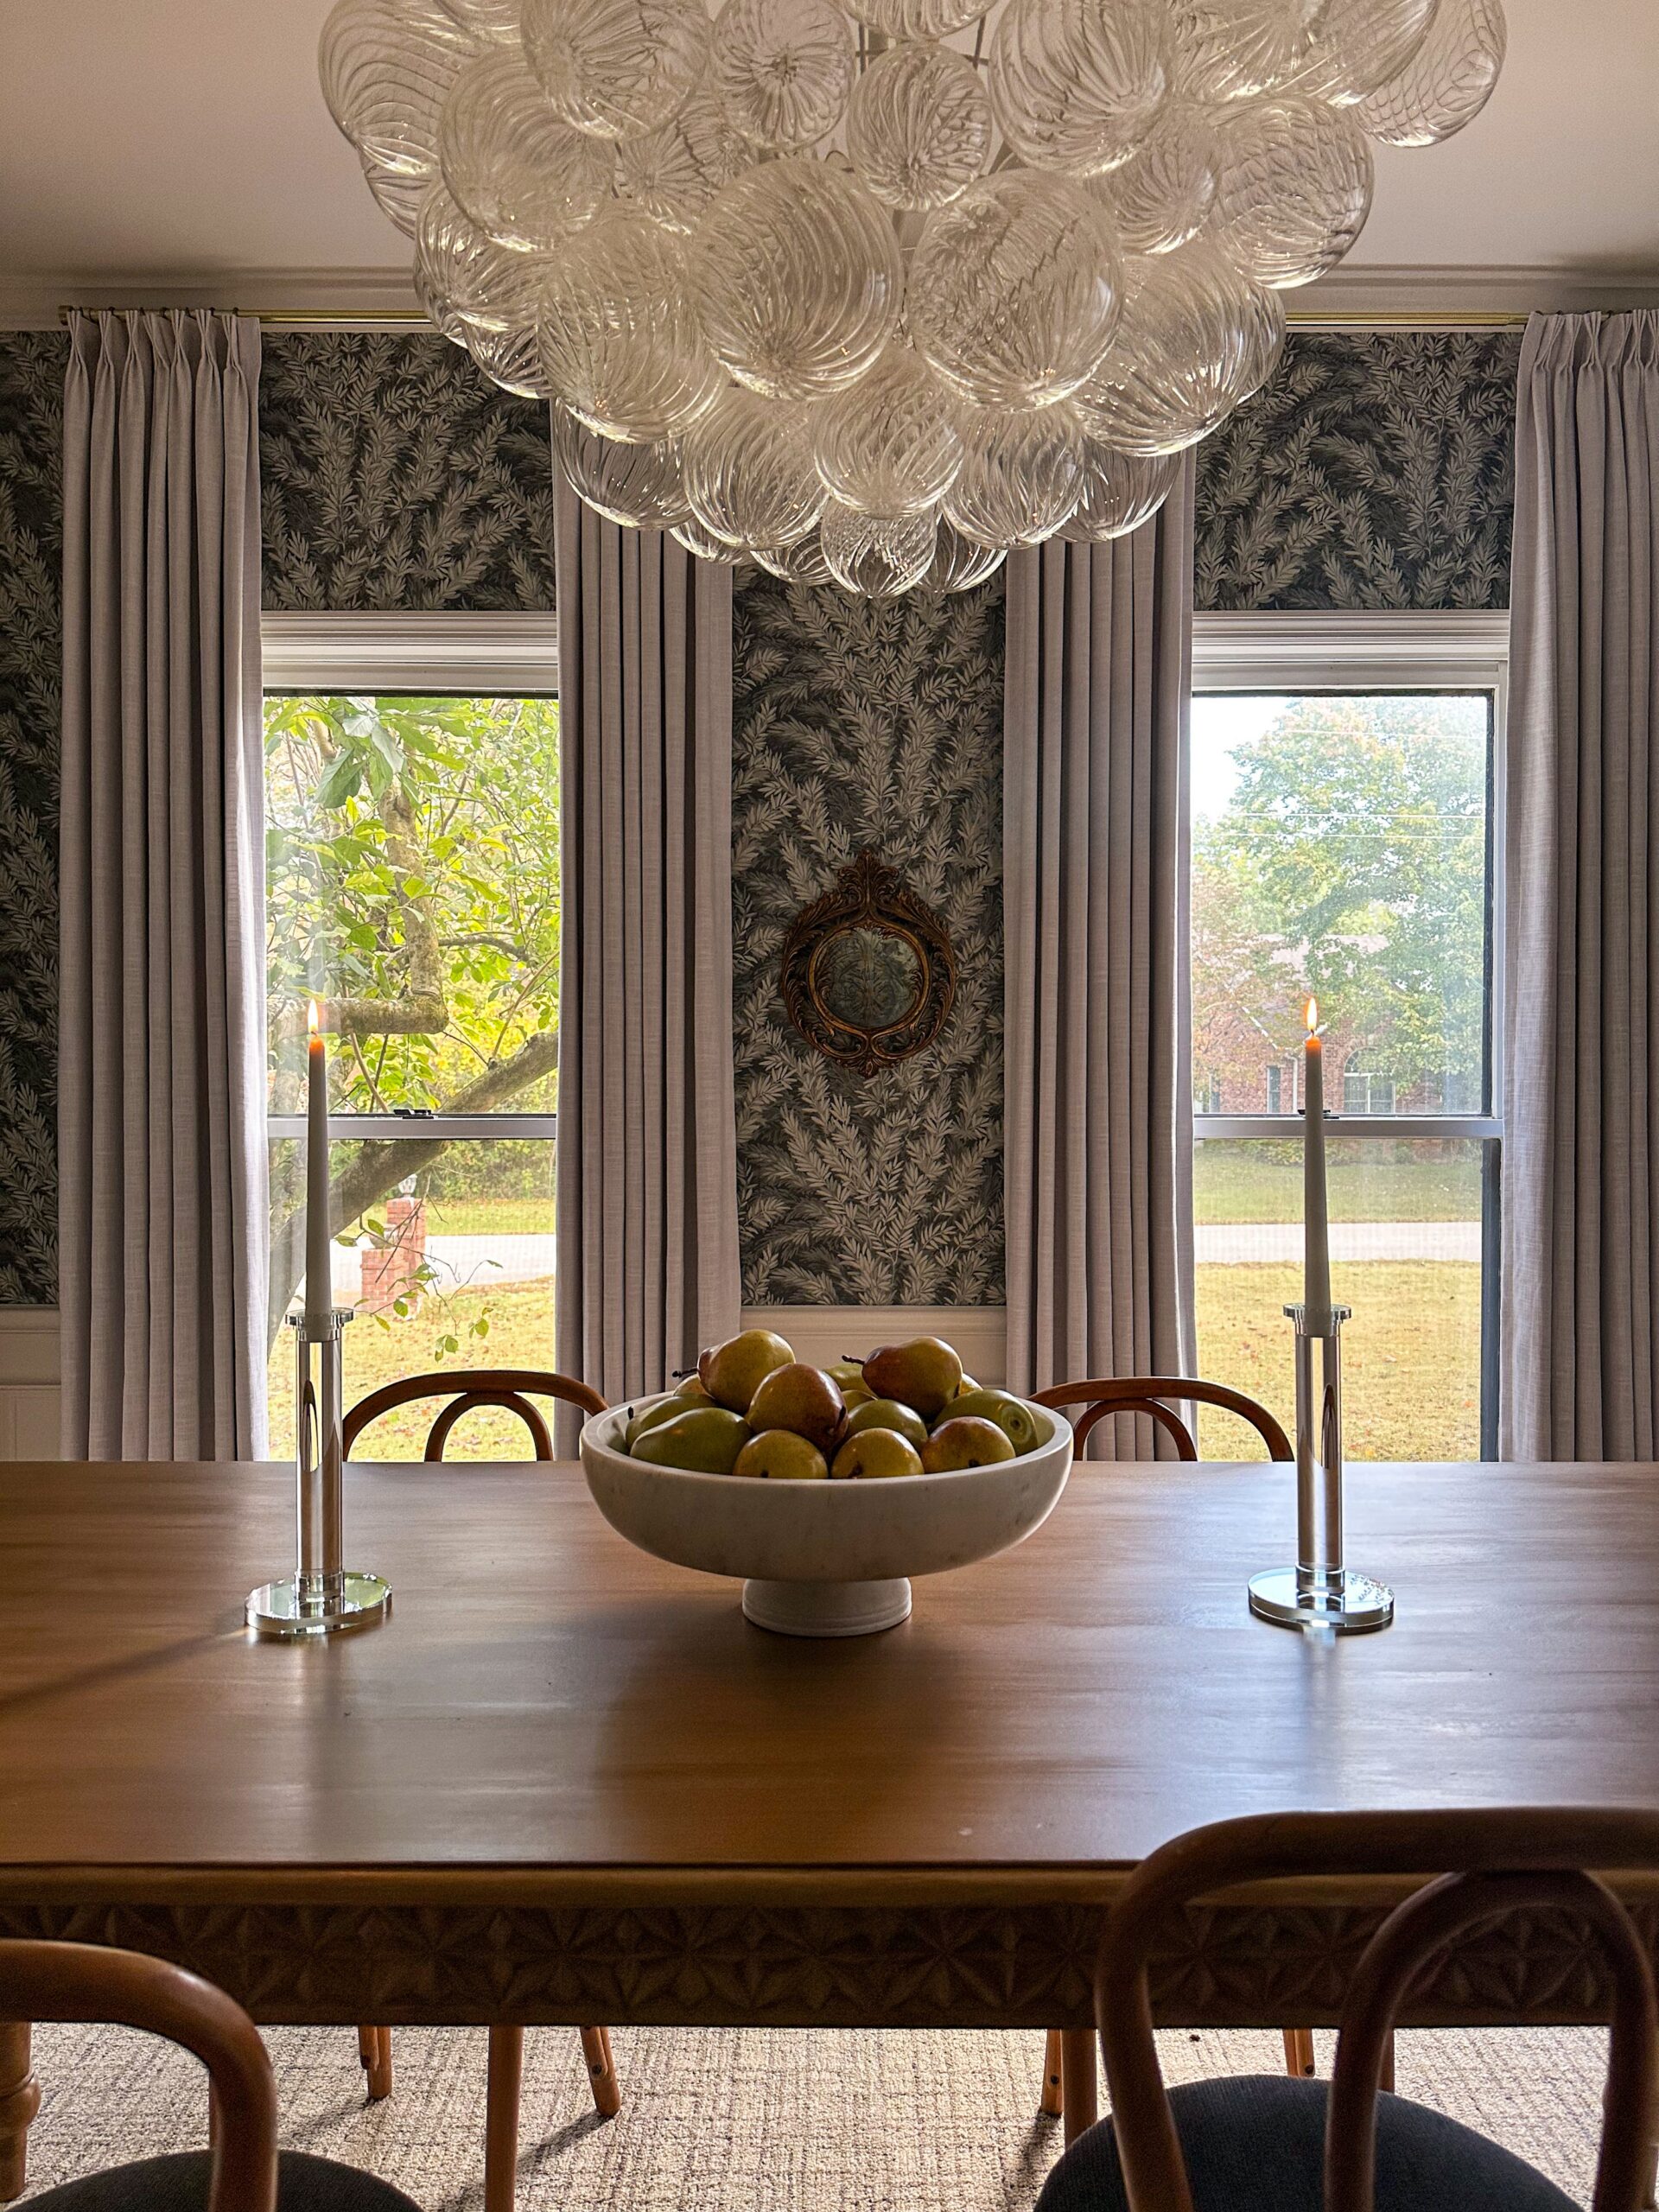
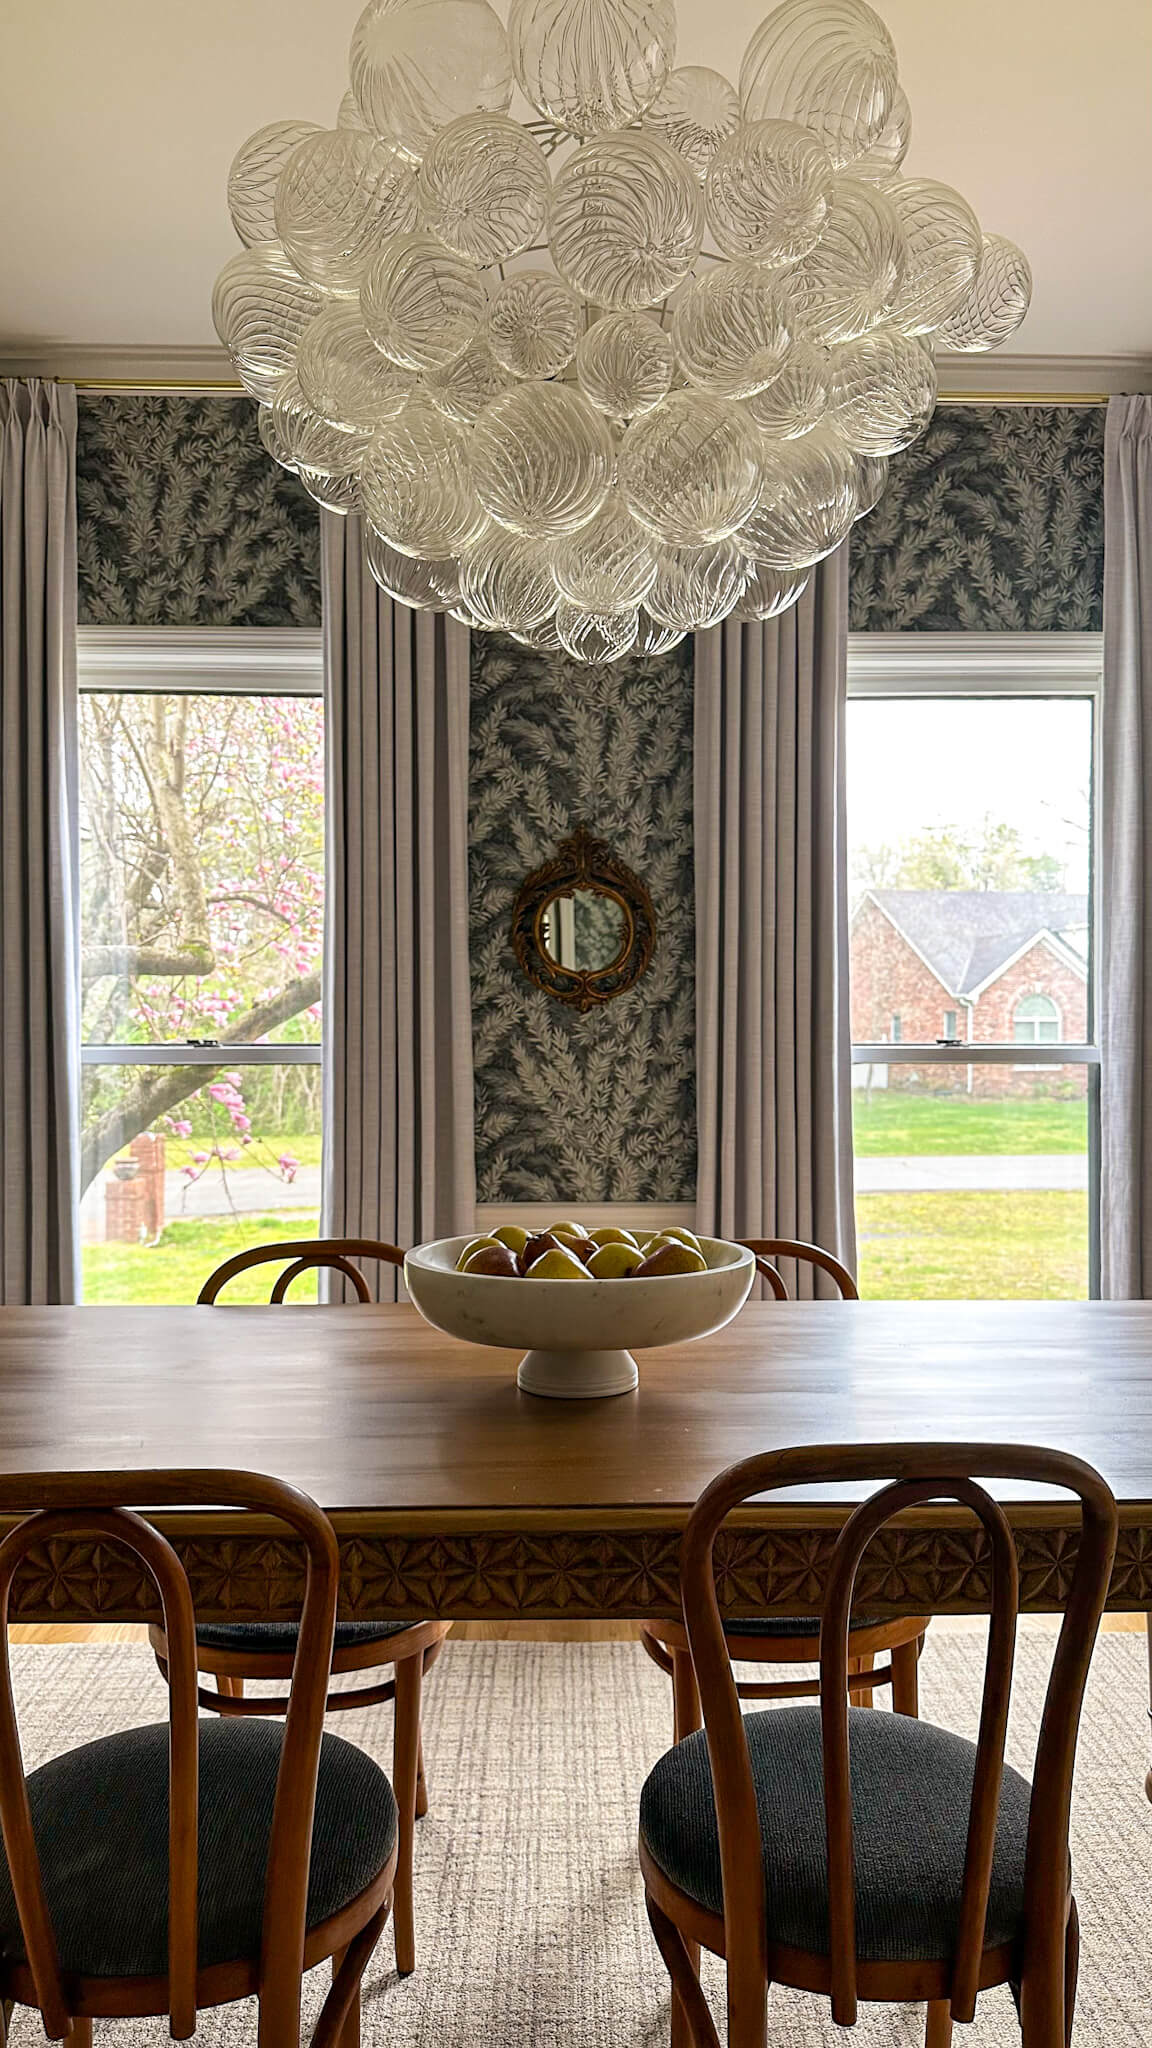
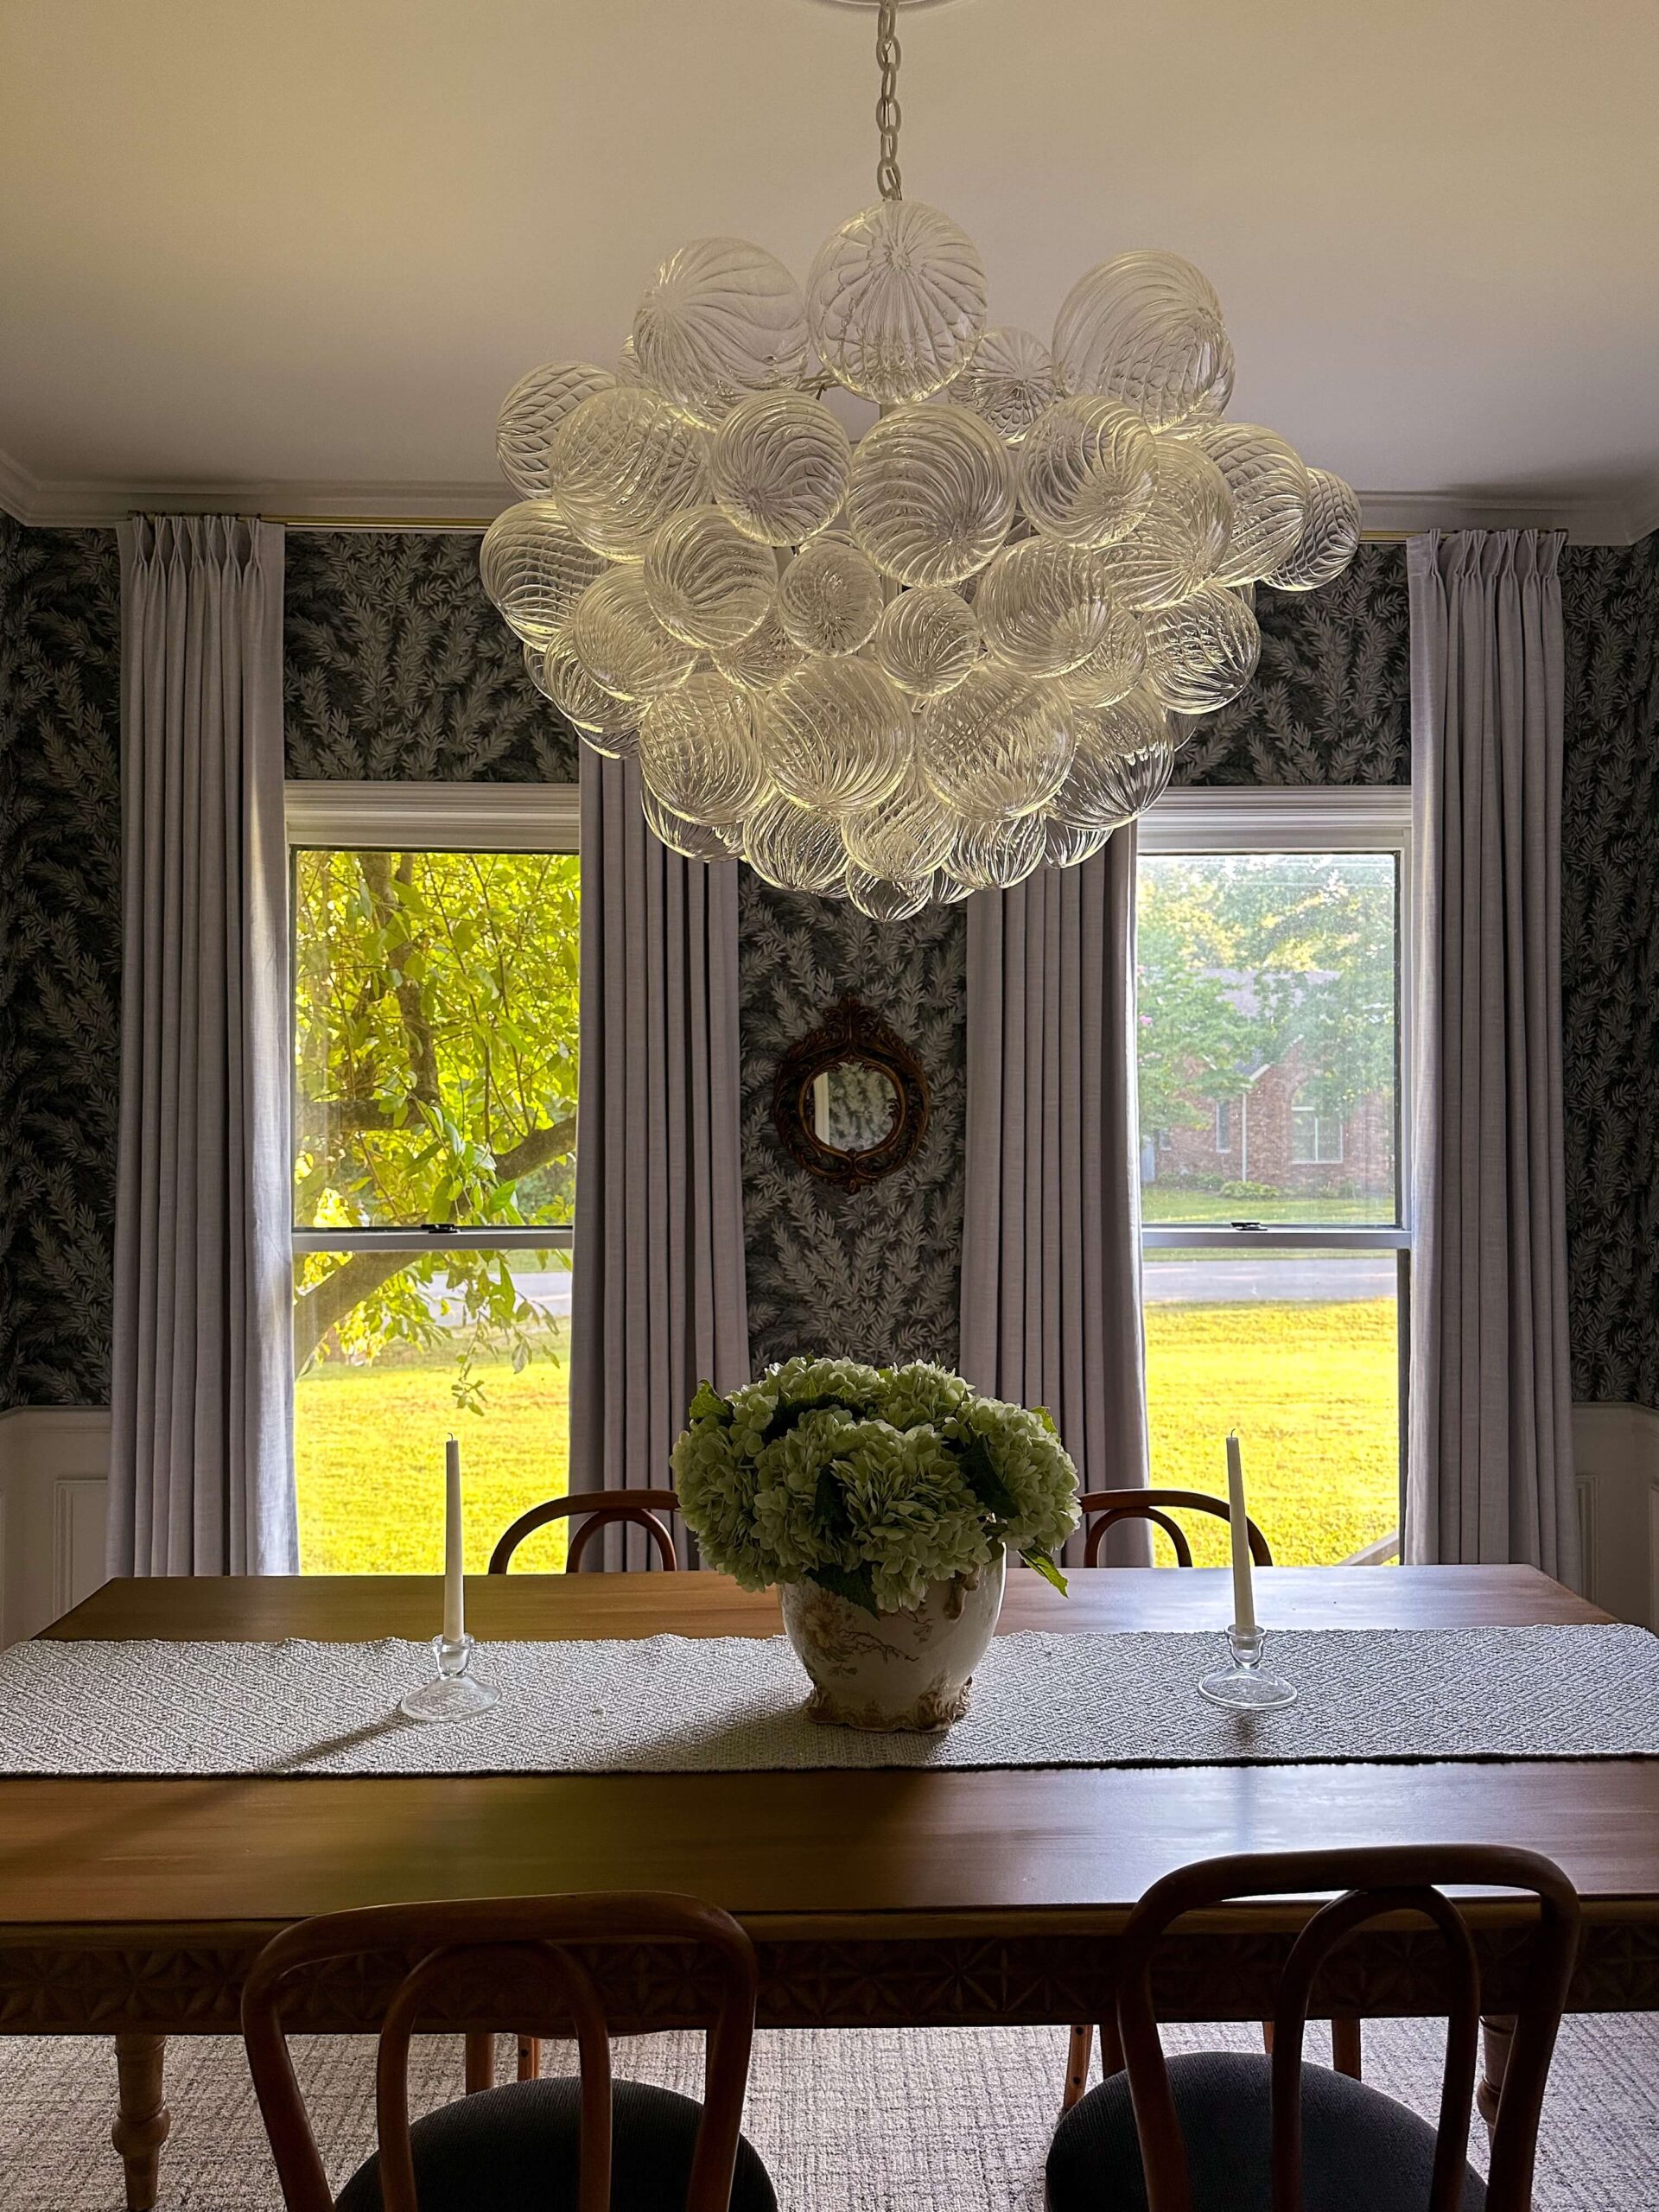
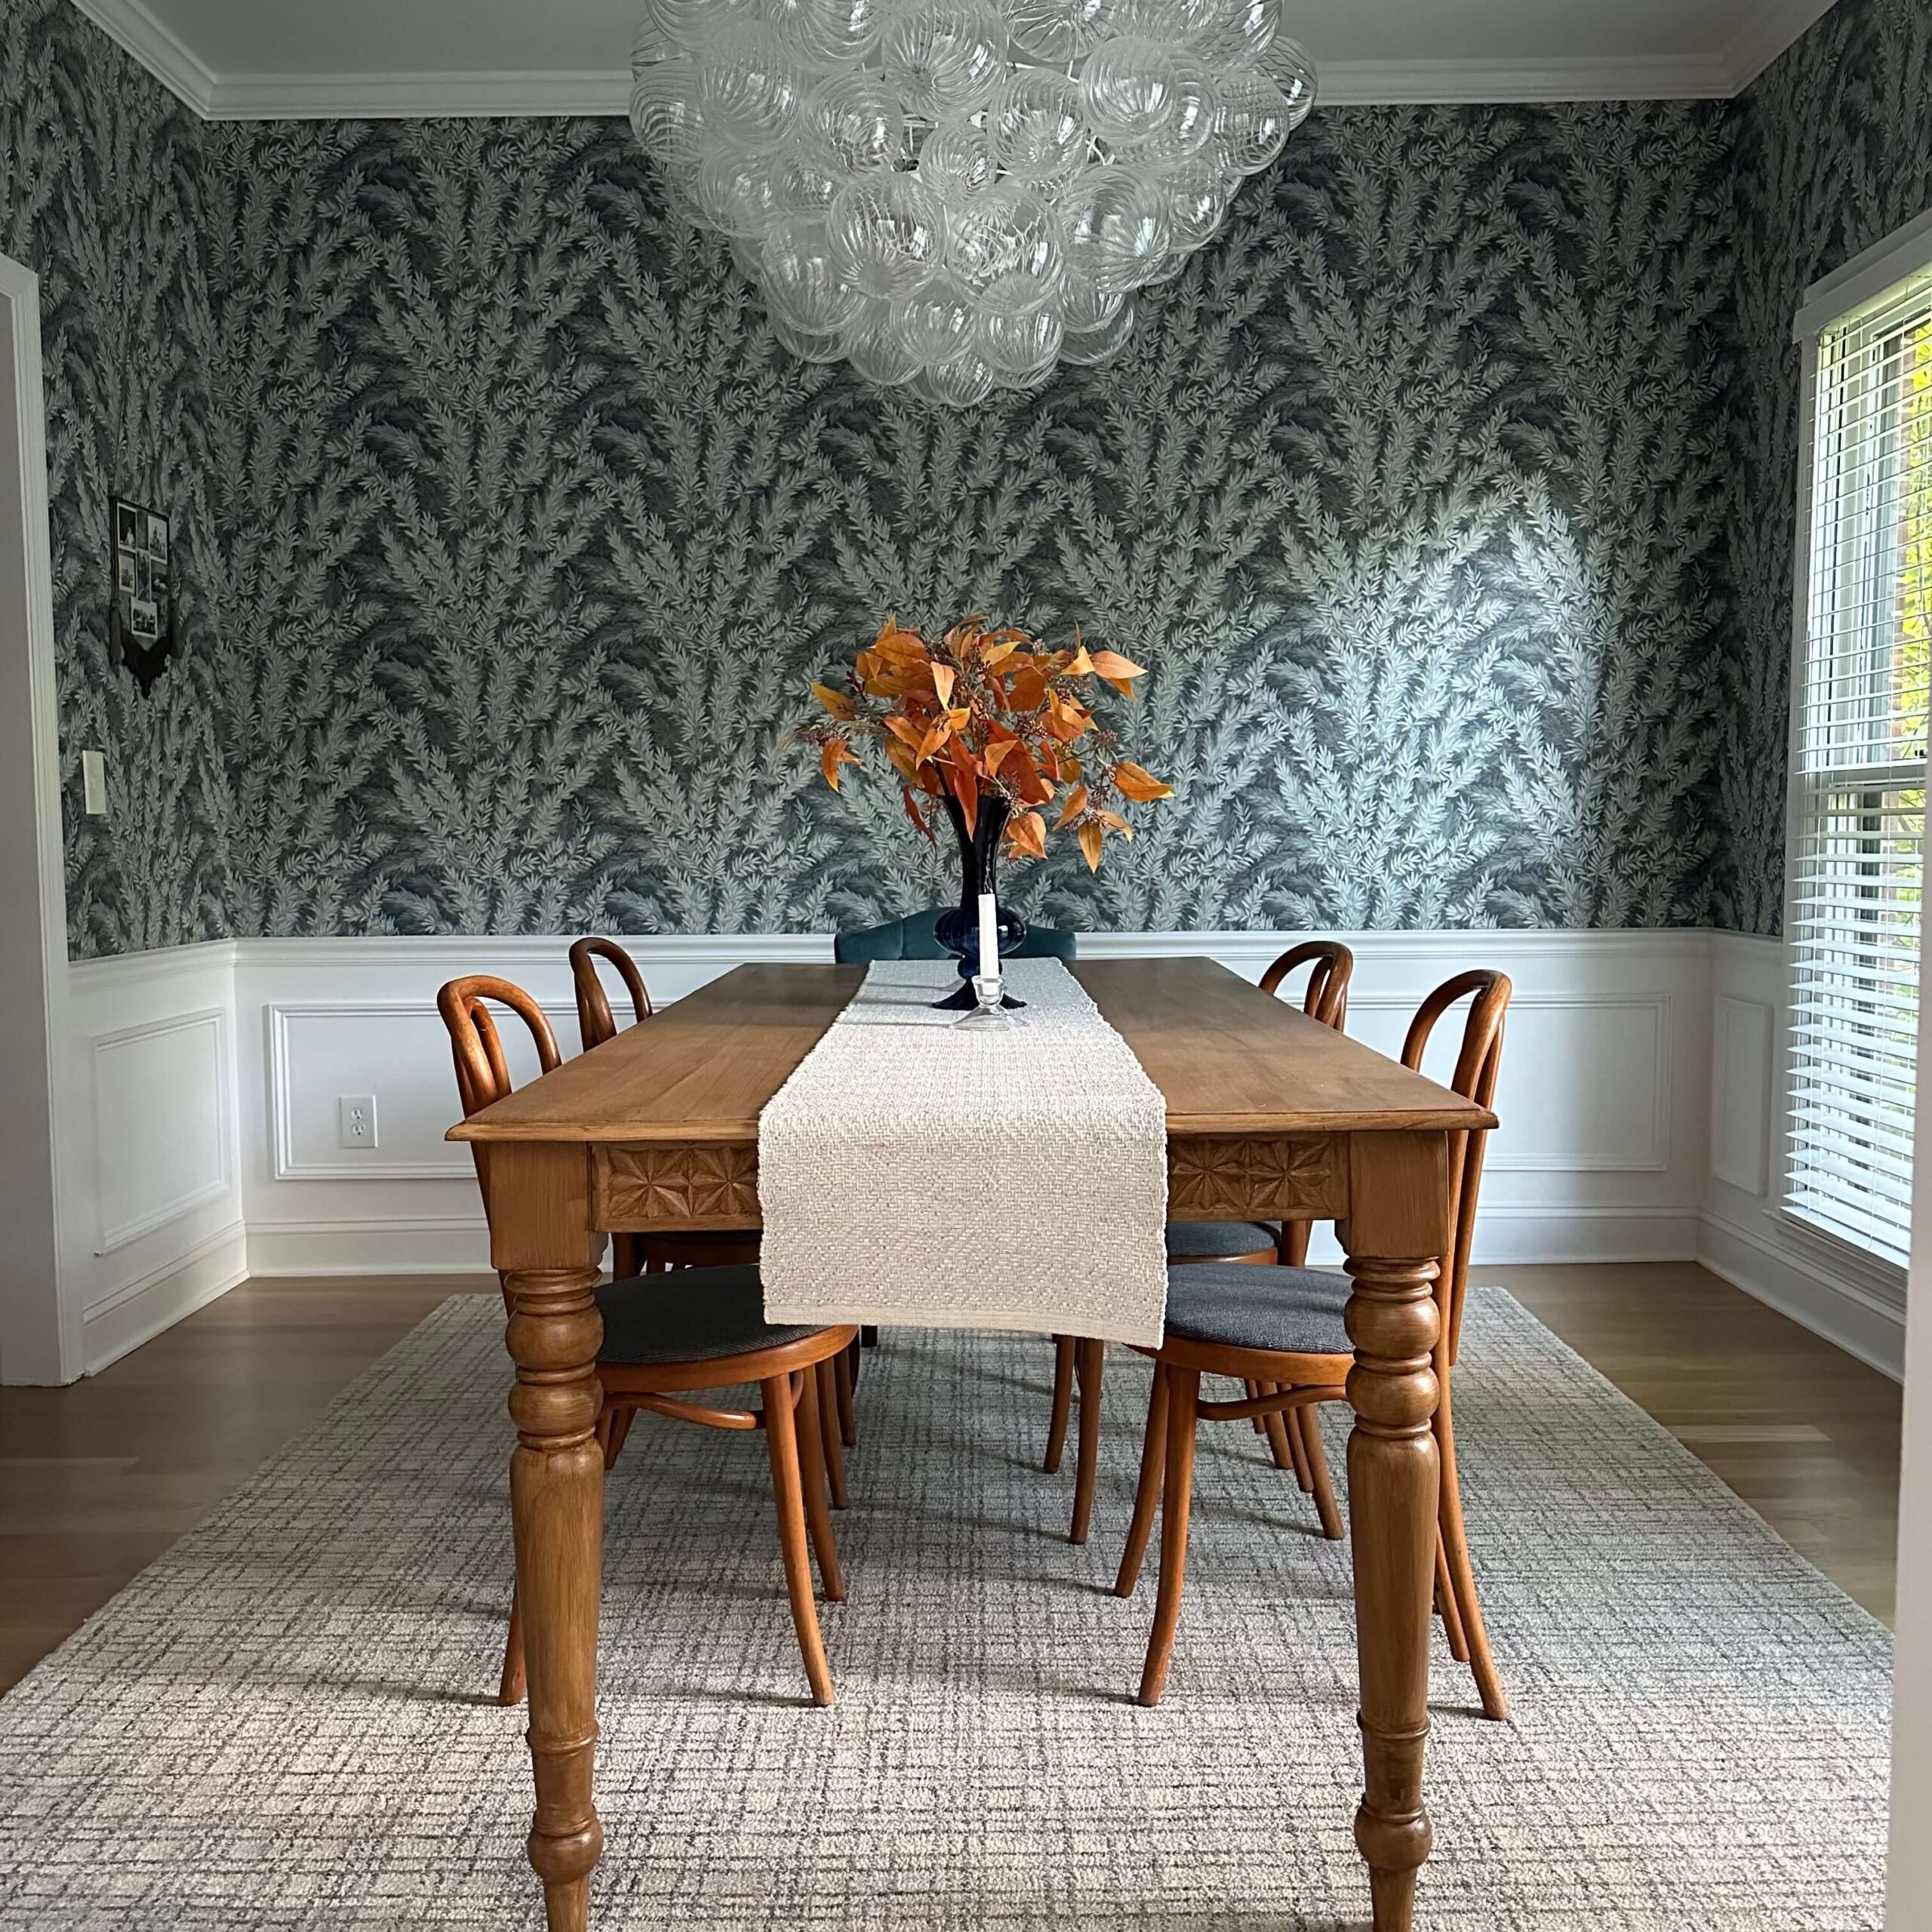
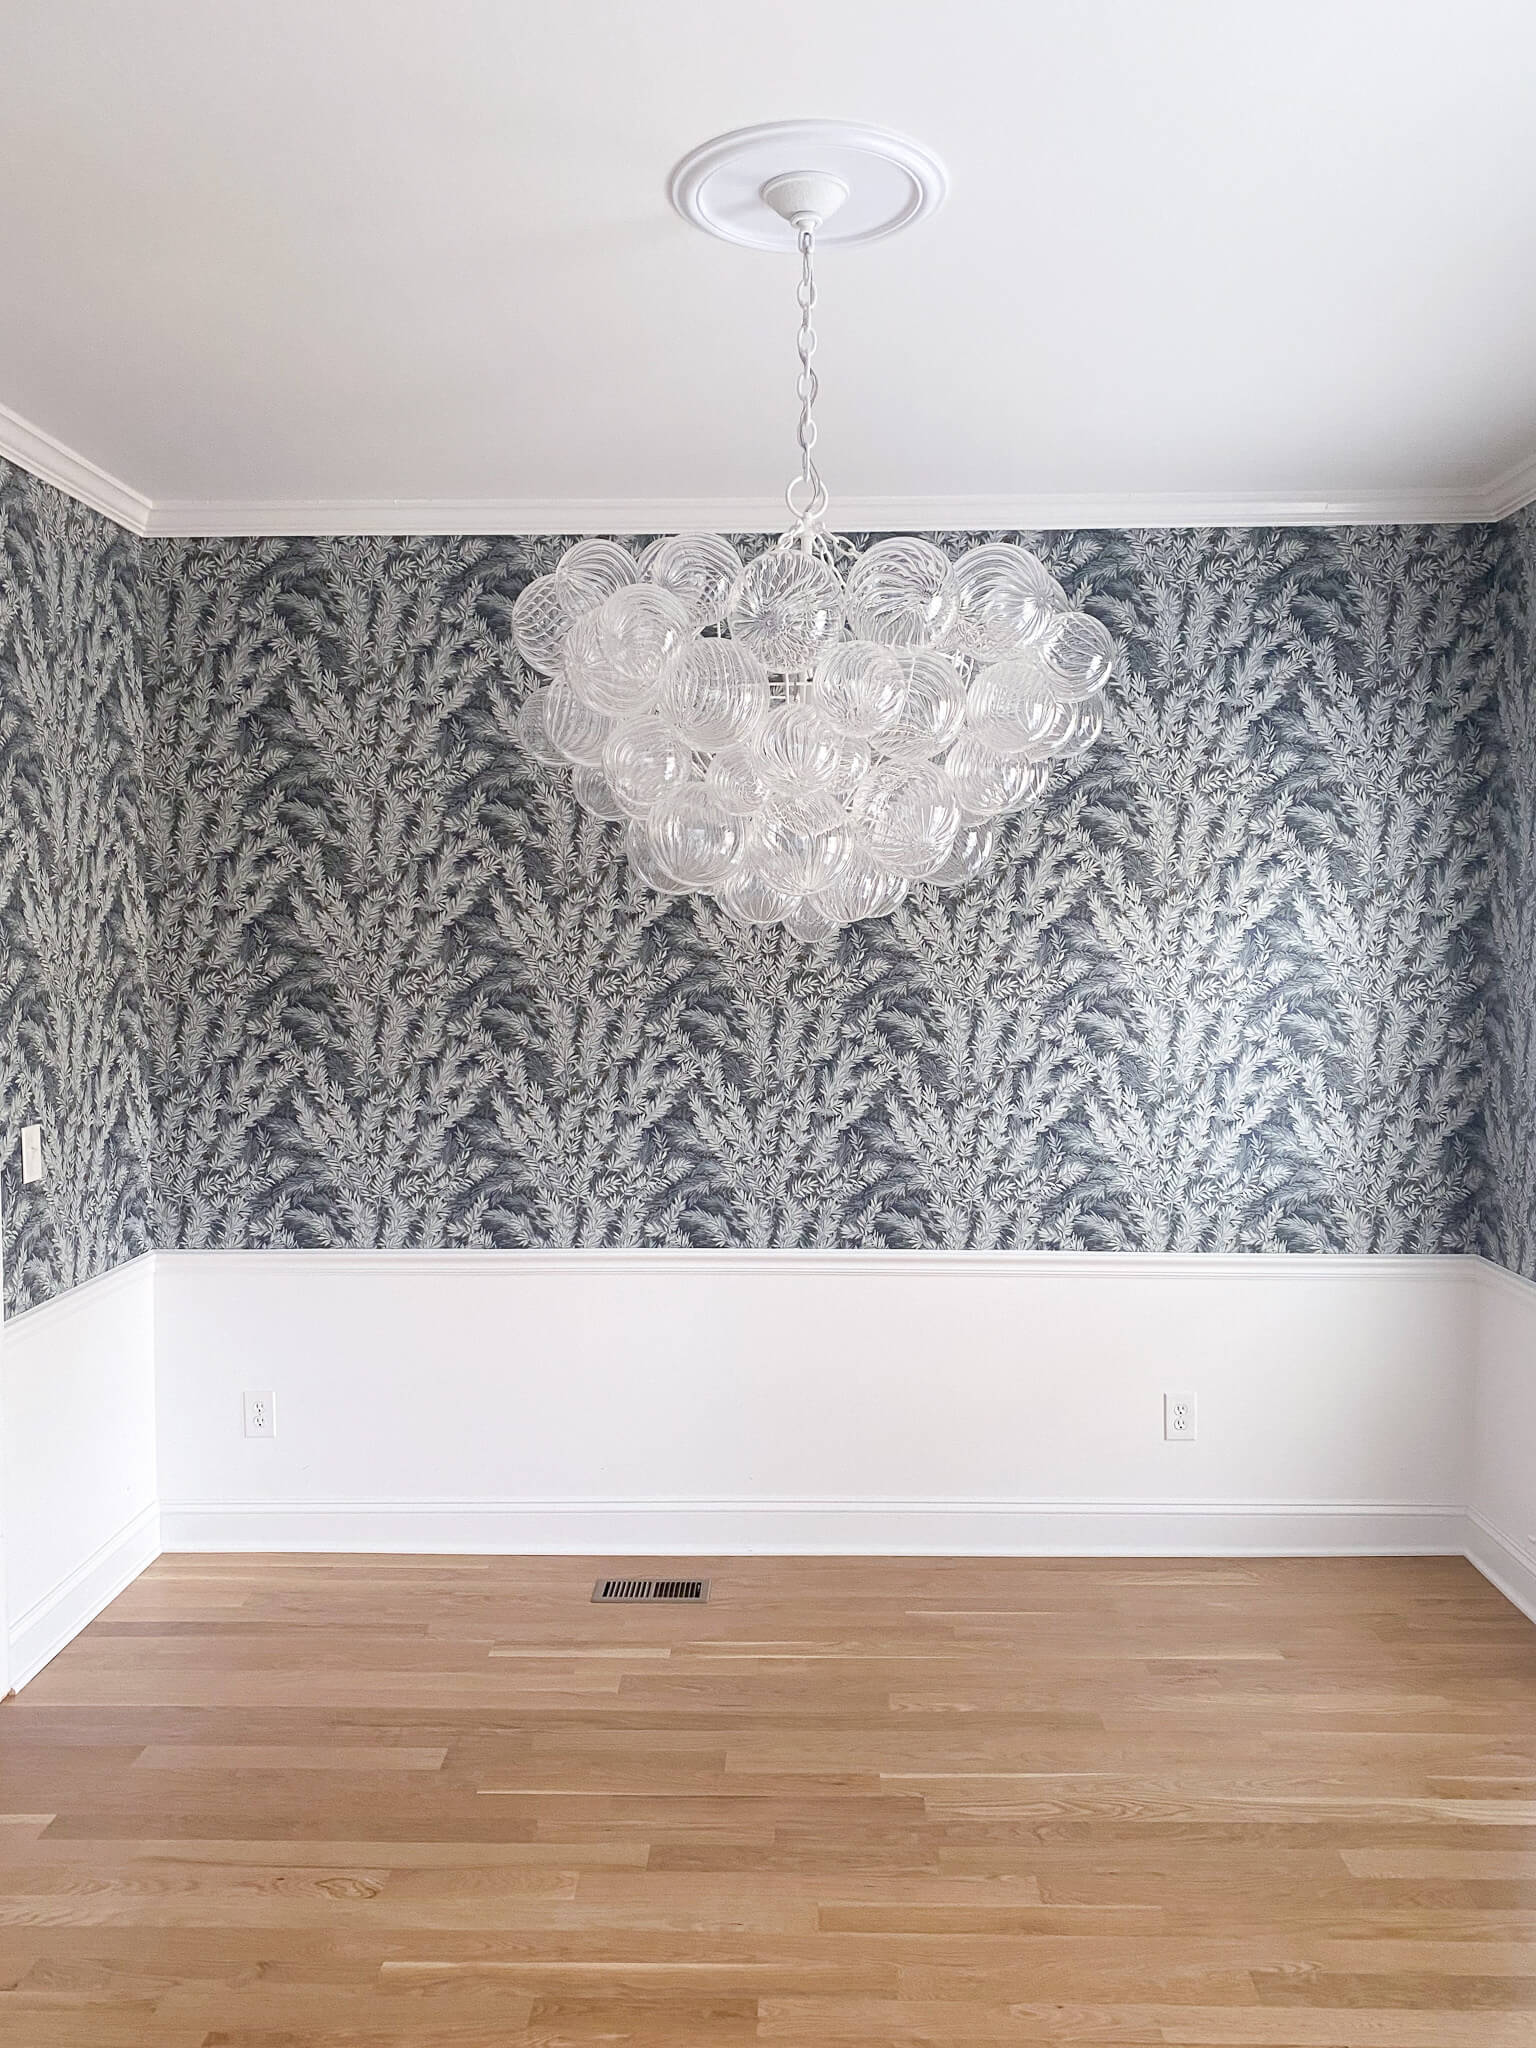
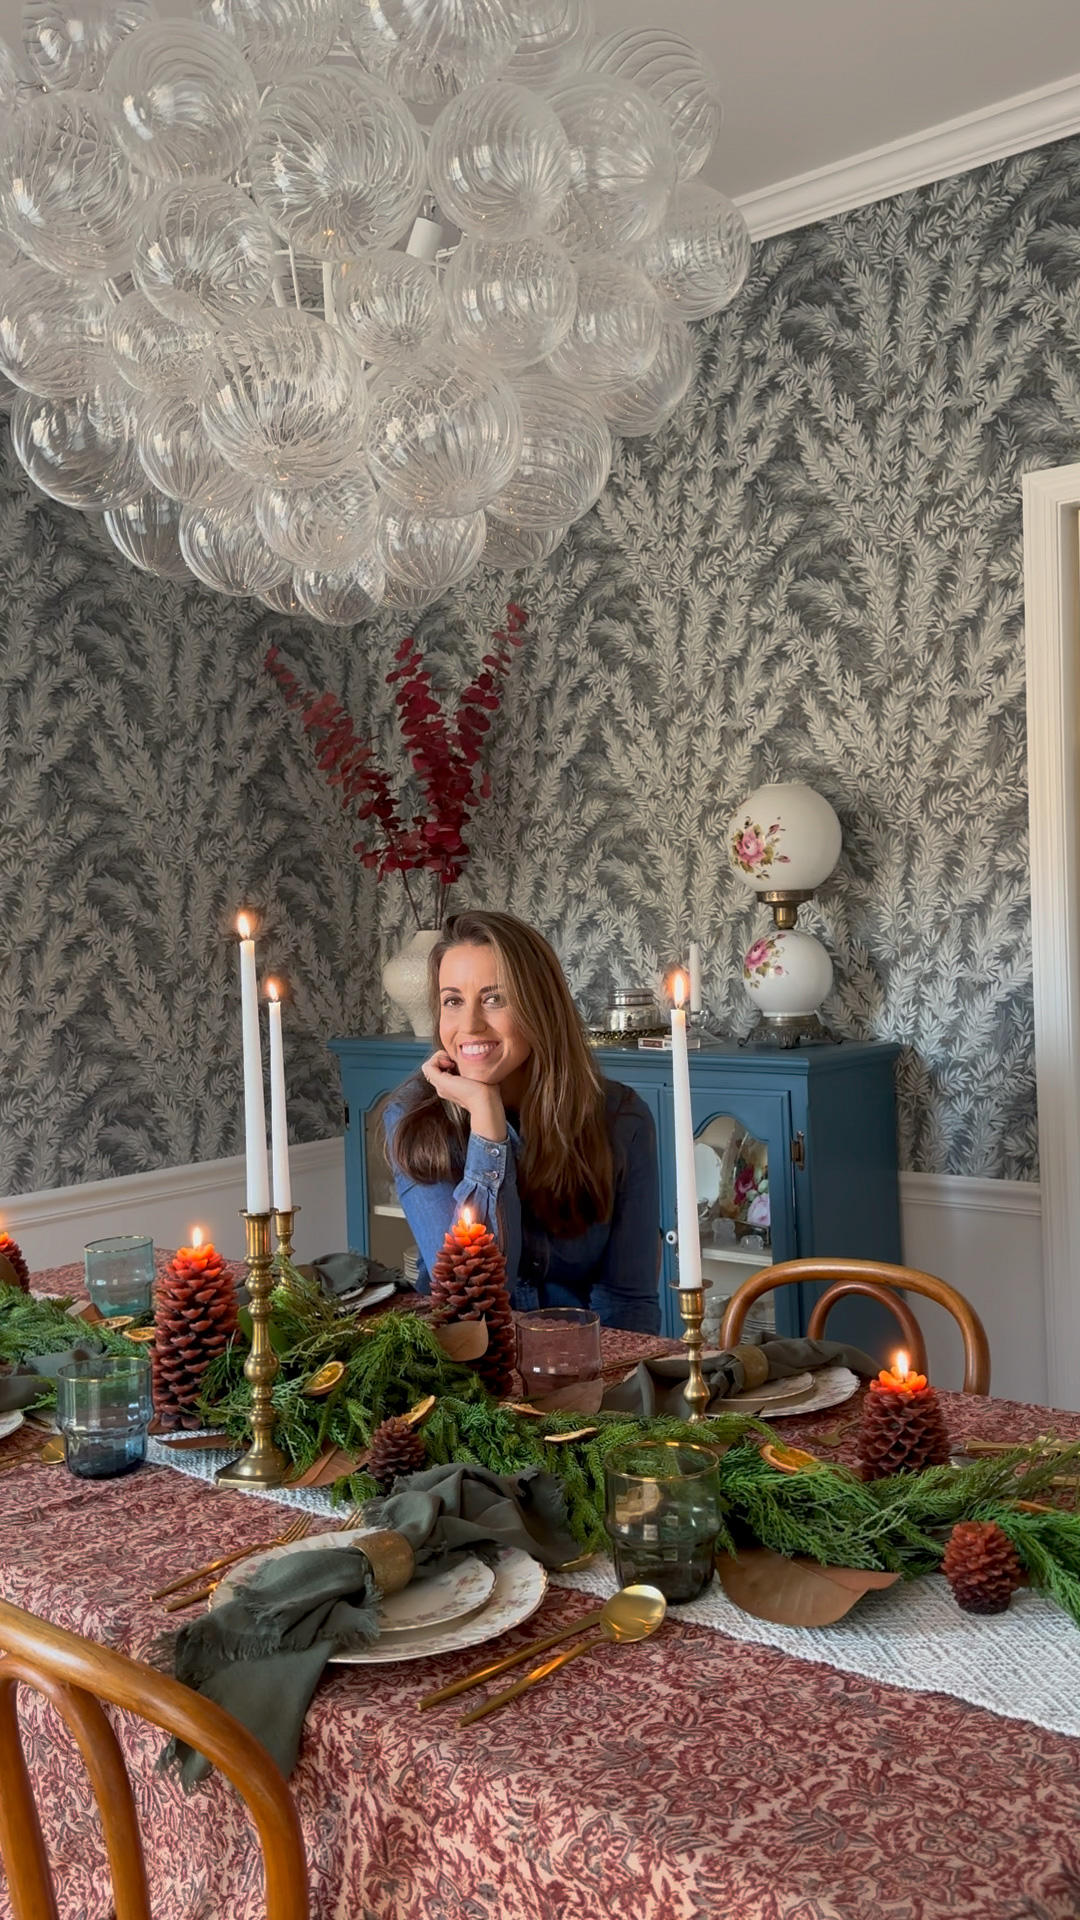
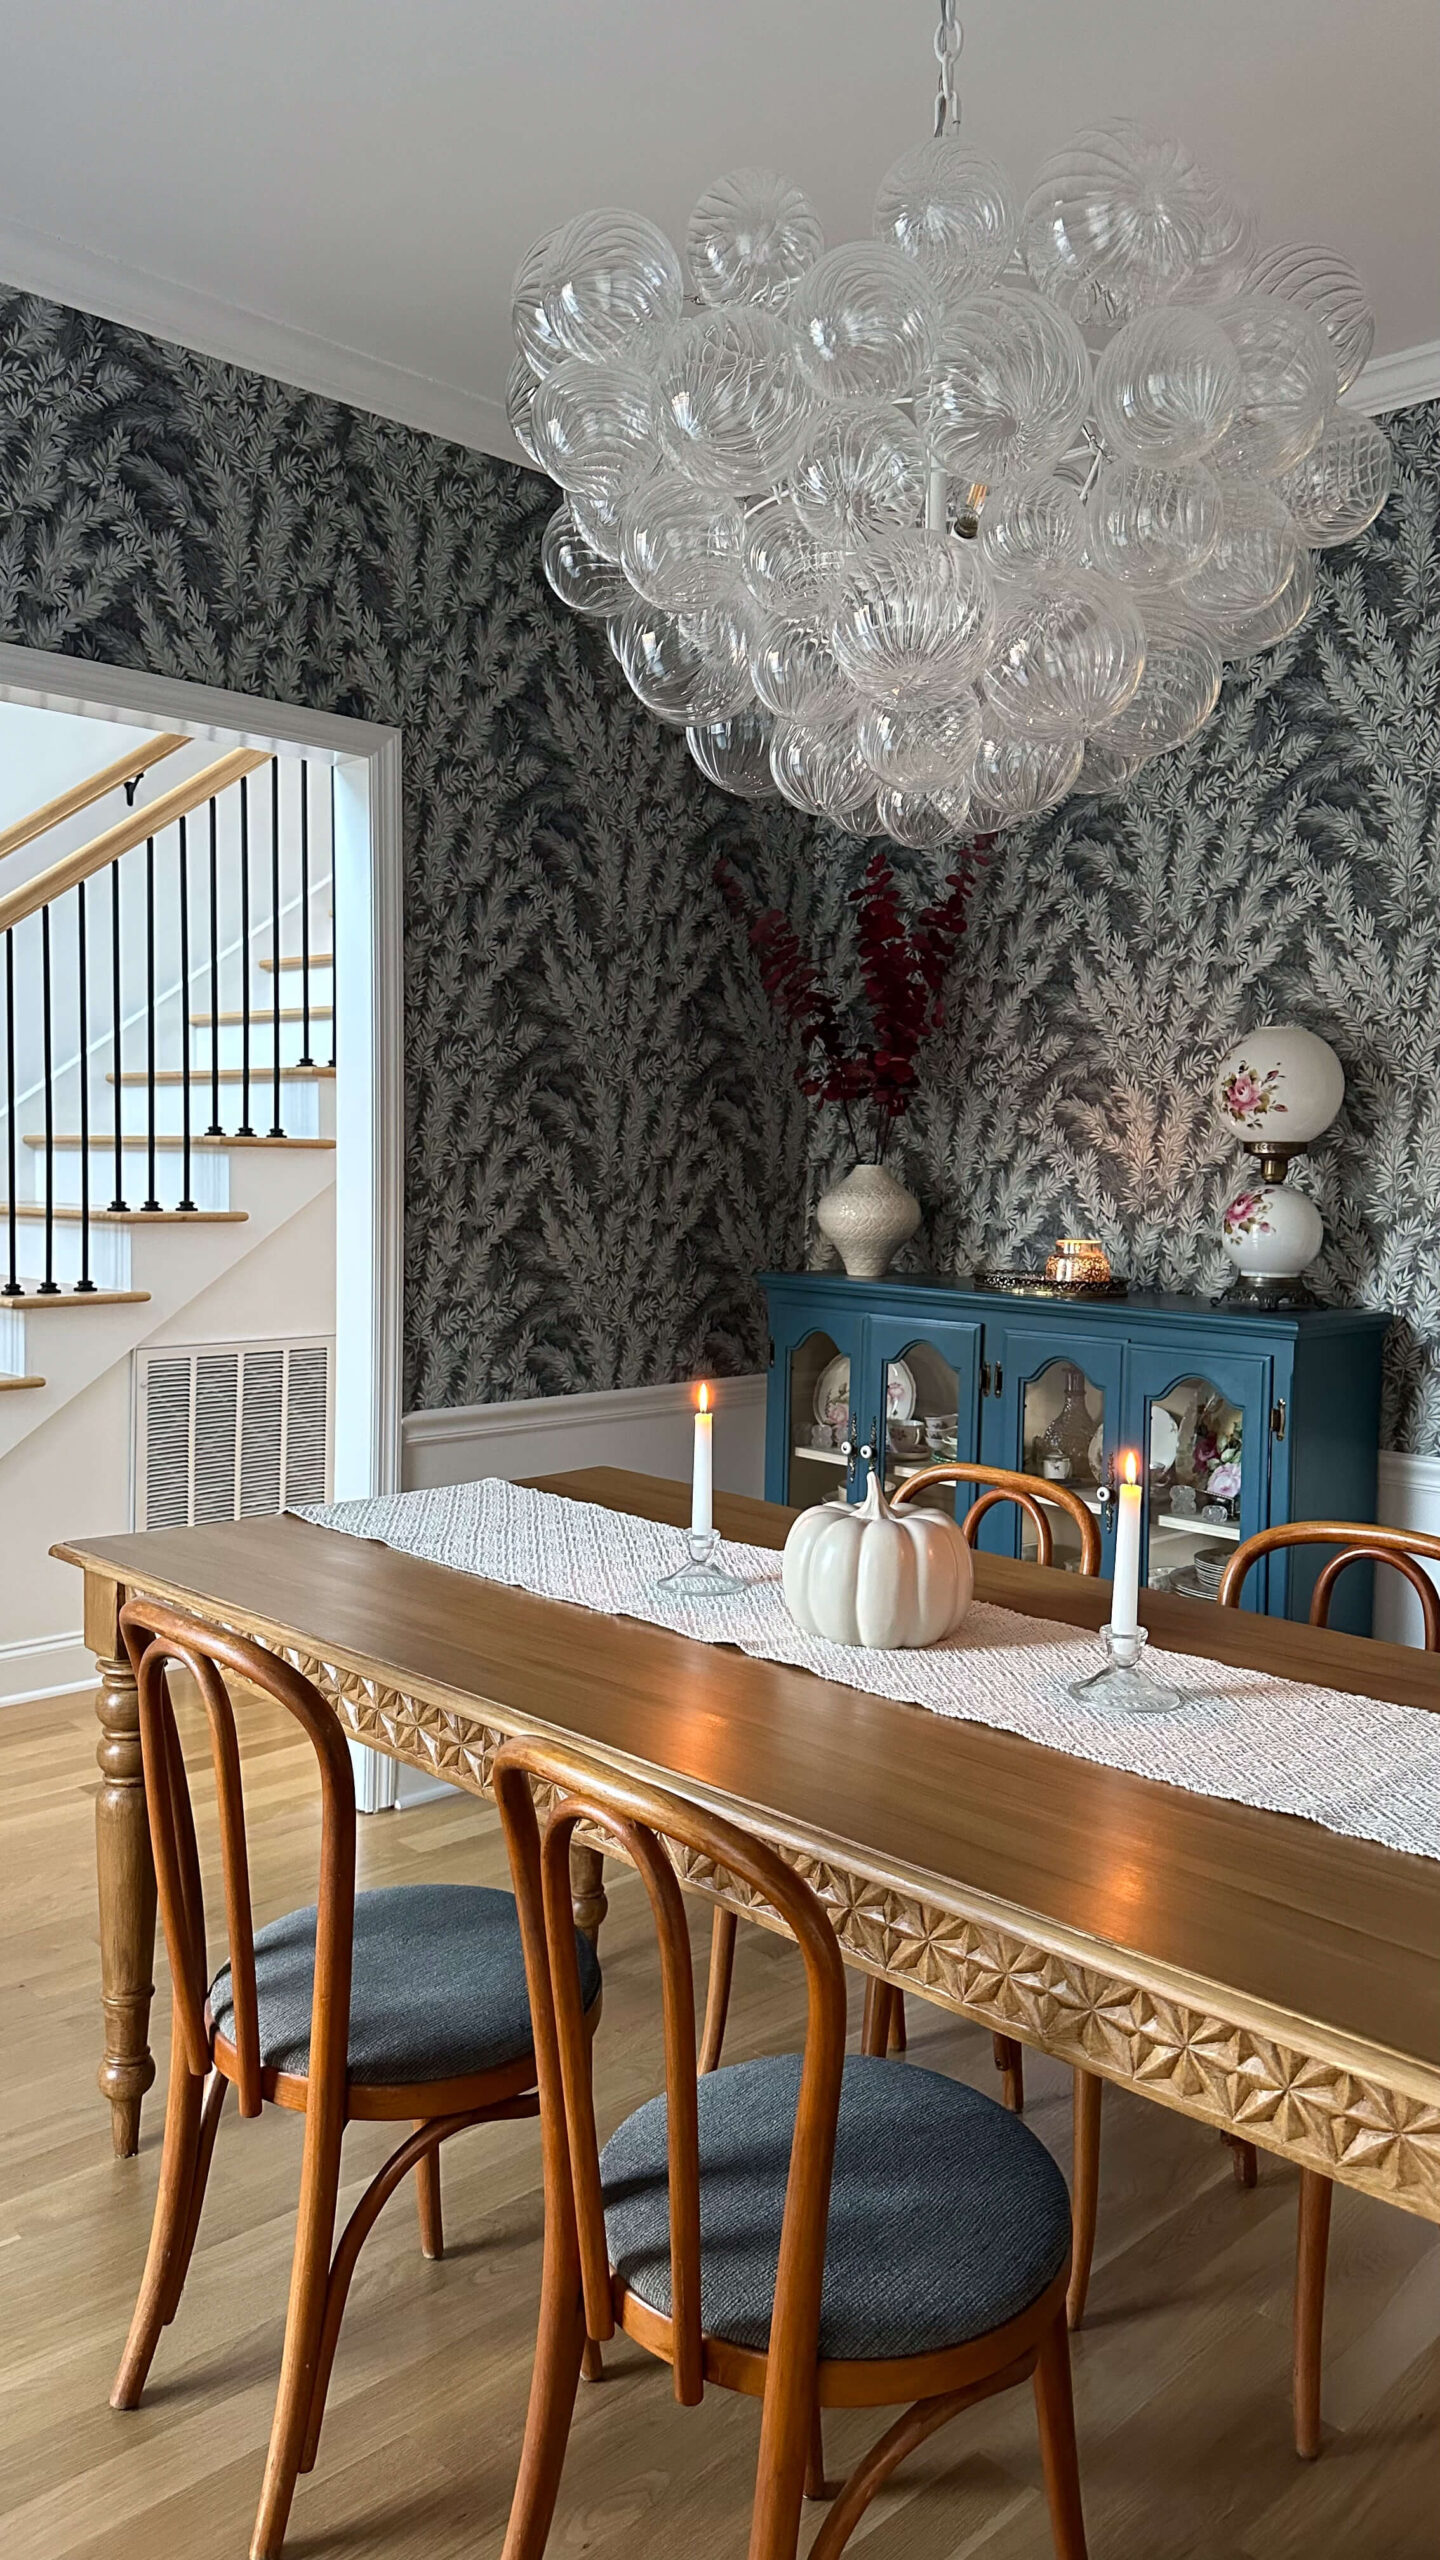
My dining room was the first room I ever attempted this in, and it’s still the project that taught me most of what’s in this post. You can see the full breakdown, including how I handled the chair rail and wallpaper combination, here: Picture Perfect Walls: How to DIY Picture Frame Molding.
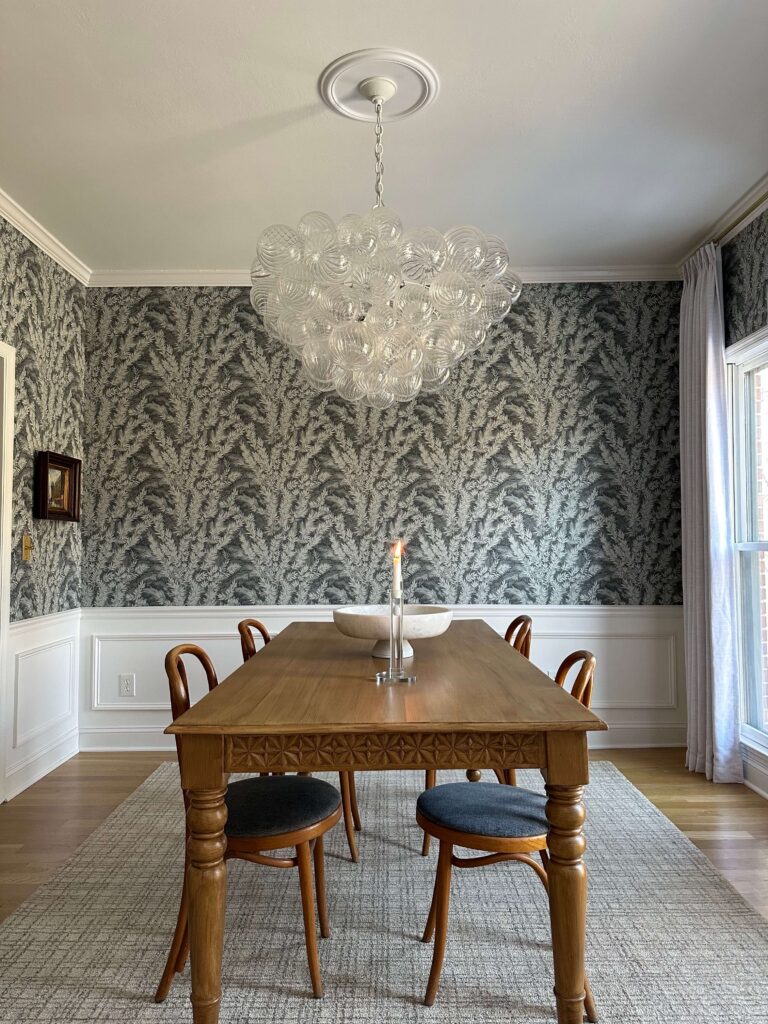
Shop: Wallpaper | Chandelier | Trim | Paint Color | Draperies | Cyrstal Candlesticks | Marble Display Bowl
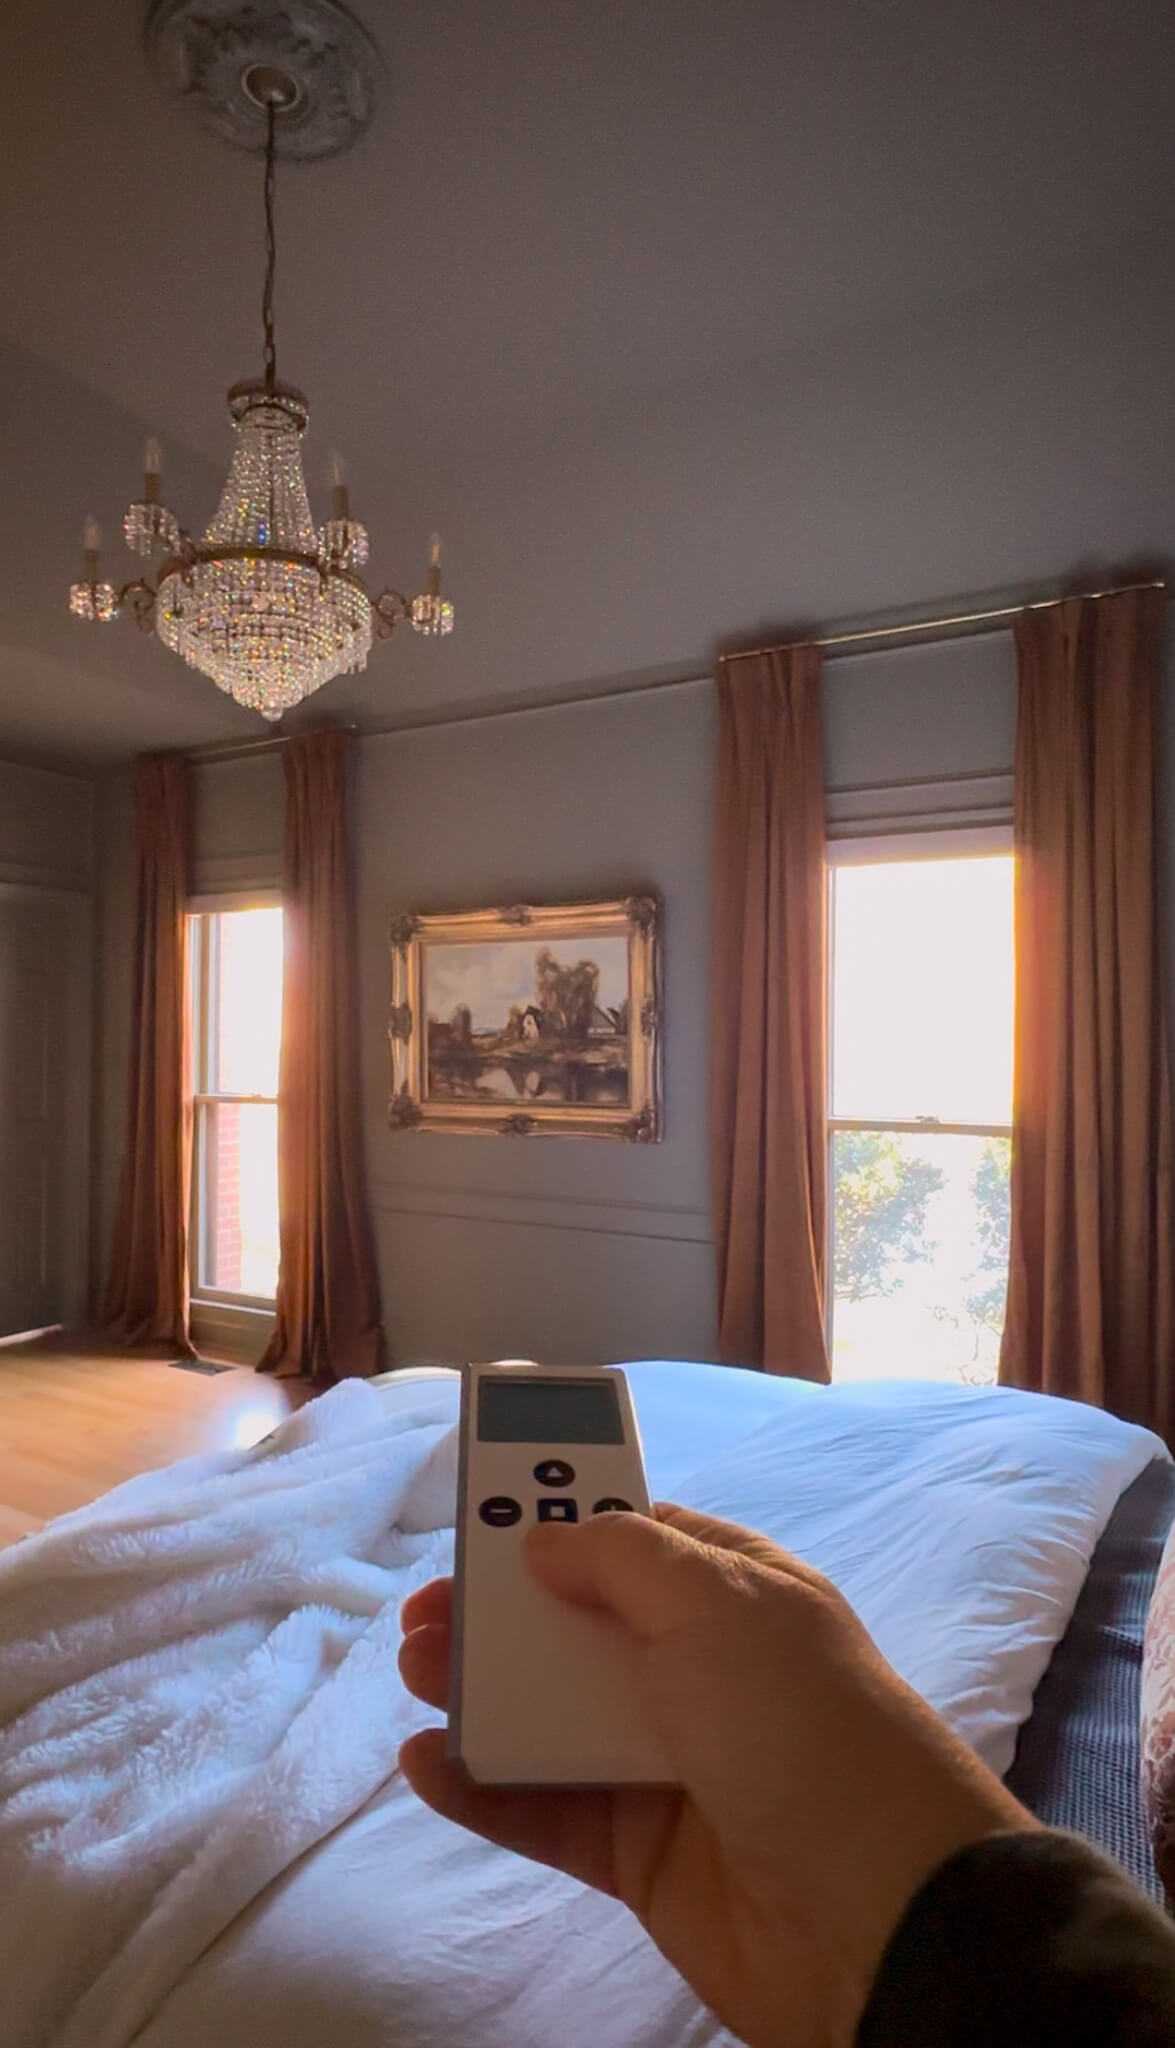
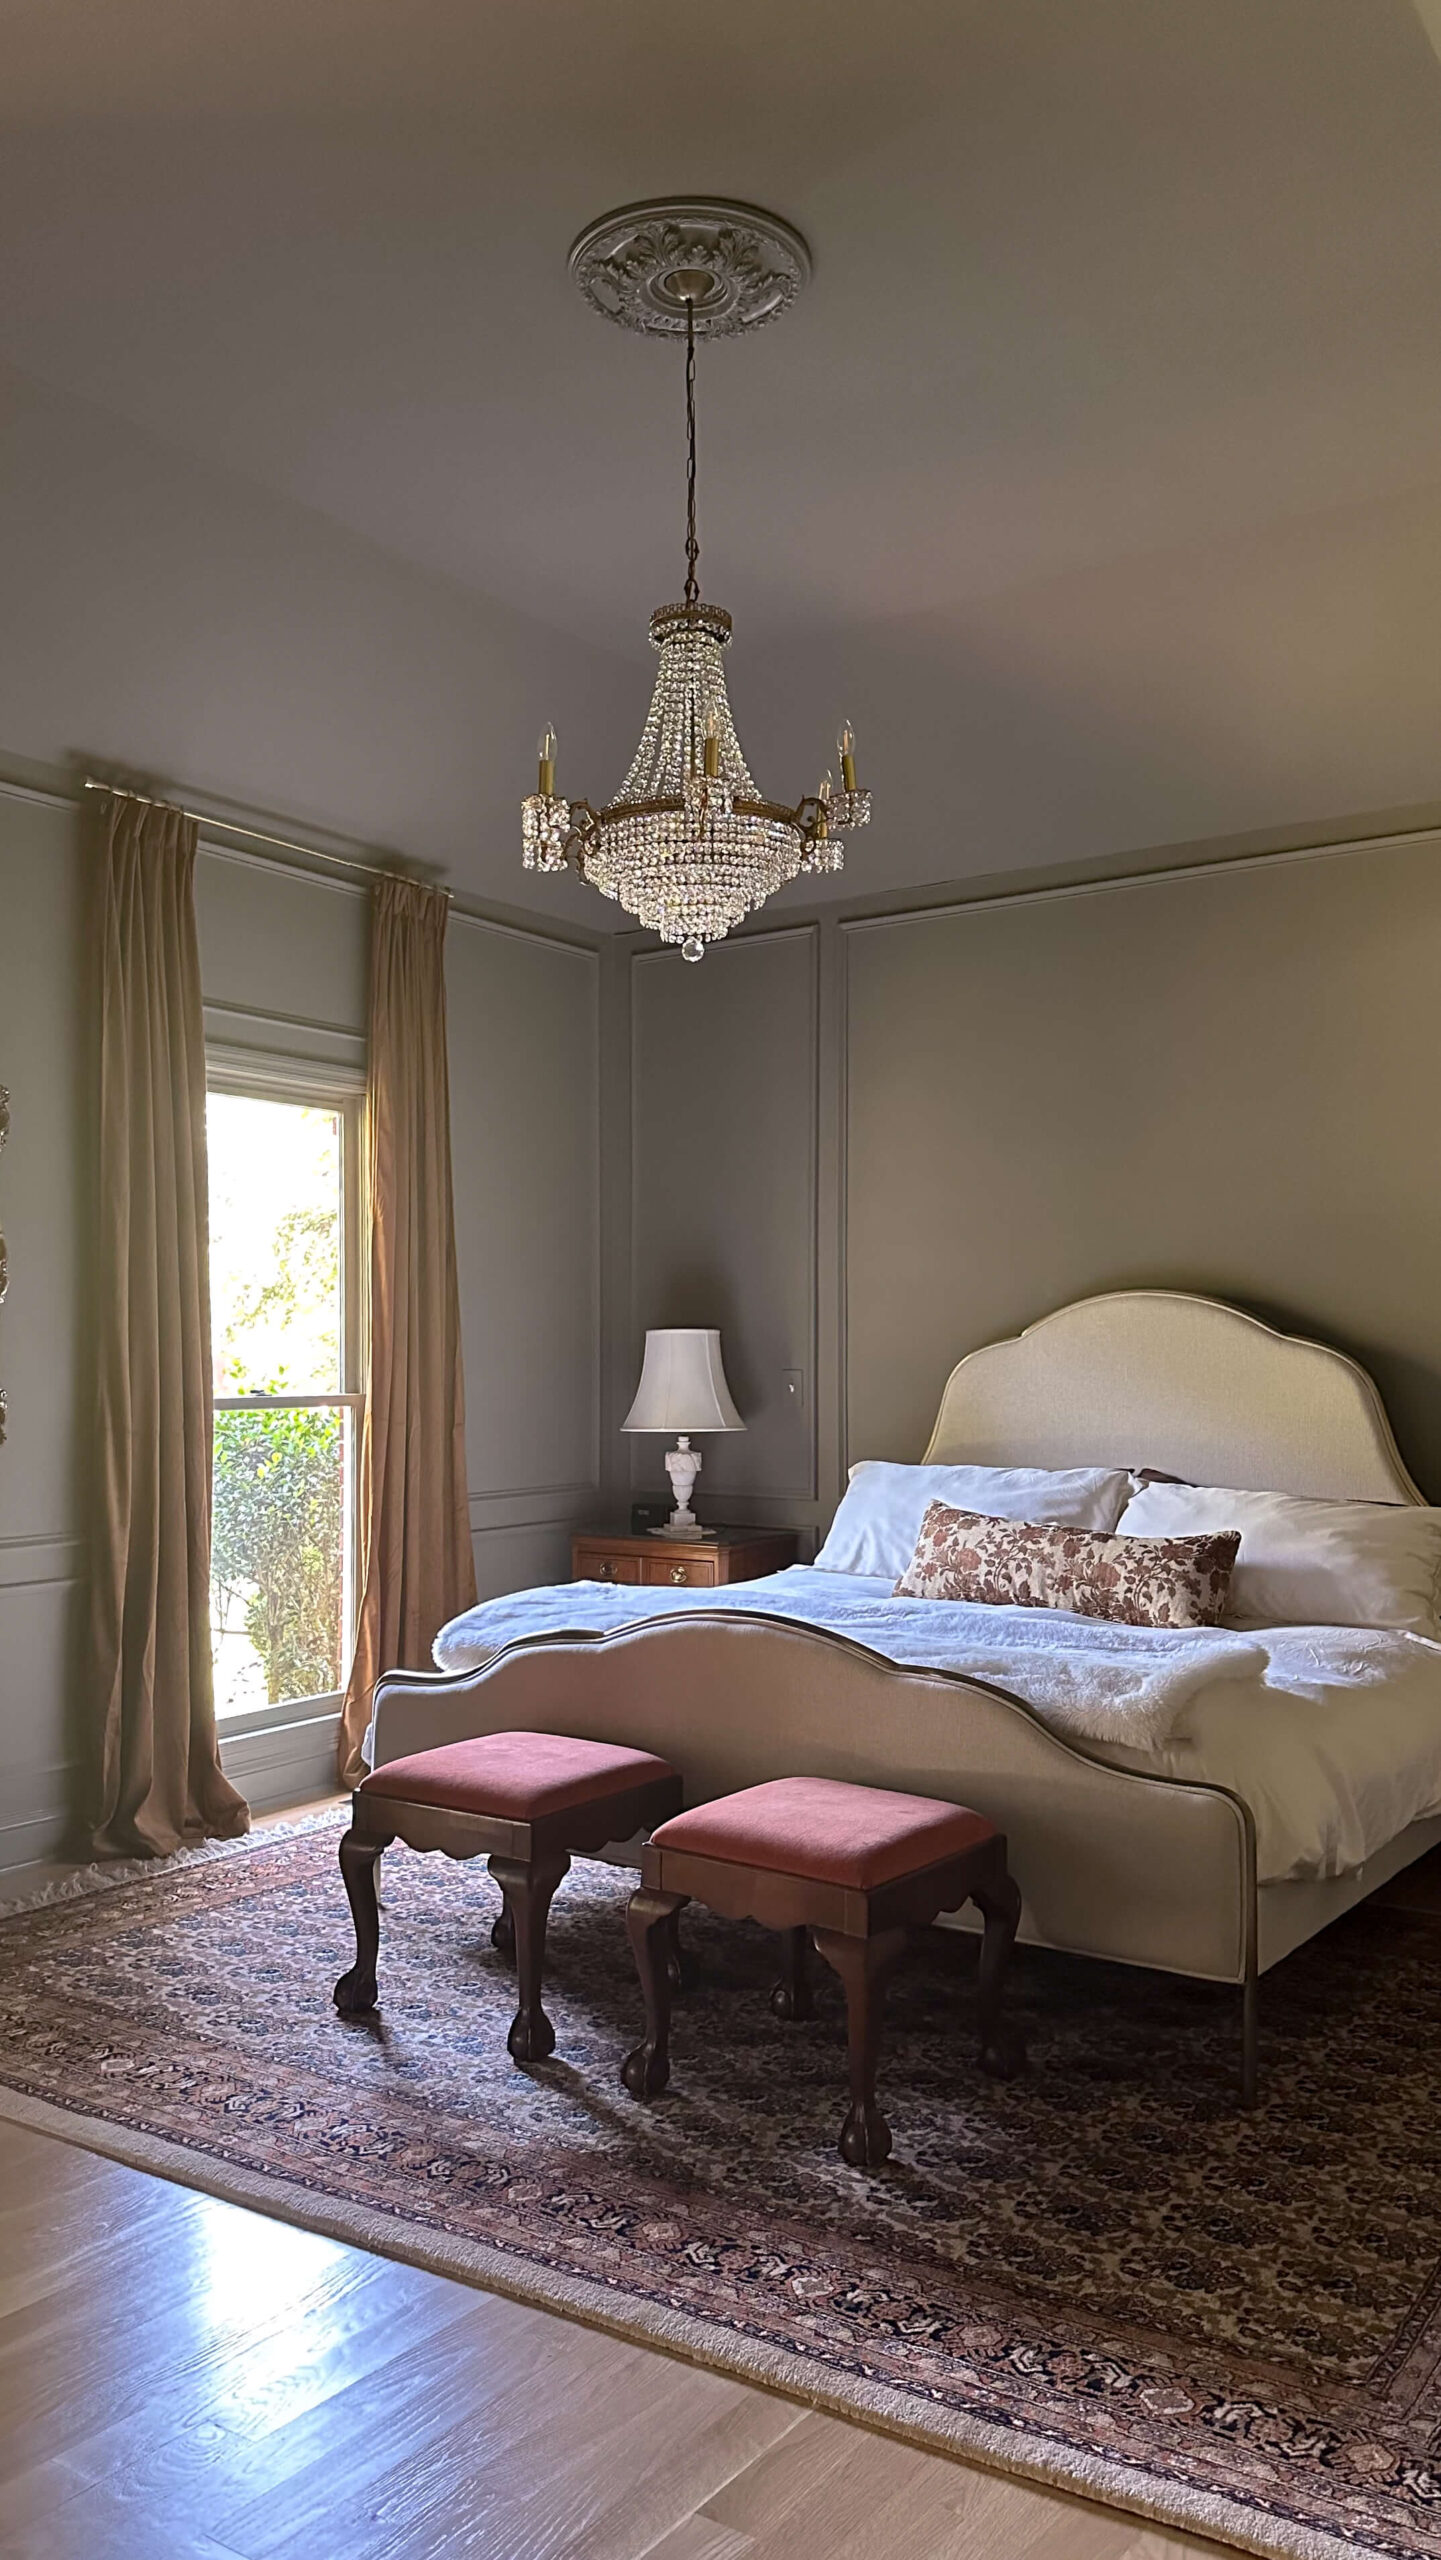
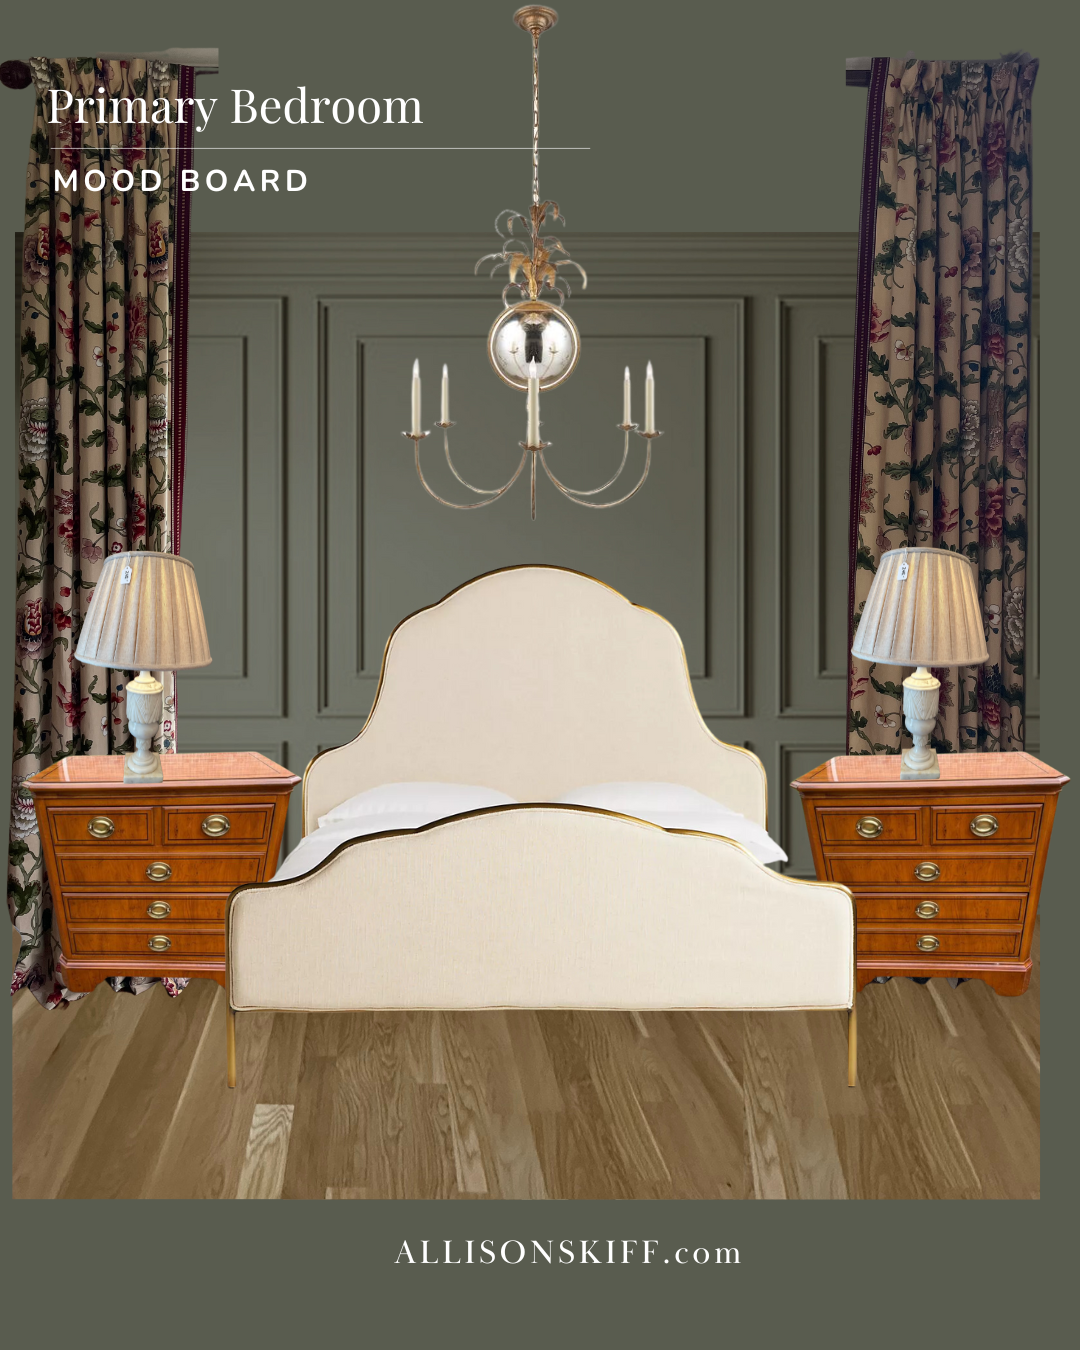
My primary bedroom came next, and it’s the best example of designing floor-to-ceiling stacked boxes across a full room while keeping every wall’s proportions honest to that specific wall. The full walkthrough is here: How I Designed Custom Trim In My Primary Bedroom.
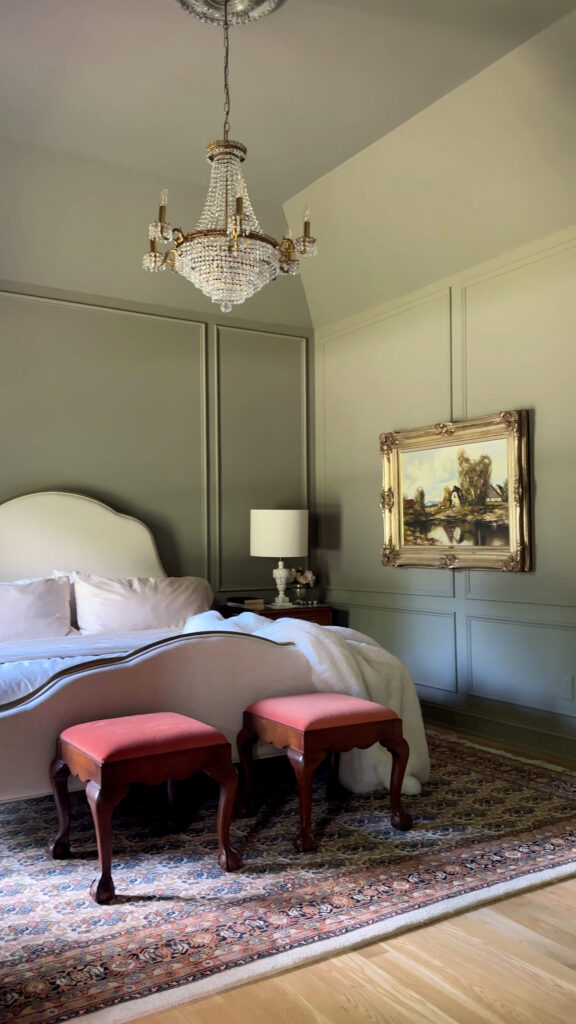
Shop: Wall Trim | Paint Color | Bed | Duvet | Faux Fur Throw | Chandelier | Lampshade
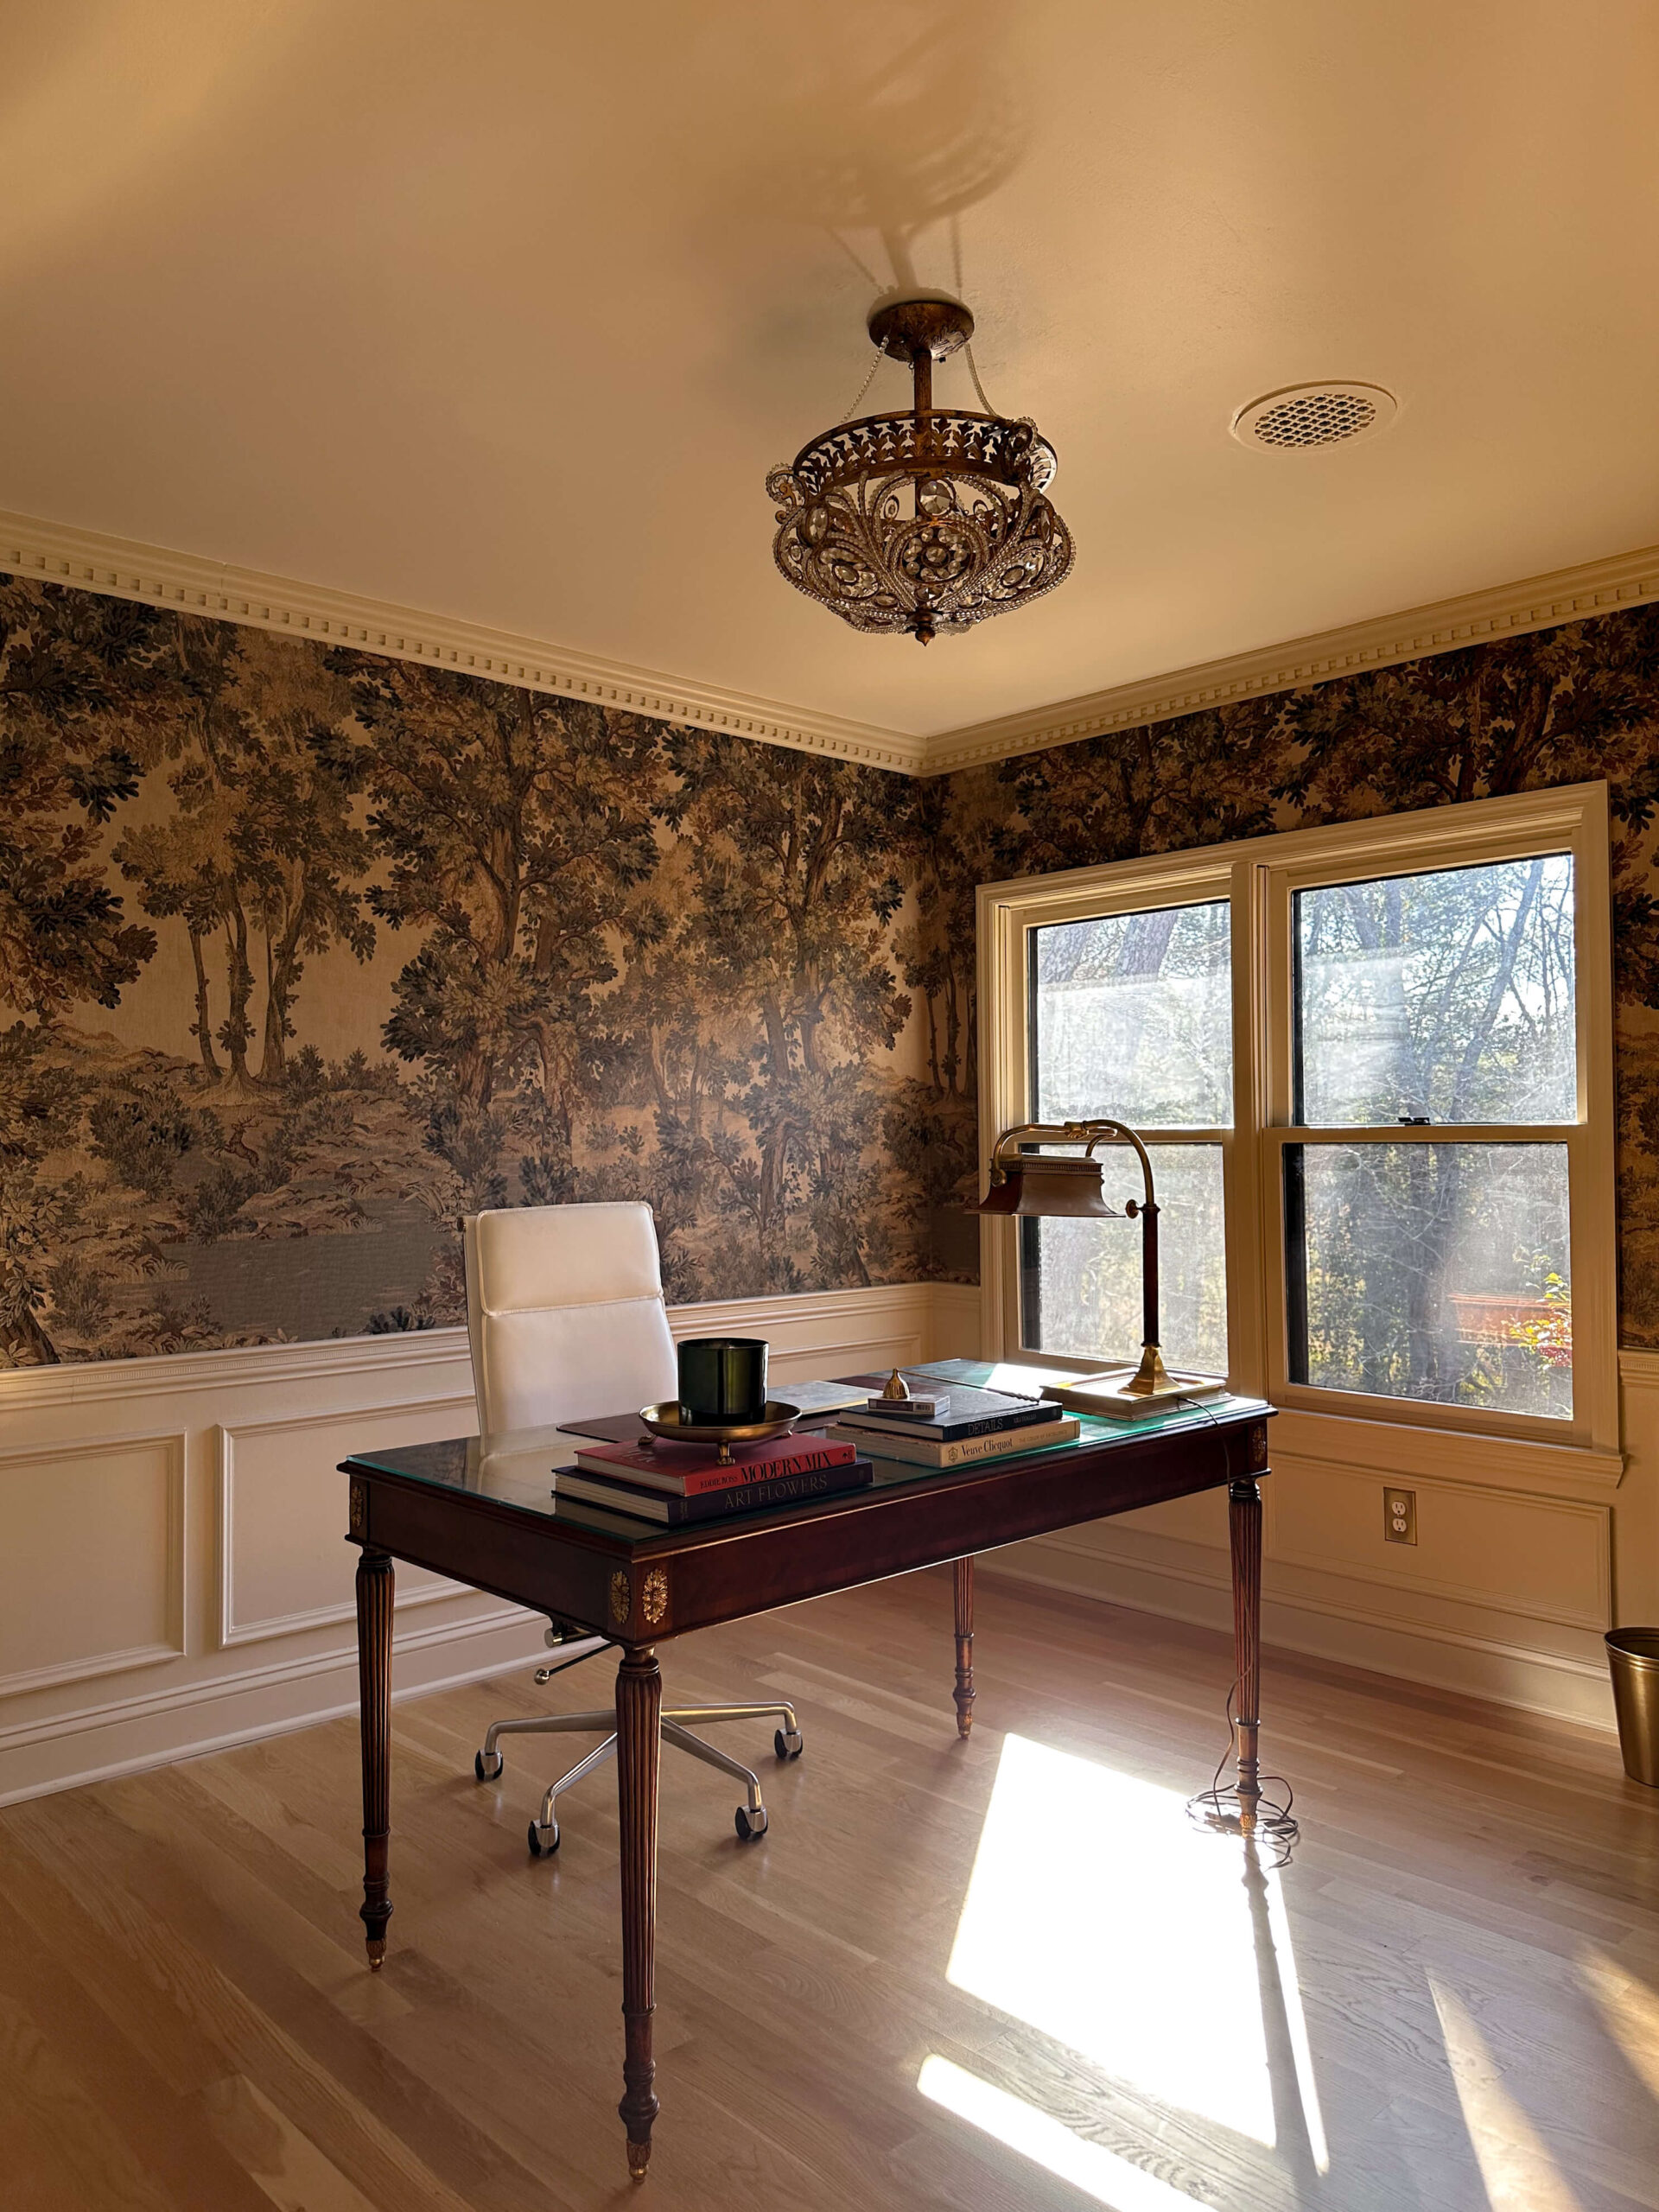
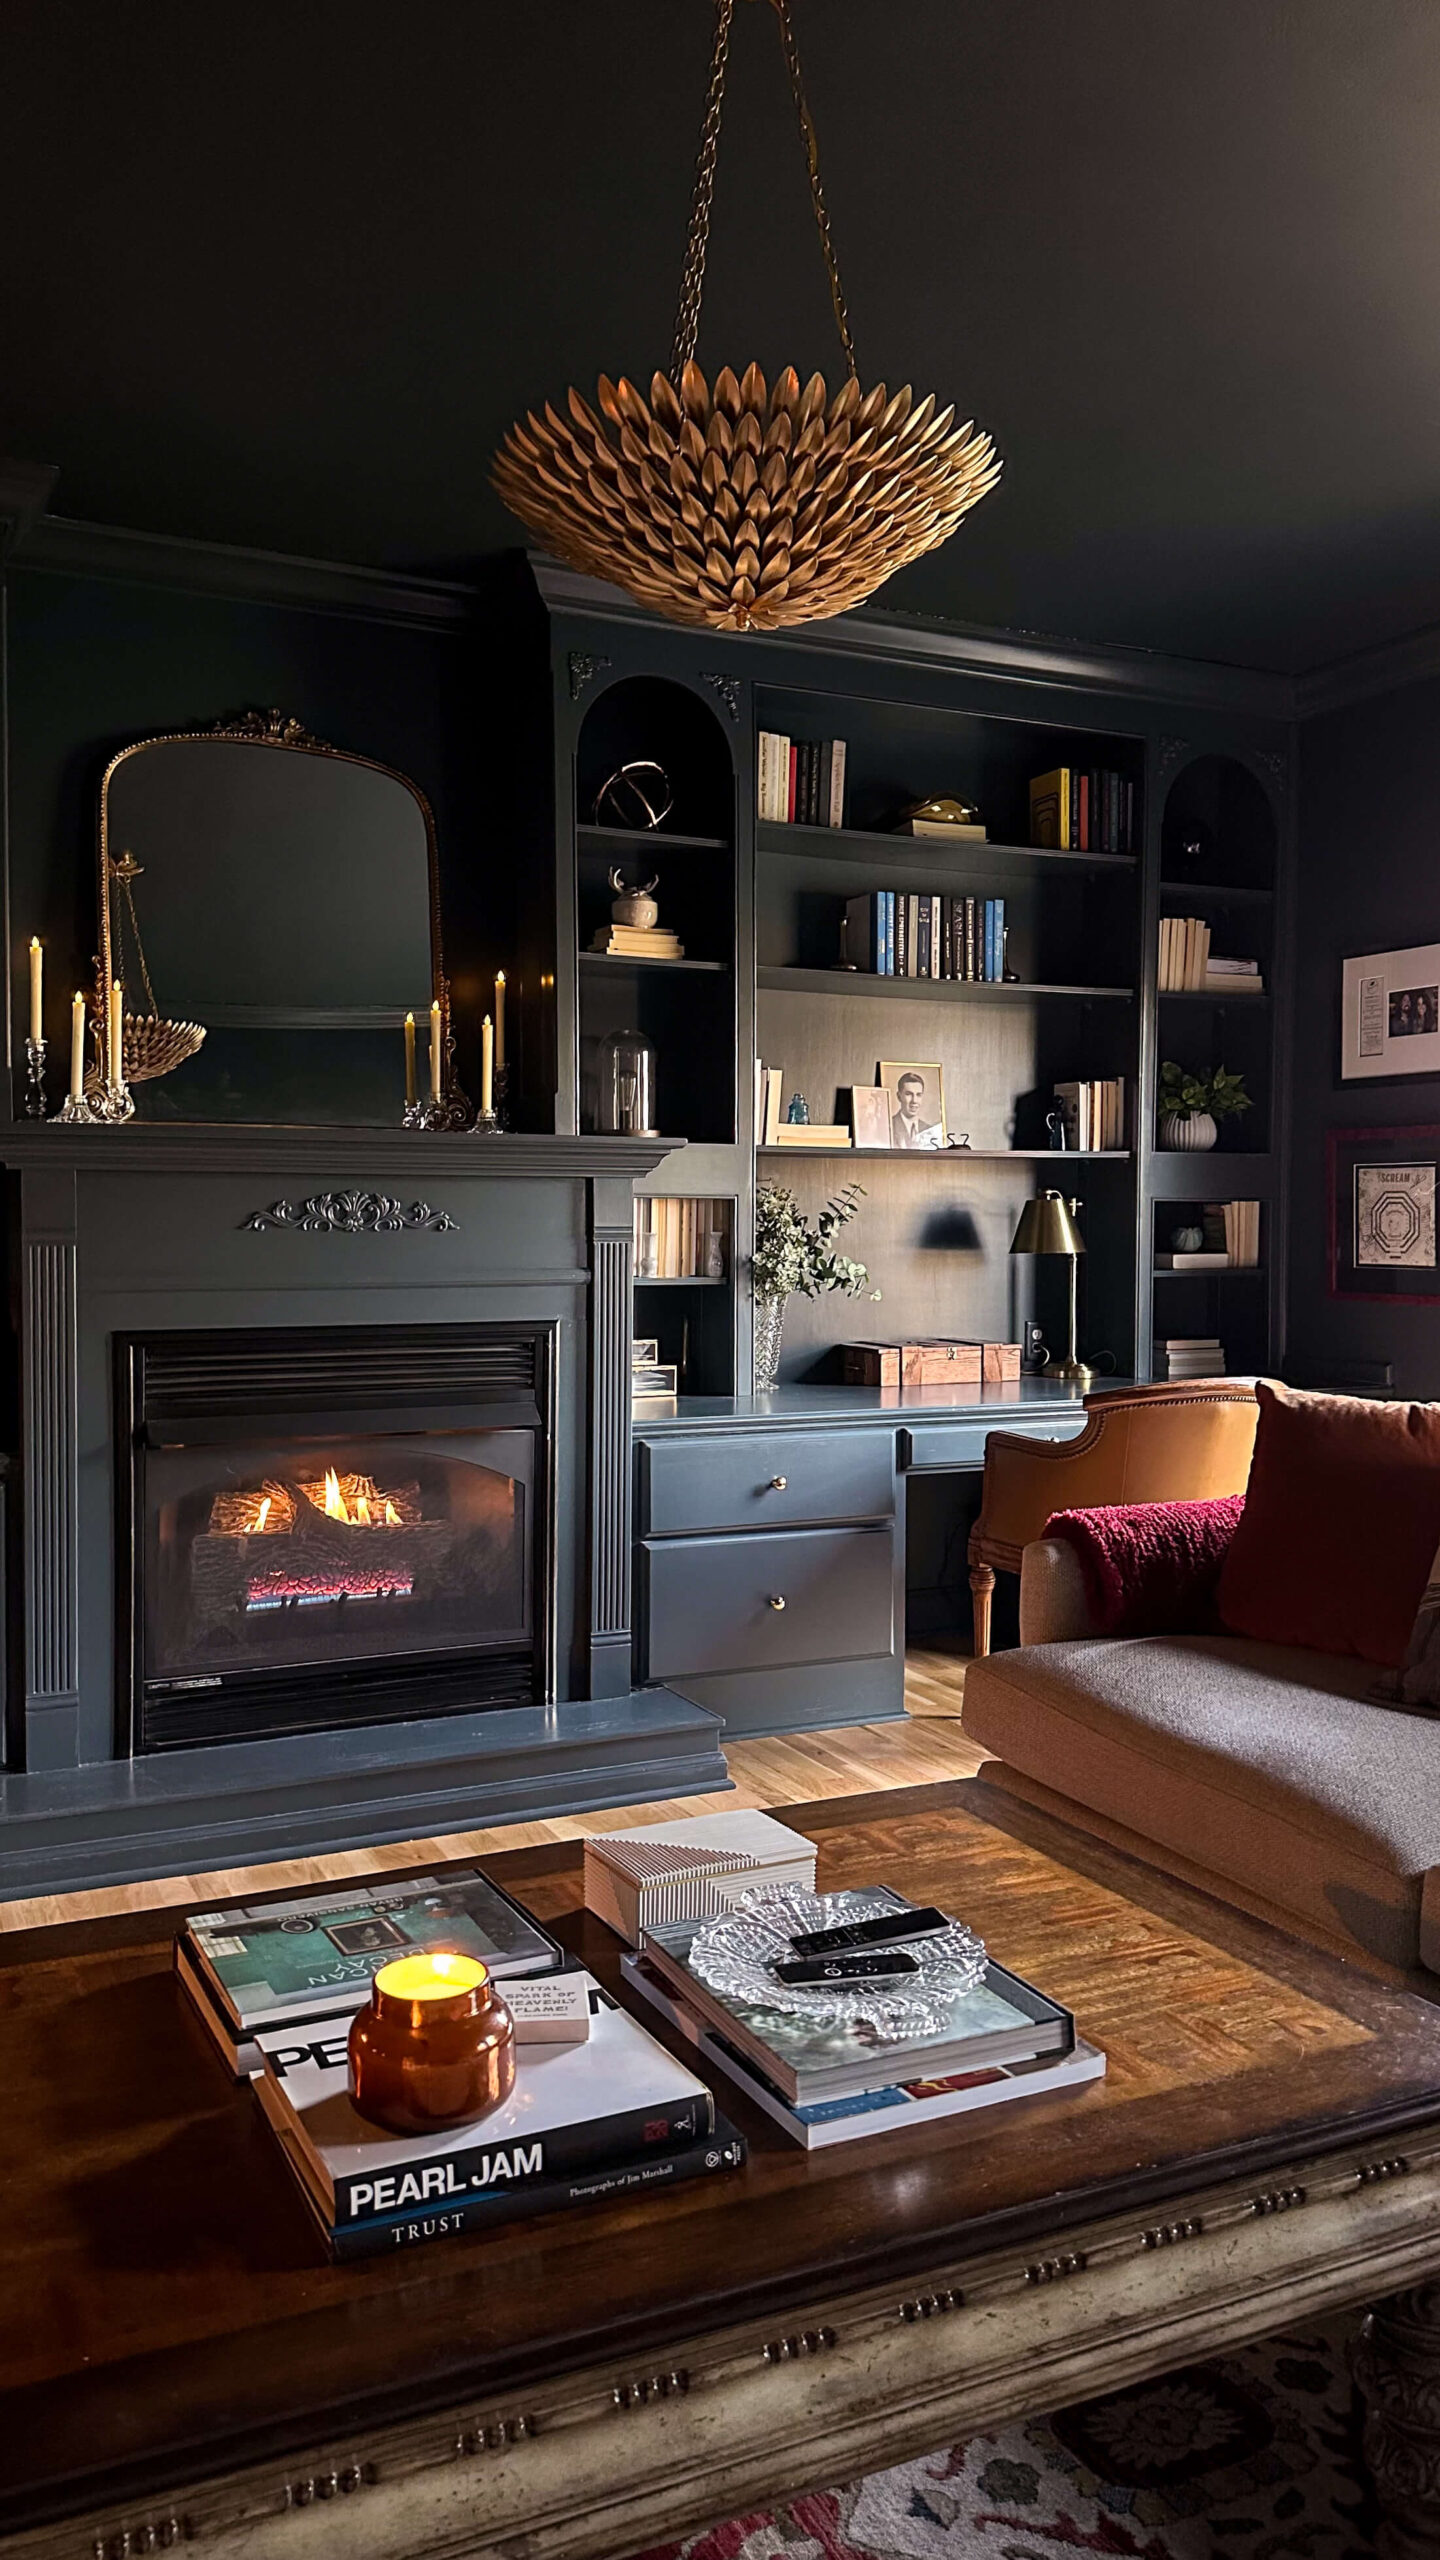
My home office is the most recent, and by that point I’d done this enough times that the process in this post is basically exactly what I followed. See it here: How to Design Picture Frame Molding: Home Office Edition.
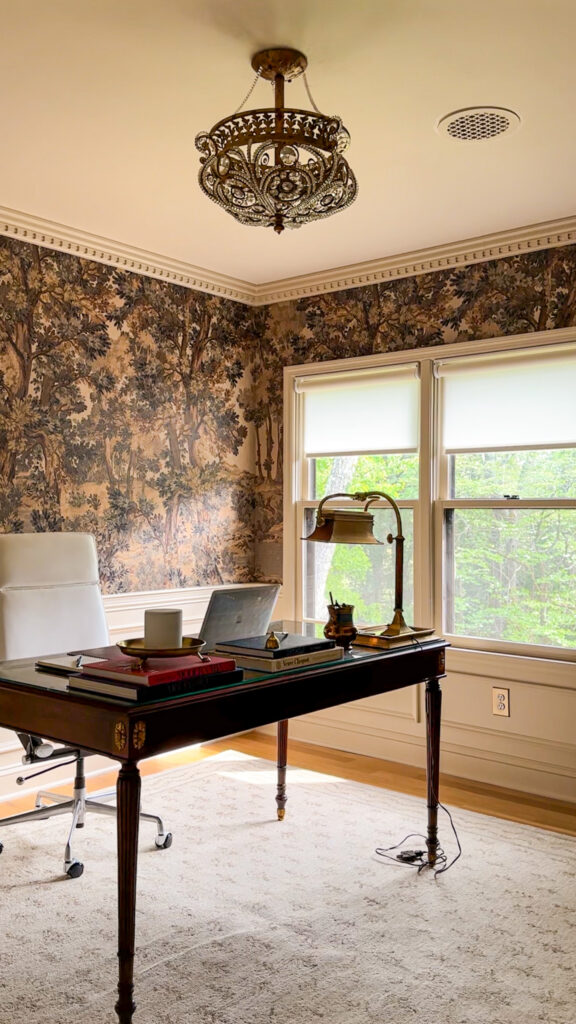
Shop: Wall Trim | Wallpaper | Chair Rail | Dentil Crown Molding | Paint Color | Desk | Desk Lamp | Light Fixture (similar) | Rug | Motorized Shades | Brass Clawfoot Candle Dish
A Note on Wainscoting
One distinction before you go looking for more inspiration: picture frame molding and wainscoting are not the same treatment, even though people use the terms almost interchangeably and the two can look similar in photos. Wainscoting usually means a fuller wall treatment, and a very layered look, while picture frame molding is the boxed trim detail this whole post has been about. If you’re planning your own project, it matters which one you’re actually doing.
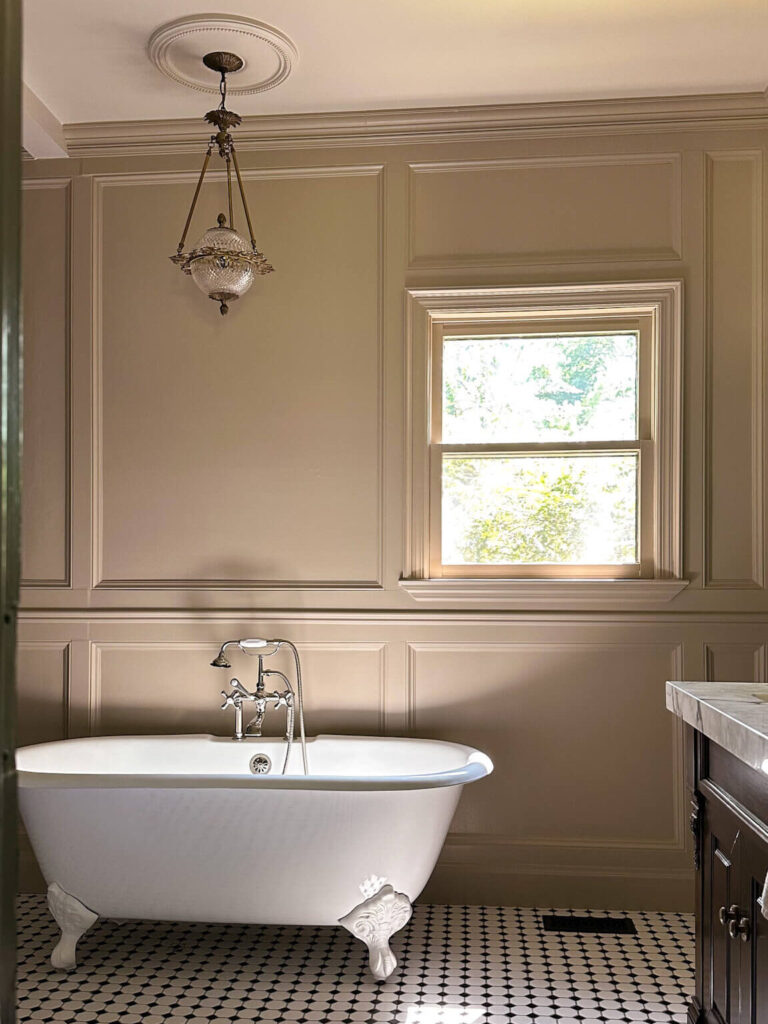
Shop: Clawfoot Tub | Vintage Faucet Fixture | Floor Tile | Wall Color
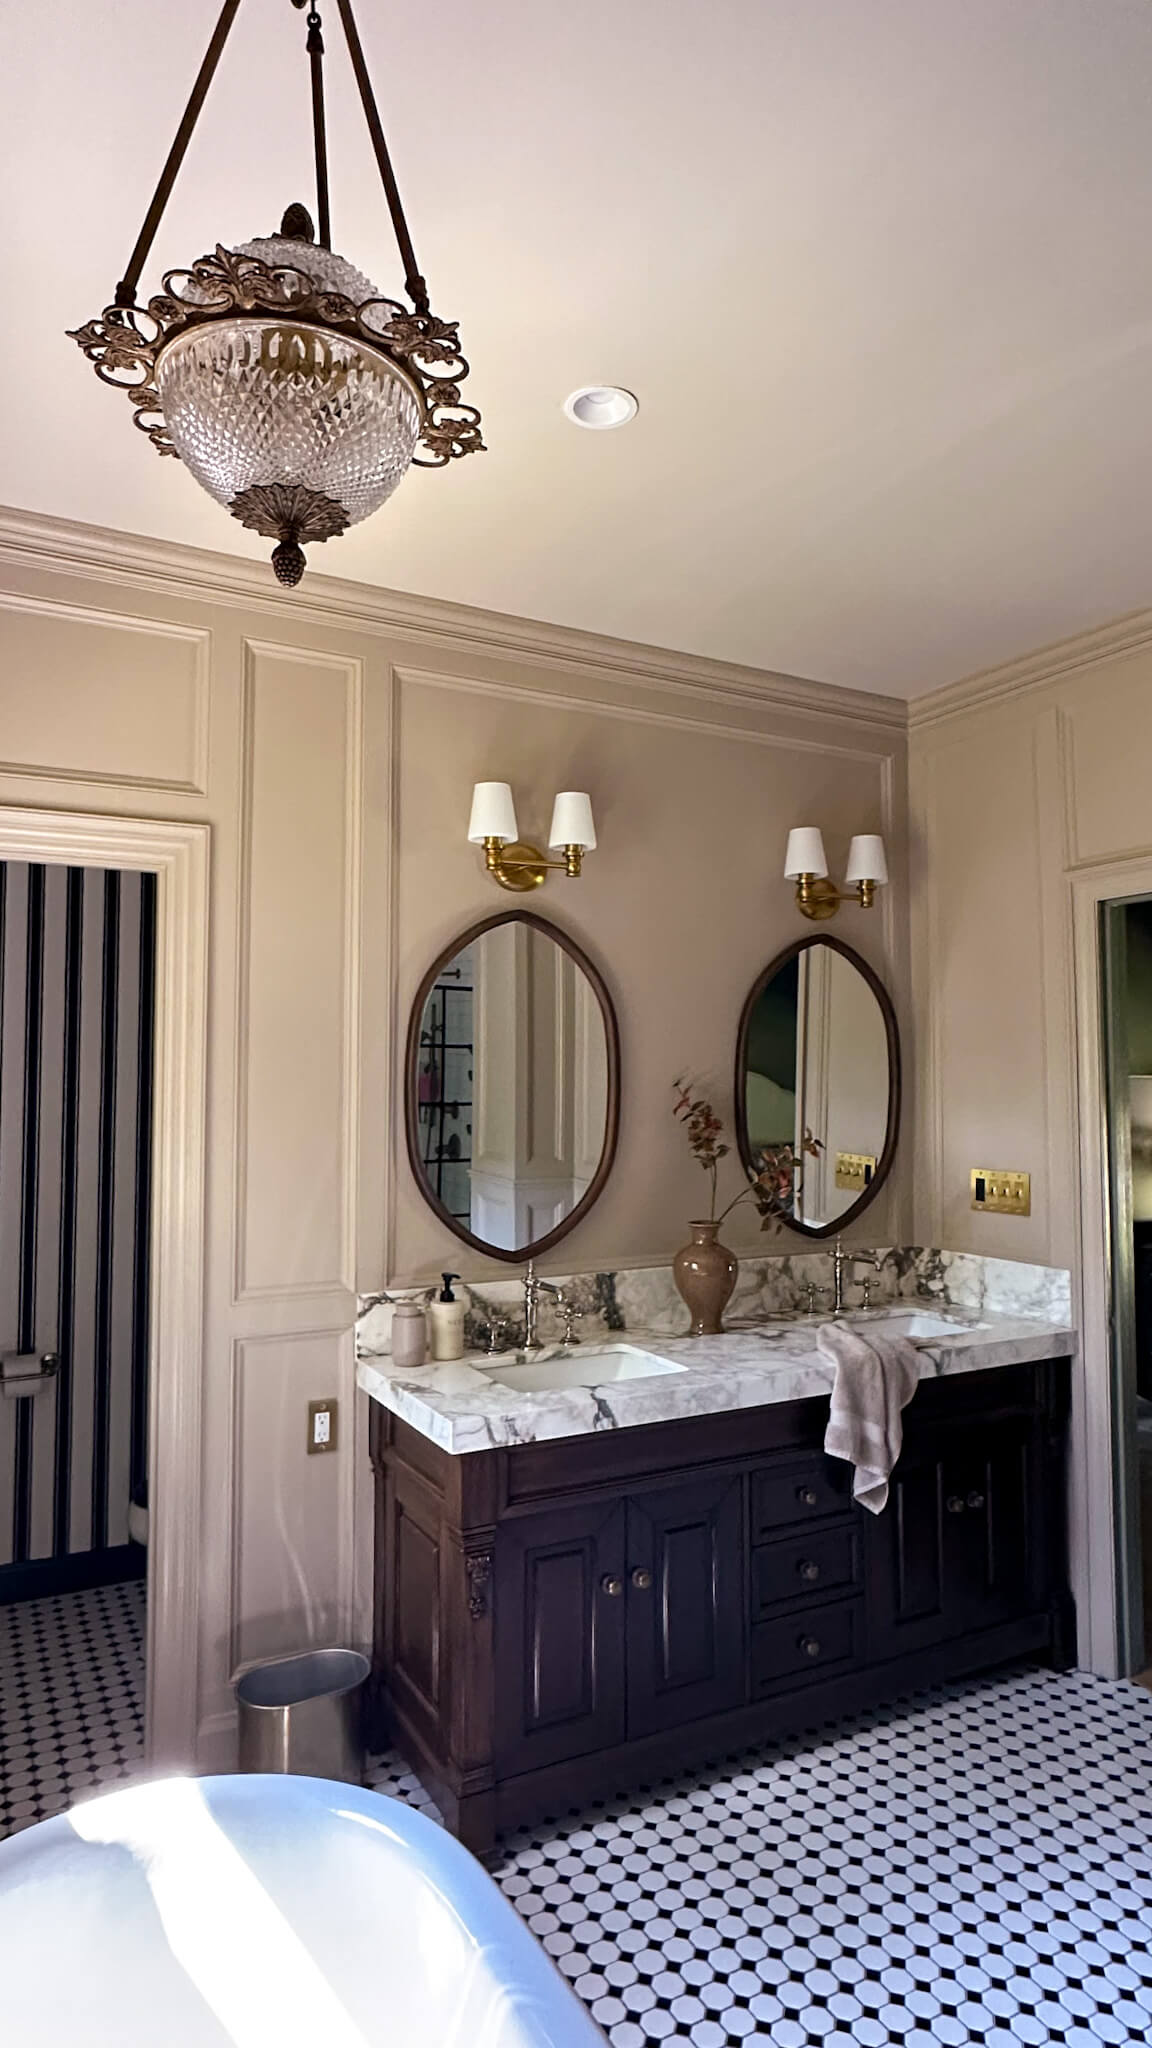
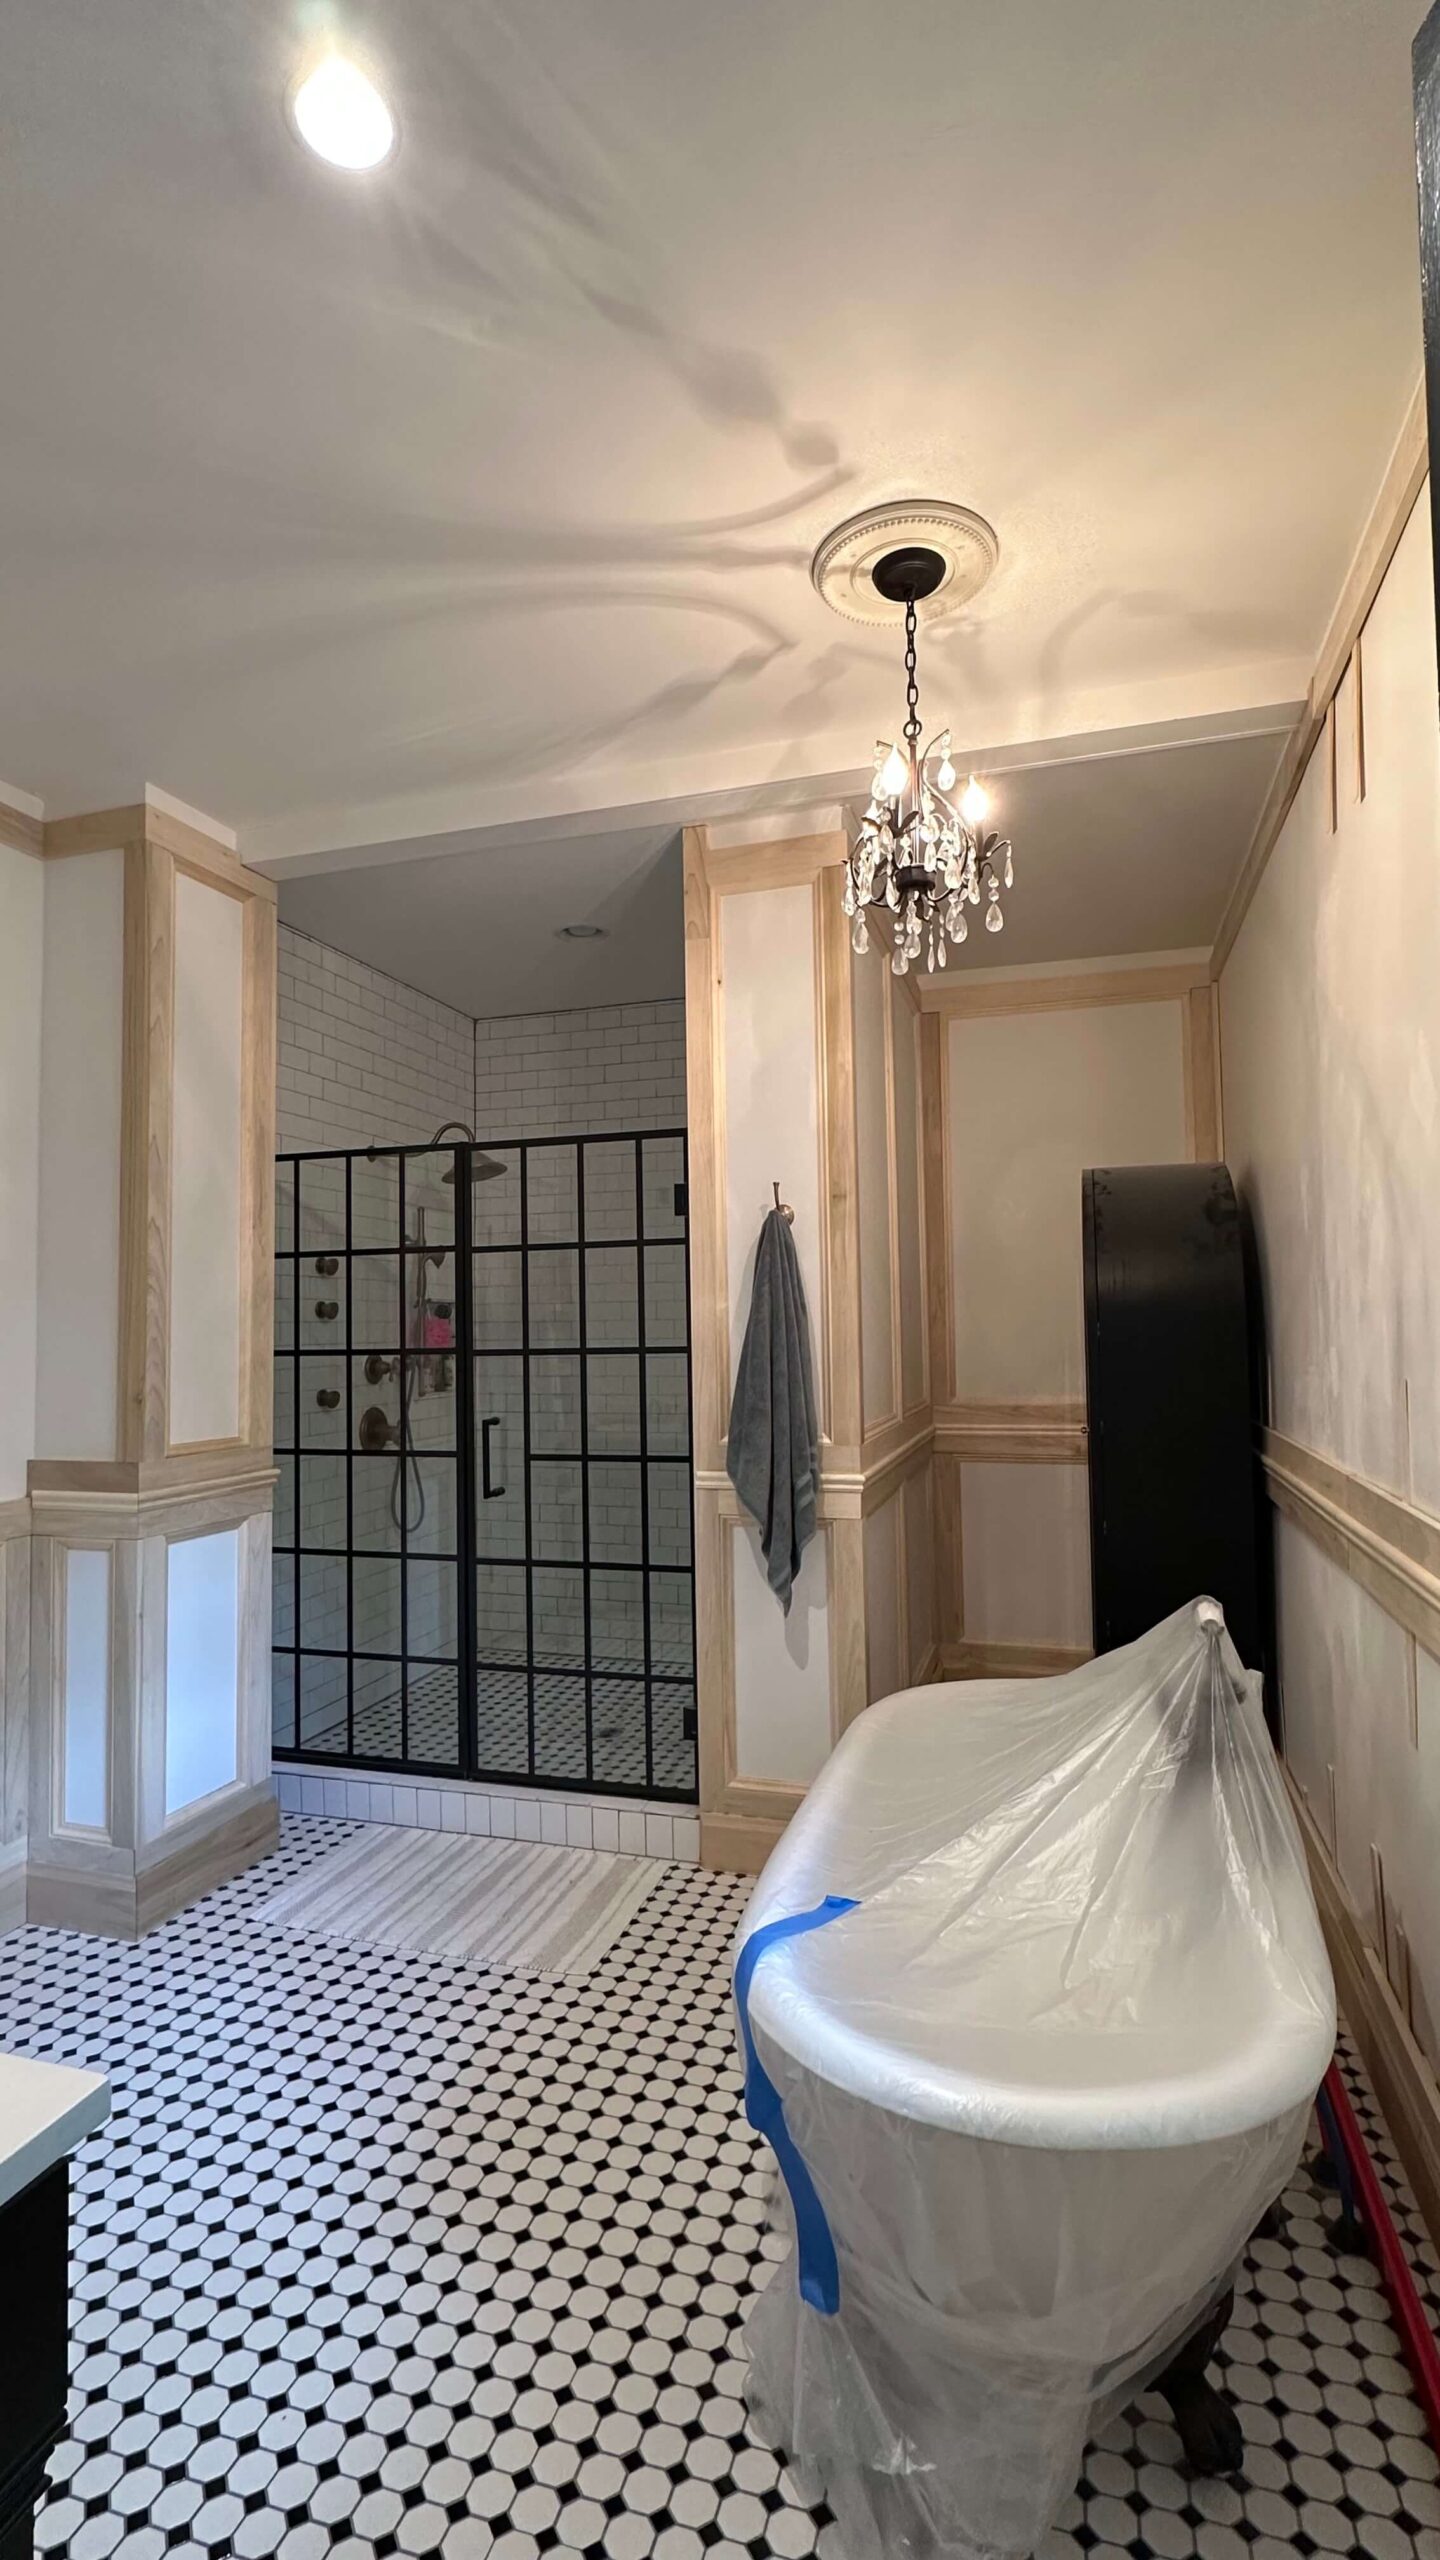
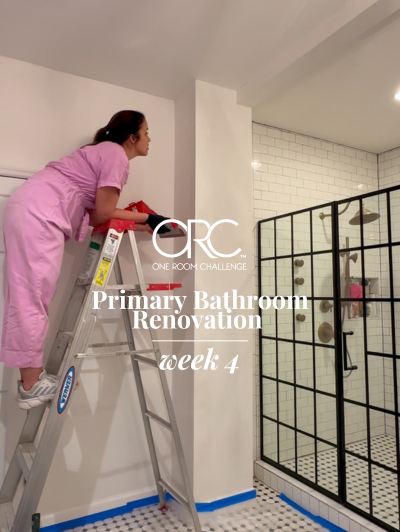
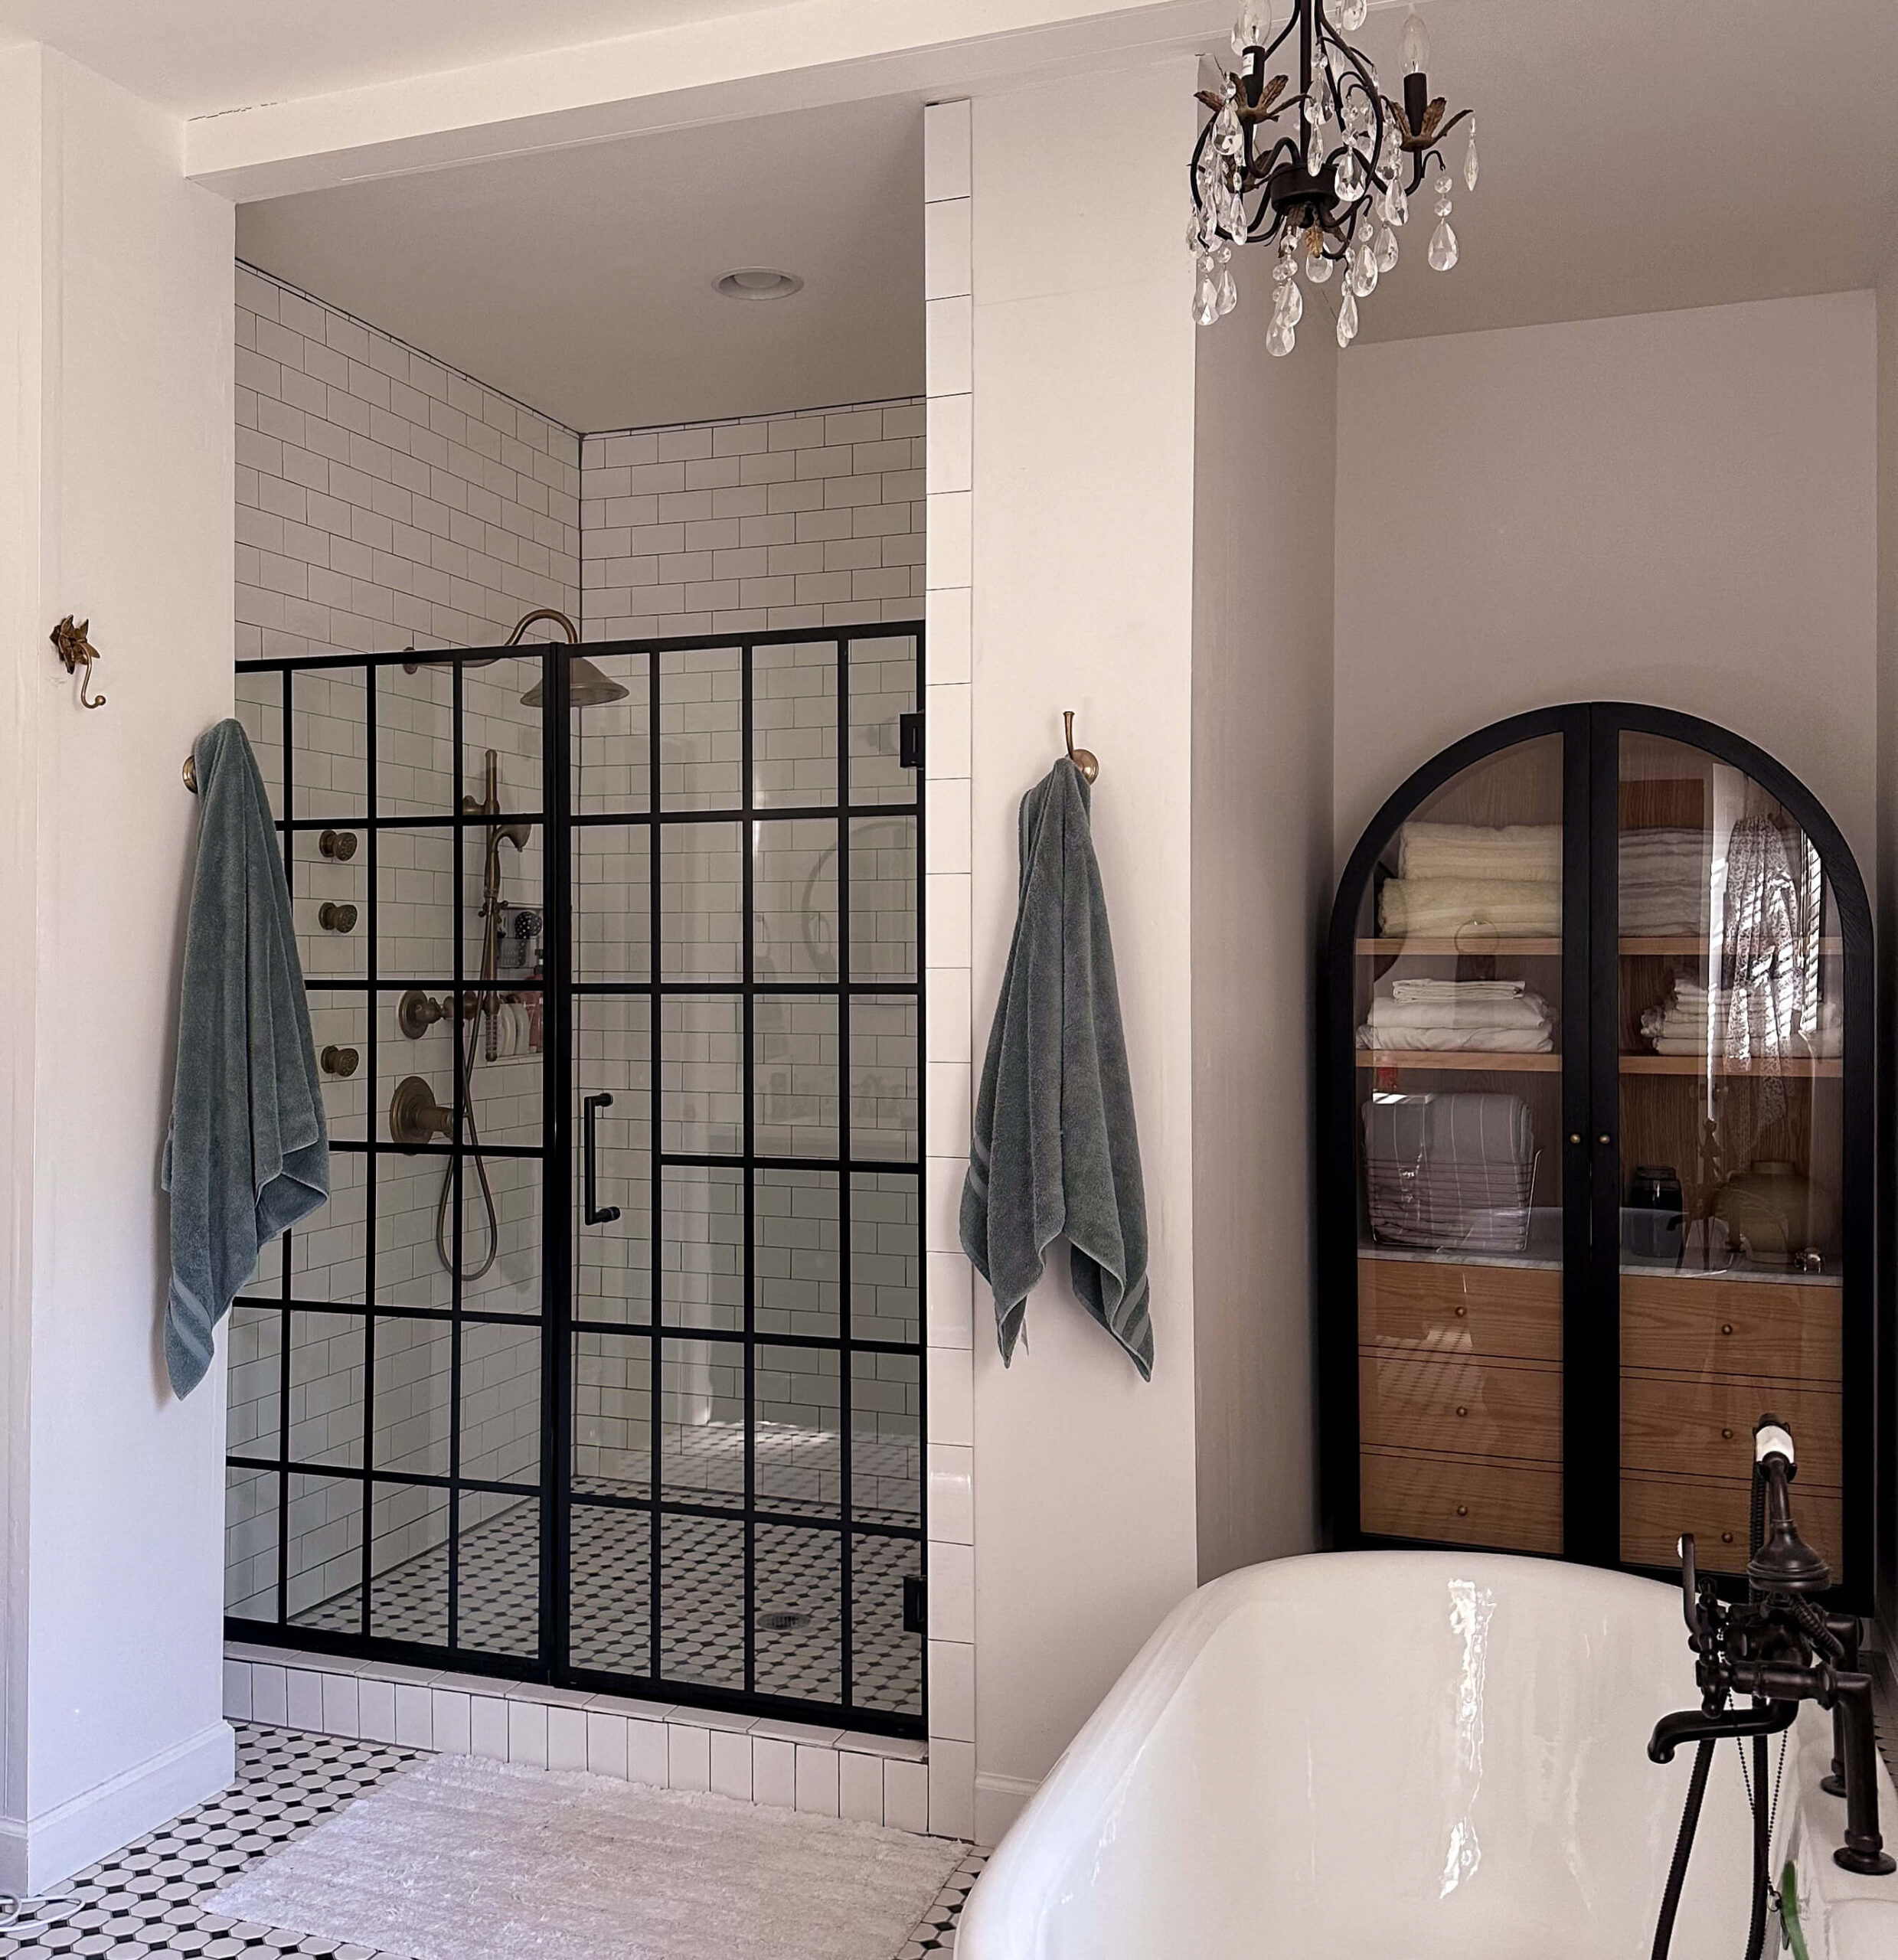
When I did the wainscoting in my primary bathroom, it ended up being the best real example I have of designing around a permanent fixture. My tub isn’t going anywhere, so that box had to work around it, not the other way around. If I’m honest, I’d size that box a little differently if I were doing it again. It’s made finding artwork that actually fits the space over the tub harder than it needed to be.
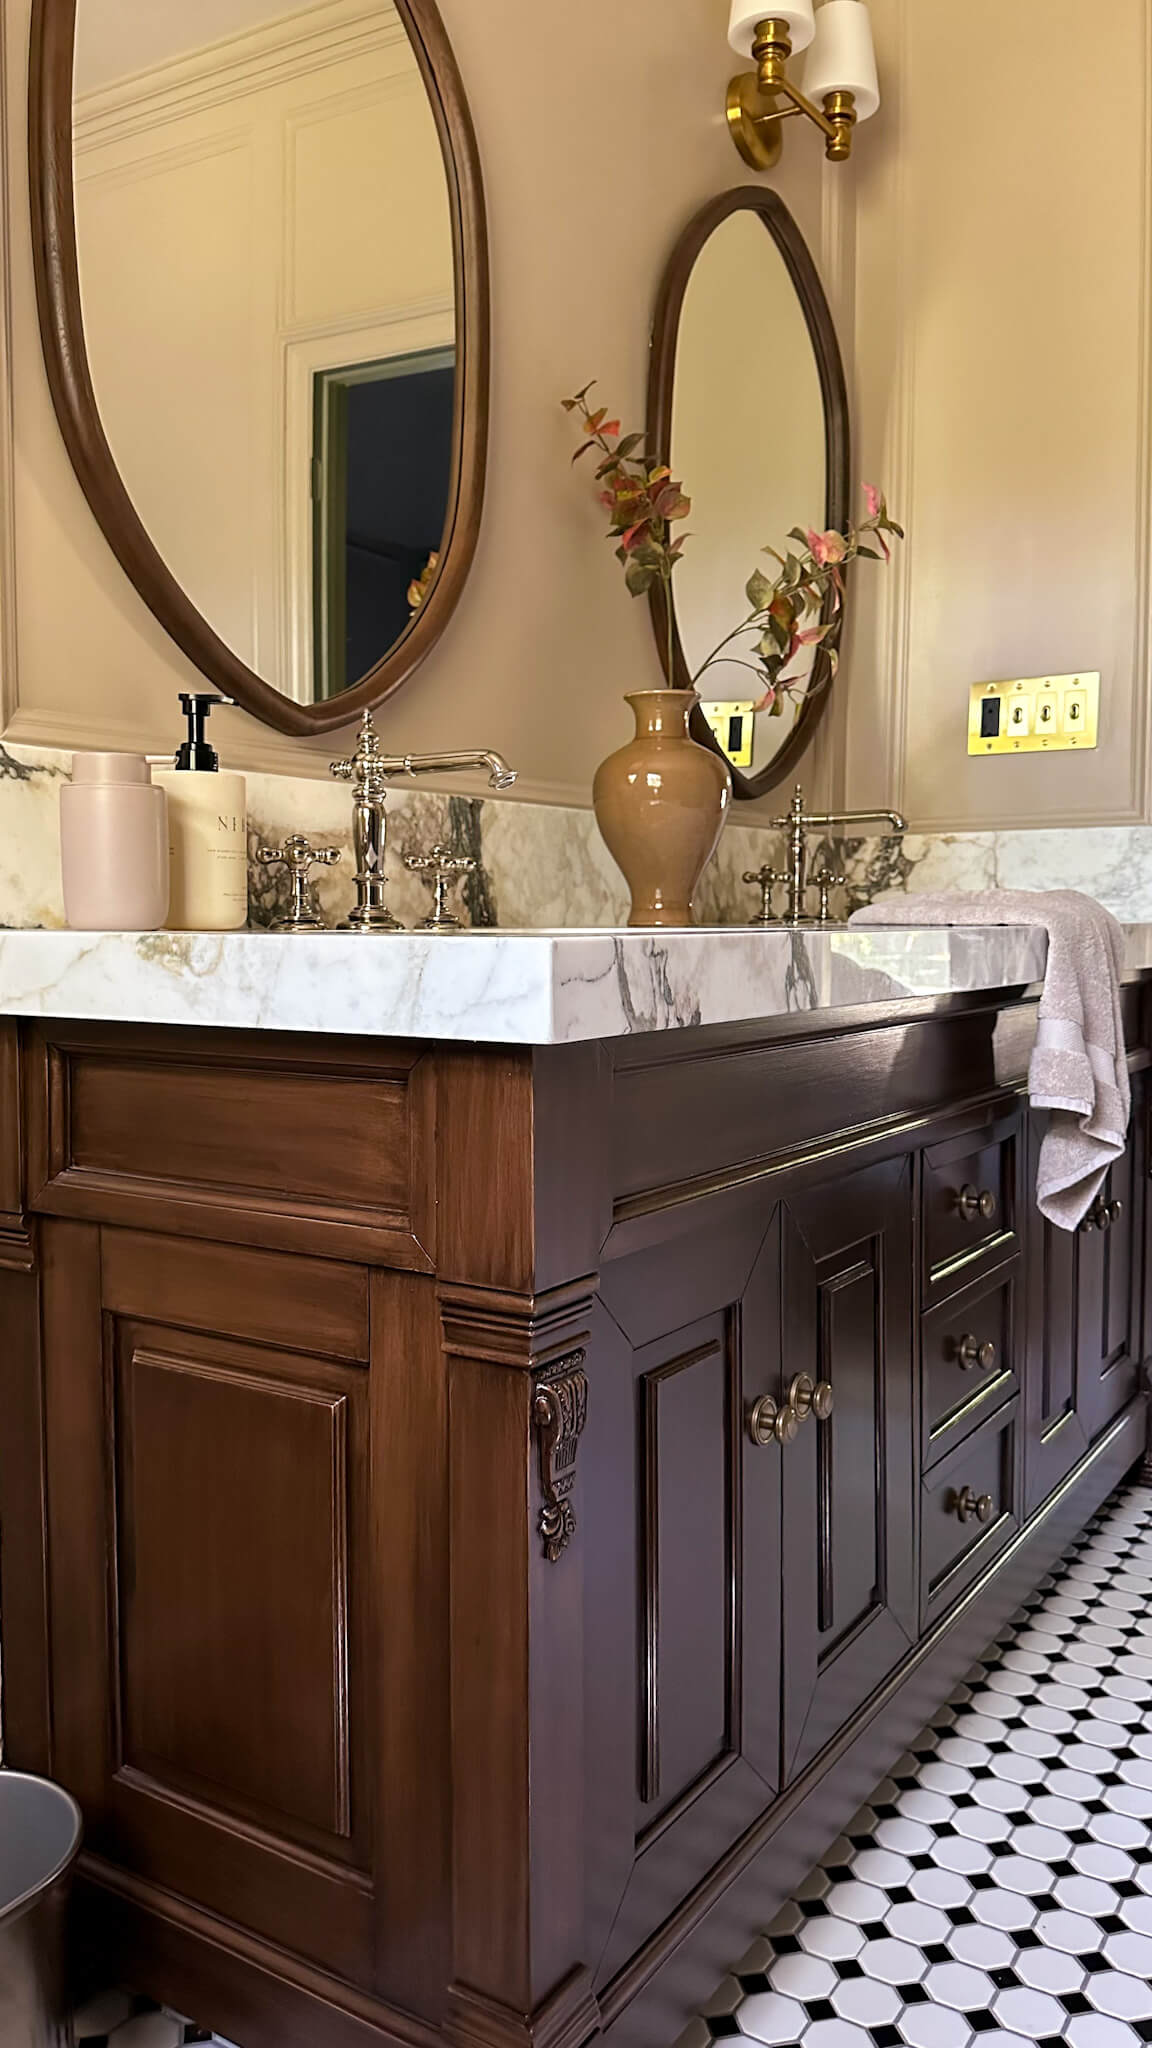
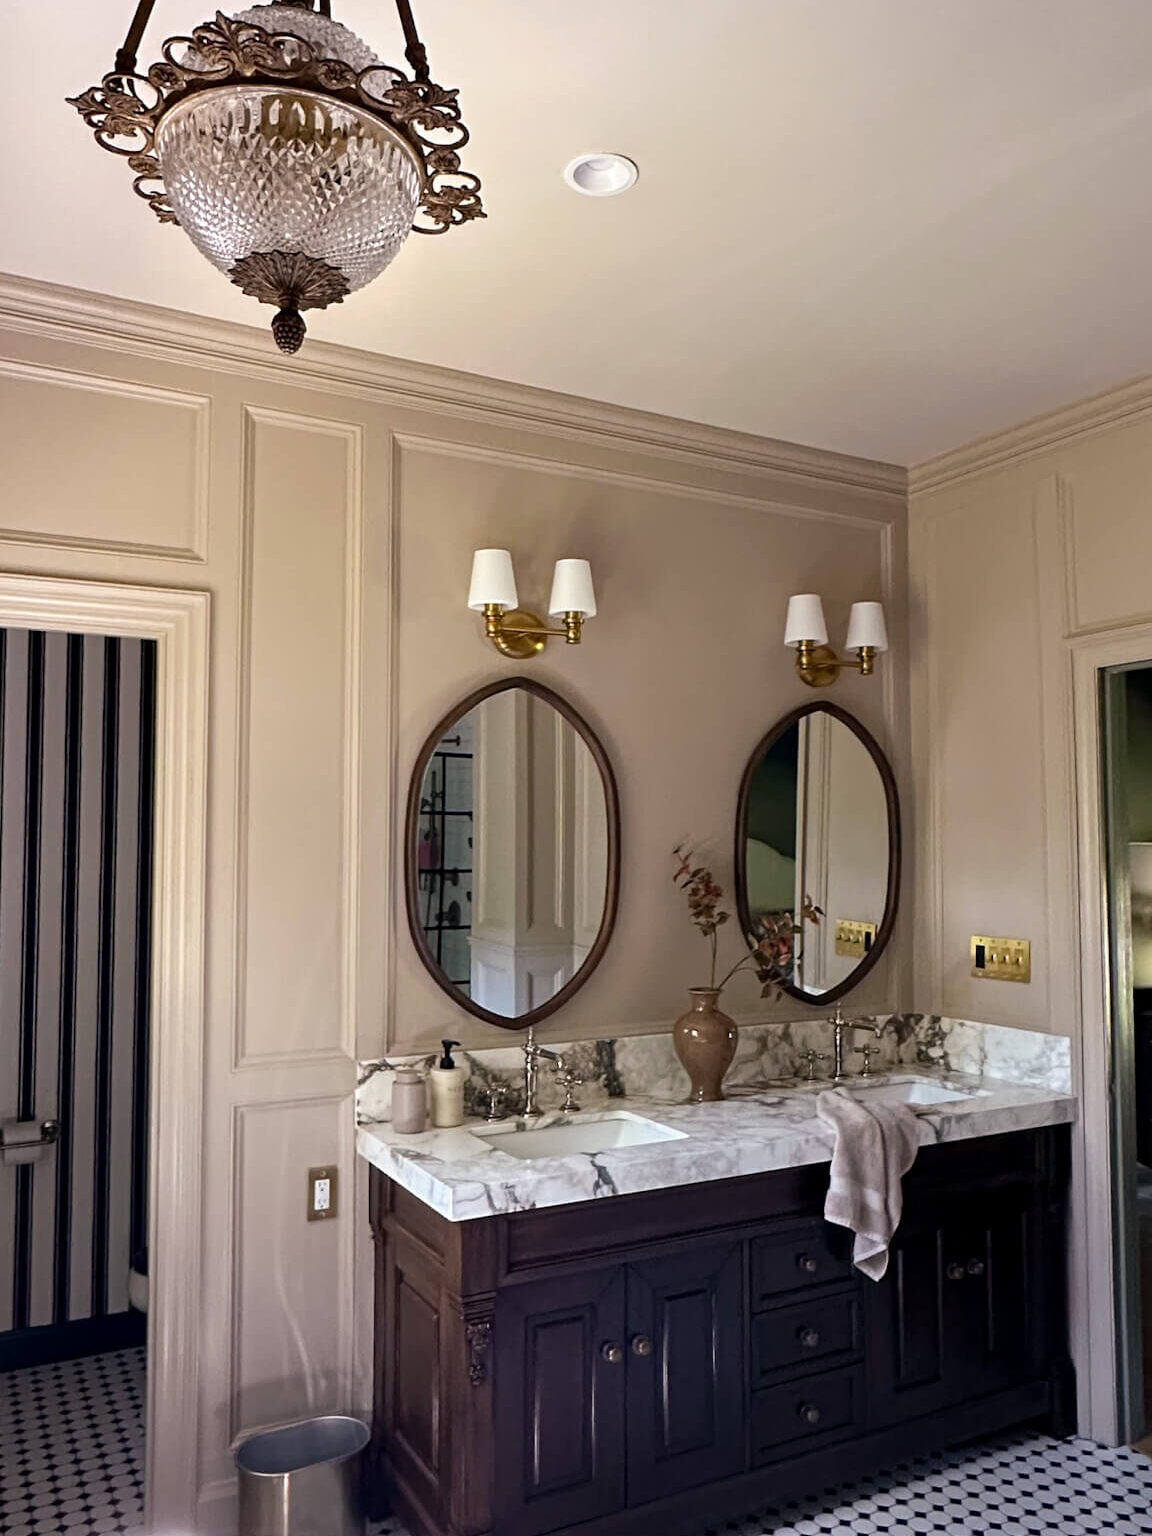
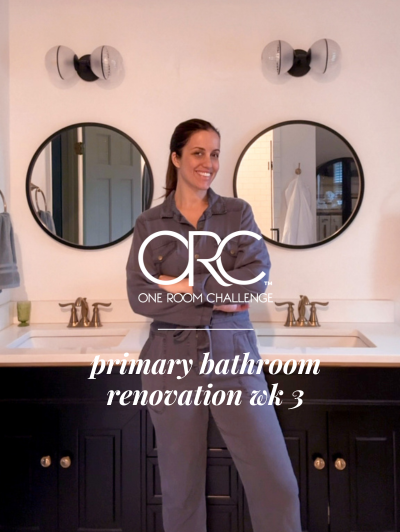
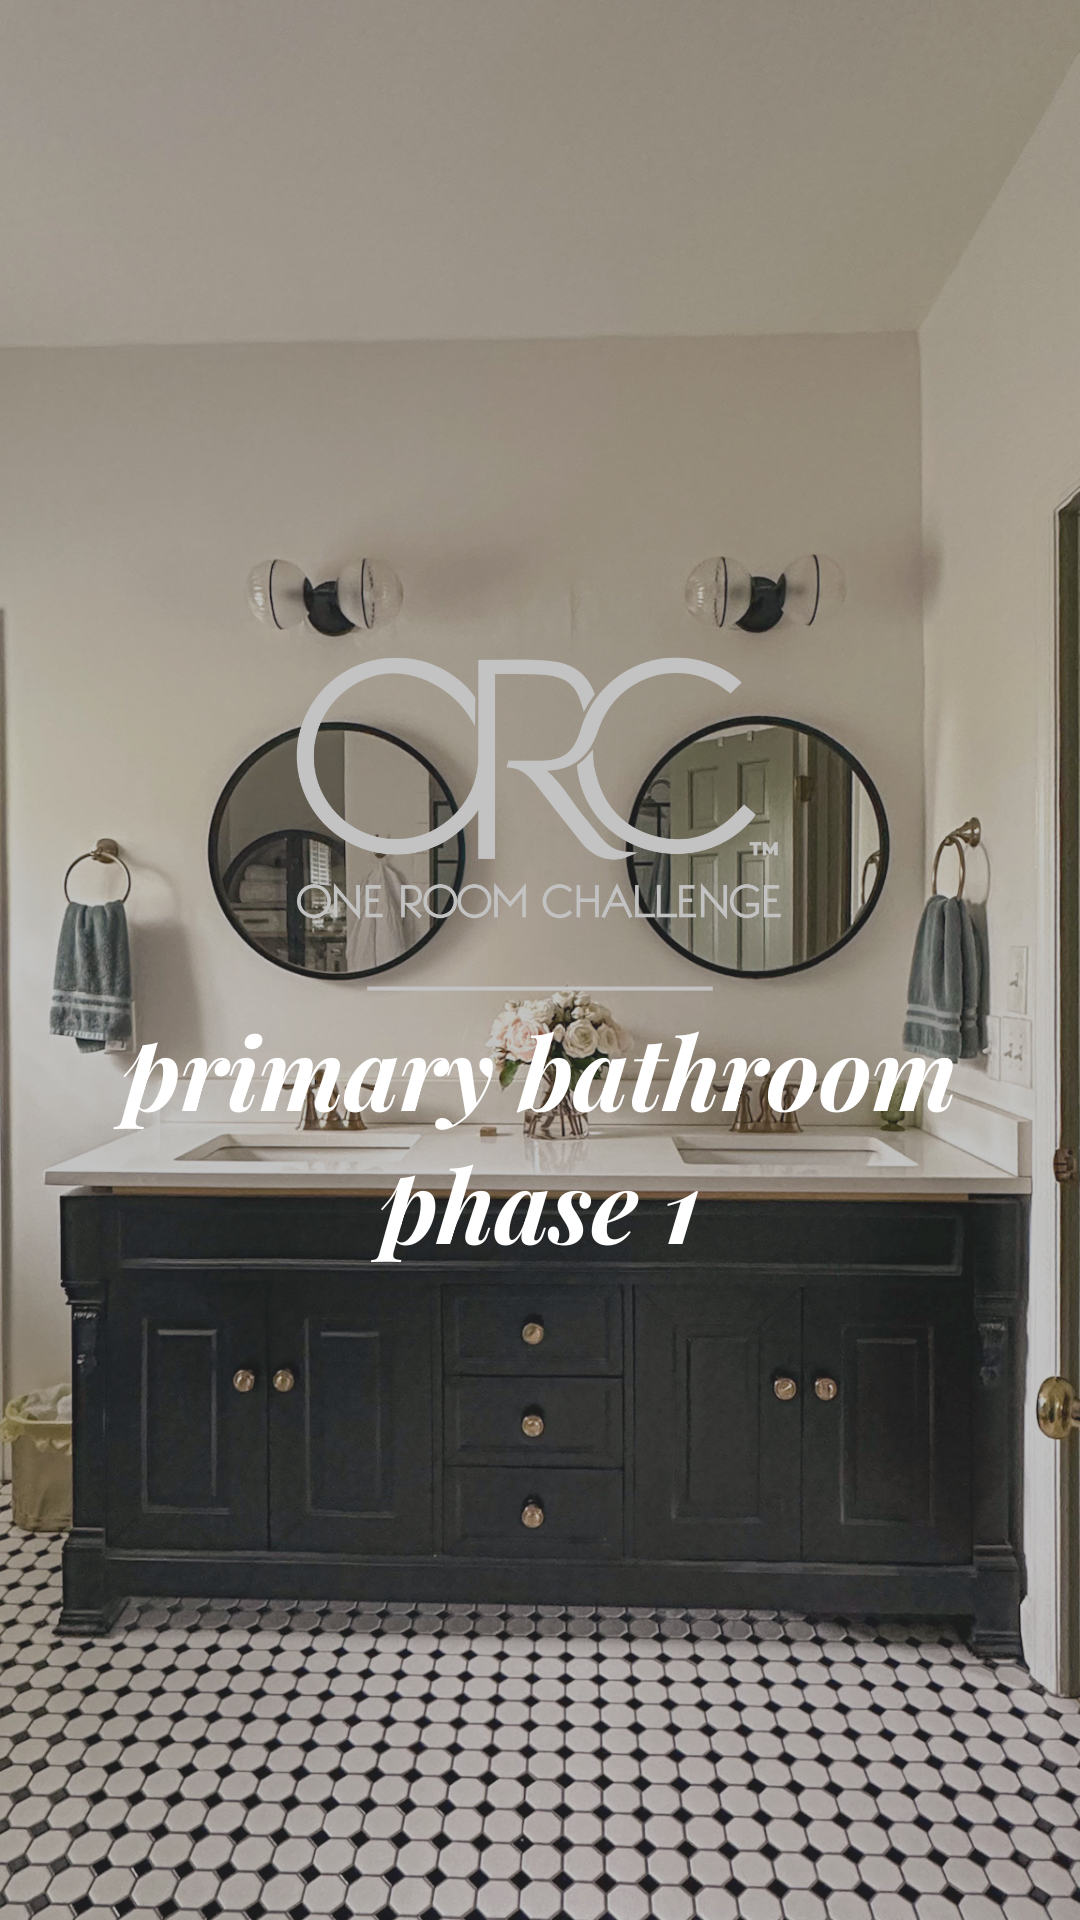
The vanity wall in that same bathroom is the better example of “design for each wall, not the room.” I went back and forth on boxing in each mirror individually, but ended up with one big open box instead. That’s exactly why the two walls in that bathroom don’t match each other, and don’t need to. Want to see the whole project? Designing Wainscoting in the Primary Bathroom.
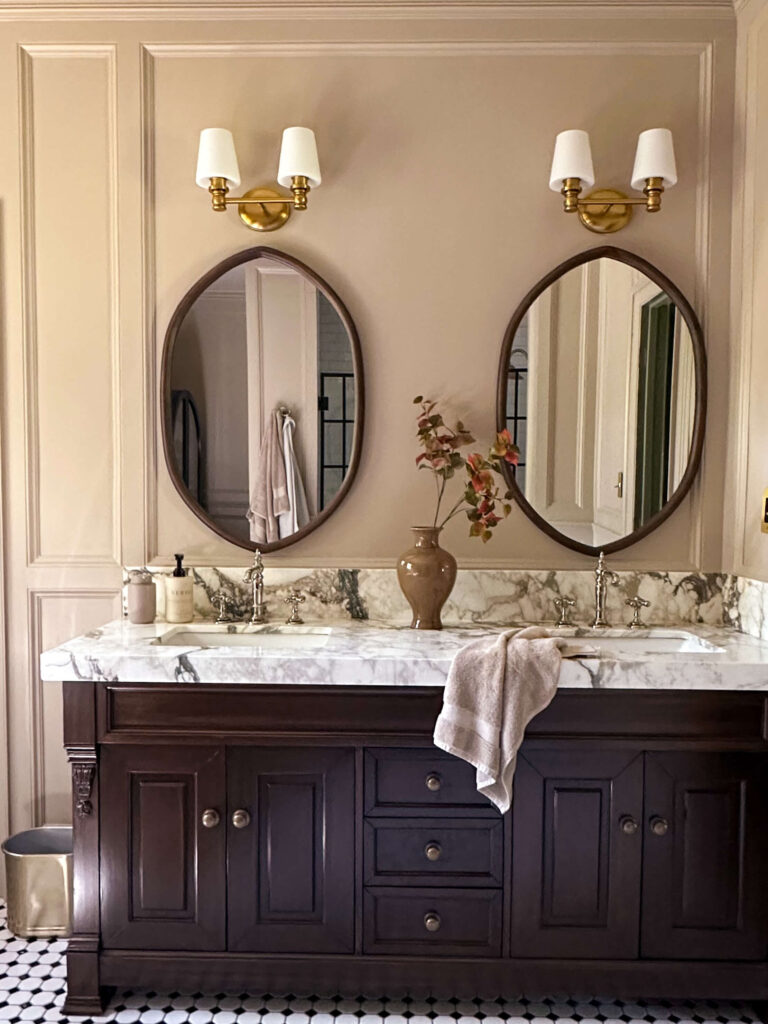
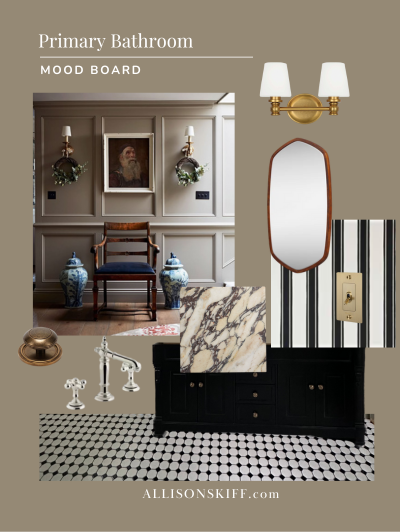
Walnut Mirrors | Vanity Sconces | Vanity Hardware | Hand Towel | Floor Tile | Light Switches | Faucets | Paint Color | Vanity Base | Vase
Whether you’re just thinking about adding wall treatments, or you’ve been stuck on the design process I hope this has been helpful and given you some different perspective. Between the two rules, the Canva process, and the three example rooms above, you have what you need to design a layout that works for your unique space!
Full Supply List, One More Time
- Miter saw
- Brad nailer and brad nails
- Wood filler and sand paper
- Nail punch set (link)
- Paintable caulk and a caulk gun
- Tape measure and a level
- Pencil and painter’s tape for marking your layout on the wall
- Your trim. Here are mine by project: dining room, primary bedroom, home office (also used in my primary bathroom)
- Primer
- Paint
- Safety glasses