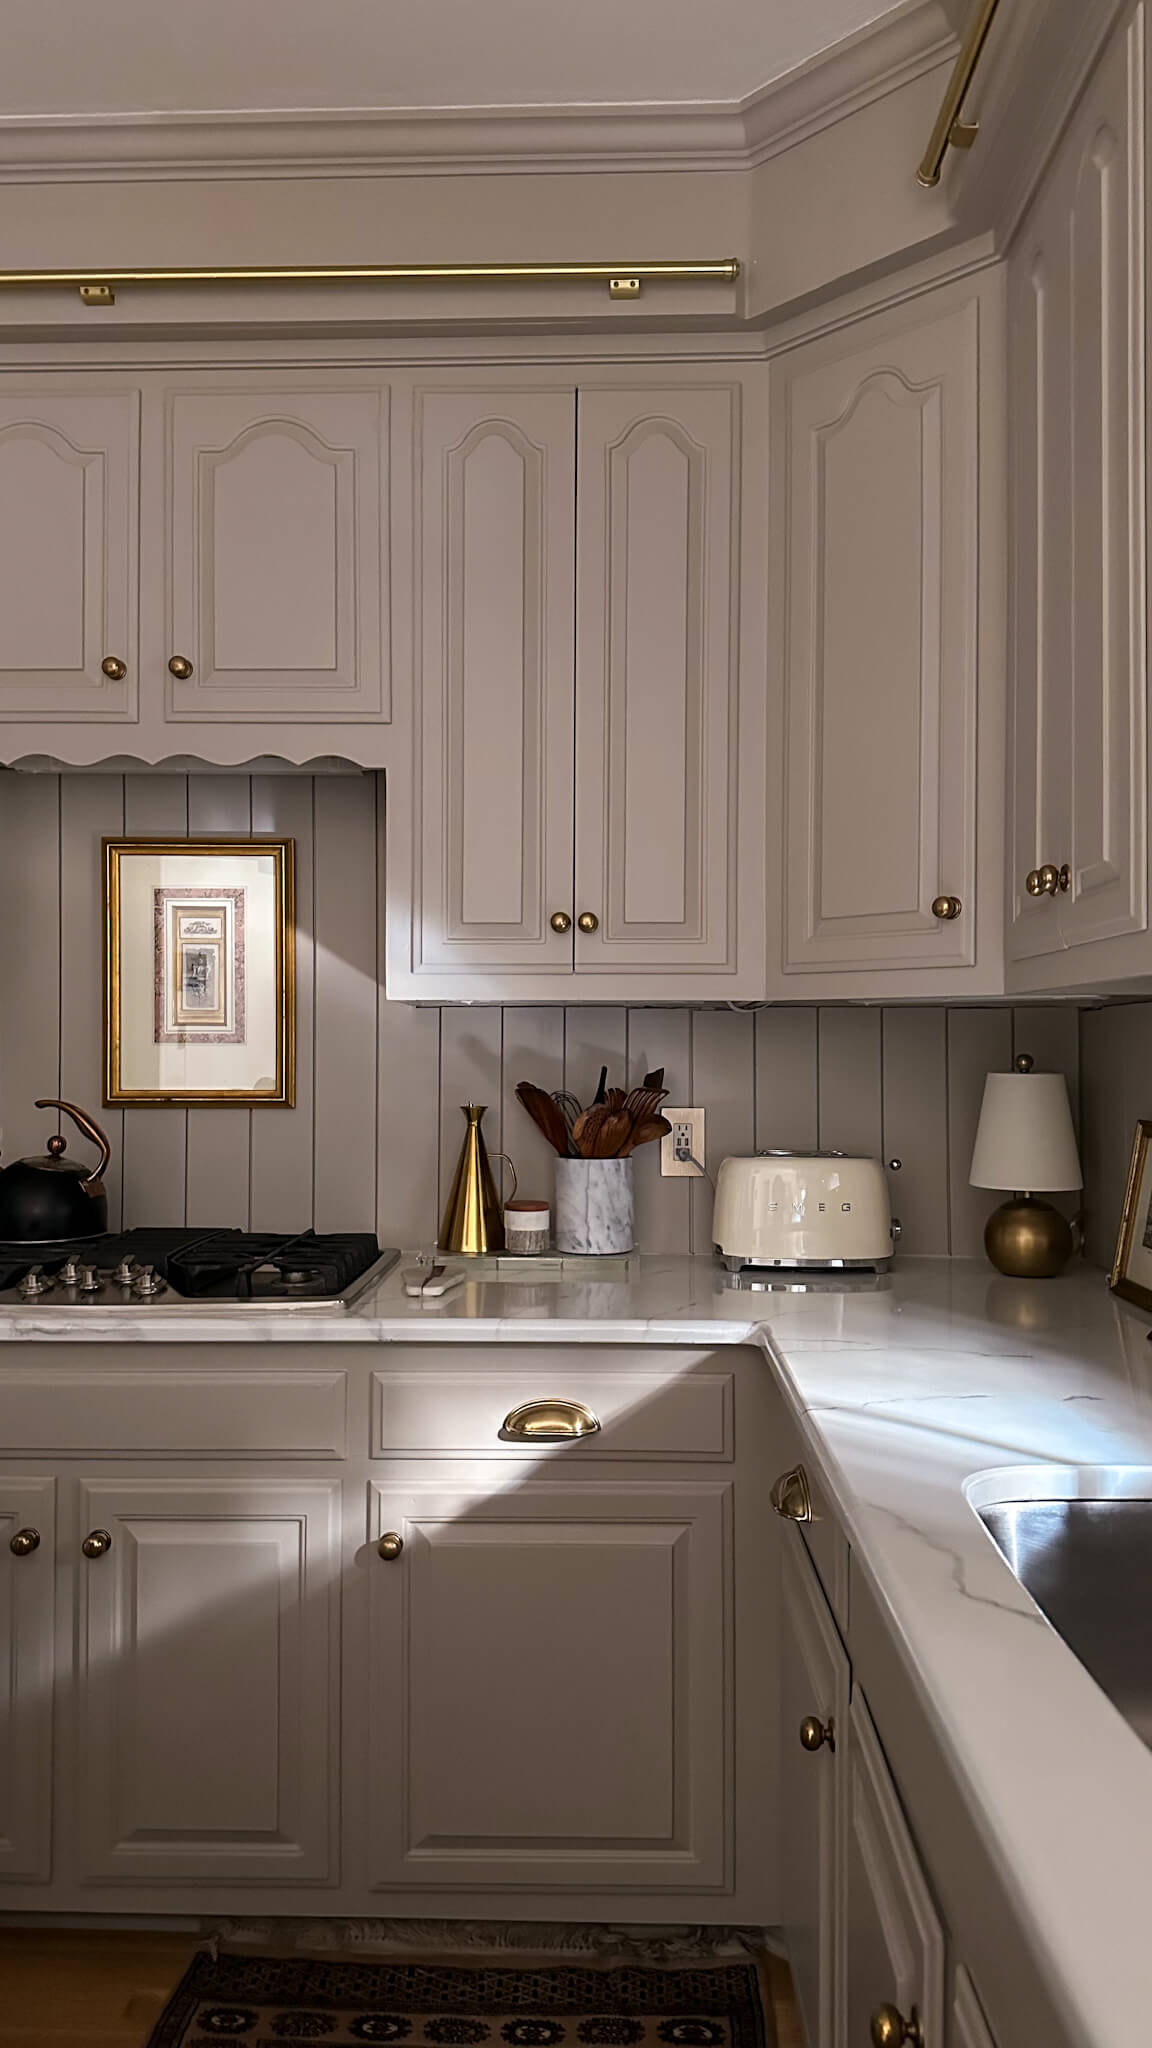




It’s been almost two years since I painted my kitchen countertops using a DIY marble countertop kit, and I still get questions about how they’re holding up almost every single day. So I figured it was time for a real update, after two years of daily use in my kitchen.
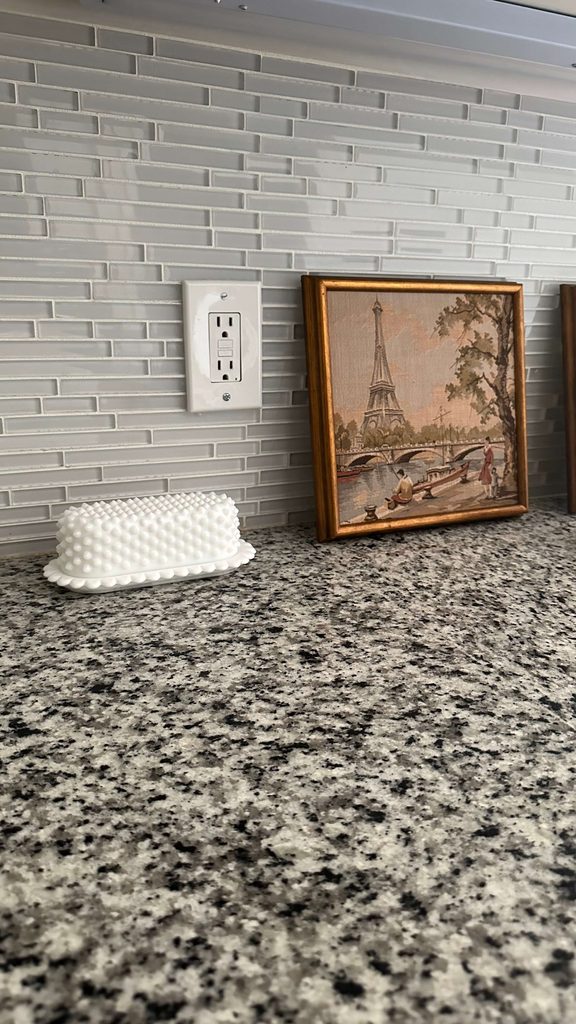
Before I get into the durability report, I want to back up and explain why I did this in the first place, because I think the backstory matters. When I bought my house, I liked my kitchen. It was so much bigger than anything I had ever had before and I felt so grateful for the storage I never had. It was not until a couple of years of living in it that I started noticing things I took issue with, and for a while I had a hard time deciphering if I disliked the kitchen itself or if I disliked how cold it felt. The previous owners had remodeled with a glass white backsplash, dark speckled granite countertops, and cabinets painted a cool, stark white with the original exposed hinges left in place. All of that cold undertone was working against the room, and it took me a while to untangle whether the bones were the problem or the finishes were.
Why I Chose a Cosmetic Facelift Over a Full Renovation
Since I couldn’t fully decide whether I disliked the kitchen or just disliked the temperature of it, ripping everything out felt like the wrong first move. So instead I asked myself a simpler question. What if I gave the kitchen a cosmetic facelift, warmed up the coloring, decluttered and reorganized, and then lived with it for a while before deciding if I wanted to make bigger changes.
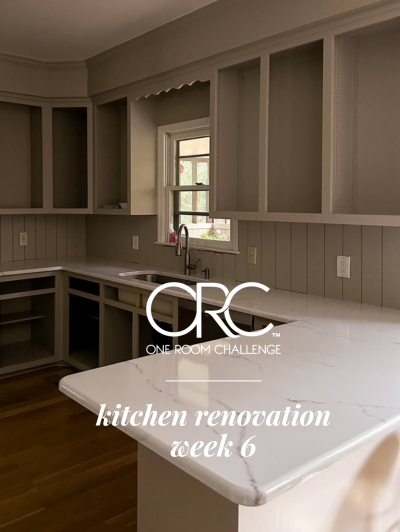
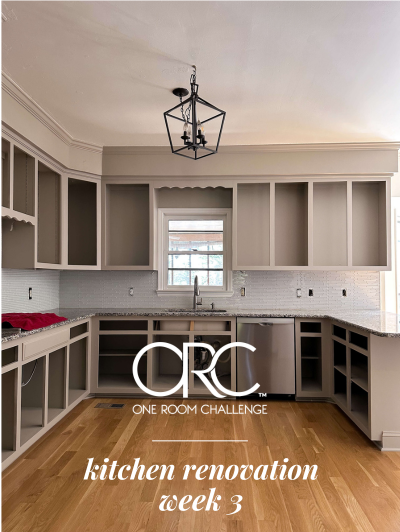
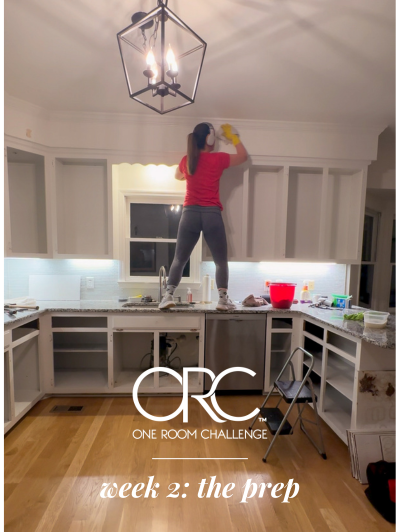
This was mostly a no demo renovation. I kept every cabinet box, kept the layout exactly as it was, and left the footprint untouched. The one exception was the backsplash, which I did remove, along with the original exposed cabinet hinges. Everything else about the kitchen’s structure stayed put. My thinking was that once the cosmetic work was finished, I would be able to make a clear, honest decision about whether the layout itself worked for me, instead of making a decision clouded by finishes I did not love.
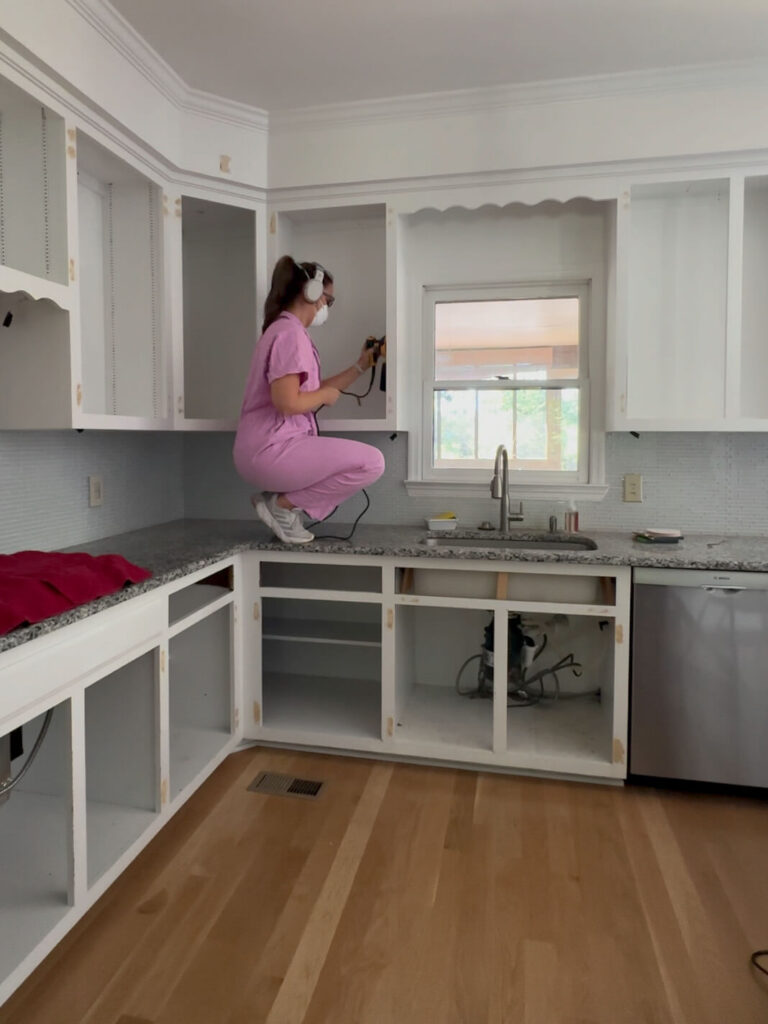
The countertops were the biggest piece of this puzzle, and also the piece I was most nervous about. They were dark, busy, and cold, which fed right into the overall feeling I was trying to fix. But they were also just difficult to live with day to day. Anything that landed on them, from crumbs to small screws, disappeared into the speckled pattern. I found myself having to get down to eye level with the counters just to confirm they were actually clean. Between the look and the daily frustration, I knew the countertops needed to change. What I did not know yet was whether I wanted to spend the thousands of dollars a full stone countertop replacement would cost for this square footage, especially before I was sure I loved how the kitchen functioned.
Watch the Full Transformation
I documented the entire process on video, start to finish, including the parts I would do differently if I were starting over. The tutorial runs about 18 minutes and walks through the full transformation with narration along the way.
If you would rather read through the steps at your own pace, my full written tutorial on the DIY marble countertop kit covers the process in detail.
I went with the White Carrera Marble countertop kit, hand painting the veining myself. I needed two kits to cover my square footage, which came out to $400 total. That is the number I keep coming back to whenever people ask if this was worth it.
How My Painted Marble Countertops Are Holding Up After Two Years
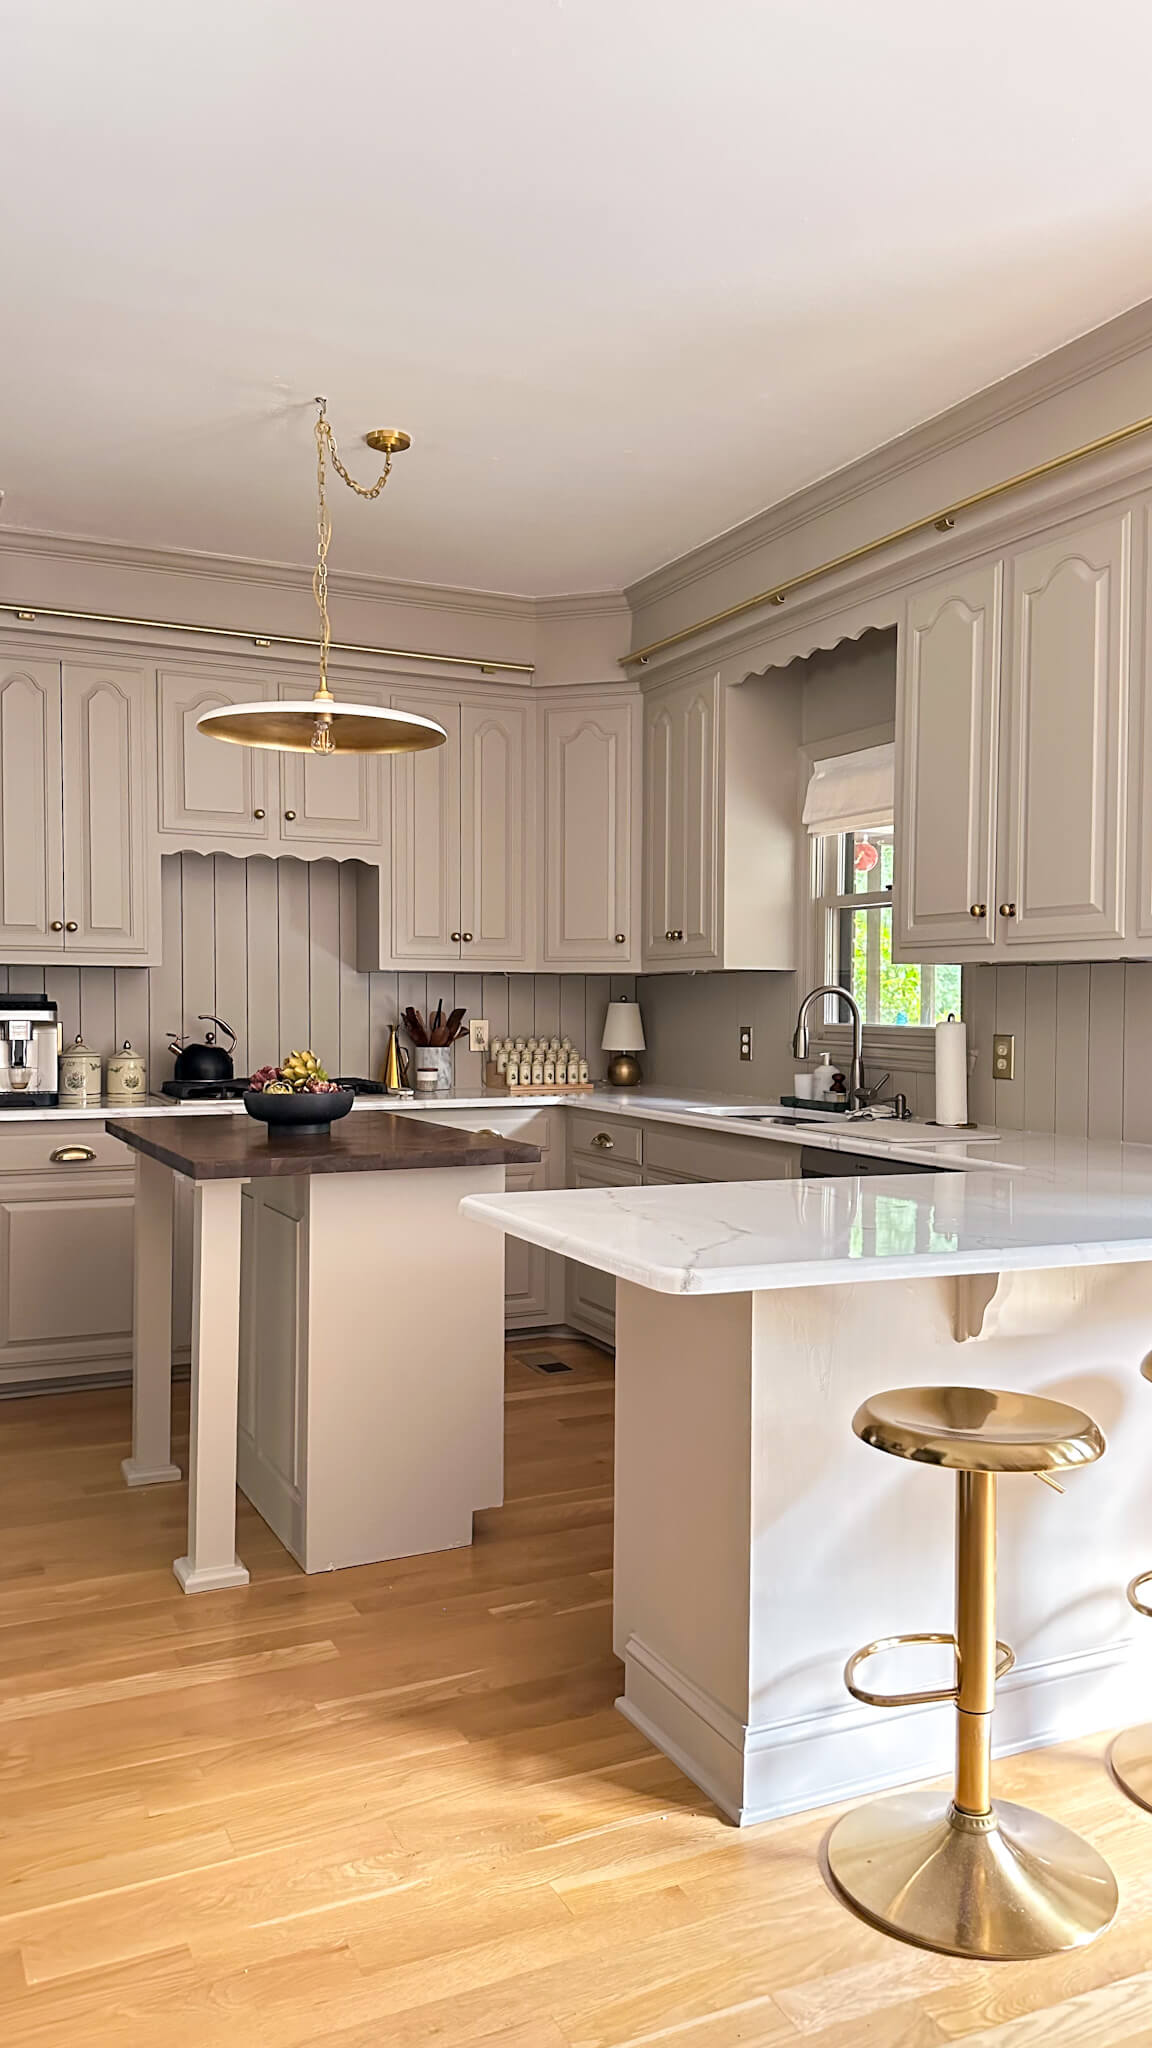
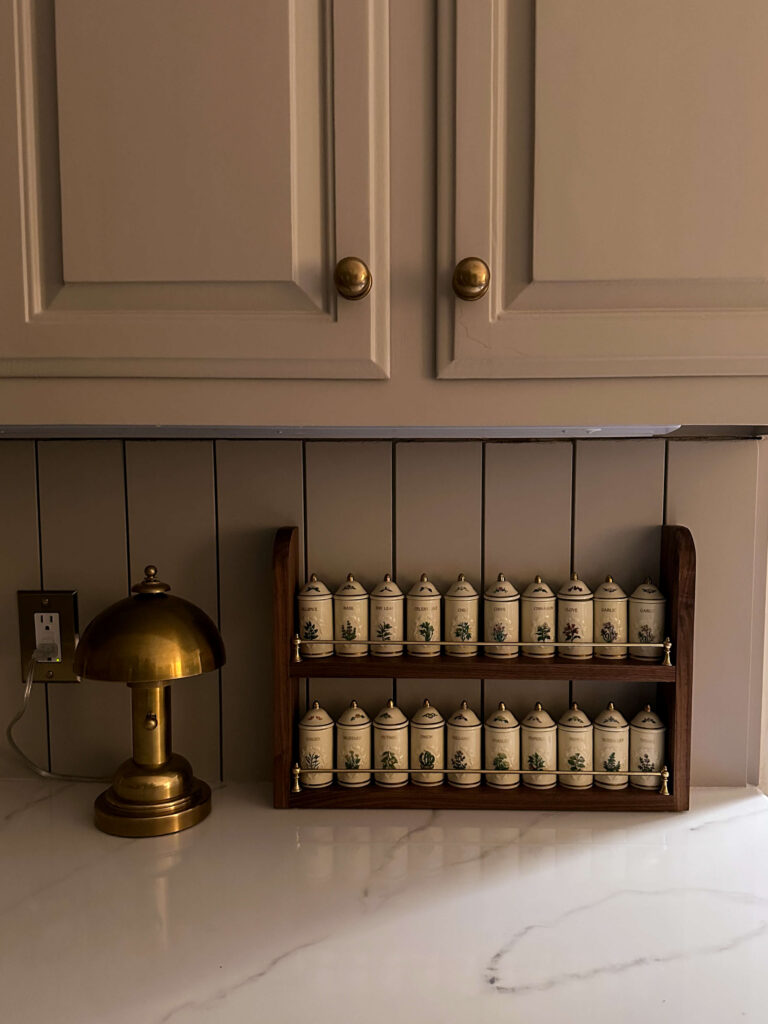
Here is the part everyone actually wants to know. After two years of daily use, my painted marble countertops are holding up fantastically. I use them every day like a totally normal kitchen, a mix of hand washing dishes and running the dishwasher, and I generally use the stove top more than my double oven. I’ve had zero issues around the sink or the stove, the two spots that take the most abuse in any kitchen from outside elements like water and oil.
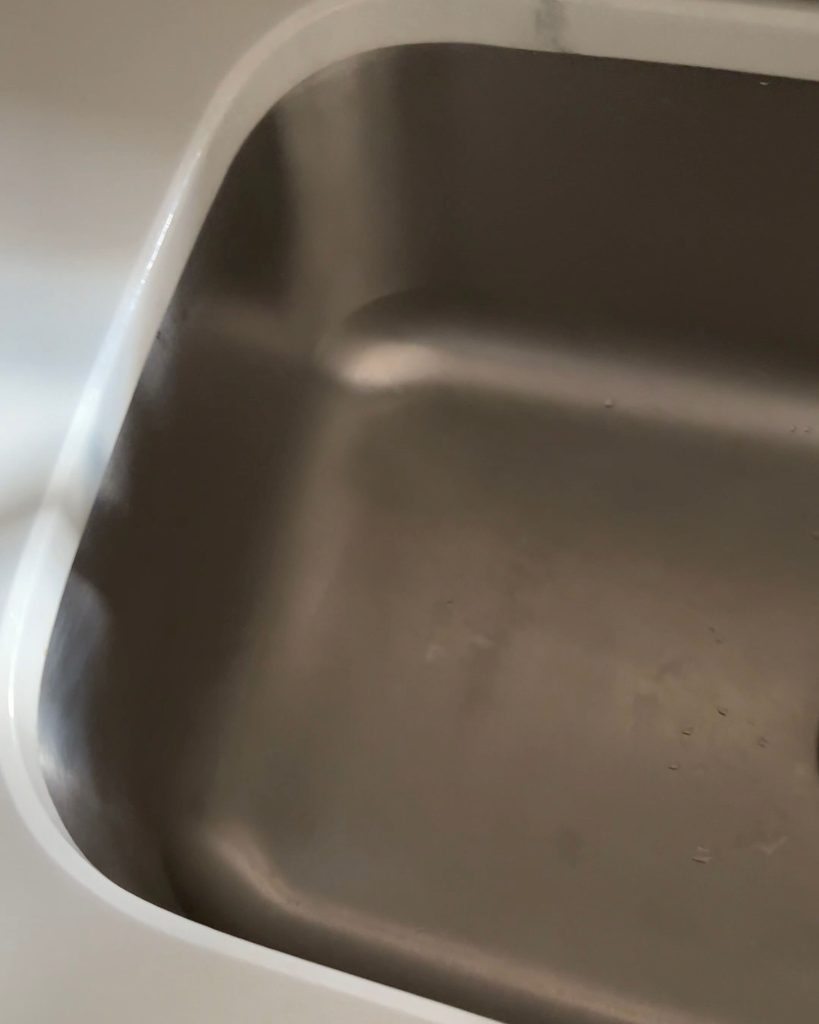
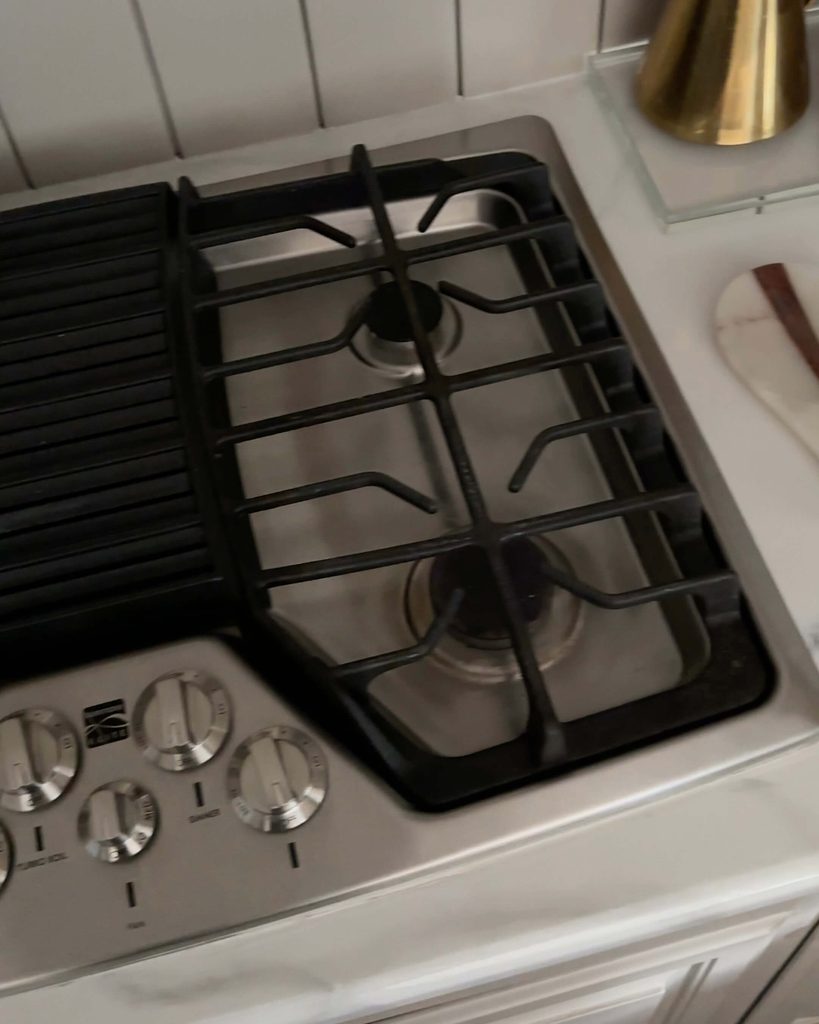
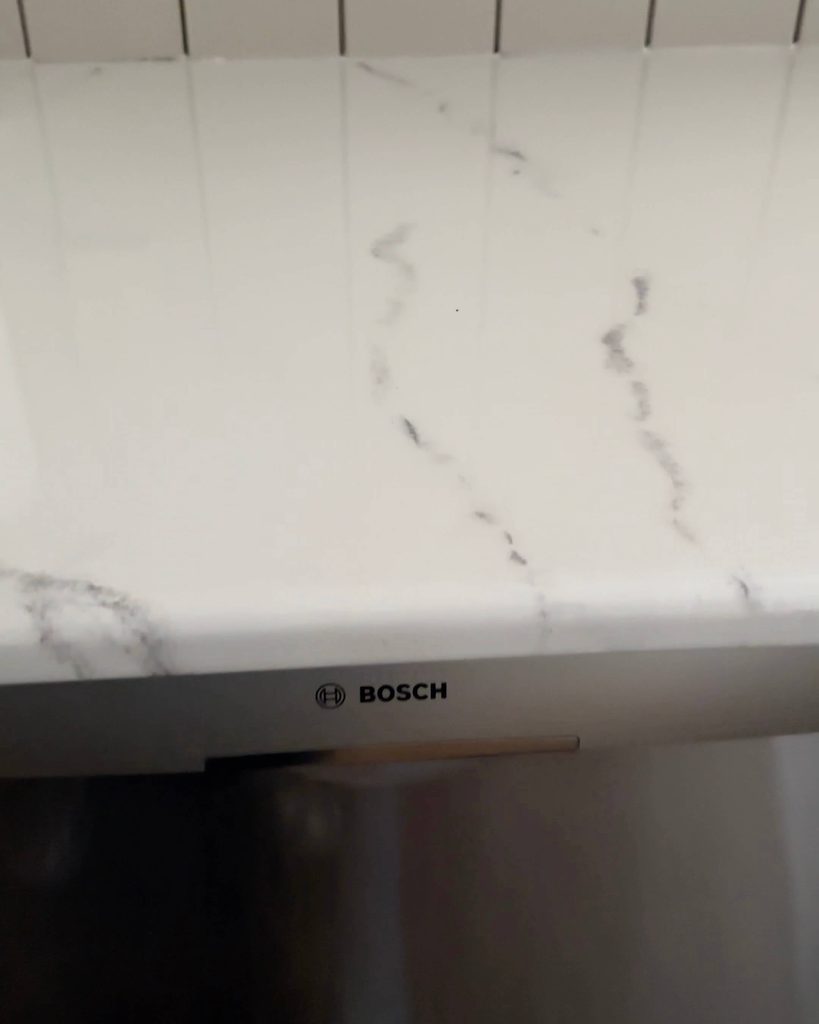
A close-up of the sink, stove and above the dishwasher
The closest thing to damage happened when a heavy metal bracket fell from a rolling library ladder while we were installing it, dropping roughly six feet straight down onto the counter. That kind of drop has real velocity behind it, and it did chip the paint. Honestly, I think the paint took the hit that the stone underneath would have otherwise taken. I was able to touch up the chip right away, and you would never know it happened now.
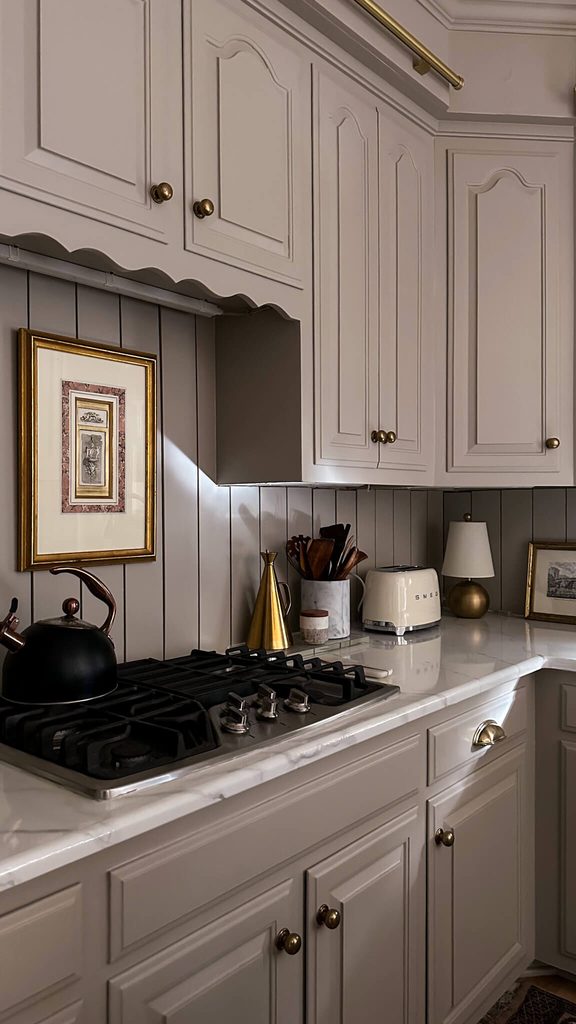
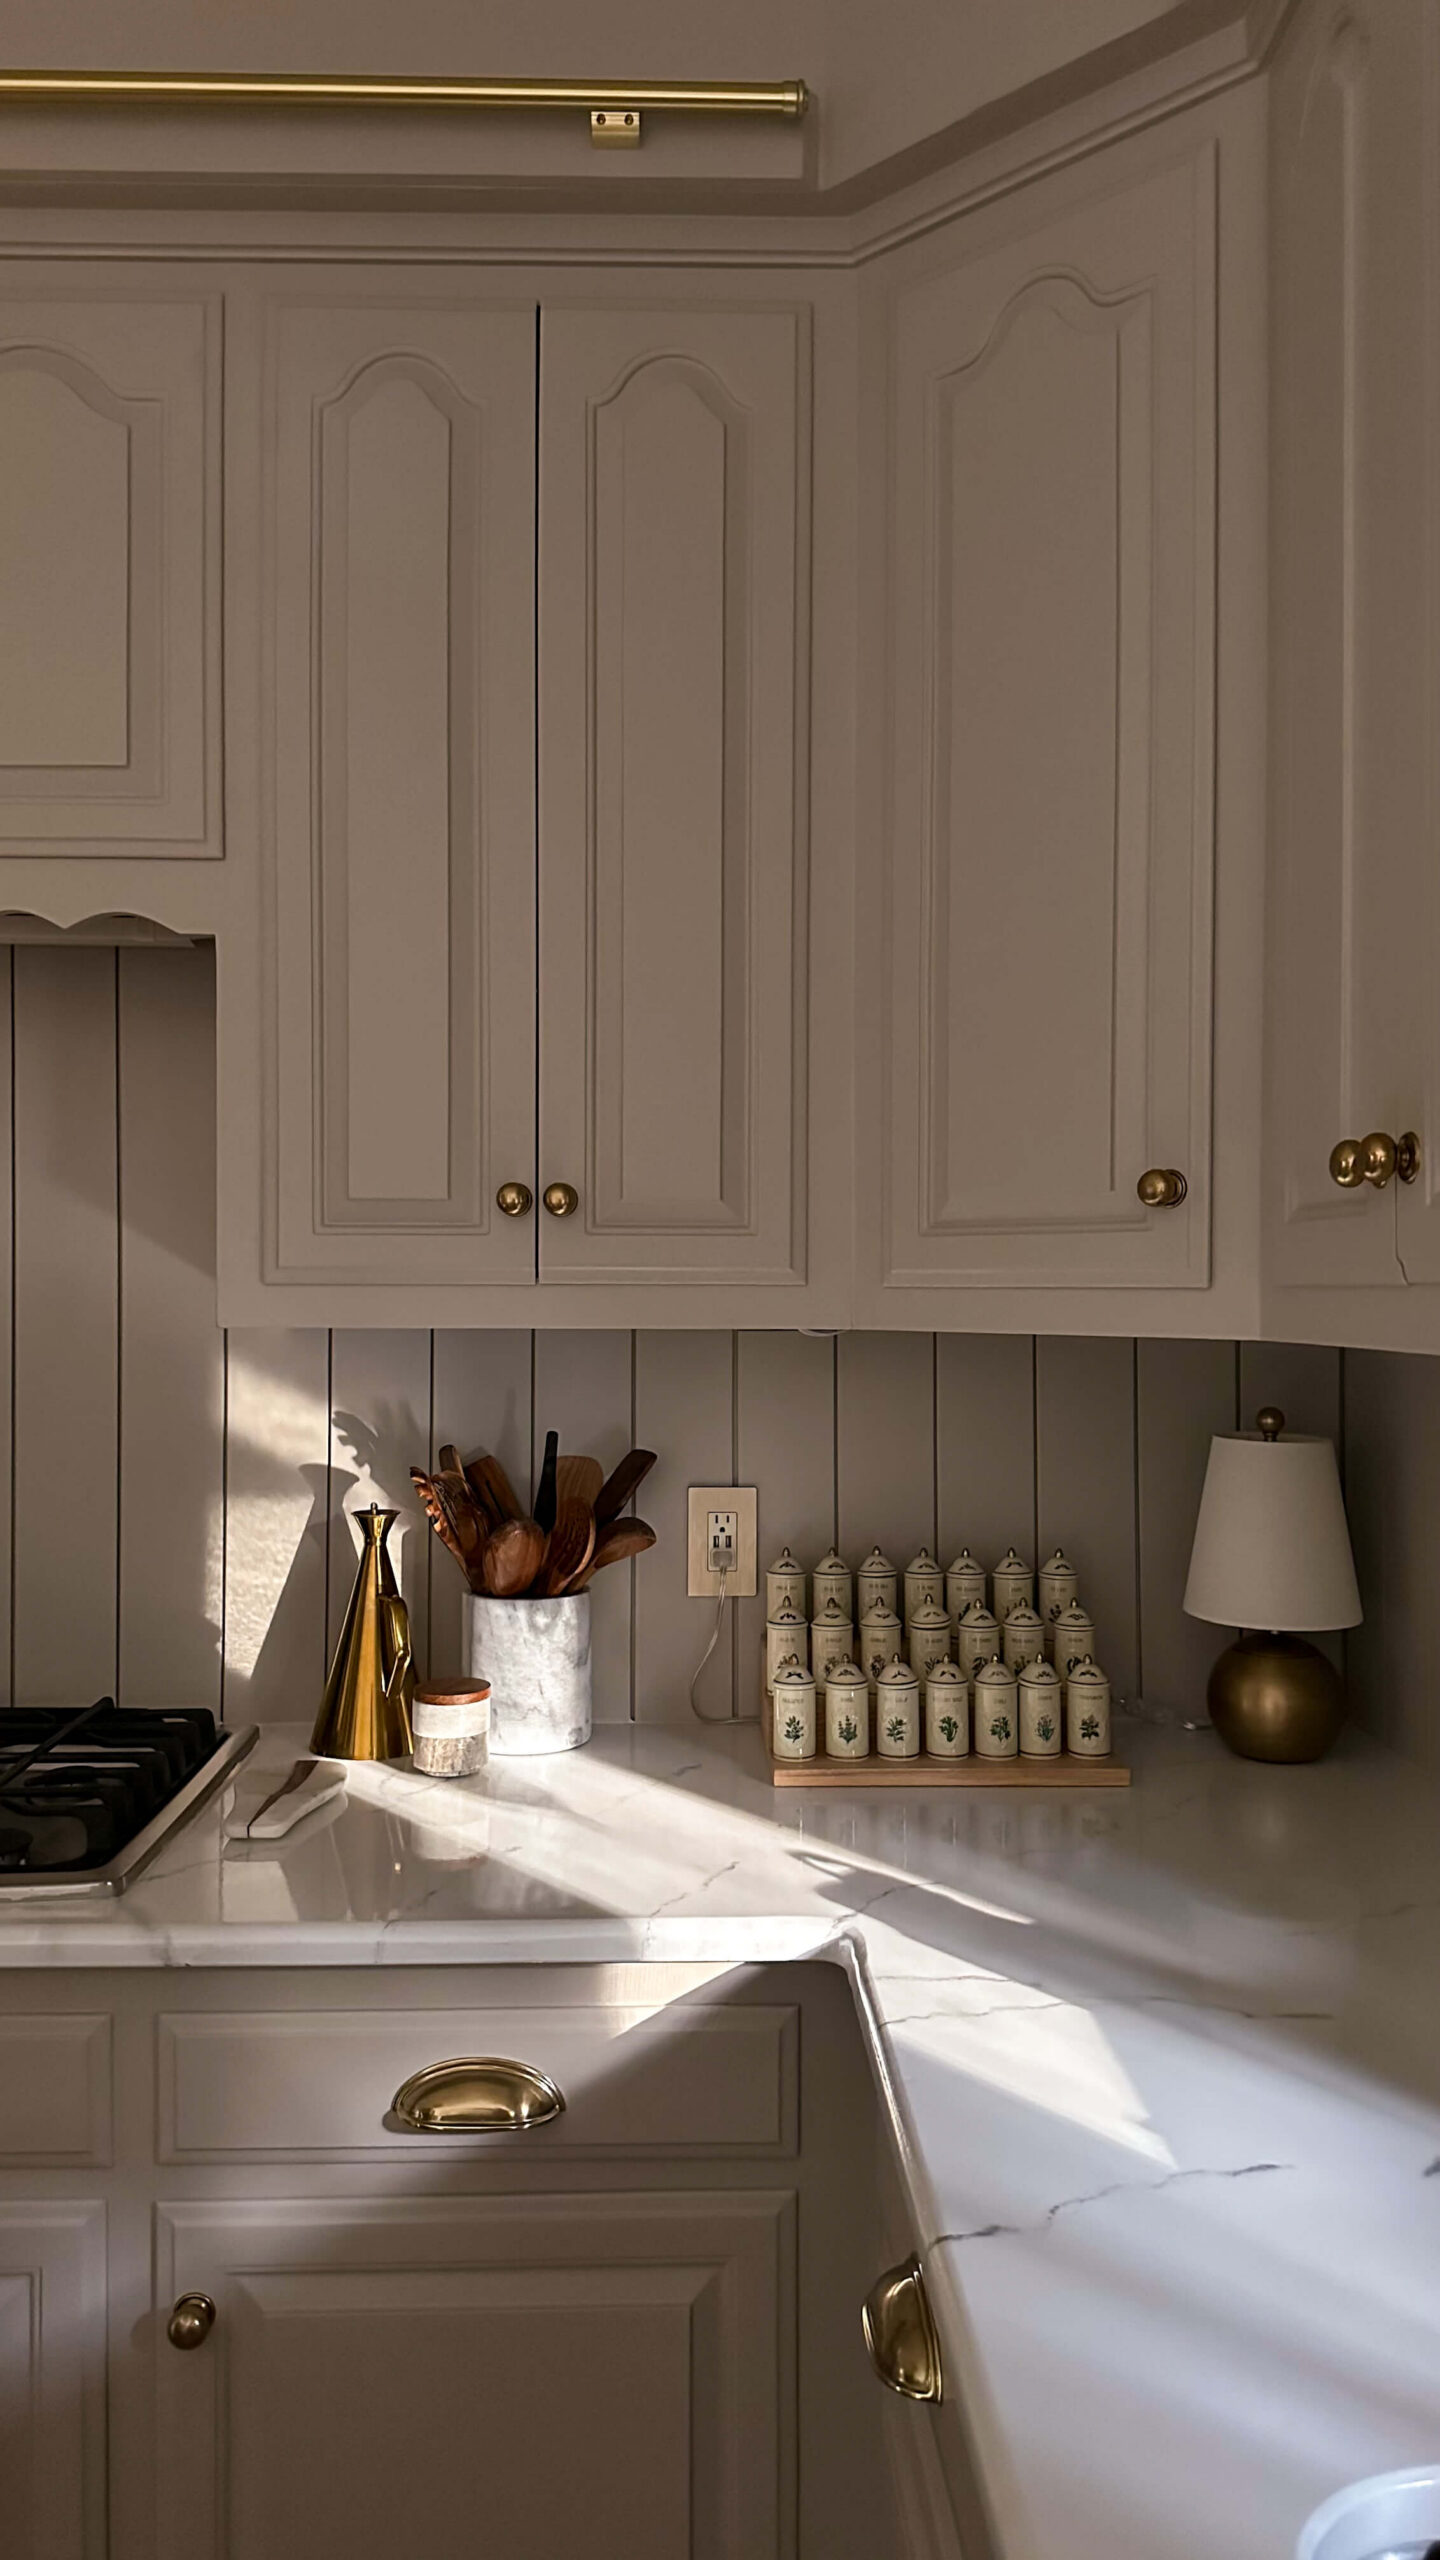
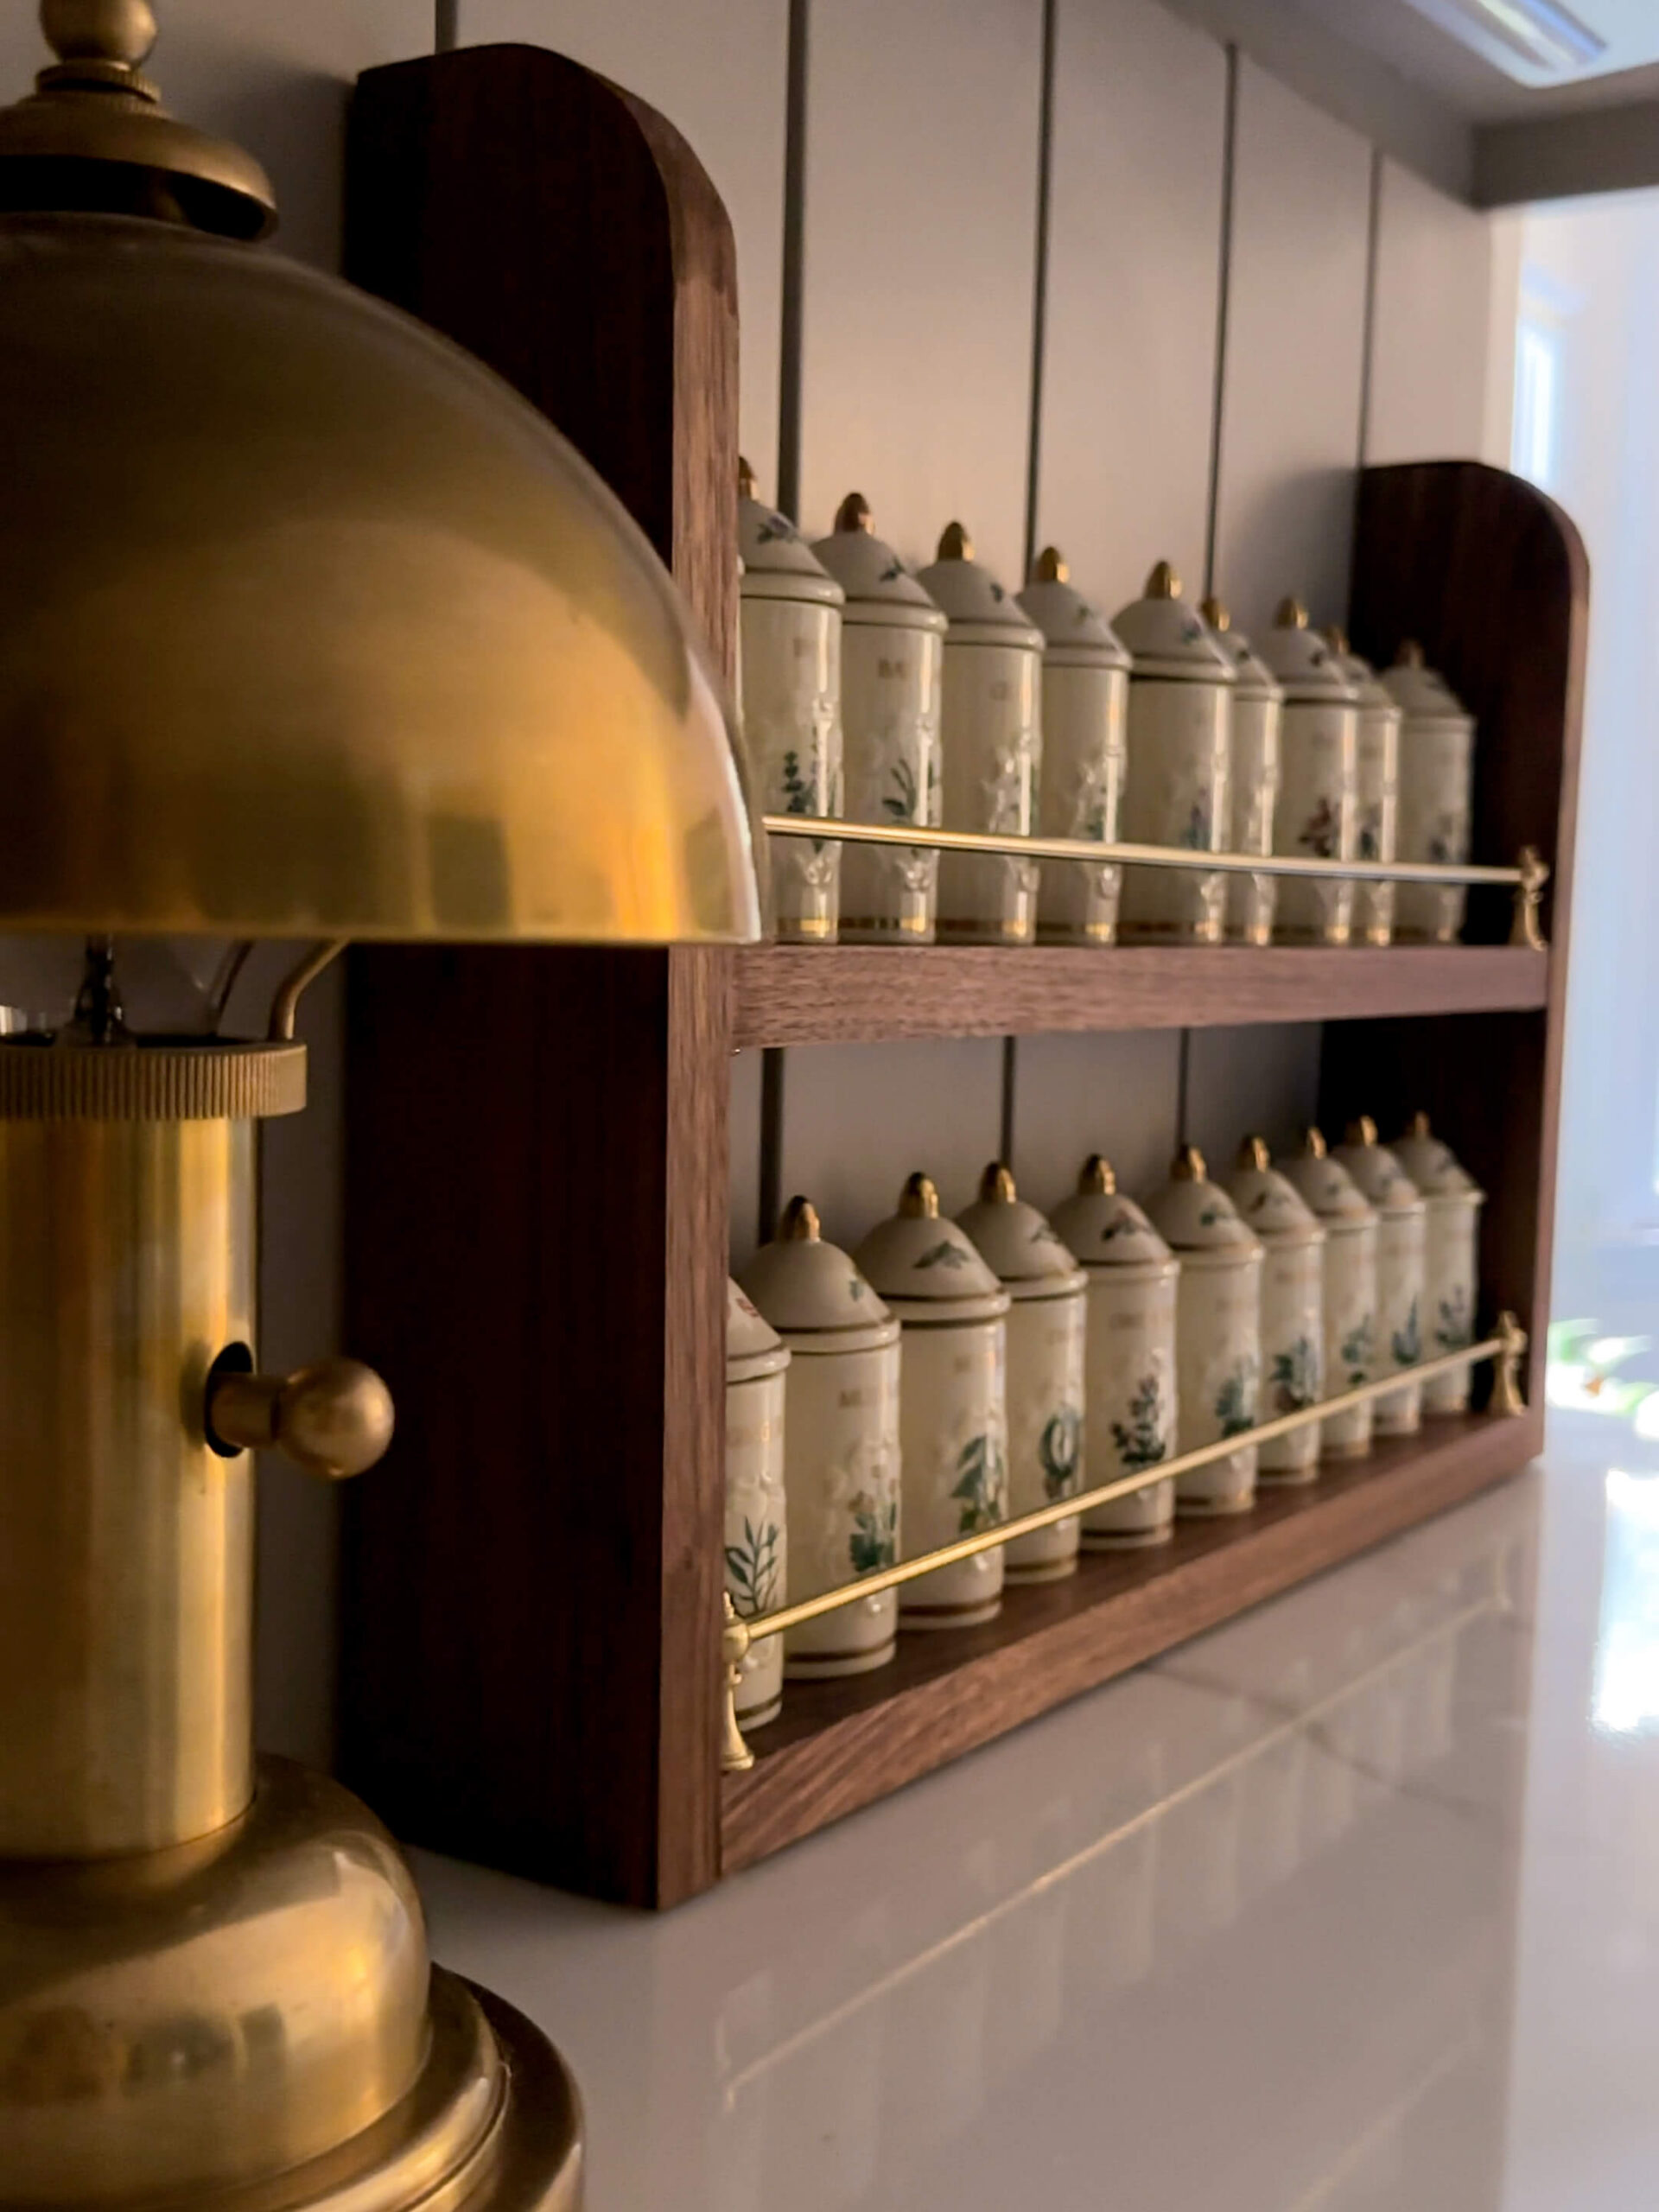
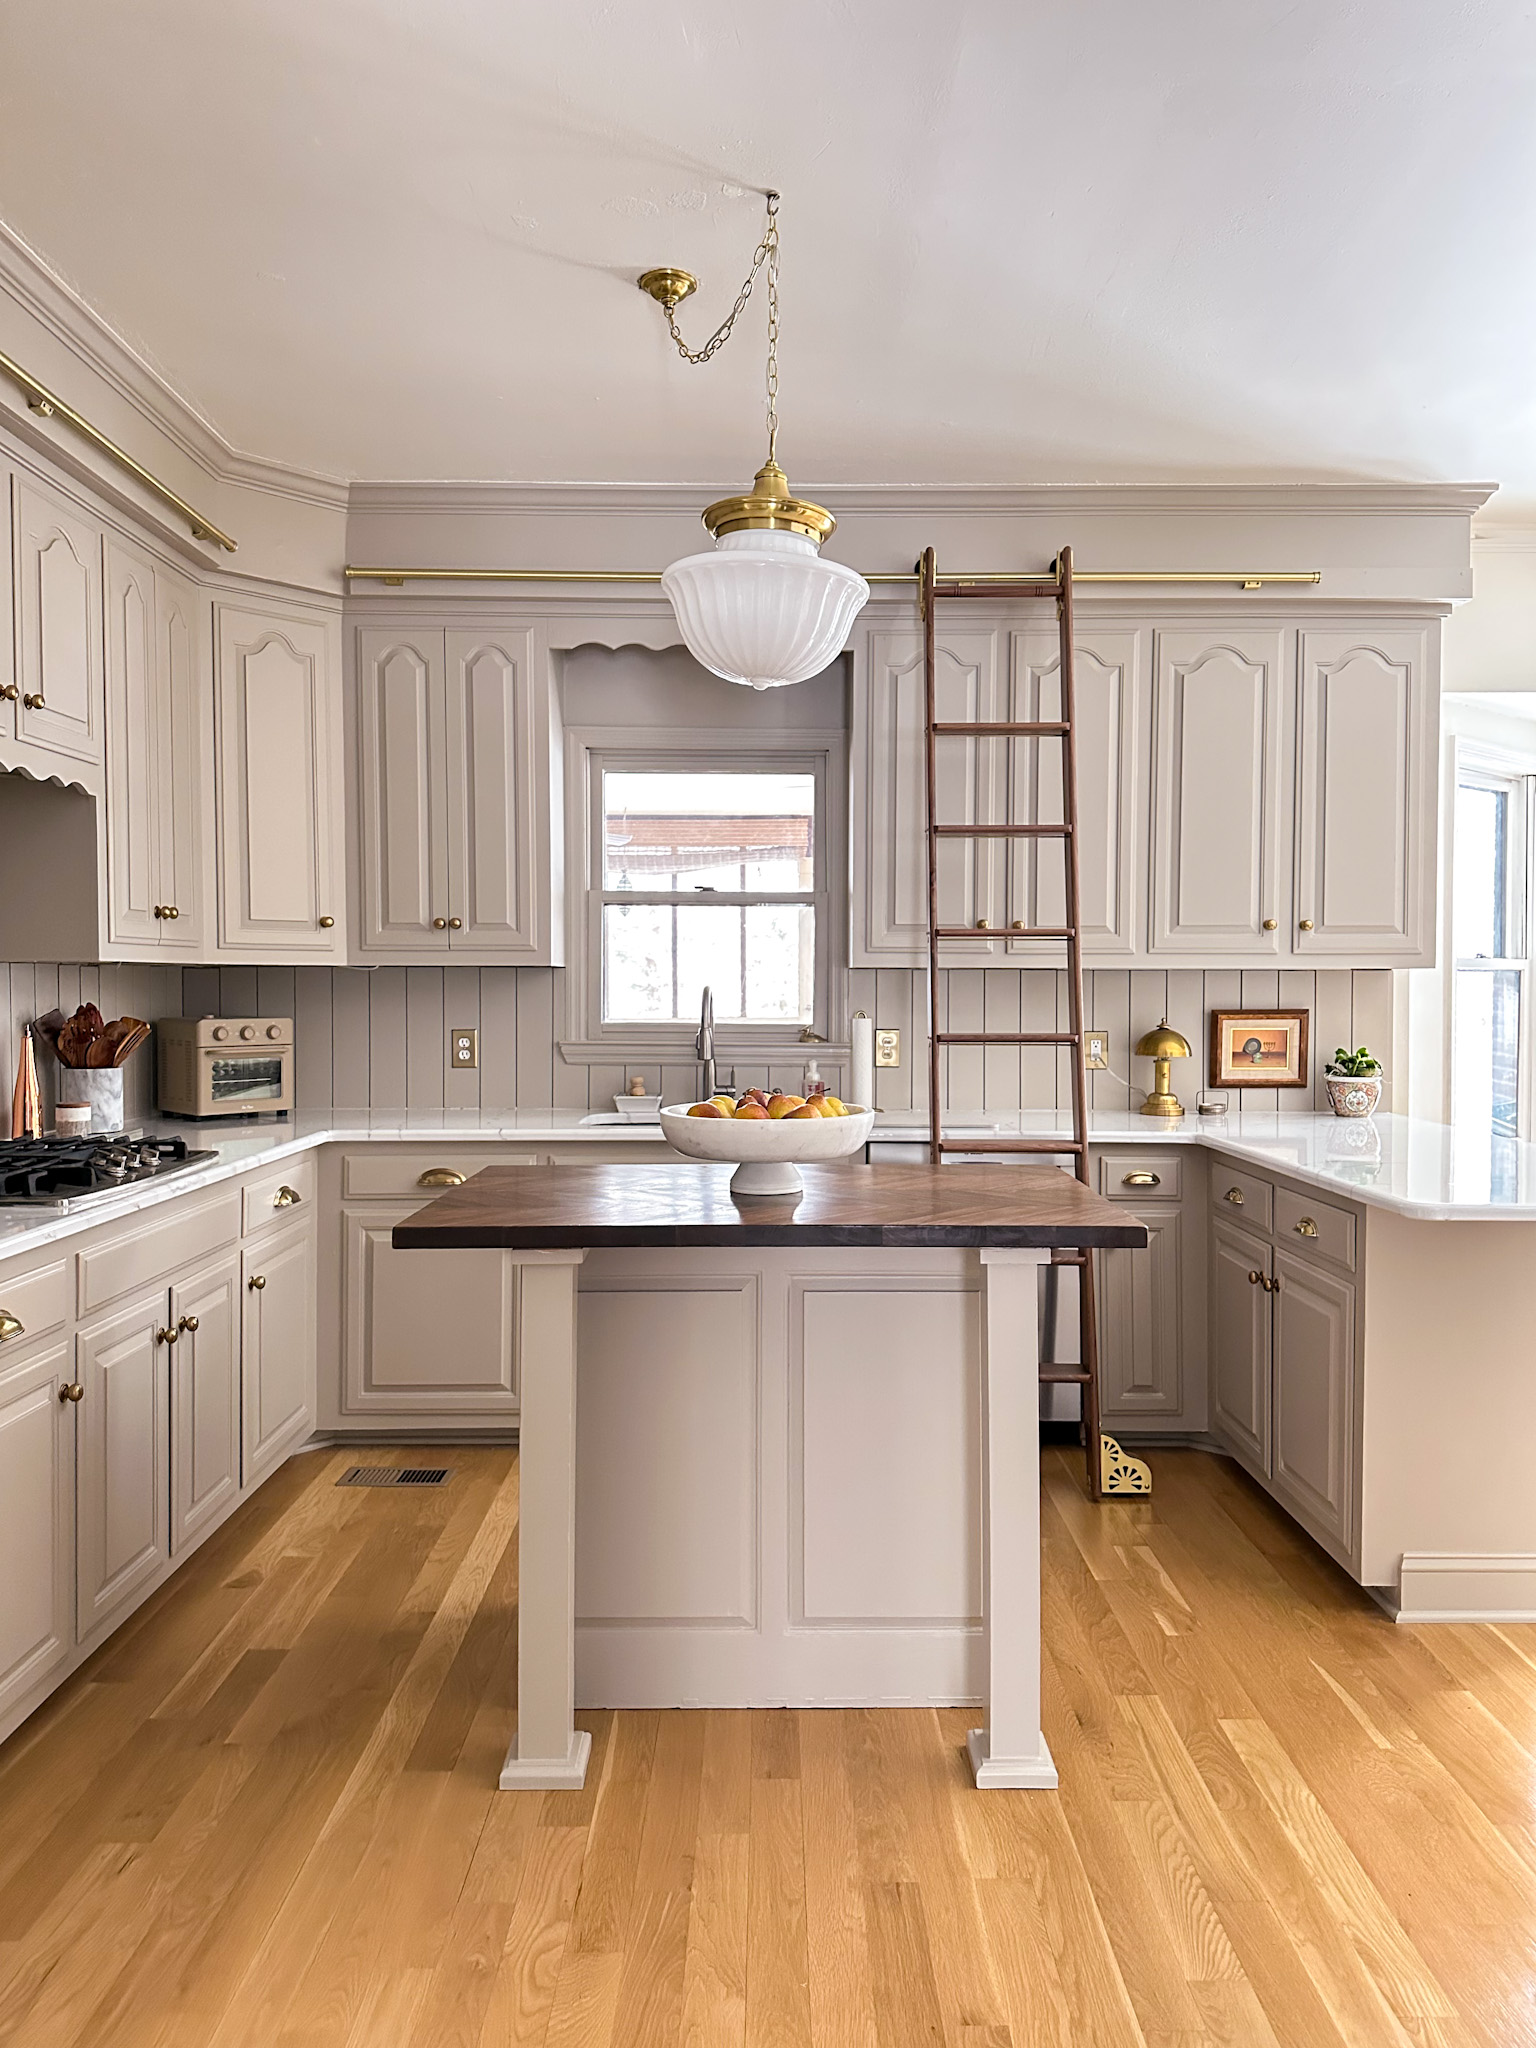
Paint Color | Paneled Backsplash | Kettle | Olive Oil Cruet | Crystal Tray | Toaster | Brass Lamp
The one thing I would change is the caulk I used around the stovetop. It collects a bit of dirt over time. It’s still fully cleanable, just not my favorite result, and if I did this again I would test a few different caulk options before committing to one in that specific spot.
One detail I think matters a lot for anyone considering this: my kit came with an epoxy resin top coat formulated specifically for kitchen use around food, and I think it’s because of that, that I’ve not seen any yellowing anywhere. Not in the areas that get direct sunlight, and not around the stove or above the dishwasher where heat and steam are a factor. I say this because I’ve heard from other people who tried similar kits and dealt with yellowing, and from what I can tell, it came down to using a different epoxy than the one made for this purpose. If you try this yourself, do not swap in a different resin than what the kit provides. Not all kits, and not all resins, are created equal.
Cleaning and Daily Maintenance
Because the countertops are sealed with that epoxy top coat, my cleaning routine changed a little from what I used to do on the granite. I now stick to Dawn dish soap for everyday cleaning. Before, I would reach for whatever was under the sink, Clorox, Lysol, various disinfectant sprays, without thinking twice. Now I keep it simple and gentle, since I would rather not risk the finish. It still feels completely clean and disinfected, I just get there with a gentler product.
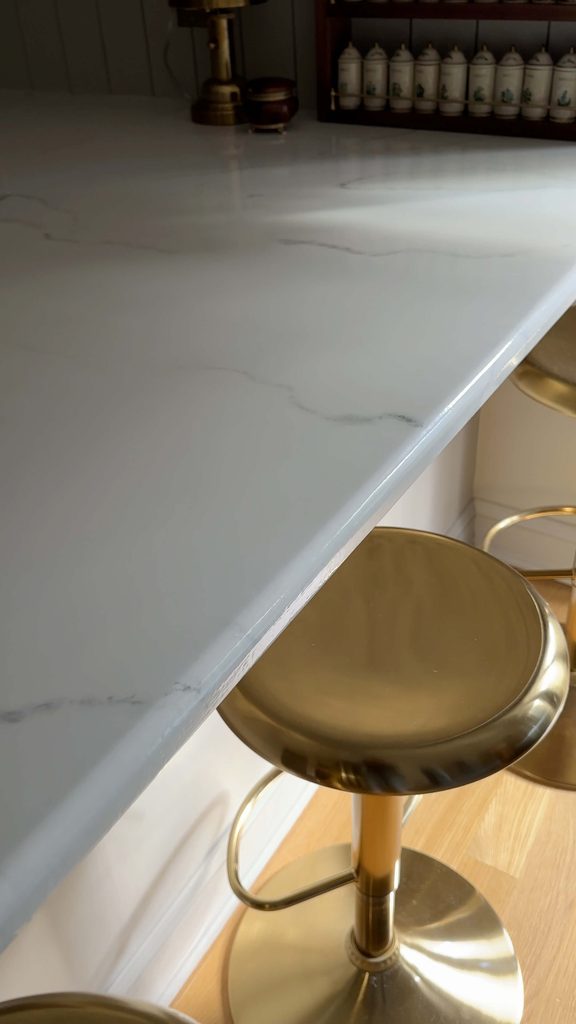
The other real behavior change is with heat. You cannot set hot pans straight from the oven or stovetop onto this surface the way you could with stone. That said, this was not actually a new habit for me. I grew up with Formica countertops, and my mom always taught me to use trivets, so I was already in that habit long before these counters existed. If you are someone who is used to setting hot cookware directly on stone or granite, this is the adjustment to plan for.
The Full Warm Up, Before and After
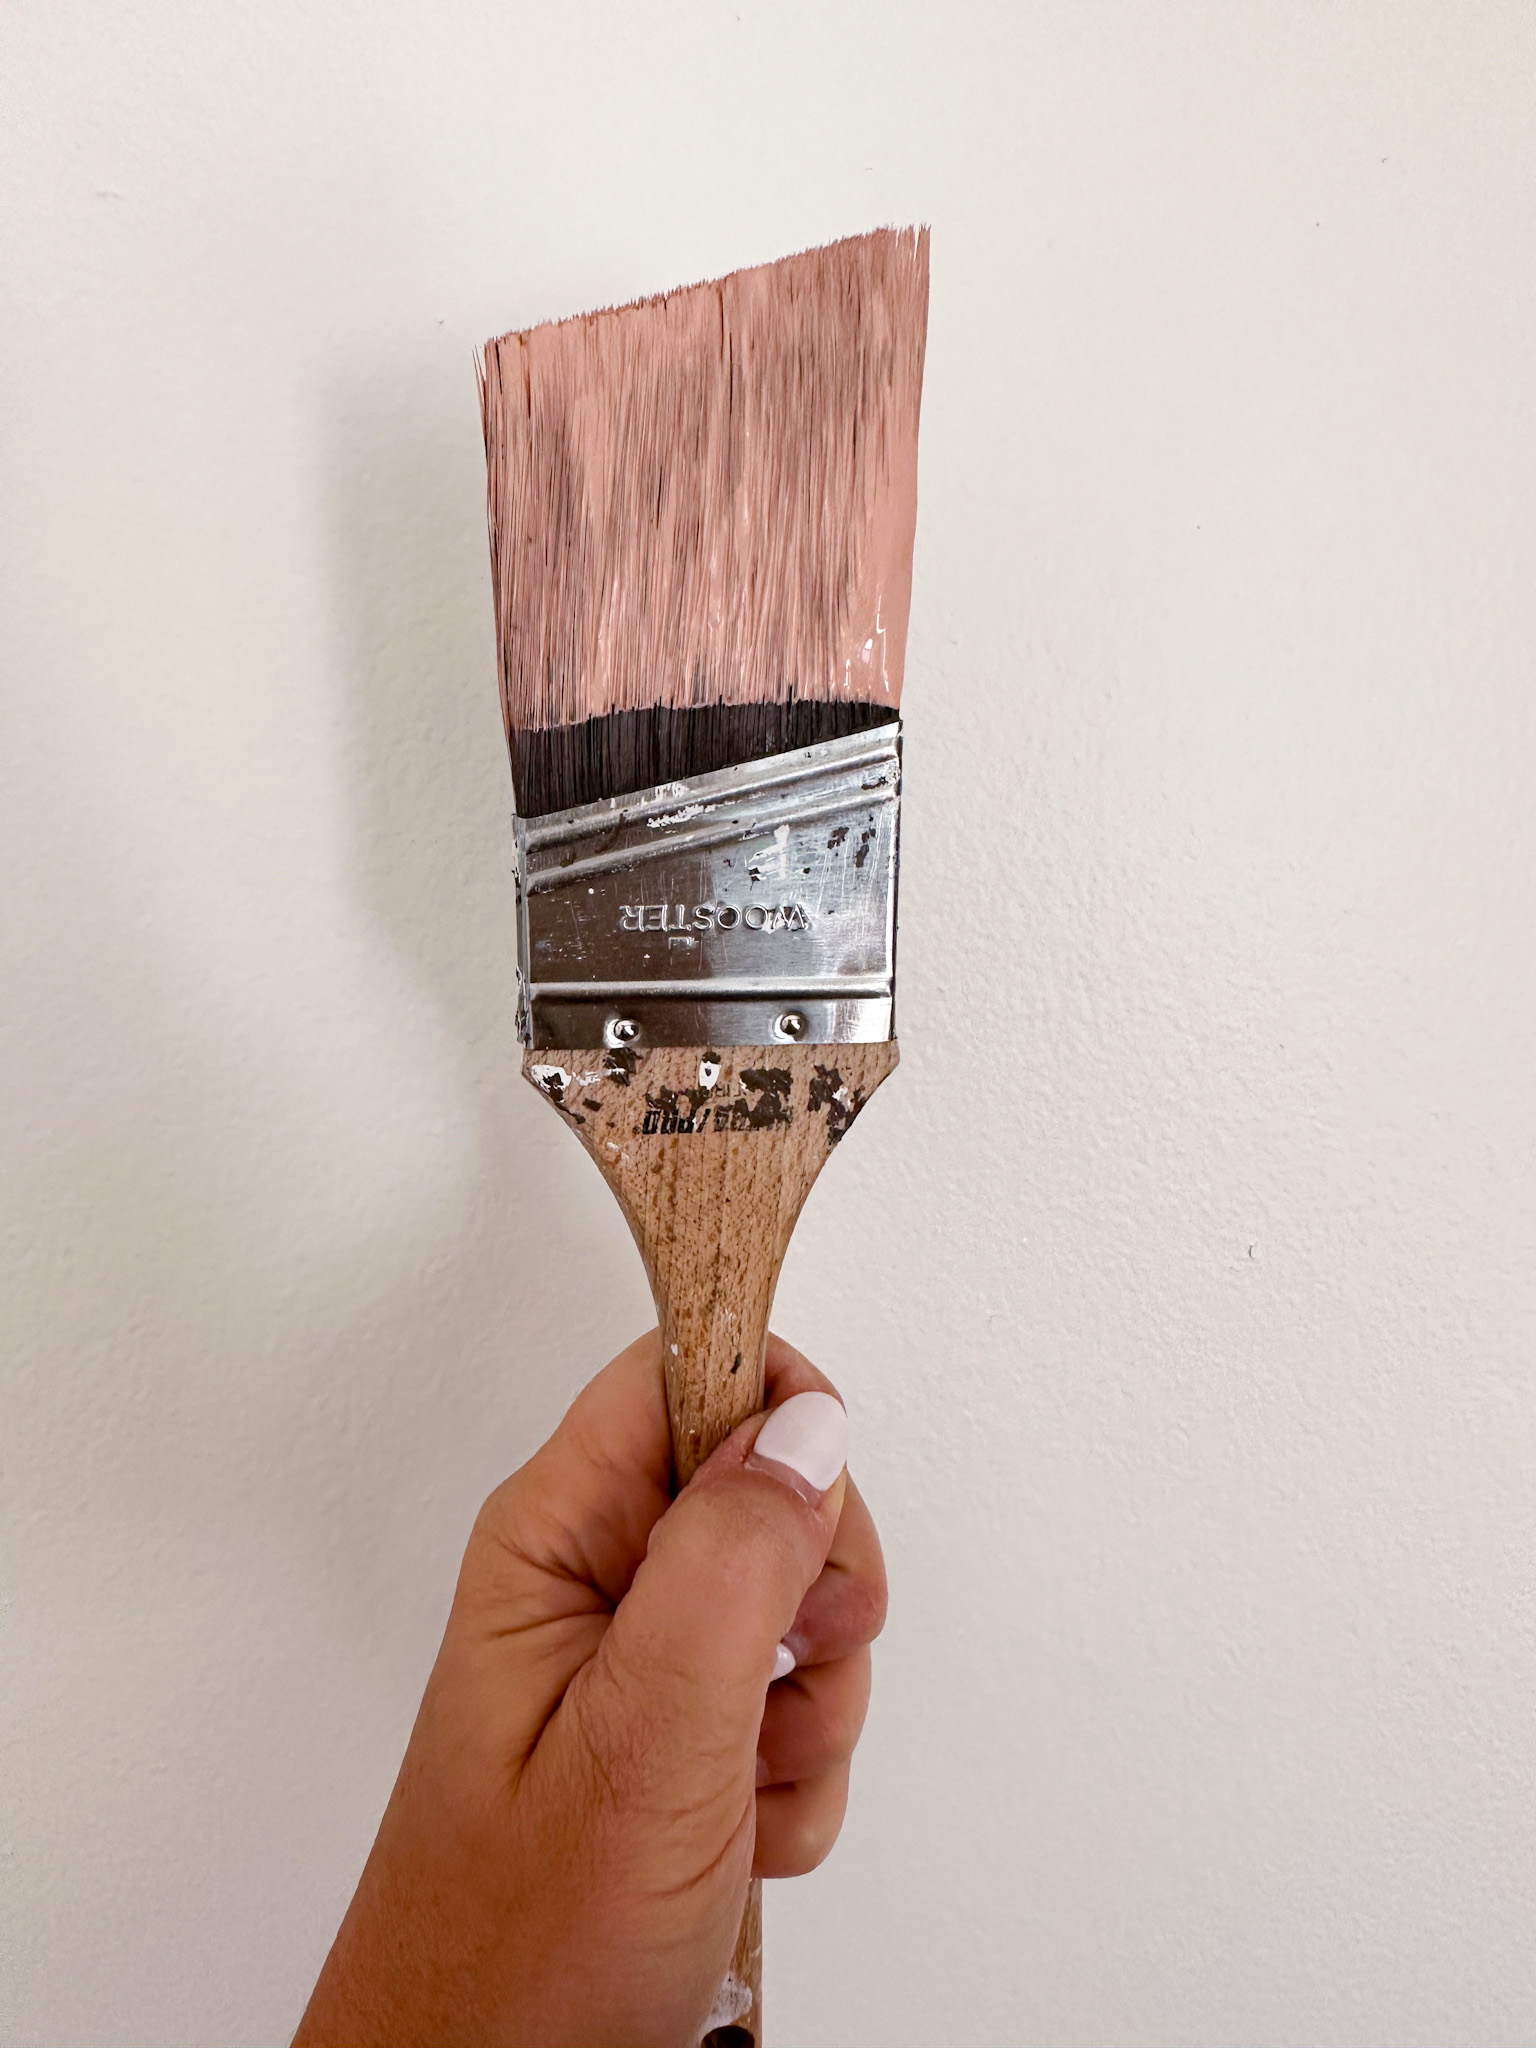
The countertops did not do this work alone. As part of the same project, I painted the cabinets a warm taupe, removed that cold glass backsplash, and installed a wood paneled backsplash painted the same taupe as the cabinets for a seamless look. The white and gray veining on the countertops was chosen specifically to complement that new warmer palette. The combined effect changed the entire feeling of the room. It went from cold and slightly uninviting to warm, cozy, and genuinely a place I want to spend time in. Since the kitchen tends to be where everyone naturally ends up when family or friends are over, that shift mattered more to me than almost anything else in the house.
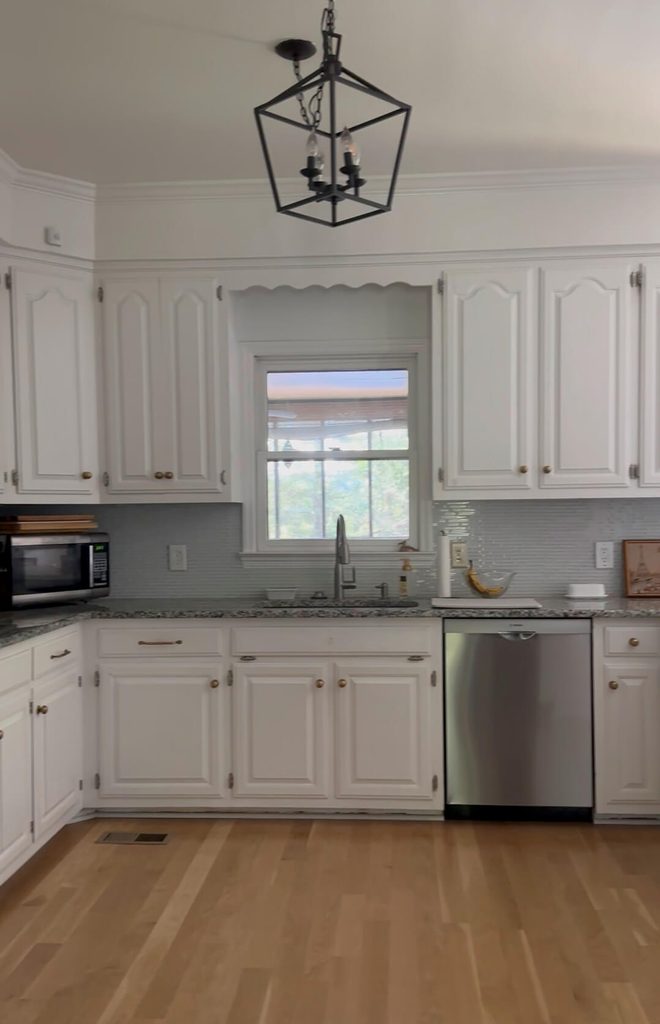
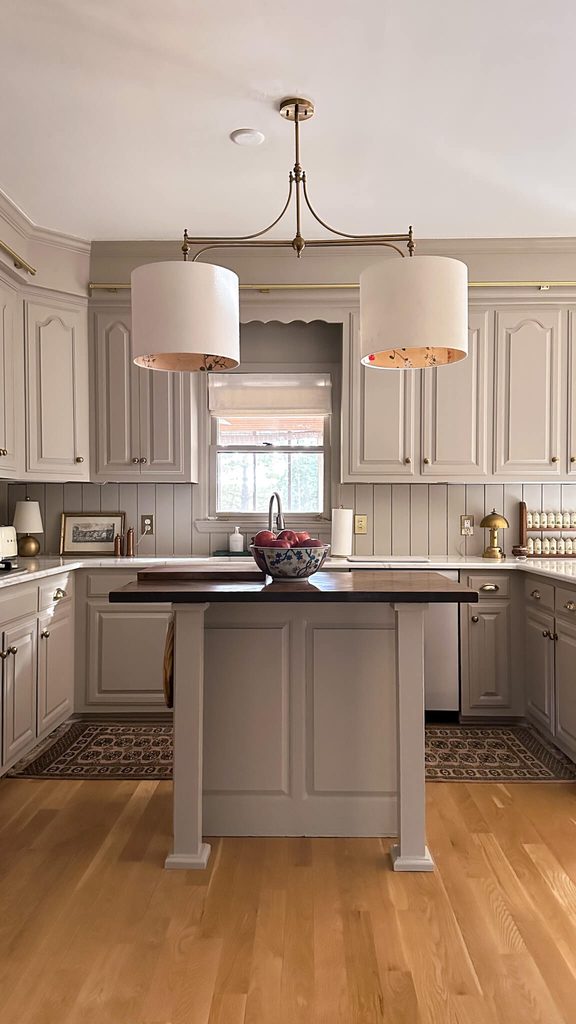
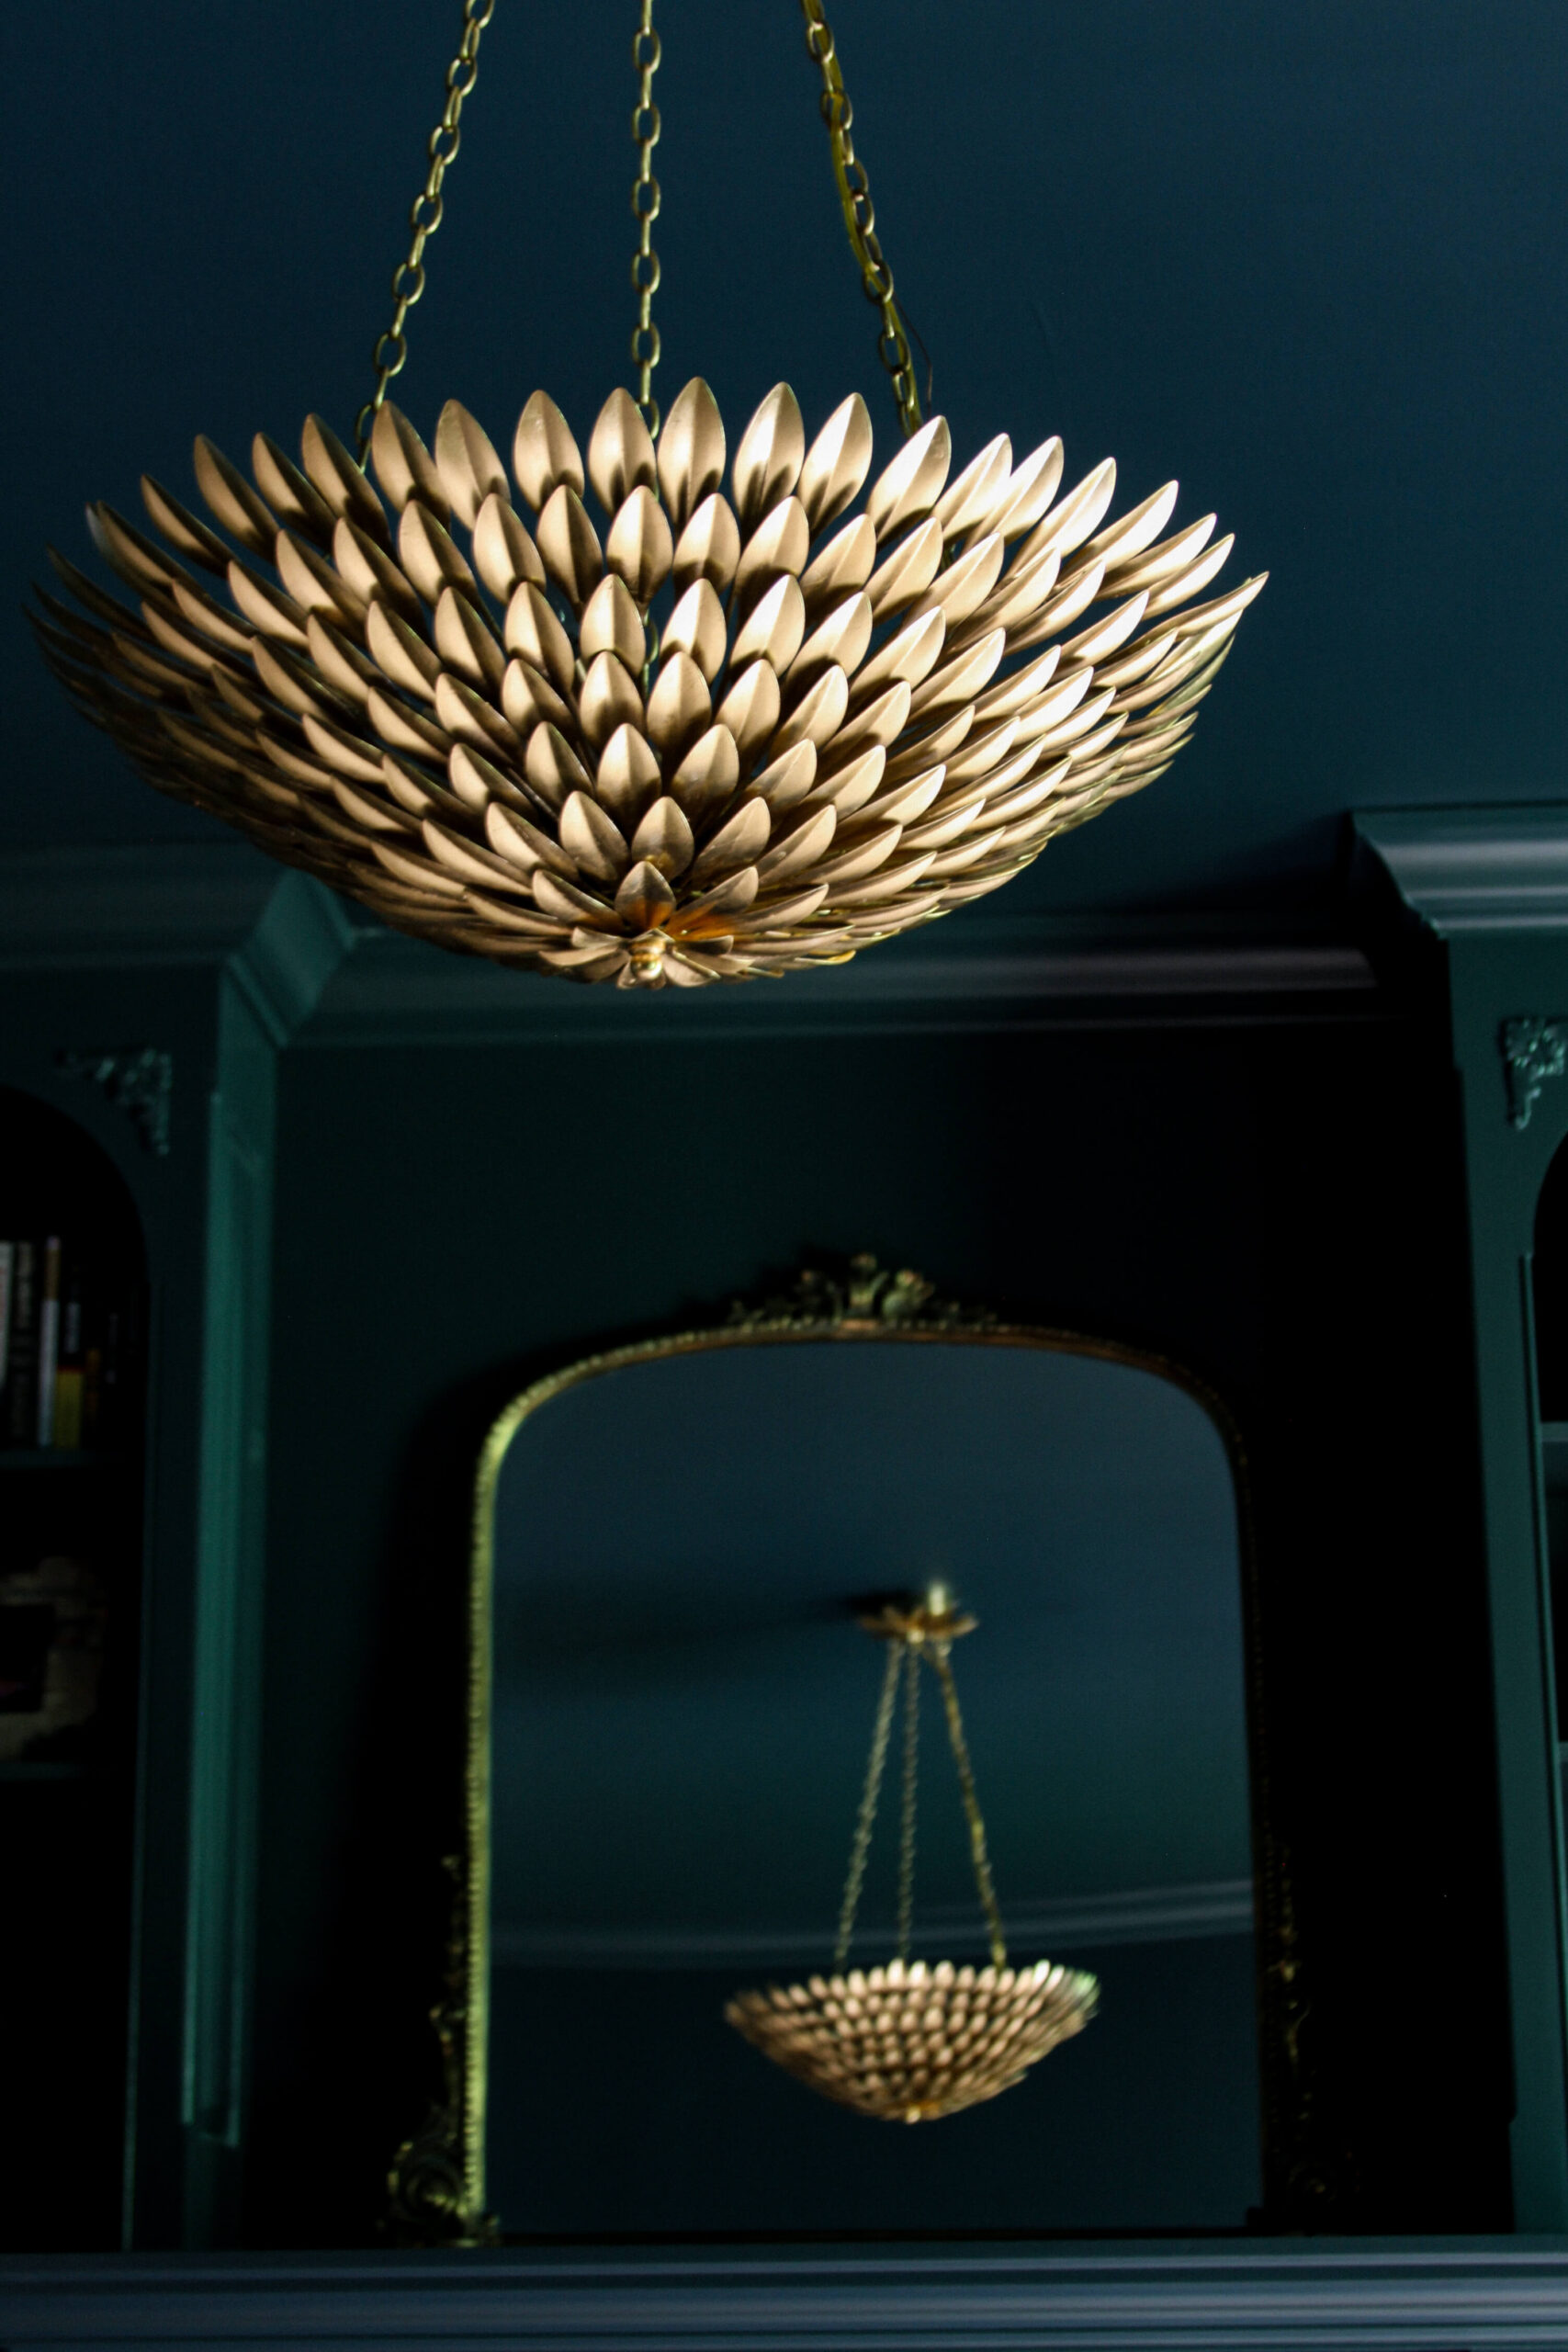
Brass Ceiling Pendant | Pendant Shades | Walnut Island Top | Brass Task Lamp
Would I Do It Again?
Yes, without hesitation. If you’ve inherited countertops that were never your choice and are throwing off the whole feeling of your space, I think this is one of the smartest ways to buy yourself time and clarity. It gave me a huge aesthetic upgrade while I save toward the stone countertops I do eventually want, and it let me confirm the layout worked before spending real money changing it.
The only thing I would genuinely do differently is wipe the counters down thoroughly right before pouring the epoxy. A few pieces of dust must have landed mid process, and they dried into the topcoat as tiny pinprick air bubbles. They are small, barely noticeable to anyone but me, but I know they are there, and a simple wipe down would have prevented them entirely.
I want to be honest about the limits of this project too. I’ve had these counters for two years, and they have held up beautifully in that window, but I cannot promise the same result ten years out, and I do not have kids in the house putting these counters through that kind of daily wear. If you have a busy household, young kids, or renters using the space, that is worth factoring into your decision, since you cannot always control how a surface gets treated. For my life right now, in my kitchen, this was absolutely the right call, and I have no regrets.
Final Thoughts
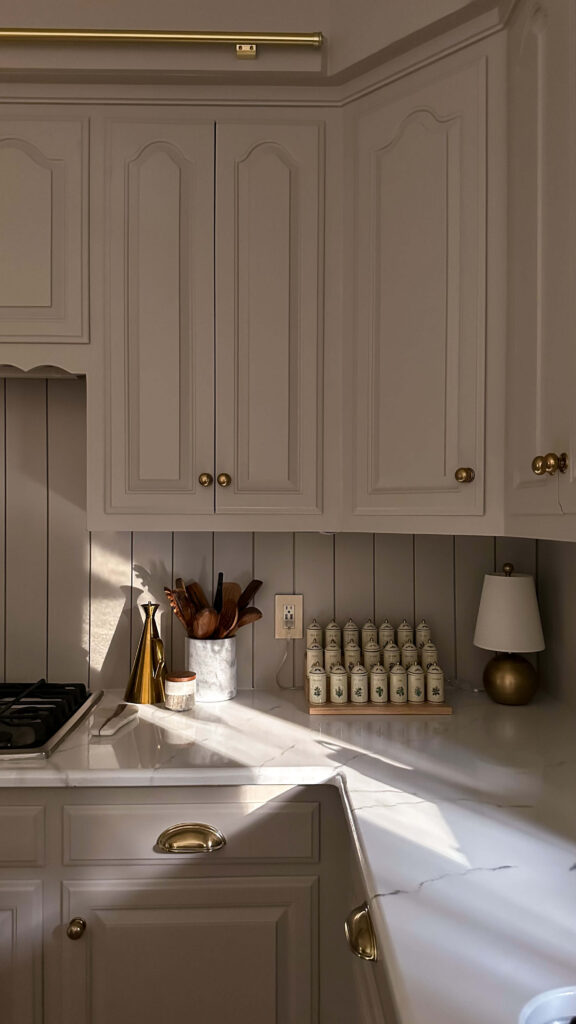
Two years in, my painted marble countertops have earned their place in this kitchen. They survived a six foot drop of a metal bracket, daily cooking, dishwasher steam, and direct sunlight without a hint of yellowing, and they turned a kitchen I once could not decide if I liked into one that finally feels like mine. If you are on the fence about a full renovation and want to test the waters first, I hope this two year check in gives you the real, unfiltered answer you were looking for.
If you want to see the entire process from start to finish, the video tutorial here walks through every step, and my written tutorial covers the same project for anyone who prefers to read along.
You Might Also Like
DIY Marble Countertops Tutorial
Budget Friendly Kitchen Renovation Reveal!
How To Paint Cabinets With a Paint Sprayer