



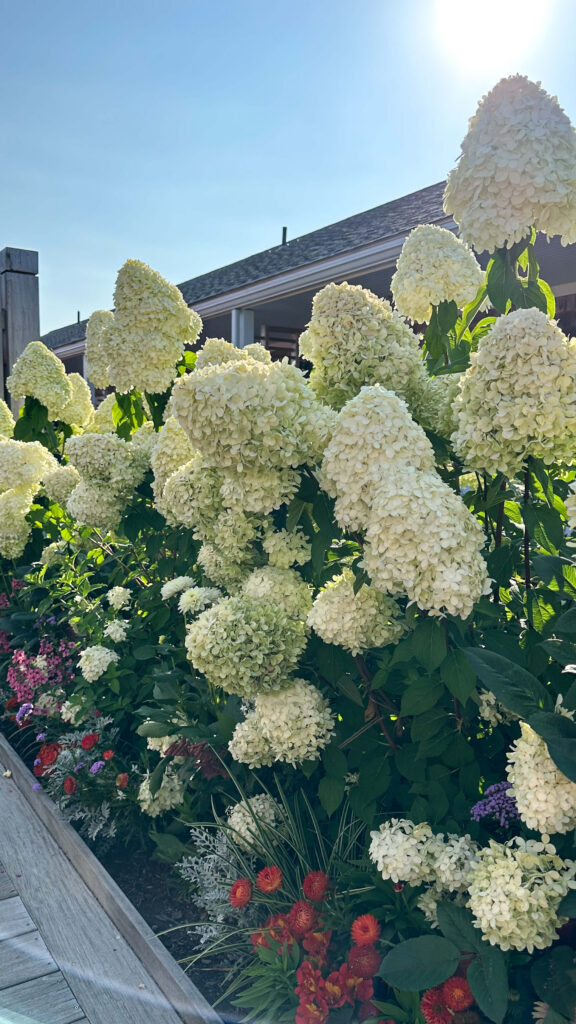
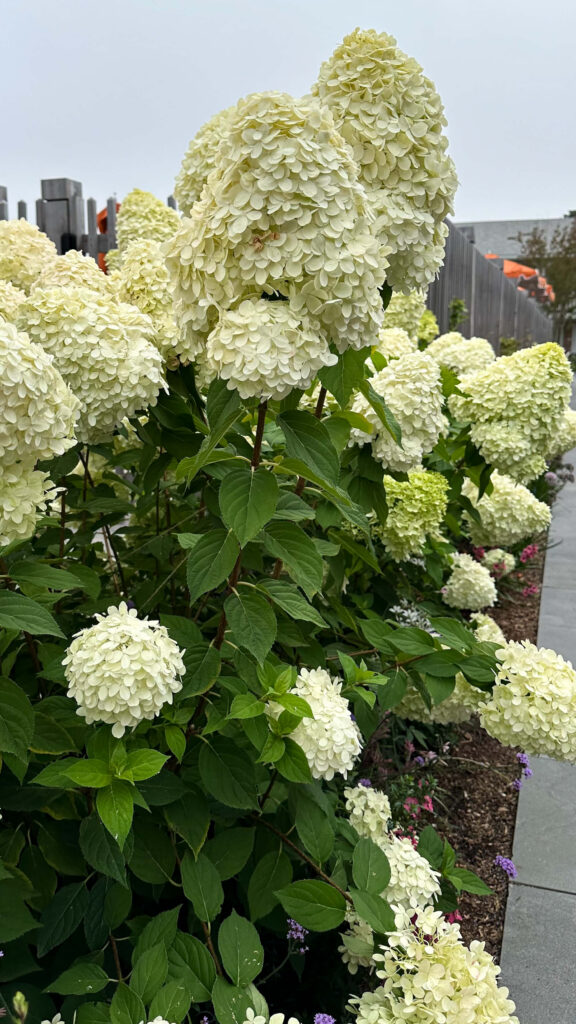
Recently I took a quick vacation to Nantucket and when I arrived home and reflected on the photos I took there was one common theme. Hydrangeas were everywhere on that island. Massive, overflowing clusters in white and pink and blue, tumbling over fences and along every stone pathway, framing the front of practically every house I walked past. I have always loved hydrangeas, but something about seeing them at that scale, growing with that kind of confidence, made me want to get serious about the ones I have at home. So here I am, two summers in, looking down the barrel of year three and actually doing my research for once. If you planted snowball hydrangeas in the last couple of years and you are waiting for that big leap, this post is for you. These are the snowball hydrangea care tips I am putting into practice right now.
A quick note on my plants before I get into it. My snowball hydrangeas were professionally planted in August 2025, which is a funny time to start. They went in right at the tail end of summer with almost no blooms to speak of, one sad little flower on one bush. I always wonder if that counts as year one or year 0.5. Either way, you know the saying: the first year they sleep, the second year they creep, and the third year they leap. I held onto that promise all winter.
What Year One and Year Two Actually Looked Like
Year one was a lot of watering and worrying. My landscaper told me to water heavily for the first month after planting, so I did, morning and night, no exceptions. After that, things were pretty quiet. The plants did not do much visible growing, but I had read enough to know that was normal. The roots were working underground even when I could not see any evidence of it.
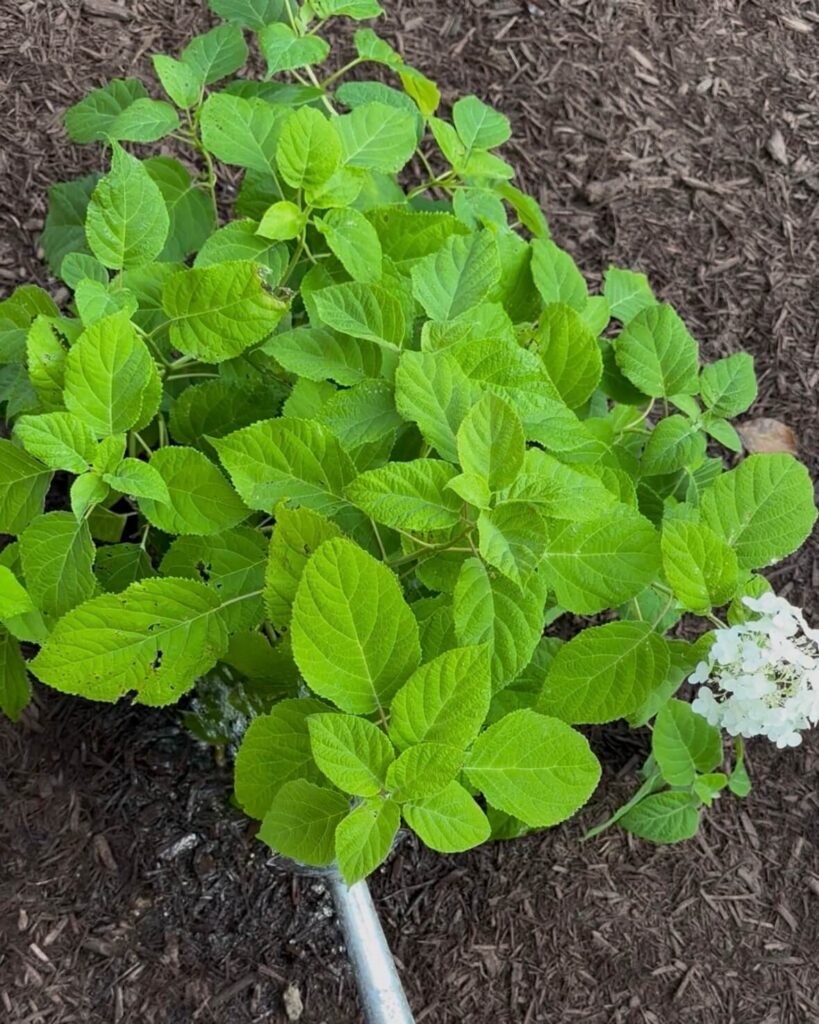
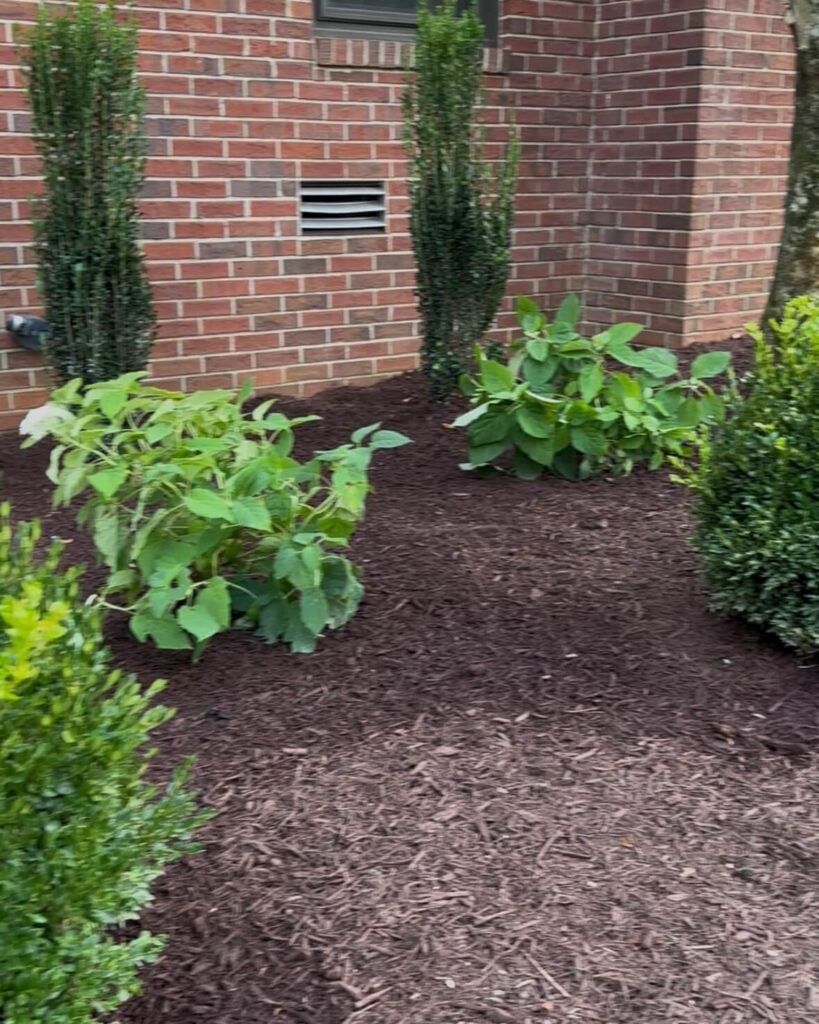
My snowball hydrangeas right after being planted in year one (sleeping)
Year two brought a genuine surprise. We had a brutal ice storm this past winter, the kind that has you googling “do ice storms kill hydrangeas” at midnight while watching the temperature drop. I piled mounds of mulch around the bases and threw sheets over every single bush, which felt a little dramatic but also completely necessary. When spring came, I held my breath.
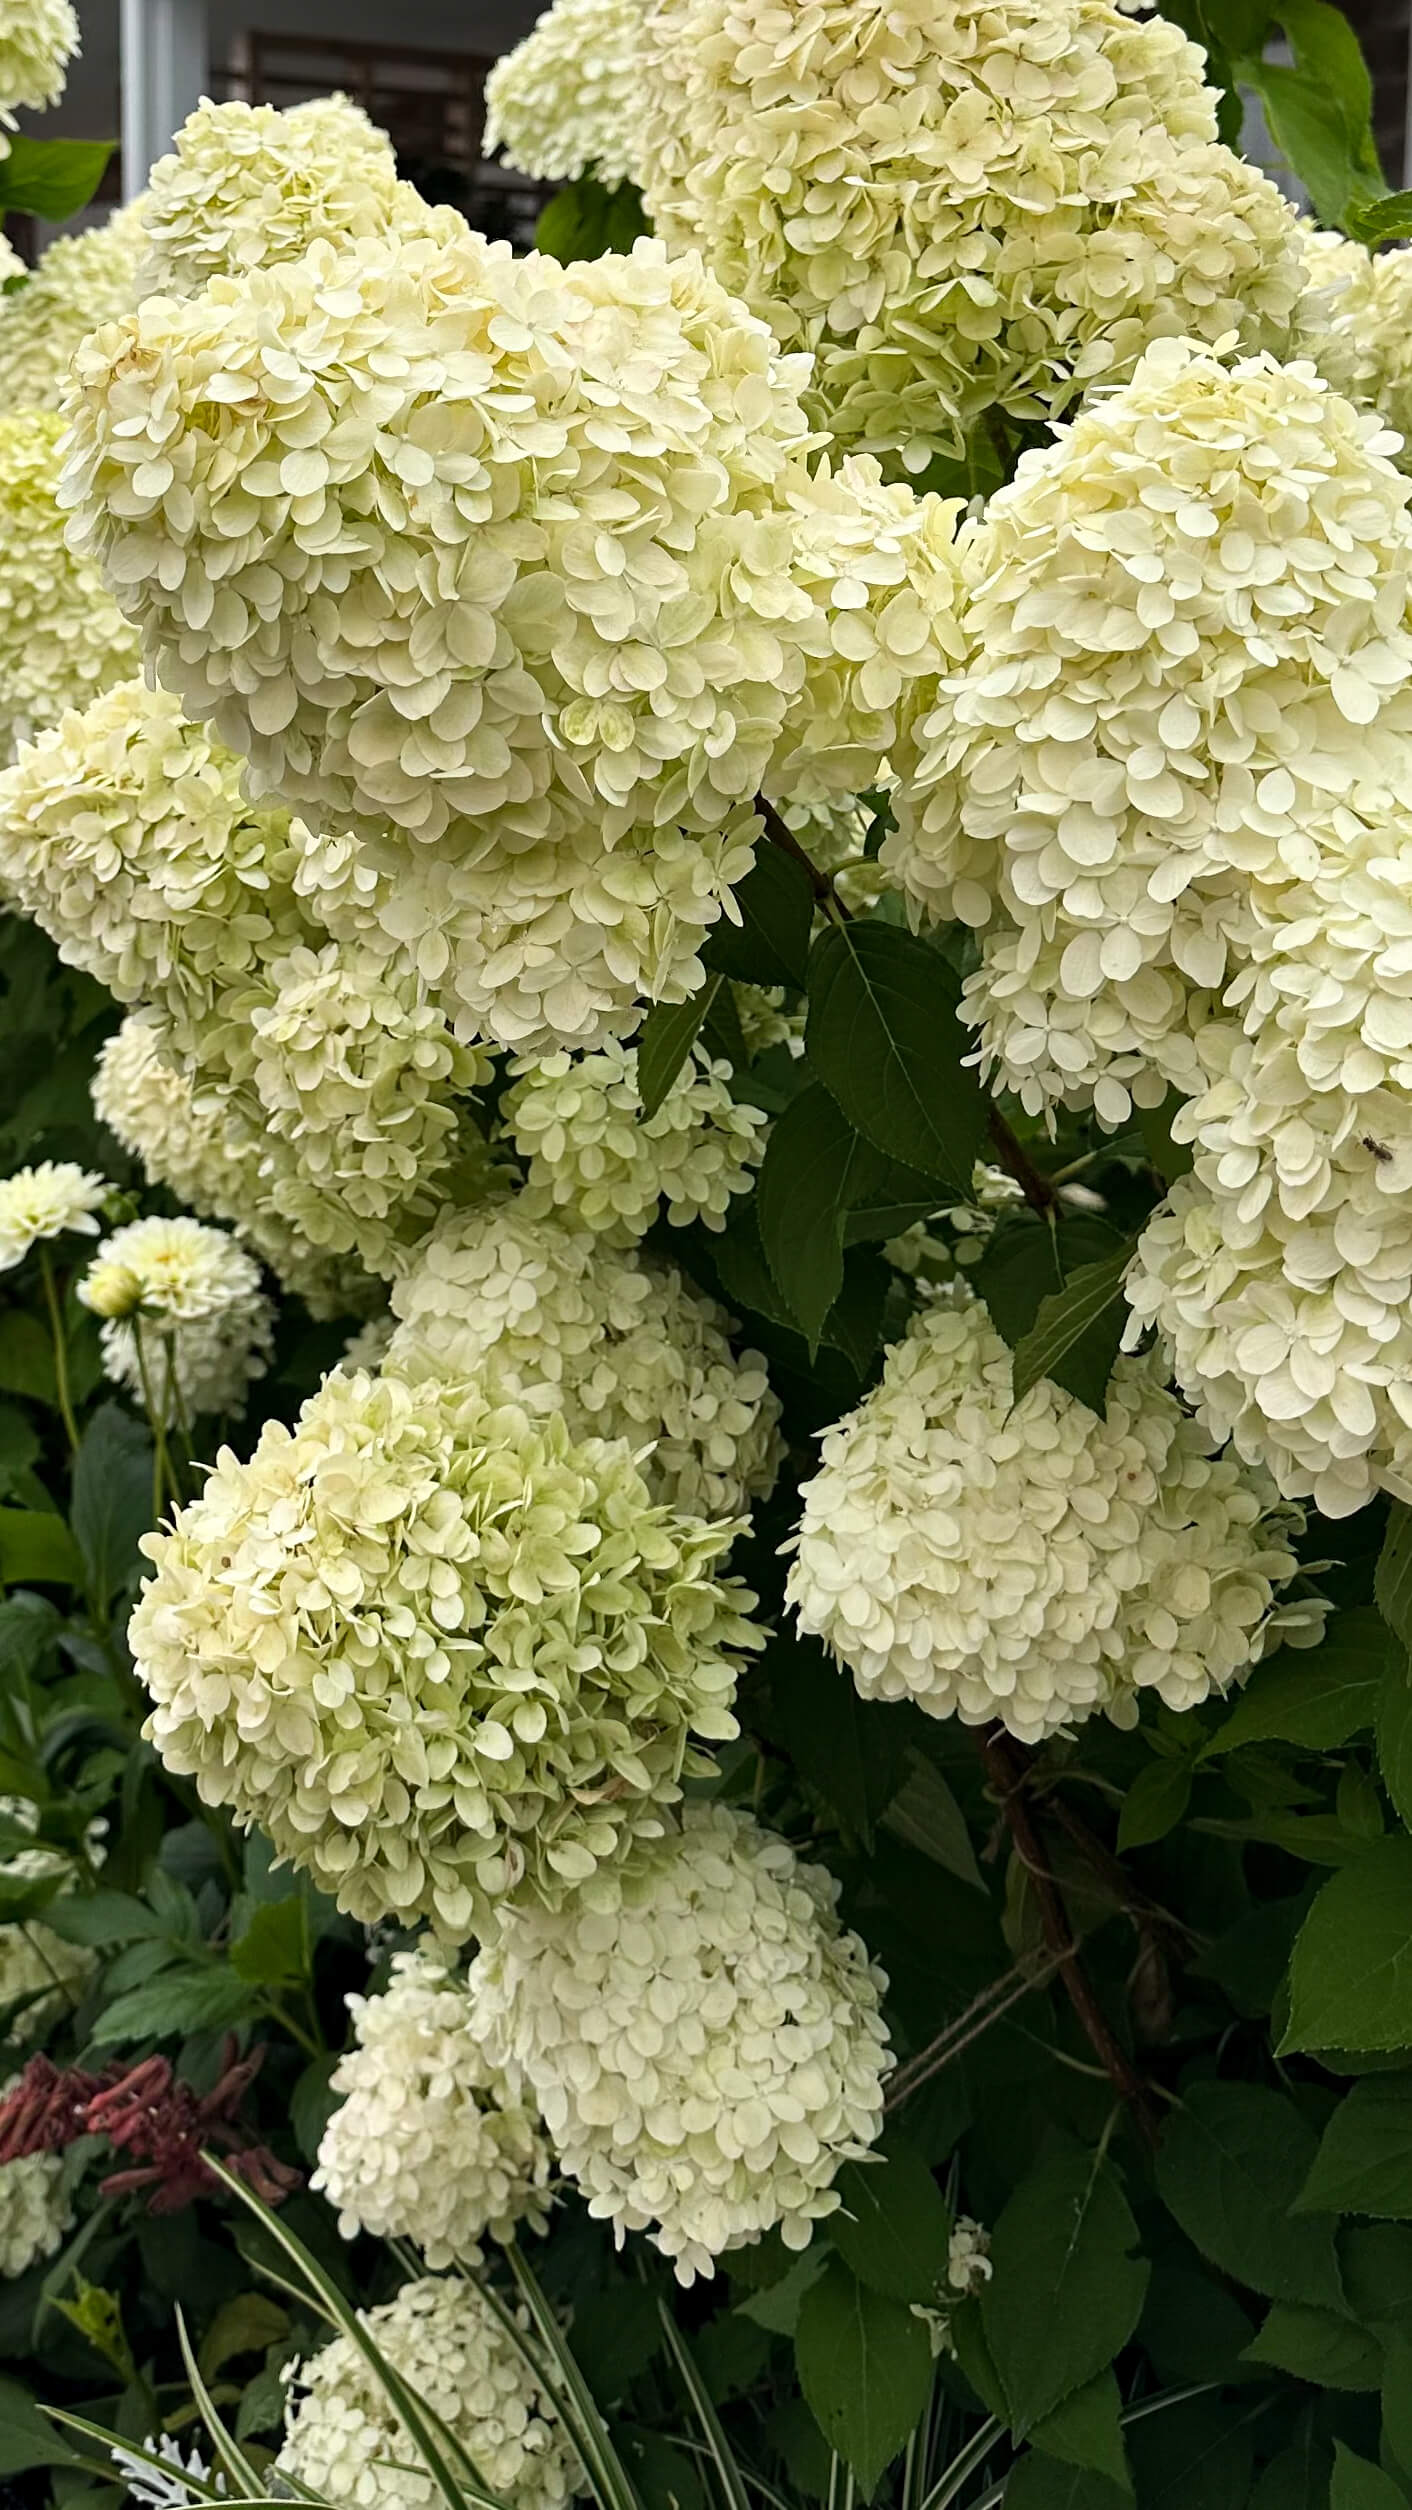
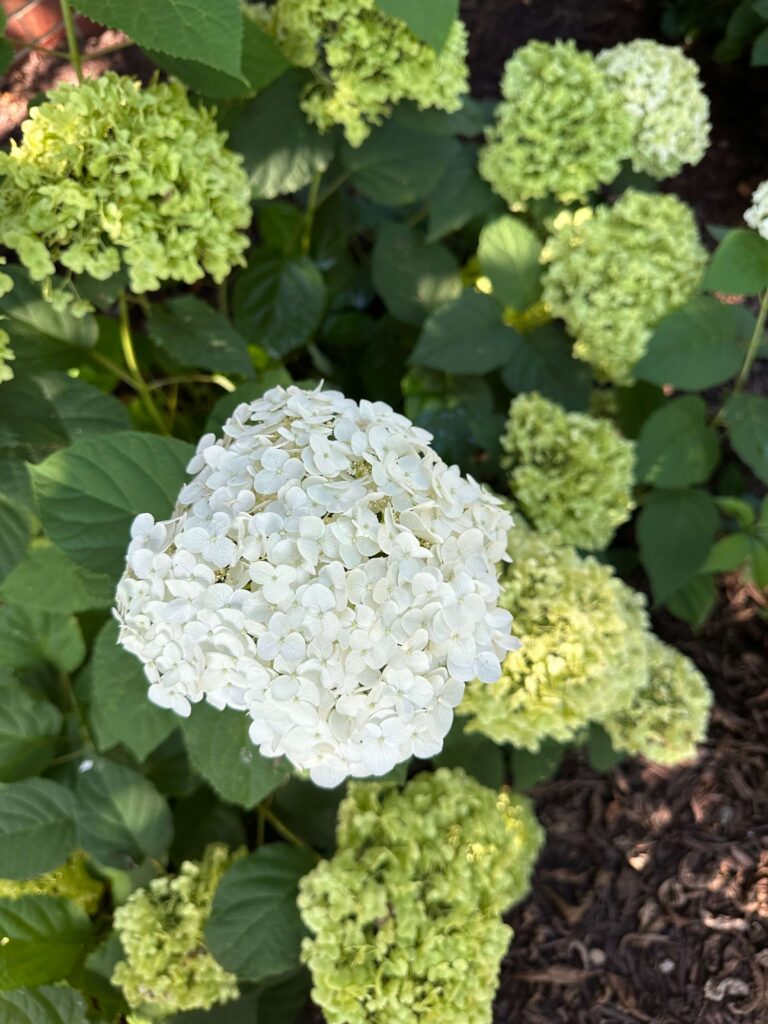
They bloomed. Not just a little, a lot. Some blooms were small, some were larger than I expected, and a couple of the bushes really did stretch upward with clusters of three blooms stacked together. Most of the plants spread out more horizontally than vertically, which I now know is pretty typical for Annabelle hydrangeas in their early years. I also noticed that the stems could get floppy, especially after rain. That is normal at this stage. The stems get sturdier as the plant matures, and you can stake them temporarily if it bothers you, but it is not a sign anything is wrong.
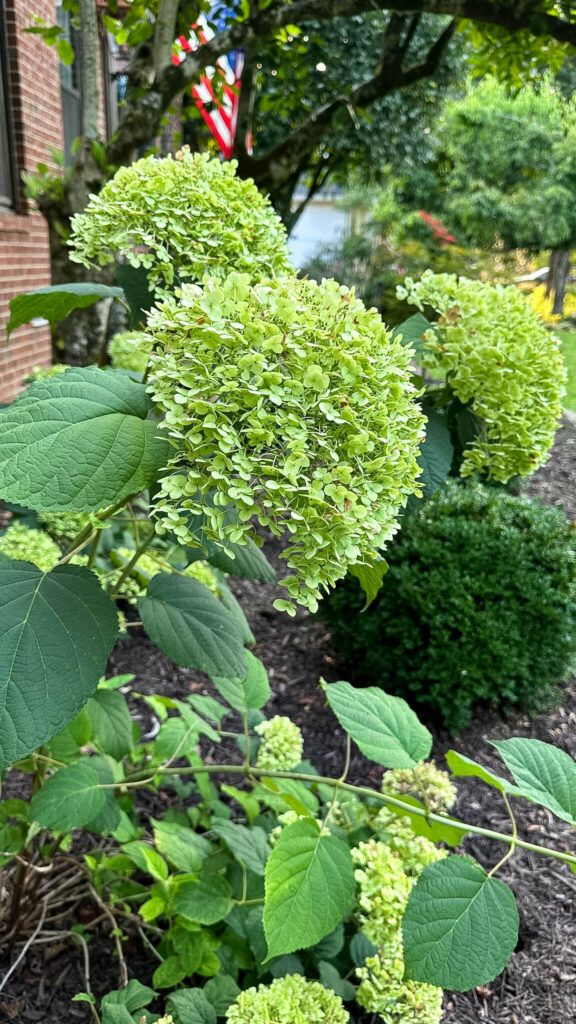
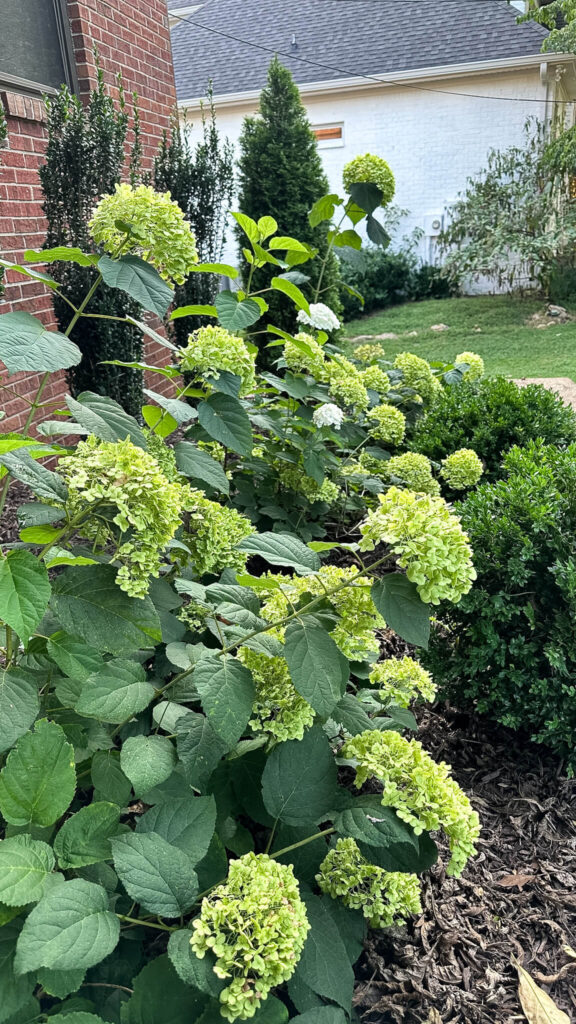
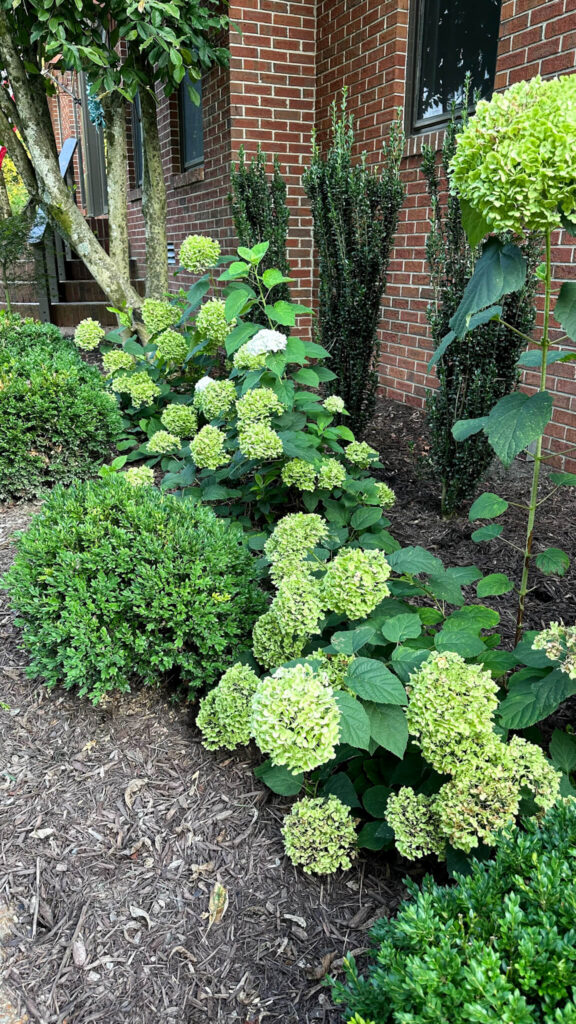
Snowball hydrangeas July 2026, one year after being planted.
There was also some wilting during the hotter stretches of summer, which told me pretty clearly that consistent watering needs to be a real system and not something I am doing by hand whenever I remember. That is where I am going into year three. Blooms are confirmed. The bones are there. Now I want more of everything: bigger blooms, more spread, more height, and the kind of full front bed presence I saw all over Nantucket.
What Snowball Hydrangeas Actually Need to Thrive in Tennessee
Before getting into the seasonal breakdown, a few things worth knowing about this specific variety. Annabelle hydrangeas (Hydrangea arborescens) are smooth hydrangeas that bloom on new wood, meaning they set their buds on the current season’s growth. That is actually great news, because it means they are more forgiving of winter damage and late frosts than other types. Even if old stems get wrecked over winter, new growth will carry the blooms.
Tennessee falls mostly in USDA hardiness zones 6 and 7, and Annabelle handles that range well. My house faces north with sun moving east to west across it throughout the day, so my front beds get plenty of light without the harsh afternoon exposure that can cook hydrangeas in hot climates. Morning sun with filtered afternoon light is close to ideal for snowball hydrangeas in the south. If your beds are baking in full western sun all afternoon, some strategic shade could make a real difference in how much they wilt.
Soil health matters more than I initially gave it credit for. Hydrangeas prefer slightly acidic soil, somewhere in the pH range of 5.5 to 6.5. Tennessee soil can run alkaline in some areas, and if that is the case in your yard, the plants will show it. Yellowing inner leaves are one of the first signs that the soil pH is off. Picking up a simple soil pH tester is worth it before you start amending anything, because you cannot fix what you have not measured.
Snowball Hydrangea Care Tips, Season by Season
Winter: Mulch Heavy and Let Them Be
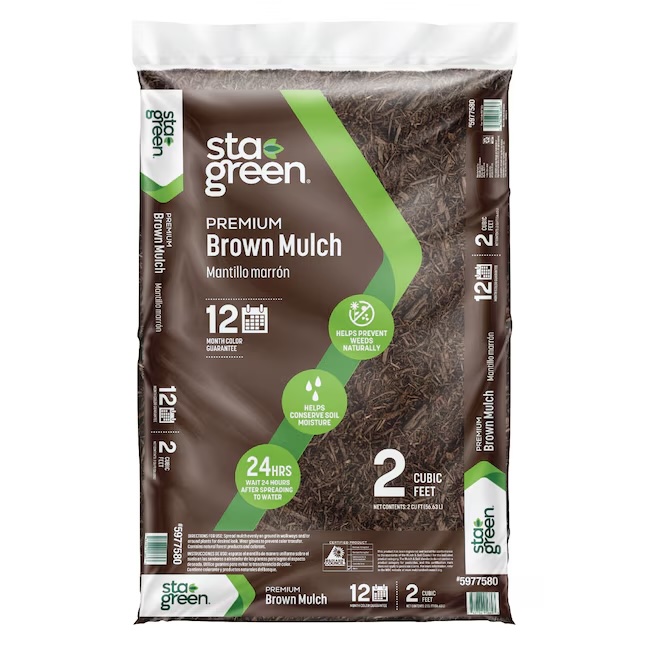
This is the lowest-effort season, but it matters more than you think. A 2 to 3 inch layer of mulch around the base of each plant before temperatures drop helps insulate the roots and retain moisture through the cold and wind (I always buy this kind). After my ice storm experience, I lean toward doing this even in Tennessee where winters are usually mild. You also want to get a couple of deep waterings in during fall before the ground freezes. Hydrangeas handle cold better when they are not going into it dehydrated.
One thing not to do: do not prune in the fall. Since Annabelle blooms on new wood, fall pruning just removes structure you do not need to remove and leaves the plants more exposed than necessary.
Spring: This Is Where the Work Happens
Spring is the most important season for Annabelle hydrangeas and also where I have been the most hands-off. That changes this year.
As soon as you see buds beginning to swell in early spring, it is time to prune. For snowball hydrangeas, that means cutting all stems back to about 12 to 18 inches above the ground. This sounds alarming the first time you do it, but because they bloom on new wood, this hard cut is actually what drives bigger, stronger blooms. Leaving long leggy stems from last year results in weaker growth and plants that flop under the weight of the flowers. The cuts encourage new shoots to grow thick enough to actually hold those big flower heads up.
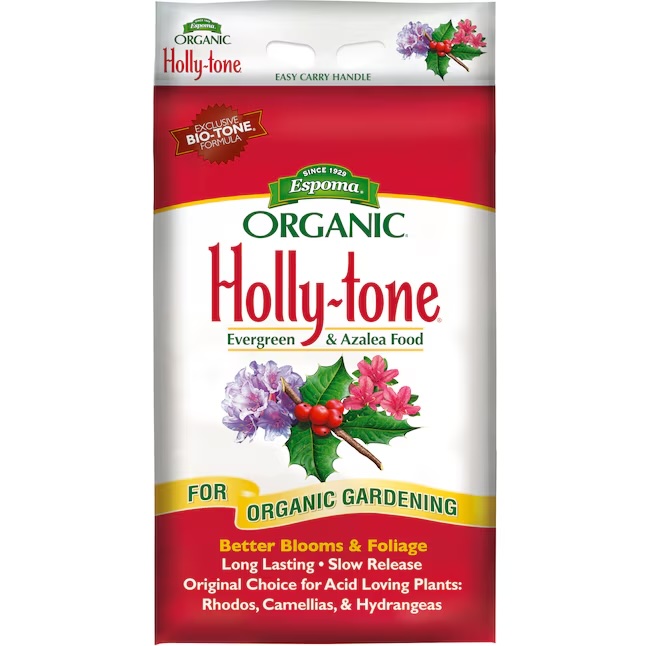
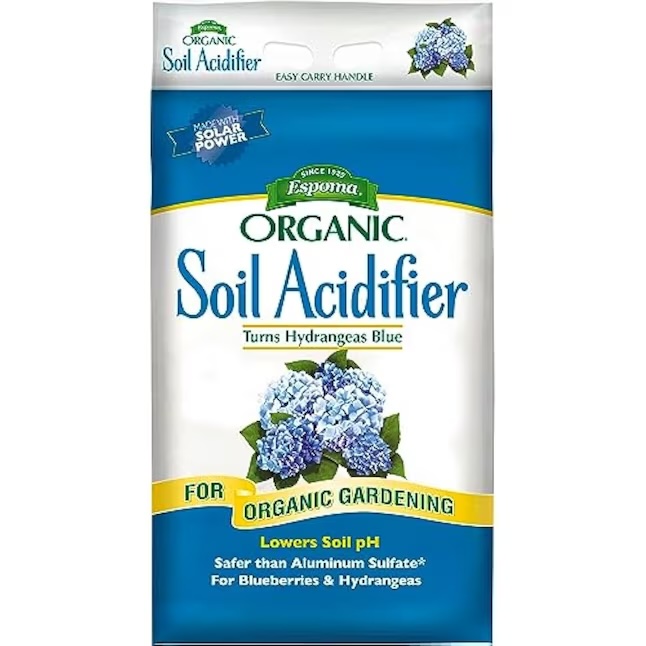
Right after pruning, fertilize. I am specifically using Espoma Holly-tone this year, which is an organic slow-release fertilizer formulated for acid-loving plants including hydrangeas. It feeds through the whole growing season without requiring multiple applications. Work it into the soil around the base, then cover with fresh mulch to lock moisture in. If you test your soil and find it is running alkaline, Espoma also makes an Organic Soil Acidifier that can help bring the pH down to where hydrangeas actually want it.
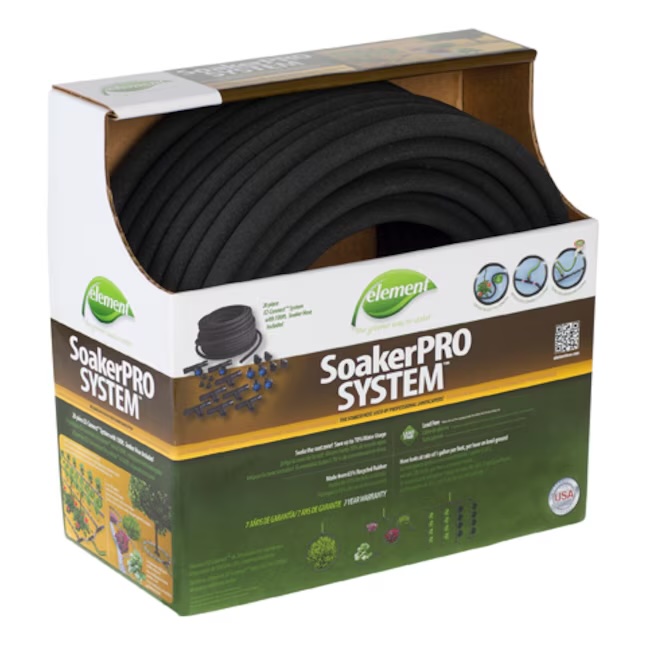
If you do not have a drip system or soaker hose in place yet, spring is the time to set one up before the heat arrives. I ran into wilting issues last summer from inconsistent hand watering, and a soaker hose would have solved most of that without any extra effort on my part. One more tip on watering: always water at the base of the plant, not the leaves. Wet foliage invites disease, and the roots are where the water needs to go anyway.
Summer: Water More Than You Think You Need To
Once June hits, Annabelle hydrangeas need a lot of water. The name “hydrangea” literally comes from the Greek word for water vessel, so if you think you are overwatering, you are probably just right. During the hottest stretches of a Tennessee summer, watering deeply at least three times a week is the baseline, and daily is not overkill if you are hand watering. The goal is deep watering that reaches the root system, not surface sprinkling. A soaker hose or drip system makes this much more manageable.
Holly-tone can be applied again in early summer for an extra boost. Just avoid fertilizing heavily in midsummer, as that can push tender new growth at a time when the plant is already stressed by heat.
If your plants are flopping over under the weight of the blooms, you can stake them temporarily. The stems will get sturdier each year as the root system matures. It is not a problem to fix so much as a phase to get through.
You can also deadhead spent blooms to push energy toward new growth, though I tend to leave some of the fading clusters. They transition from white to a soft green and eventually to a dried paper color that looks beautiful into fall.
Fall: Set Them Up Before You Walk Away
Fall is about putting the plants to bed well. Give them a couple of deep waterings as temperatures cool, even after the blooms have faded. Add a fresh layer of compost or organic mulch around the base. It releases nutrients slowly over winter and gives the plants a head start when spring arrives. If another ice storm shows up, the mulch plus sheets approach worked well enough for me that I am sticking with it.
Do not prune. Set a phone reminder for early spring and let the plants rest.
Everything I’m Using To Ensure My Hydrangeas Leap Next Year
These are the specific products I am adding to my routine this year that I was not doing before.
A soil pH tester, because you cannot know what you are working with until you check. Yellowing leaves are the sign that something is off and pH is often the culprit.
Espoma Holly-tone organic fertilizer, applied at bud break in spring and again in early summer. I had not been fertilizing at all, which is probably the single biggest thing I can change this year to get bigger blooms.
Espoma Organic Soil Acidifier, once I test the pH and see where things actually stand. If the soil is running alkaline, this is the fix.
A soaker hose system for the front beds. The wilting last summer was a clear signal that hand watering was not consistent enough, and I need a setup that does not depend on me remembering.
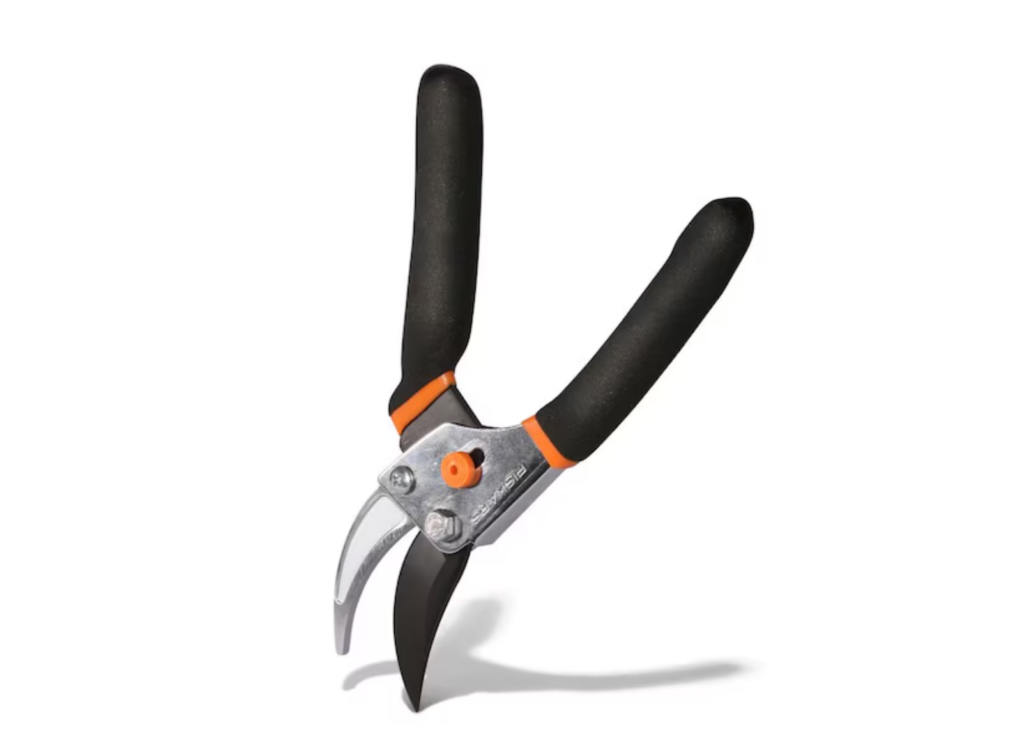
Good sharp pruning shears. If I am going to do the hard spring cut this year, I need a tool I trust.
Fresh dark mulch in spring and again in fall, both for moisture retention and because a fresh layer makes the beds look sharp.
Shop Hydrangea Care Supplies

The Vision I’m Working Toward
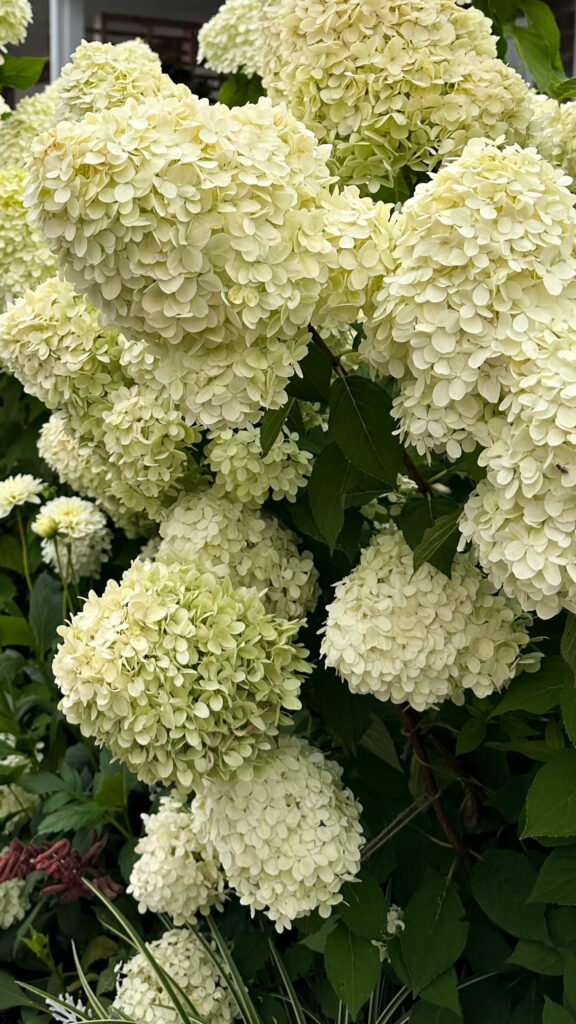
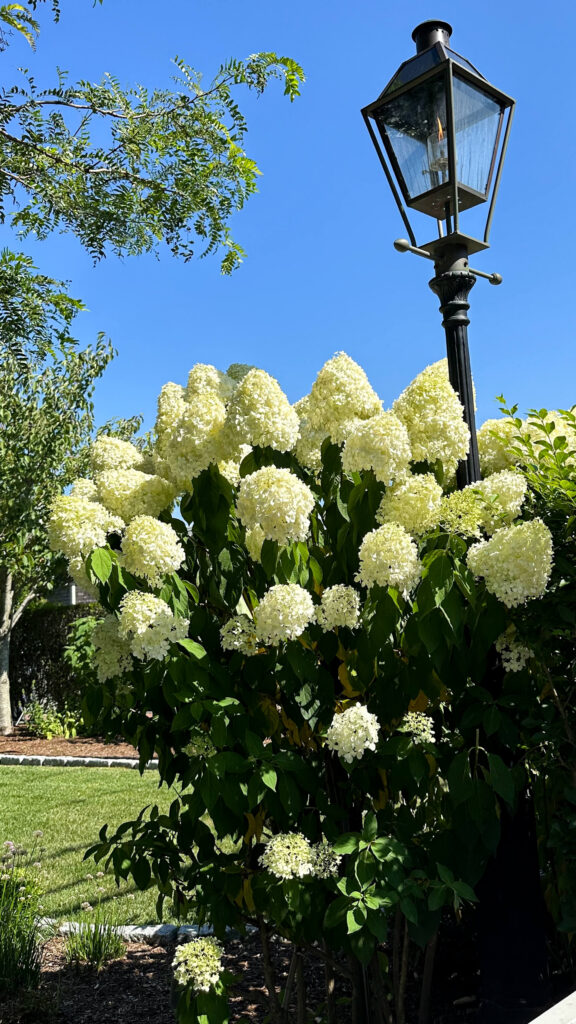
When I was walking through Nantucket, the thing that struck me most was not just that there were hydrangeas everywhere. It was the scale. They were not cute little shrubs tucked into a corner. They were massive, overflowing, absolutely owning the space in front of every house. White clusters the size of softballs, spilling over fences and lining stone pathways. That is what I want for my front beds in 2027.
I also started thinking about the back yard on that trip, which has been completely neglected but has a lot of potential. I have been avoiding it because it felt overwhelming, but Nantucket kind of broke through that resistance. If I can set the front beds up for success now, the back yard is next.
Year three is supposed to be the leap, and I’m going to do my part to help them get there.
Have you grown Annabelle or snowball hydrangeas? I would love to hear what has worked for your beds. Drop it in the comments below.
Related Posts:
My New Colonial Style Front Yard Makeover