



This DIY laundry room makeover has been on my renovation list for three years. Every year I found a reason to push the laundry room back, mostly because I didn’t feel ready to tackle it. This year I finally took my own advice and started before I felt ready, because this room is the ugliest one in my house and I hit my breaking point living with it. Almost four months later, I’m excited to show you where it stands. It’s functional now, everything has a place, and the overall feeling of the room has completely shifted from horrifying to welcoming.
I’ll caveat that it’s not 100% finished (and I’ll go into that below), so we’re calling this the Reveal Part 1. Part 2, with doors and a couple of storage tricks I’m excited about, is coming once I’ve got the energy to do them right. More on that below, so lets dive in!
The Room Before: My Ugliest Room, Twice Over
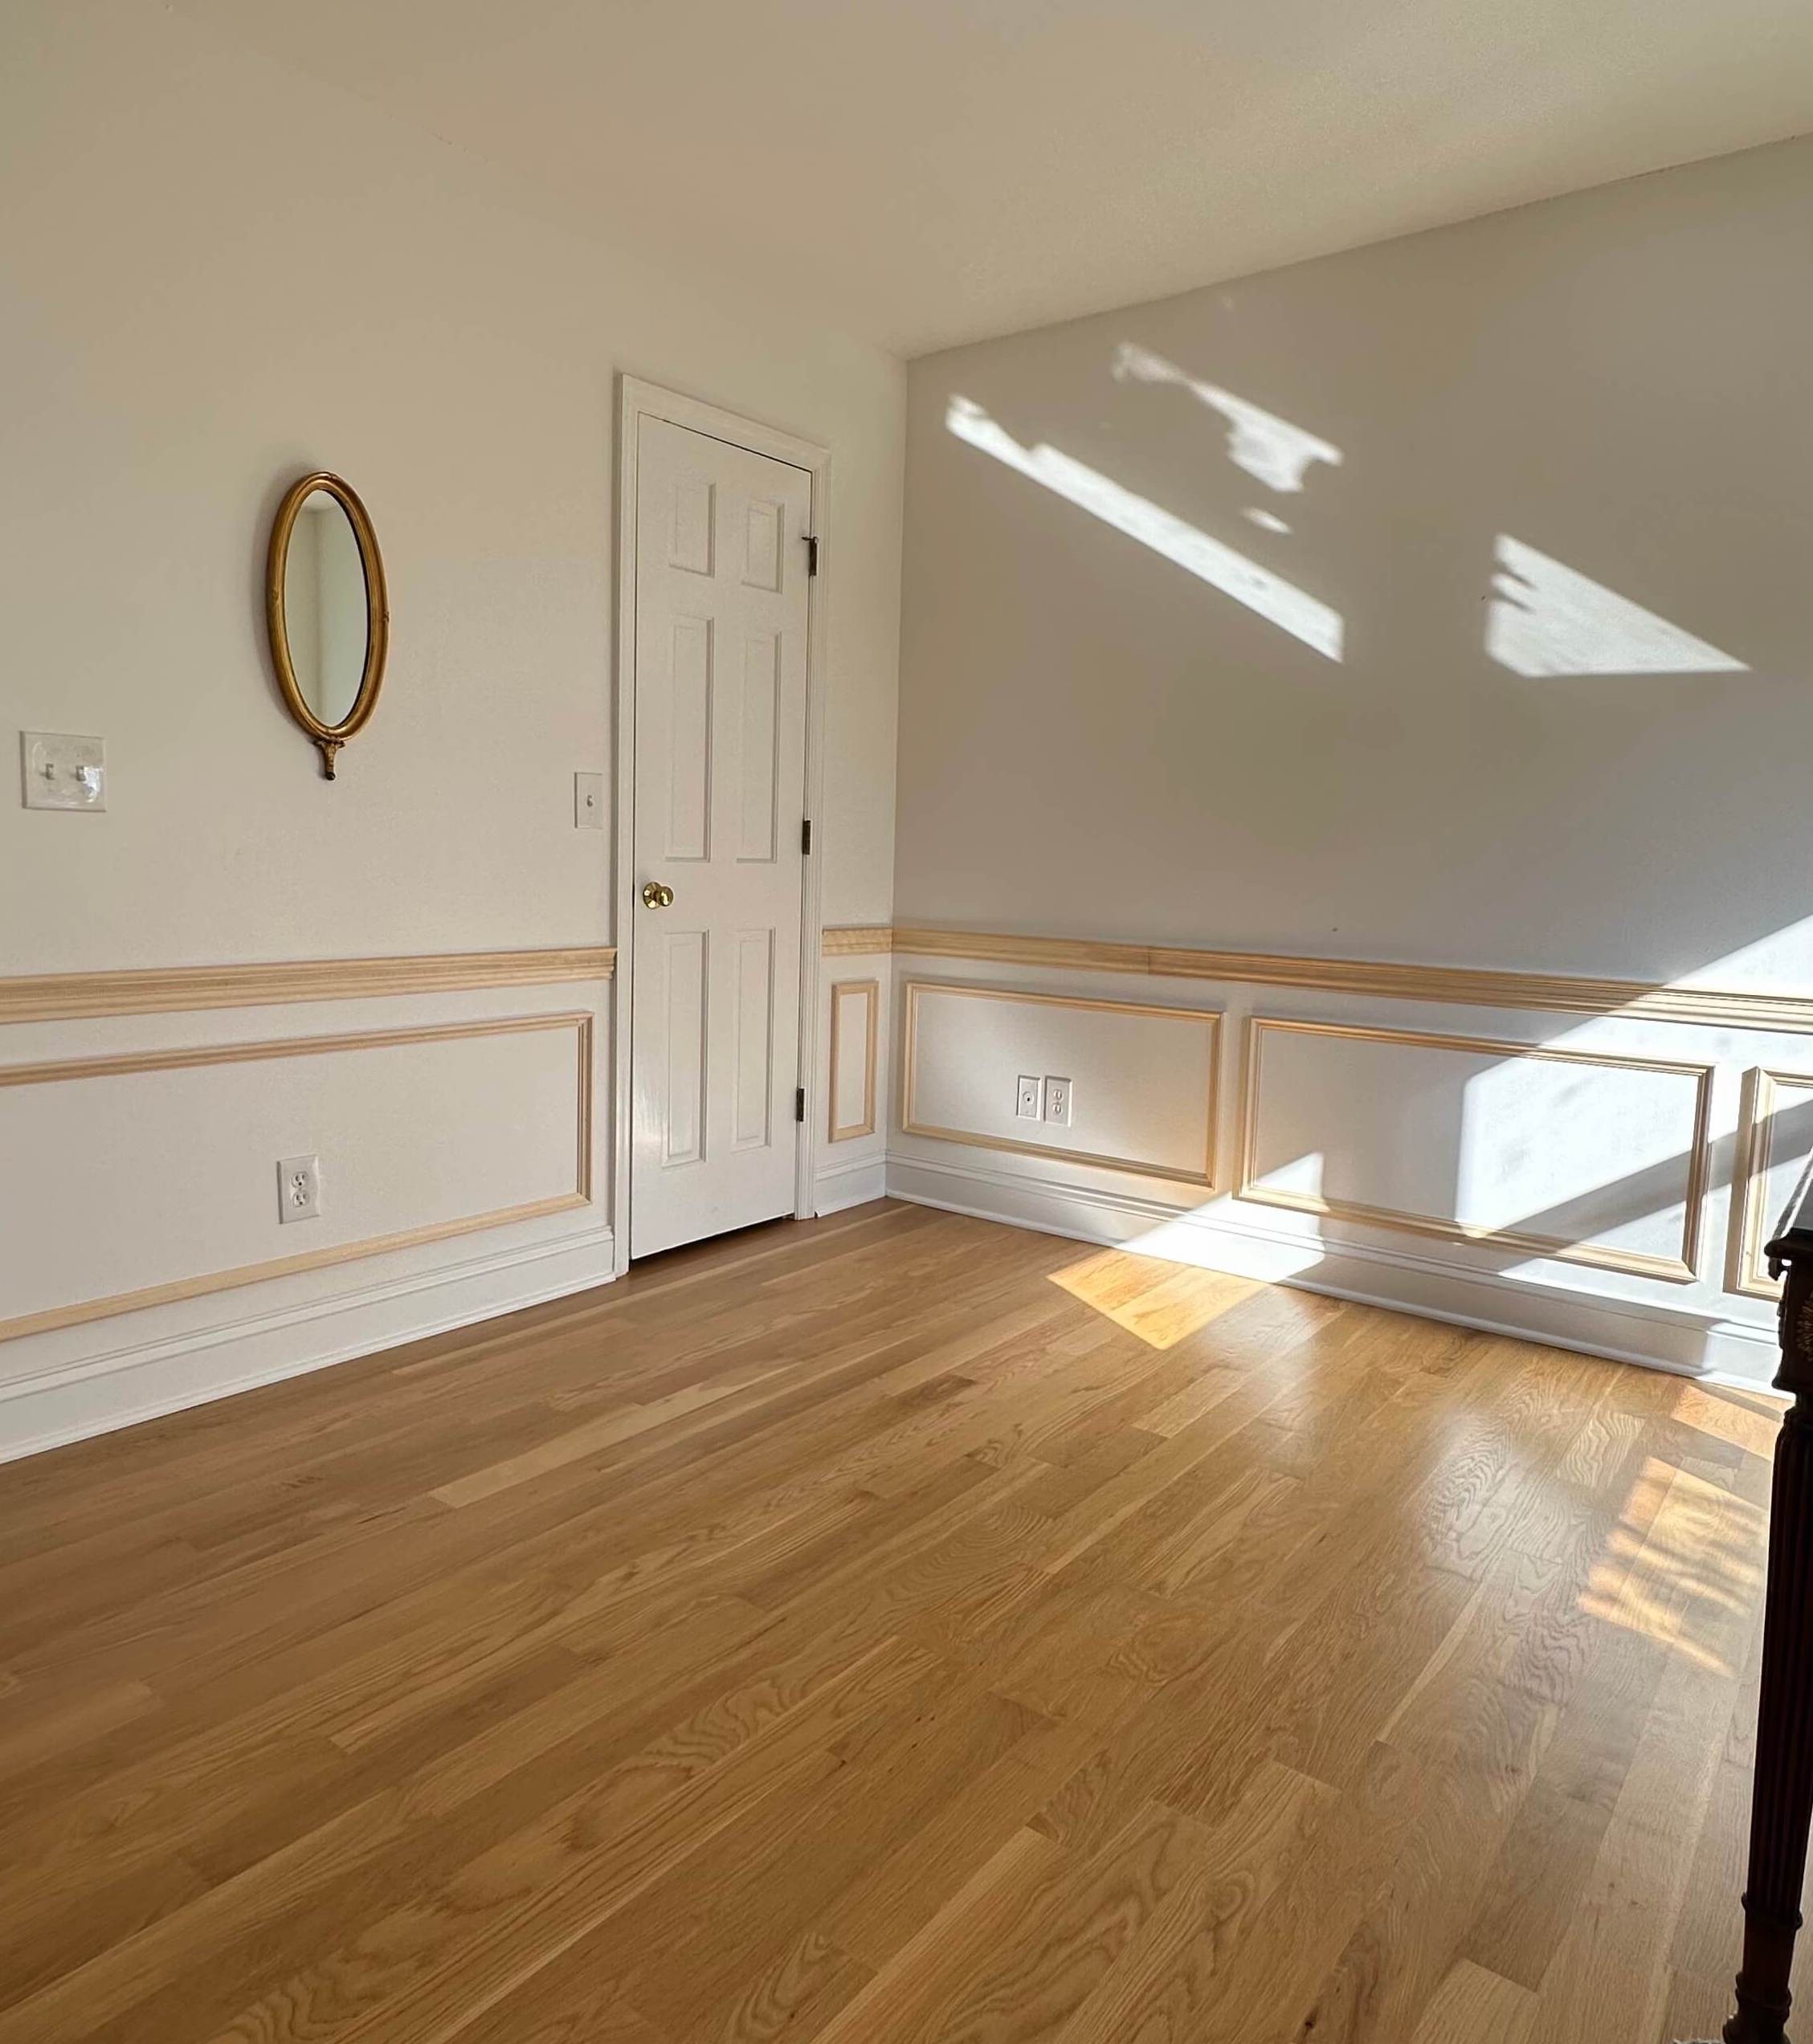
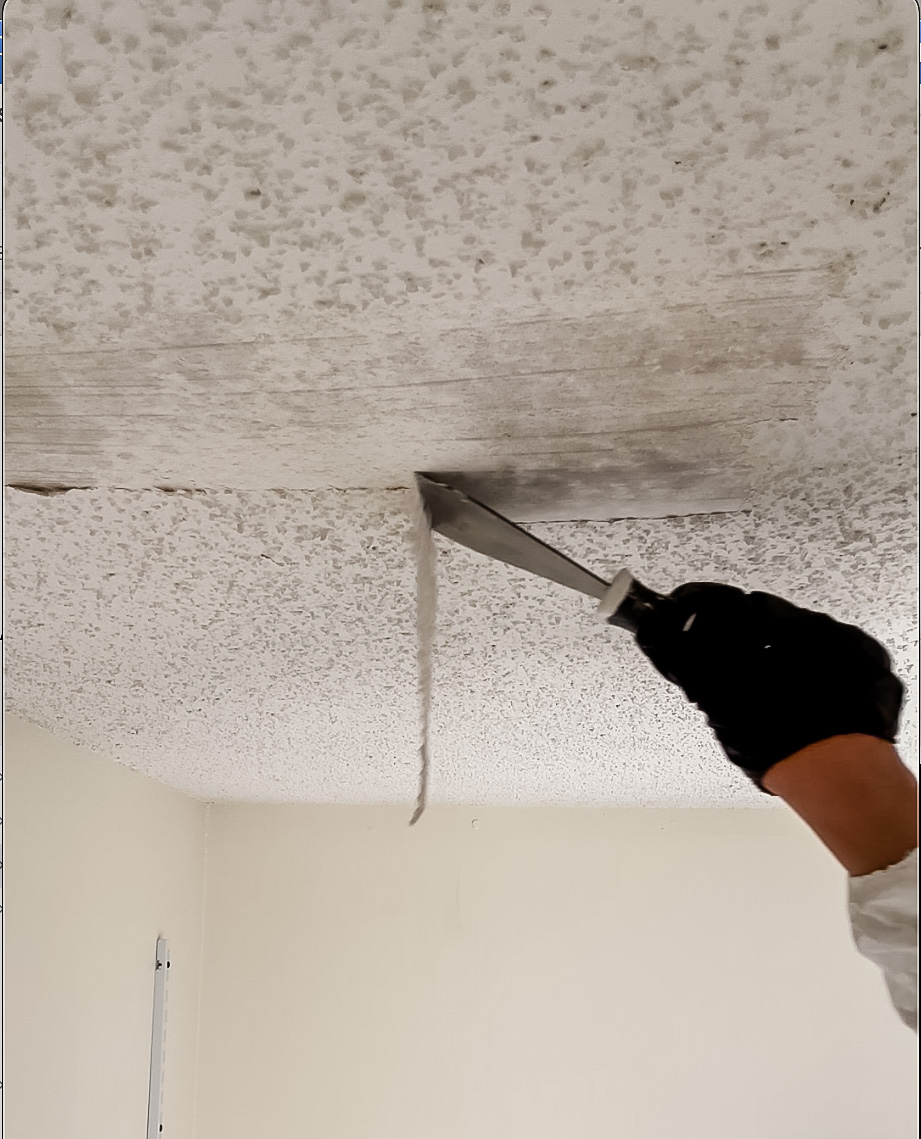
This room earned the reputation of ugliest room in the house. A few years ago I did what I can only call lipstick on a pig. I repainted the walls with leftover paint and scraped the popcorn ceiling off, but I never primed it, so it just sat there raw and patchy. On the floors sat brown linoleum that looked dirty no matter how many times I cleaned it, and baseboards the previous owner’s dogs had chewed through. Wire shelving was doing its best impression of storage, and there were dozens of holes in the walls.
It had a door, at least, but it always felt dirty and completely chaotic. It was a room I was tolerating, tucked right off the kitchen where I walked past it a dozen times a day.
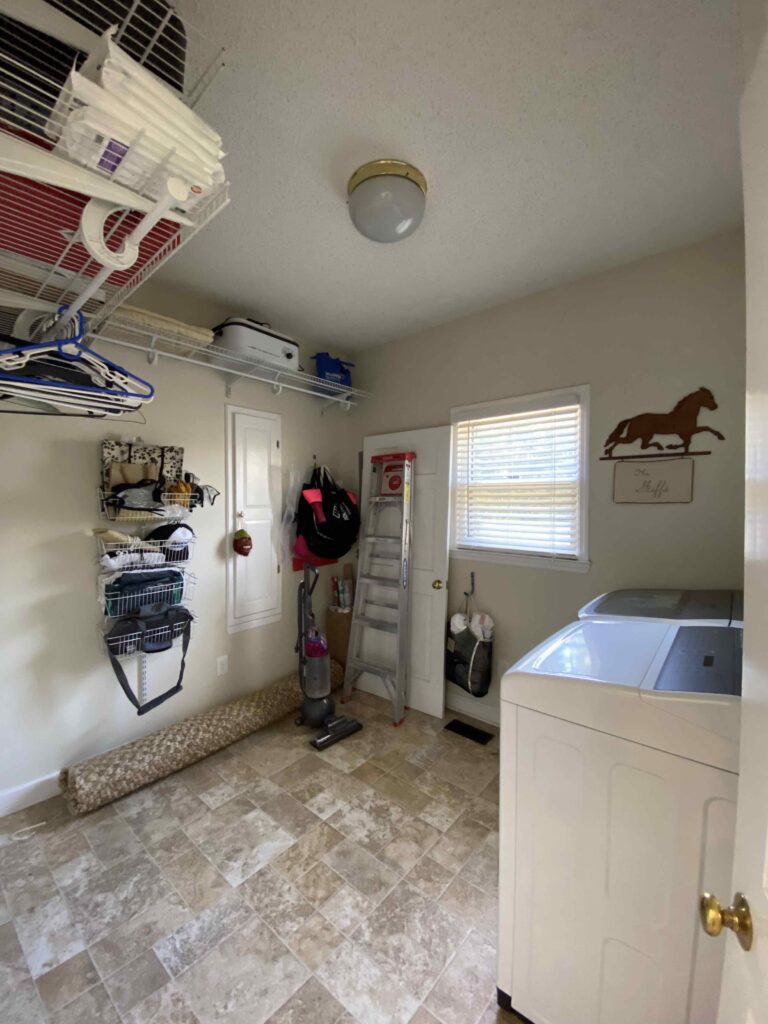
The ugliest room in my house
More Than a Laundry Room
Quick context before the build: this room does a lot more than laundry. My house doesn’t have much storage, so this space has become the hub for the whole house. Paper products, tools, package deliveries, beach towels, leftover wallpaper and wrapping paper, bags, cleaning supplies…it all lives in the laundry room. So this has always been bigger than just a laundry room makeover. I really needed the space to function in a larger way.
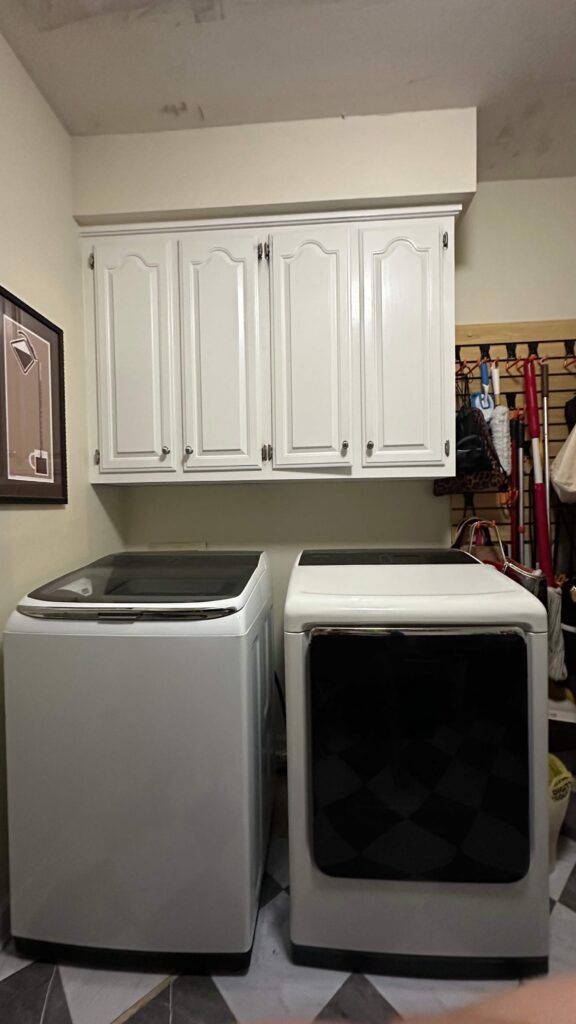
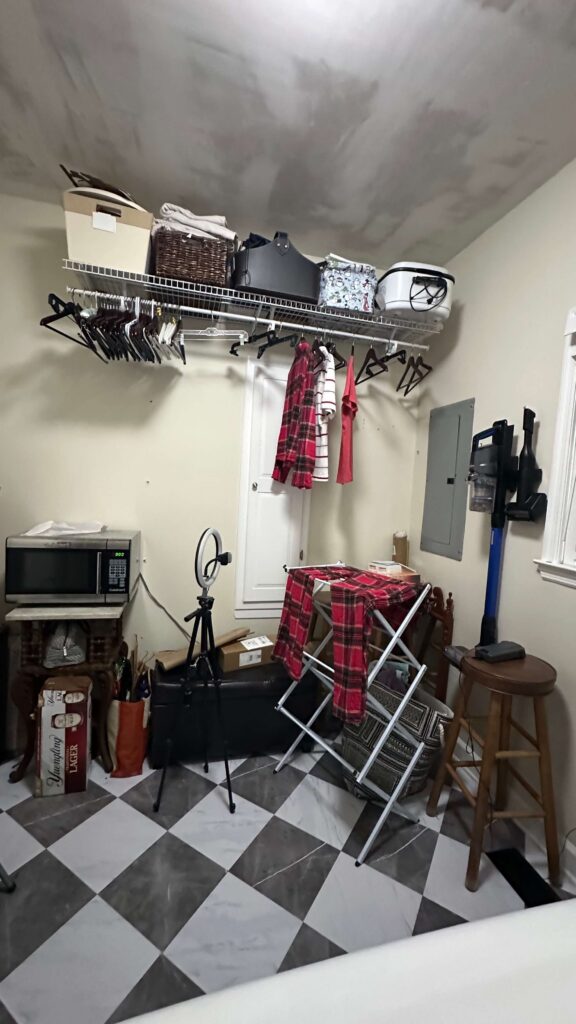
I genuinely could not be more embarrassed about sharing these on the internet.
Designing the Color Story: Cheerful Meets Romantic
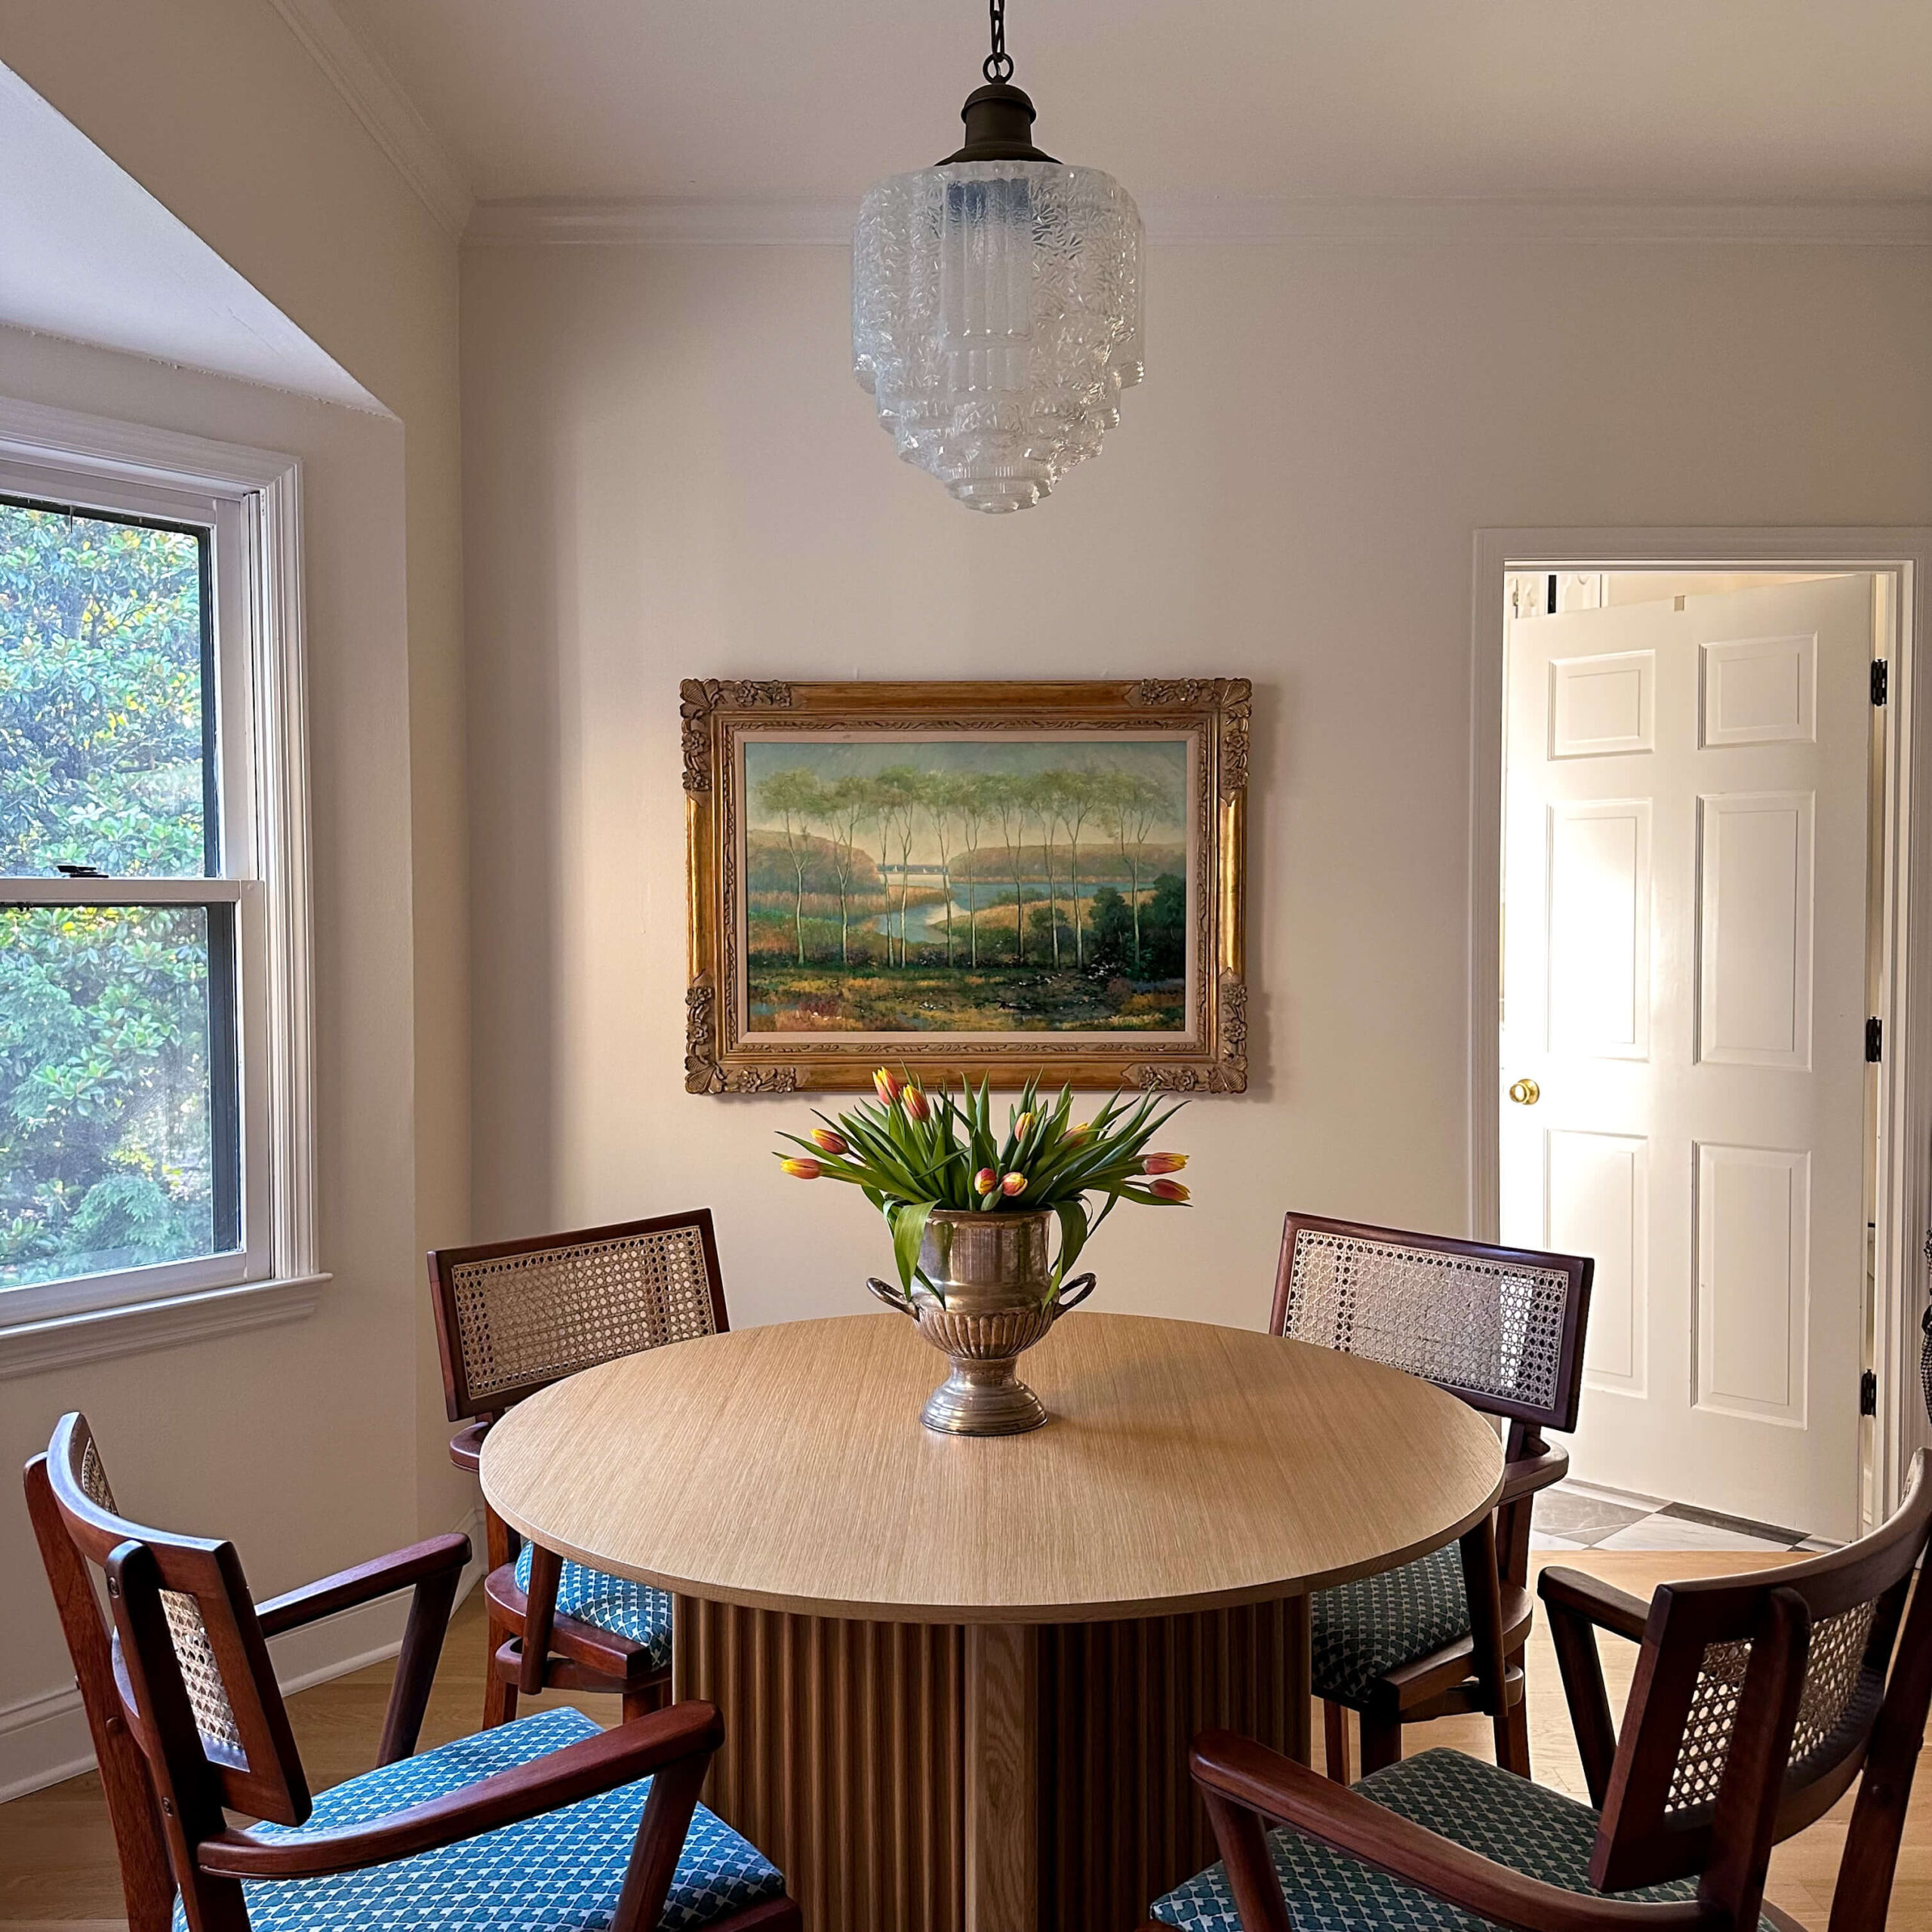
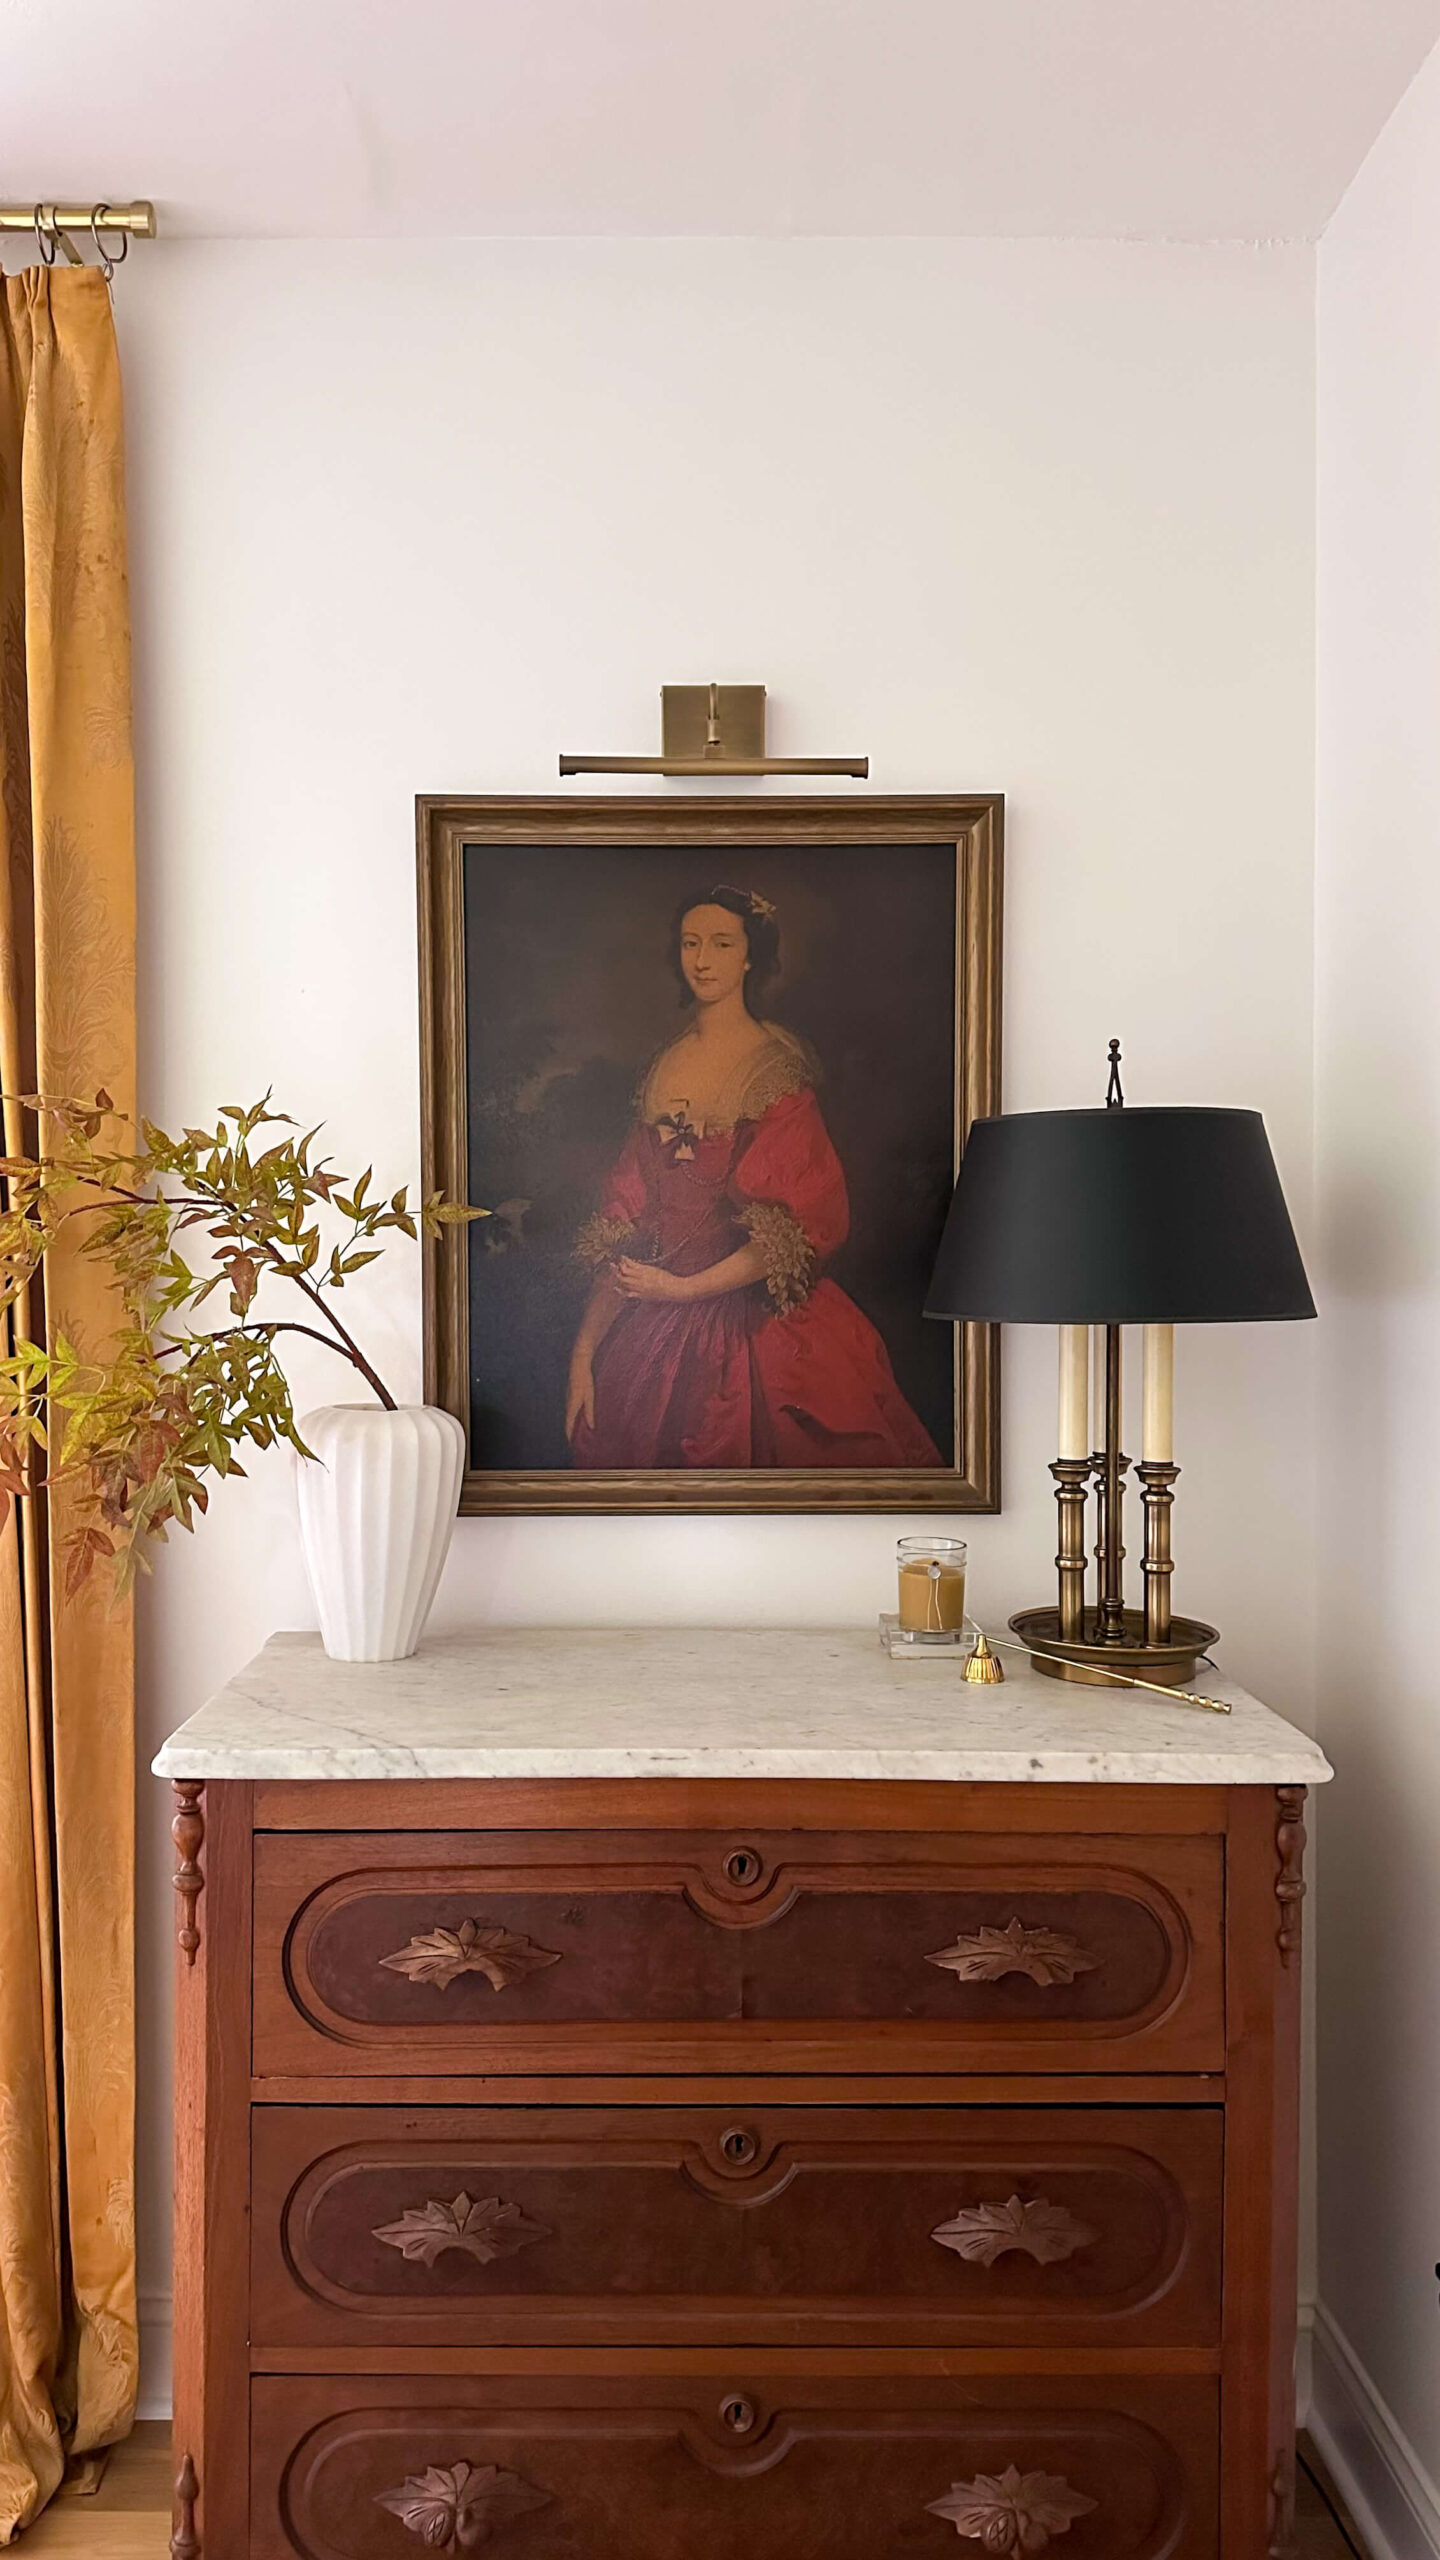
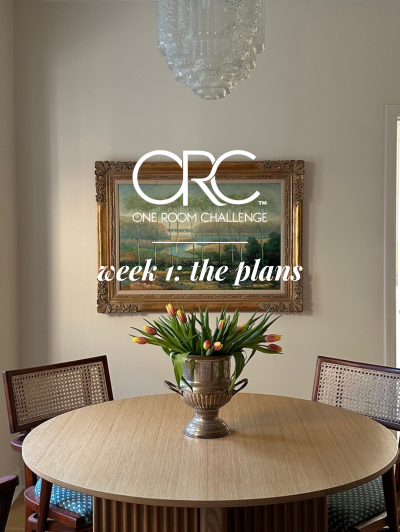
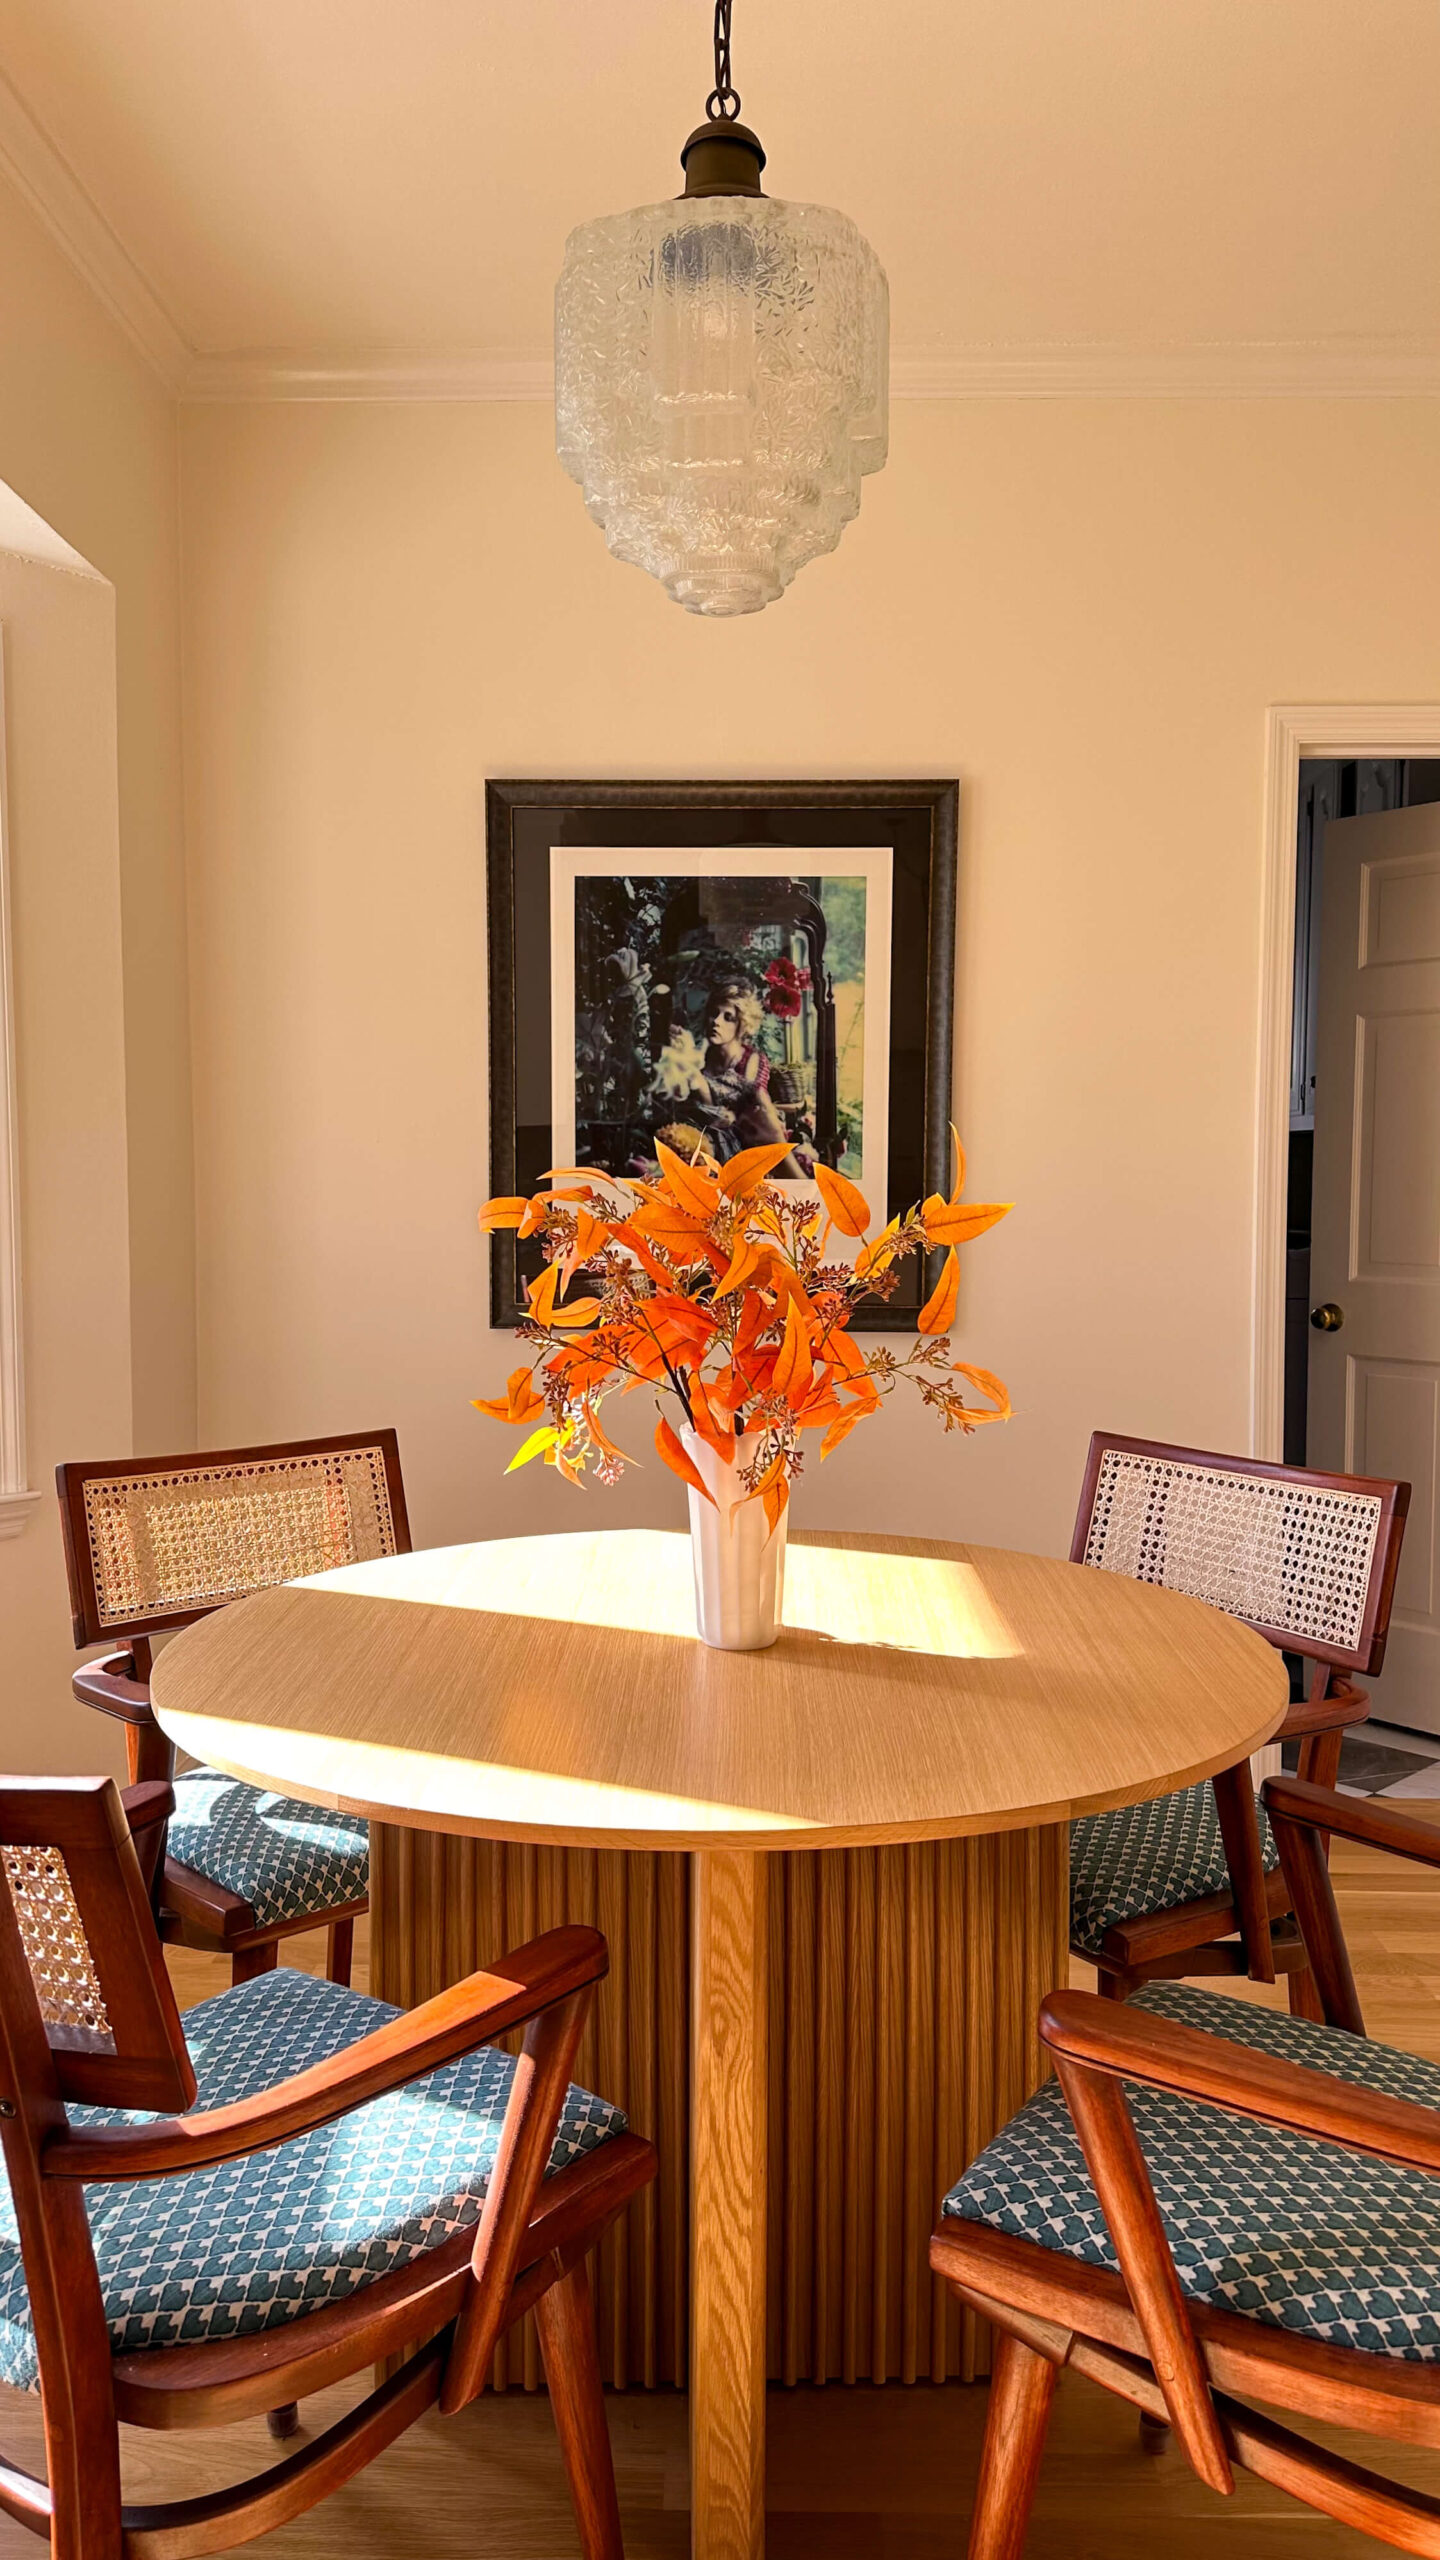
I knew I wanted this room to feel cheerful, since it’s a laundry room after all, but I also wanted it to feel a little romantic, which isn’t a word I use for utility spaces very often. The color story actually started next door in my kitchen nook, where there’s pink running through some of the artwork on the wall. I kept coming back to that pink as a thread I could pull into this room, and that’s how I ended up trying analogous color blocking for the first time in this house.
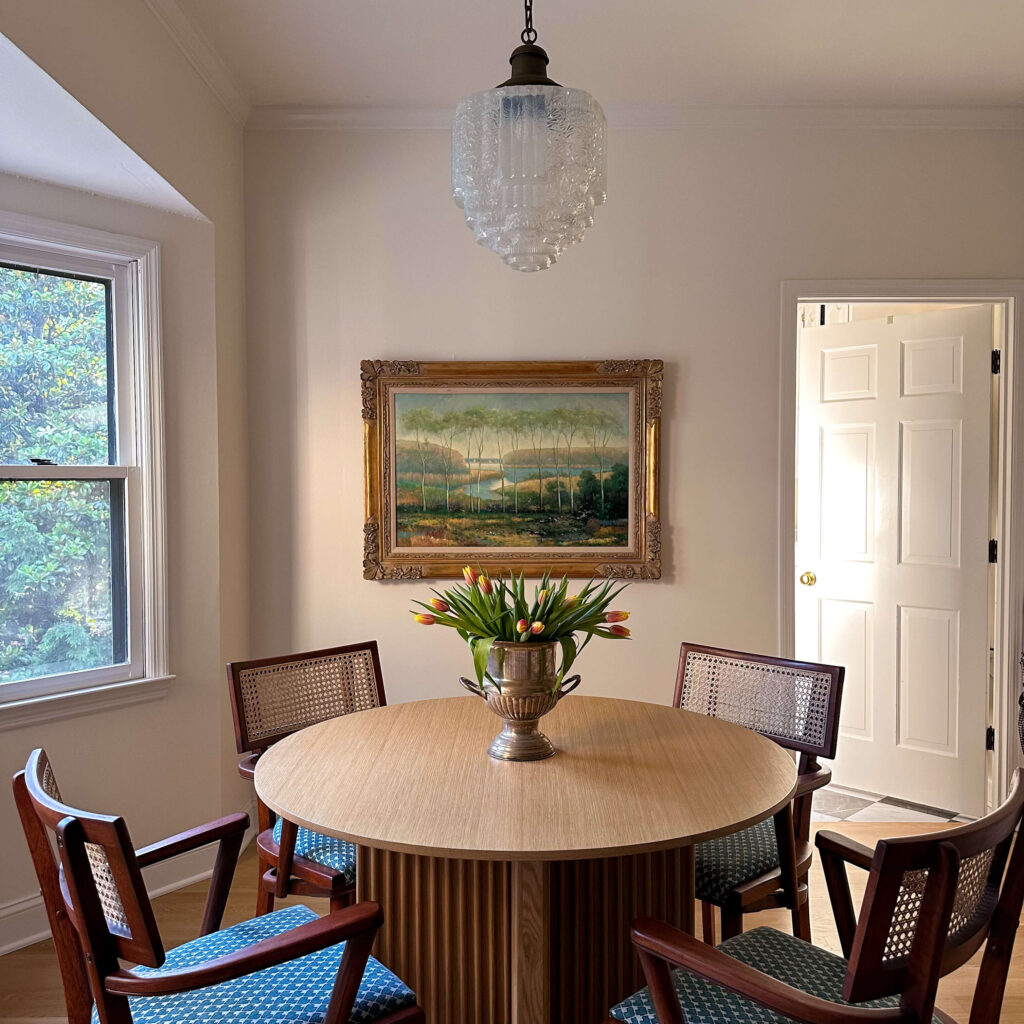
Choosing Pink for the Laundry Room was inspired by this vintage oil painting in the adjacent kitchen nook
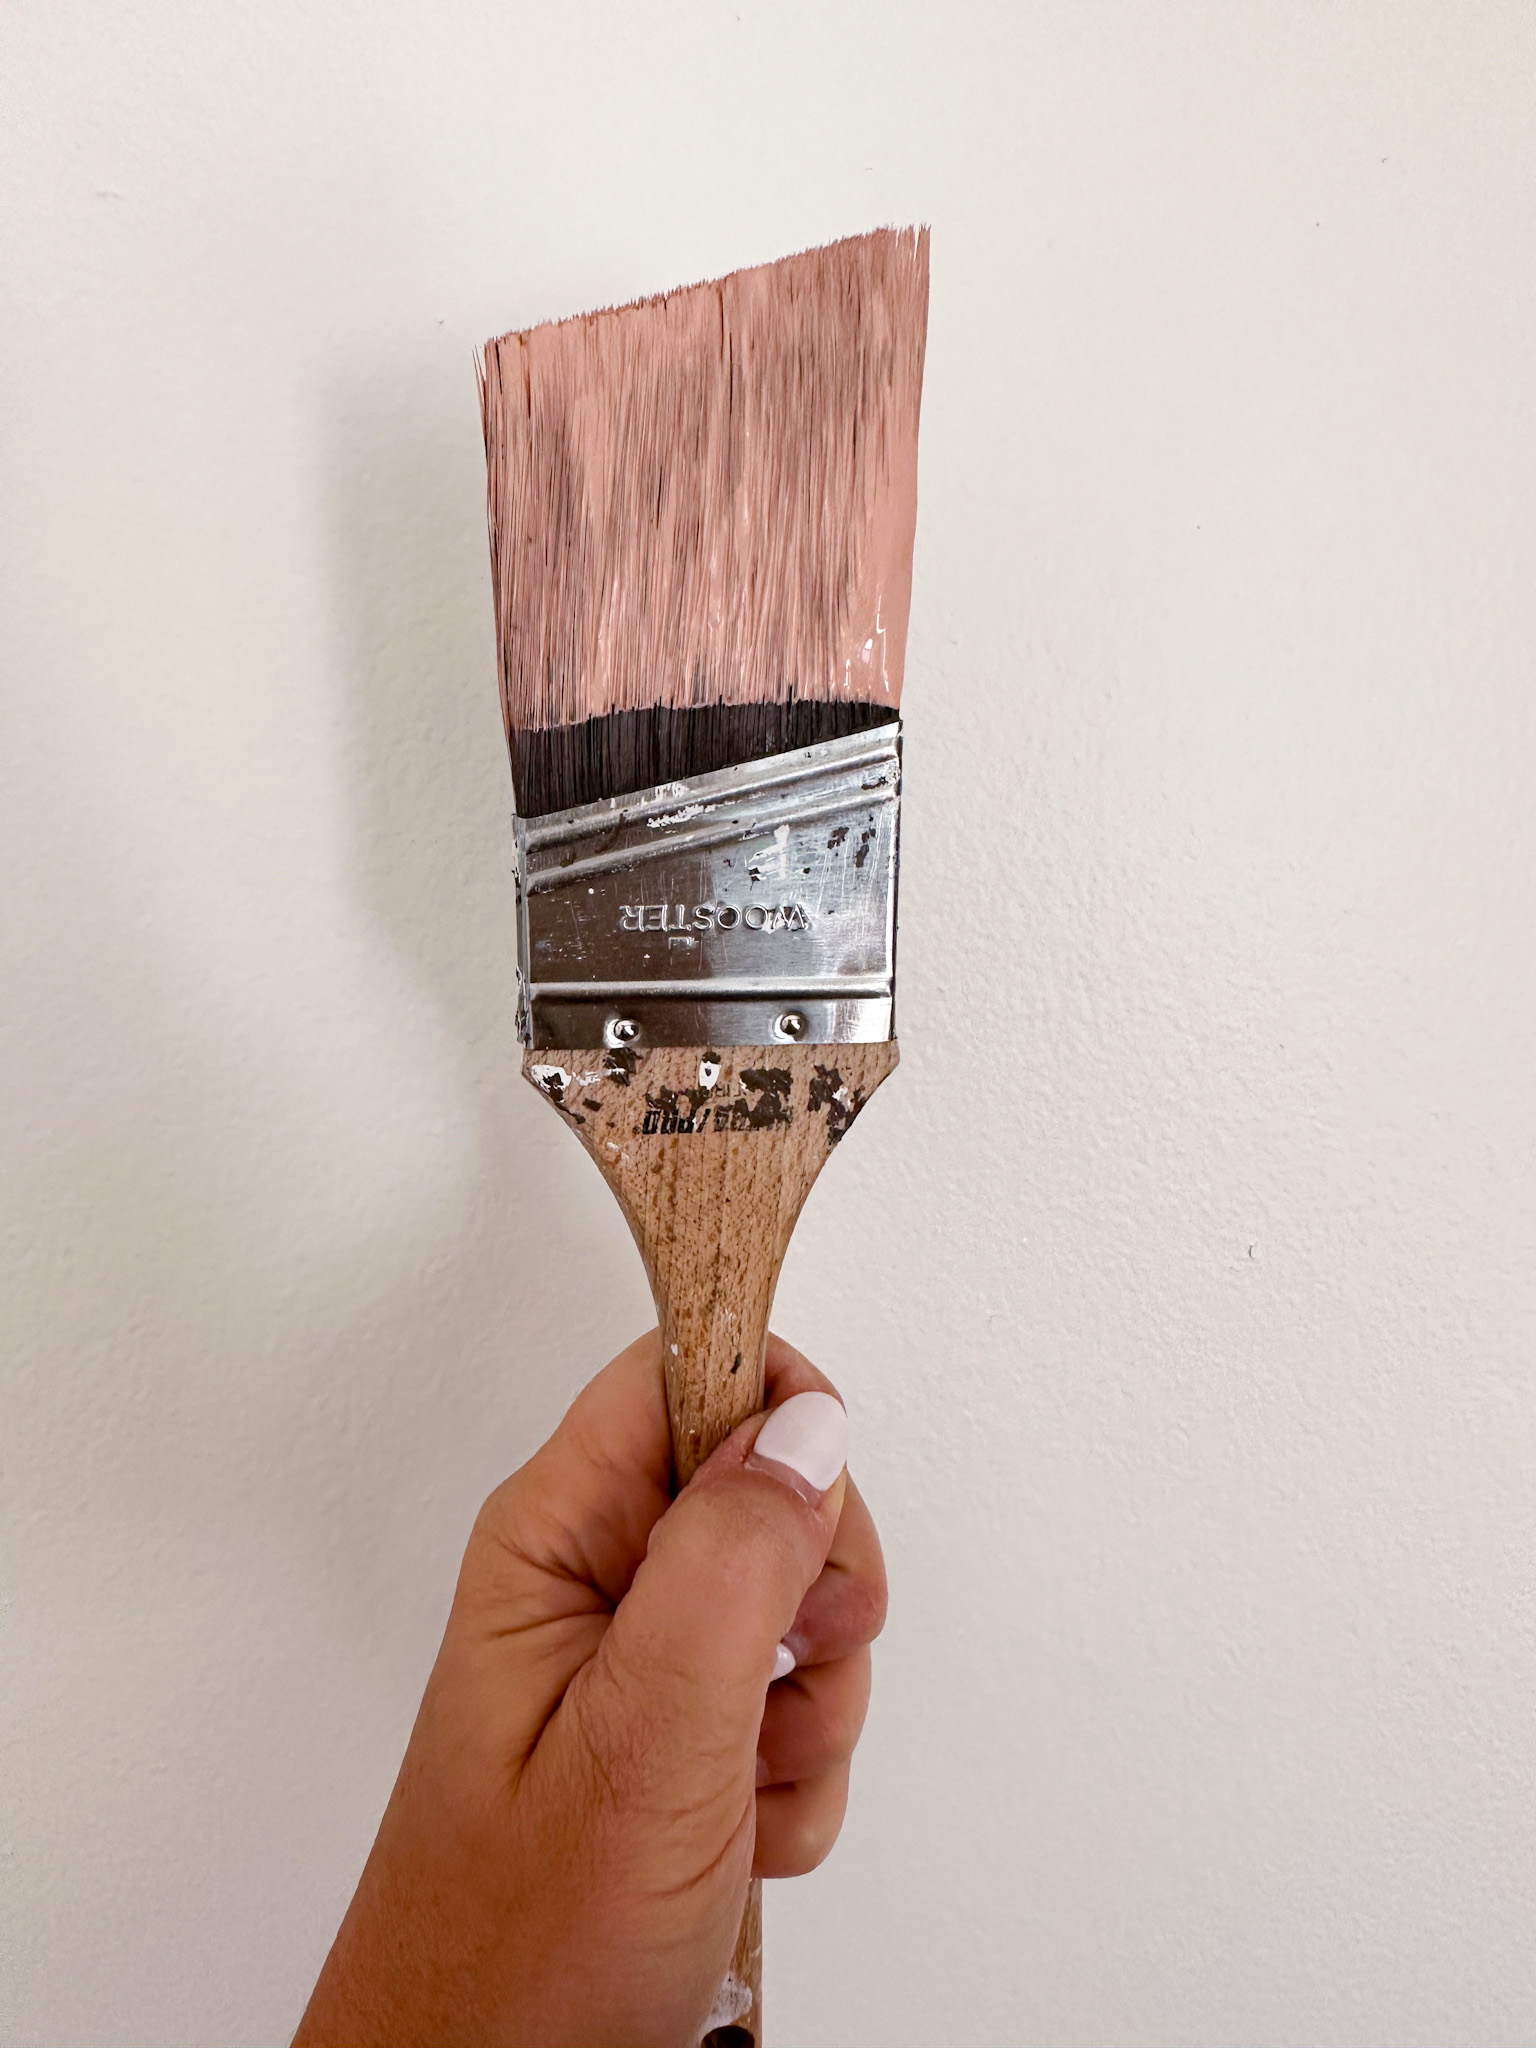
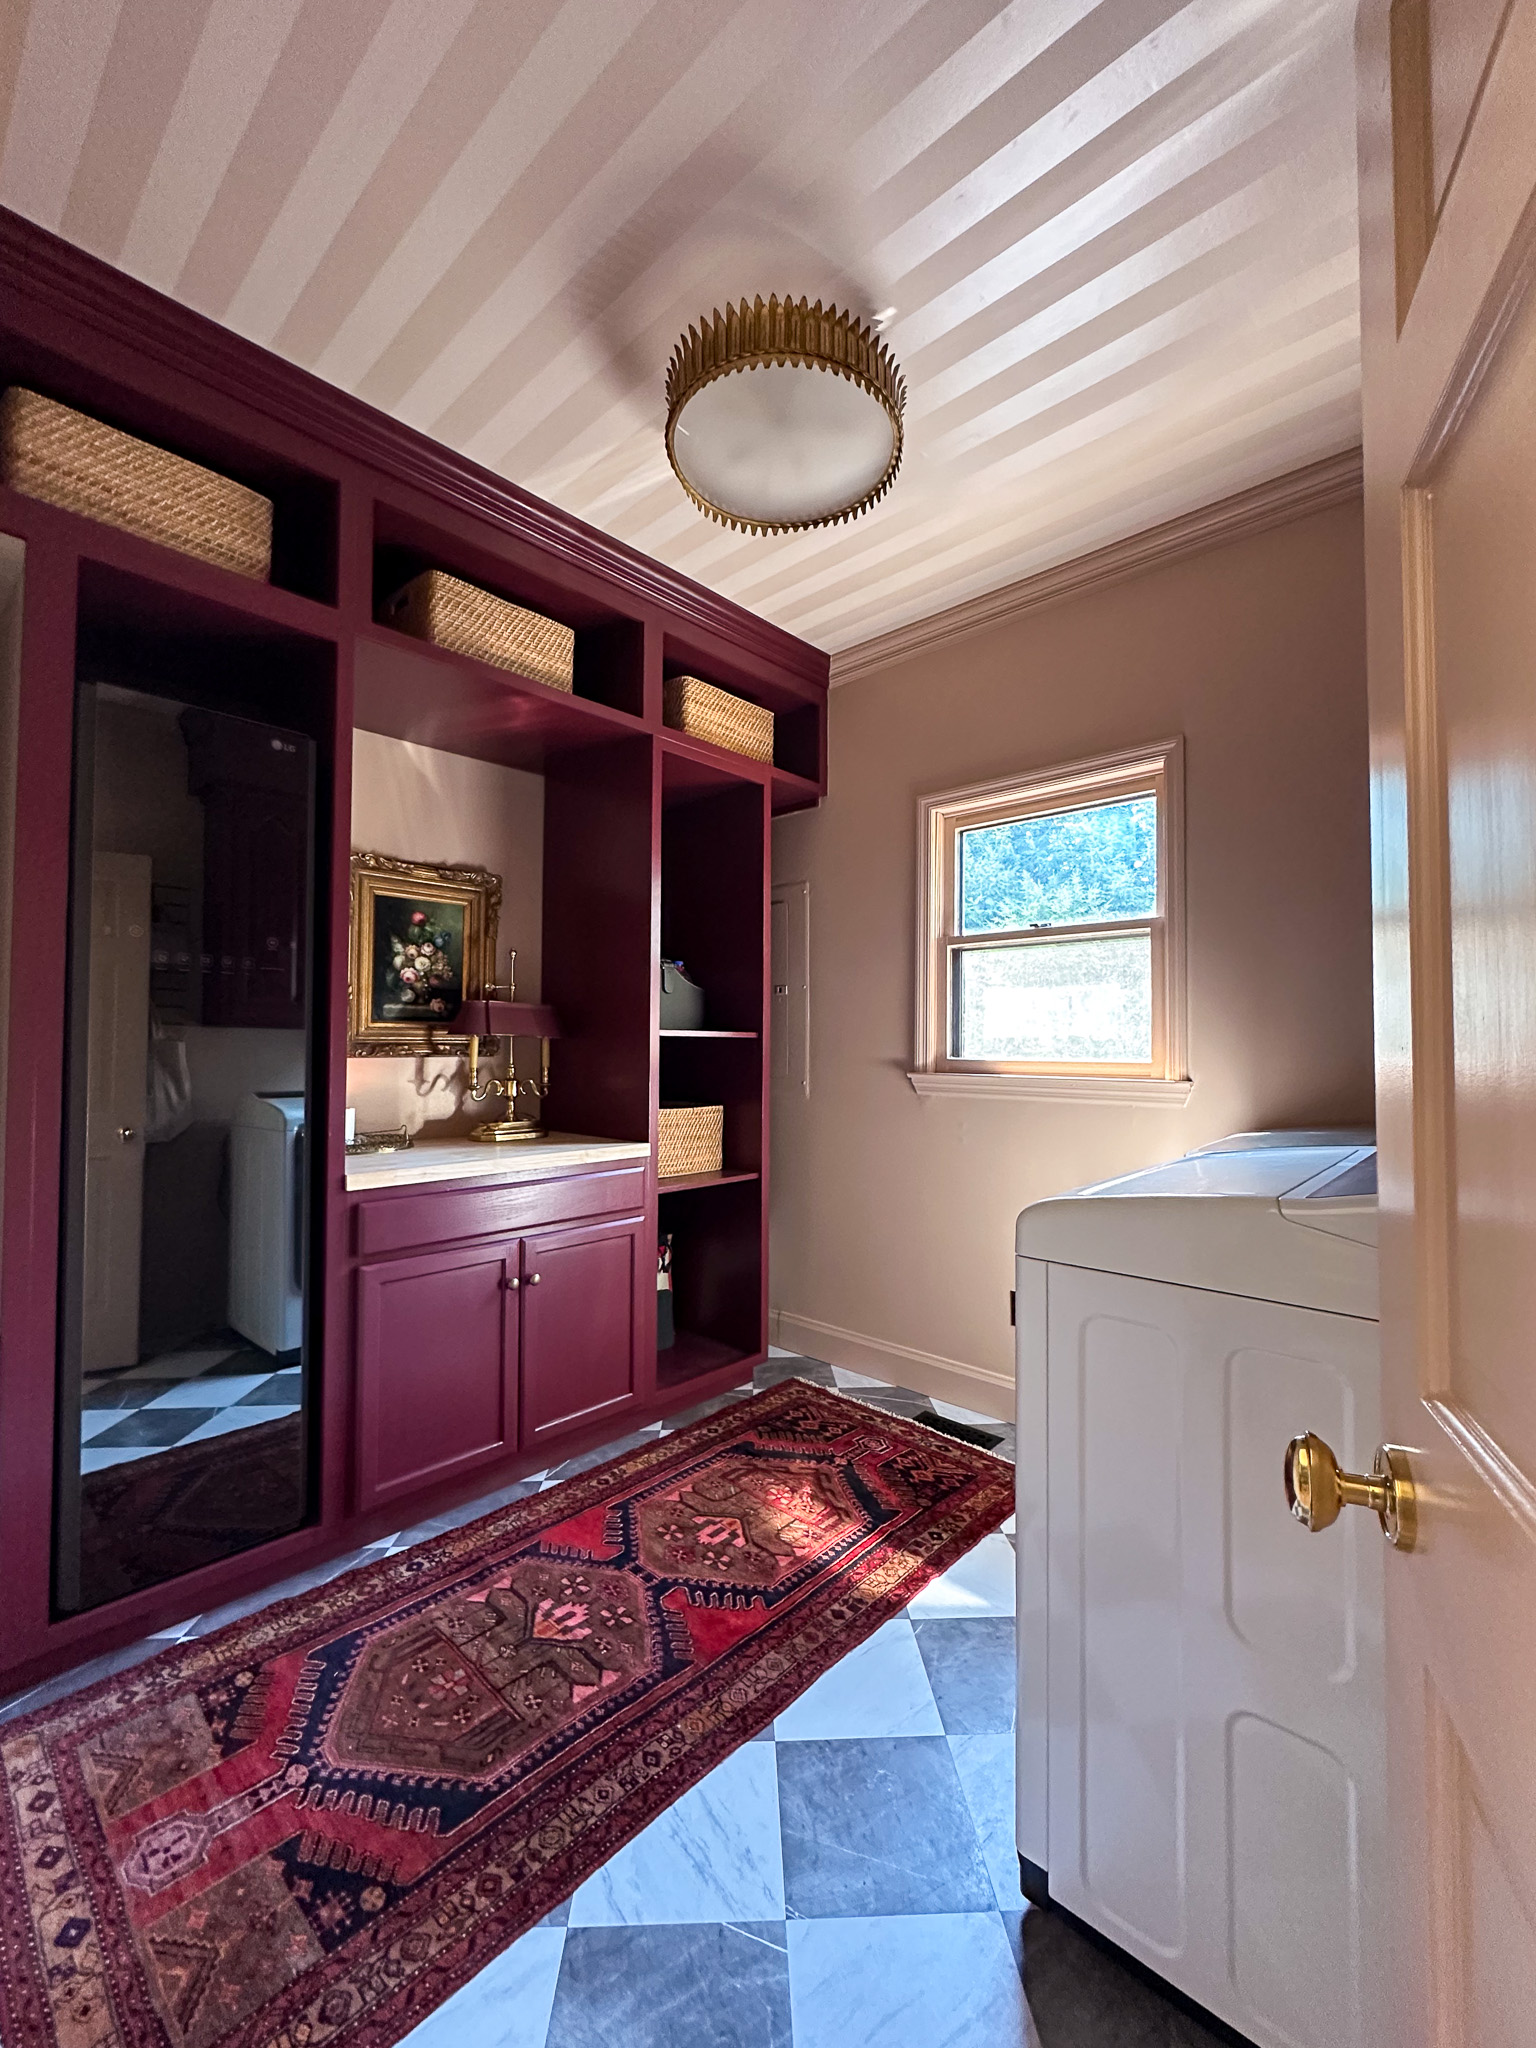
I’ve been wanting to bring burgundy into my home for a while, but I’m running out of spots for it, and a whole room of burgundy would have overwhelmed a space this size. Using it just on the cabinets, in Farrow & Ball’s Preference Red, let me get my burgundy fix without it taking over. I chose Templeton Pink (also Farrow & Ball) for the walls which felt complimentary rather than competing.
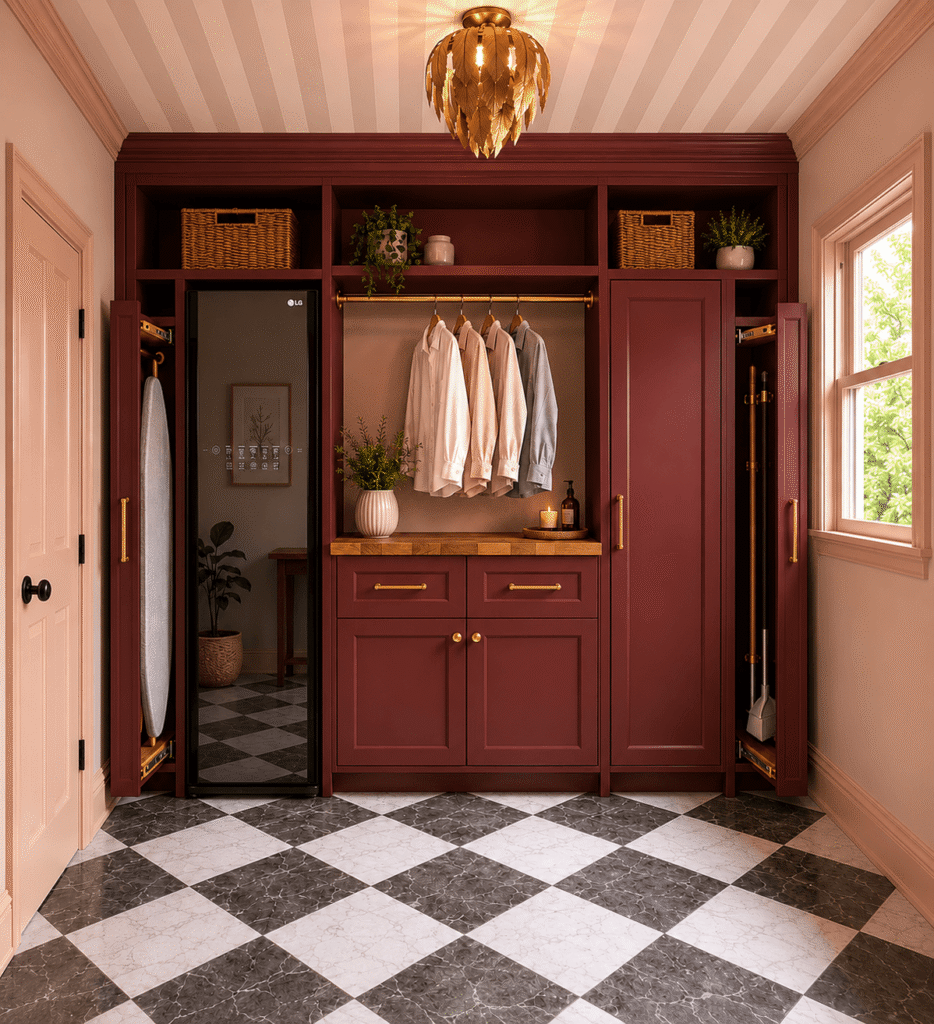
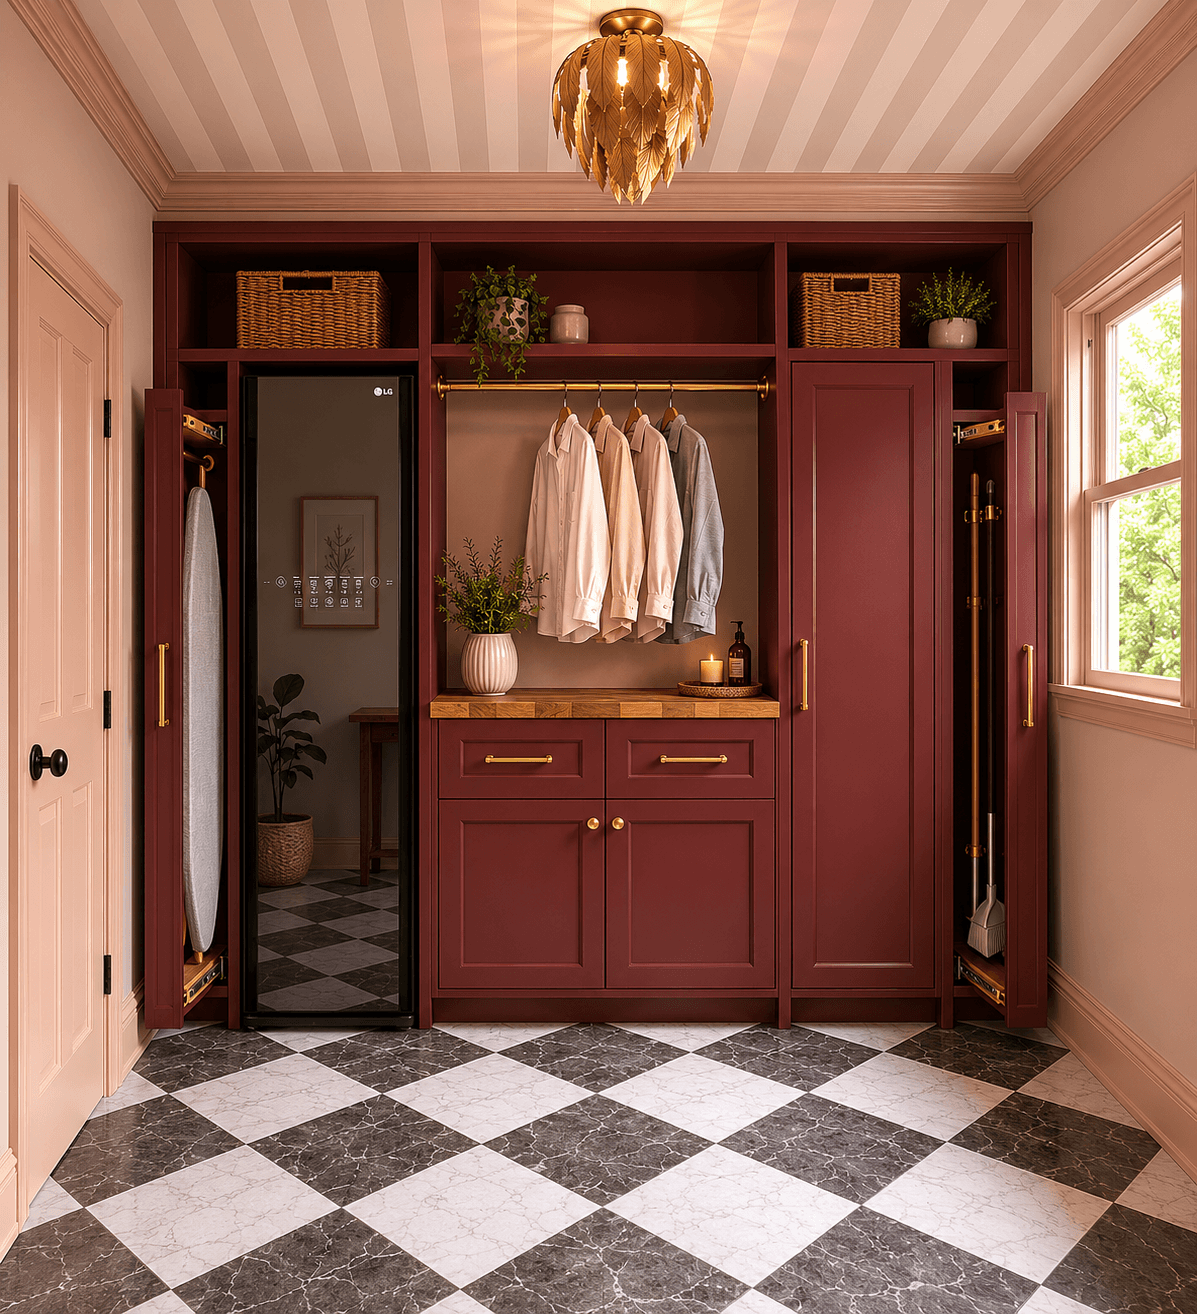
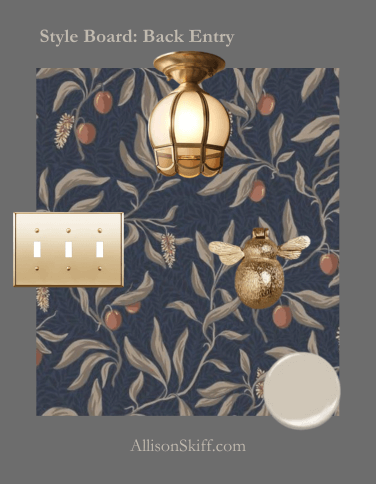
Funny enough, there’s a whole other version of this room that almost happened. My original vision was a lemon print wallpaper with a green-blue trim to match. But the peel and stick checkered floor tile needed to stay for the time being (tiling plus cabinet building for the first time would have been too overwhelming) and it really dictated where the color story could go. The lemon wallpaper is still floating around in my head and I have a couple other spots in mind for it. Here’s a mock-up so you can see what I was thinking.
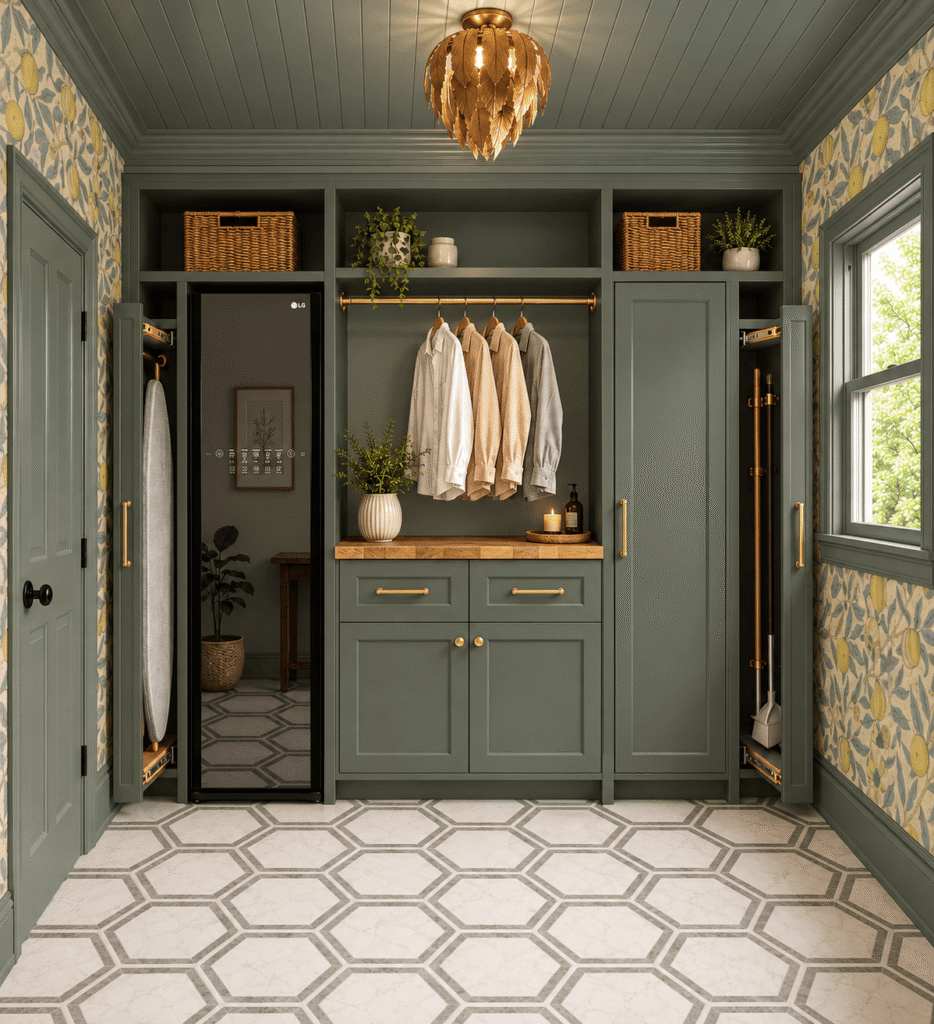
Wallpaper | Paint Color | Floor Tiles | Dry Cleaning Machine | Butcher Block Countertop
Building the Cabinets From Scratch
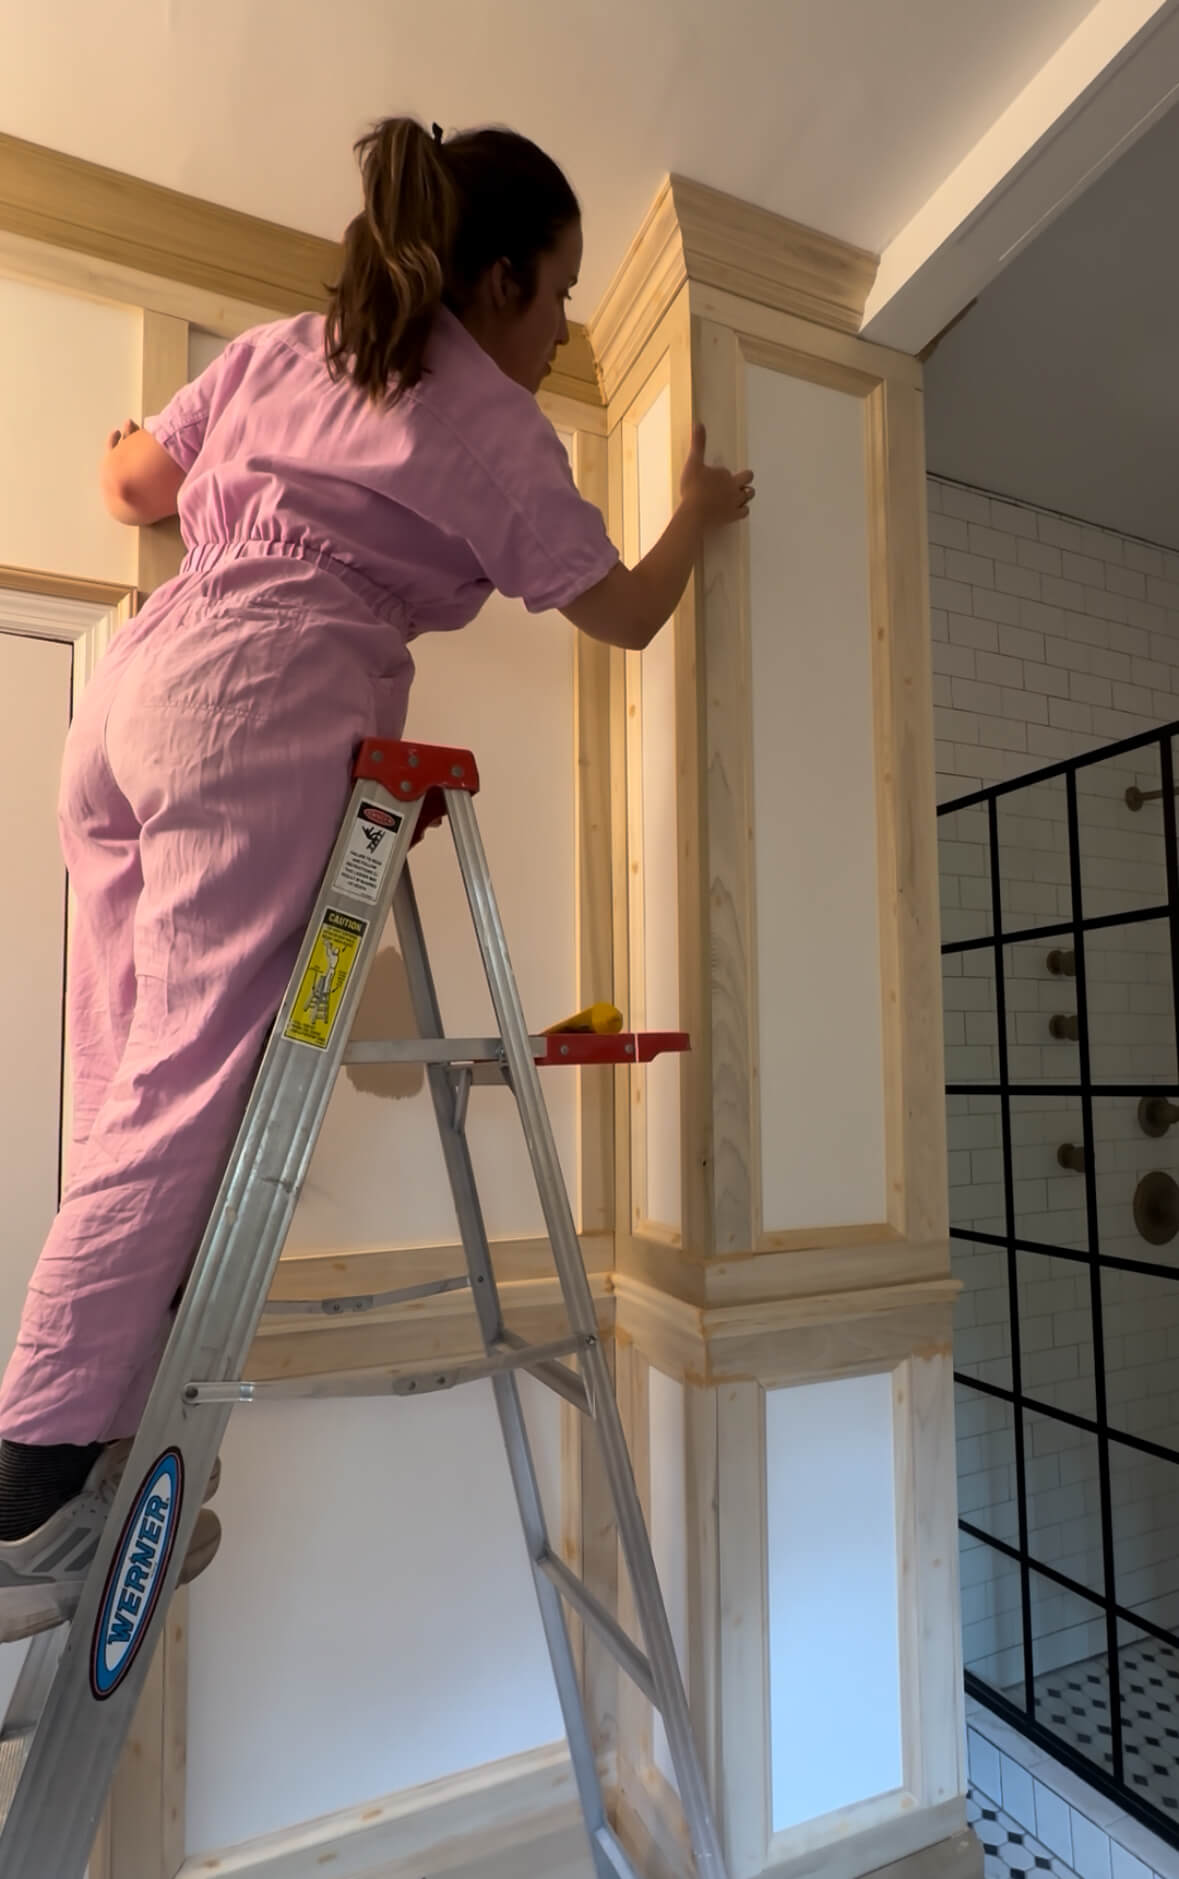
This is the part I’m proudest of. I had never built anything three dimensional before this, and I built floor to ceiling cabinets, at scale, from nothing. I cleared the space first, then went straight into learning how to build the cabinet boxes, which meant buying a track saw and teaching myself pocket hole joinery as I went. For those that are new to this as well, I did a ton of research on saws and ultimately landed on this one after reading great reviews. I can add to those, stating this saw was perfect for my needs, made precise cuts and never ran out of battery life even after a full day of cutting.
I made plenty of wrong cuts and wasted some plywood, though I managed to repurpose most of it into smaller pieces. The bigger lesson came later, when I realized I hadn’t accounted for a base, a ladder frame the cabinets actually sit on, and I had to go back and rework it. That one fix changed the height and dimensions of the whole build.
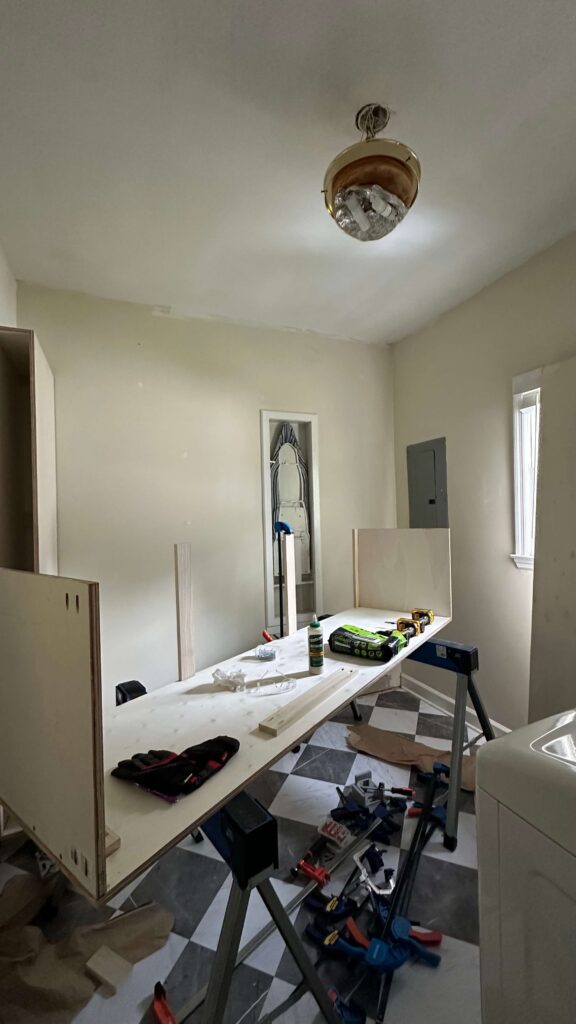
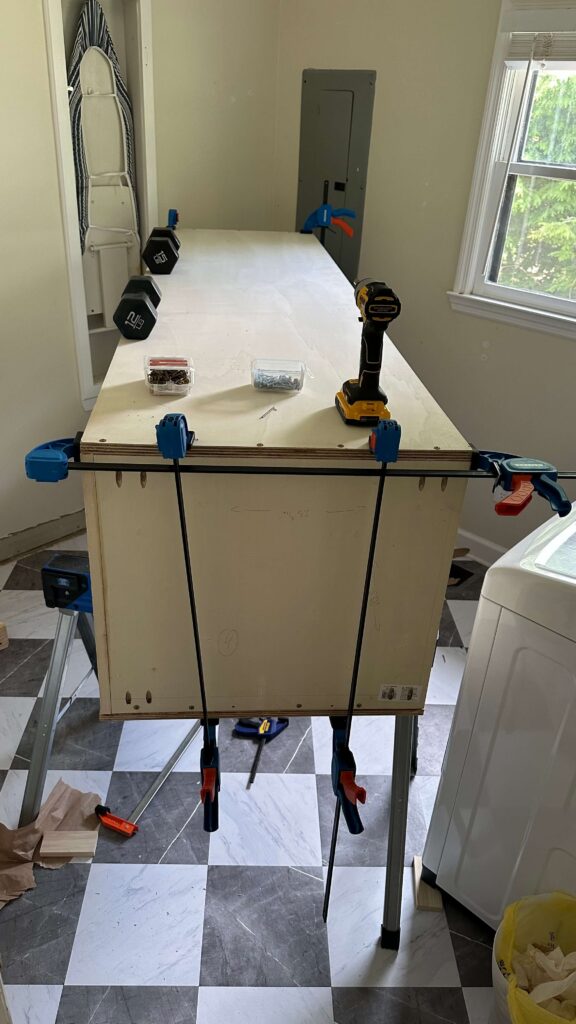
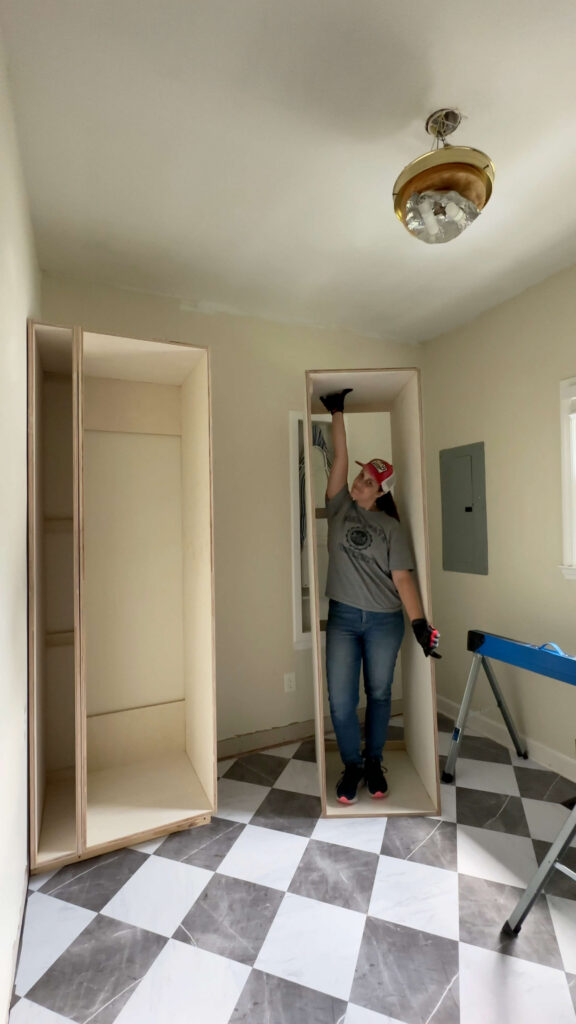
The roughest patch was my pocket hole jig. It wasn’t calibrated right, so the screws weren’t seating all the way, and I didn’t catch it until I was moving some of the larger cabinet boxes and they started splitting apart at the seams. That was a bad day. Once I got the jig fixed, everything came together the way it should have from the start.
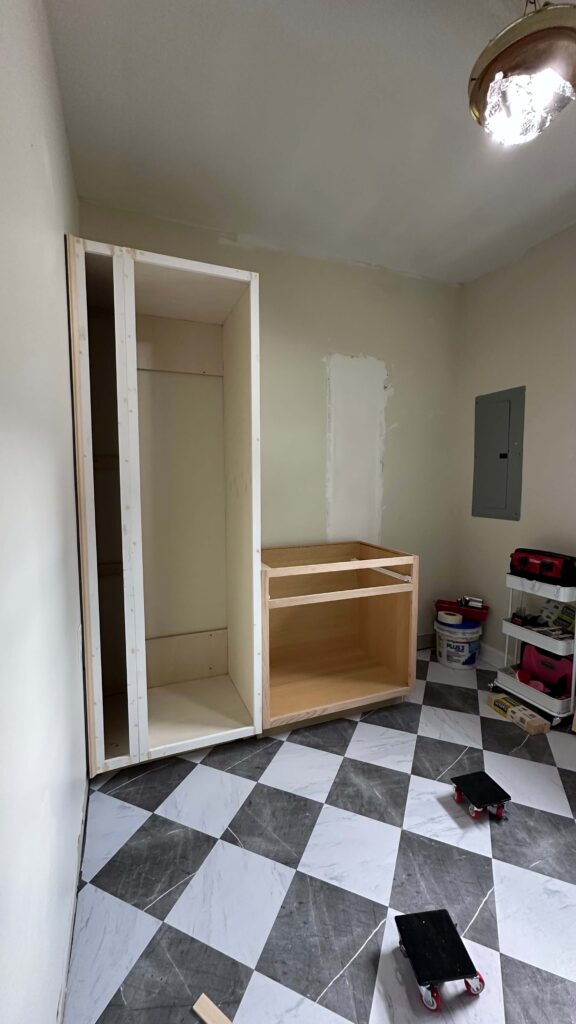
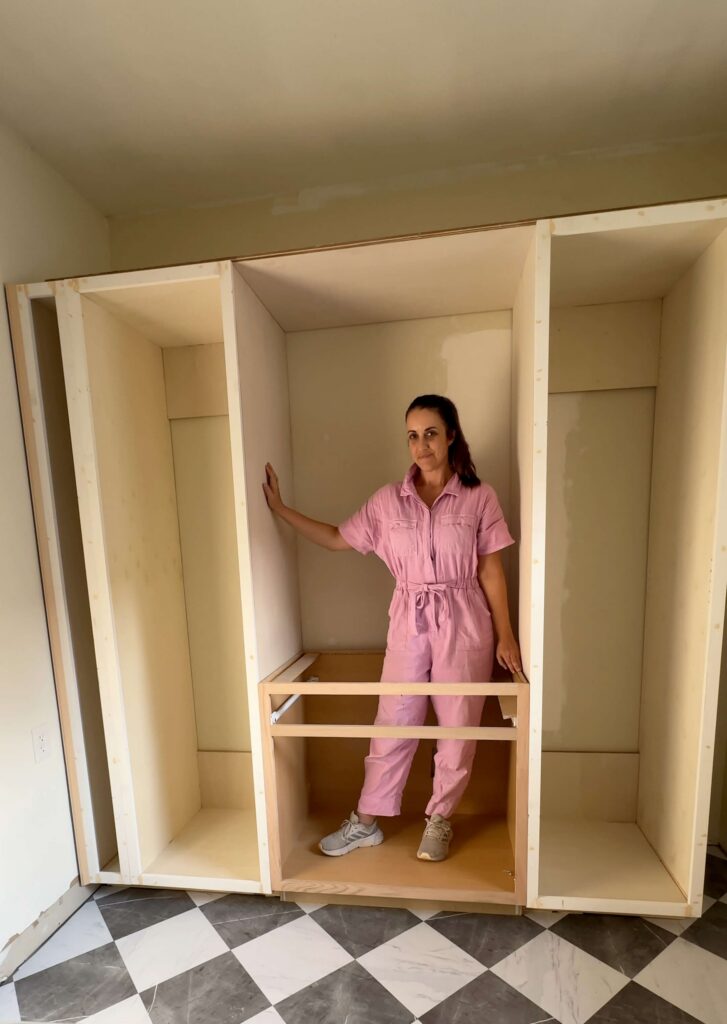
I did go back and forth on building my own vanity base for the center of the run versus ordering one premade, and I ordered it. No regrets. It meant I didn’t have to tackle drawer construction on top of everything else. That’s the nice thing about doing this yourself instead of hiring someone: you can change your mind on the fly. The biggest vanity size I could go with was a 36″ base which feels perfect with the overall build. It allowed for symmetry of the two taller cabinets flanking it, and still left me substantial room all the way to the right next to the electrical panel. We’ll get into that below, but I plan to design and build some pull out storage with a false door for that area.
For now, I decided to add a butcher block countertop on the vanity base. I was able to cut this down to size with my track saw, and it was a great solution for the time being. Someday I may try to source a piece of marble for this area, but for right now I’m really happy with this countertop.
Layering In the Details
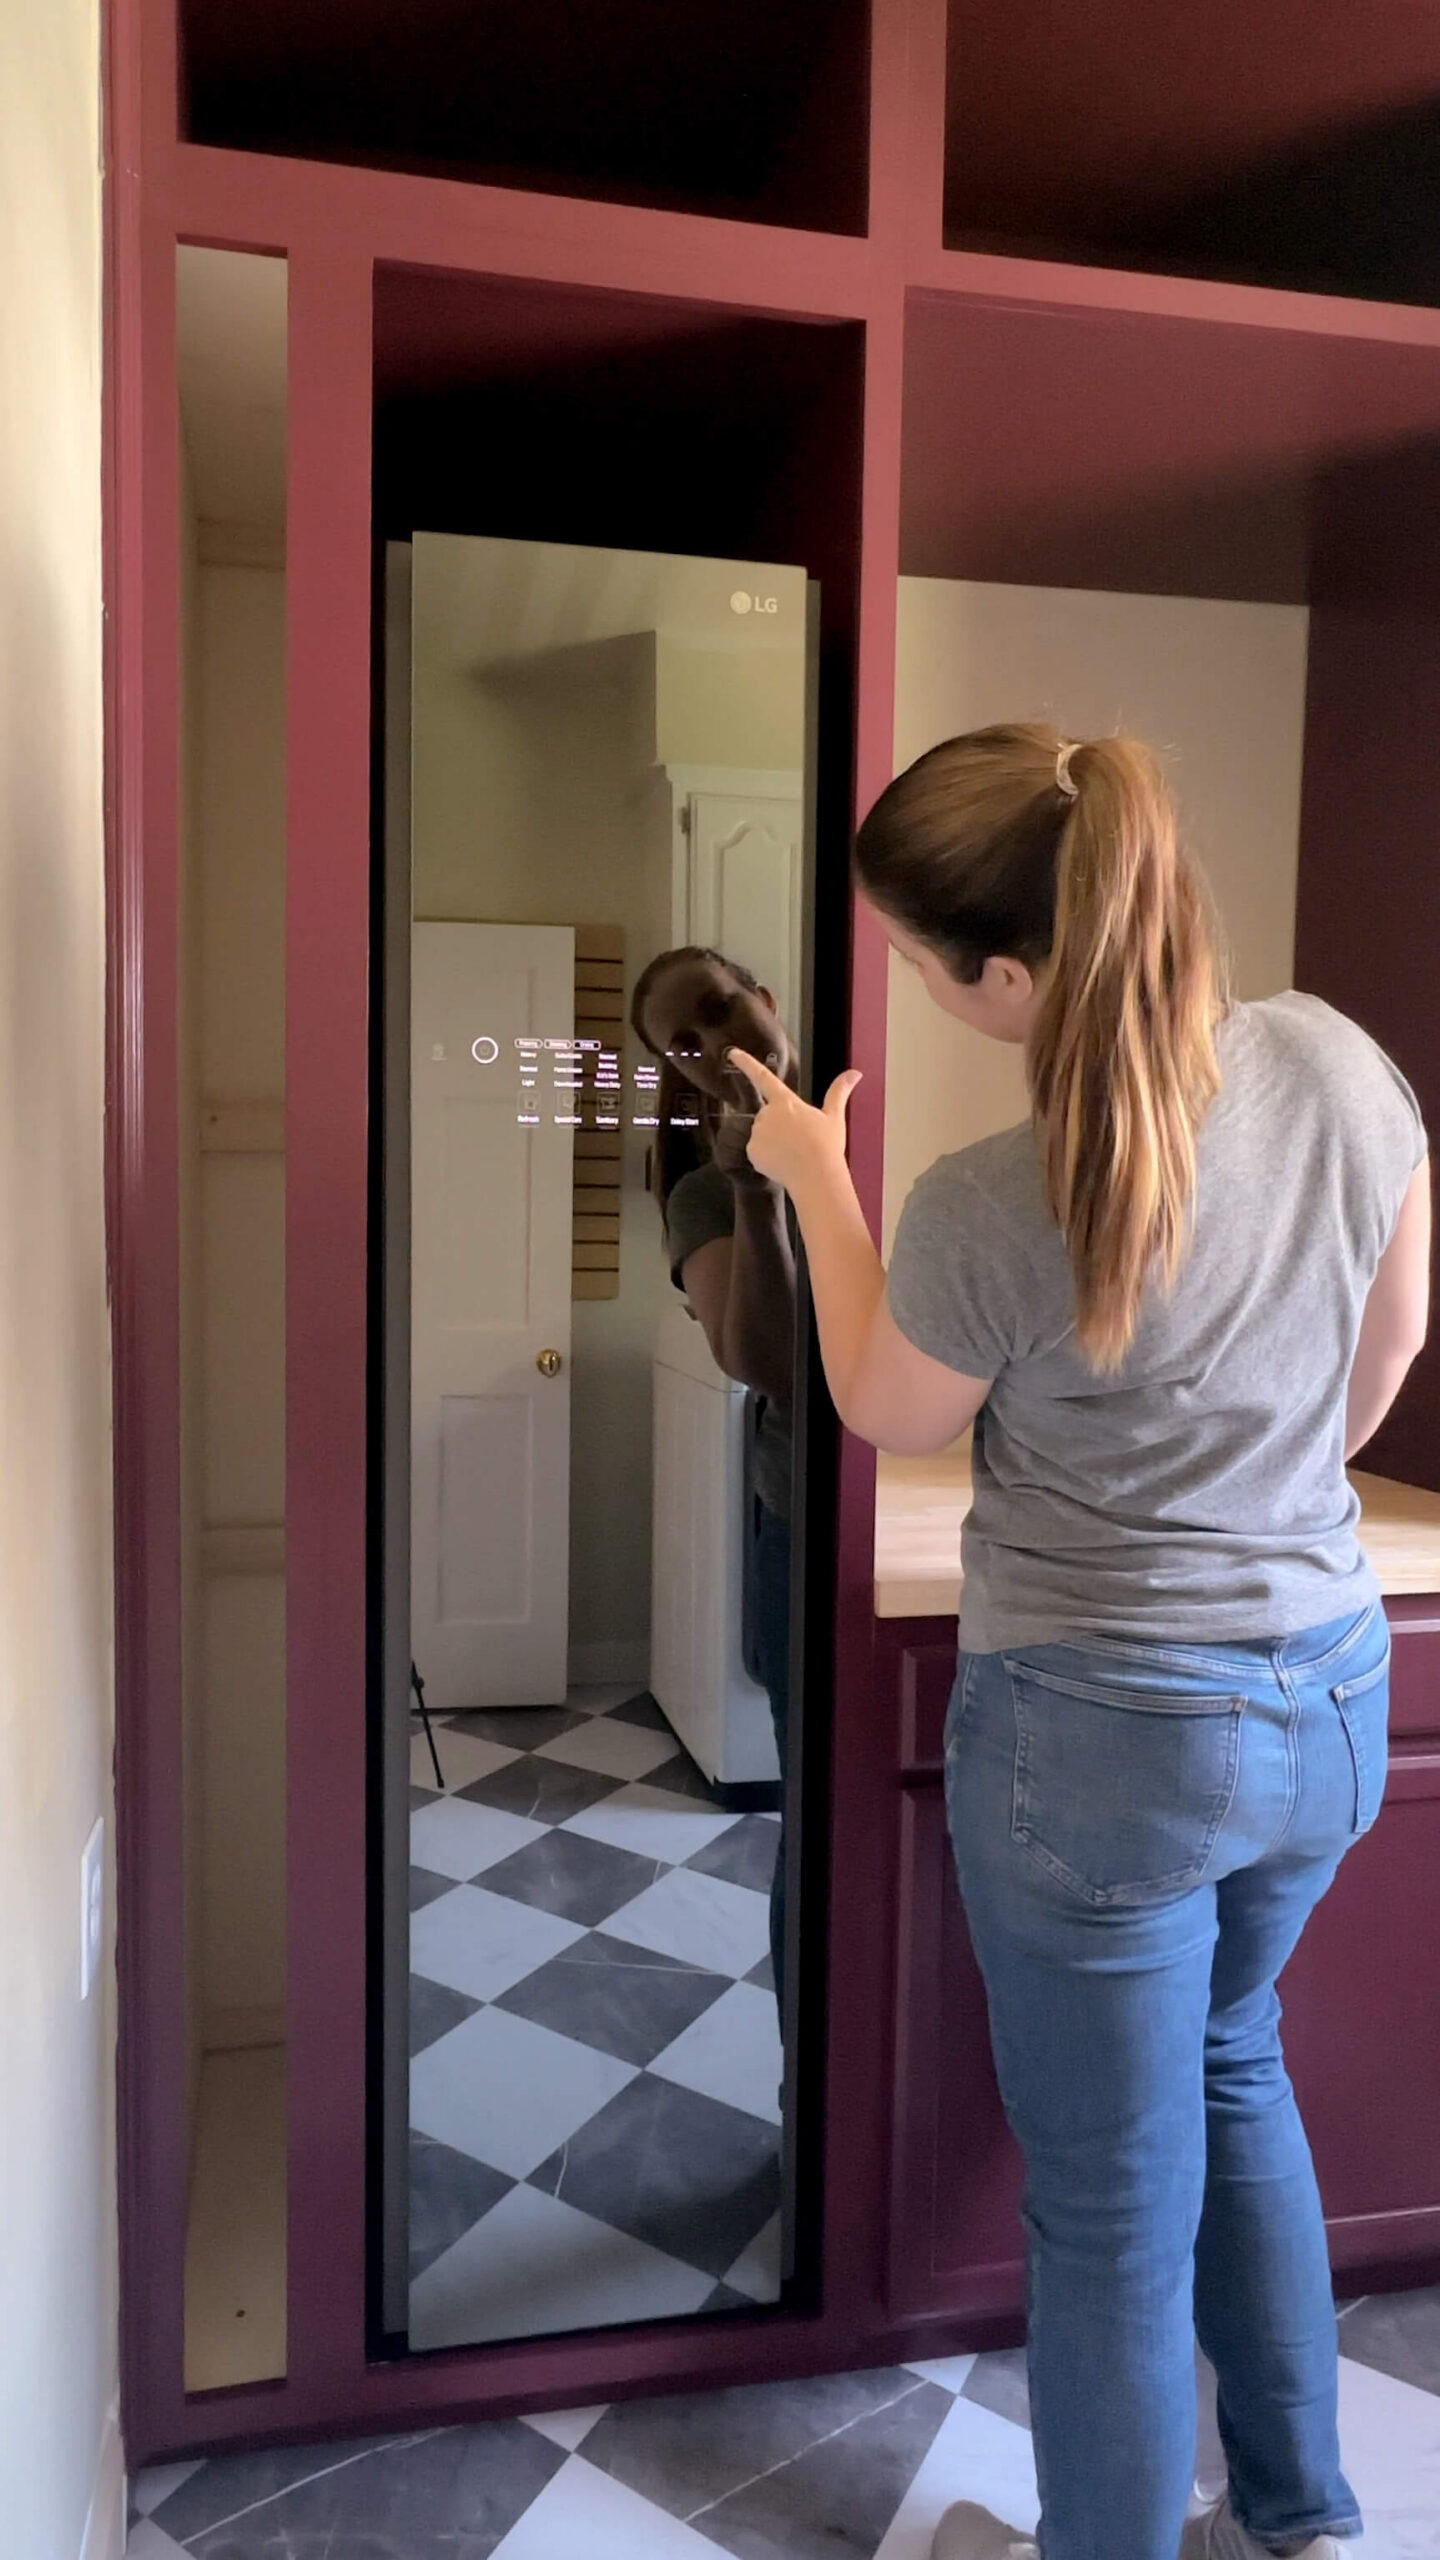
Once the cabinet boxes were built, the rest came together in stages. I painted the base cabinets, and around that same time the LG Styler (my at home dry cleaning machine) arrived and became the anchor for the whole build. Its dimensions decided how everything around it got sized and laid out. In a lot of ways, the Styler designed this room right alongside me.
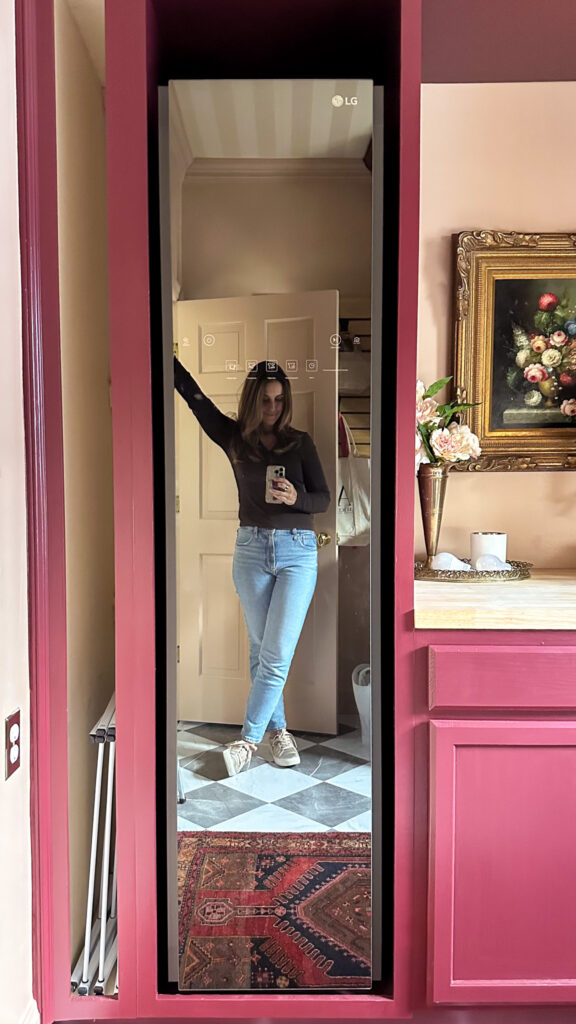
The cabinet wall was designed around my new At Home Dry Cleaning Machine. No water hook-up needed, you just need electricity.
From there I wallpapered the ceiling in a striped pattern I’d been wanting to try. A laundry room felt like the right low stakes place to attempt a wallpaper ceiling install for the first time, and the stripes add some movement against all that color blocking below. I painted the walls in Templeton Pink, then added crown molding left over from my primary bathroom project, so that detail cost me nothing new.
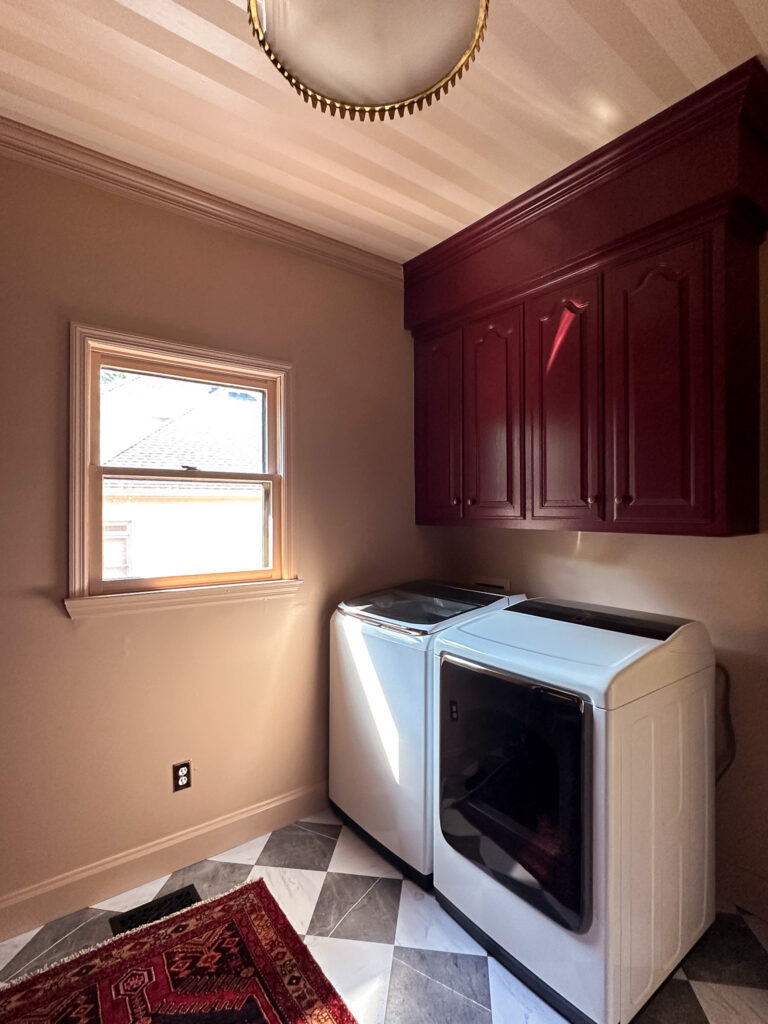
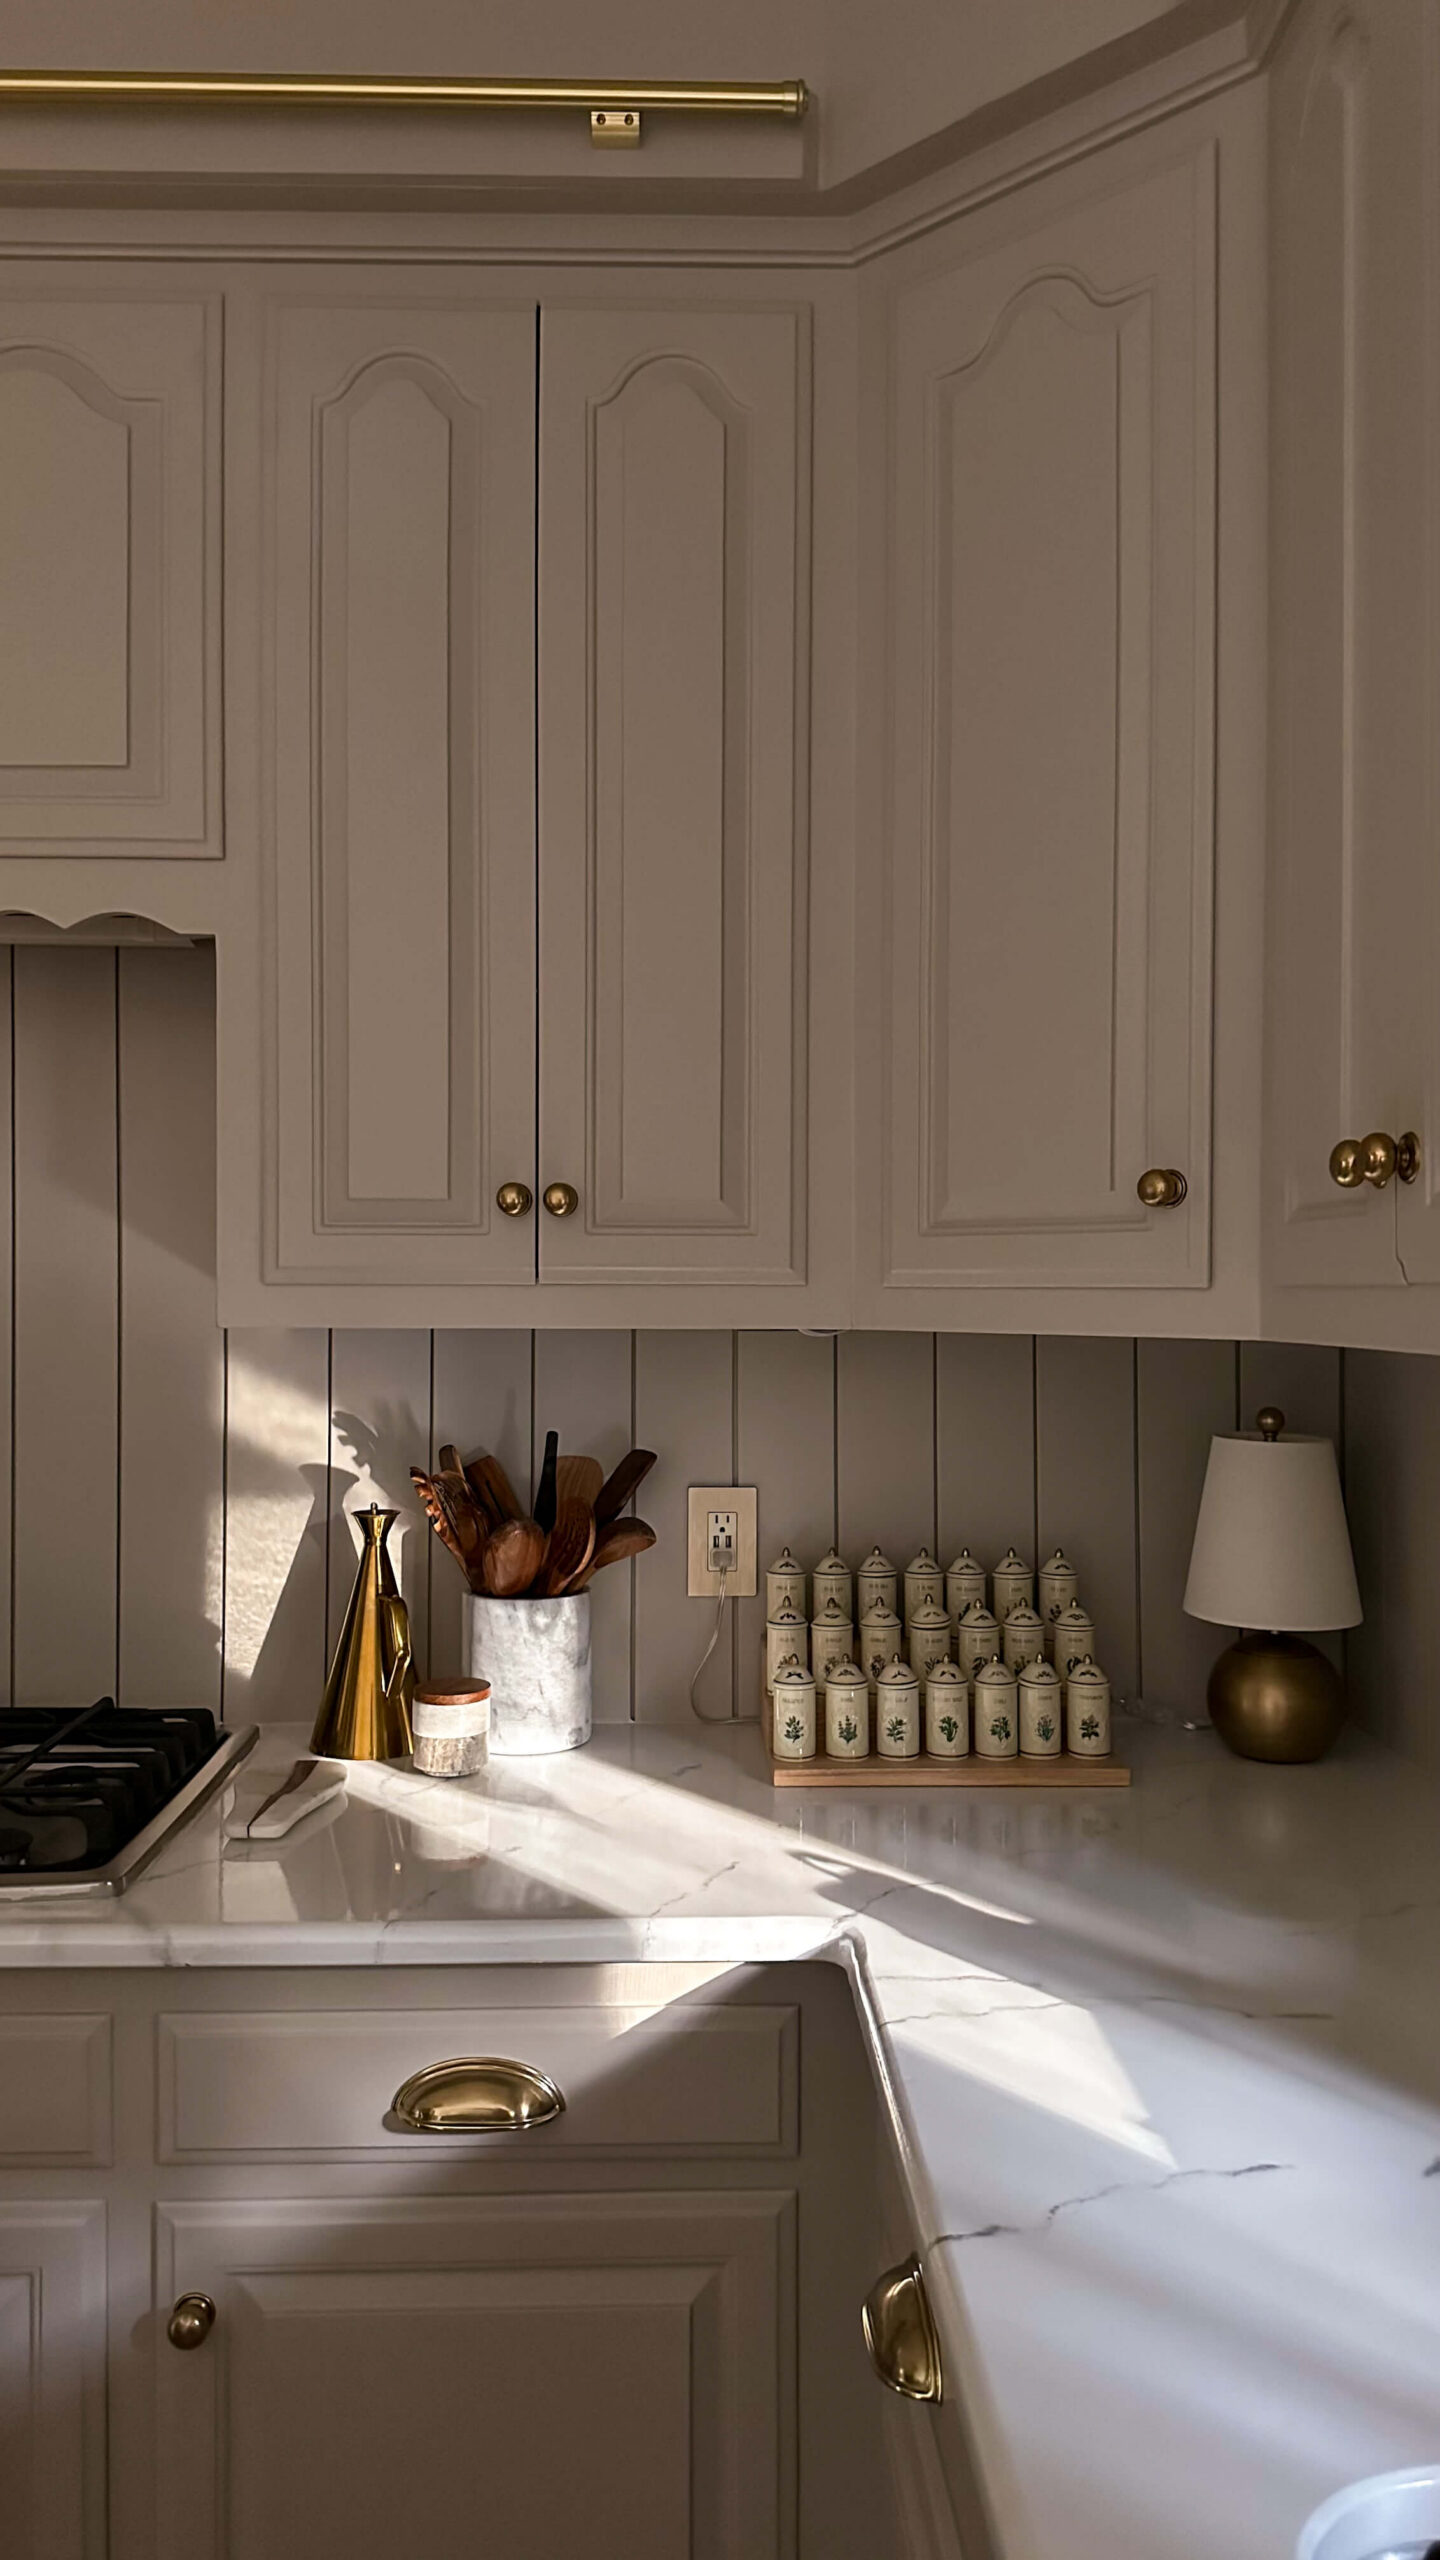
Painting the original cabinets and the bulkhead the same color, plus adding crown molding on top made this original feature look more high end than it originally was.
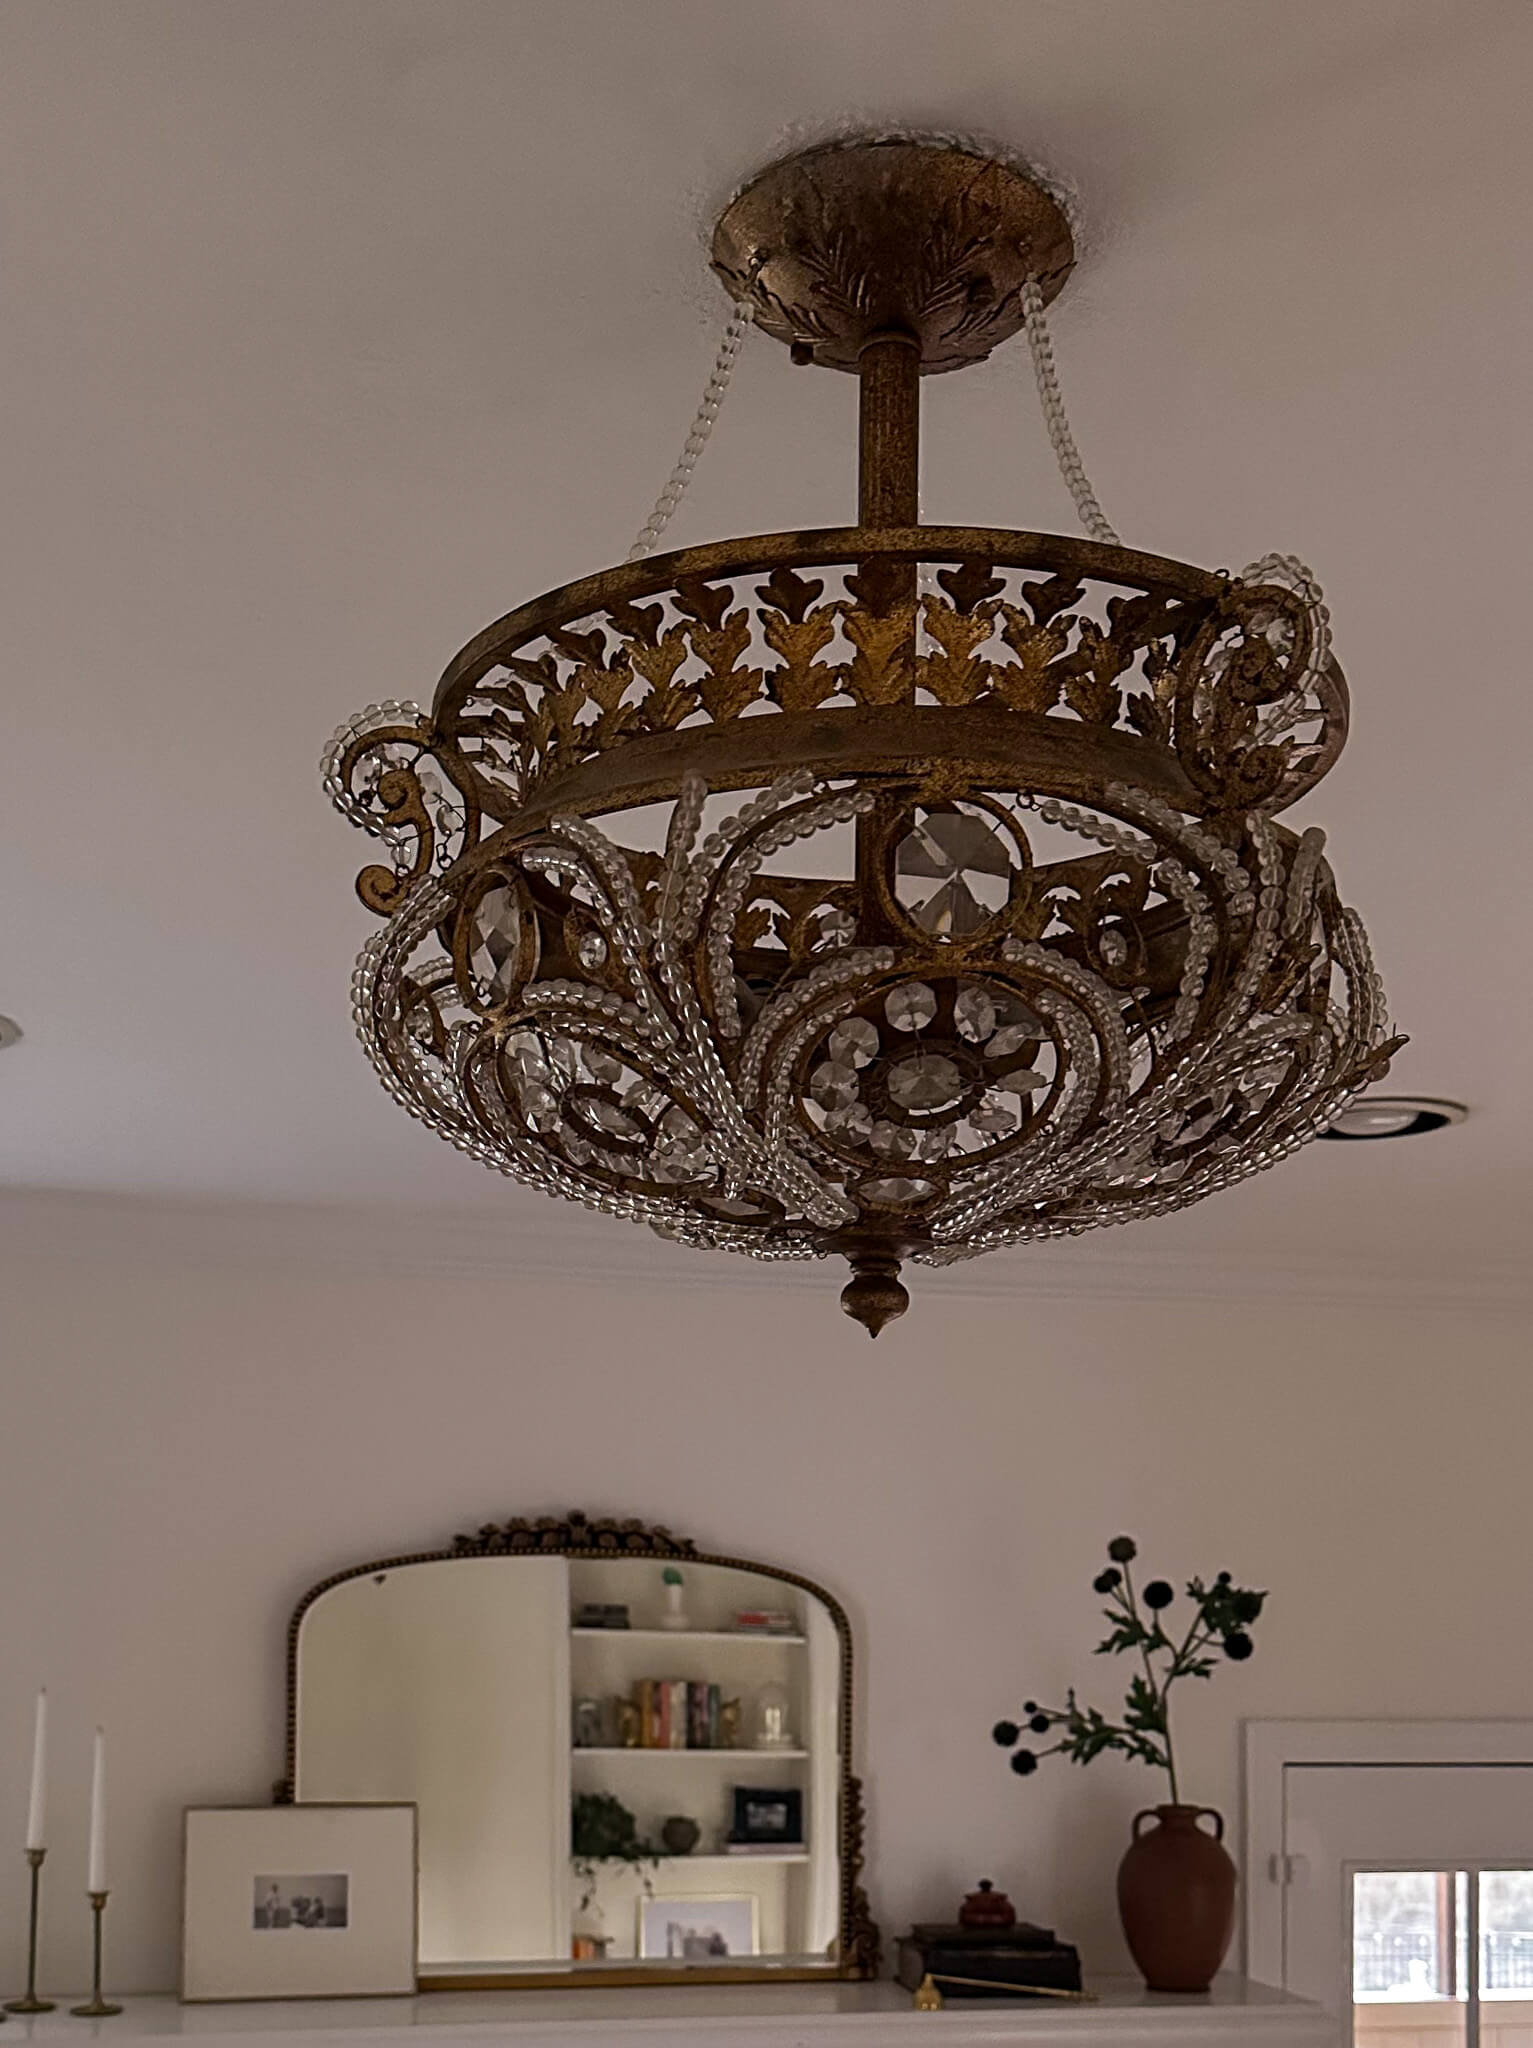
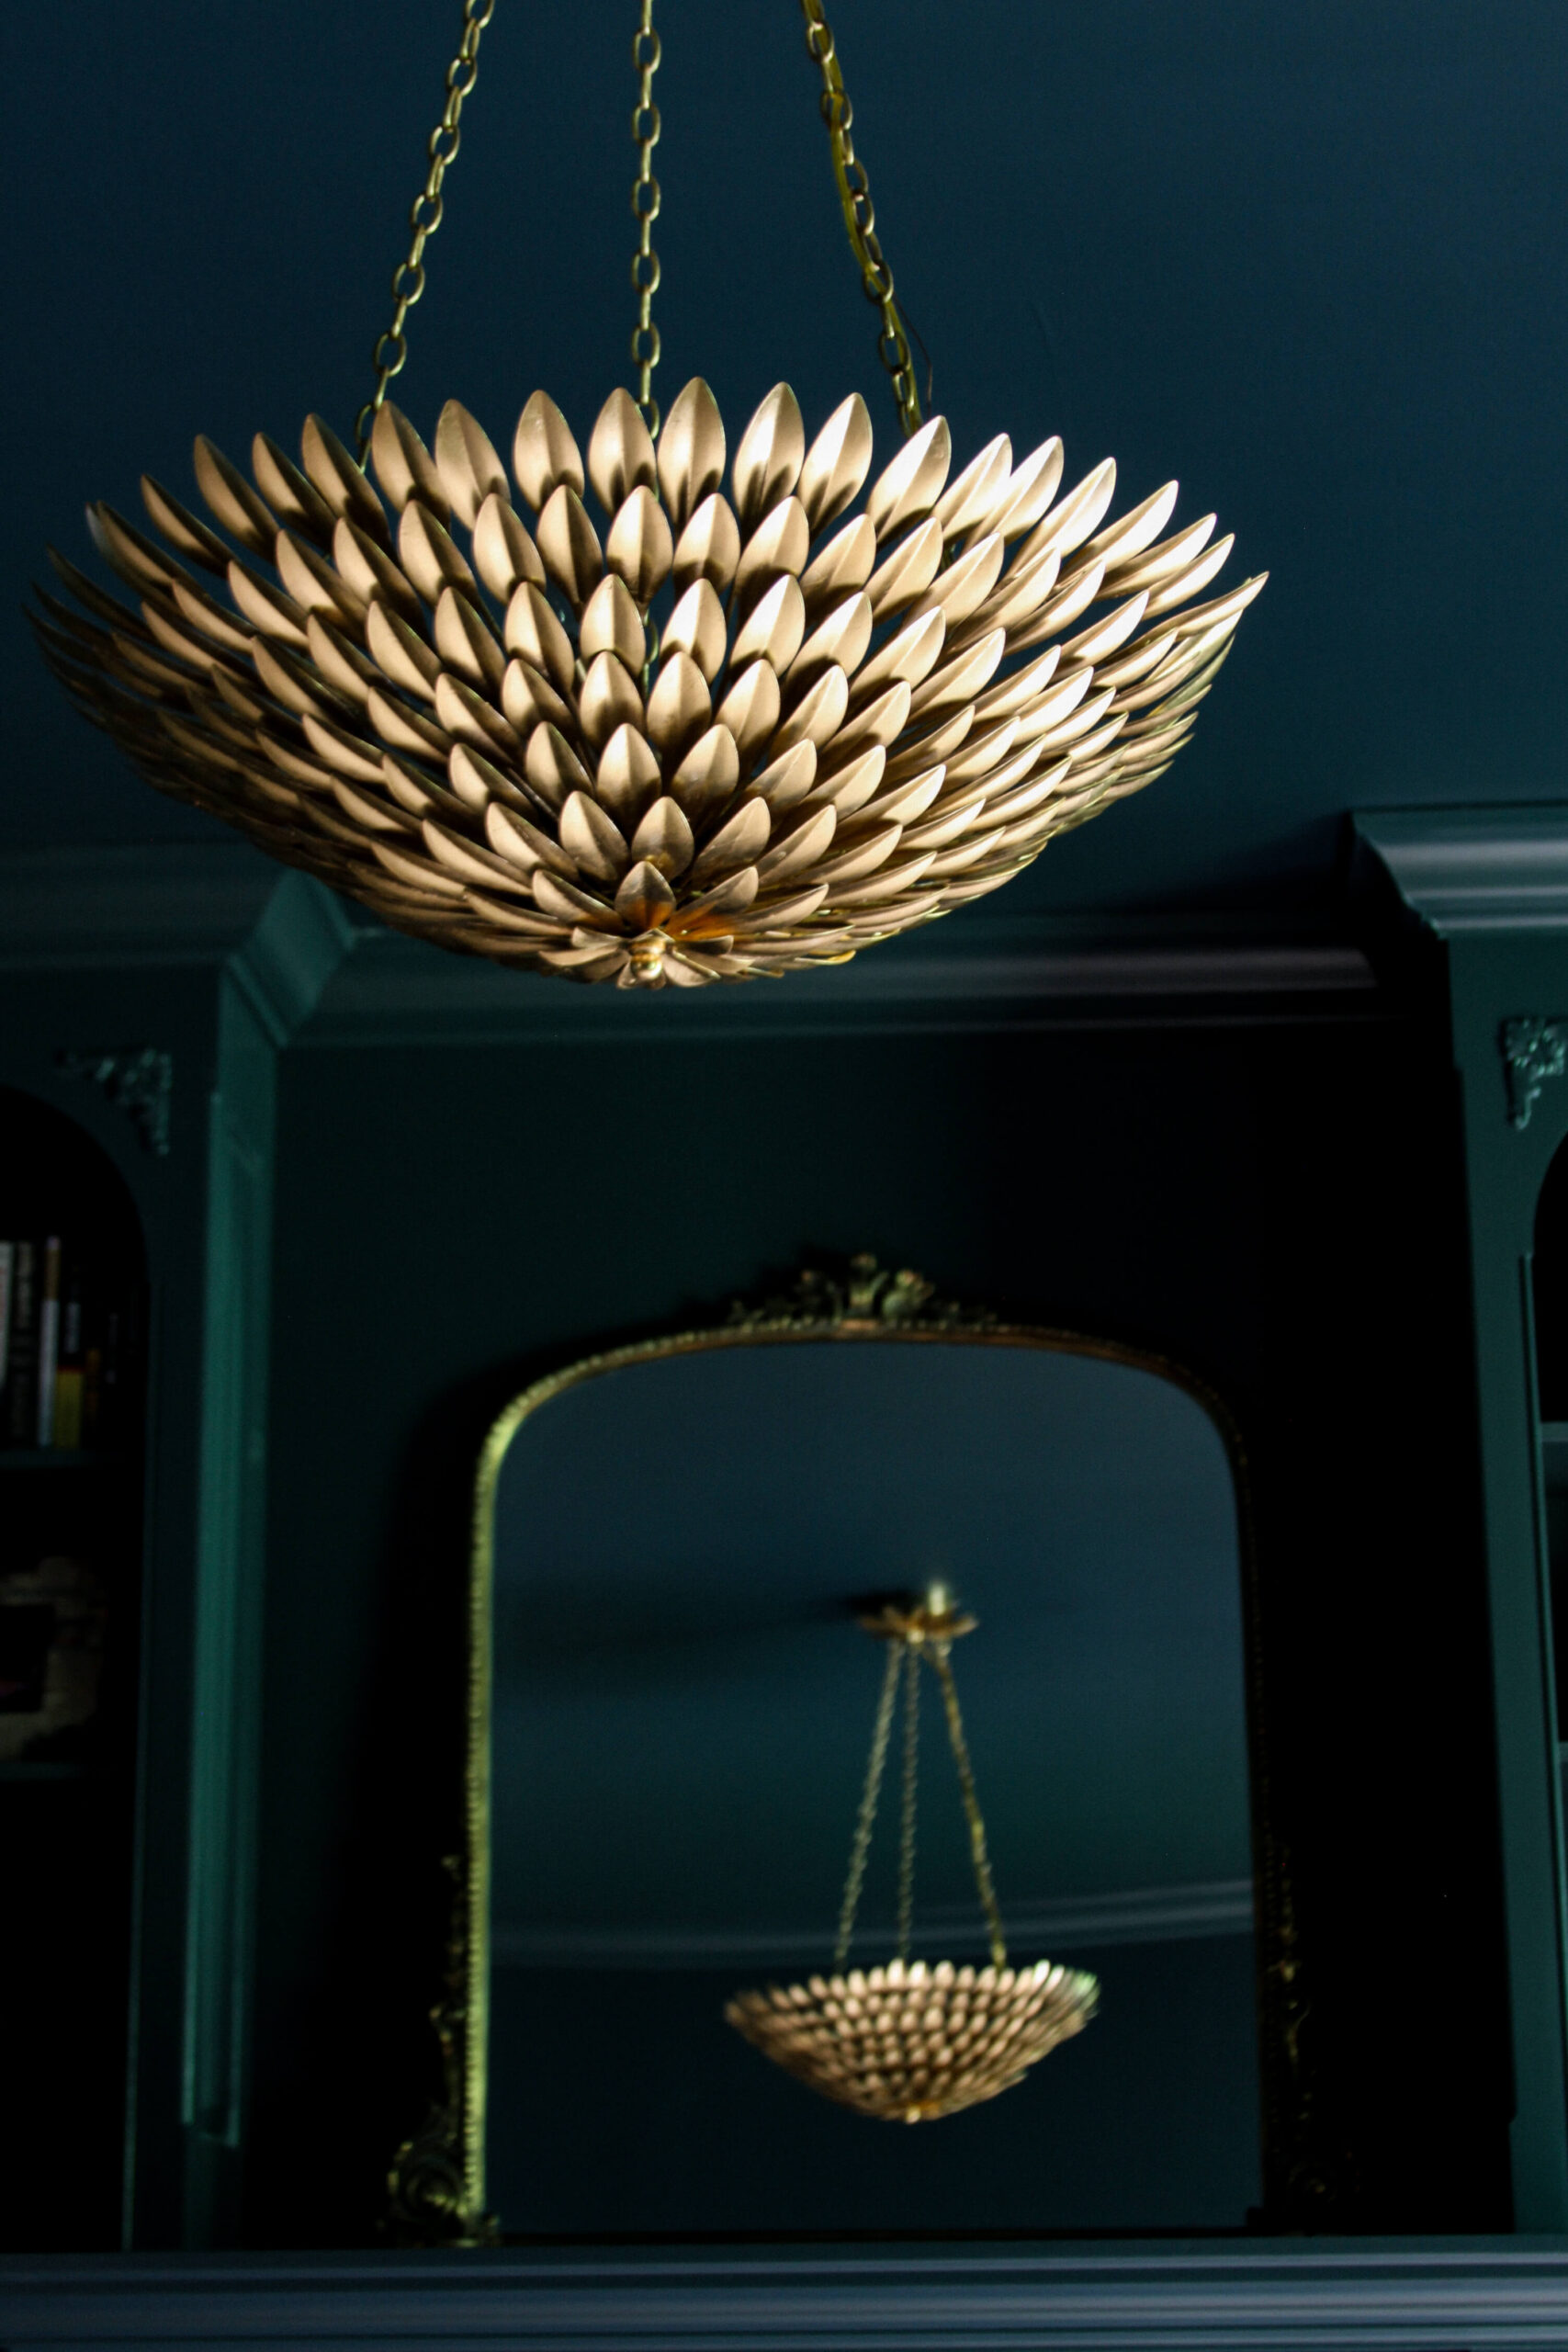
I also went back and updated the original cabinets above the washer and dryer, swapping their exposed hinges for hidden soft close ones so they’d match the quality of everything I’d just built. New hardware went in throughout, and I hung a new light fixture, the Leslie semi-flush by Visual Comfort. That light has been trying to find a spot in my house for four years. I almost put it in my primary closet years ago, then almost put it in my home office last year before a different fixture landed there instead. I’m so glad neither of those worked out, because this room turned out to be exactly where it belonged.
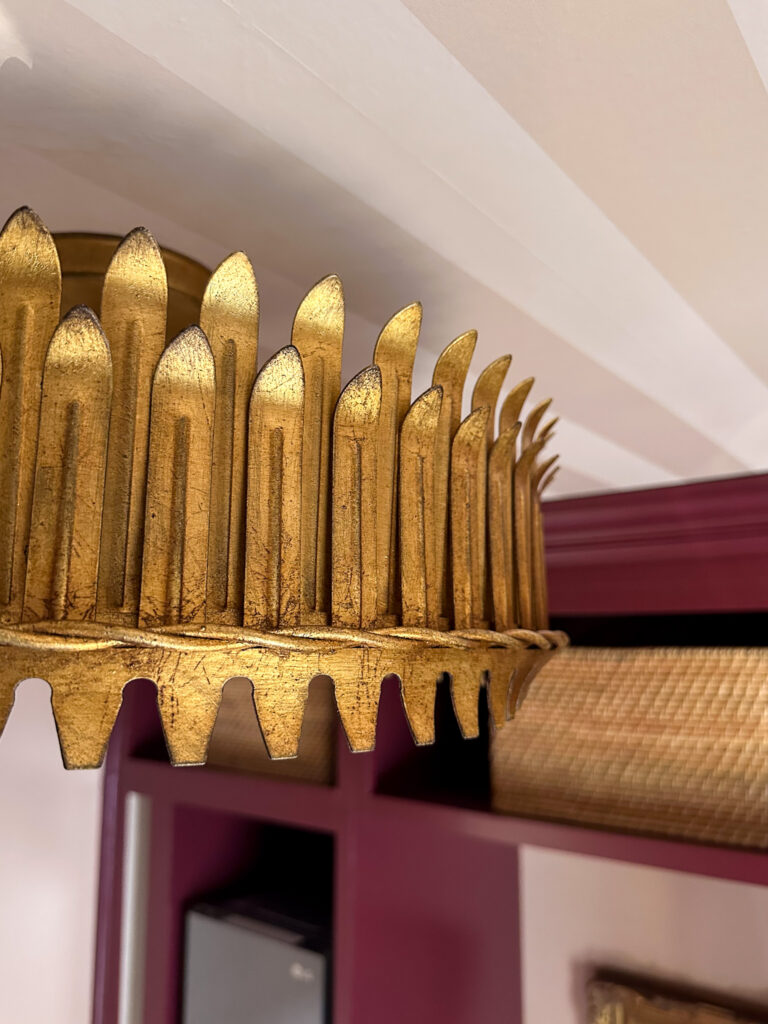
The Leslie Flushmount is the crown jewel of the Laundry Room!
Why I’m Pausing Here
I’m not finished, and I want to be upfront about that. What’s left is building the doors and a few secret storage features planned for either side of the cabinets. I’ve hit a wall. I’m tired, and doors are the kind of detail that show every ounce of rushed energy if you build them running on empty. After everything I put into this room, I’d rather wait than watch the last piece come out half done.
When I do come back to it, here’s what’s on deck. On the lefthand side of the cabinet wall: A pullout door with a pegboard mounted on the back for the tools I reach for daily: drills, a hammer, screwdrivers, a step stool, etc. On the right hand side: a pullout cleaning station positioned right by the electrical panel, so I can still get to the panel when I need to (the station will completely pull out and away if necessary), but the rest of the time it works like a rolling janitor’s cart with my vacuum, mops, dusters, and bucket all living together.
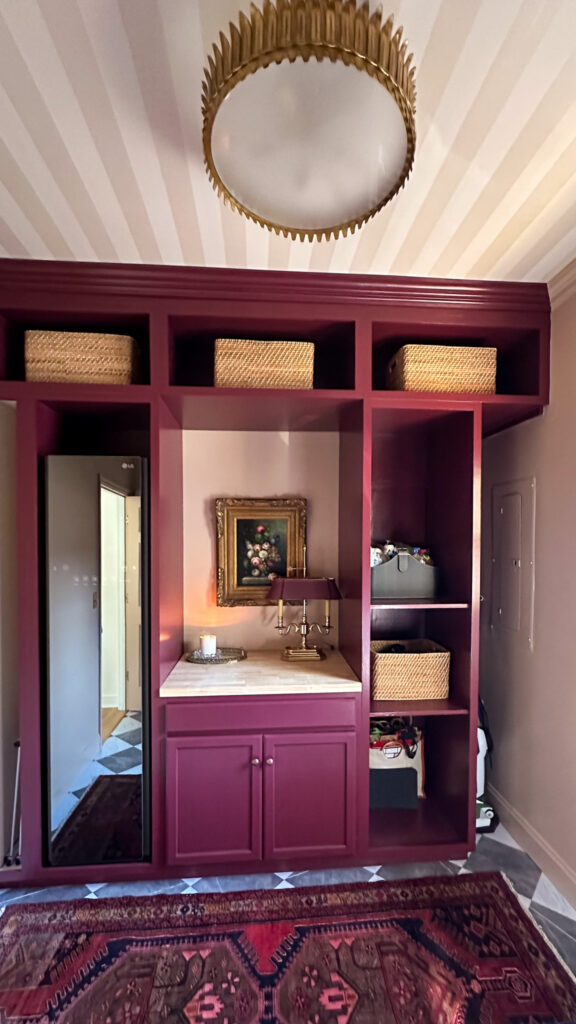
You’ll see on the left and right side of the cabinet wall where my pull out storage is going to be. I’ll also be adding more shelves to the tall cabinet, as well as tall doors for all 3 compartments.
The large cabinet with shelves will have doors on it and I’m also planning a secret pullout ironing board built into this unit. Once I build all of that out, I’ll source hardware for the entire room (right now I’m using leftover knobs from the primary bathroom last year). I’m also on the hunt for some cafe curtains…I want to do something patterned and haven’t found “the ones” quite yet.
Coming sooner rather than later will be a charging dock built into the vanity drawer, where I can easily charge batteries, light bulbs, power banks and more but all hidden! As you can see, I’m excited about secret storage and maximizing every inch!
My DIY Laundry Room Makeover Reveal (part 1)
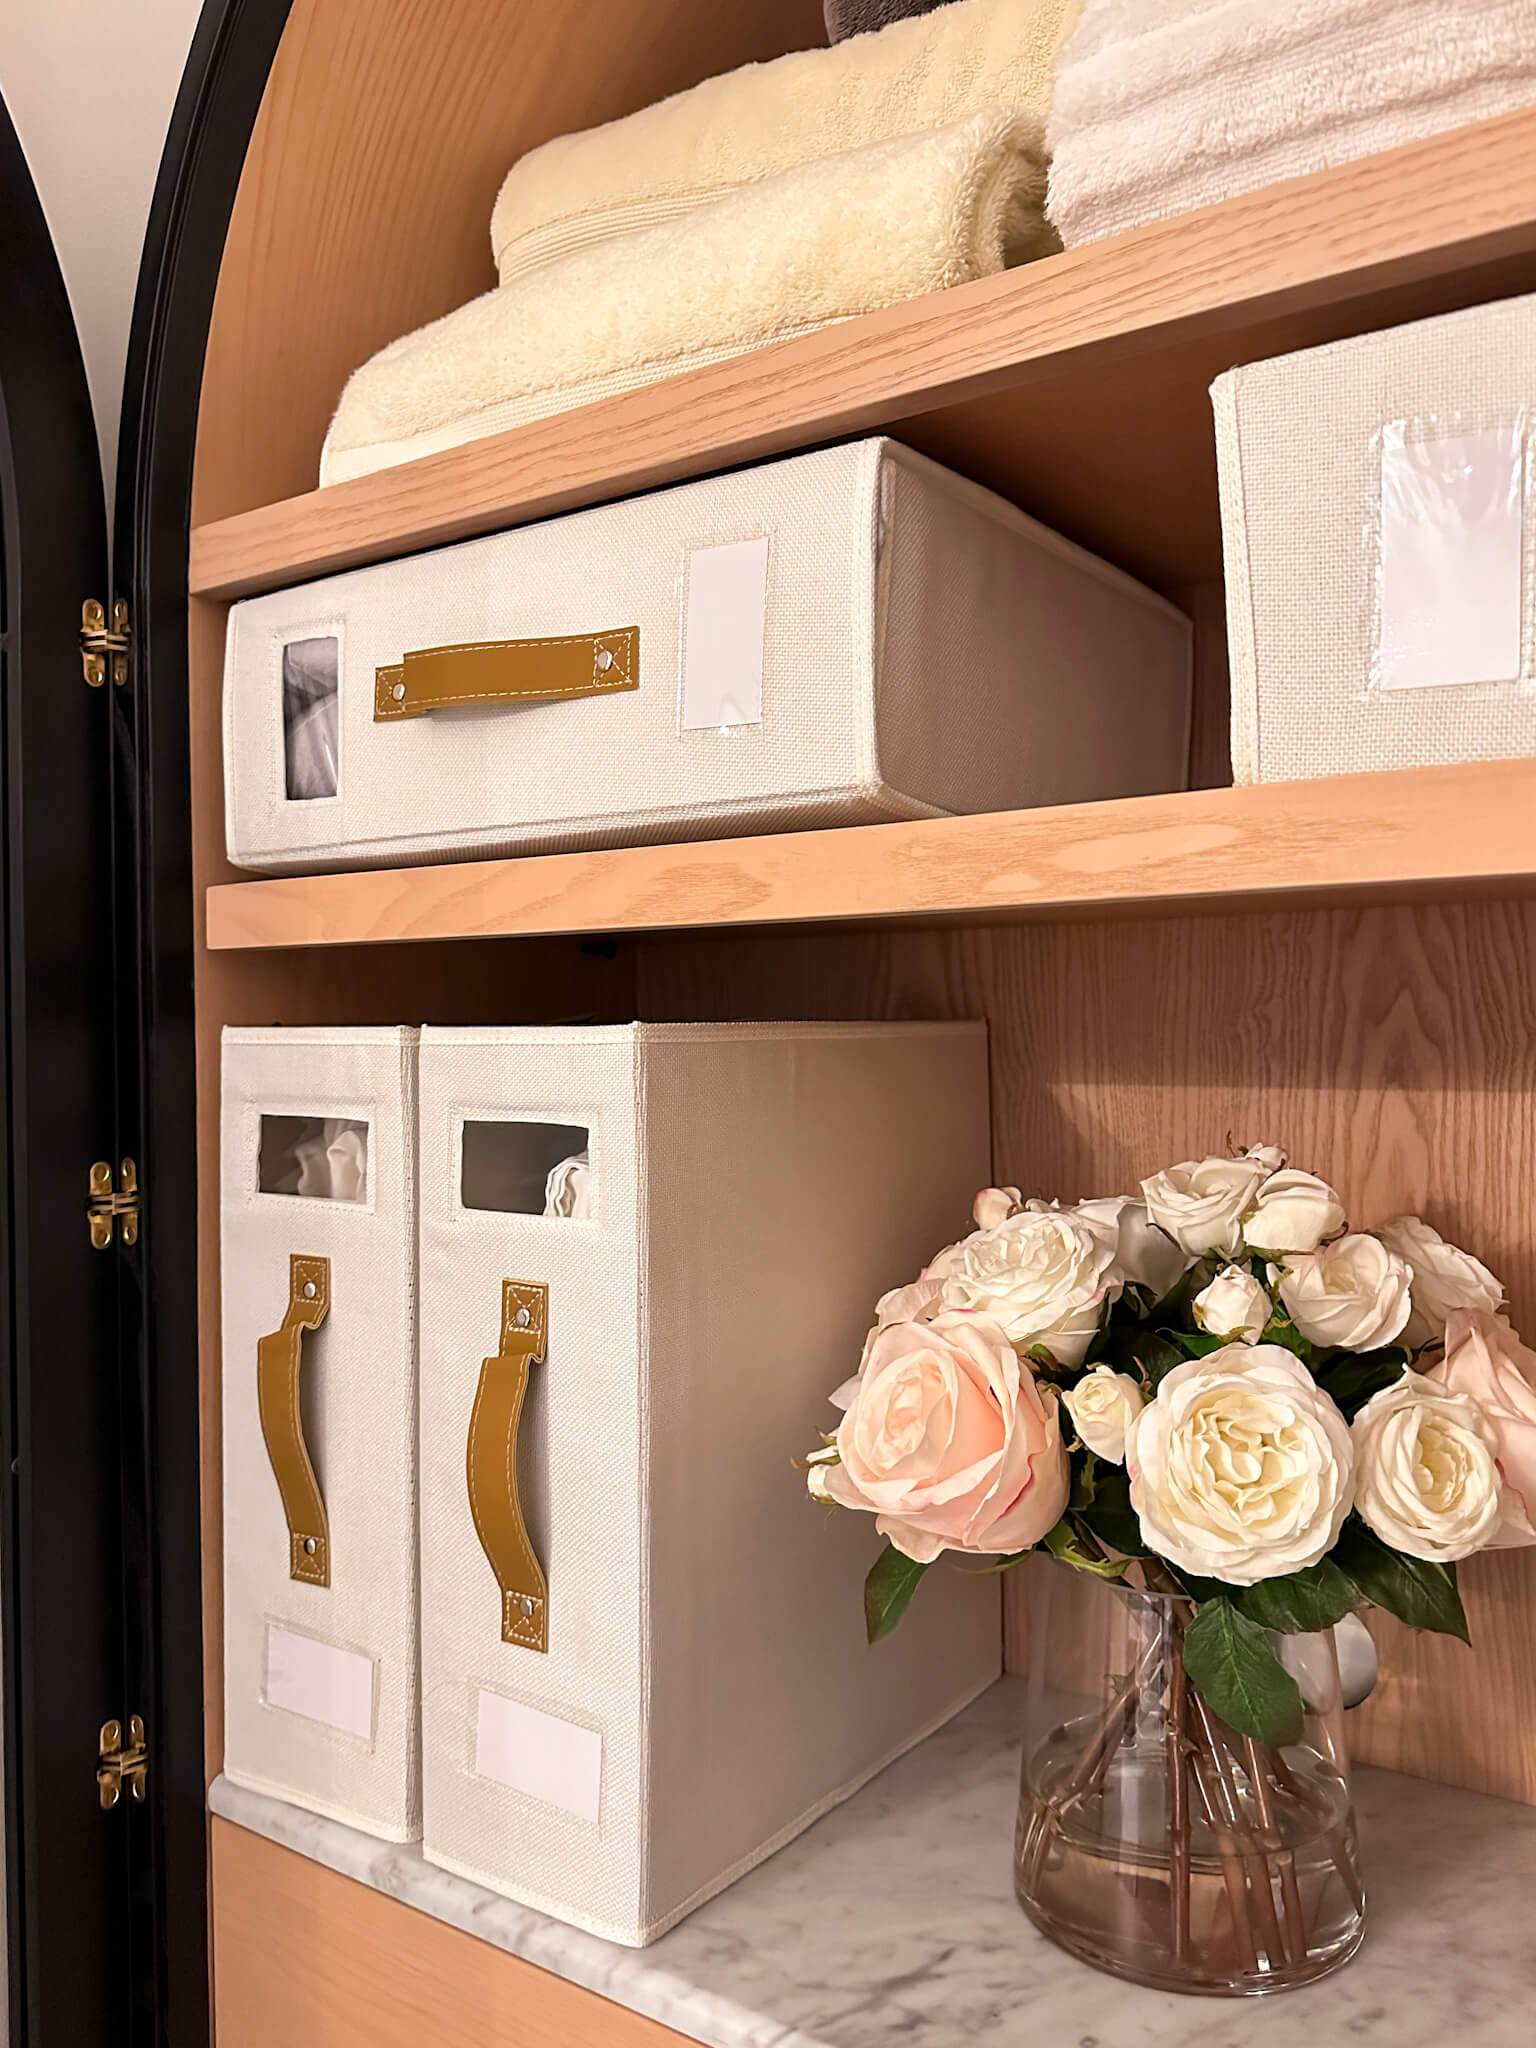
For now, this room is fully usable and it’s a space I’m excited to walk into. It’s cheerful, but it has this romantic, come hither quality I think is so fun. A little flirty, a little feminine. I find myself looking for reasons to go in there. And when I look back on the before photos, especially of the original room, I can’t believe this is the same space! And having so much storage, from the rattan baskets on the top, to the vanity and the tall cabinet with shelves, it is truly allowing this room to function in all the ways it needs to.
I’ll be back with part two once the doors get the energy they deserve but for right now I’m incredibly proud to share this with you! Thank you for cheering me on along the way! Enjoy some before and after’s below, and all sources are at the bottom of the post.
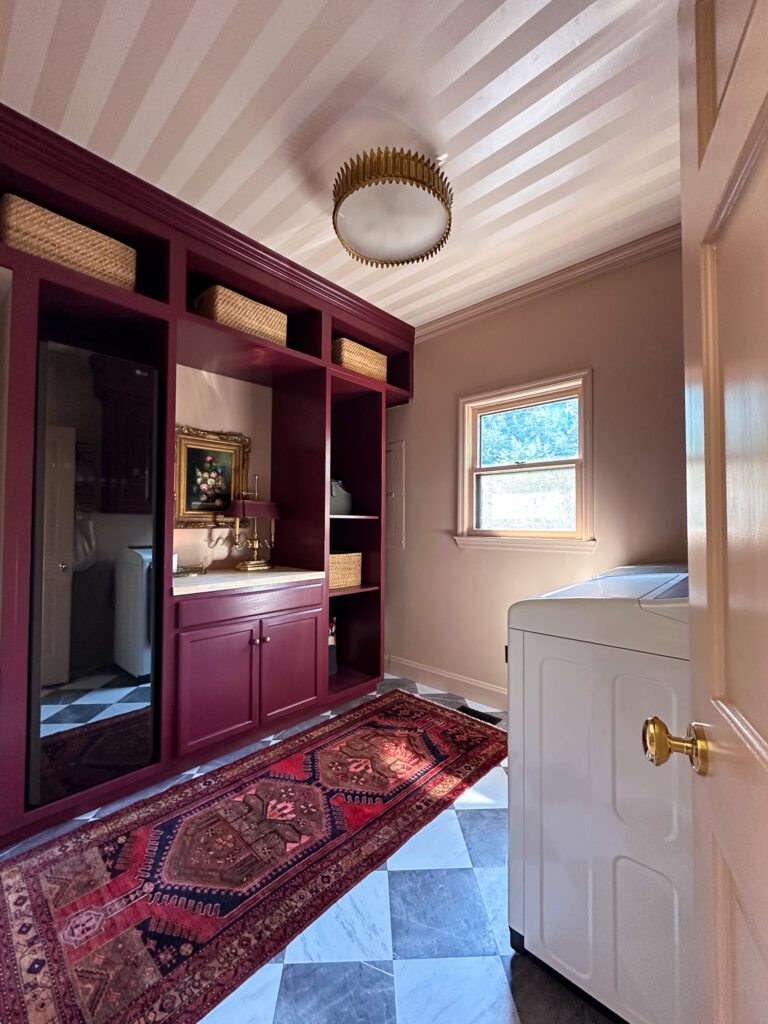
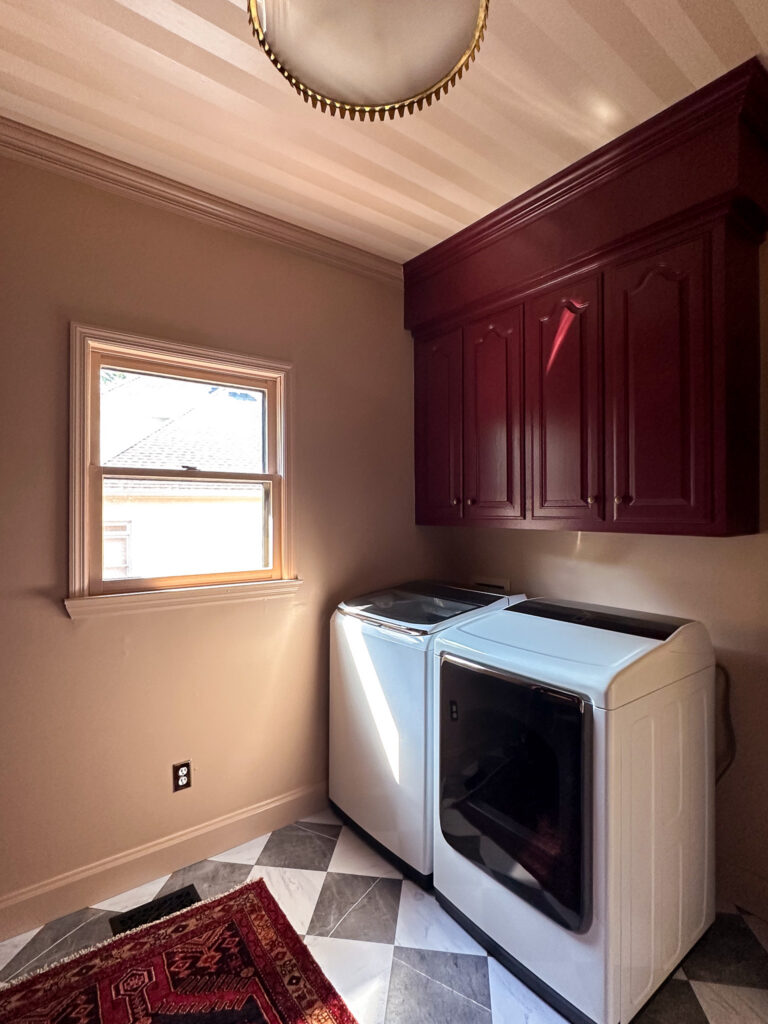
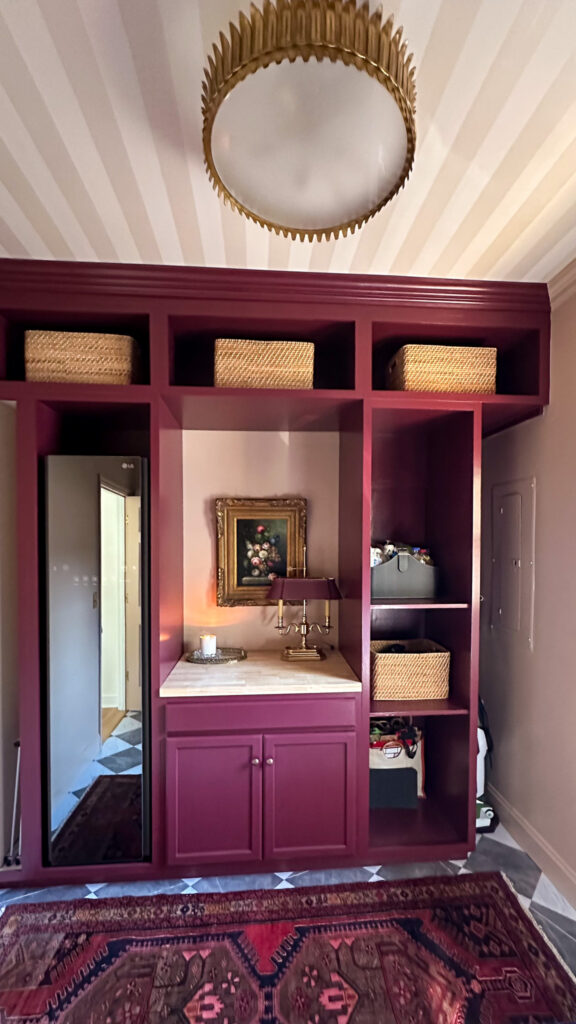
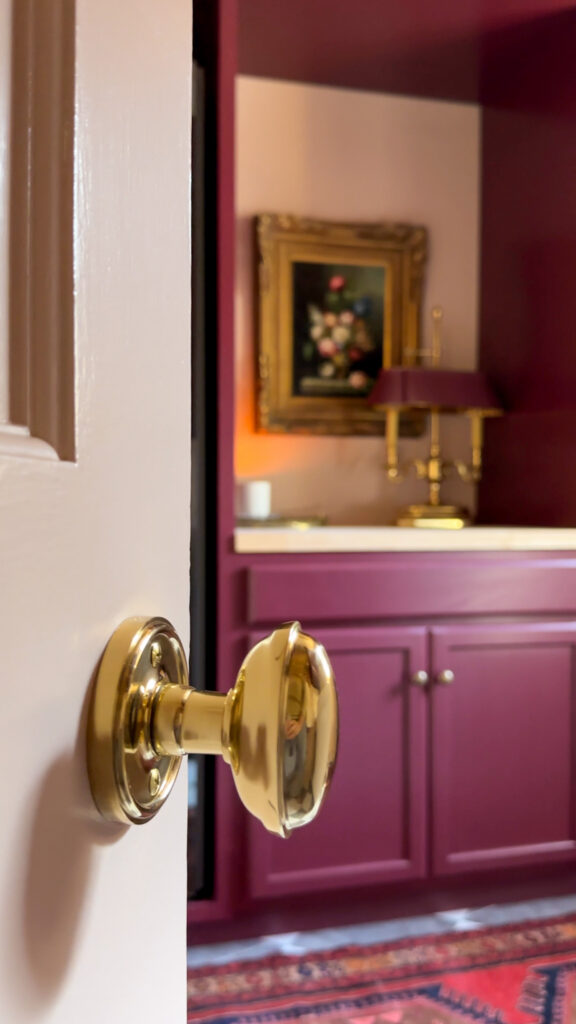
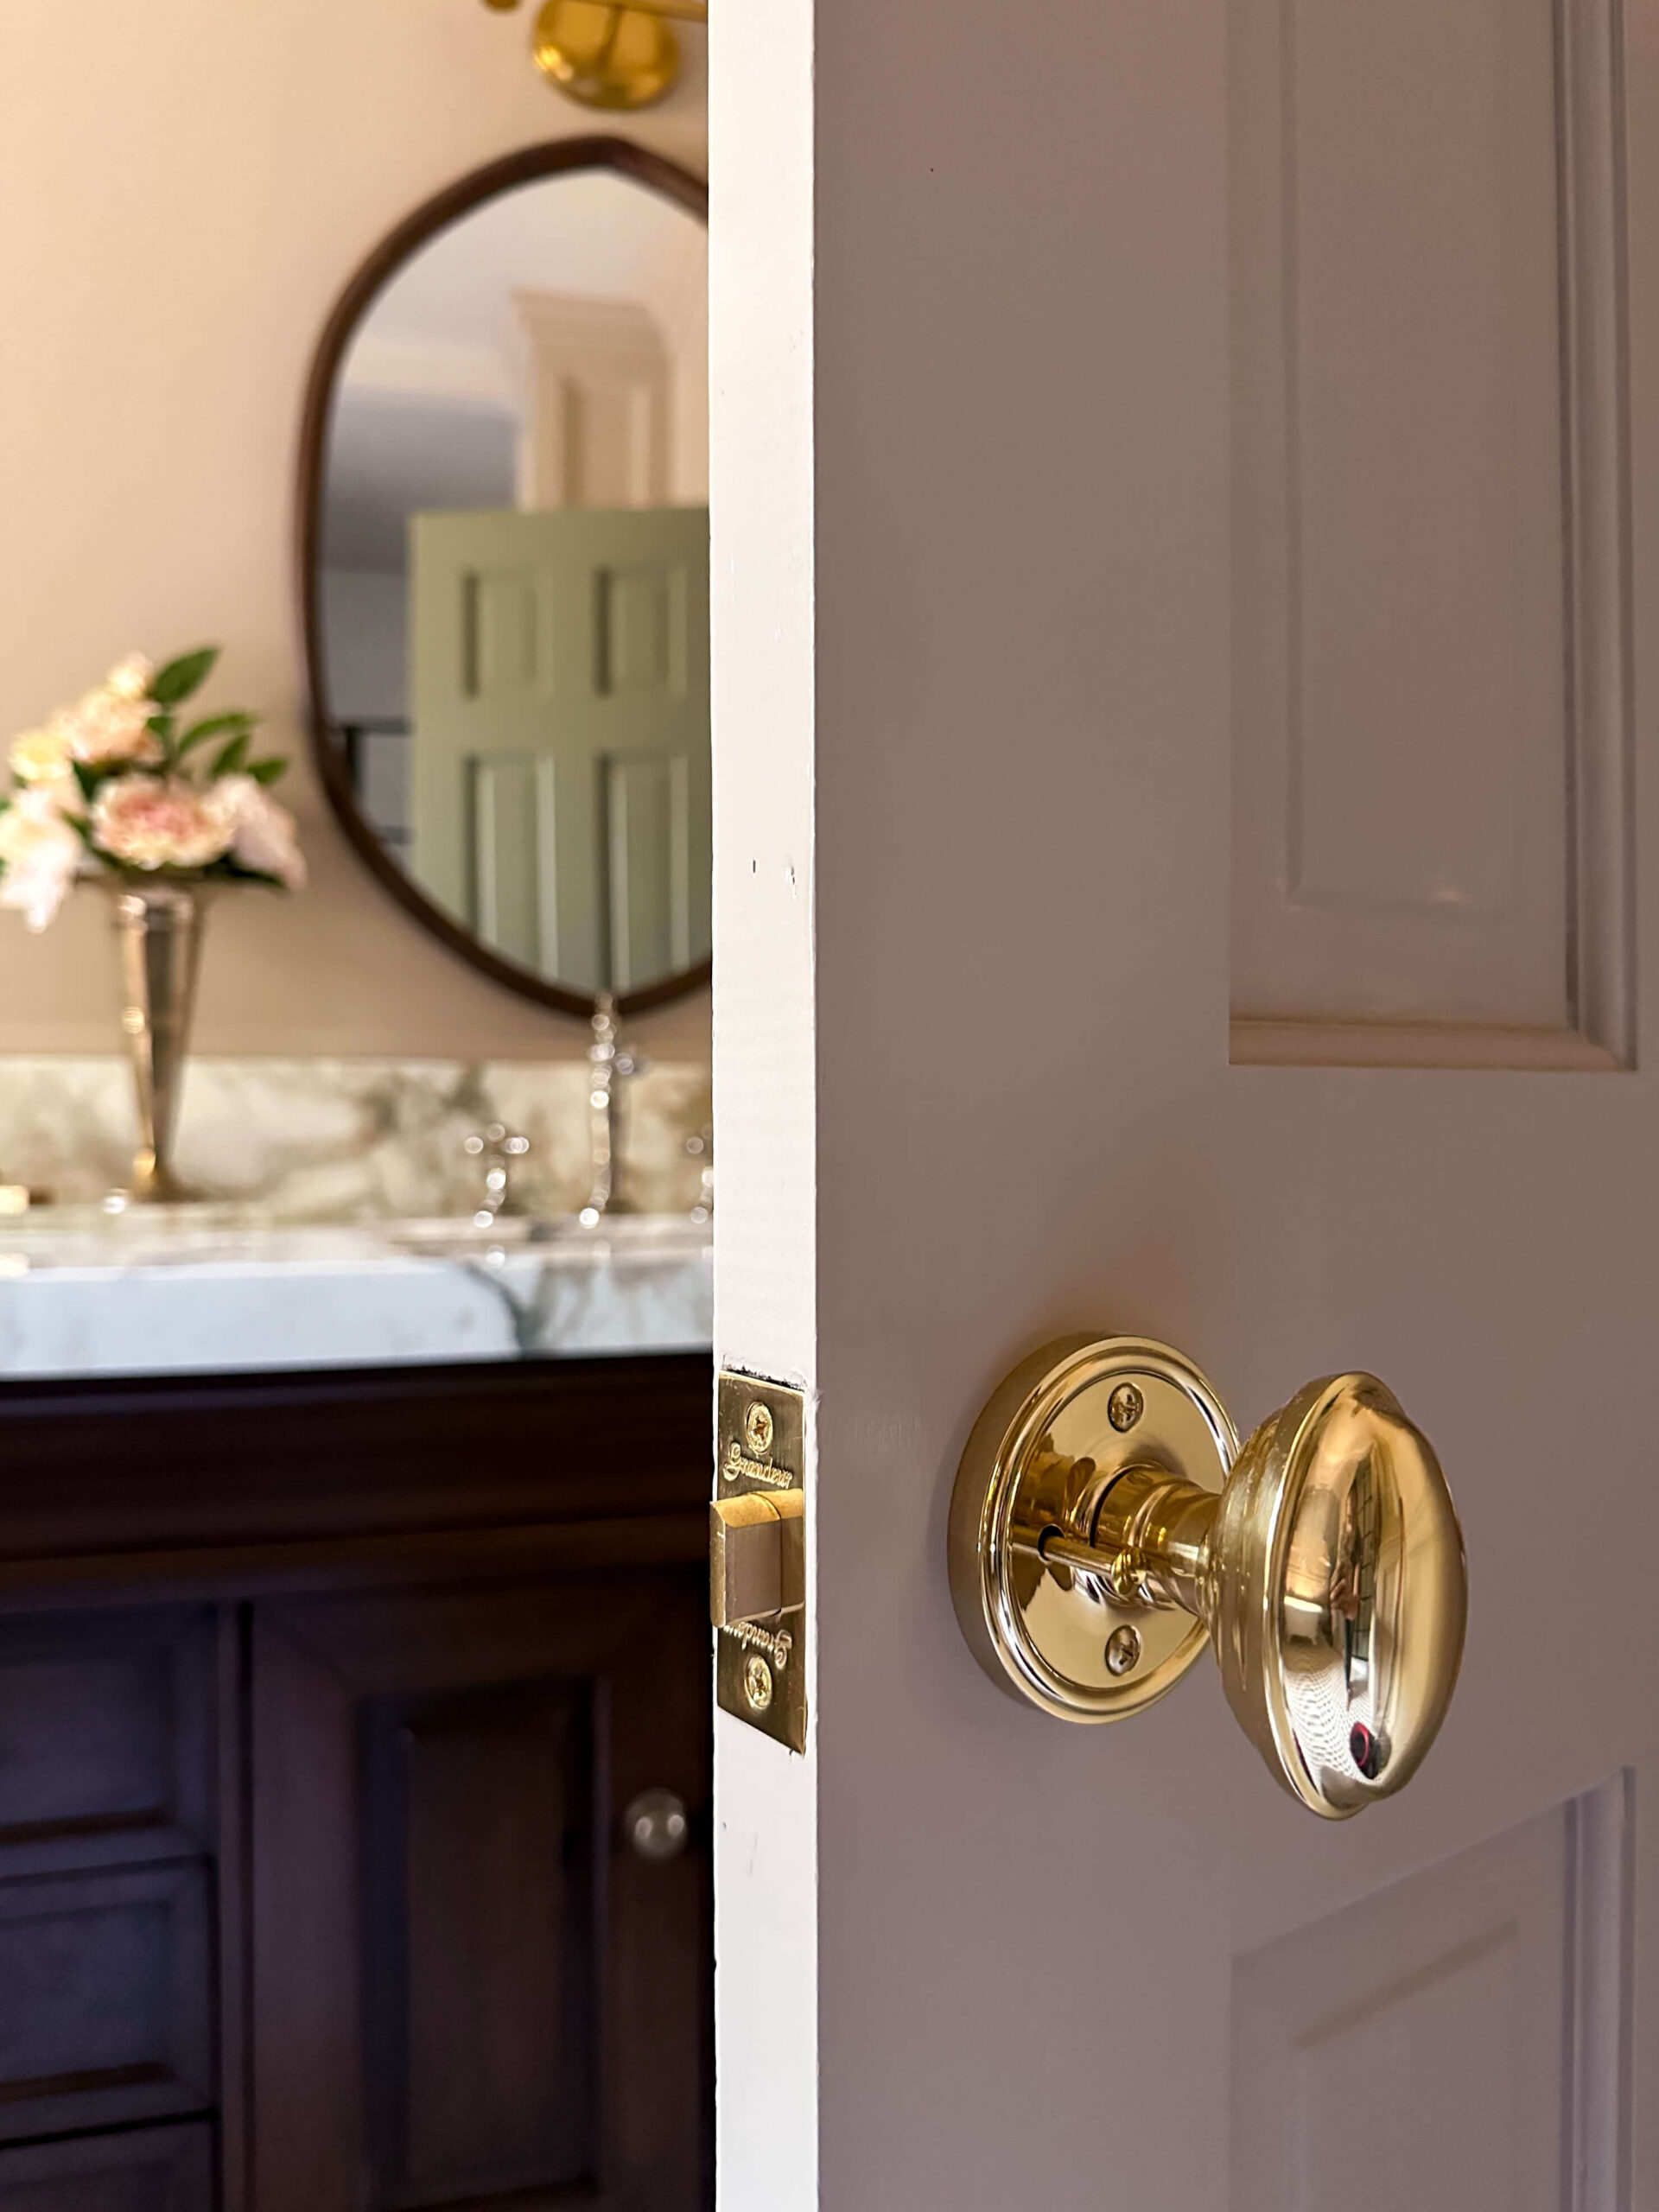
Updated doorknobs make the space sing! Learn how to install doorknobs here.
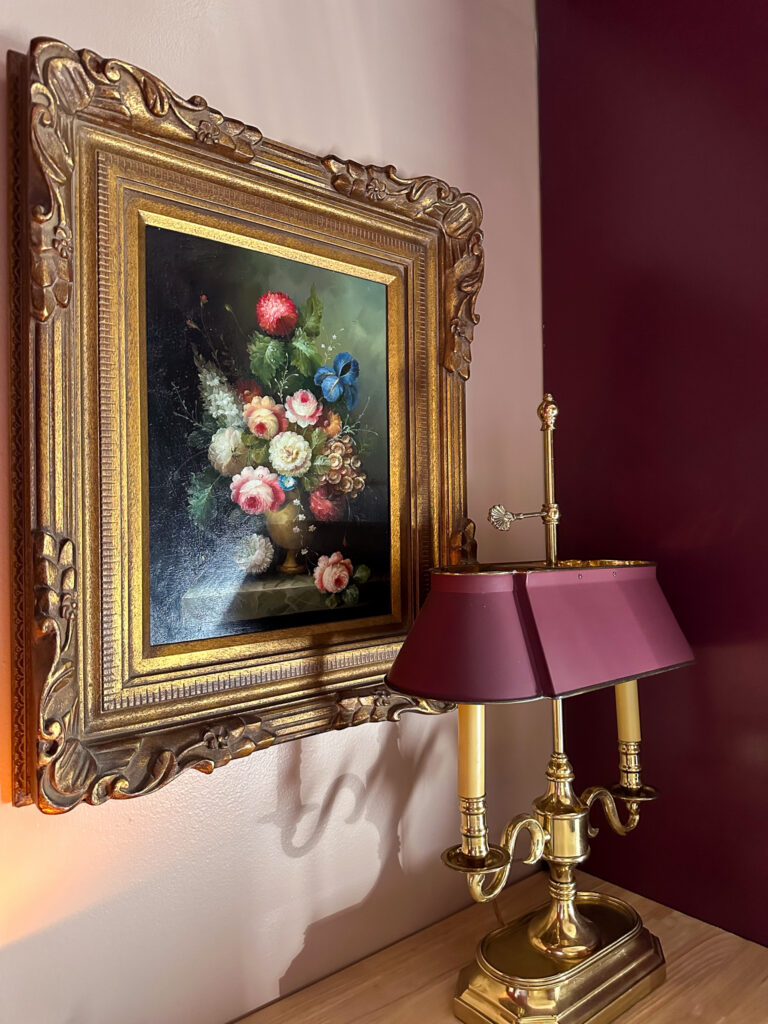
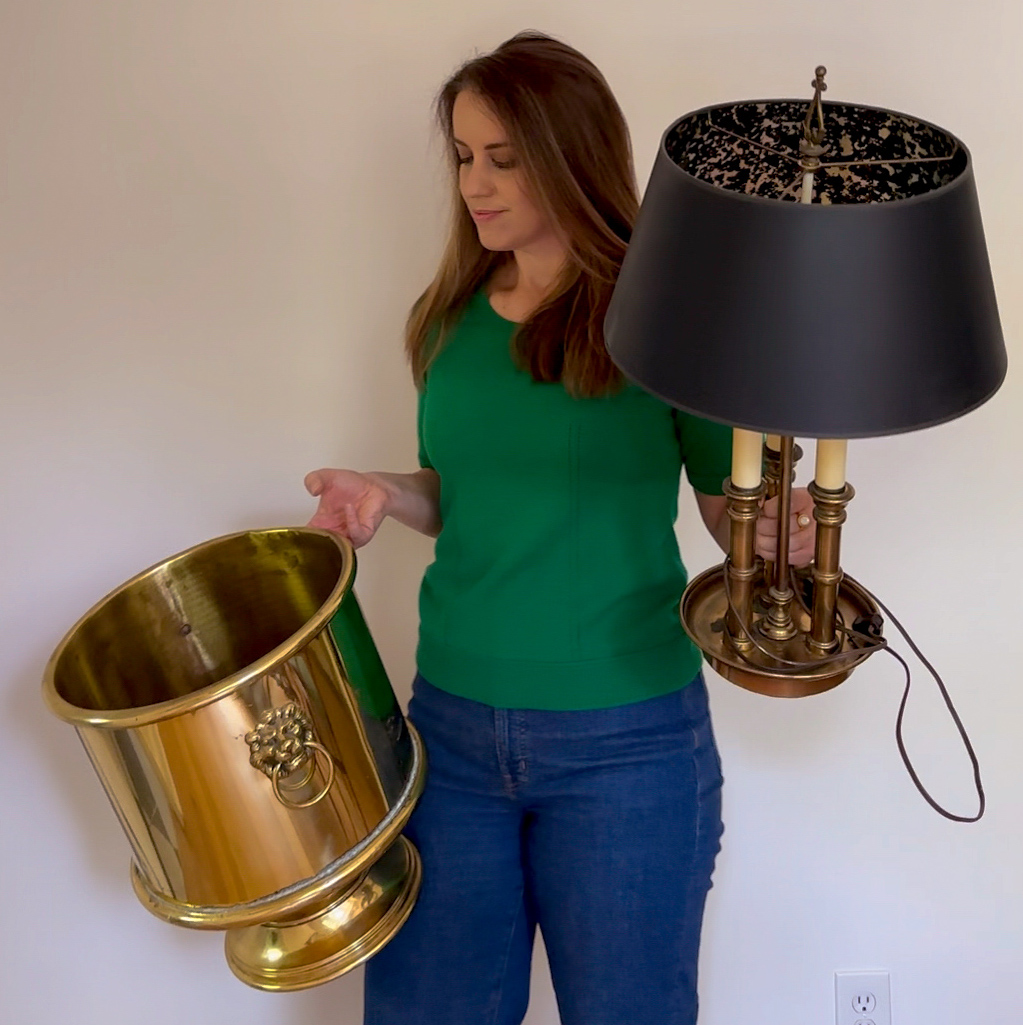
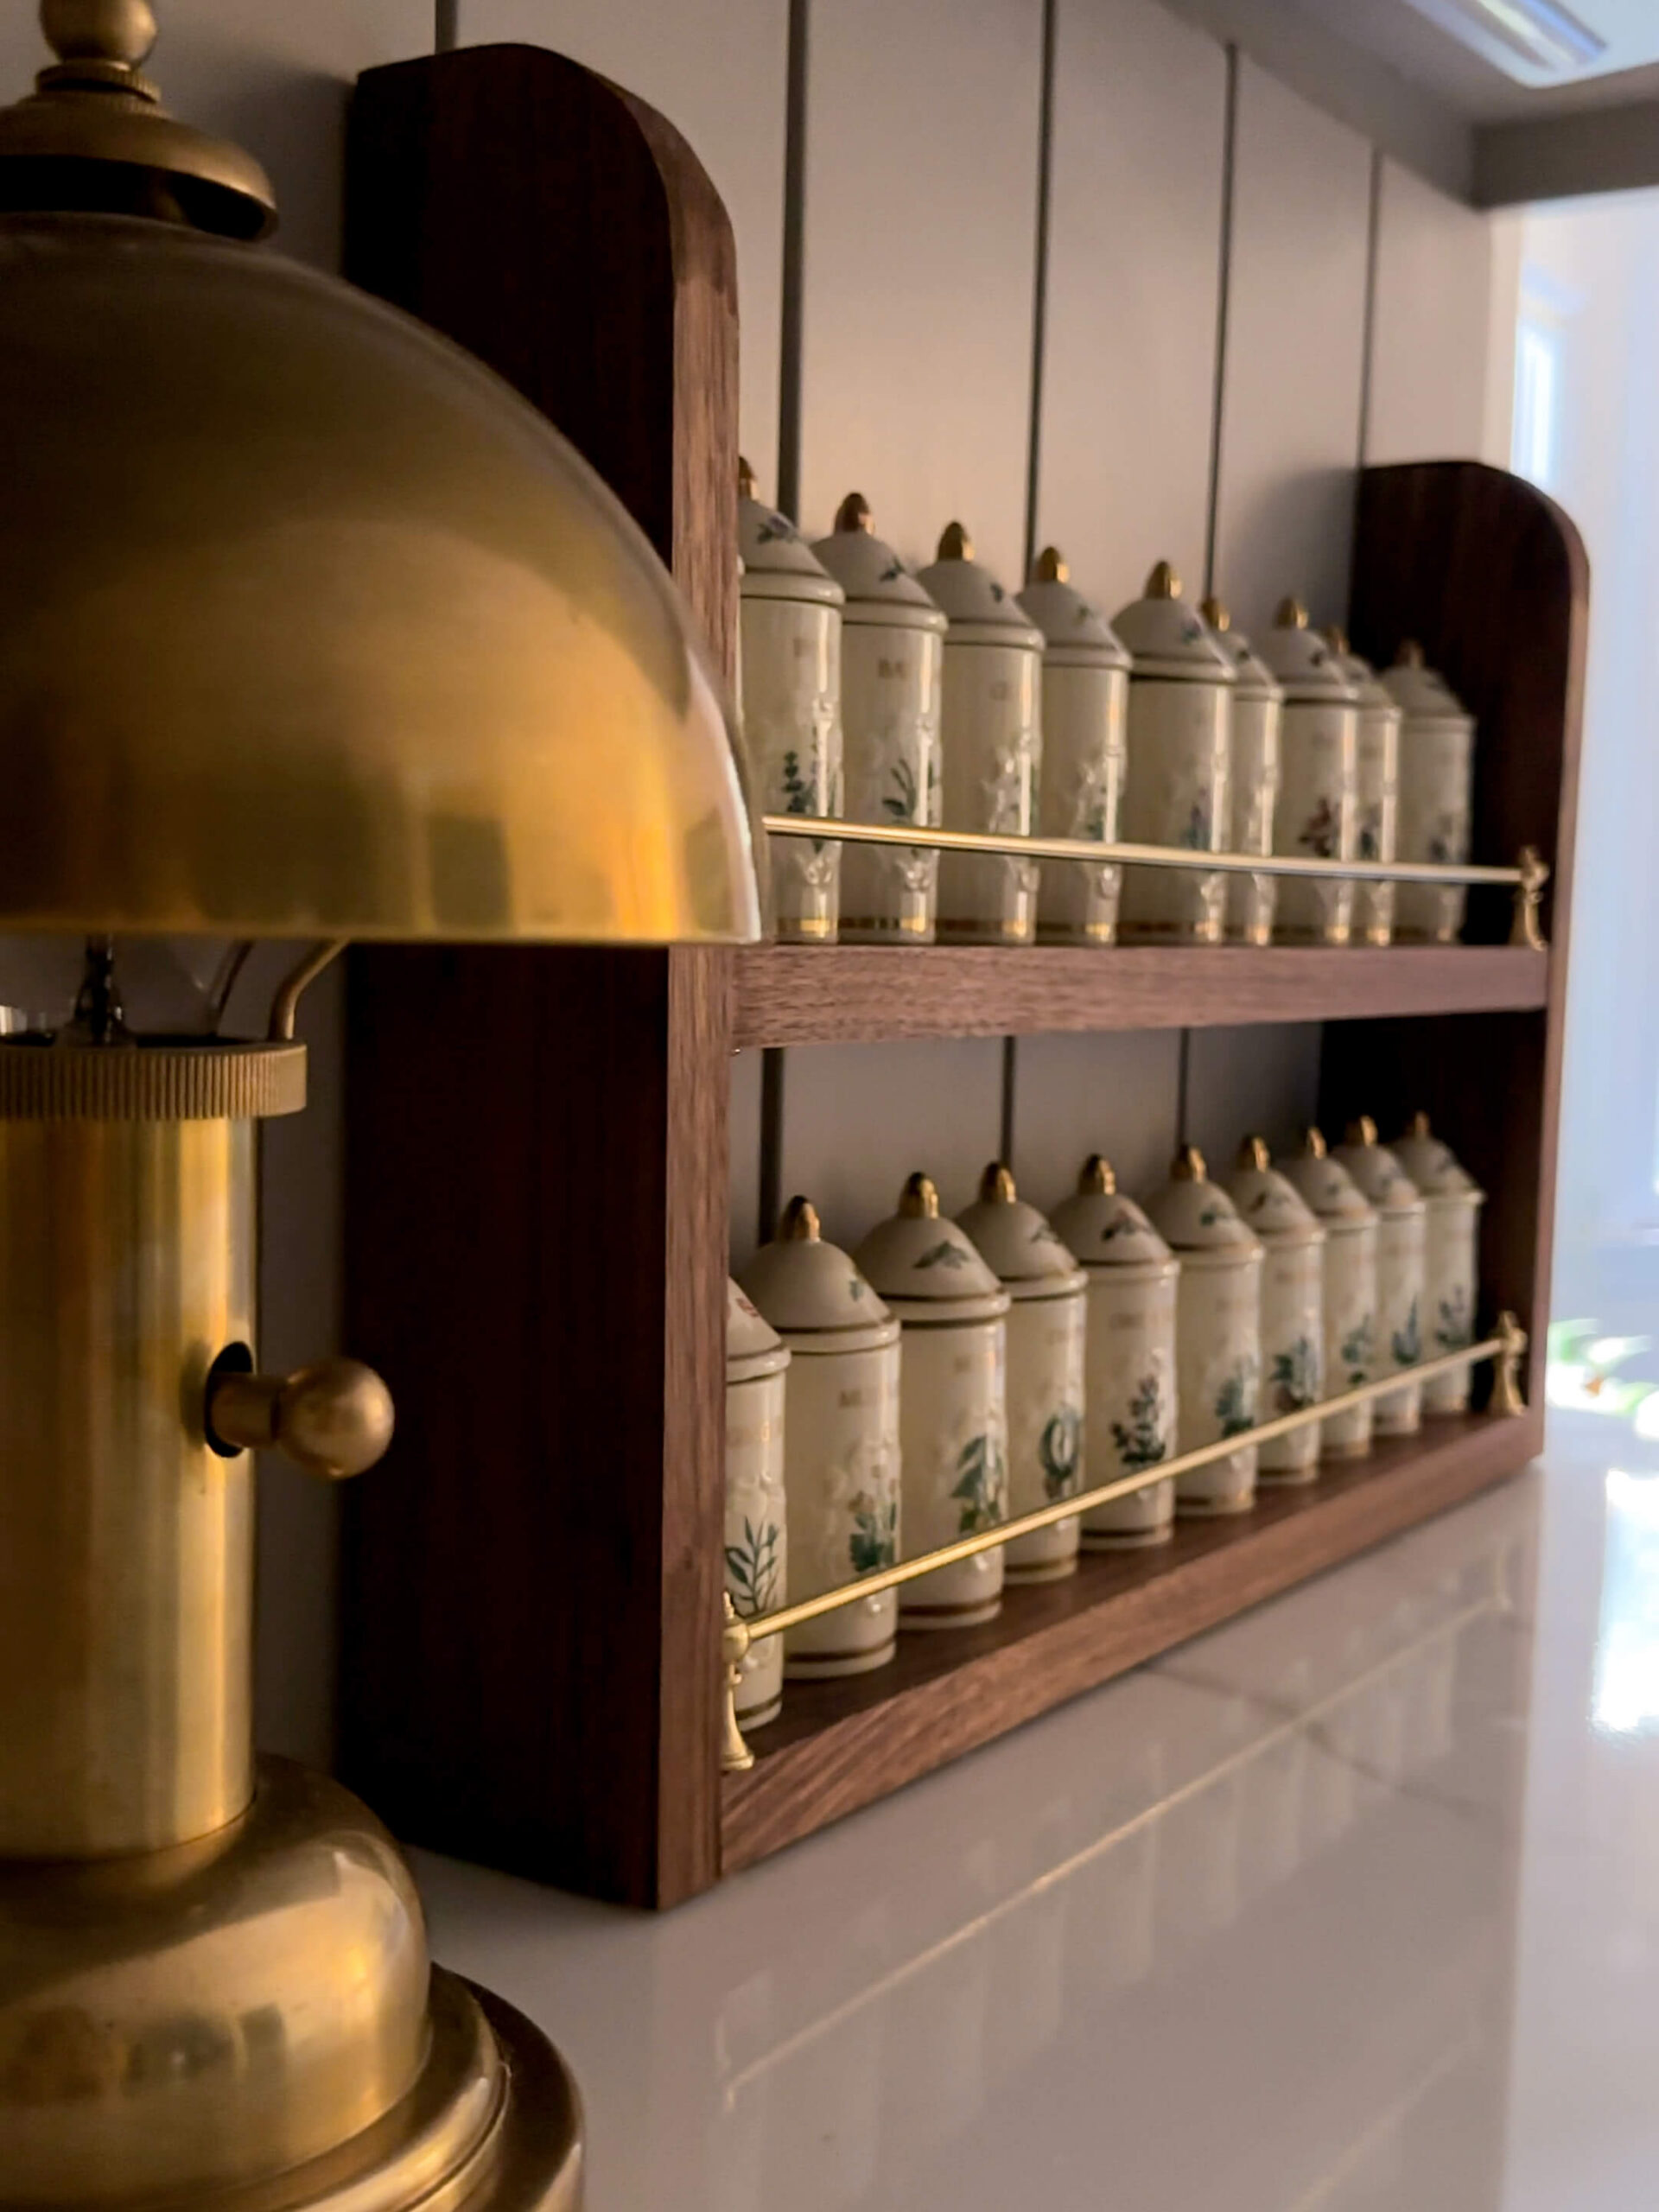
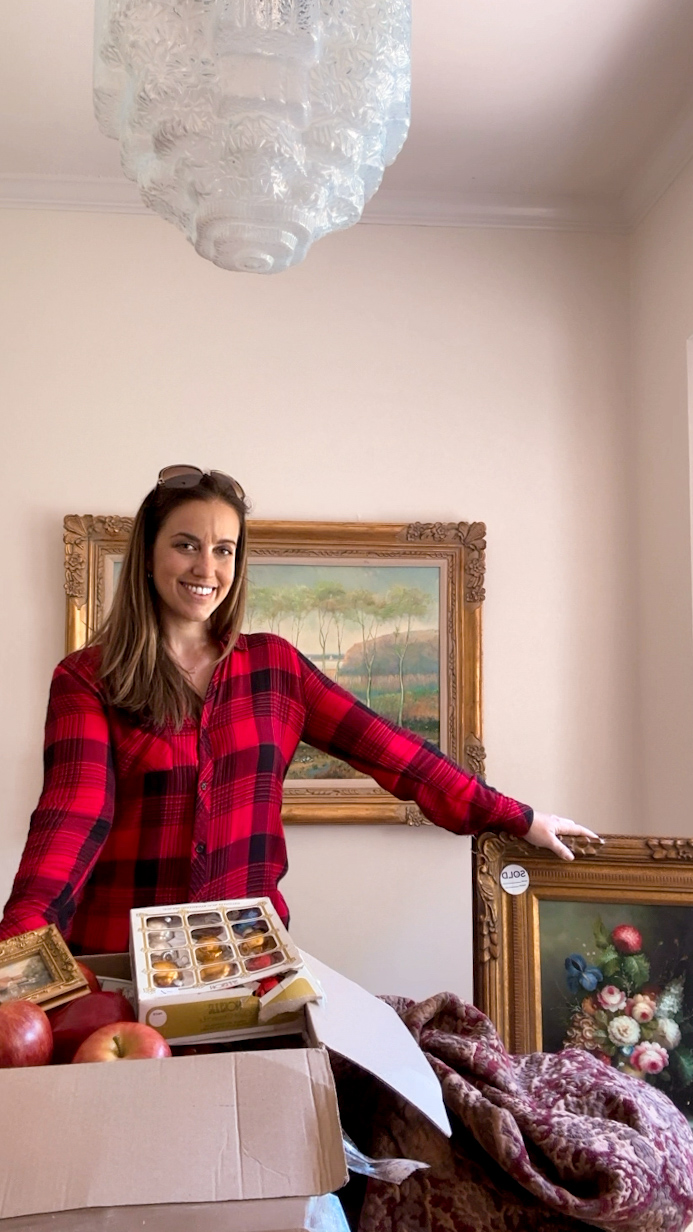
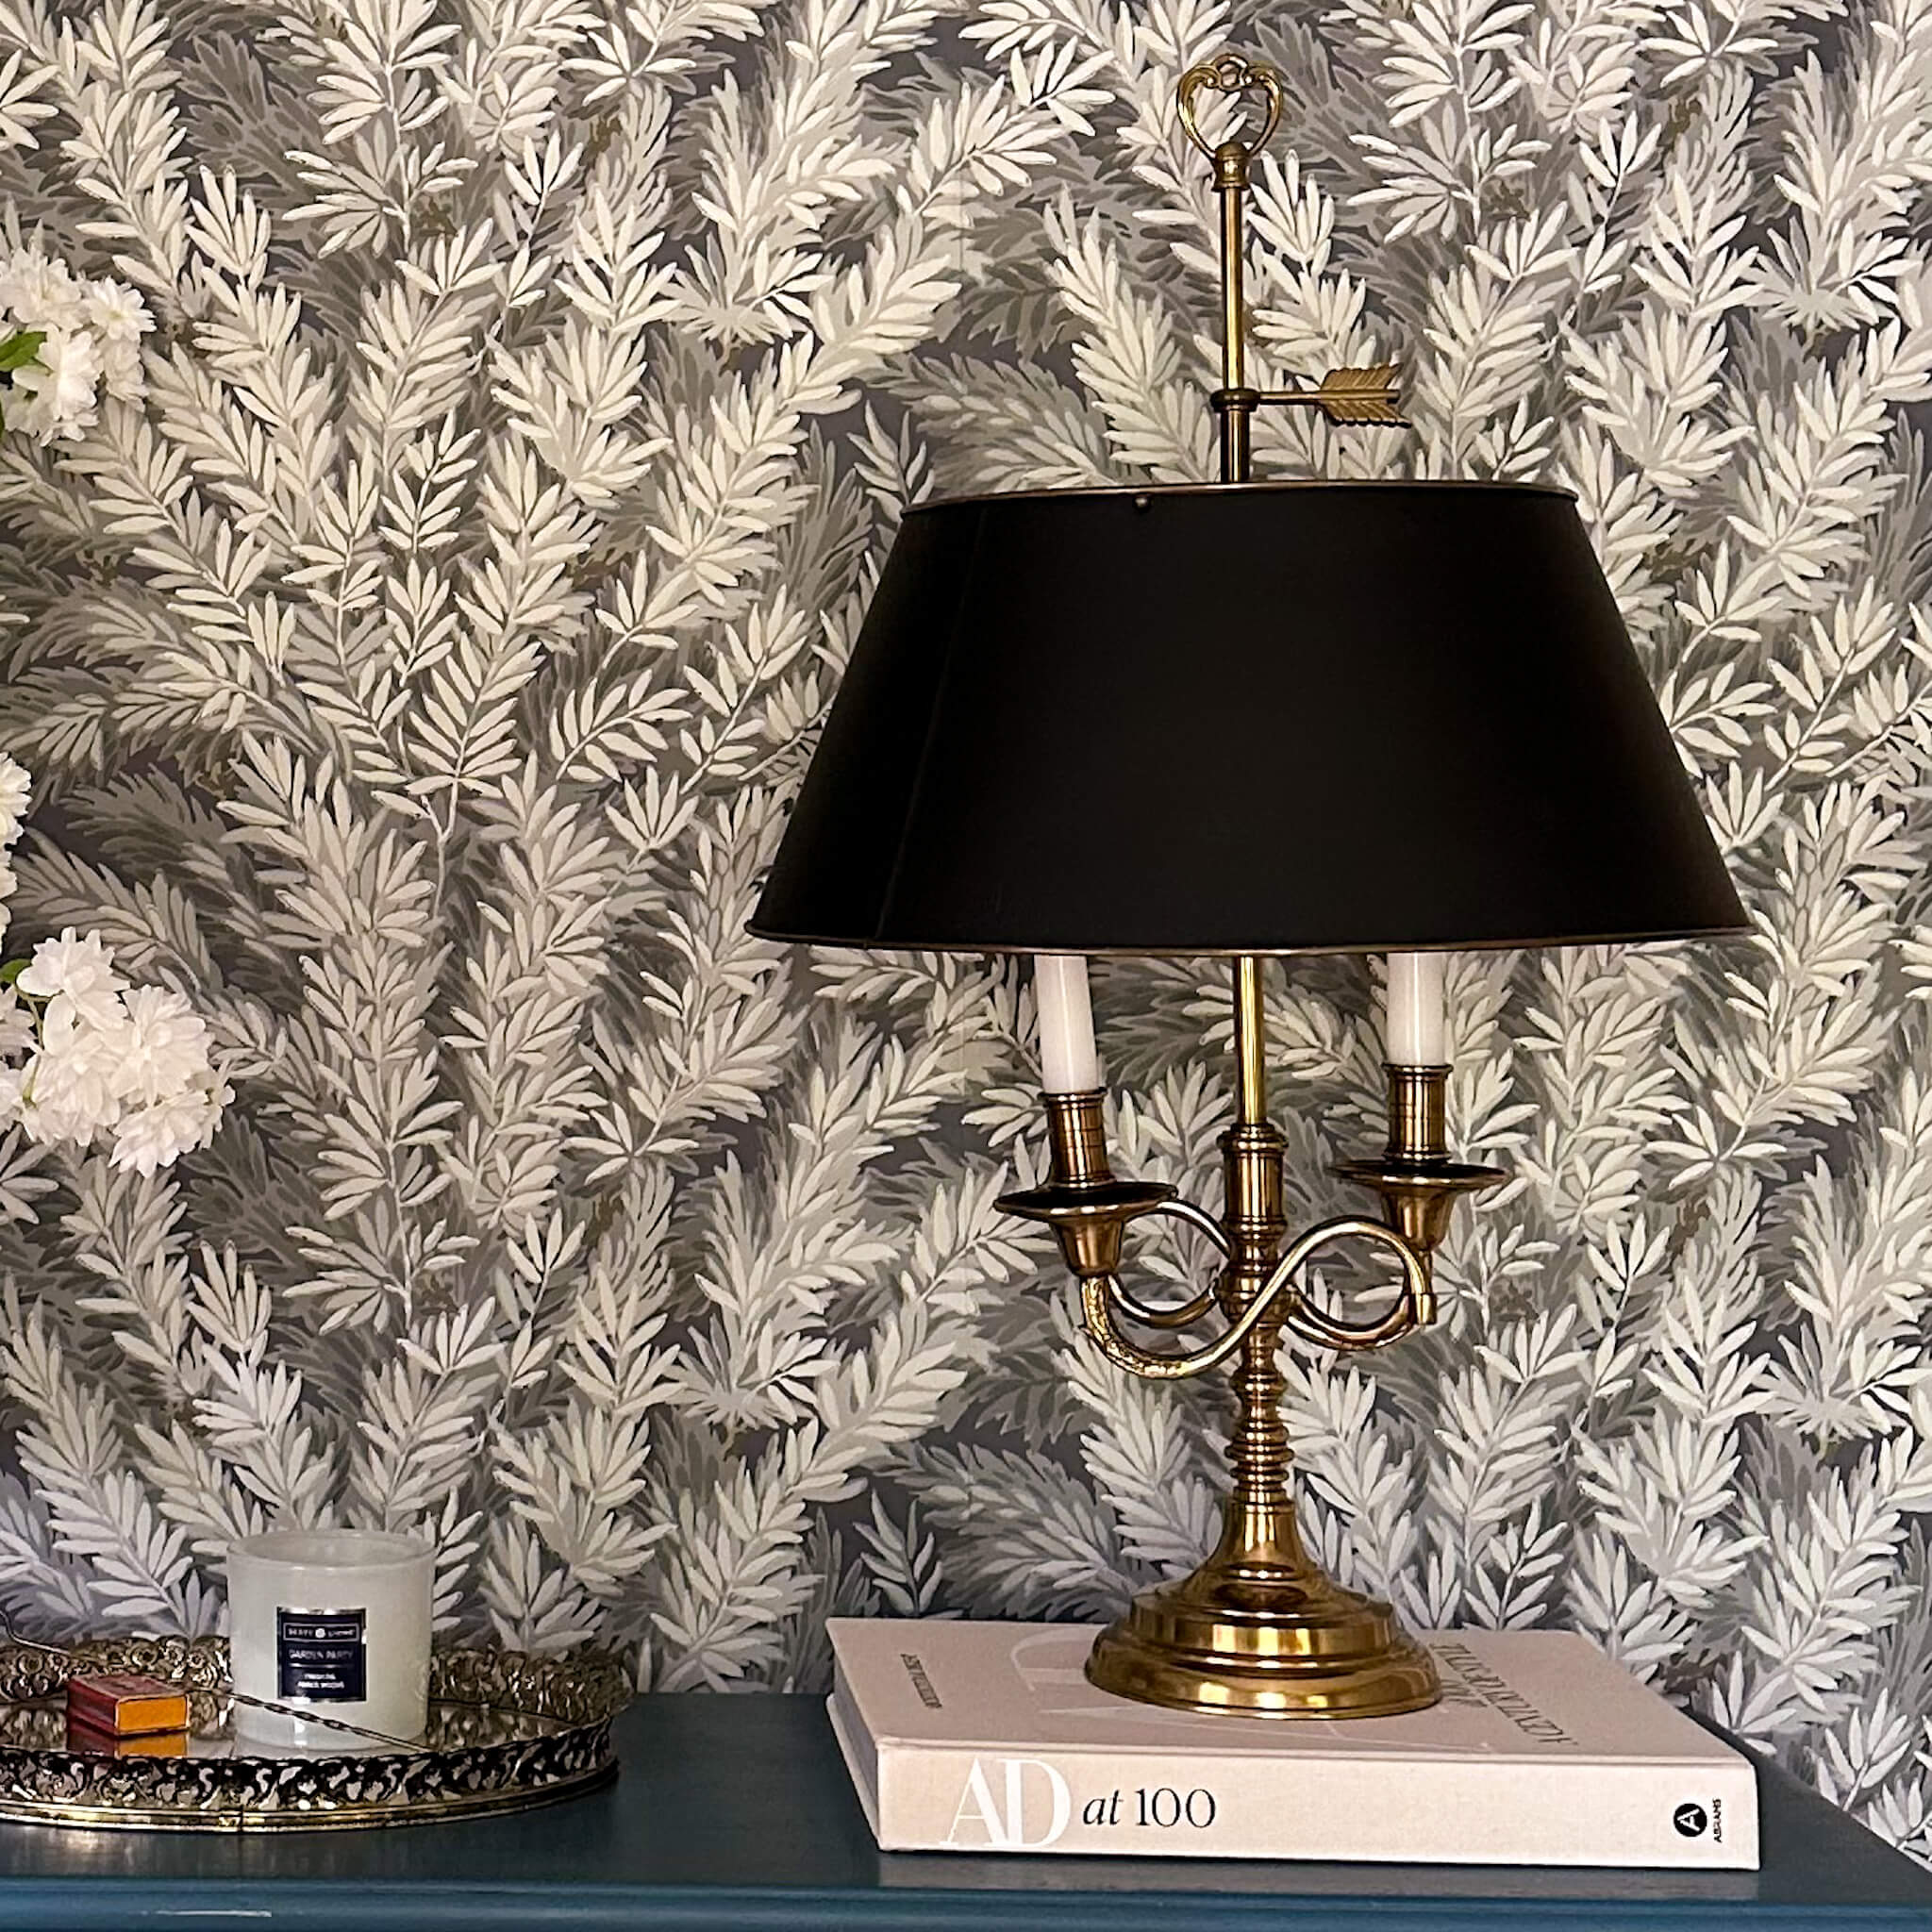
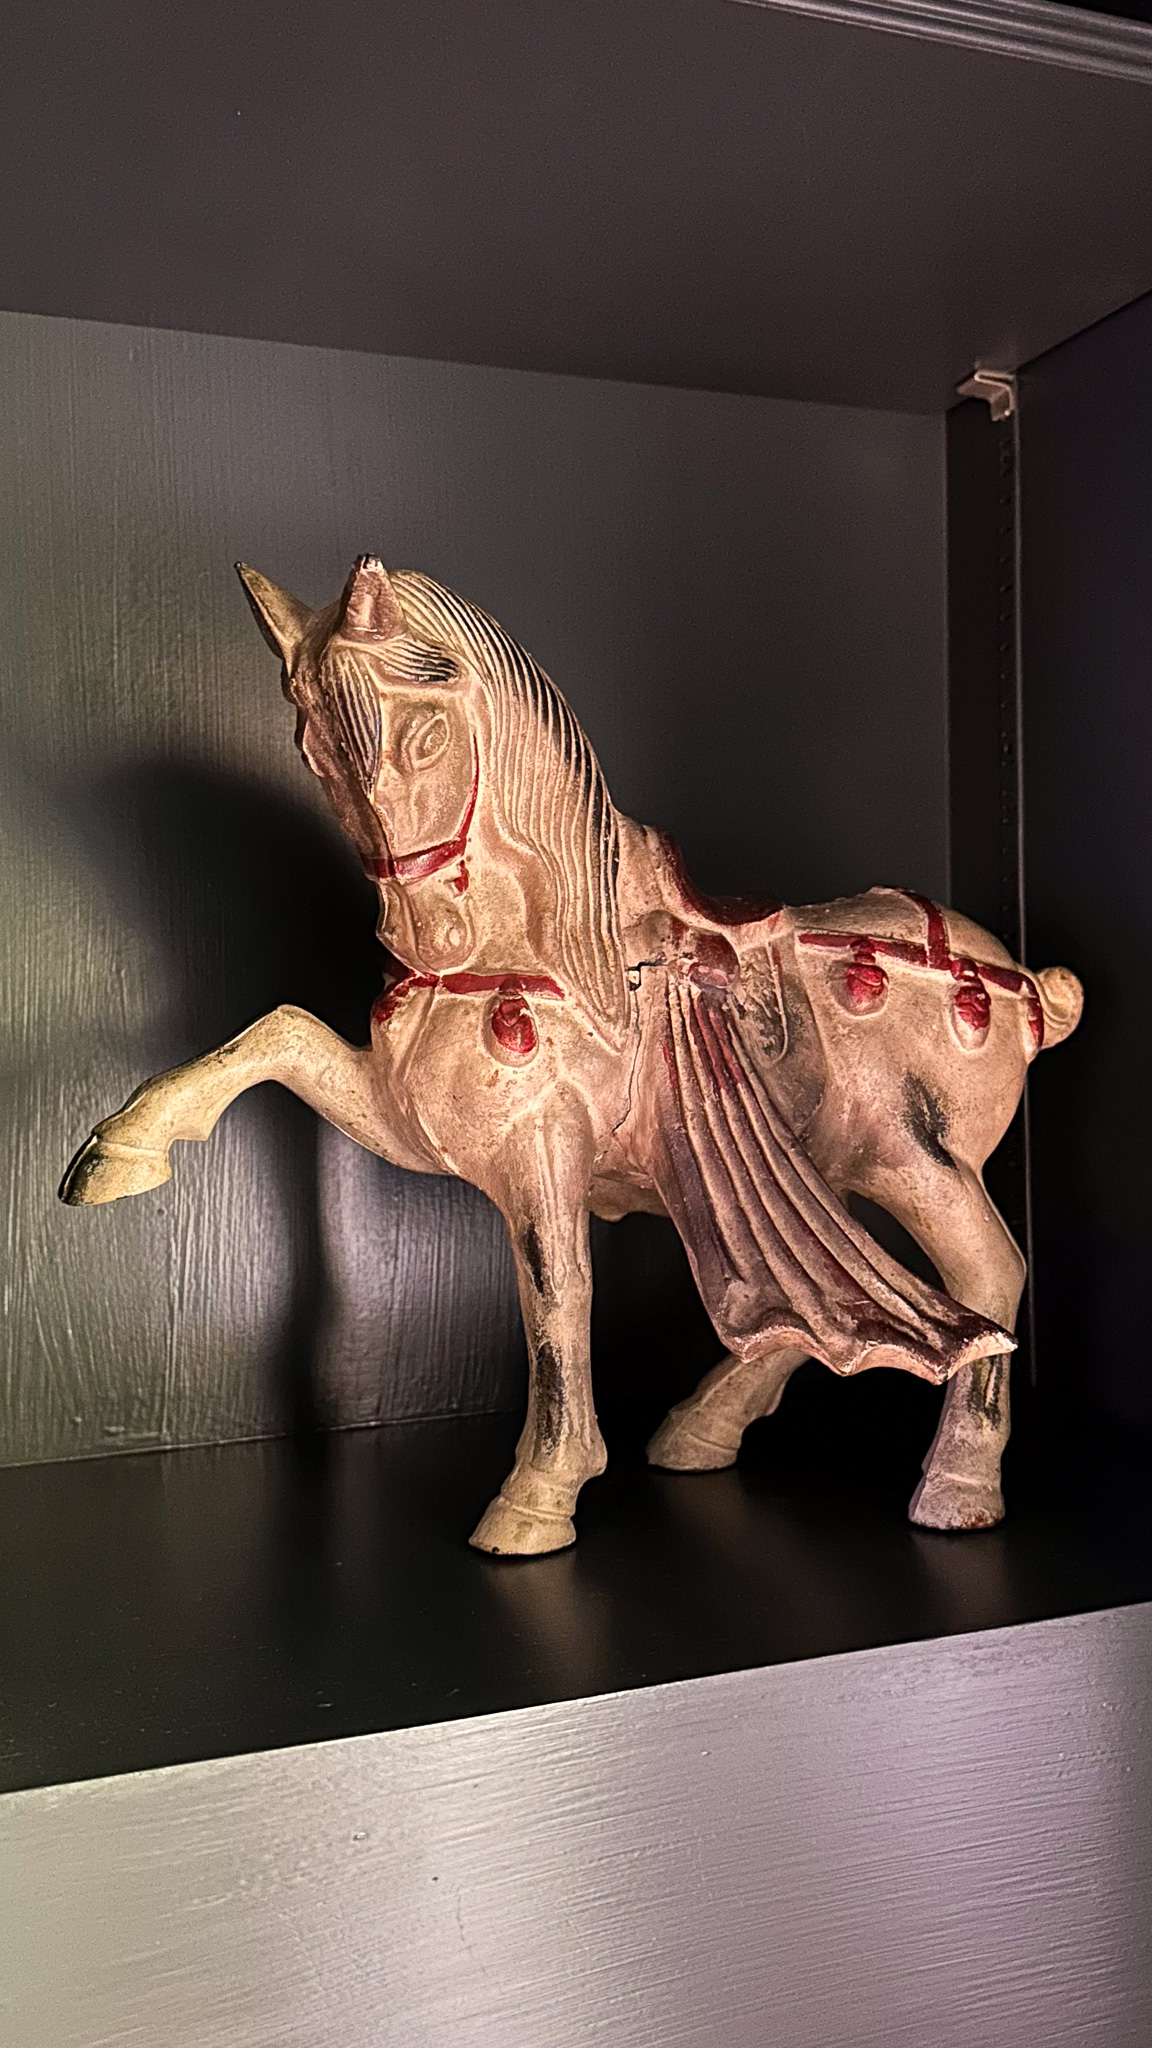
A couple of estate sale finds I thought seemed perfect in here!
Shop the Room
- Farrow & Ball Preference Red (cabinet color)
- Farrow & Ball Templeton Pink (wall color)
- LG Styler (at home dry cleaning machine)
- Visual Comfort Leslie semi-flush light fixture
- Large Rattan Baskets
- Striped ceiling wallpaper
- Butcher block countertop
- Vanity base cabinet
- Washer
- Dryer
- Cabinet Knobs
- Crown molding
- Baseboards
- Peel and stick checkered floor tile
- Track saw
- Miter saw
- Brad Nailer
- Pocket hole jig
- Crown molding jig
- Drill & Impact Driver
- Orbital Sander
- Wood glue
- Long Clamps
- Corner Clamps
- Level
- Saw horses
- Brad nails
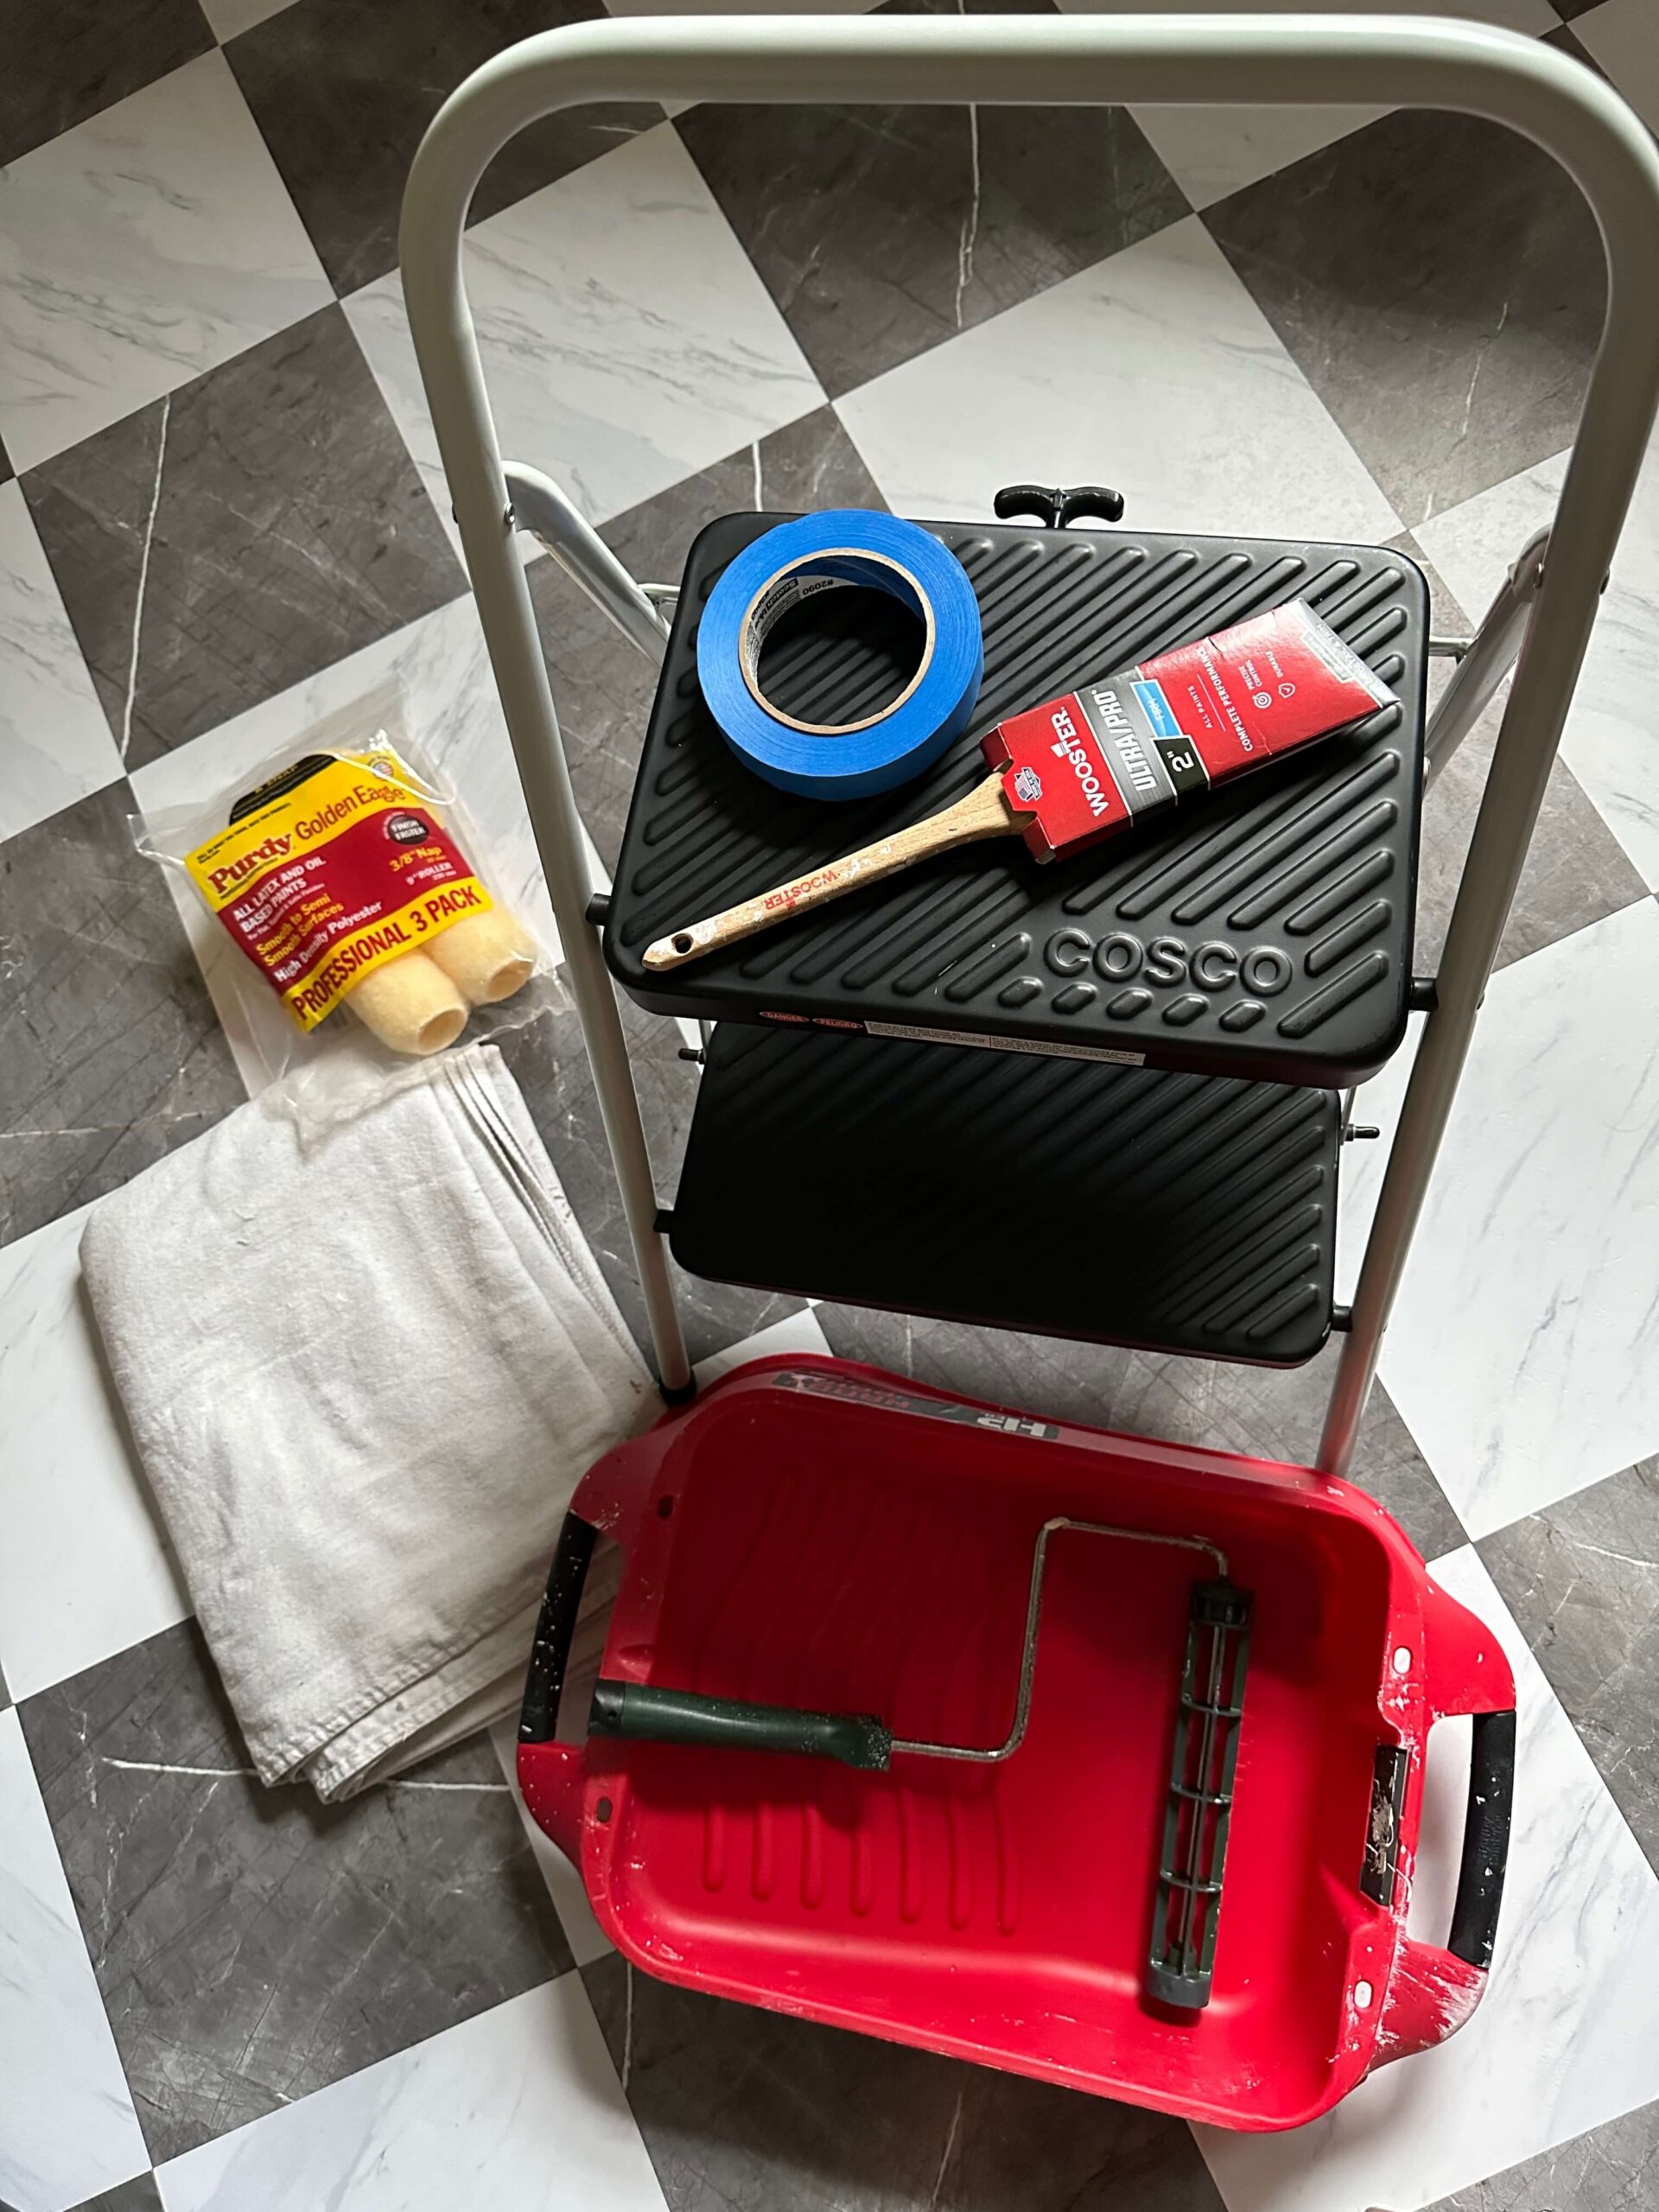
- Paint Pail Tray & Liners
- Paint rollers, brush, and paint cup
- Drop cloths
- Ladder
- Wallpaper tools
- Wallpaper Paste (I use this kind exclusively)
- Measuring tape
- Laser level
Related Posts:
All About the At Home Dry Cleaning Machine