


If you’ve been wondering whether painting your kitchen cabinets with a paint sprayer is actually worth it, the answer is yes, and I say that as someone who had never touched a sprayer before this project. Learning how to paint kitchen cabinets with a paint sprayer was one of the steeper learning curves of my budget friendly kitchen renovation, but the result was a buttery smooth finish that I genuinely could not have achieved with a brush. I’m going to walk you through exactly what I did, what I’d do differently, and everything I learned along the way.
What You Need Before You Start Painting Kitchen Cabinets
Before anything else, pull everything off the walls, empty the cabinets, and do a thorough assessment of what you’re working with. Remove all the doors, drawers, and shelves so you can work on each piece separately. Number every single door before you take it off, and sketch a quick map of your cabinet layout. This is not optional. You’ll thank yourself later when you’re staring at 28 doors that all look nearly identical but may be slightly larger or smaller by 1/8″.
Here’s everything I used for my own kitchen cabinets and highly recommend:
- DeWalt Random Orbital Sander
- Tack Cloths
- 120 Grit Sandpaper
- 220 Grit Sandpaper
- Plastic Sheeting
- Painter’s Tape
- Painter’s Paper
- Drop Cloths
- Handy Paint Pail & Liners
- Graco X5 Magnum Paint Sprayer
- Killz Primer
- Spray Tent (for doors and drawers)
- Red Solo Cups (more on this in a minute)
- Wood Filler
- Hazmat Suit
How to Sand and Prep Cabinets Before Painting
This is the part nobody wants to do, but skipping it is what separates a paint job that lasts from one that chips the first time someone bumps a cabinet door. Trust me, I learned that lesson the hard way on an earlier project when I didn’t sand first.
Start by cleaning every surface to remove grease, grime, and anything else that has accumulated over the years. Old kitchens are especially sneaky, because a lot of buildup is invisible until you’re painting over it and the paint starts doing weird things.
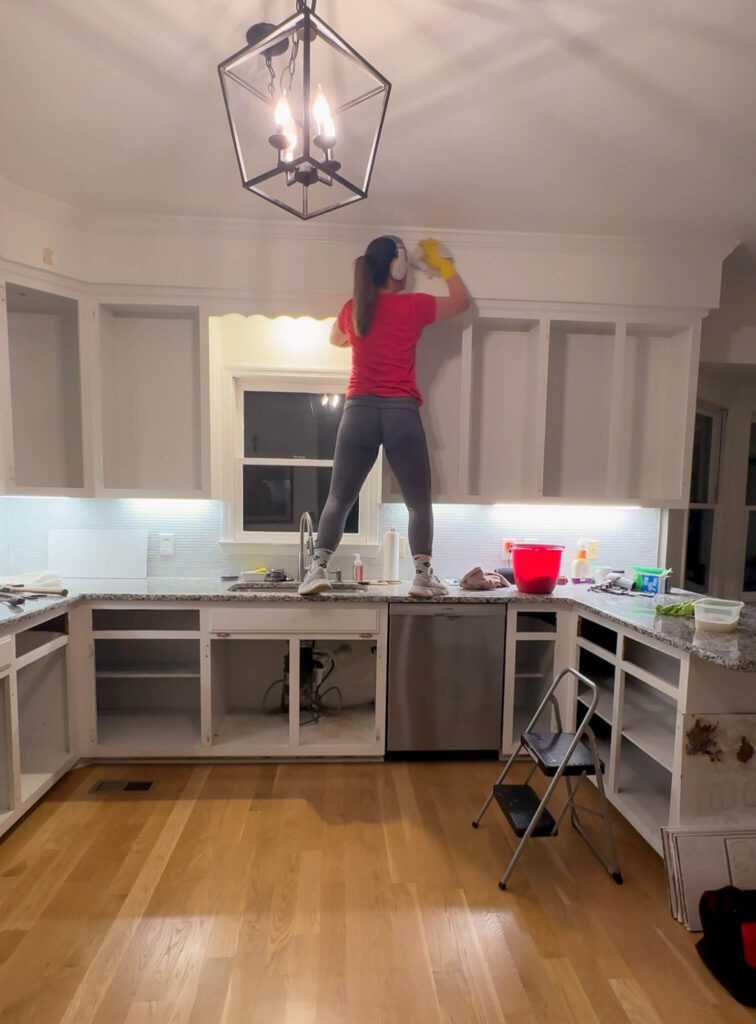
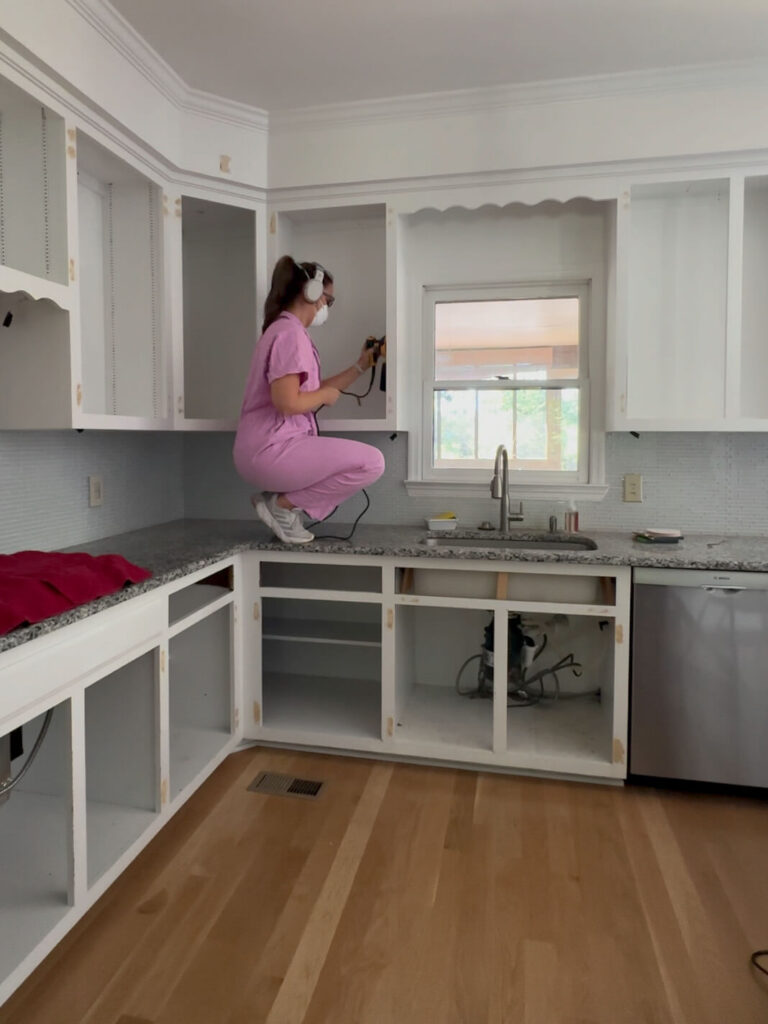
After cleaning and filling any holes or dents with wood filler, sand everything smooth. The goal is not to strip the cabinet down to bare wood; you just need to rough up the surface enough for the new paint to grip. I used my DeWalt random orbital sander with 120 grit for the flat surfaces. Anything too detailed for the sander, like the crown molding and the decorative details at the base of the soffits, I sanded by hand.
Once sanding was done, I ran a shop vac over all the surfaces, then followed up with a tack cloth to pull off any remaining dust particles. If you skip the tack cloth step, you’ll end up with little flecks of dust stuck in your paint, which is not the professional finish you’re going for.
How to Mask and Seal Your Kitchen for a Paint Sprayer
Here is the thing about paint sprayers that surprises most people: roughly 30 percent of your paint travels through the air as overspray. That means anything in your kitchen that isn’t covered is going to get a very light coating of your cabinet color. I was a little paranoid about this, so I went thorough.
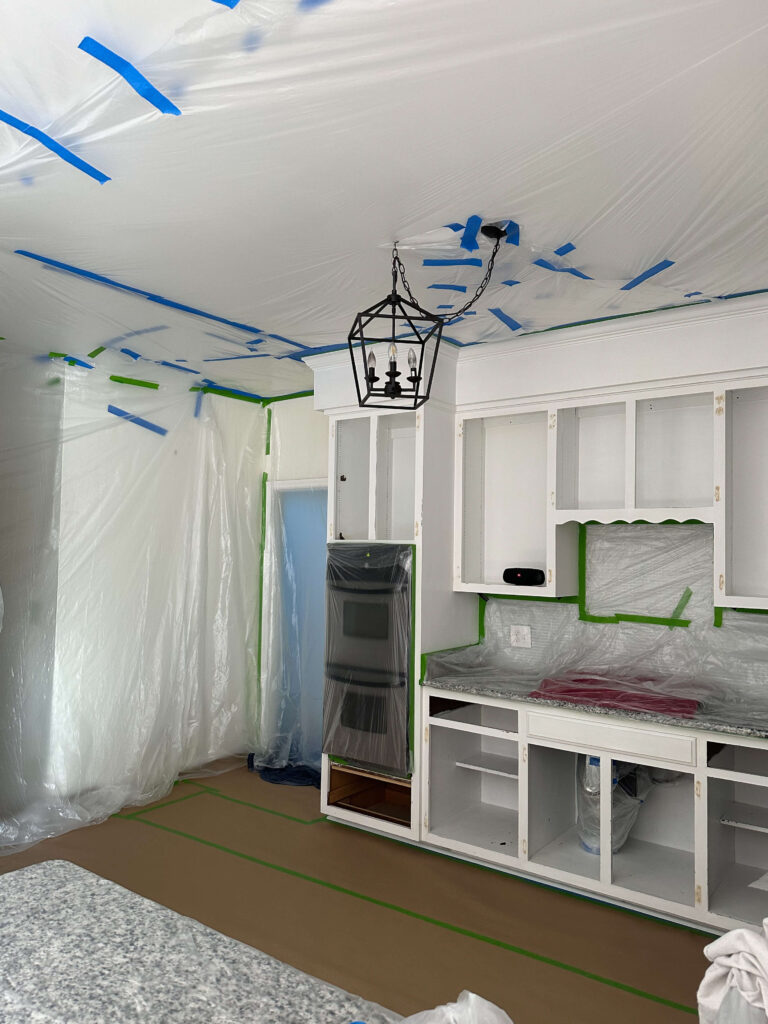
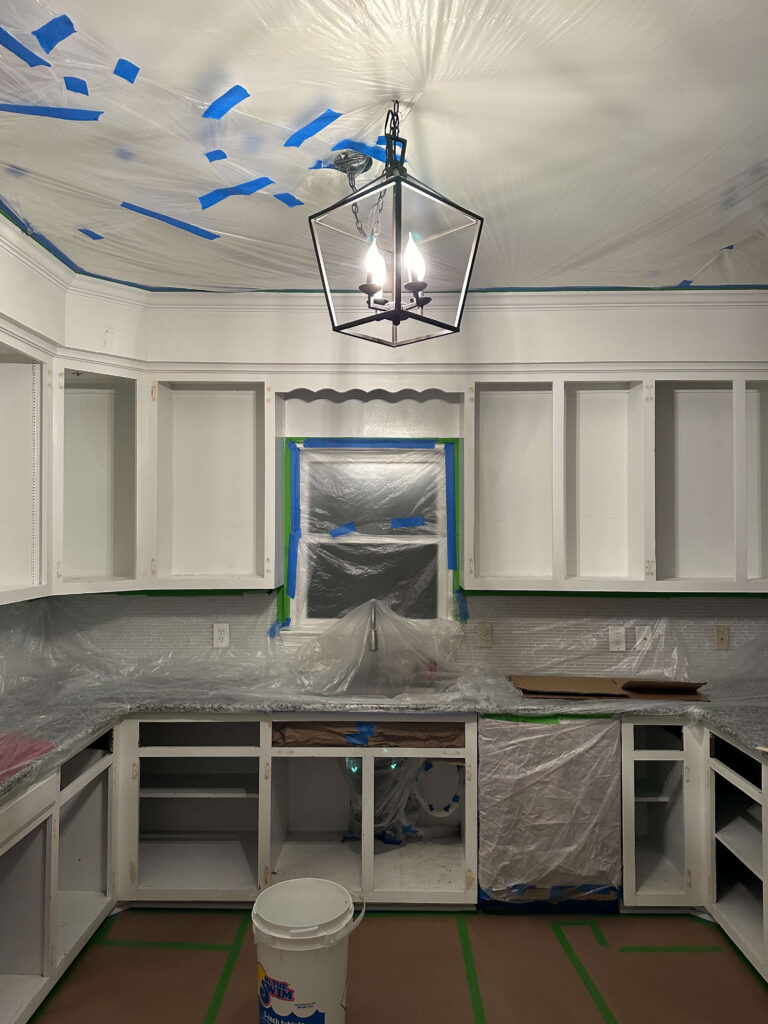
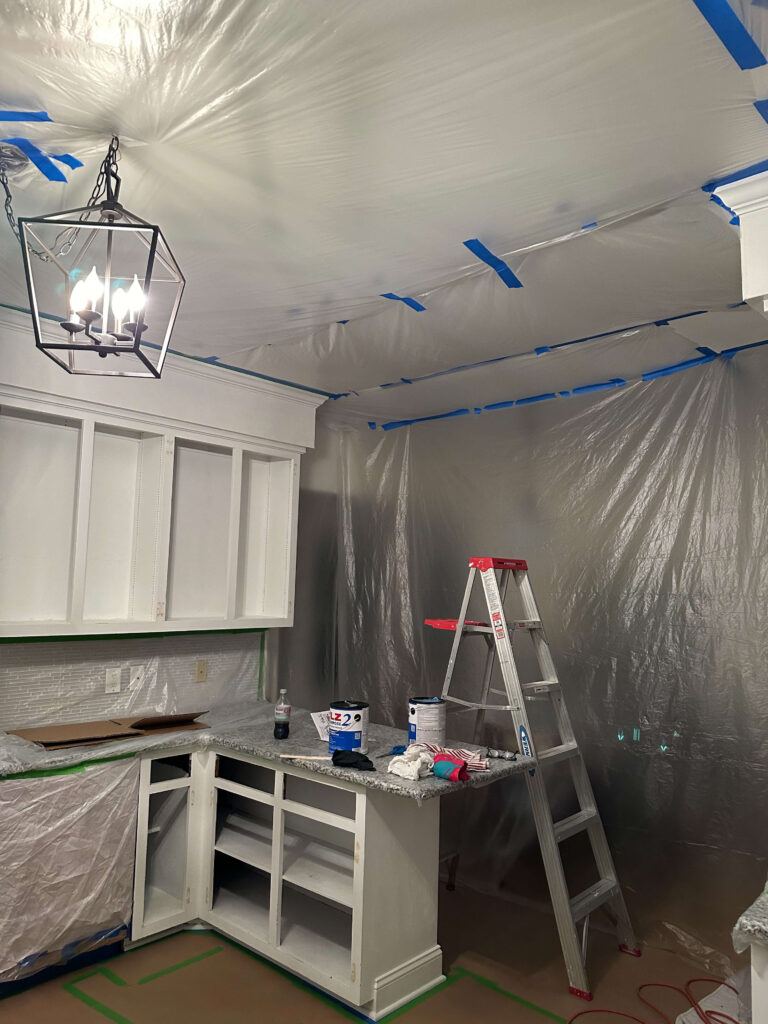
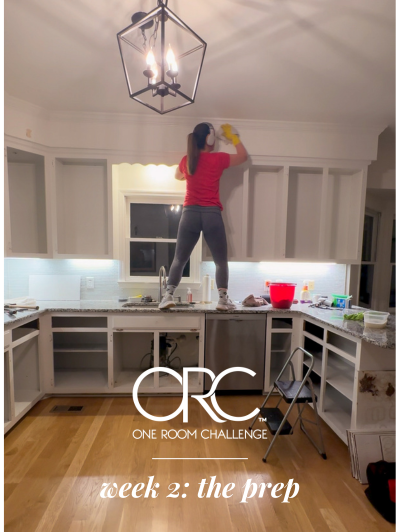
I hung plastic sheeting across the ceiling, covered all the appliances, and taped up the plumbing under the sink. Then I made floor-to-ceiling plastic walls by suspending sheets from the ceiling to create a contained painting zone. For the floors, I rolled out painter’s paper and taped it down securely, then extended drop cloths into the neighboring rooms just as a backup.
This took me about 12 hours. That was longer than I expected, and longer than I’d prefer. But I had zero damage to the floors, the walls, or the surrounding rooms when it was all done, so I’d do it exactly the same way again.
How to Prime Kitchen Cabinets with a Paint Sprayer
Before color goes on, primer goes on. Think of primer as the foundation that makes everything else work. It gives the paint a consistent base to stick to, helps block anything from bleeding through, and evens out how the surface absorbs color.
I used Killz primer, which is inexpensive, dries in about three hours, and is ready for a topcoat quickly. This step also gave me a chance to get comfortable with the Graco Magnum X5 before I was using actual paint color on everything.
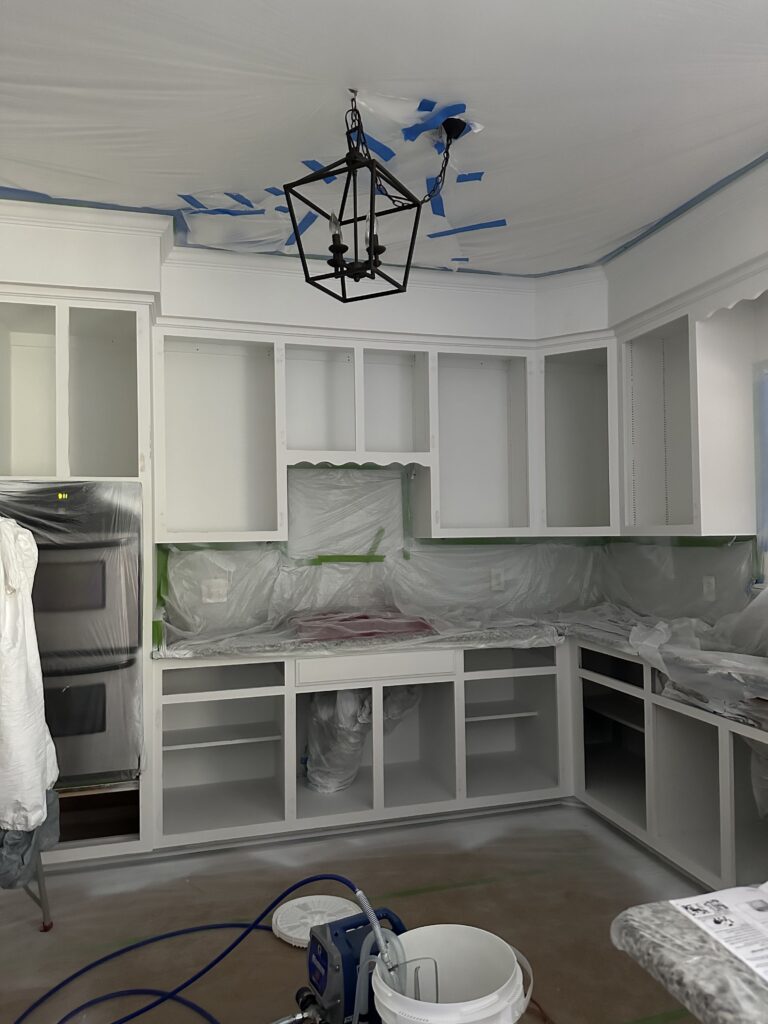
Getting the hang of the sprayer took less than an hour. Once I found my footing, I was able to prime the crown molding, the soffits, and the insides and outsides of all the cabinet boxes in under an hour. If I had done this by hand with a brush, it would have been a full day.
Painting Cabinet Doors and Drawers with a Sprayer
For the doors and drawers, I moved the painting operation outside into a spray tent, which I set up in the yard. When rain pushed me inside, the tent moved to the garage. If you’re going to use a paint sprayer for your cabinet doors, a spray tent is genuinely worth buying. The overspray containment alone makes cleanup so much easier.
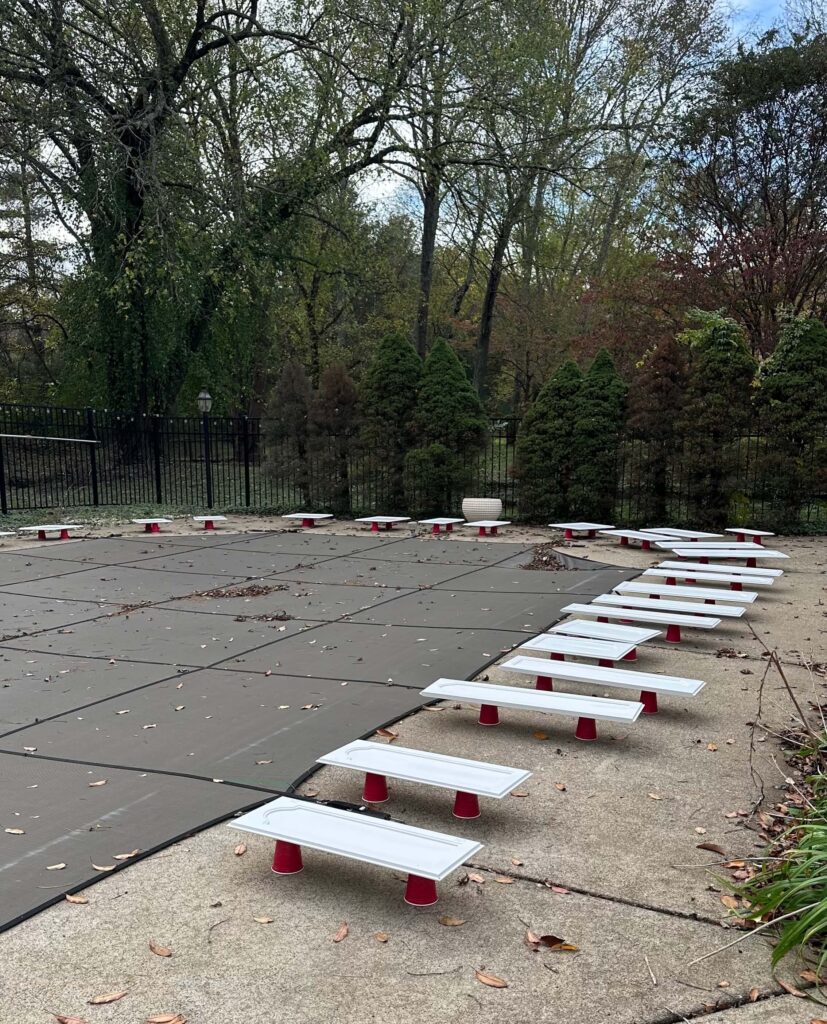
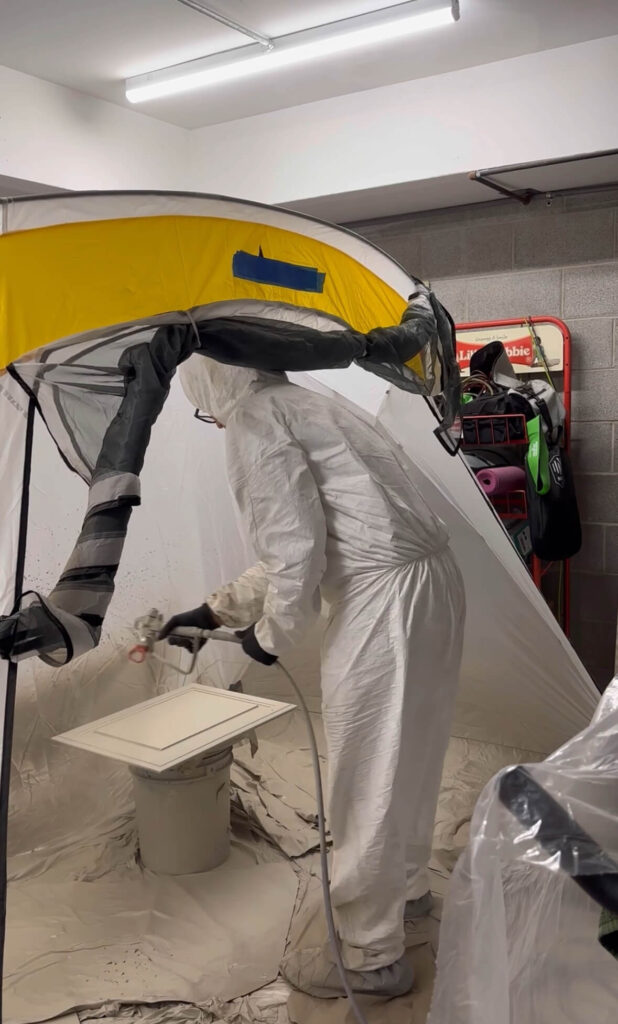
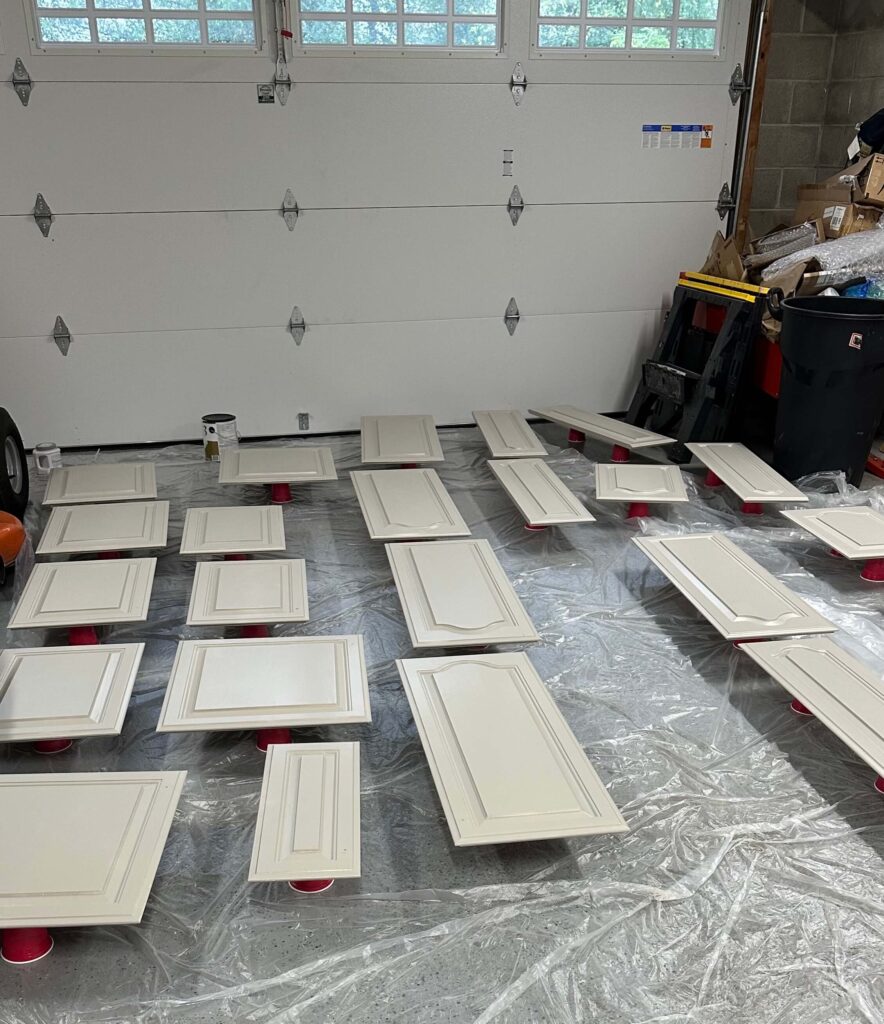
Here’s the solo cup trick I stumbled onto: I had 28 doors in varying sizes, and I needed a way to set each one down after painting without the freshly painted back touching anything. So I numbered a set of red solo cups (inside each cup) to match my cabinet map, and after painting each door I set it directly onto the corresponding cup. It kept the surface elevated, protected the paint, and kept everything organized. I wasn’t sure it was going to work, but it absolutely did.
My process for the doors: I applied a light coat of primer on the backside of each door first, using about three to four passes per door. I set each one on its numbered solo cup and let everything dry for four hours before flipping to do the front side. For the paint color, I did two full coats on each side and took two days to do it rather than rushing the drying process. After the final coat, I labeled the back of each door lightly in pencil with its cabinet number and set them aside for a few days to let the paint fully cure before drilling for hinges.
Applying the Paint Color with a Paint Sprayer
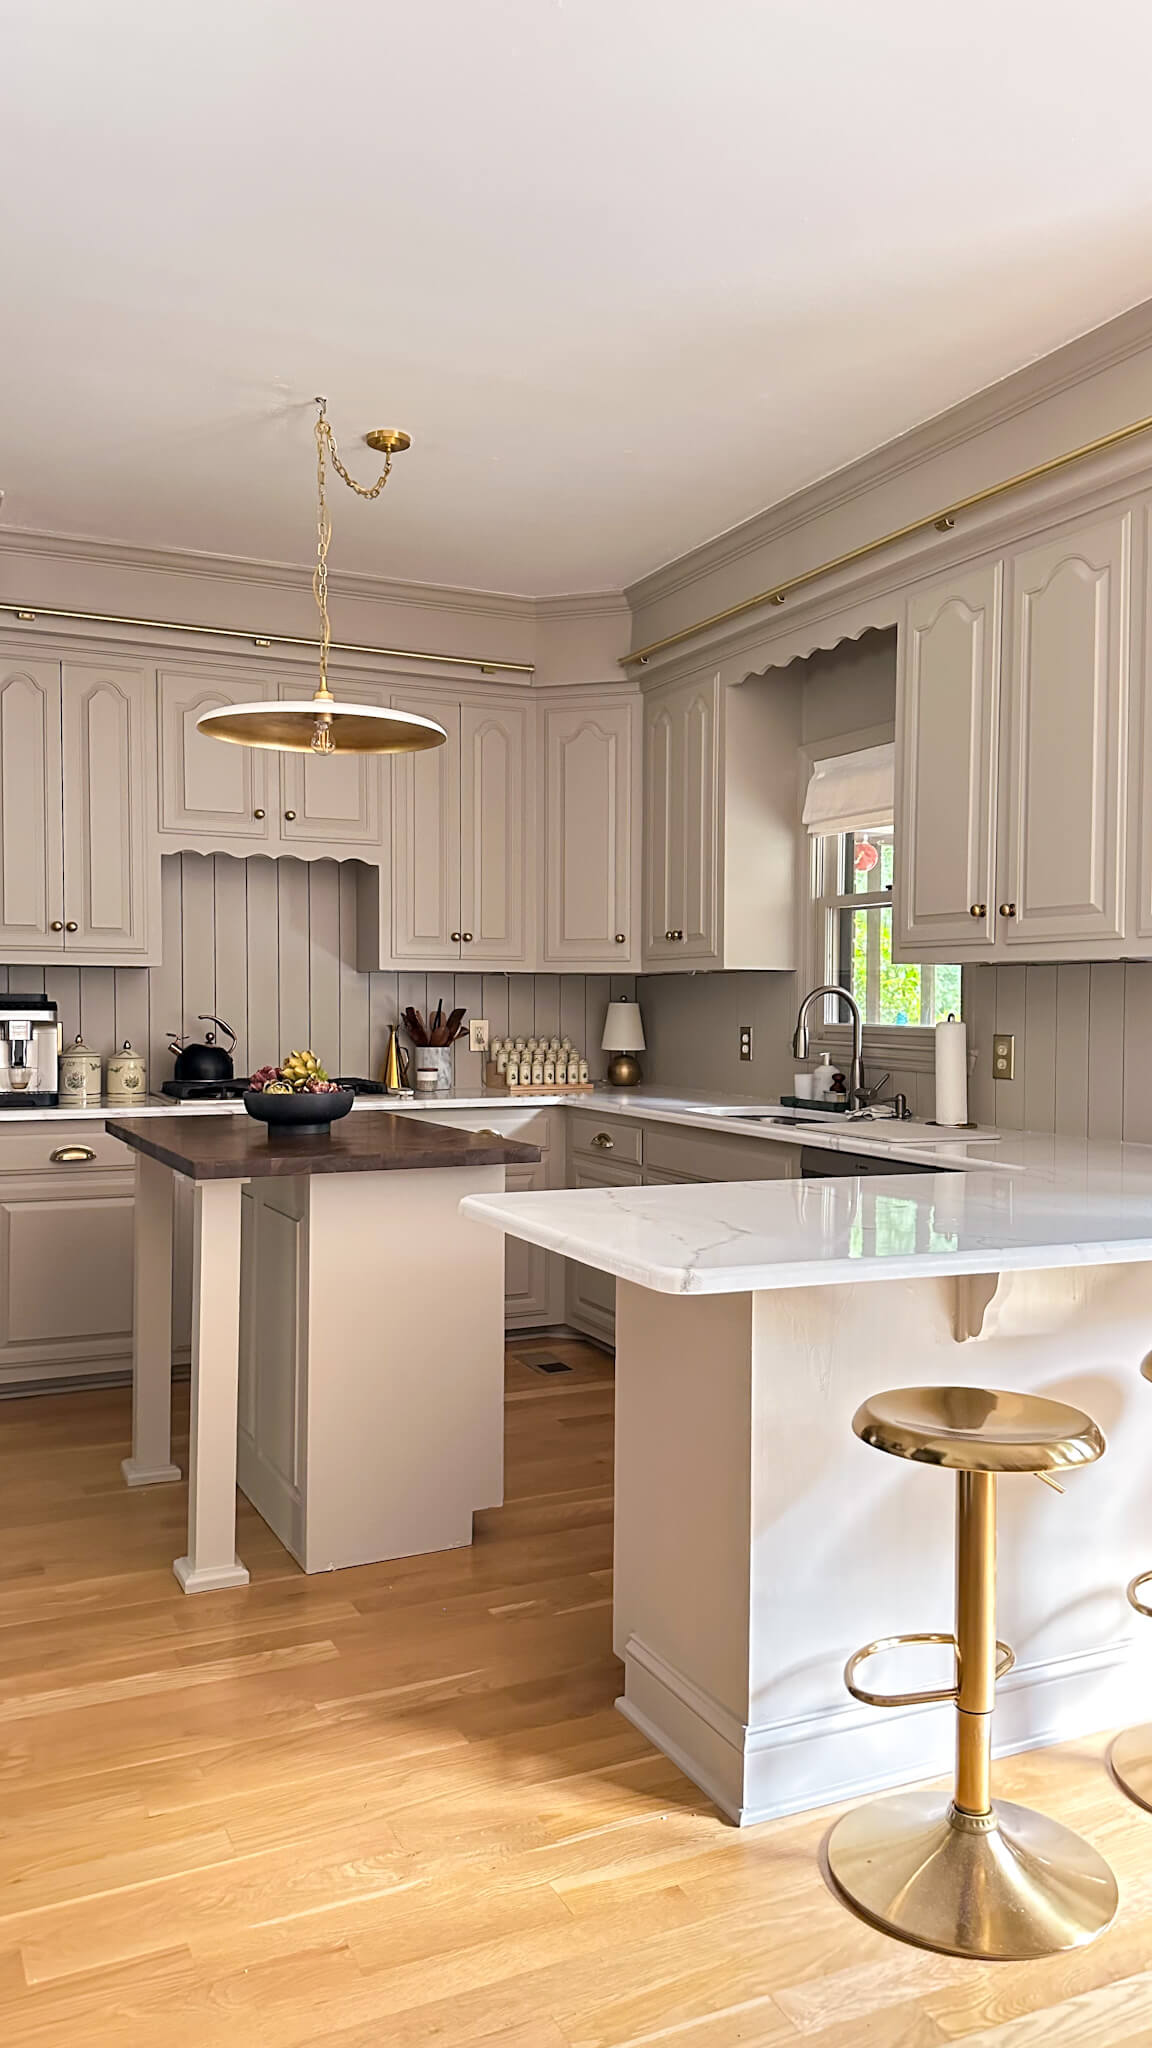
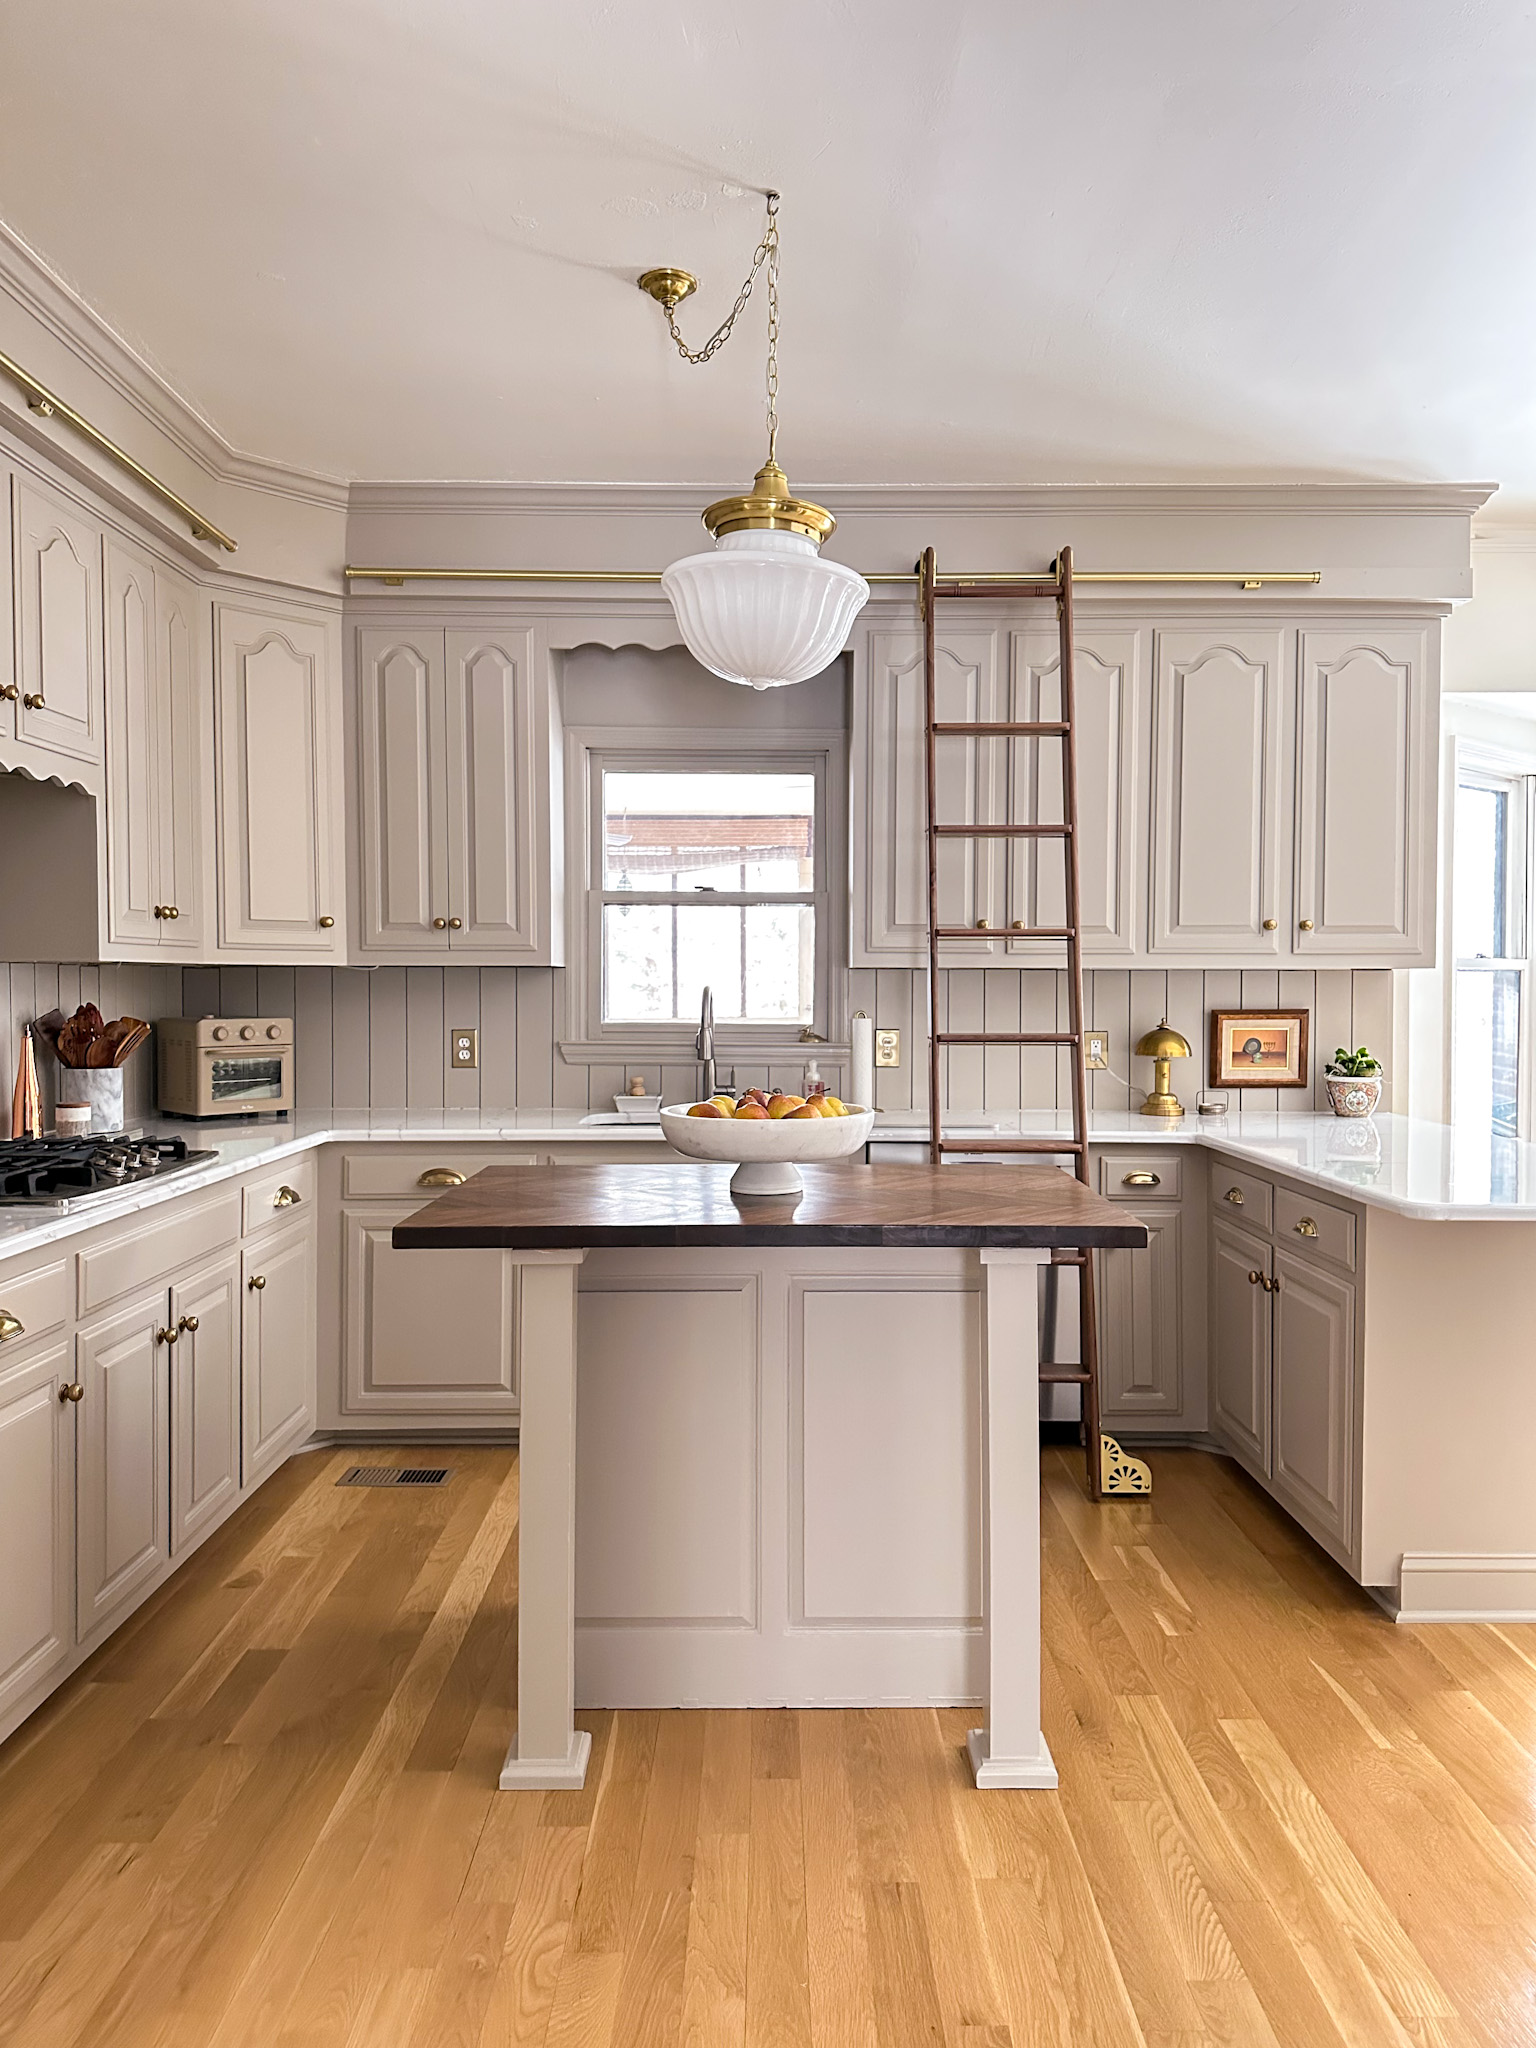
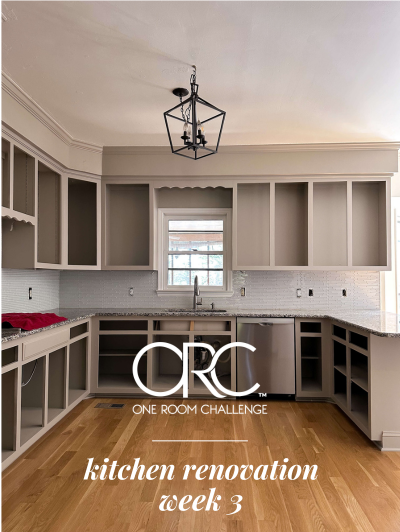
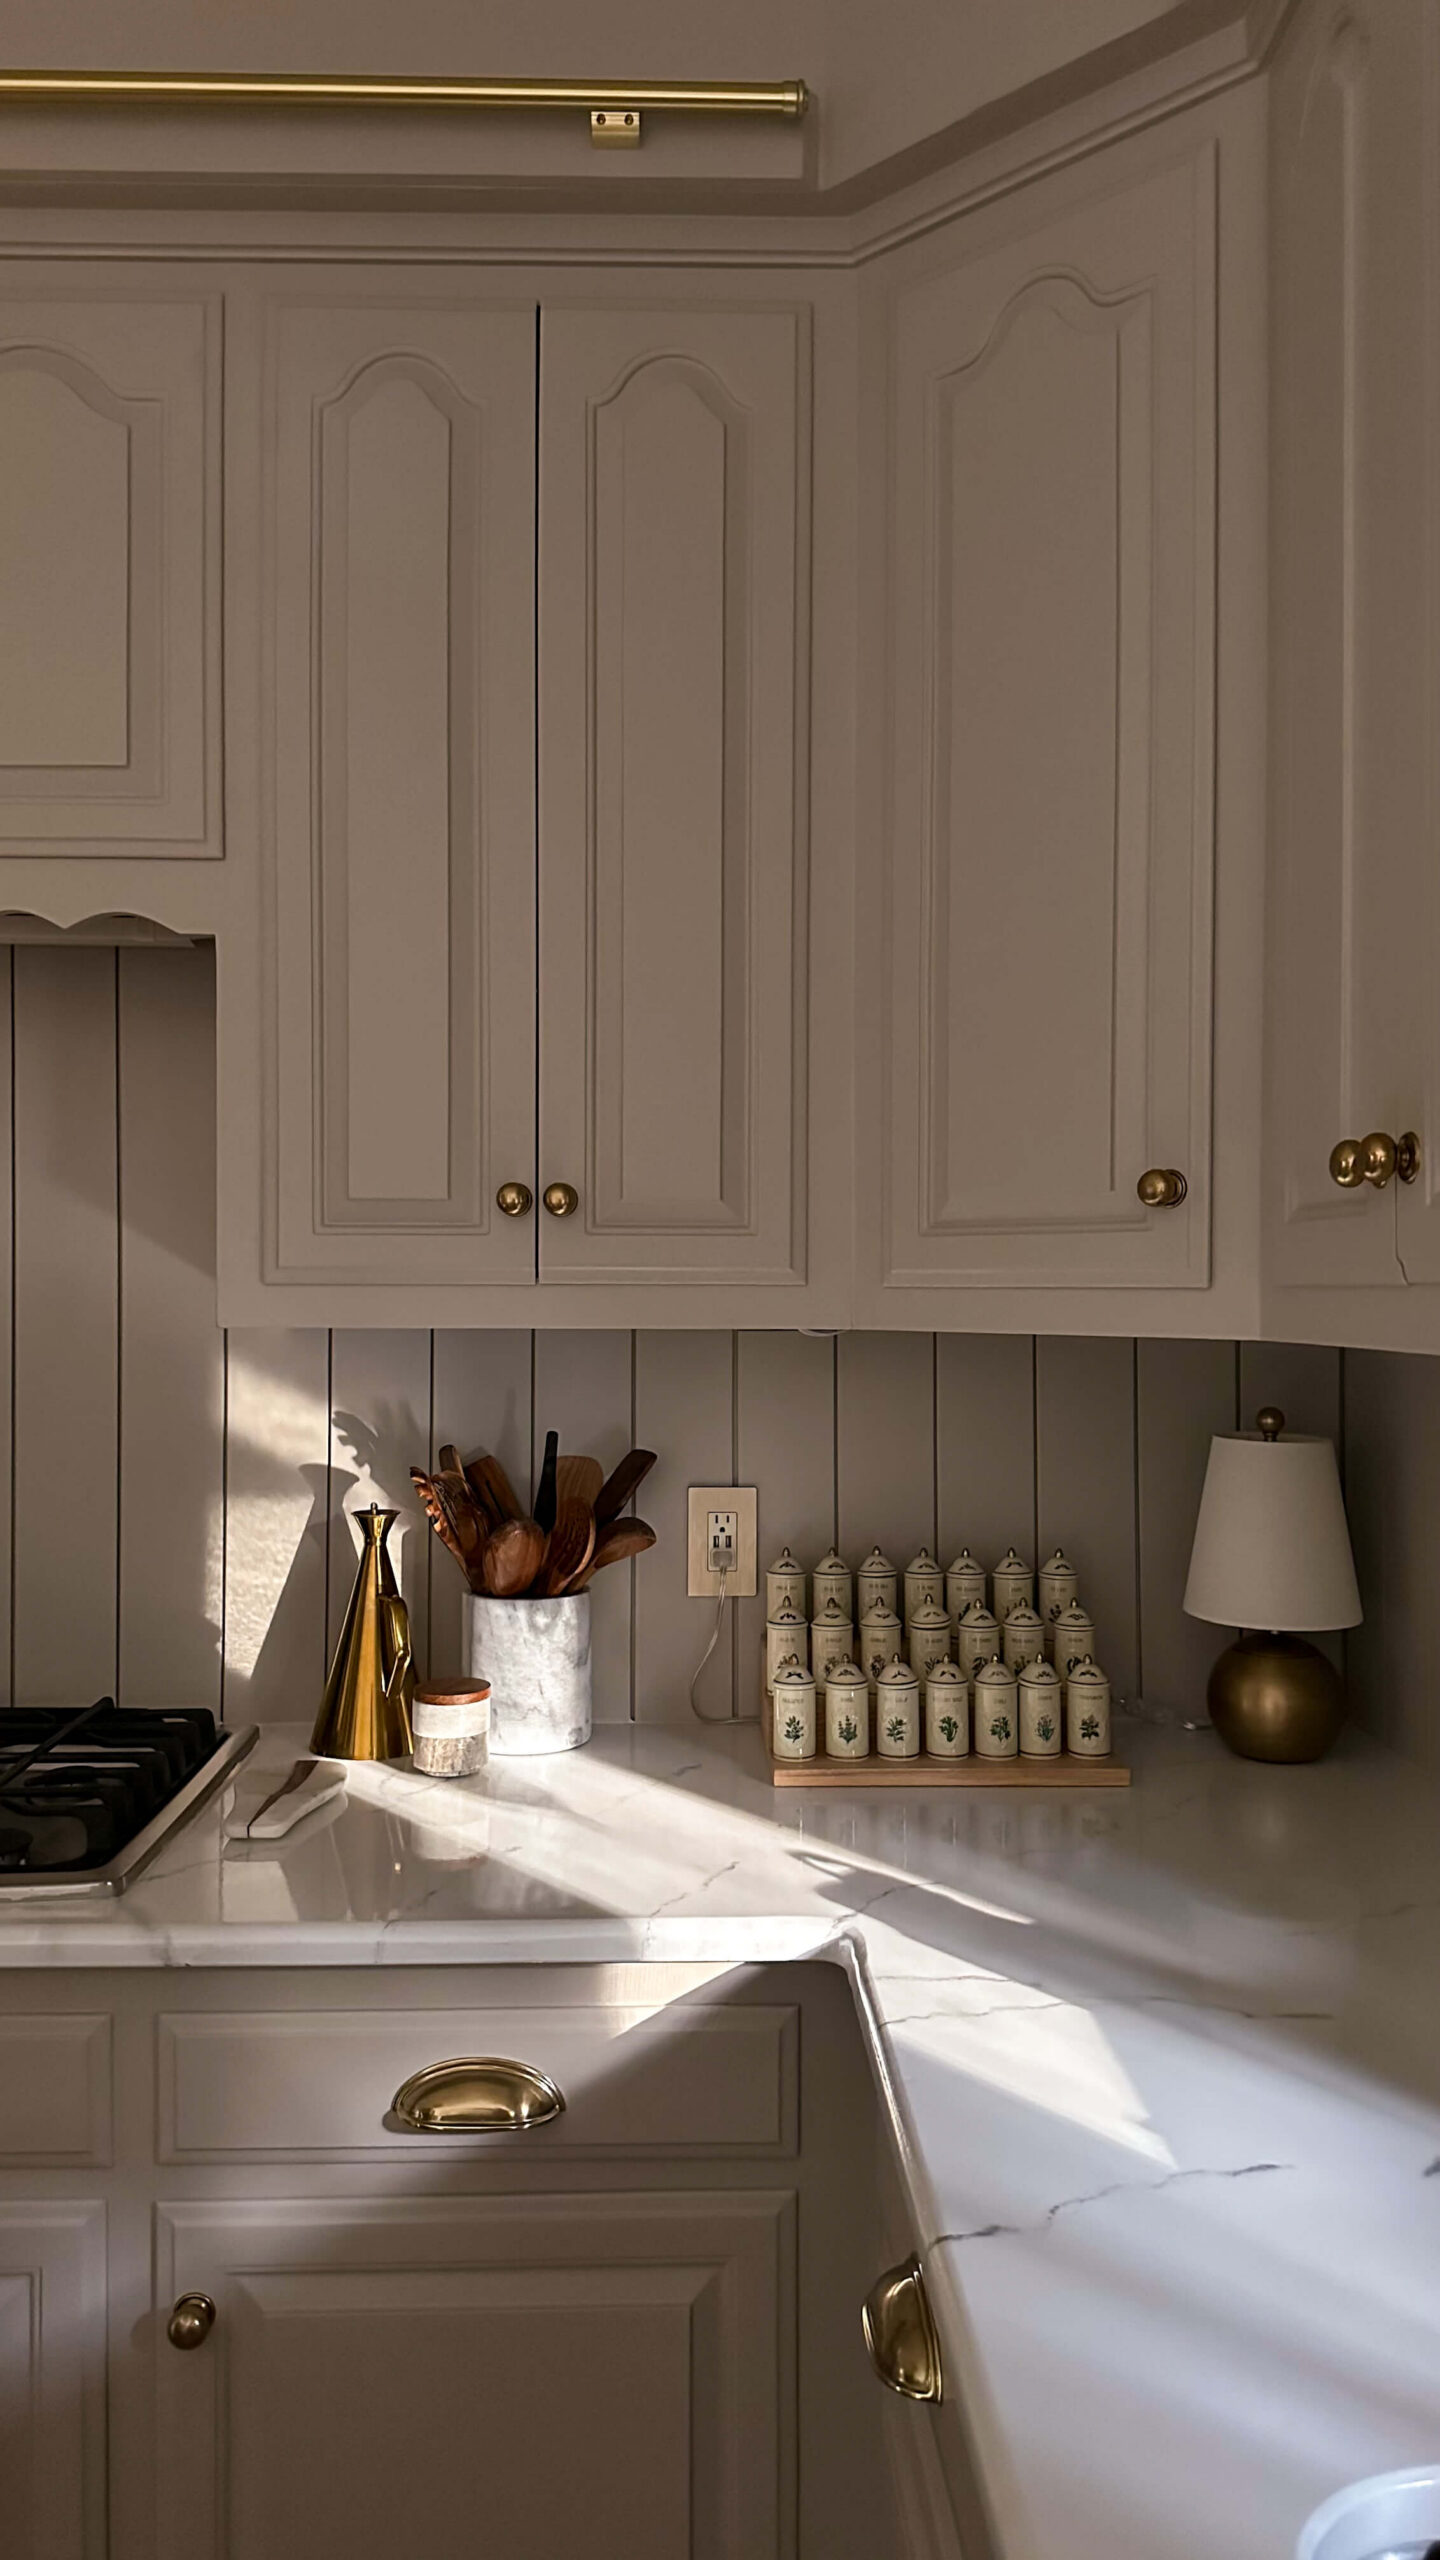
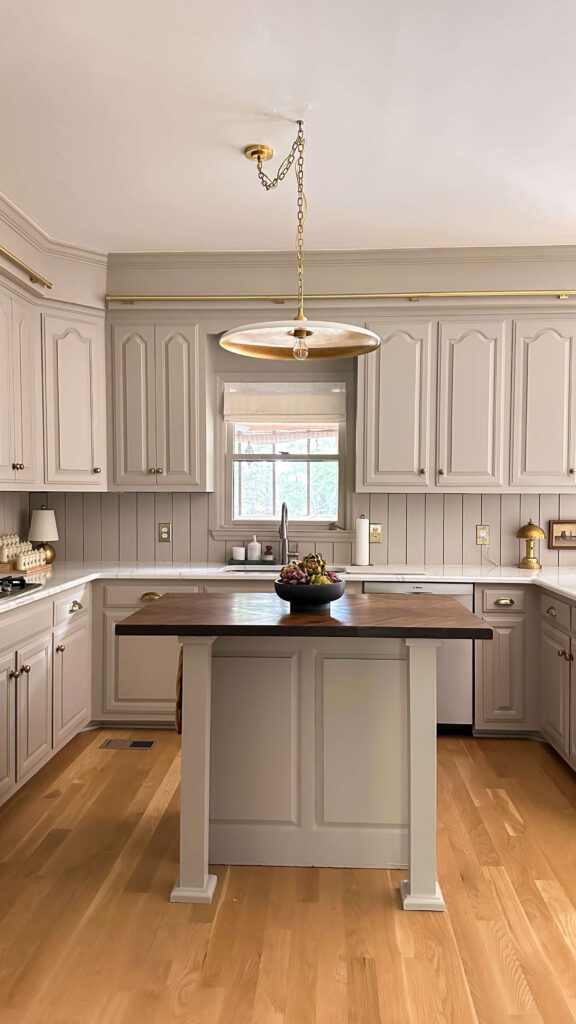
For the paint color, I landed on Stone Hearth by Benjamin Moore on my first trip to the paint store, which I still can’t quite believe. My mood board had pointed me toward a warm taupe, and this was it. I painted a test patch, then got a little braver and did a whole shelf, and it was exactly right: warm, not too dark, and nothing that was going to feel dated in three years.
For the paint formula, I went with COMMAND Corotech, a waterborne acrylic urethane. The pitch is that it dries within 15 minutes, is ready to recoat in an hour, and cures to an incredibly durable finish. Here’s my honest take on that:
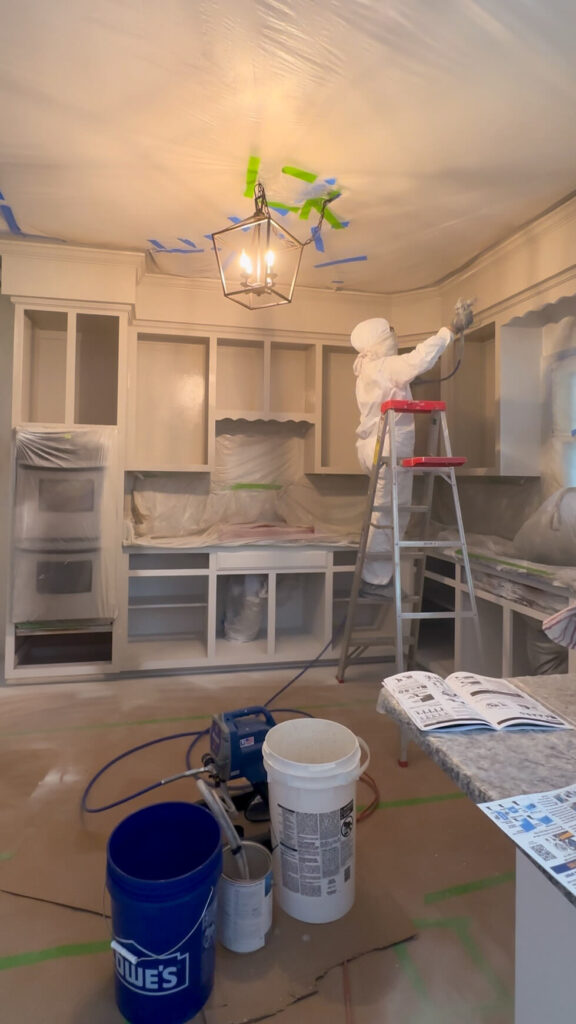
The drying time is genuinely fast. My cabinets weren’t quite ready to recoat in an hour, so I waited six hours between coats, which still felt like a win compared to the full-day wait I’m used to. The finish is smooth and the satin sheen is exactly right for a kitchen. On the downside, this paint is self-leveling, which means it’s very unforgiving on vertical surfaces if you apply too heavy a coat. As a first-time sprayer, I didn’t have the restraint I needed on the first coat and ended up with some runs. I caught most of them in time with a brush. A couple got past me and needed to be fixed later. The fumes are also intense. Open a window and run a fan if at all possible.
What I Learned from Painting My Kitchen Cabinets for the First Time
After the paint dried and I started pulling the plastic and paper away, there were a few spots where the ceiling paint came off with the tape. The prep work did exactly what it was supposed to for the cabinet surfaces, but the tape on the ceiling was a different story. A few touch-ups were needed.
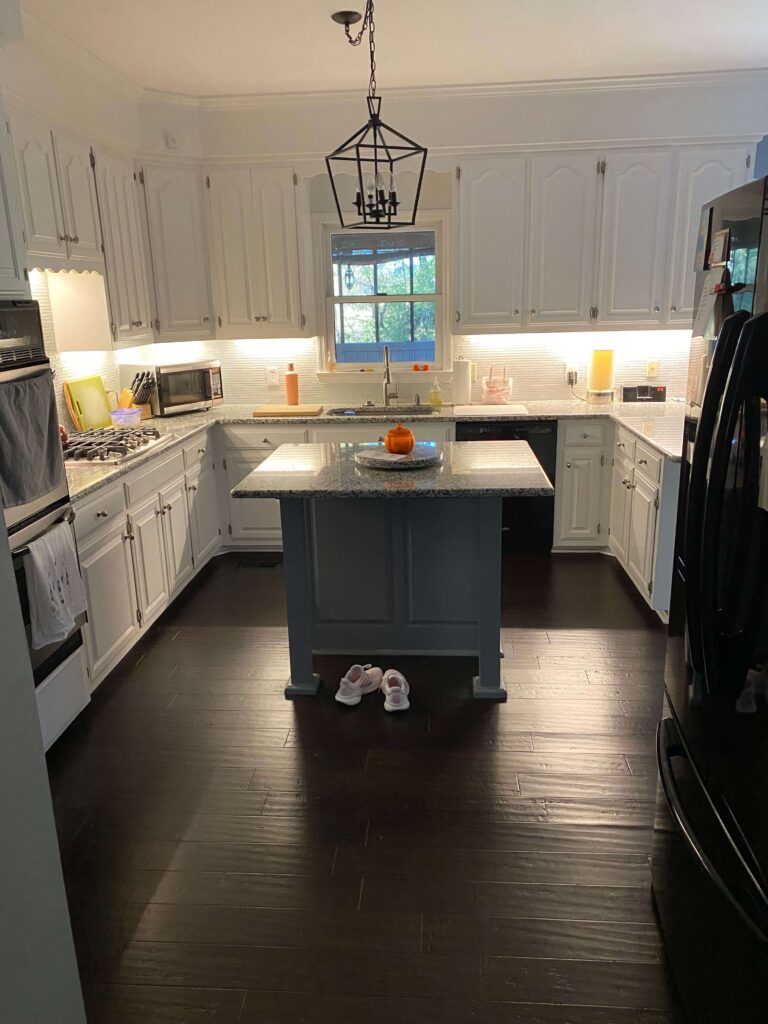
Here’s what I would tell anyone tackling how to paint kitchen cabinets with a paint sprayer for the first time:
The prep is the whole job. The actual spraying is fast. What takes time is the sanding, the tacking, the masking, and the priming. Don’t shortcut any of it.
Go light on vertical surfaces. Especially with self-leveling paints, thinner passes are always safer than heavier ones. You can always add another coat.
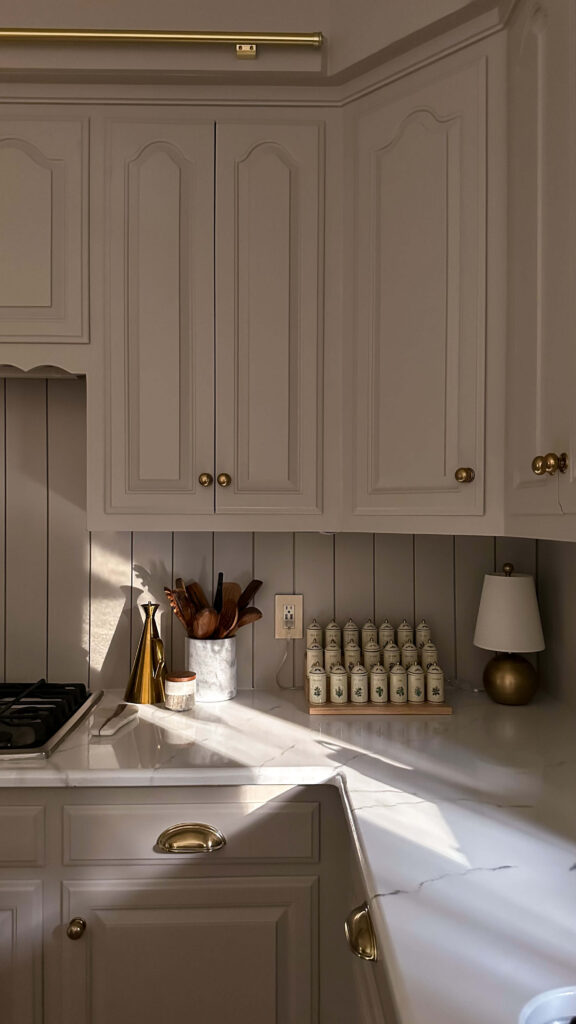
Cabinet Color | Paneled Backsplash | Brass Lamp | Olive Oil Cruet | Marble Utensil Holder
Number your doors before anything else. A simple pencil map of your cabinet layout takes ten minutes and saves you from a very frustrating puzzle at reassembly.
The spray tent pays for itself. If you’re painting doors in a garage or outside, a spray tent contains overspray and keeps debris off your wet paint. It was one of the best purchases of this whole project.
Cure time matters. I left the cabinet doors alone for several days after the final coat before drilling for hinges. Paint can feel dry without being fully cured, and drilling into uncured paint can cause chipping and cracking right at the hinge point.
The end result made every tedious hour of prep worth it. These cabinets look like they were painted by someone who knew what they were doing, which is honestly the best compliment I can give a DIY project I figured out entirely on my own.
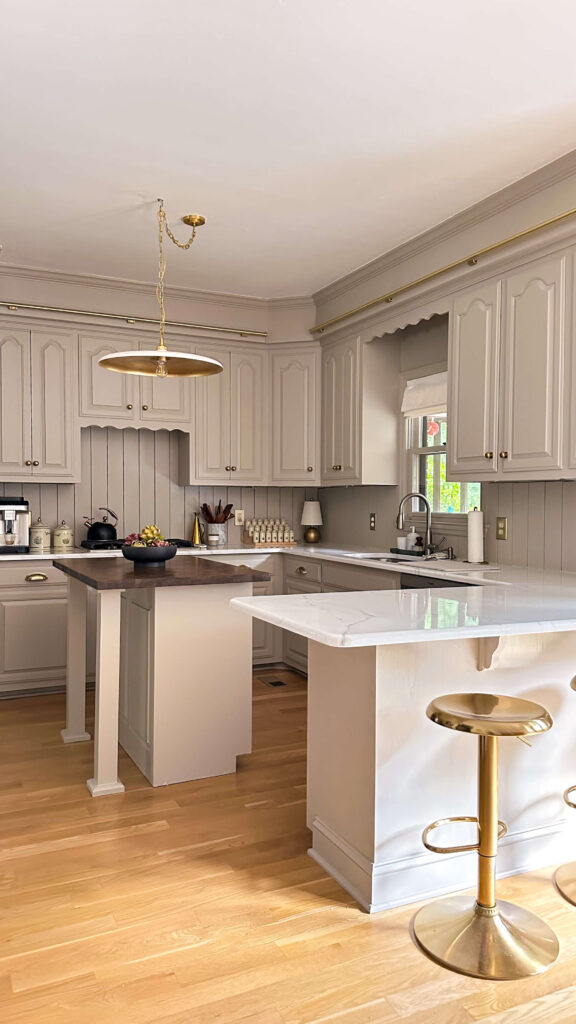
Brass Bar Stools | Kitchen Island Pendant | Walnut Butcher Block Island Top | Roman Shades
Related Posts:
My Budget Friendly Kitchen Makeover Reveal
Installing Soft Close Drawer Slides
Expert Painting Hacks, Tips & Tricks
The Right Ways To Clean Your Paint Supplies & How to Store Them